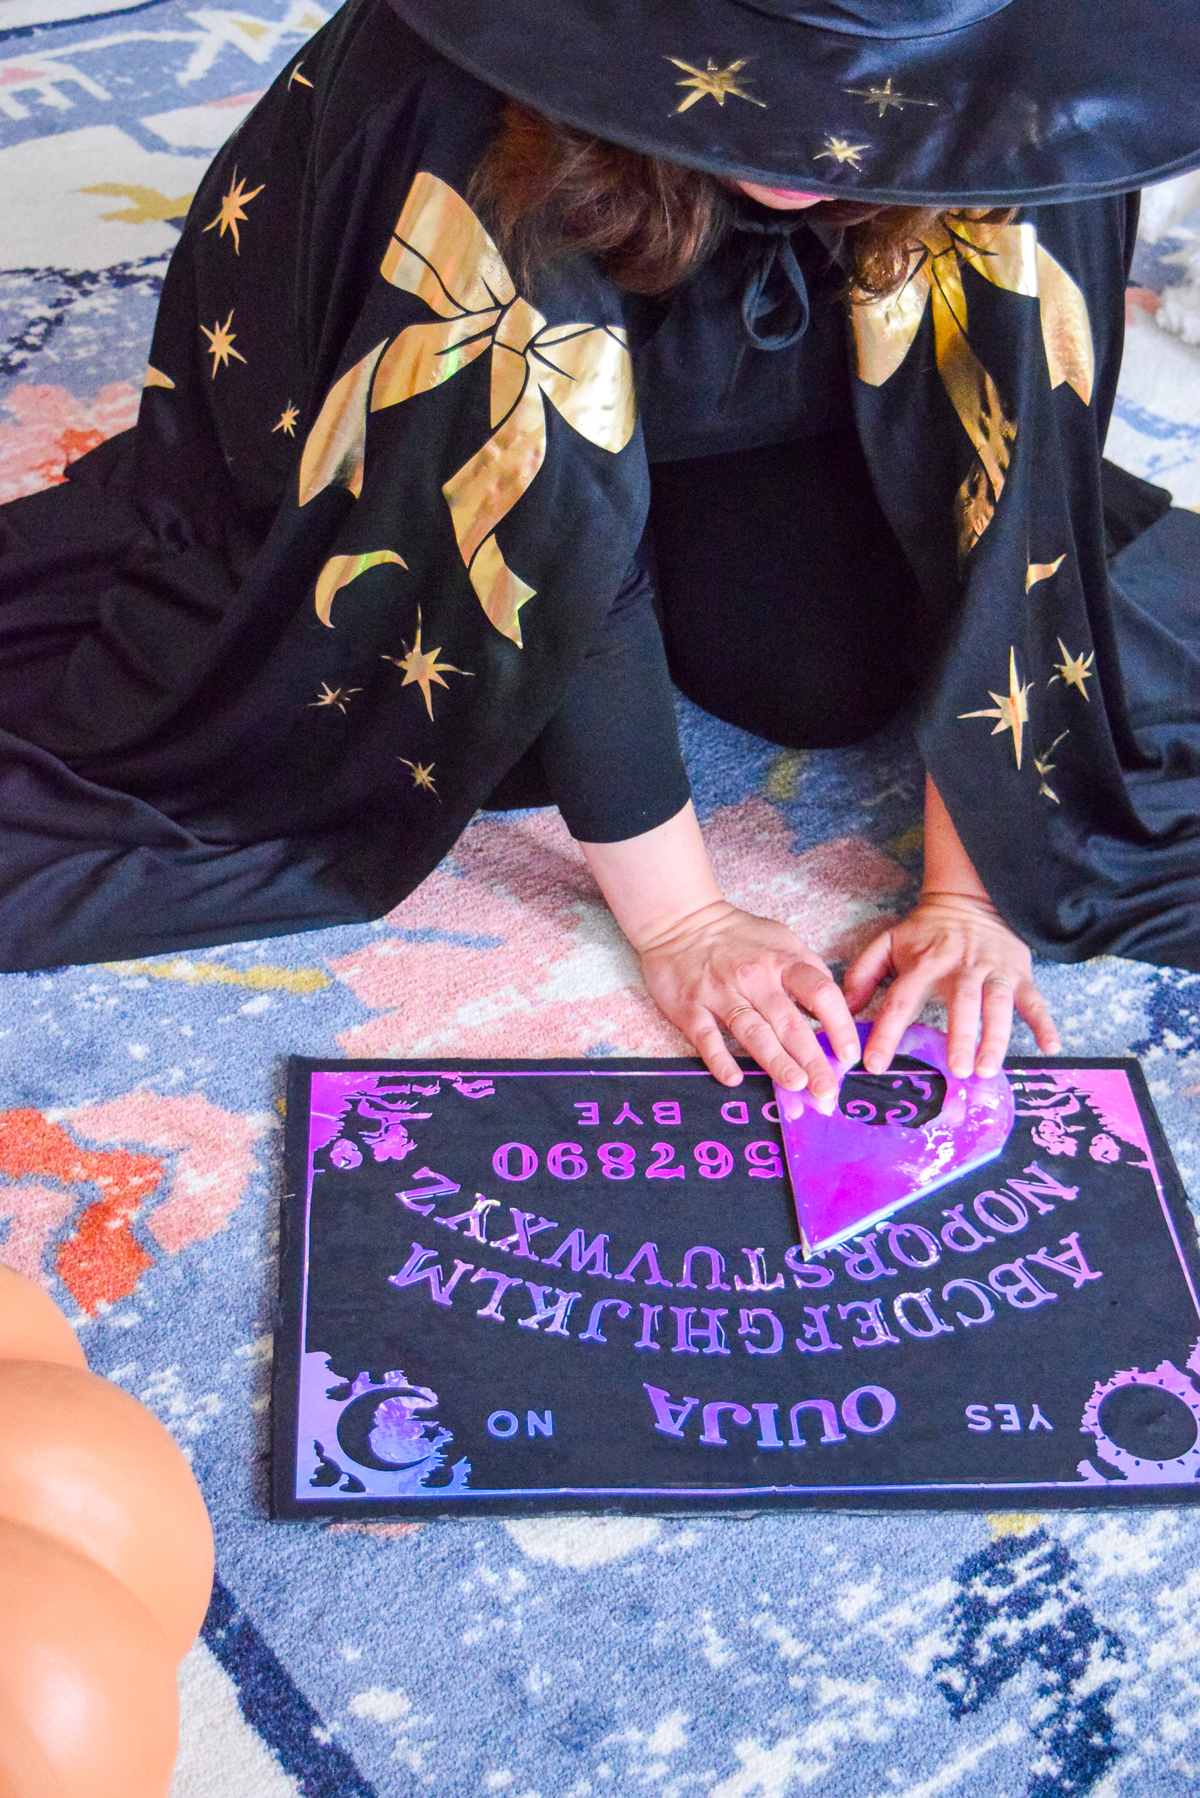
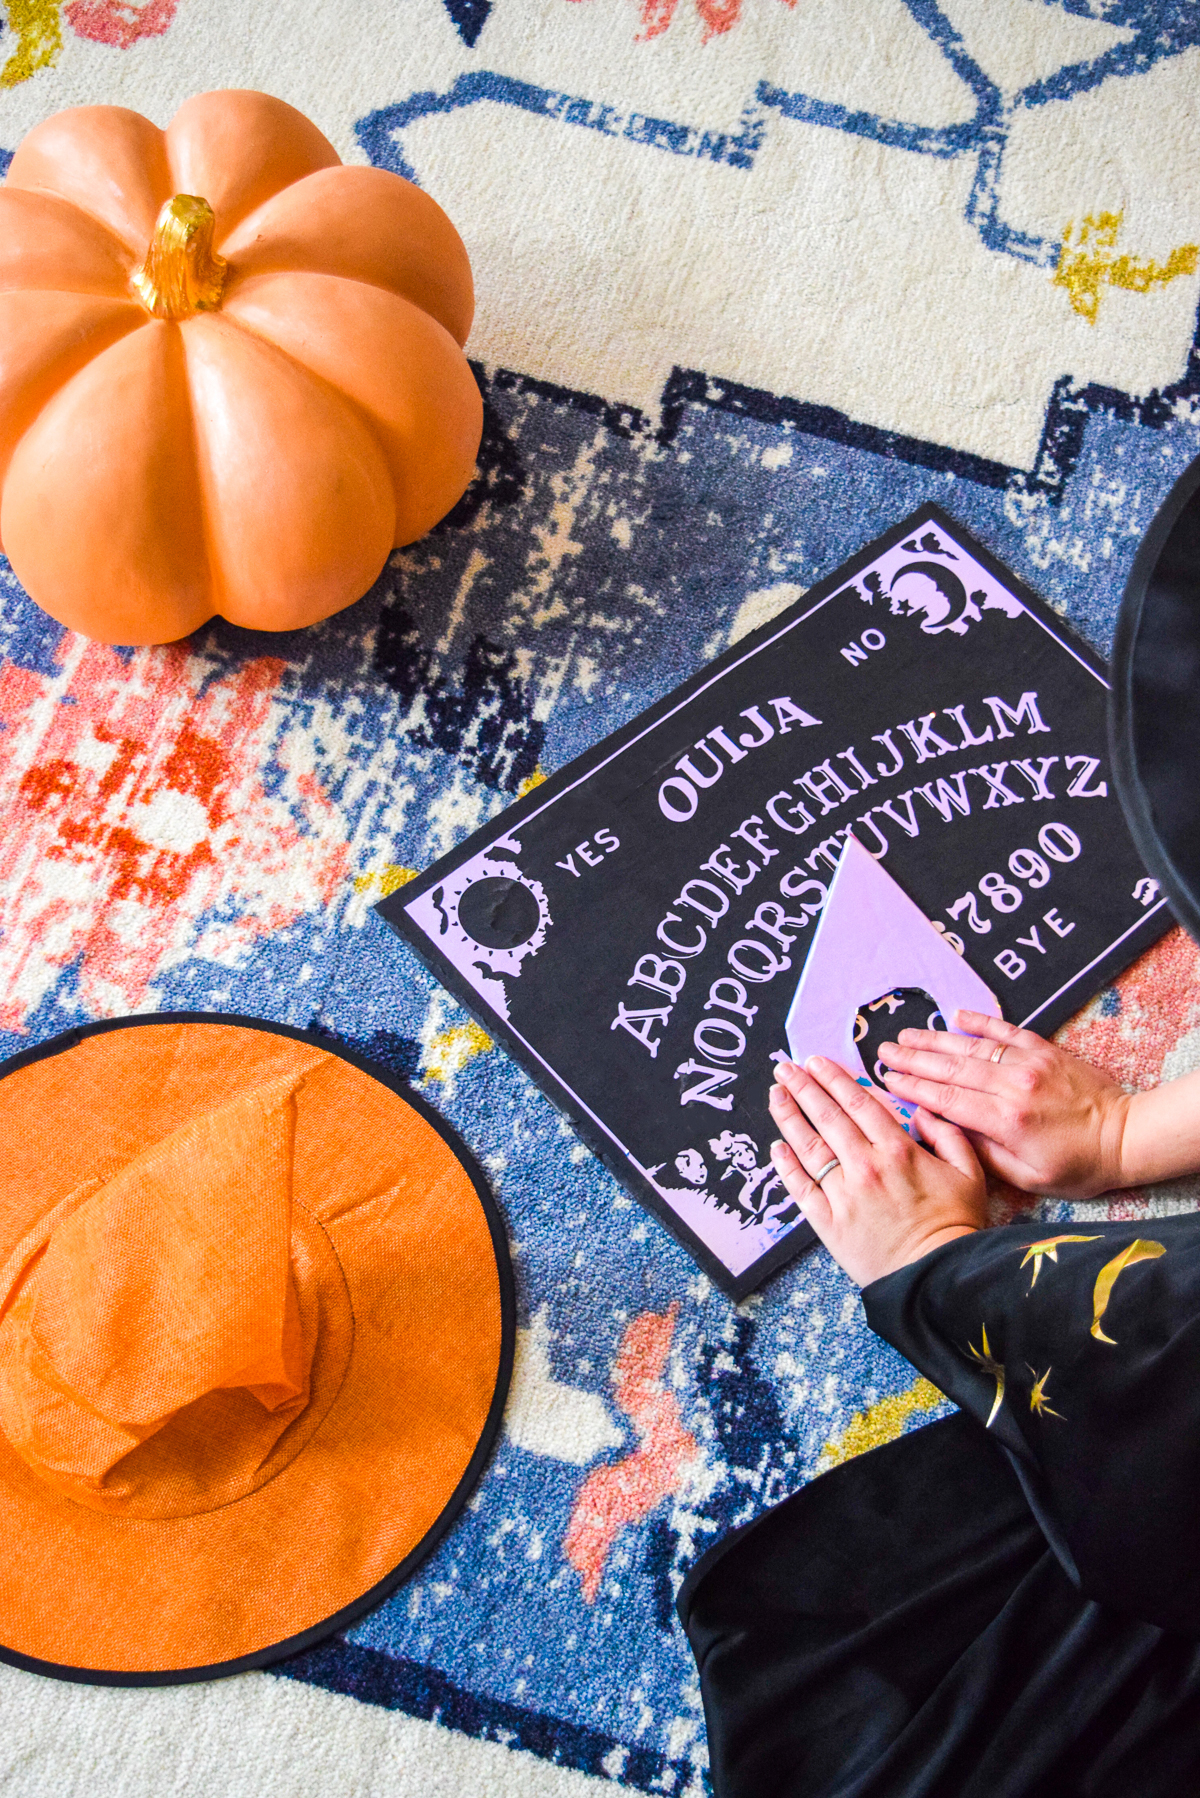
Ok so Netflix is releasing a Sabrina the Teenage Witch remake (a la Riverdale) and I am totally jazzed. How jazzed? So jazzed. Jazzed enough that I made a DIY Holographic Ouija Board using some cool vinyl I’ve had lying around, and it’s pretty much the coolest thing you could have for Halloween (or just any time of the year).
DIY Hocus Pocus Mirror // DIY With Silhouettes // DIY Bitchin’ Within’ Cape
*Cricut sponsored this post, but all thoughts are my own. Thank you for supporting the brands that make PMQ for two possible.
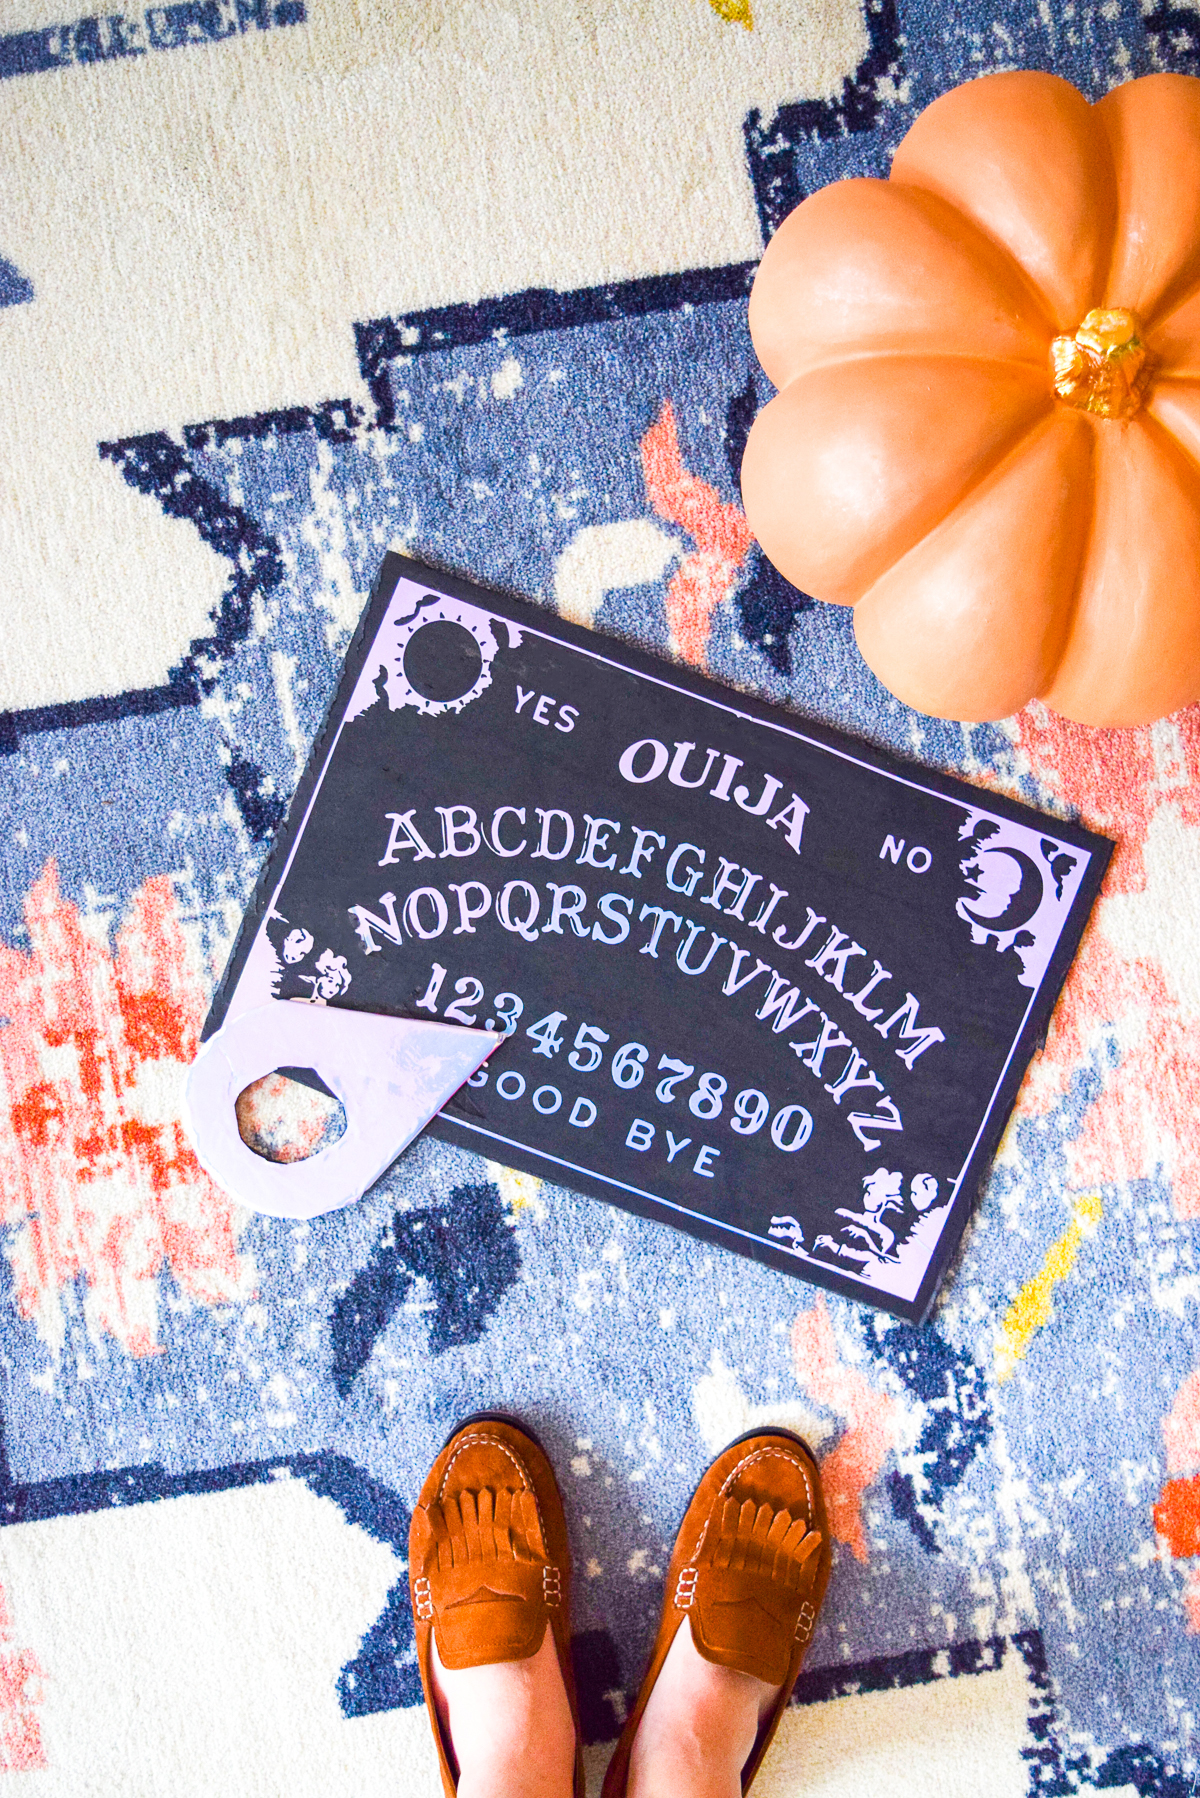
A DIY Holographic Ouija Board because reasons
Because I love fall and all things Halloween (“it’s Halloween in my soul” & “friggin bats!”) I loved all kinds of witchy movies as a kid. What else were we going to watch at sleepovers until 3am? *unsure* So movies like The Craft, Hocus Pocus, The Witches, Practical Magic etc. are totally part of my childhood and fall emotional landscape.
DIY Hocus Pocus Mirror // DIY With Silhouettes // DIY Bitchin’ Within’ Cape
A ouija board is something I’ve always been curious about, and even though I don’t believe in ghosts, I believe enough to not play with one. So I figured that by DIYing a Holographic Ouija Board using vinyl and foam core with a holographic planchette, that I’d be OK.
How to create a Ouija Board Graphic
So this is not something you’ll find in the Cricut Design Space. I knew that creating my own custom SVG would be a nightmare, so I went to Etsy and found one there for 2$. SOLD! I thought about buying a planchette as well, but decided that it would make for of an impact if it was just one big ball of holographic beauty.
Catch my guide to the Cricut Explore Air 2
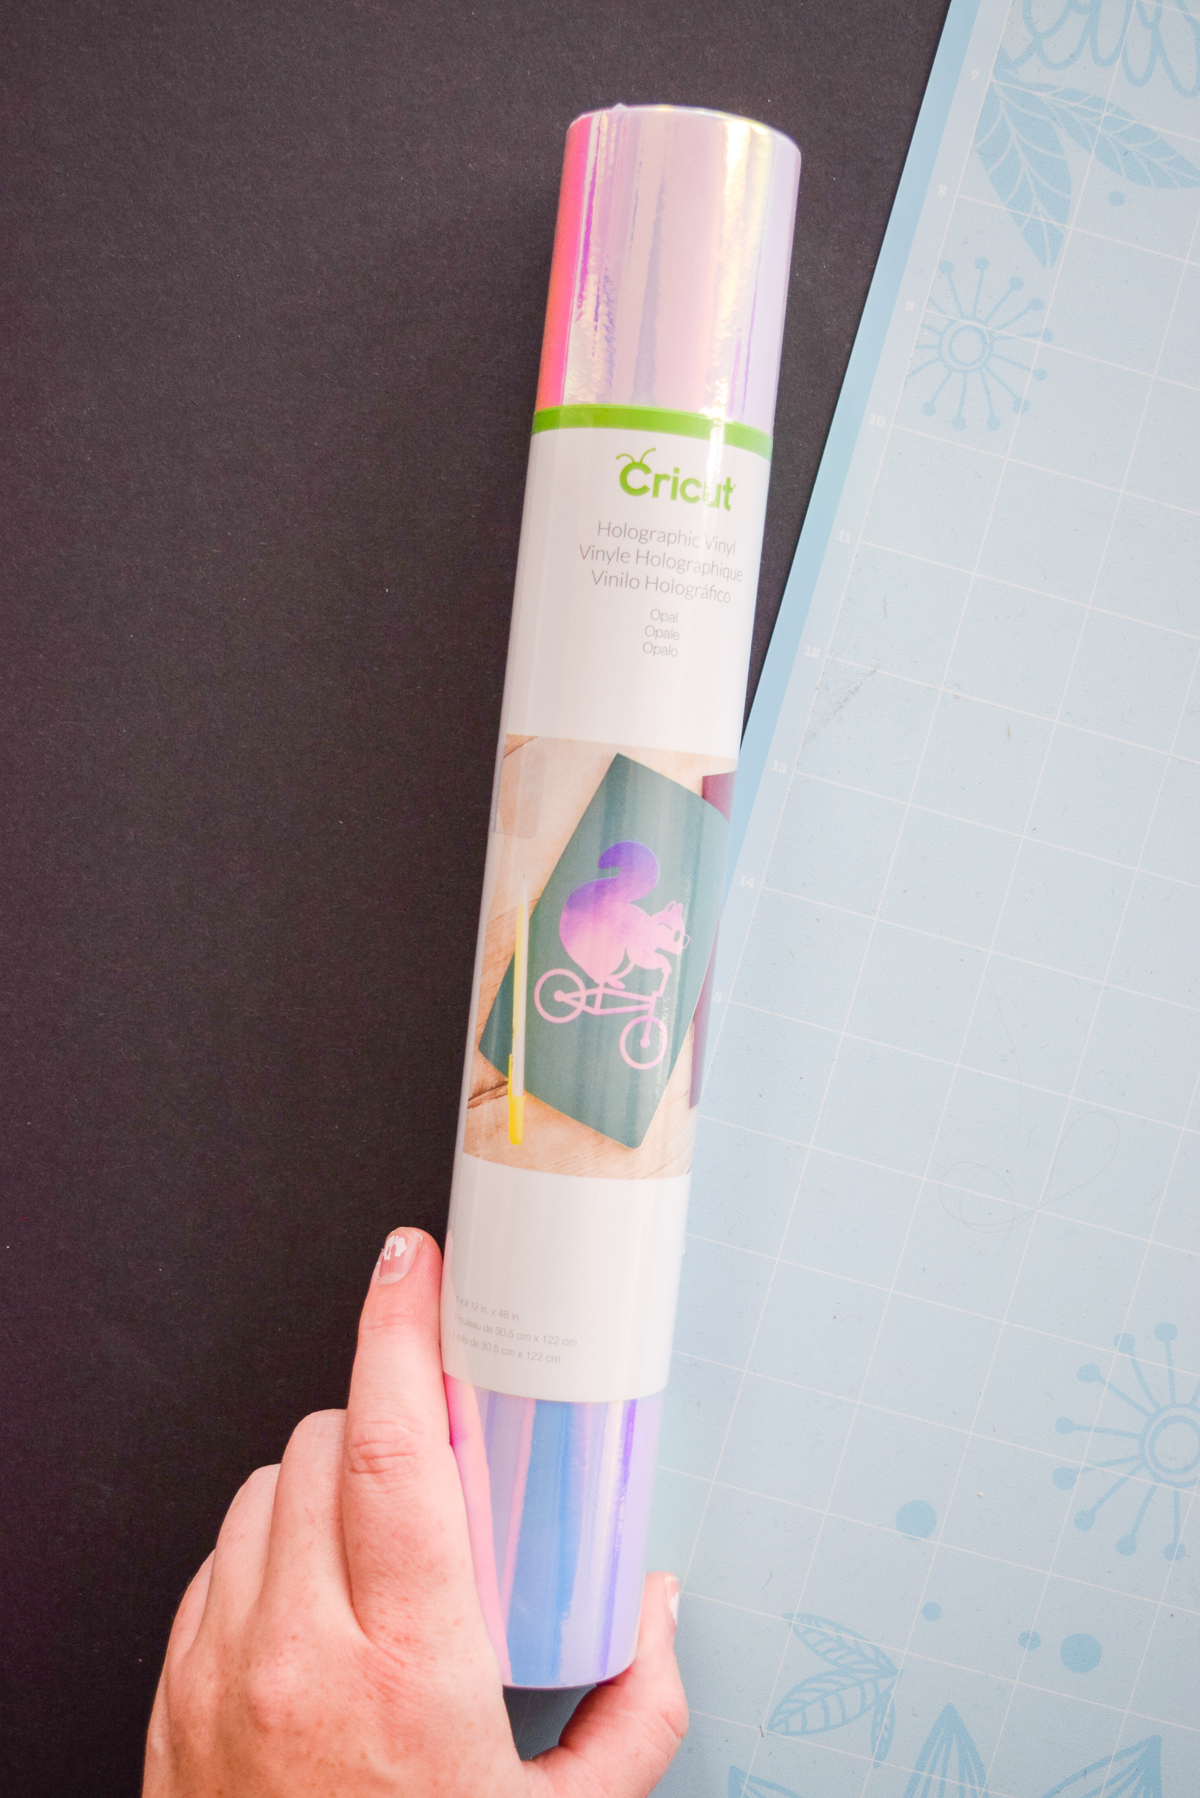
Once I uploaded the graphic to the design space, I had to weld all the layers together because otherwise it was going to cut a million little pieces for me to assemble. No thanks! It took a minute, but was well worth the effort.
Cutting the Ouija Graphic With Your Cricut
*The following product links contain affiliate links. Thank you for supporting the brands that make PMQ for two possible. For my full policies click // here //
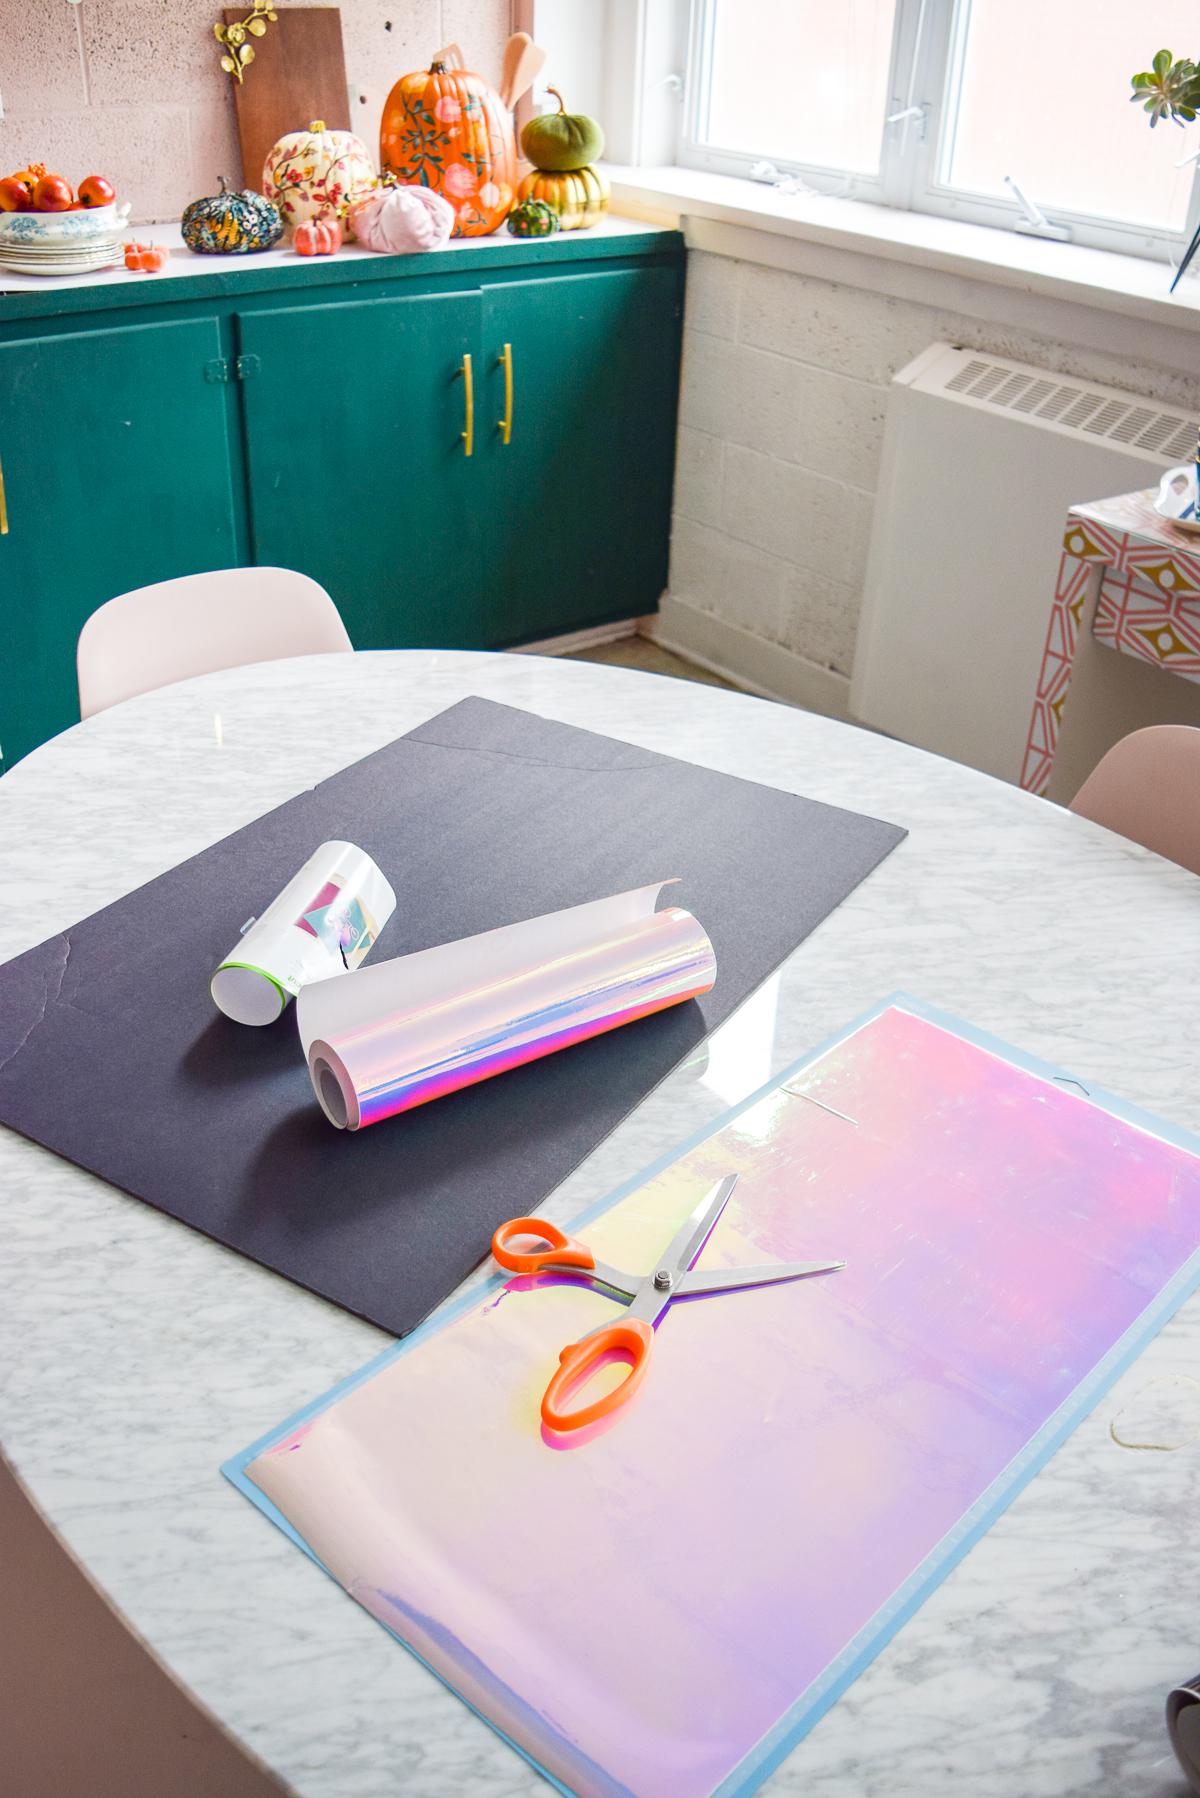
You’ll need a Cricut Explore Air™ 2 machine, a 12 x 24 cutting mat, holographic vinyl, and a lot of time. Because the cut file is intricate, as you scale it up (ideally to 12″ high) it will take about 15 minutes to cut.
Catch my list of essential Cricut Explore Air 2 Tools & Materials
Just make sure your mat has space to move, because it went back and forth quite a bit while going through the machine.
Weeding & transferring the holographic ouija board graphic
Once the piece is done, it’s time to weed! Using your weeding tool, start peeling back the negative space and all the little cutouts. It might take another 15 mins or so, but it will be well worth it. Keep a pair of scissors handy to cut away any excess vinyl to prevent it from sticking the design.
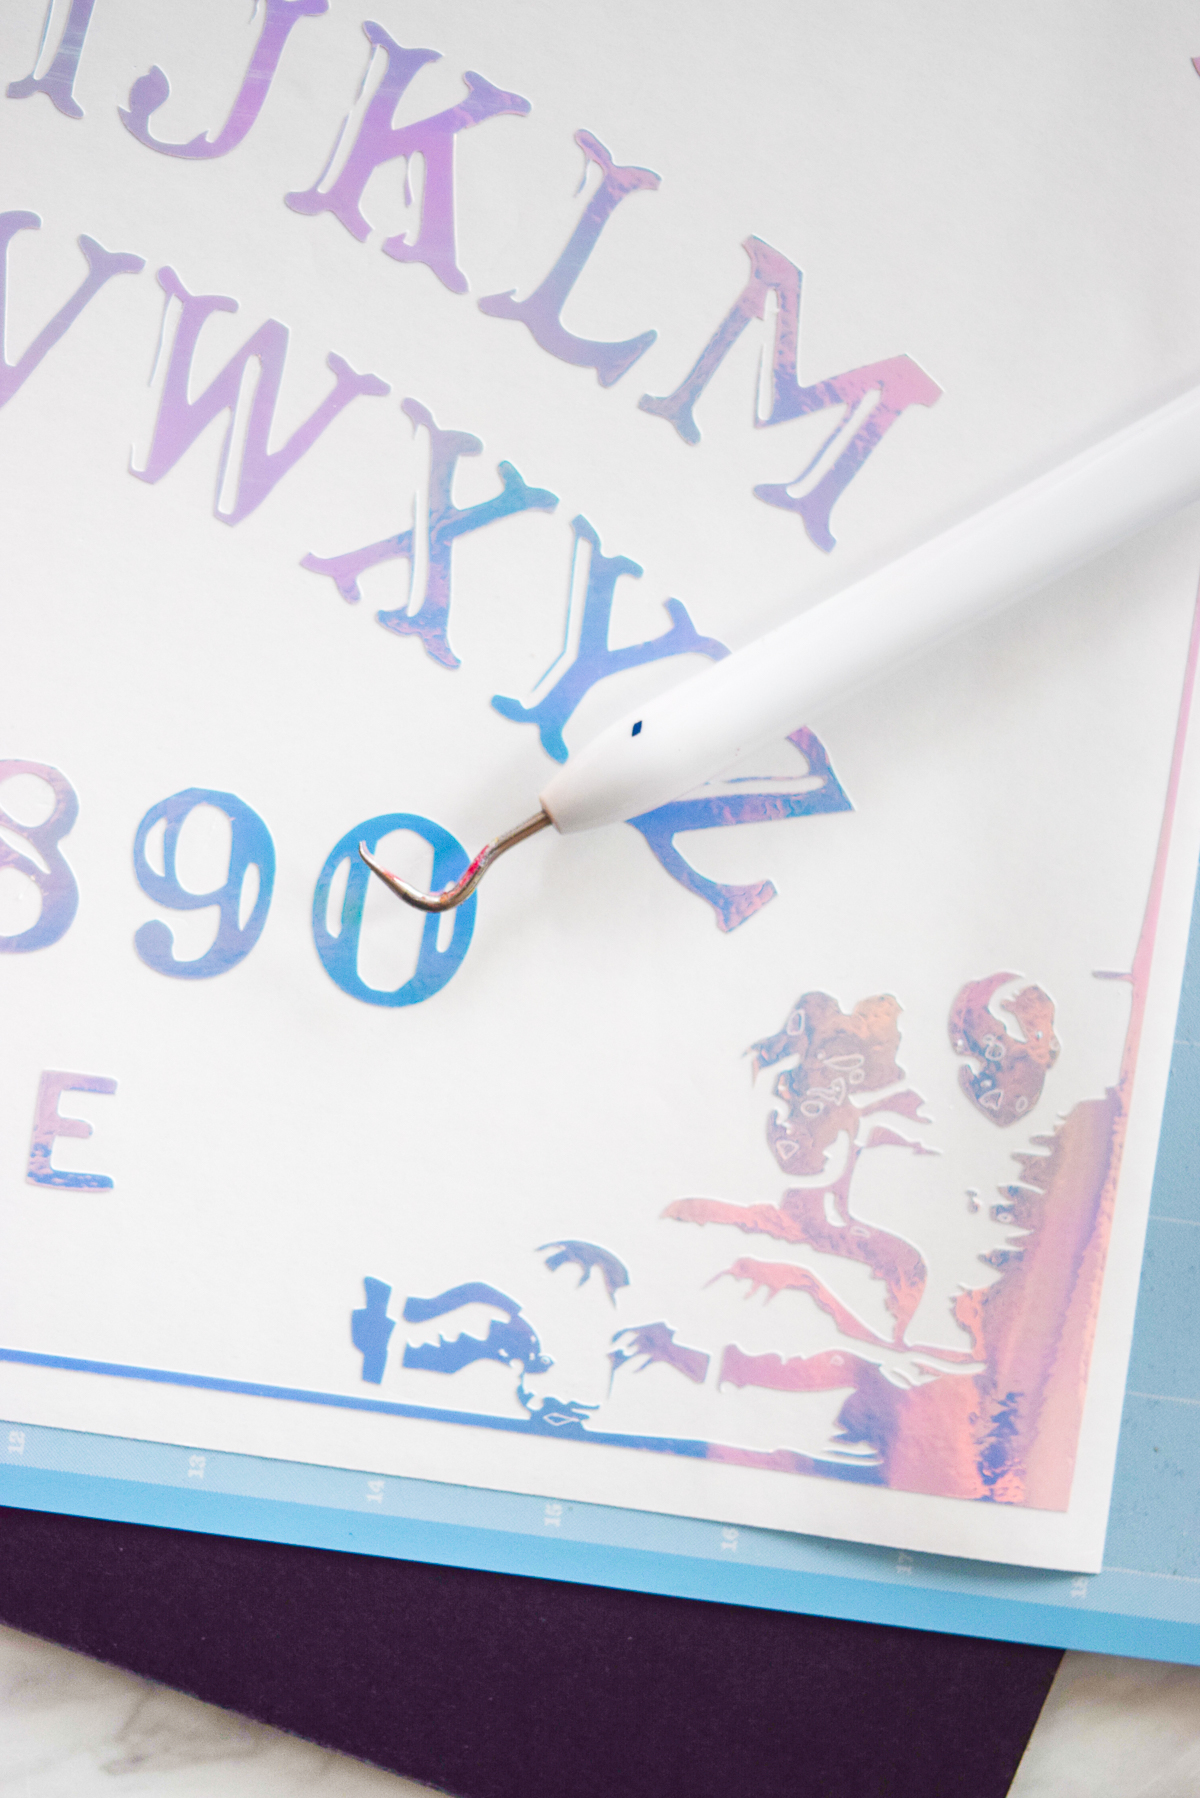
Normally I would use transfer tape to transfer the graphic over to whatever surface I’m applying it to, but I find it really ruins paper surfaces. Applying vinyl to paper is a tricky one, but I’ve found that masking tape is the best way to do it.
I create a giant sheet using strips of it, and then peel it back off the paper before applying it. This part can be time intensive, and if you rush it, you might rip part of the paper. Not to worry though!
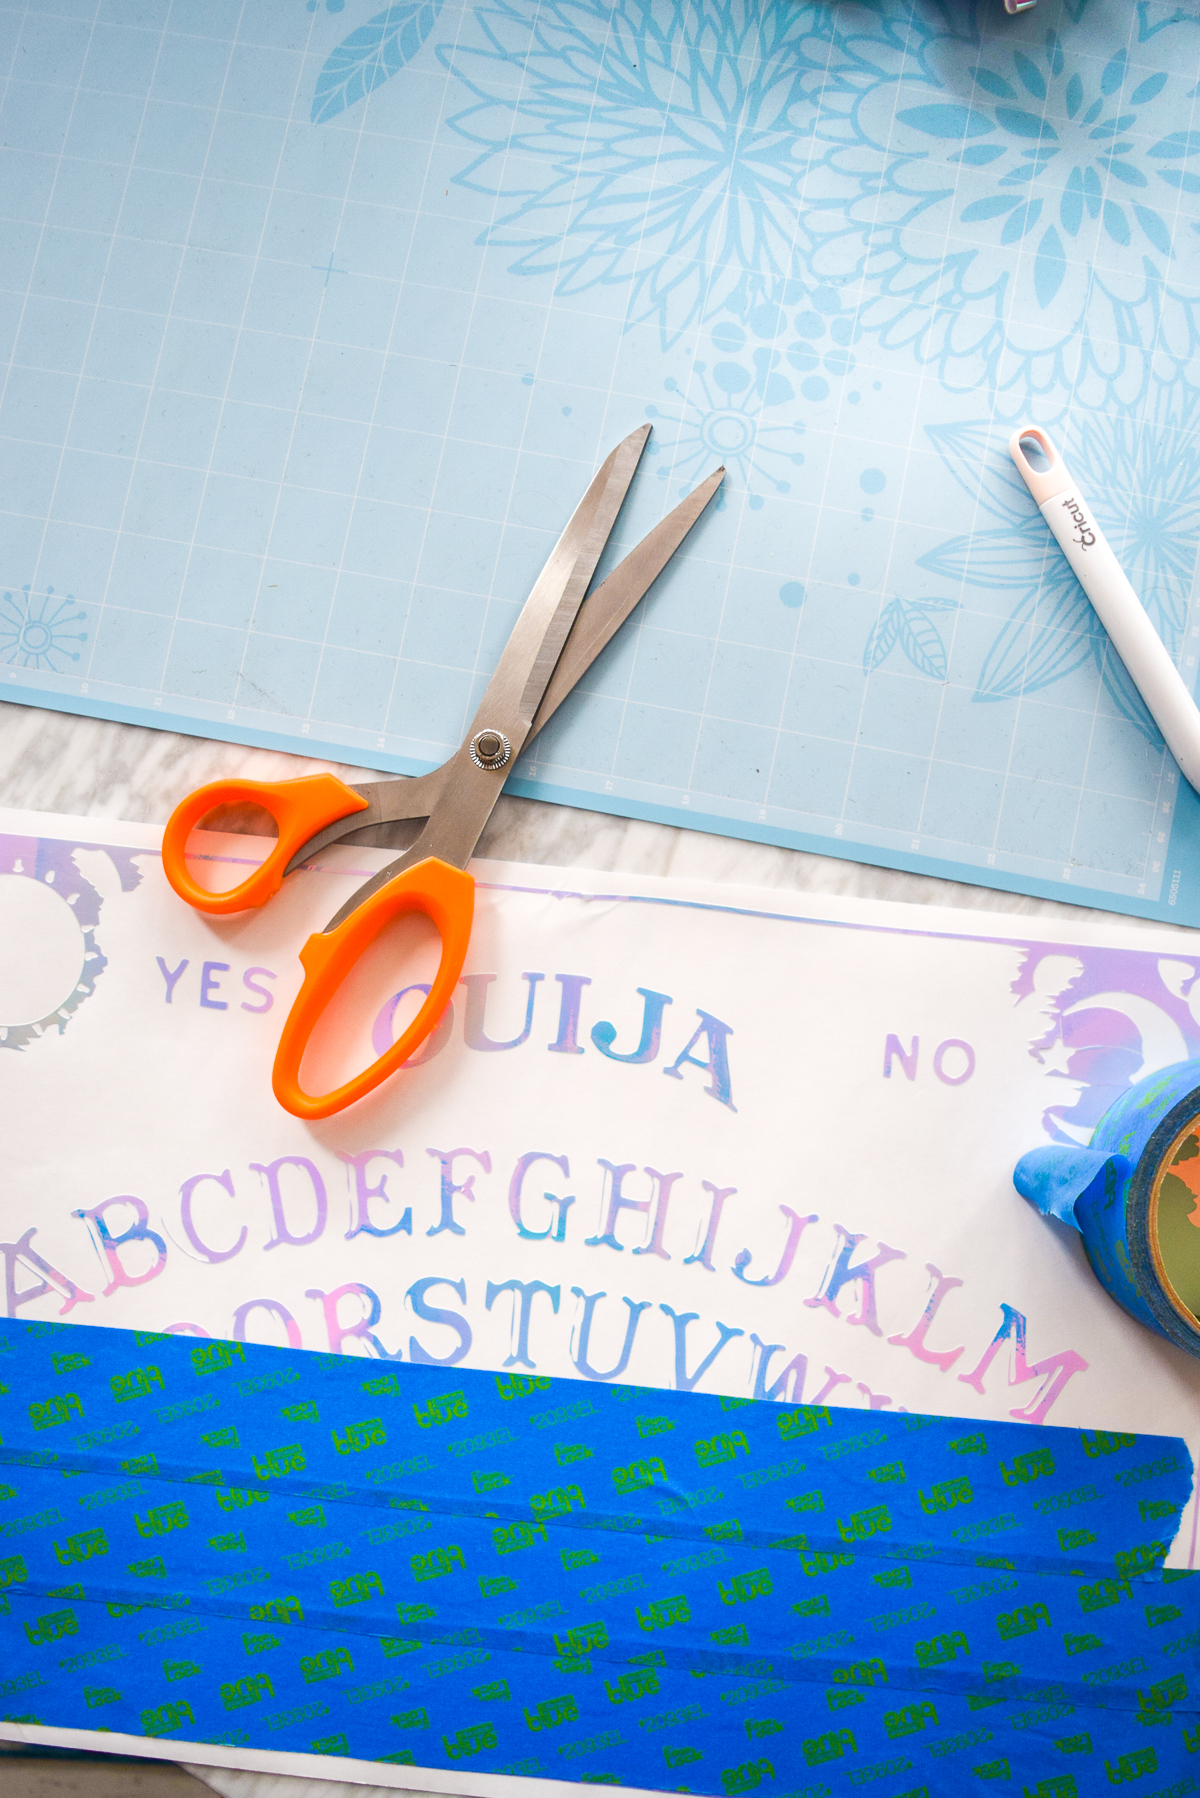
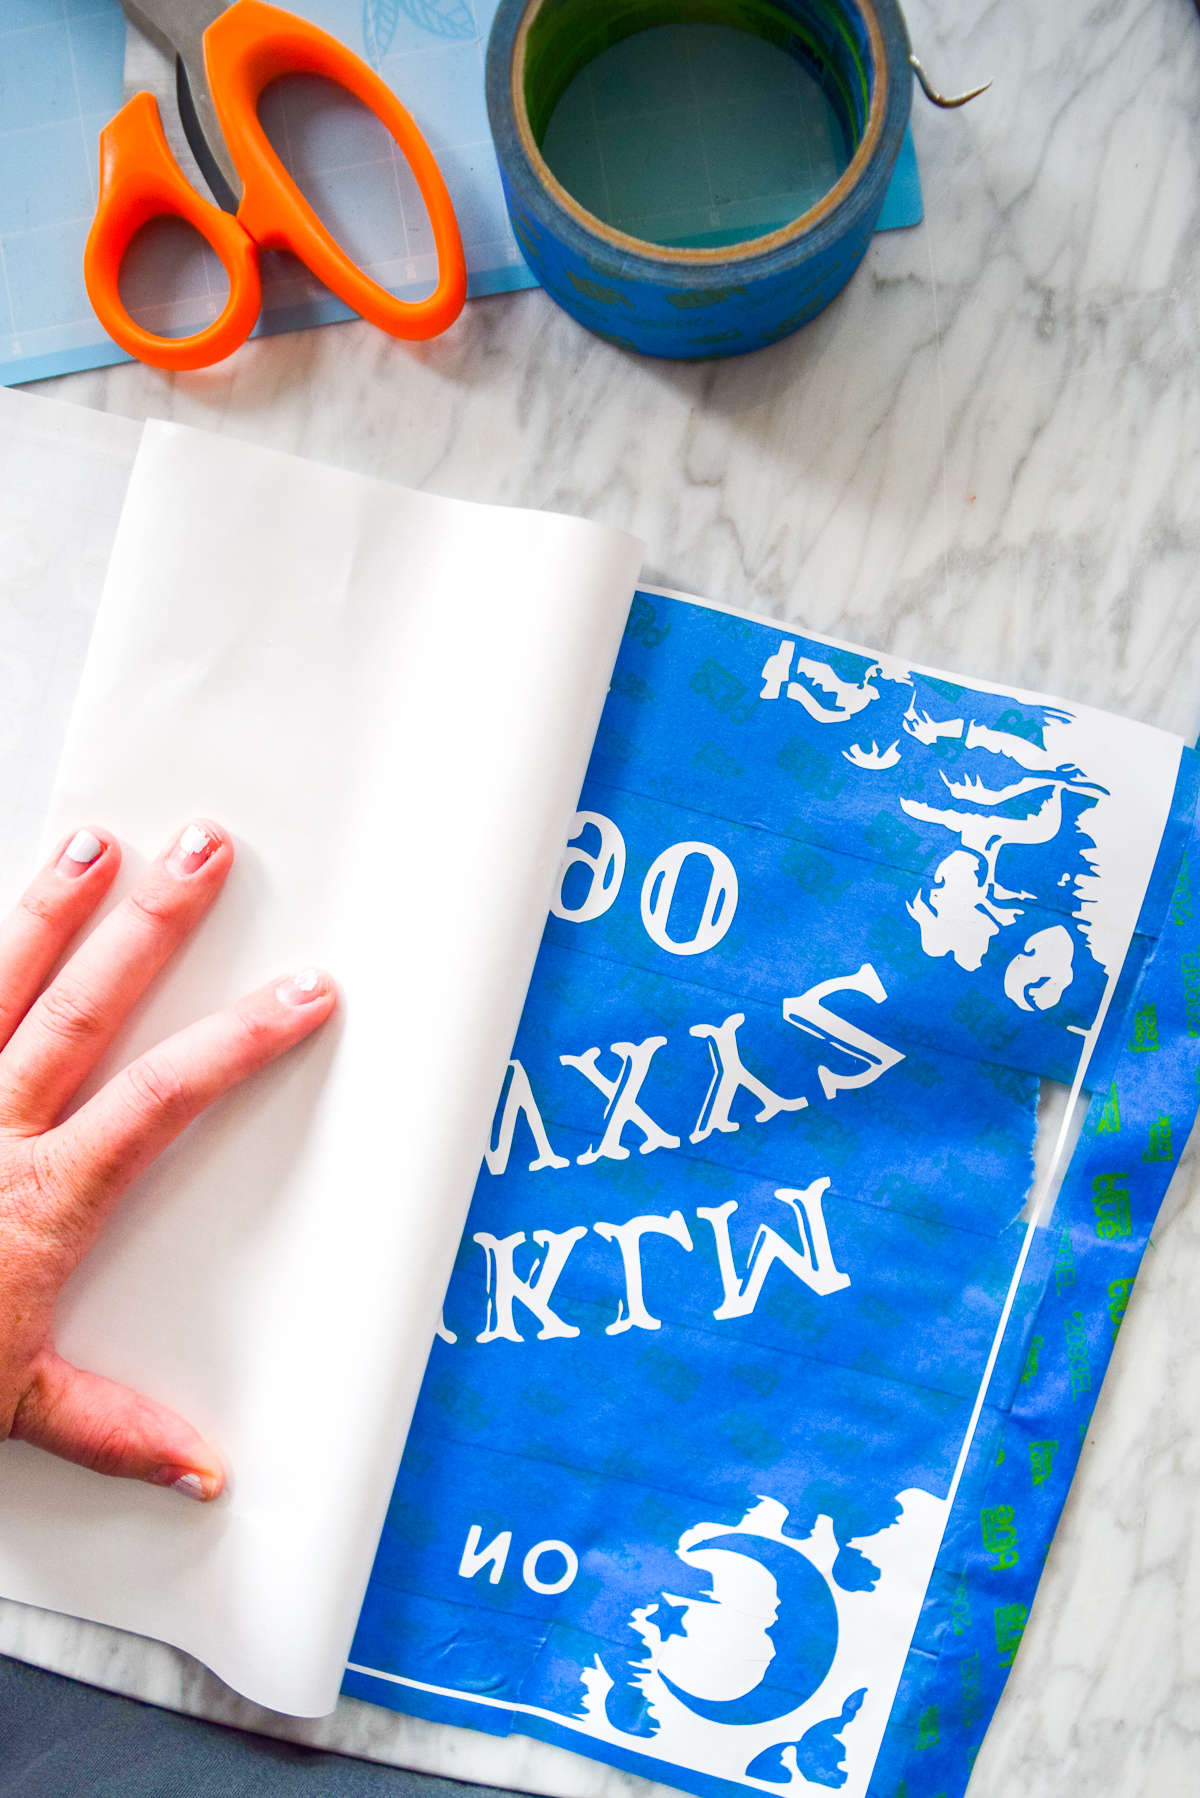
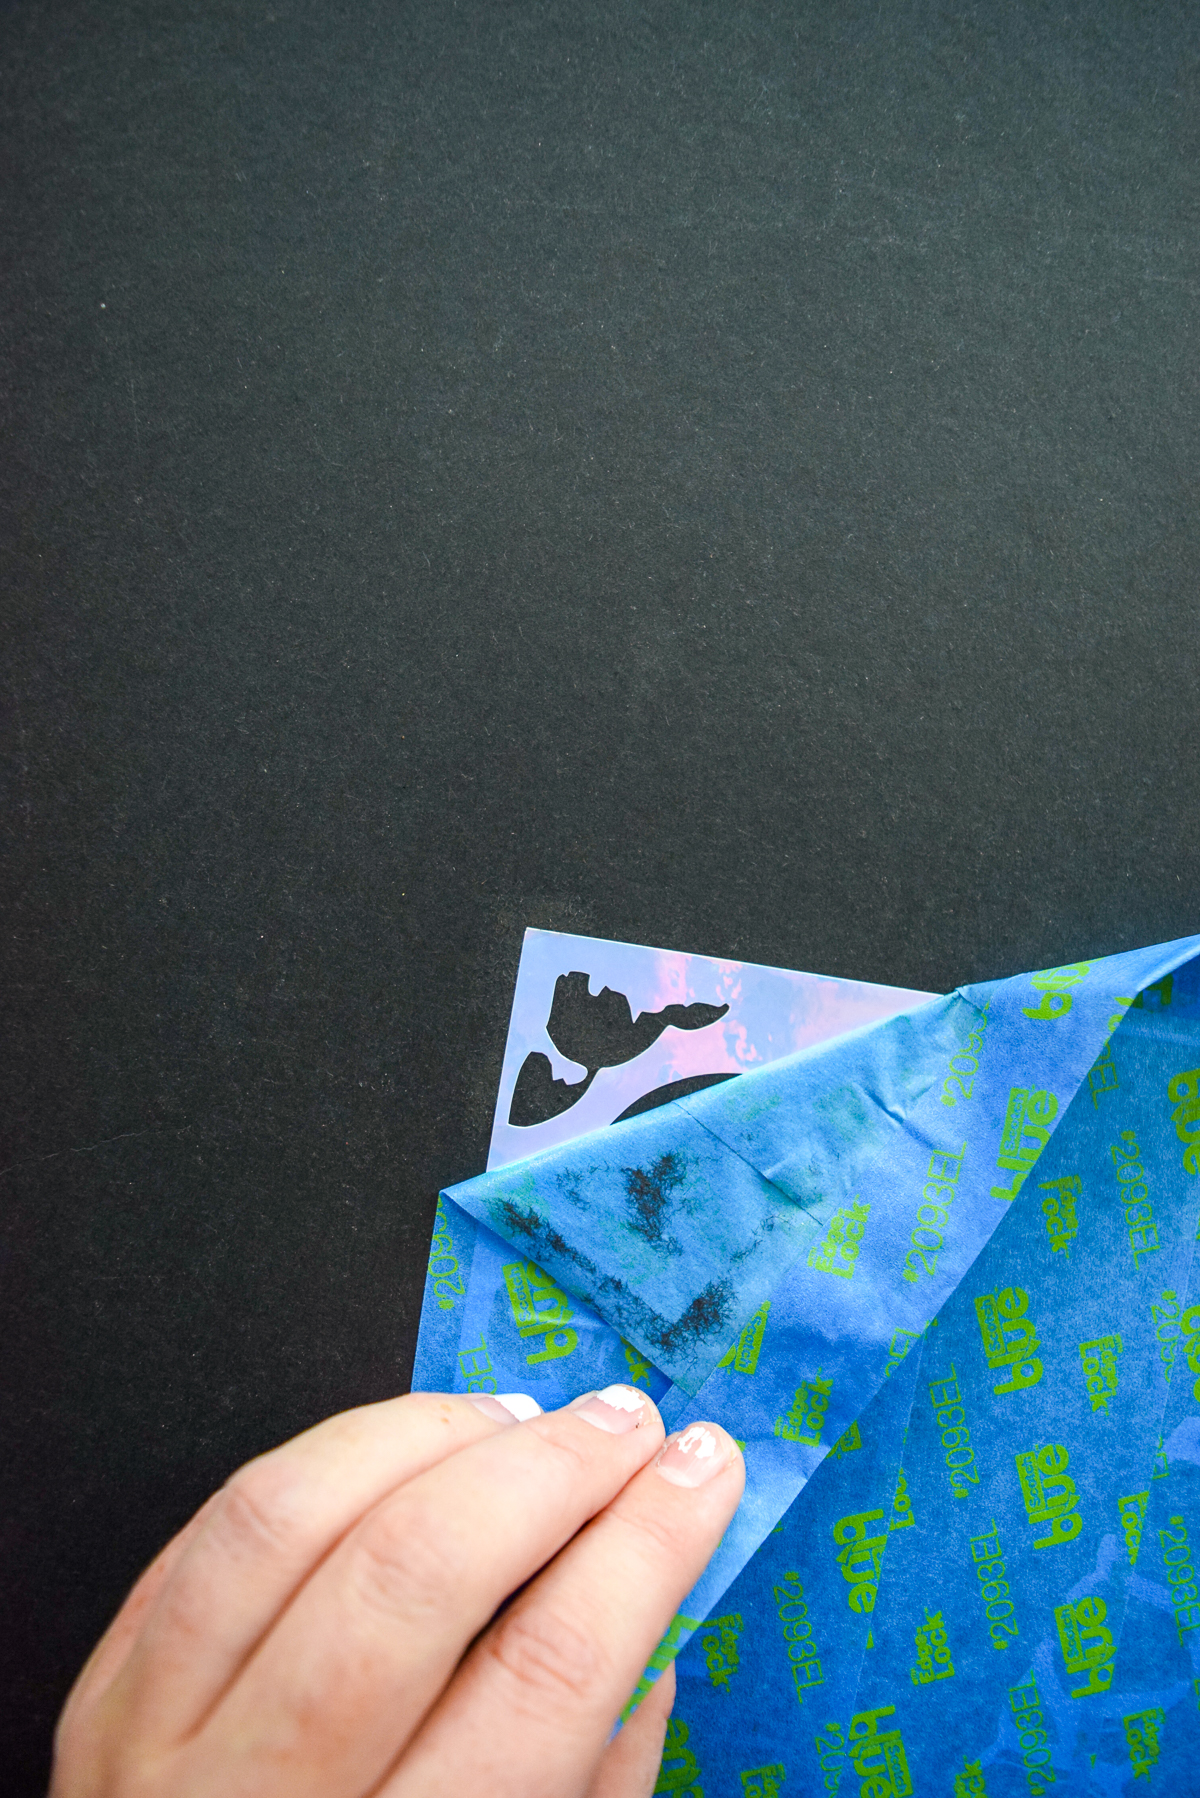
Once it’s transferred, cut it to fit! I just sued some big scissors and gave it a 1″ bleed around the vinyl boarder.
How to make a holographic planchette
For the planchette, I cut a heart out of the black foam core, cut a circle in the middle, and then covered the whole thing in hologprahic vinyl. Easy peasy!
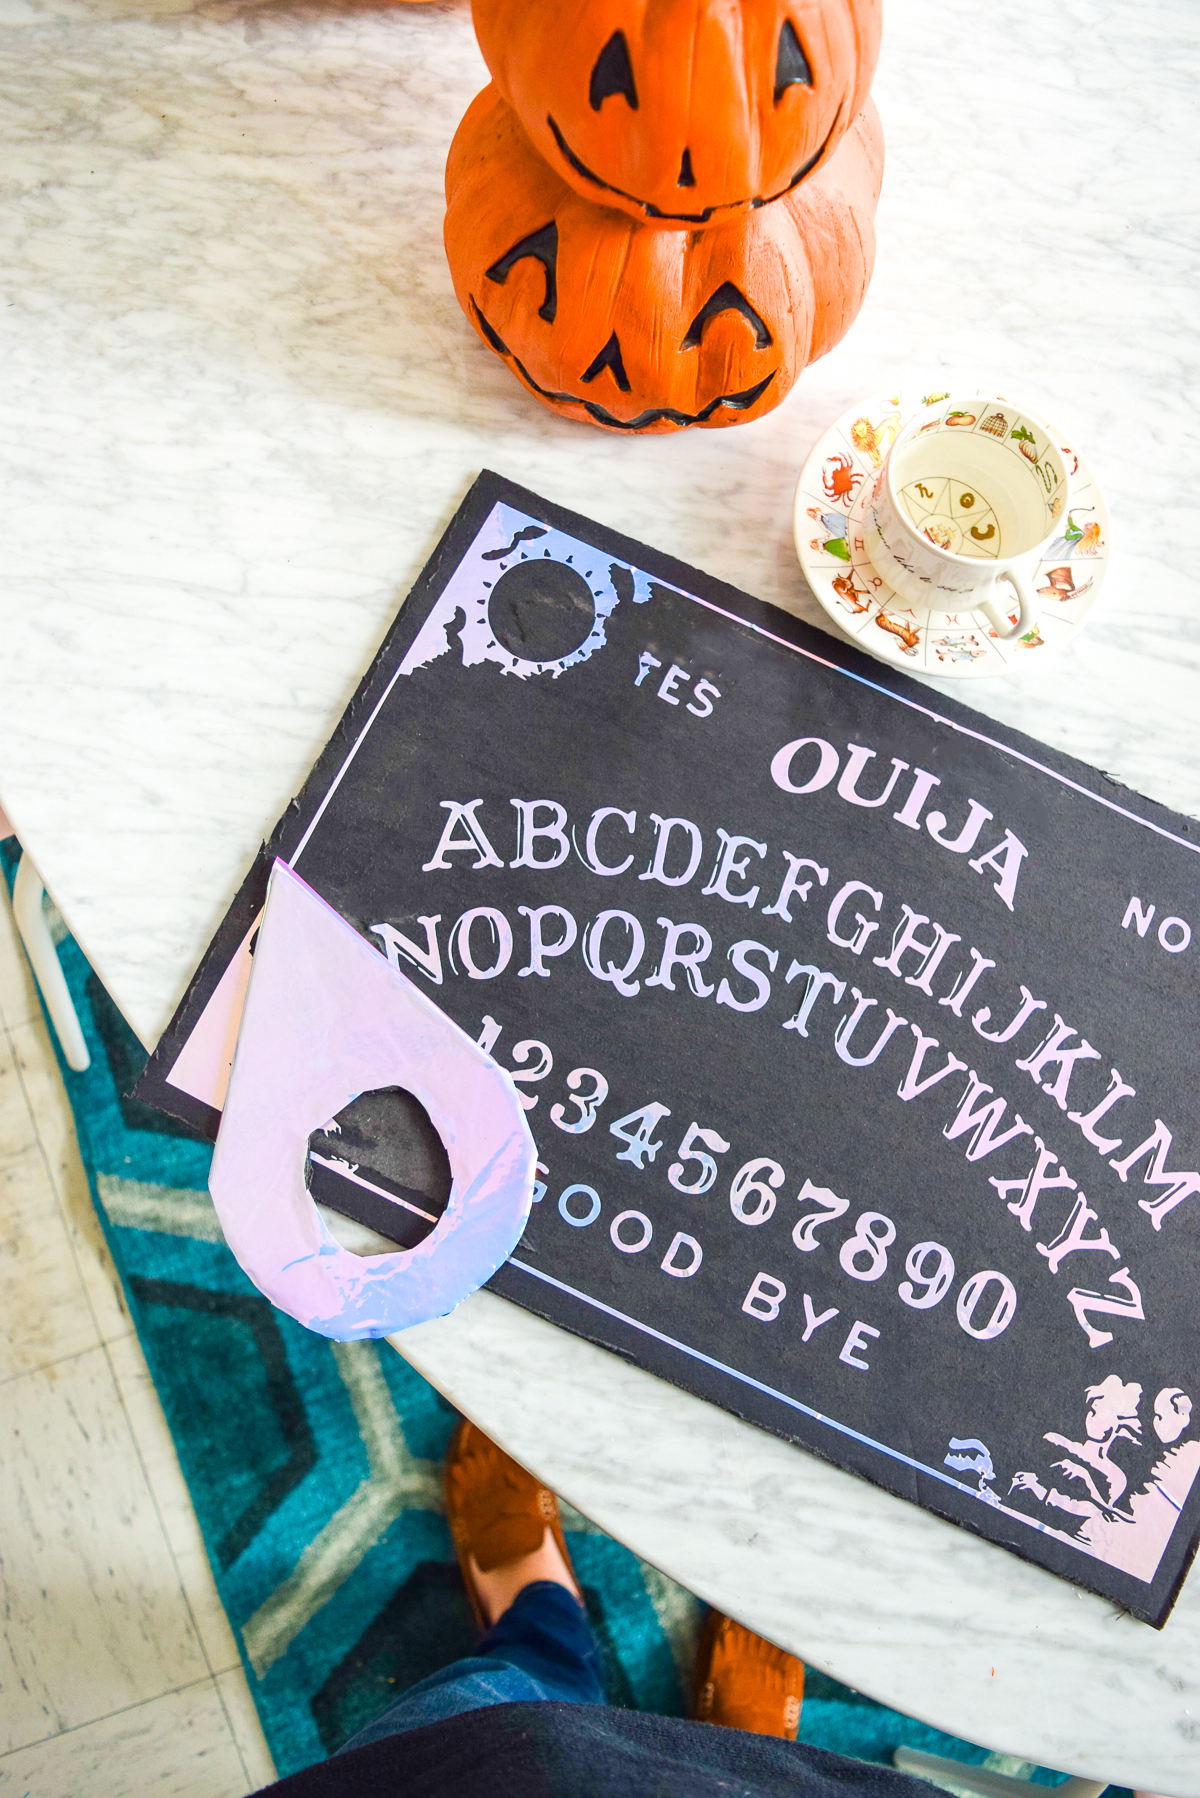


I love this so much!!
Thank you! Such a weird fun project
Your caption on craftgawker made me laugh so I had to check out how you made the ouija board– and if you got in touch with Britney circa 2007 haha. This is such a great idea!
I was hoping it would catch someone 😉