PMQ for two

Bold, Bright and Colourful Home Decor & DIYs

  • HOME
  • ABOUT ME
    • POLICIES
  • BUSINESS BABES
  • PROJECT GALLERY
  • PRESS
  • WHAT IS A PMQ?
    • THE DUPLEX
    • The Row House Tour

Inspired by DIY – Jonathan Adler Vice Jars

August 23, 2016~ Decor, DIY and craft projects

This project has been the single-handed most complicated and labour intensive DIY I’ve ever done, and I nearly gave up like twice. Who would have thought that the Jonathan Adler Vice Jars would have caused my near downfall?! There’s a reason this month’s Inspired by DIY series is a week-late; no one could get their project to stick in time, so we gave ourselves a grace period after a very exhaustive and frustrated discussion on Facebook. But hey, five of us we made it, and so did the projects.

P.S. the Inspired by DIY series wouldn’t be possible without the amazing and talented Jess from Domicile 37 – so if you like what I’m doing, you’ll love what she’s doing.
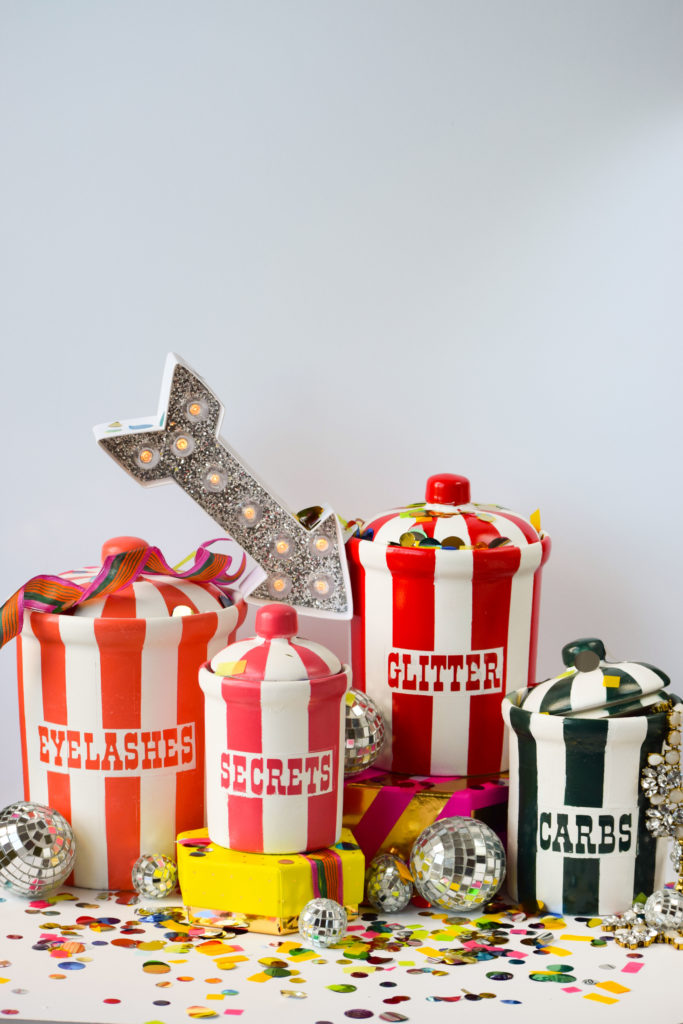
copycat jonathan adler vice jars

This project was supposed to be easy as pie. I was going to knock-it out of the park in an afternoon using some spray paint and vinyl. Wrong.

Let me tell you about my mistakes:

I had originally planned on just spraying the jars, and then adding the stripes and words in some vinyl I had leftover from my Vinyl Otomi Chargers, but then it all went to hell with the first coat of spray paint.

*** Spray paint and regular spray-on primer will not stick to glazed ceramics. I should have  known this.***

Like an ass, I persevered and kept spraying coats of it onto the jars in the hopes that it would stop running and actually stick. Next layer right? Mistake no 2.

After realizing this wasn’t going to work, I should have put the jars aside and called it quits for the day. Instead I tried applying the vinyl to see if I could put lipstick on a pig. Nope. It’s still a pig.

That’s when I knew I wasn’t going to  make the deadline. Instead, I did some research and realized it was all because of the wrong primer. I should have been using something meant for tile. I wasn’t wholly surprised when the Zinser 1-2-3 spray primer was the answer. That stuff has been my secret weapon for some tough to paint projects like my IKEA nightstand // and my // patio umbrella.// I swear, the stuff is like magic.

After spending two million years an hour scraping the spray paint off the jars the next day in the kitchen sink, I got down to the business of properly doing this craft.

Materials

  • 1 can of Zinser 1-2-3 spray primer
  • 4 colours of spray paint in complimentary colours
  • 1 roll of Frog Tape – I mention them by brand, because you want that tight and clean line. Trust.
  • Ziplock bags
  • Circuit Machine (or other cutting machine)
  • Old Tyme Font installed on your computer
  • Vinyl for stencil (scraps will do since we’re spraying over it anyway)
  • 3 oz of patience and enough gas to make it to Home Depot 4x

Step 1: Clean and dry your jars.  I snagged the set of jars at Value Village for 4.99$ + tax. They were exactly what I was looking for, if a little dirty.
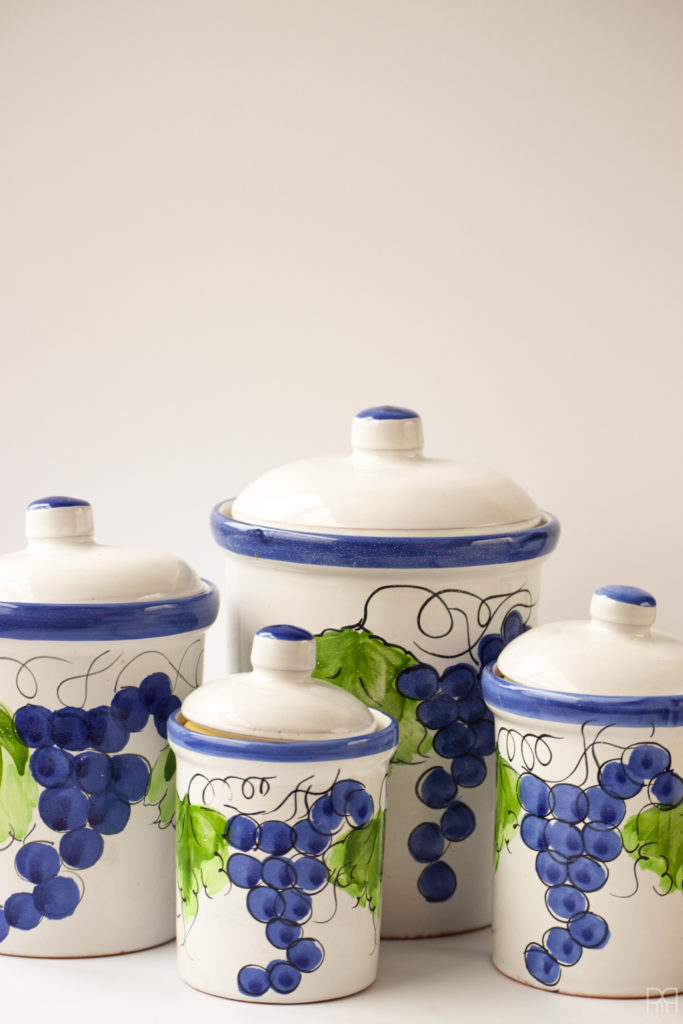
grapevine kitchen cannisters

Step 2: Prime your jars and lids with the Zinser primer. Once they’re dry, spray-paint them a high-gloss white spray paint.

Step 3: Once dry, using a 1 inch tape, alternate vertical stripes along the jars and lids. You’ll be spray-painting the exposed area in your selected colours.
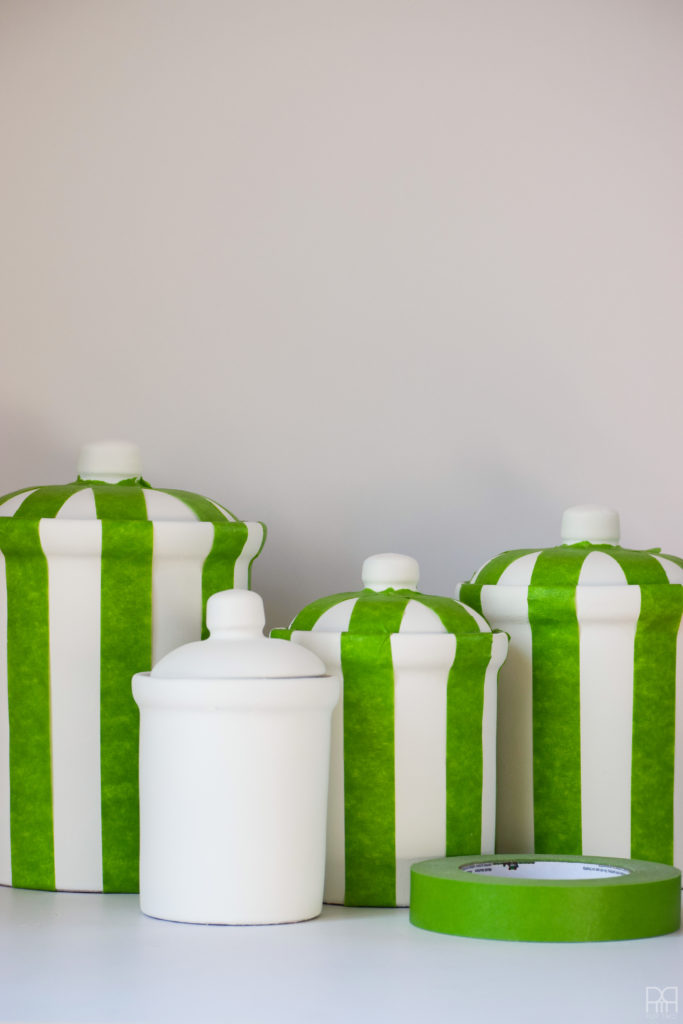
tapped striped jars

Step 4: Spray paint each jar in its own colour. I chose coral, pink, red, and forest green.

As always, spray about 20-25cm away from your target and use controlled bursts in a sweeping motion. You’ll find you have better control over the paint and it won’t pool and drip down. You see that when you hold the can too close and are just letting’er rip.
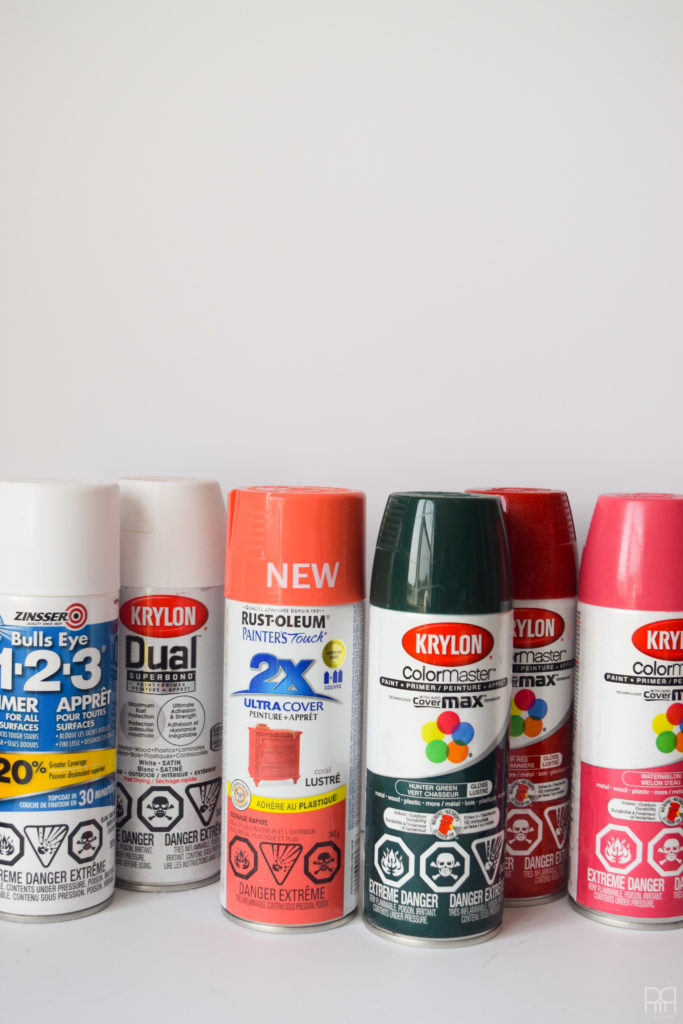
spray paint cans

Step 5: Tape off the area where you’ll put the wording. I was trying to get it centered on the jar, but you can see on some of them that I aimed a little too high or a little too low.

I waited a full day for the paint to be dry before putting tape down so that it wouldn’t pull it all up.  To help protect the rest of the jar that’s not being spray painted white (since there are already stripes), tape a ziplock bag along the edge of where your stencil goes. The plastic will protect the area well.

Step 6: Once the freshly painted white area is dry, apply your vinyl stencil. I chose vinyl because it would provide an air-tight seal for the spray paint in the lettering. Make sure you wait at least an hour before pealing it off, otherwise you might pull the freshly applied paint with it.

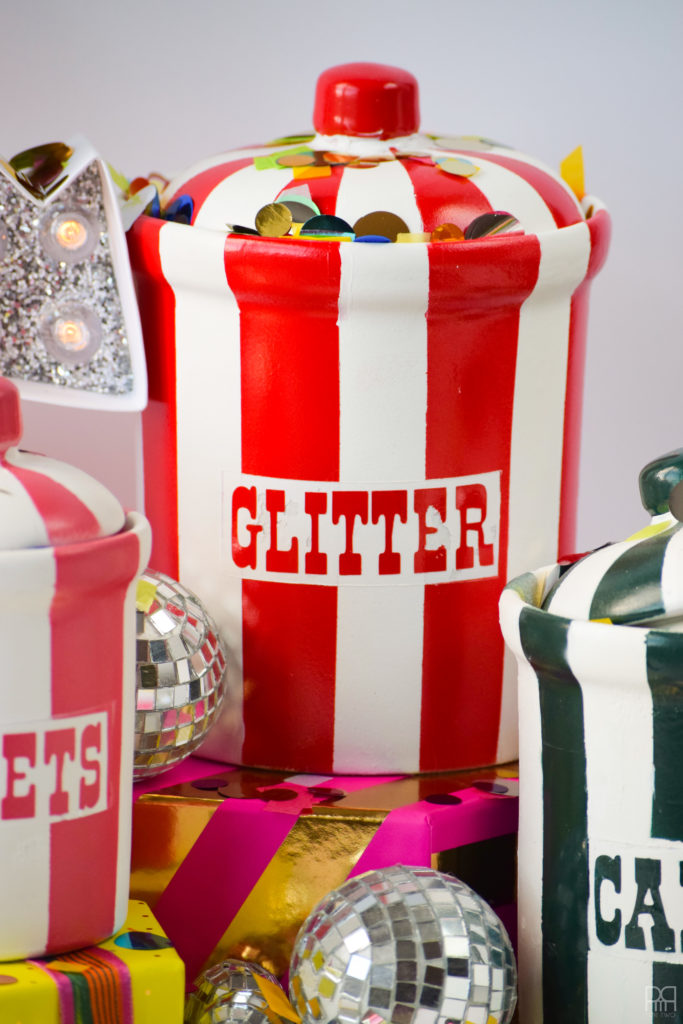
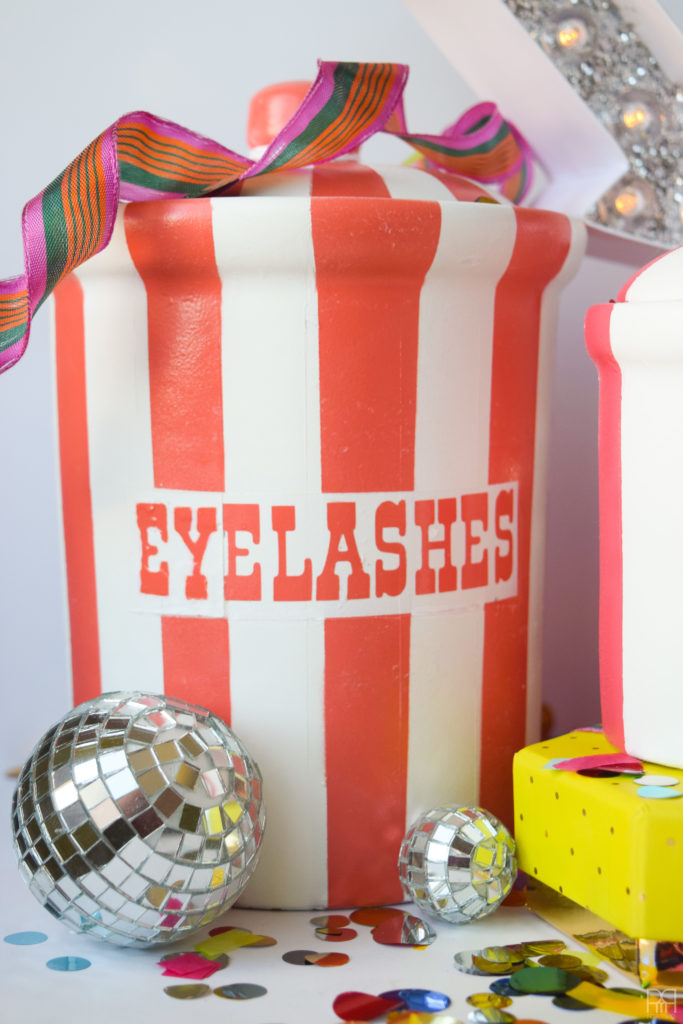
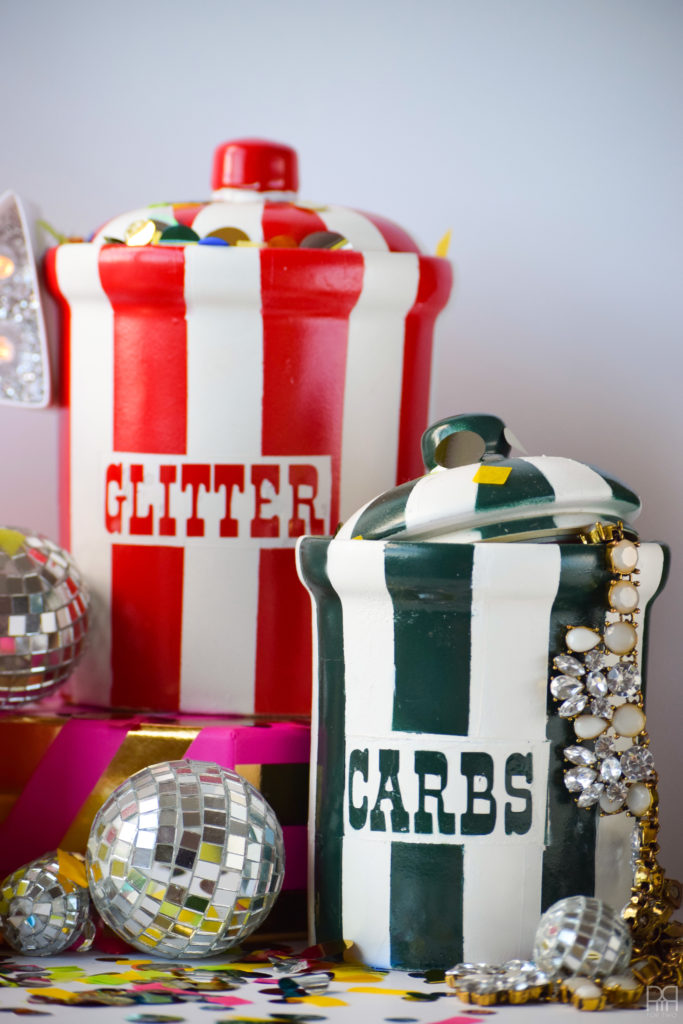
It appears Jonathan Adler has a long list of vices (uppers, downers, Viagra, glitter, eyelashes, carbs, white lies, fibs, secrets), but I chose a couple I thought might be applicable to me 😉
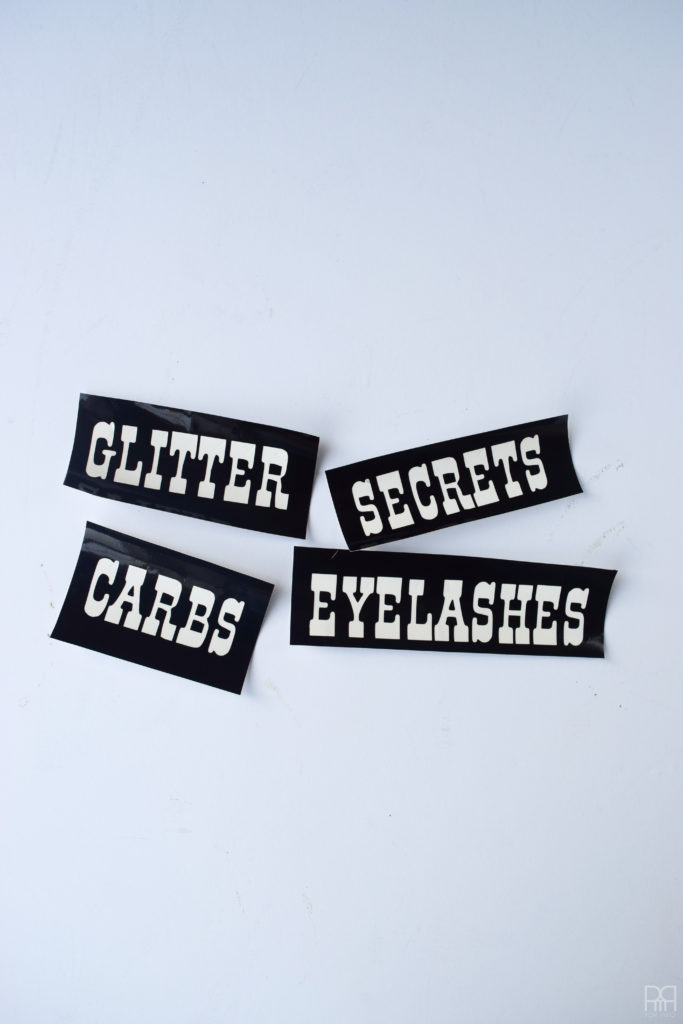
diy vinyl stencils for copycat jonathan adler vice jars

***I did not wait long enough for one of the jars, and when I pulled-up the vinyl stencil it took all the layers of paint with it. Not cool****

Step 7: Do any necessary touch-ups where paint may have bled or if lines aren’t clear. Depending on the quality of tape and vinyl you use, things may bleed a little with all the paint.

Step 8: Enjoy!
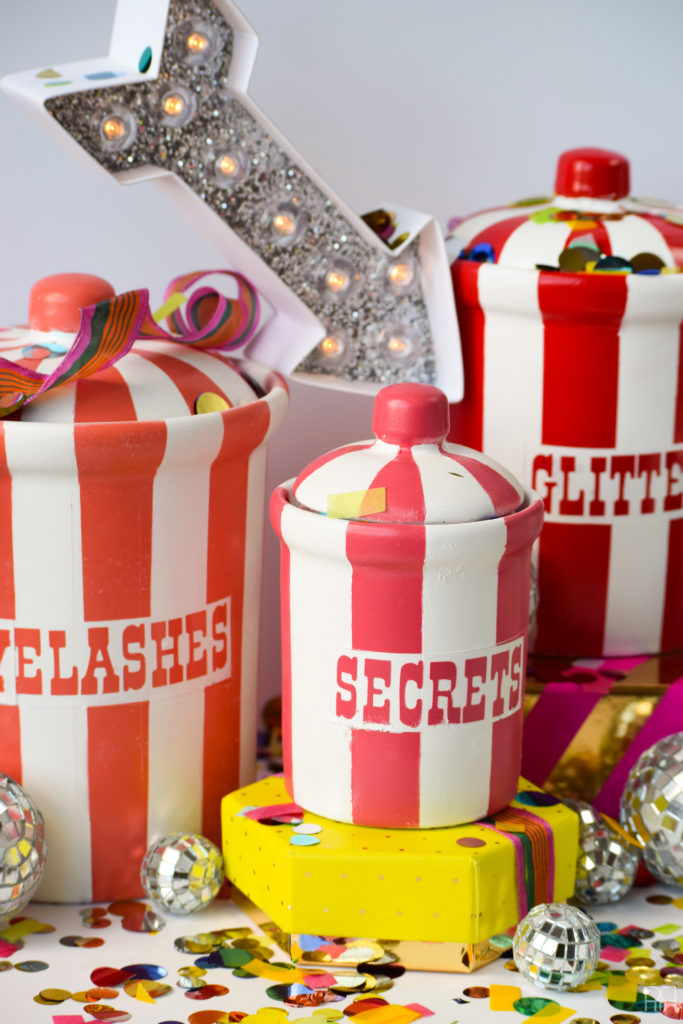
copycat jonathan adler vice jars

red striped glitter jar

close-up of eyelashes vice jar

close-up shot of carbs vice jar

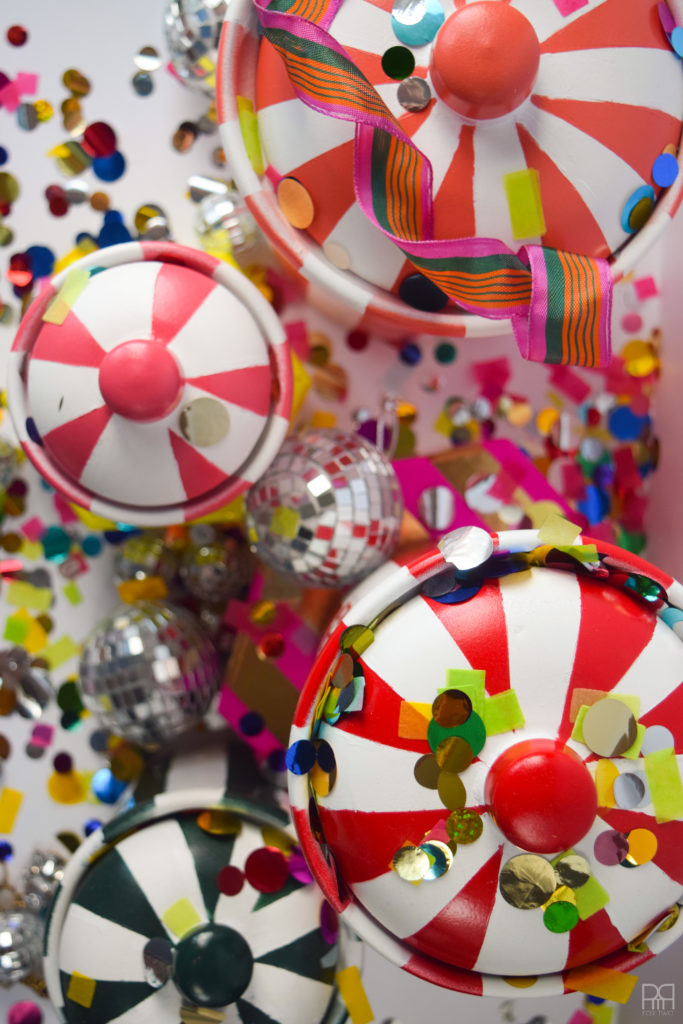
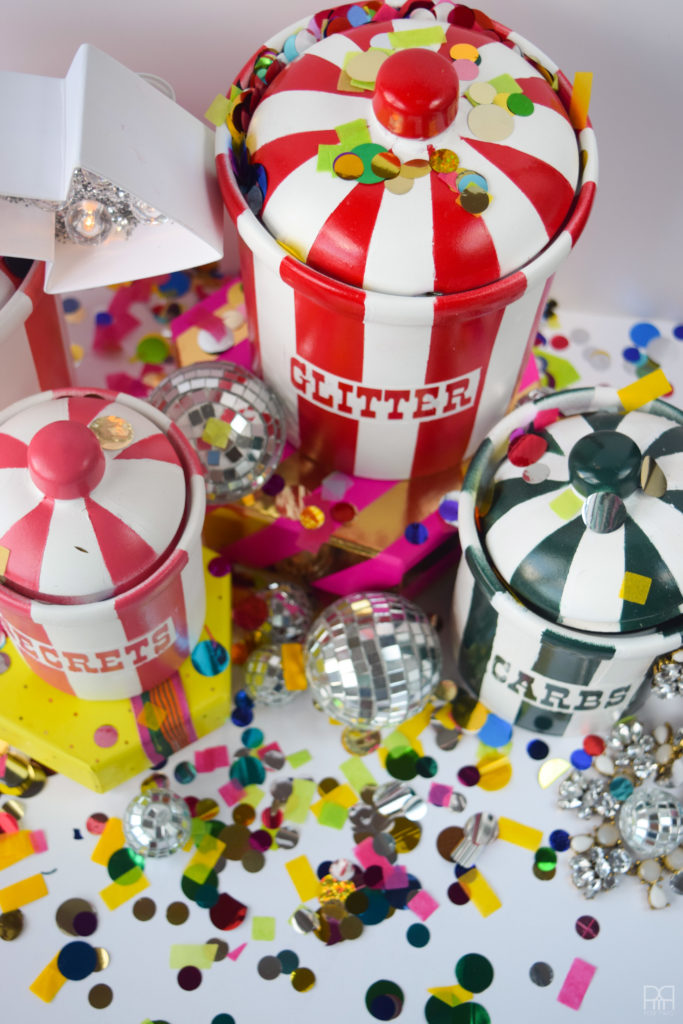
Jonathan Adler vice hars covered in confetti

stripped jars seen from above

vice-jars-2

pin-for-later


PMQ for Two | Maggie Overby Studios | Up to Date Interiors | Sharon Joyce Interiors | Monica Wants It

Want to be in the know and get exclusive content that doesn’t appear on the blog? Join my decor gang! Instead of ninja stars we carry atomic starburst stars.
Get my weekly source list! Sign-up now and join my Decor Gang ????

* indicates required


Email Format

✨Are you signed-up for my new post updates? ✨

* indicates required

Email Format

28 Comments

The Dining Room »
« The Bathroom

Comments

  1. Angela says

    August 23, 2016 at 6:50 am

    Omg your hilarious! Lipstick on a pig!!!! I wish I had the 1- time 2- patience to even attempt this!! This is amazing!!!!

    Reply
    • Ariel says

      August 23, 2016 at 7:26 am

      aha! ???????????? Can you tell I had none of those to spare by the end?

      Reply
  2. cassie @ primitive & proper says

    August 23, 2016 at 7:24 am

    after all of that, they really came out incredibly! such a great idea!

    Reply
    • Ariel says

      August 23, 2016 at 7:26 am

      I know right?! Thanks Cassie 🙂

      Reply
  3. Maggie @ Maggie Overby Studios says

    August 23, 2016 at 7:55 am

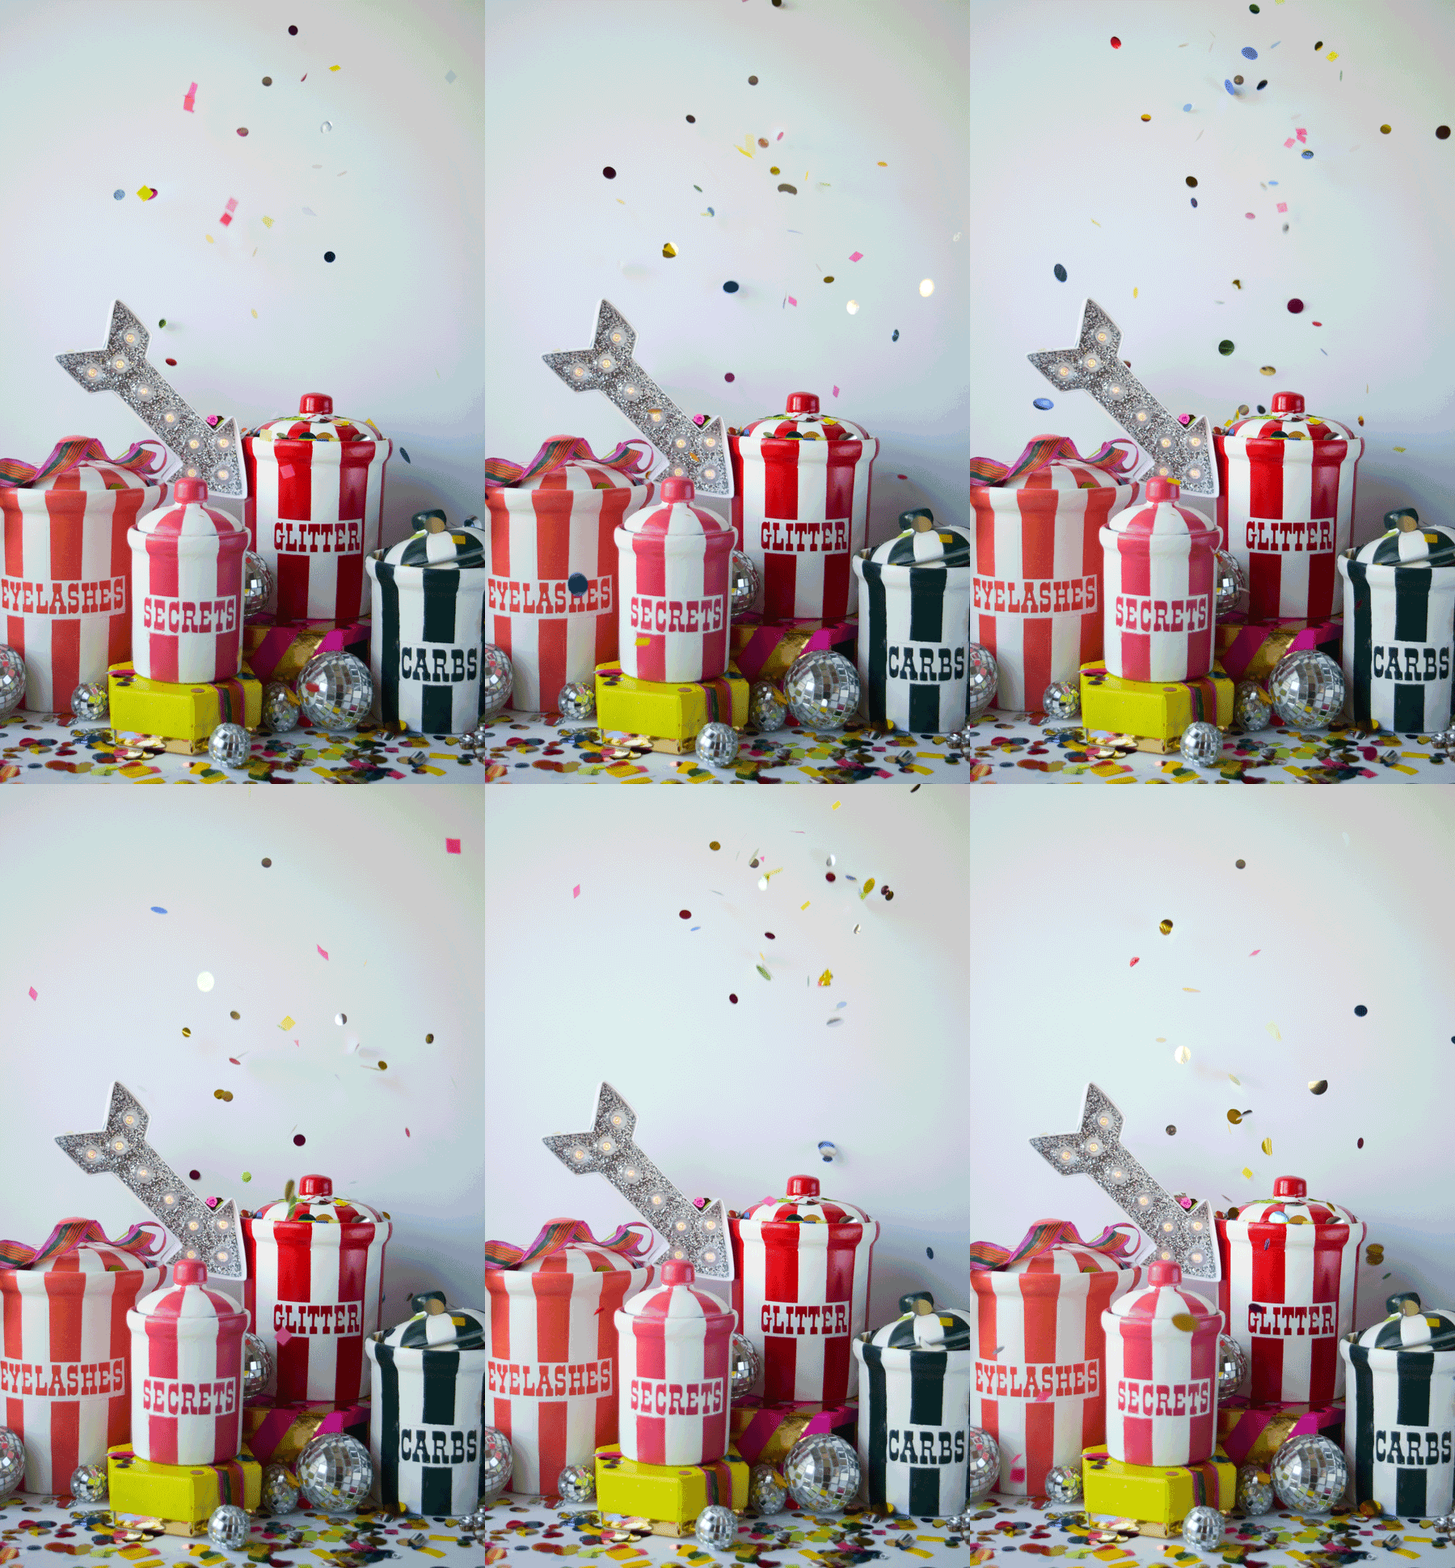
    Totally in love with the glitter gif at the end!!! Glad this one finally came to life, such a cute set!

    Reply
    • Ariel says

      August 23, 2016 at 8:00 am

      Thank you! That’s my first gif too! Feeling super proud of myself if only for that. Finding the matching set of jars was a small victory in and of itself, and then getting them across the finish line to completion was more than I could ask for it seems!

      Reply
  4. Melissa says

    August 23, 2016 at 11:01 am

    Great tip about the primer! I’m constantly spray painting stuff and still would have made the same mistakes. And, I totally need a carb jar.

    Reply
    • Ariel says

      August 28, 2016 at 3:26 pm

      Yes! I don’t know why I didn’t start with that primer. That brand has consistently blown me away with the quality of the product. I should pitch them 😉

      Reply
  5. Eliesa @ Pinterest Addict says

    August 23, 2016 at 11:52 am

    How stinking cute! I can’t believe how awesome they came out. I would have never even thought twice about picking up those before jars!

    Reply
    • Ariel says

      August 23, 2016 at 12:04 pm

      right? Would you believe me if I told you I jumped for joy when I saw them though?! I mean, a set?! Crazy lucky

      Reply
  6. Monica @ MonicaWantsIt.com says

    August 23, 2016 at 6:58 pm

    These are great! I think you did a fabulous job. I had 2 JA fails and gave up and moved onto the feather vase, so good for you for seeing out your vision. 🙂

    Reply
    • Ariel says

      August 28, 2016 at 3:25 pm

      Thanks girl 🙂
      In the space of your two “fails” I think I failed three times and just kept going. Glad we made it through!

      Reply
  7. Tan of Squirrelly Minds says

    August 25, 2016 at 11:24 pm

    Woah you took some nasty looking jars and made them look SO FLY!
    And yeah, I’m awfully impatient with spray paint and always layer too much.

    Reply
    • Ariel says

      August 28, 2016 at 3:24 pm

      They were pretty gunky. They smelled like uncooked pasta and nicotine. Such a great combo!
      Spray paint is my friend just as much as my nemesis. Now that we’ve got a designated spray area in our garage things are doing better though 😉

      Reply
  8. Kathy says

    August 30, 2016 at 5:51 pm

    I’m going to have to remember that primer! I’ve painted glazed pieces before and the paint just peeled off. EEK. Love how your jars turned out and your styling is so festive!!

    Reply
  9. Joann @ Woman In Real Life says

    August 31, 2016 at 7:38 pm

    This sounds like it was very frustrating (and I remember when you were working on it on Snapchat). But the end result is total fab and I love the way you styled the jars! So inventive.

    Reply
    • Ariel says

      September 1, 2016 at 4:03 pm

      That’s why I love snapchat! I can share my frustrations with people in real time ???? I agree! The end result was worth it

      Reply
  10. Arielle says

    September 10, 2016 at 8:55 am

    They turned out so well! I feel like I may JUST be able to convince myself I have the patience to make myself a few…

    Reply
    • Ariel says

      September 10, 2016 at 9:10 am

      if you start out with the right primer half the battle is won! All my frustration was born from trying to get a good base onto them. Thanks for the compliments though 🙂

      Reply
  11. claire says

    March 13, 2017 at 12:38 pm

    Love what you have done here. what a great upcycle.

    Reply
    • Ariel says

      March 14, 2017 at 12:17 pm

      Thank you 🙂 I couldn’t agree more! I saw them in the store and thought they were perfect!

      Reply
  12. Victoria says

    February 7, 2019 at 10:10 pm

    I love! I will more than likely make
    Muself a set of these. O saw the original adlers and just couldn’t get past the words on them. Being able to pick my own words or phrases would make these just perfect. Thanks for the inspo and taking one for the team on working the kinks out of this diy.

    Reply
    • Ariel says

      February 9, 2019 at 12:39 pm

      Anytime! I felt the same way, and this way I have a bit more control over the colour palette

      Reply

Trackbacks

  1. My Home Style: Before & After - The Master Bedroom • A PMQ for two (and three pets) says:
    September 14, 2016 at 8:01 am

    […] 1 // 2 // 3 // 4 // 5 […]

    Reply
  2. Renter Friendly Bathroom Reveal • PMQ for two says:
    January 1, 2018 at 10:50 am

    […] thought my DIY Jonathan Adler inspired Vice Jars // here // complemented the colours in this print from Minted. Enliven by Melanie Severin // here // is a […]

    Reply
  3. DIY Renter Friendly Tiled Wall • PMQ for two says:
    January 1, 2018 at 11:32 am

    […] for the ceiling were the hardest thing I’ve had to do. I thought nailing my primer for my // Vice Jars // was tough, but no, this was […]

    Reply
  4. Cinnamon French Toast Coffee Cocktail • PMQ for two says:
    March 4, 2018 at 3:58 pm

    […] my DIY Jonathan Adler Vice Jars? Catch that DIY // here […]

    Reply
  5. DIY Oven Mitts • PMQ for two says:
    May 16, 2019 at 5:56 am

    […] you like my DIY Jonathan Adler Vice Jars? I made them myself a few years ago, and they have held up beautifully! I think I’m finally […]

    Reply

Leave a Reply Cancel reply

Your email address will not be published. Required fields are marked *

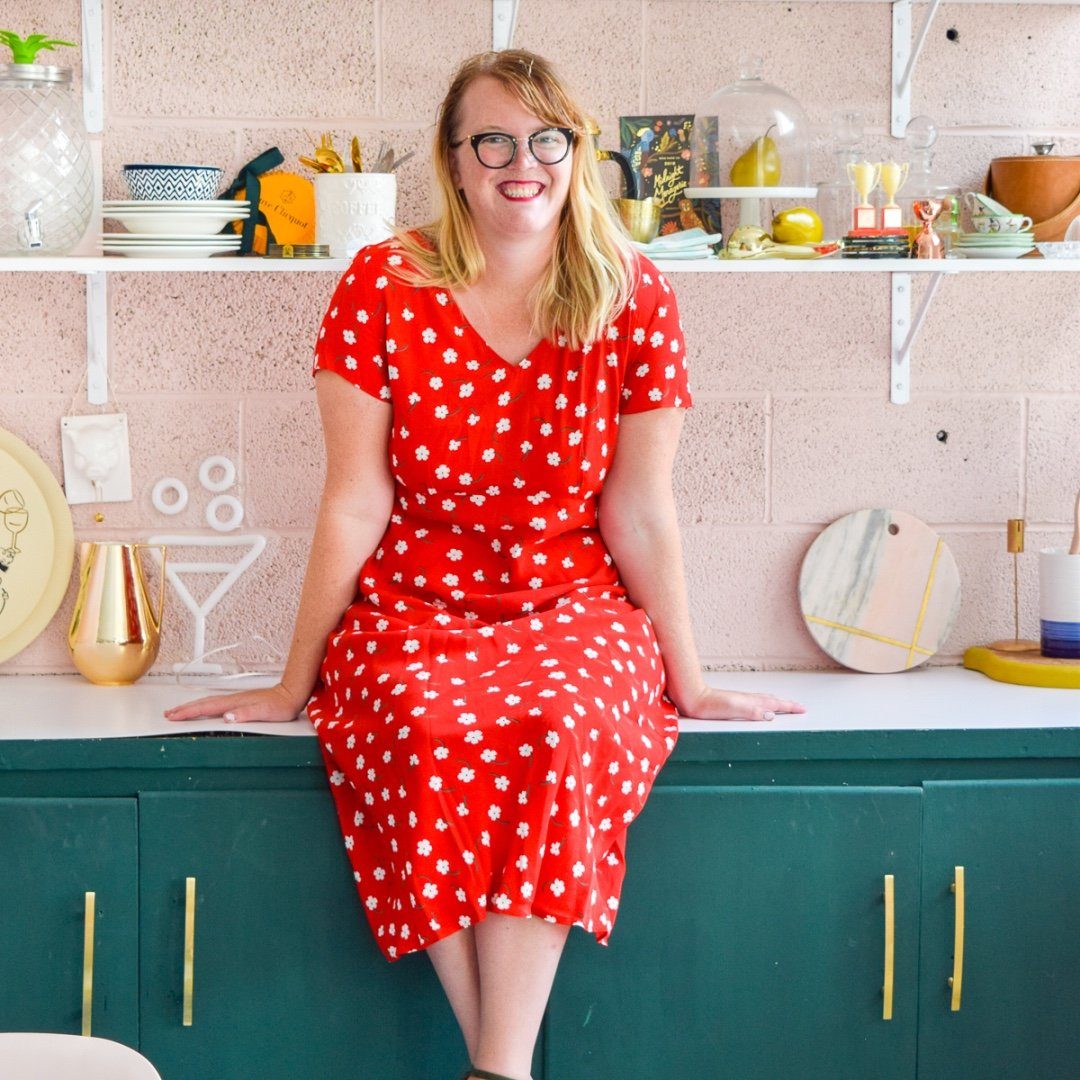
woman in red dress on counter

Hi! My name is Ariel and I'm the voice behind PMQ for two. I create bright, bold, colourful, and eclectic home decor, DIYs and lifestyle content.

  • Bloglovin
  • Facebook
  • Instagram
  • Pinterest
  • Twitter

PMQ for three

Time For A Cocktail

pmqfortwo

Ariel - PMQ for two
I am this week’s feature on the @littleyellowcou I am this week’s feature on the @littleyellowcouch podcast and I gotta say - FAN 👏🏻 GIRL 👏🏻 MOMENT. I had been listening since there were 2 hosts, and really got into it when I went full time with the blog during our first year posted to Gagetown. I found my colourful voice, and started making things like this beautiful glossy blue sideboard. 
There wasn’t really anyone else doing “colour” my way in the decor space at that time (everything was white farmhouse). And while there are definitely many more who do it now (and who do it better!), I’ll never forget the freedom I felt when no one was watching what I did. It has been so incredibly bittersweet watching new accounts lap me in a matter of months (and oh so humbling), but I like to think I’m exactly where I need to be. 
My growth has been slow by today’s standards, and I’m ok with it. I still get to do what I love. 
So, if you’ve been following me since then, the very beginning, or last week - stick around! Let’s see what the next stage is like. 
•
•
•
#eclecticdecor #eclectichome #eclectichomedecor #eclectichomemix #sodomino #hgtvcanada #hgtvmagazine #apartmenttherapy #behrpaint #upcycledfurniture #thriftedhome
Y’all Après Ski is a mood,and it is the spirit Y’all Après Ski is a mood,and it is the spirit with which I decorate for winter. Cozy furry things? ✅ Champagne ✅  Oversized sunglasses? ✅ hot cocoa with homemade marshmallows? ✅ a roaring fire? ✅  what’s on your chilly winter must list?
•
•
•
#apreski #apresski #winterwonderland #winterdecor #winterdecorating #winterdecoration #glamdecor #vintageski #skichalet #bhghowiholiday #vintageholiday #vintageaesthetic #eclecticdecor #eclectichome #cozyvibes #cozyhome
JB’s Montessori playroom is looking pretty good, JB’s Montessori playroom is looking pretty good, especially now that all the Christmas decor is gone. Bear in mind, this is what it looks like before a child has actually had a chance to play in it 😂 
•
•
•
#montessoriathome #montessoritoddler #montessoriinspired #montessoribaby #montessoriplayroom #playroomdecor #playroominspo #playroomideas #bhghome #society6 
#eclectichome #lorenacanals #thrifteddecor
It’s winter. It’s snowing here, and it’s col It’s winter. It’s snowing here, and it’s cold. Time for snowflake shaped tea cup cookie rims, and @jacksonmorgancream in your afternoon tea. ✌🏻🫖🍫
•
•
•
#hyggehome #hyggelife #hyggelifestyle #whiskeygram #teatime☕️ #teatime #afternoonteatime #cocktailsofinstagram #cocktailrecipes #bhgstylemaker #bhgfood #anthropologiehome
I think we’ve all been feeling a little powerles I think we’ve all been feeling a little powerless these days, but @laybabylay made a great point in her stories the other day: you can always do something nice. You can buy the order of the person in line behind you at the drivethru. You can donate to charitable organizations doing things you believe in. You can make a meal for your neighbour who might be having a hard time with lockdown. It’s amazing how much better I feel when I do something nice, and I bet you will too ❤️
•
•
•
#lookforthehelpers #dogoodfeelgood #dogoodthings #colorfullife #colorfulhome #wallpaperdecor #sodomino #mymitzi #bhghome #eclectichomedecor #rugsusa #atomicranch #retrohome
“Life is what happens when you’re busy making “Life is what happens when you’re busy making other plans” - John Lennon. 😎 As a family who moves a lot, we’re ready for a new chapter/ new house, but I’m not sure if I’ll be able to leave all the memories! We brought June home here 😭 she learned to walk here, and said her first words here. I wonder what other “firsts” she’ll have before we move. [pictured, June in a messy kitchen last year]
•
•
•
#babygirl #toddlermomlife #memoriesforlife #lifeiswhathappenstoyouwhileyourebusymakingotherplans #stokketripptrapp #stokke #westcoastkids #behrpaint #wallpaperwednesday #aestheticwallpapers #momlife #mommyandme
We sold the house! ✨ After 2.5 years were moving We sold the house! ✨ After 2.5 years were moving on. No, we’re not posted. We’re just ready for a new adventure! 😎✨ big thanks to our dedicated realtor @ang.ripped.realtor ✨ We’ll be staying local, and can’t wait to share our plans and next steps (once they’re more firm) And yes, the chickens come with us. 
•
•
•
#movingontobetterthings #movinghouse #movinghome #behrpaint #targettswindowsanddoors #atomicranch #houseandhomemag #midcenturymodern #bhghome #bhgstylemaker
Load More... Follow on Instagram

- THEME BY ECLAIR DESIGNS -

Cookies ????

This site uses cookies: Find out more.