


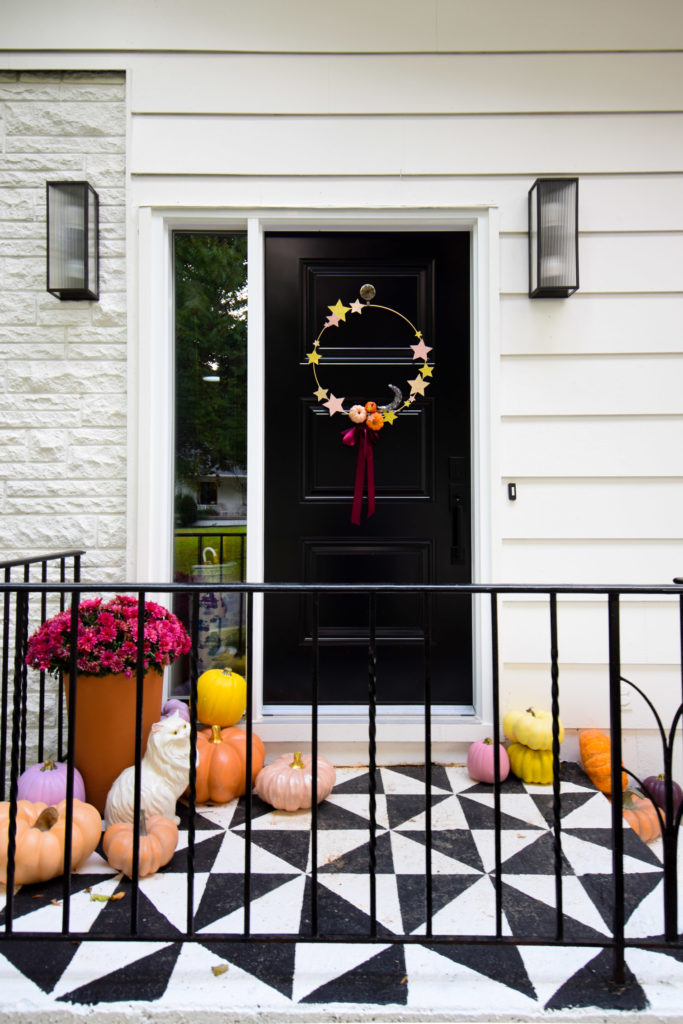
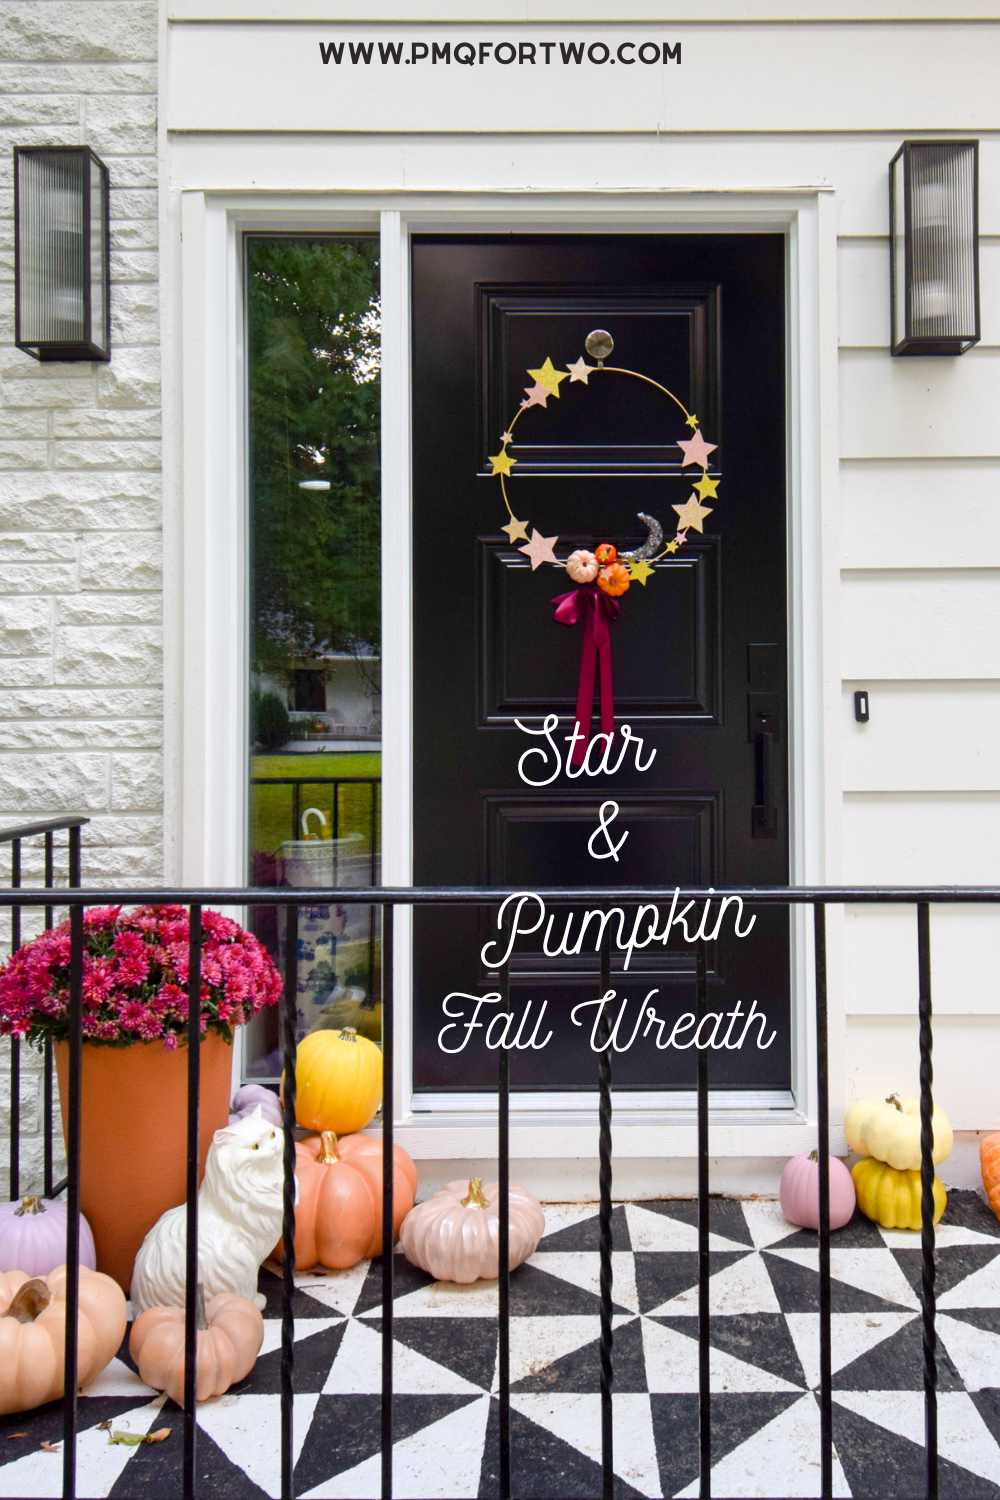
I’m kicking off the first official fall DIY with a wreath! I’ve opted for a slightly less traditional star & pumpkin fall wreath, made using a few simple materials and simple shapes. Stars + pumpkins + a bow, on a hoop.
Check out my previous fall wreath DIYs
I’ve got a video showcasing the whole thing over on my instagram, but I’ve got a few simple steps broken down here.

Every other fall, I’ve had my wreath ready to go on September 1st, but last year I was 5 days into motherhood so I took a pass on it. This year, I was a bit later, but here we are!
I’ve been a huge fan of the fall hoop wreath, and have done two iterations already: the moody fall wreath, and the tassel + floral hoop wreaths. I even did one using pinecones for winter!
What do you need to make the star & pumpkin wreath?
You’ll need a gold hoop, 3 shades of glitter cardstock, a Cricut machine + mat, hot glue, small pumpkins and ribbon. I got all these things at Michael’s, except for the Cricut Joy which I already had.
Check out my DIY nursery sign
I made two wreaths with one small difference: one is for my front door, and the other is for June’s playhouse door. The one on JB’s door has a small pinata moon, while mine has a floral pick moon.


If you don’t want to use a Cricut, you can buy the cardstock and cut it yourself, or buy pre-cut stars from the craft aisle. This was just the easiest way for me to do it.
Assembling your fall wreath
Using the Cricut Design Space, set-up 4 star sizes (varying from small to large) and cut an even number across all the colours you’ve got.
I have 3 colours of glitter cardstock: pink, copper, and gold. So there are 4 different sizes in each colour. I cut about 10 stars in each size per colour. I cut this many because I was planning on 2-3 wreaths. Adjust your quantities based on the number of wreaths you’re making.

I started by gluing my pumpkins to the centre of my wreath, and then just started hot gluing stars! There’s no rhyme or reason to where they went. I went by feel, and I love how it turned-out.
If you’ve been following me for at least 2 falls, you’ve seen me assemble enough wreaths to know that with these things you’re just feeling them out.

Star & Pumpkin Fall Wreath
Like I mentioned above, I made two wreaths: one for my front door and one for JB’s mid century modern playhouse. I hope you like how they both turned-out! Don’t forget to pin the images if you like them.

Don’t we look precious with our matching wreaths!

The one on my front door is obviously much bigger, but JB is getting a kick out of the little tassel on hers.
Are you admiring my snazzy new front door? I wrote an entire post about the process of selecting an exterior door – if you’re curious.


I definitely moved all my pumpkins over to JB’s house for these photos, but it was totally worth it.


