I don’t know about you, but getting back into the groove of things after the break was awkward. I had all too easily settled into a vacation mode and was happy to spend my days reading, watching documentaries and eating donuts. No lies kids, it was grand. I think we’re going to stick with the whole “no travelling over the holidays” thing because it makes life so much easier. That being said, today’s project is one I had hopped to publish last monday, and then last wednesday and then last friday, and then yesterday! It kept getting moved! Not because it was particularly difficult, but because I decided to focus on the more important tasks I had on the go, and wasn’t under the gun of the holiday content calendar. I figured you guys could wait an extra day or two… or 9, to see my first DIY of the year. So without further ado, I present my winter painted pinecone wreath!
*DecoArt sponsored this post, but all thoughts are my own. Thank you for supporting the brands that make PMQ for two possible.
And no, I did not think to hoard a bunch of pinecones this fall. Instead a very generous fellow crafter shared her hoard, like a squirrel with her nuts. If you’re reading, thanks girl!
*The following product links contain affiliate links. Thank you for supporting the brands that make PMQ for two possible. For my full policies click // here //
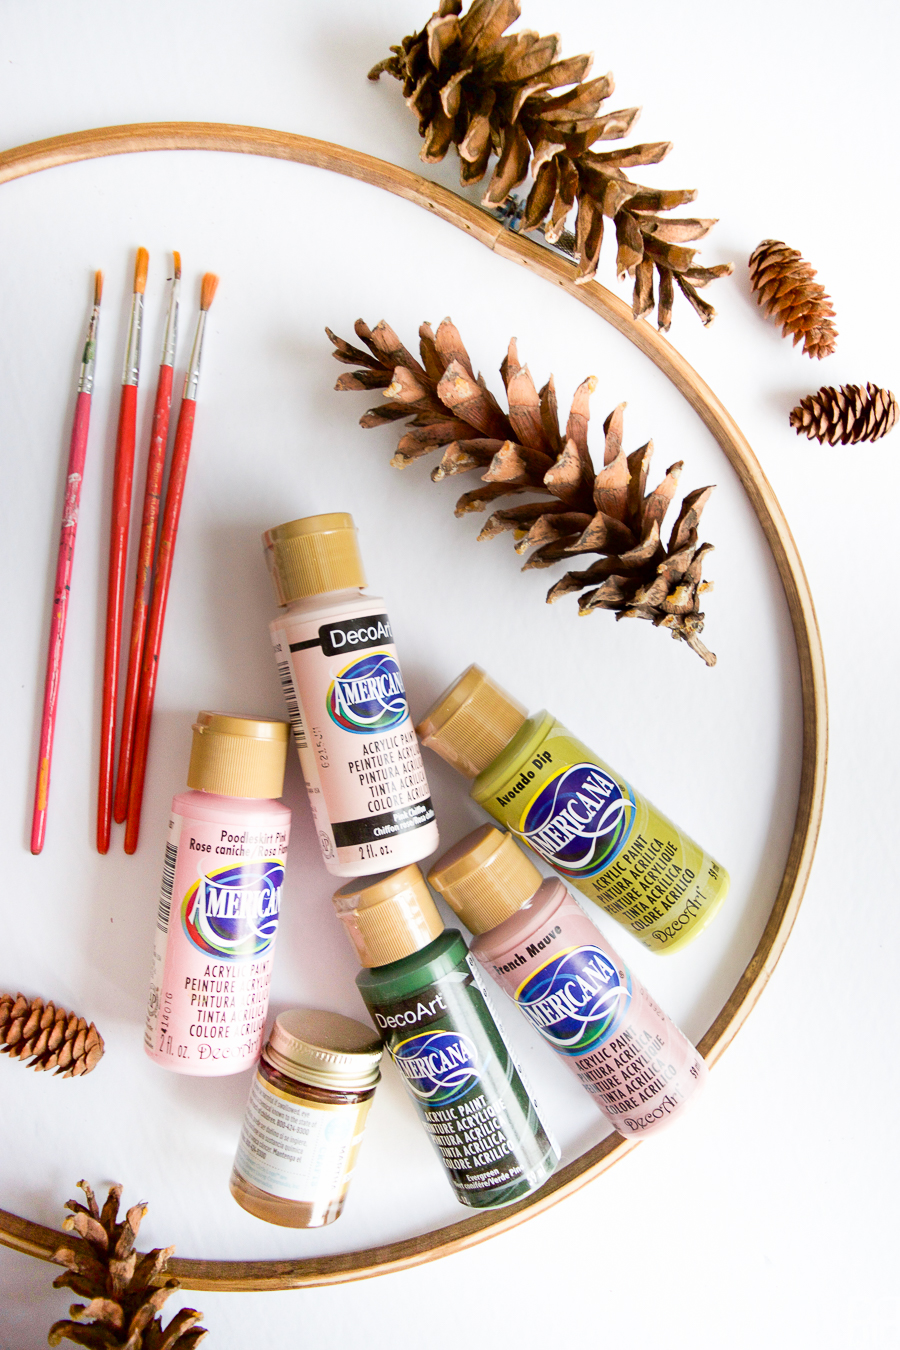
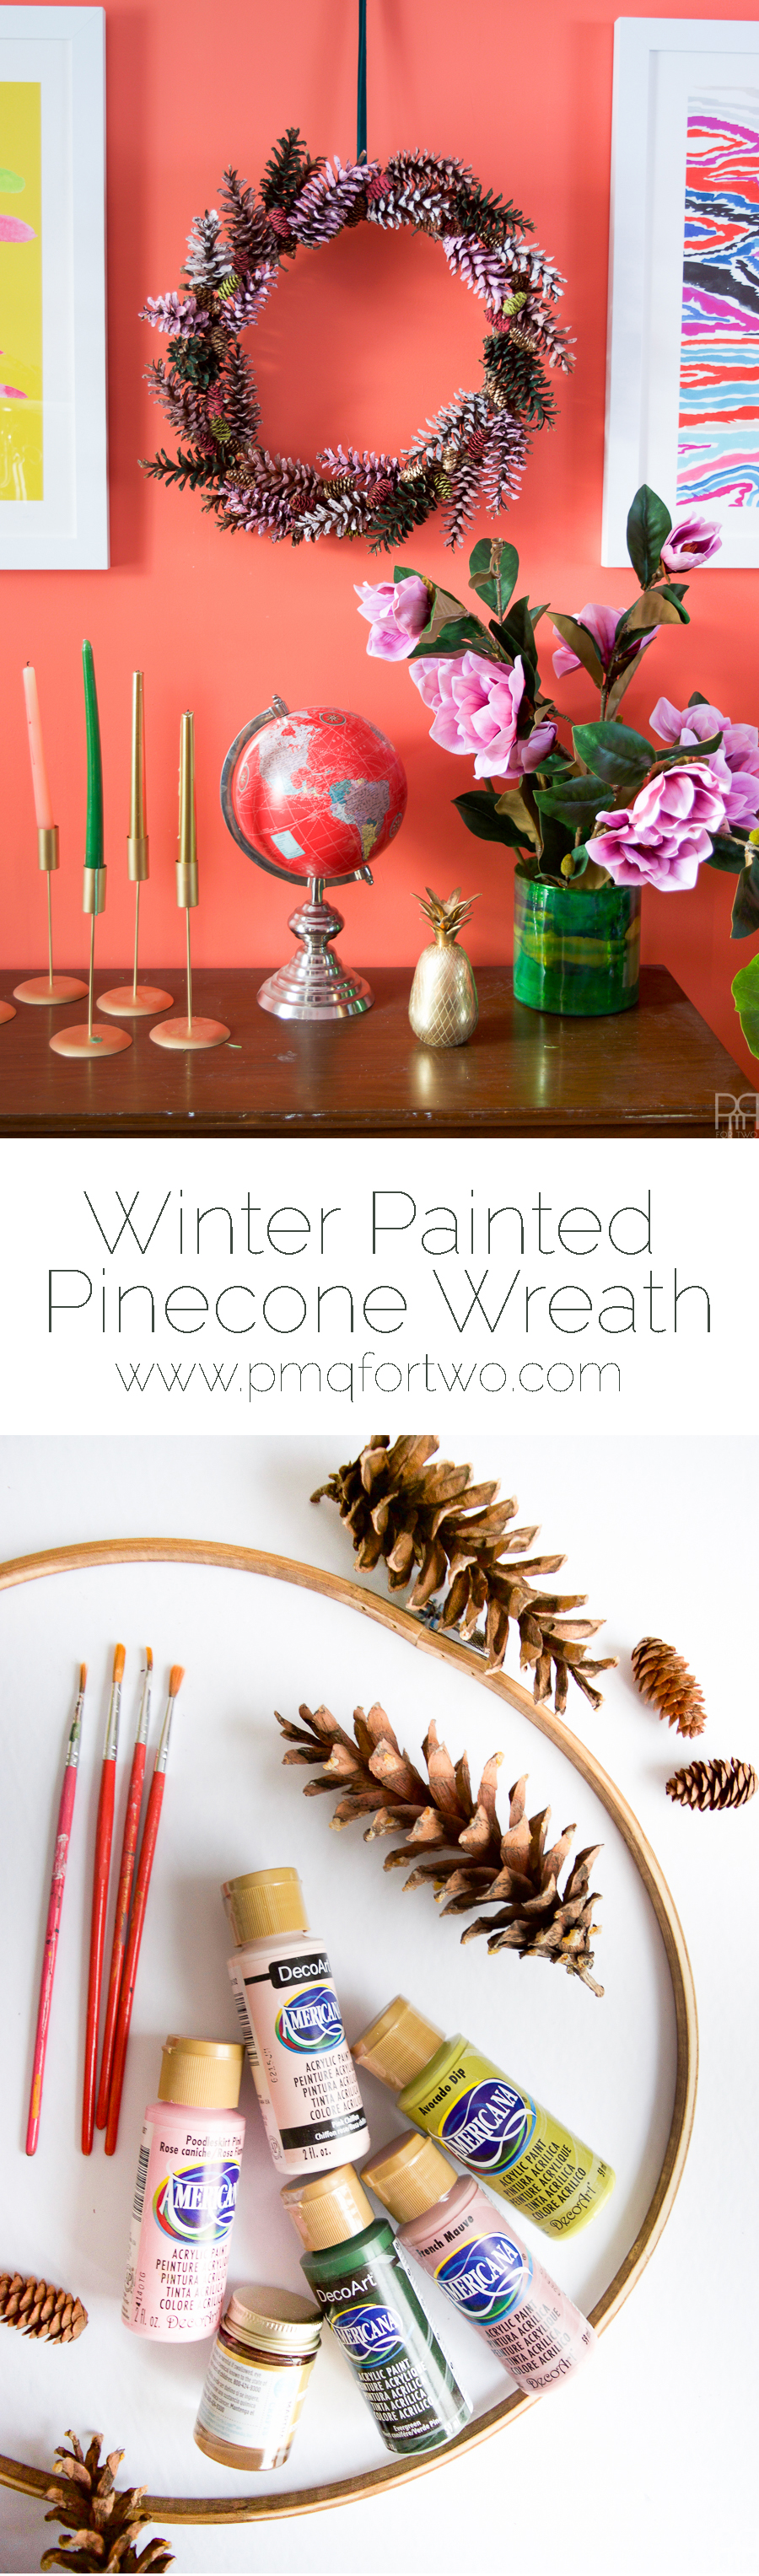
Materials
- Glue Gun
- 1/2 of a 10″ Wood Embroidery Hoop
(the other half was used on this wreath // here //
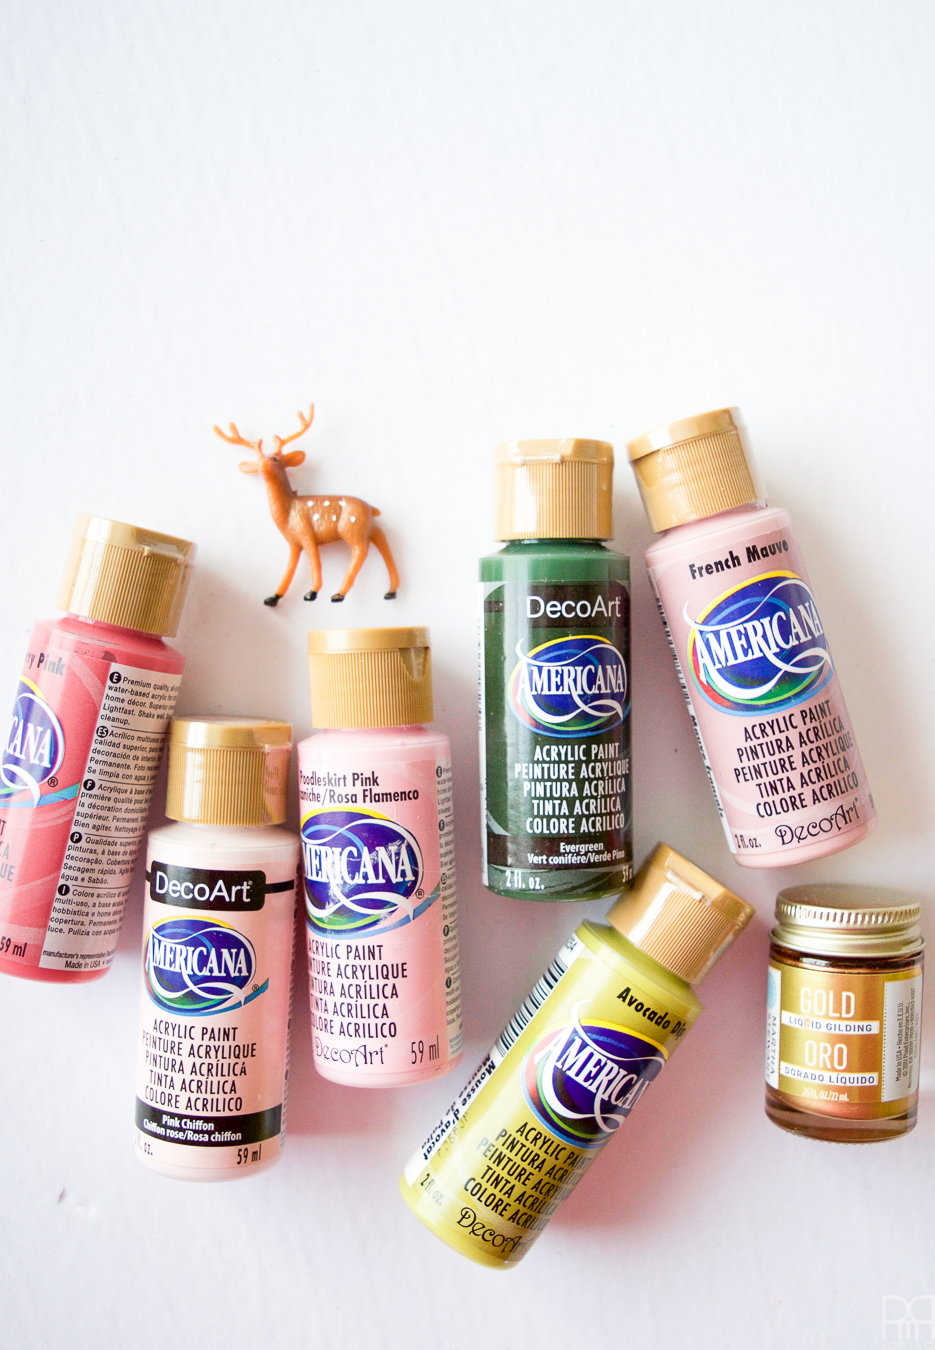
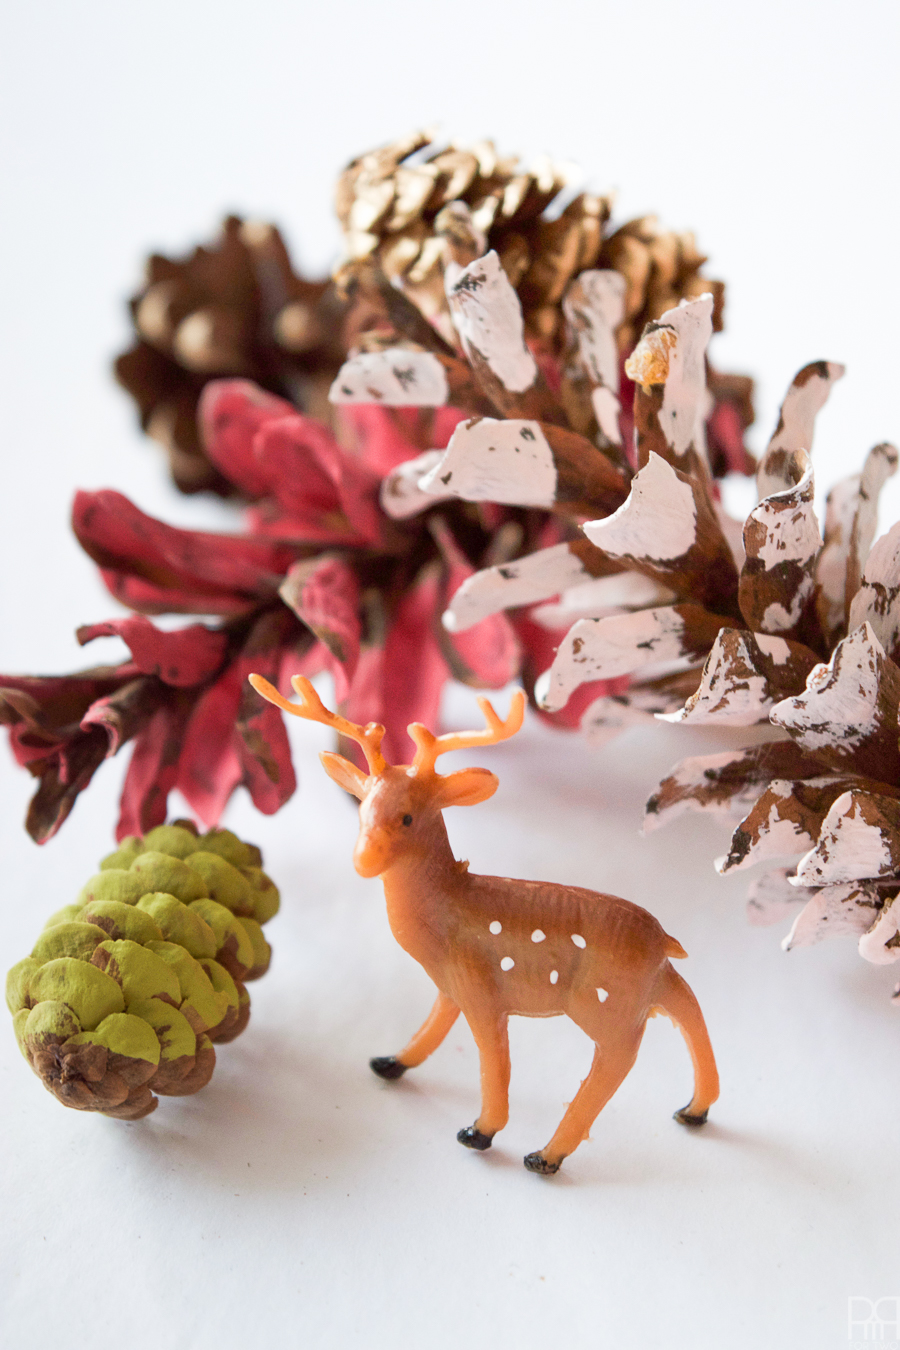
- Martha Stewart Crafts Liquid Gilding
- Craft Paintbrushes
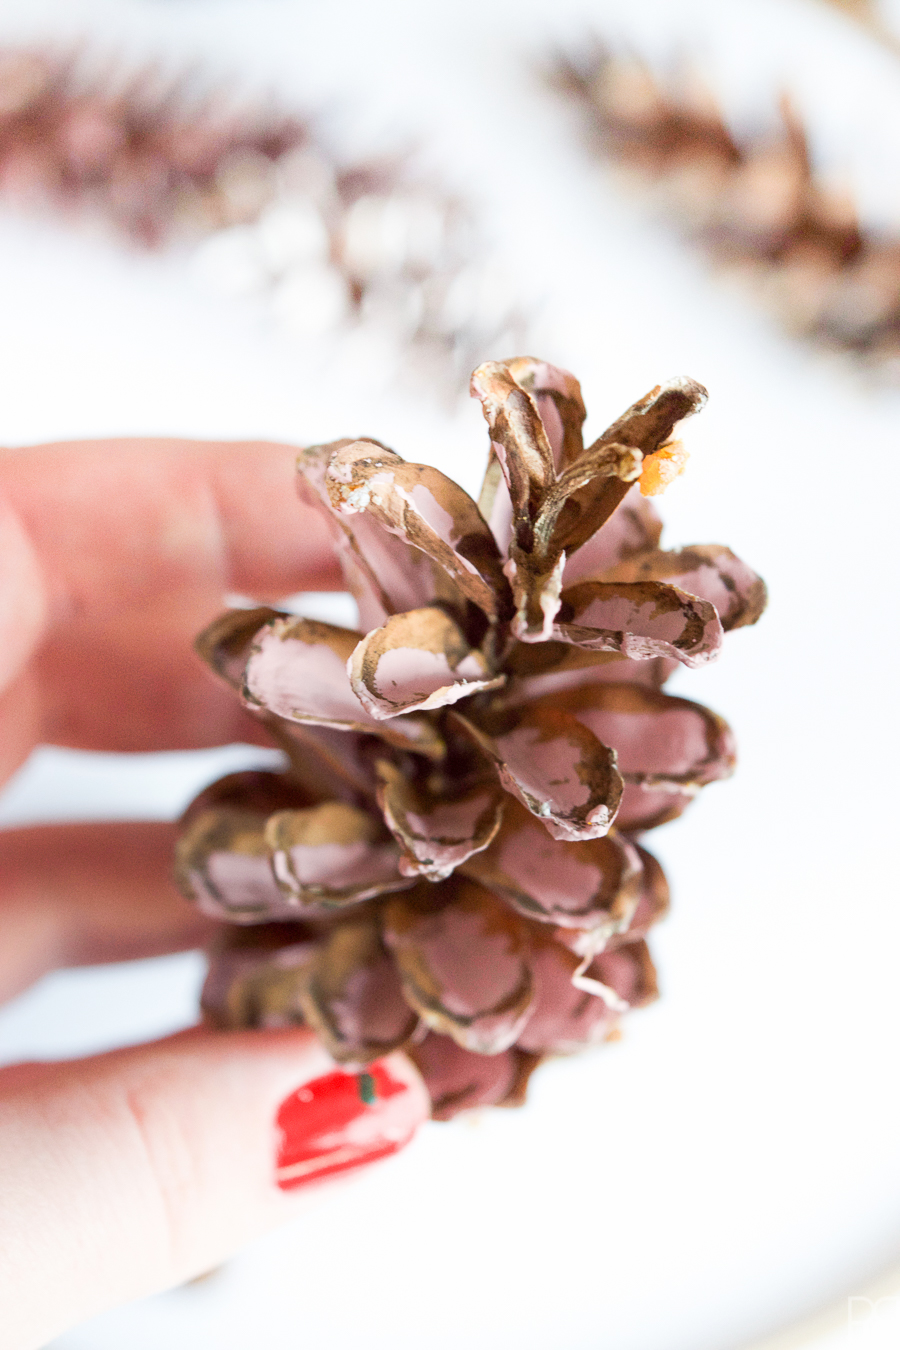
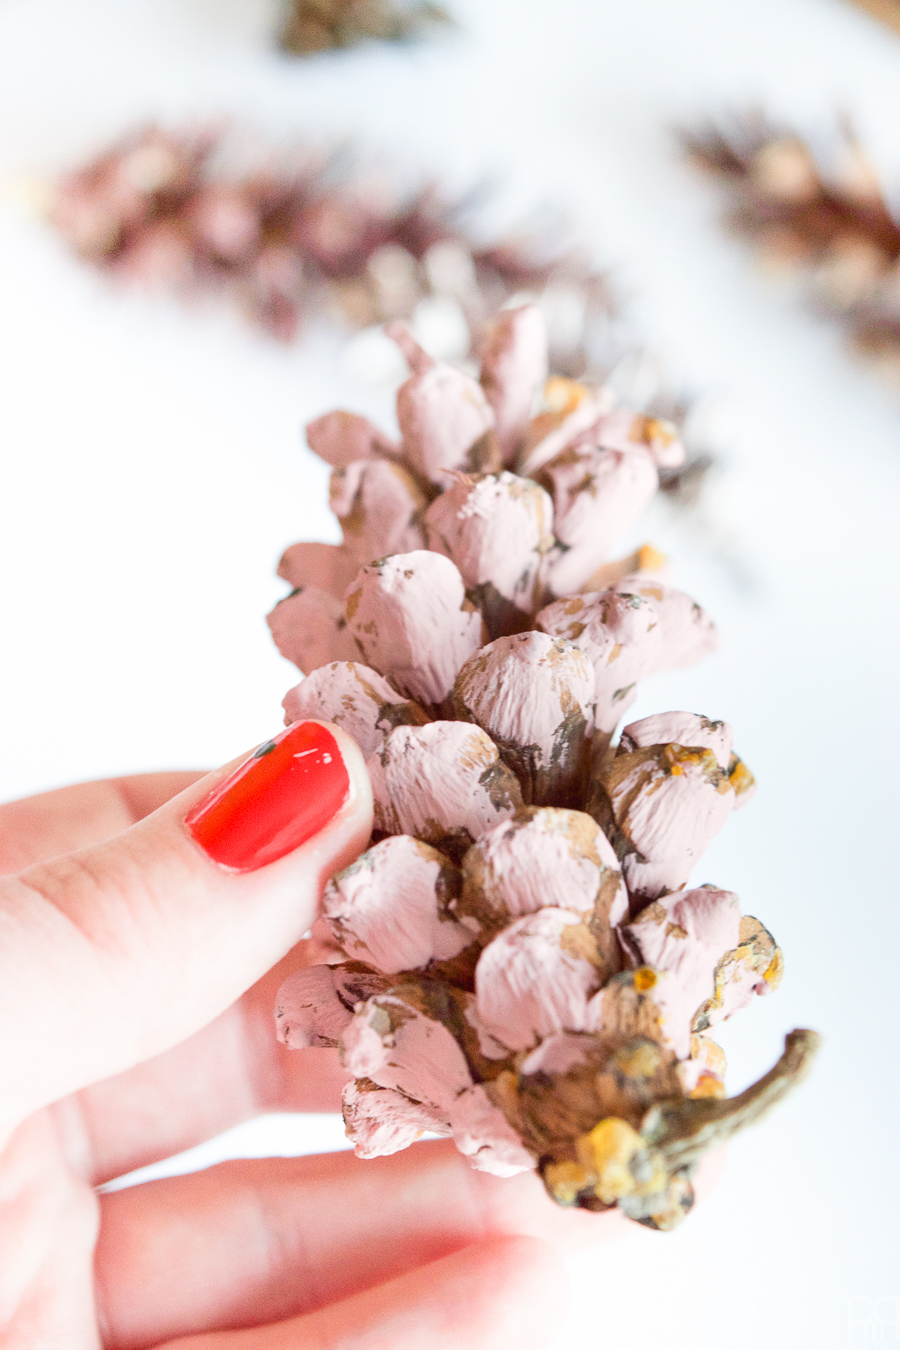
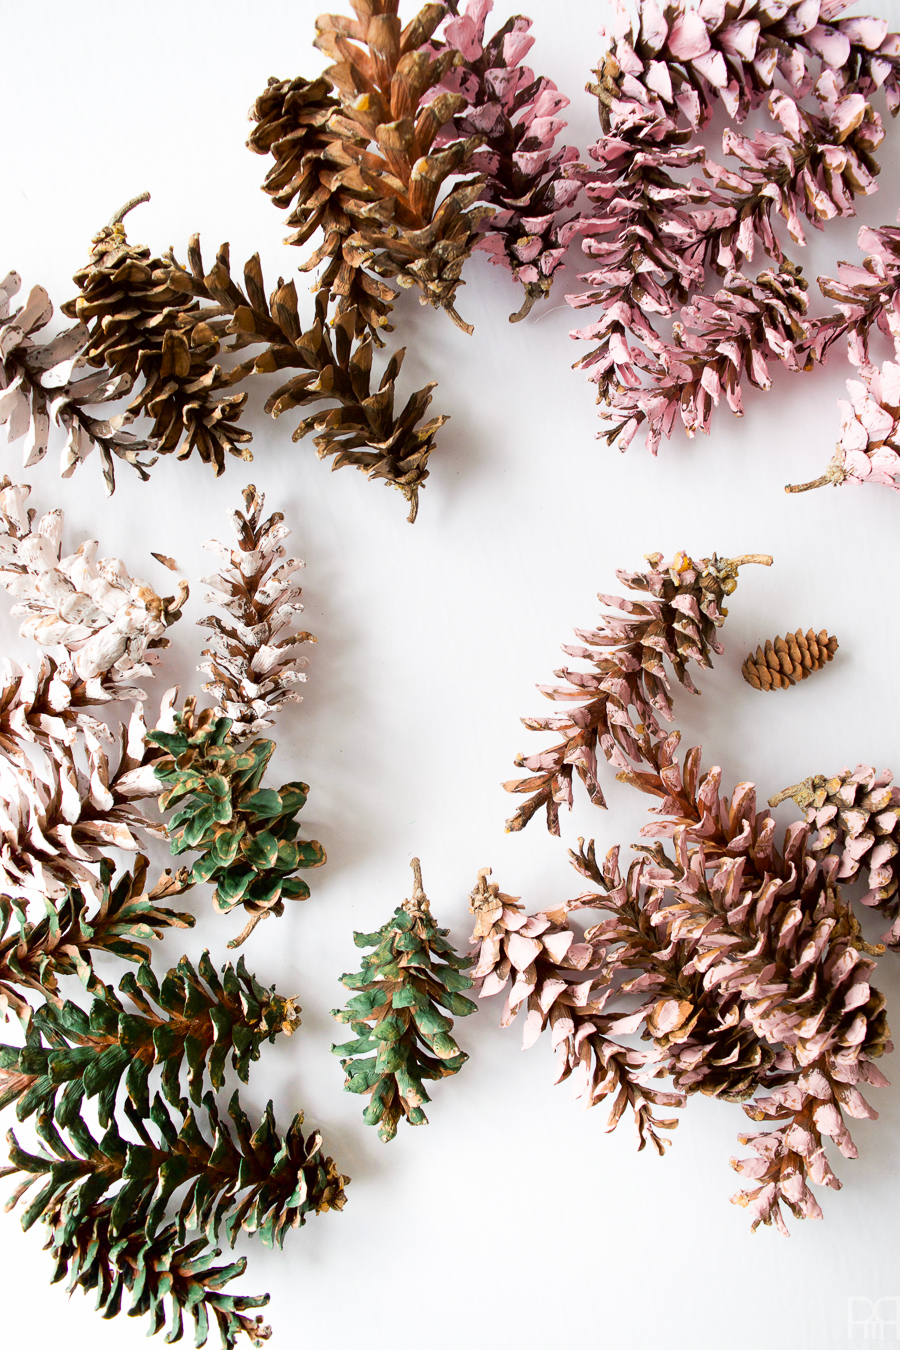
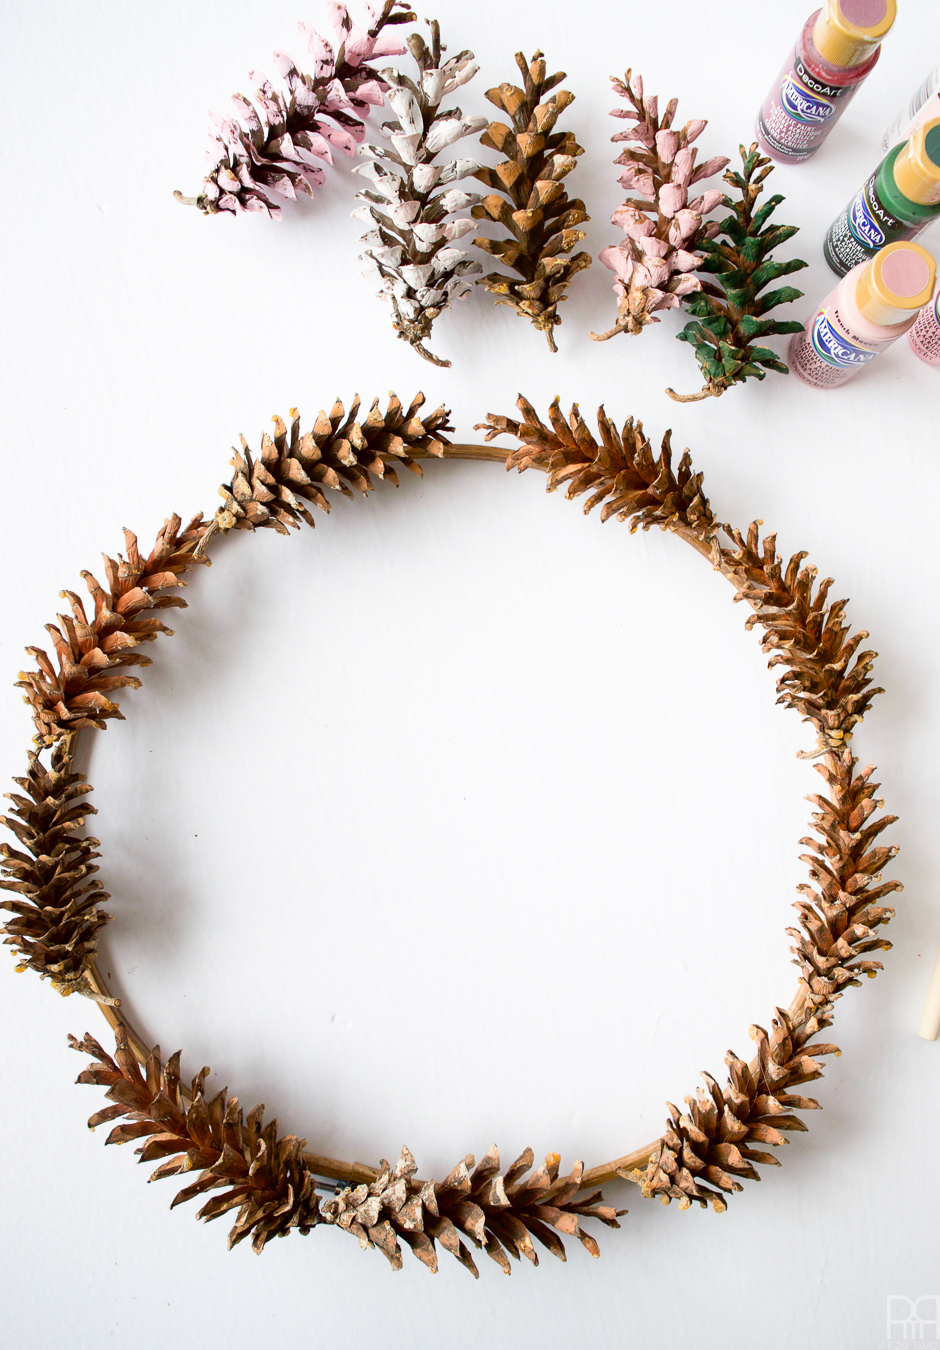
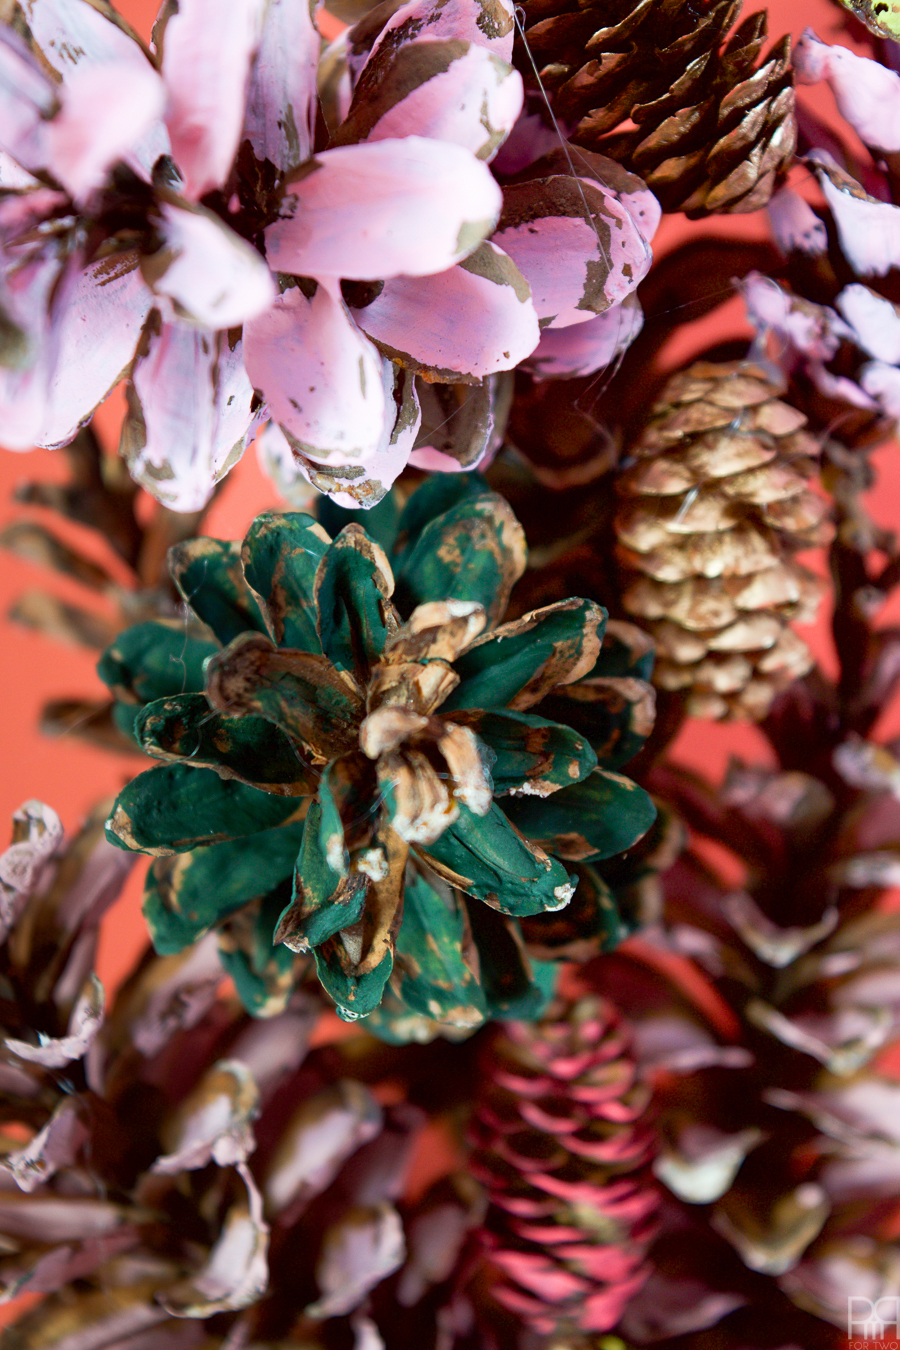
- DecoArt Americana Paints: Pink Chiffon
, Light Mauve
, Poodle Skirt Pink
, Boysenberry Pink
, Avocado Dip
, Evergreen
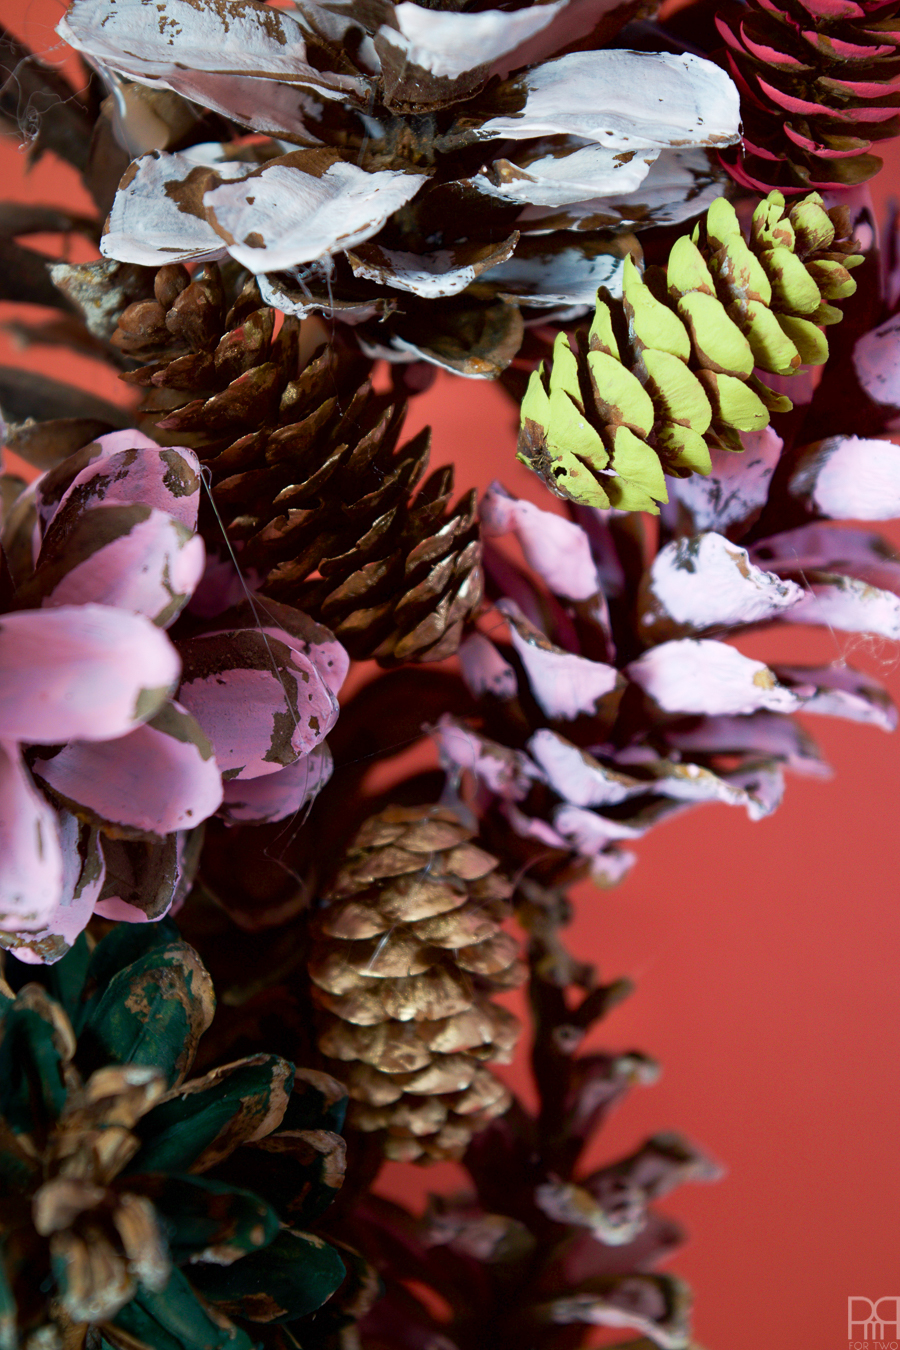
- About 30 Eastern White Pinecones – dried and bug-free
- About 30 Shortleaf Pinecones (or what I suspect, are actually 30 really small Eastern Whites)
- Ribbon
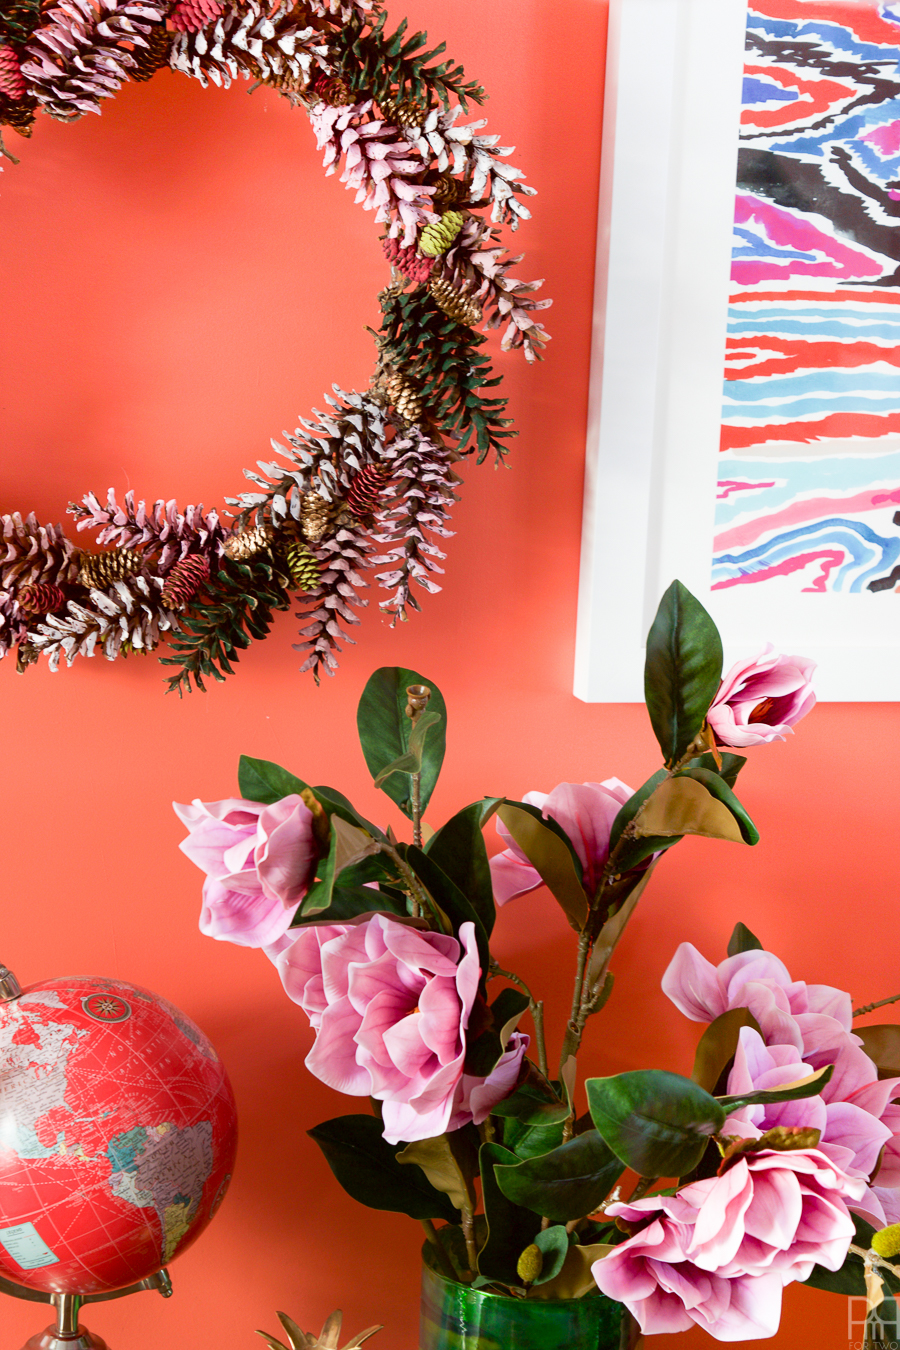
A note on colour selection: I used pinks, some sugarplum purples and greens for my wreath because of where I wanted it to hang. I recommend any good contrasting colour combination, but think these tones reflect beautiful winter colours for 2017.
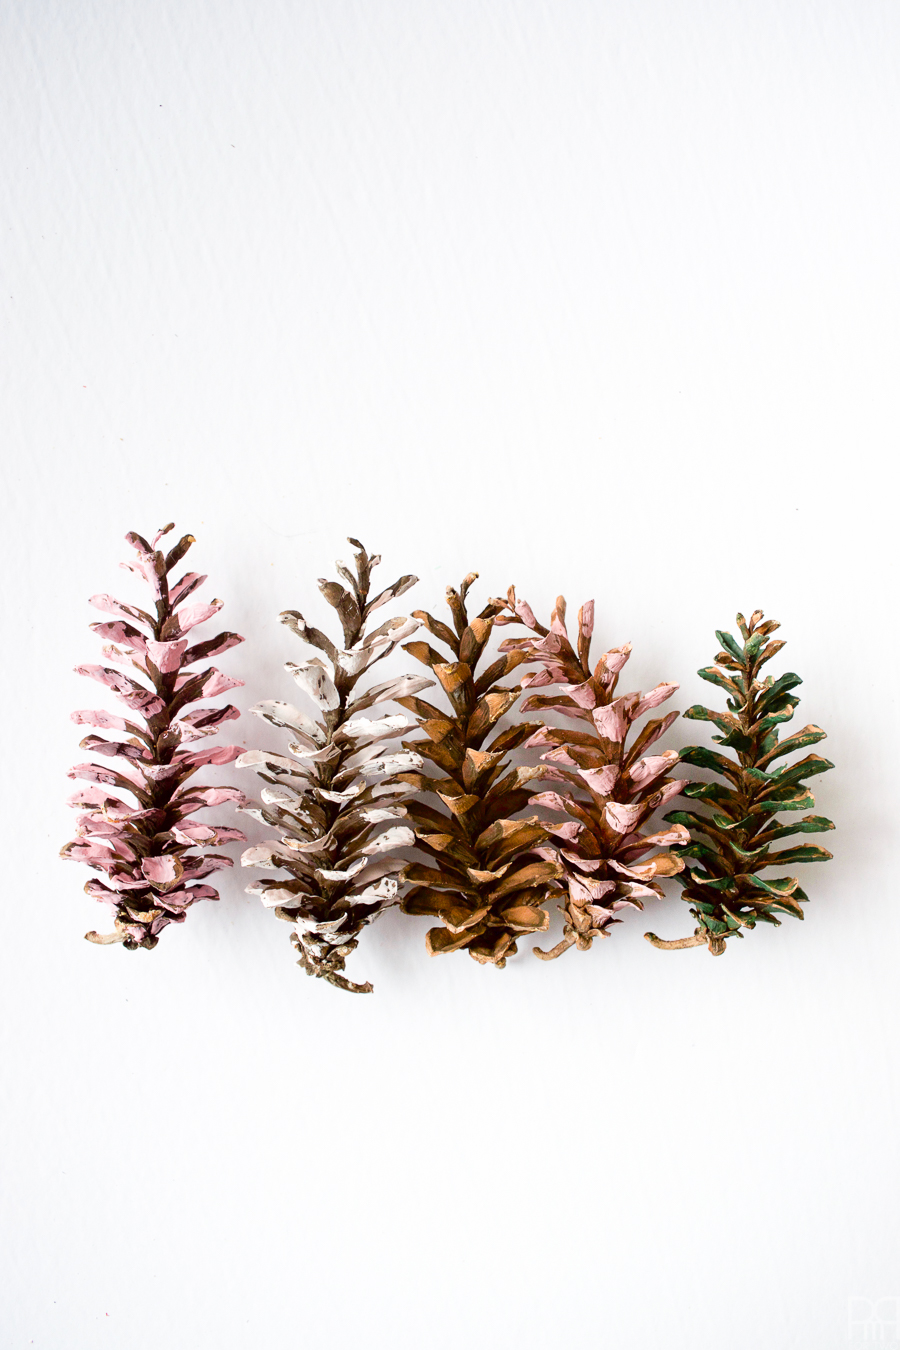
Step 1: Paint your pinecones! I divide mine up 6 at a time. I painted the inside of the spines first, and the outside. That way you would catch the colour from every angle.
Step 2: While the big ones are drying, paint the small ones. In this case I just painted the outside. I did half in liquid gold, and then used different shades of pink and green to do the other half.
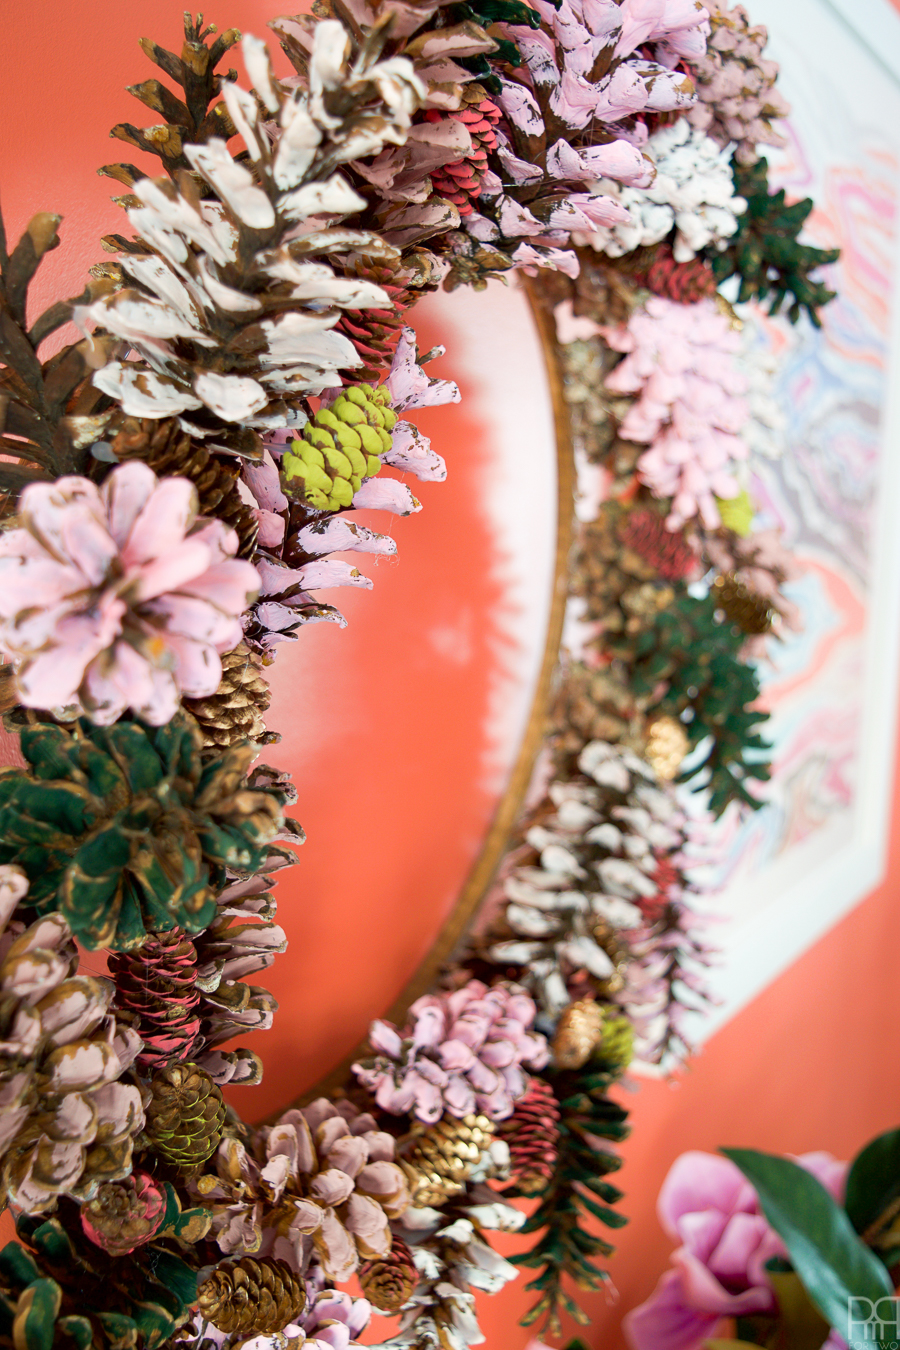
Step 3: While you wait for all the painted pinecones to dry, apply your base rim of pinecones to the hoop.
**I experimented with two ways of applying them, and through trial and error found that the second way was a much nicer look.**
Below was my first attempt. It looks cute on it’s own, but left little to no space to start securely adding my layers. I then removed them from the wreath by prying them off like a crazy person. Luckily none of them broke or left pines in the glue on the wreath. Go me!
Since I was using the base layer as an amplifier to help create some volume on the wreath, I found this way worked better; kind of like a fan moving in one direction.
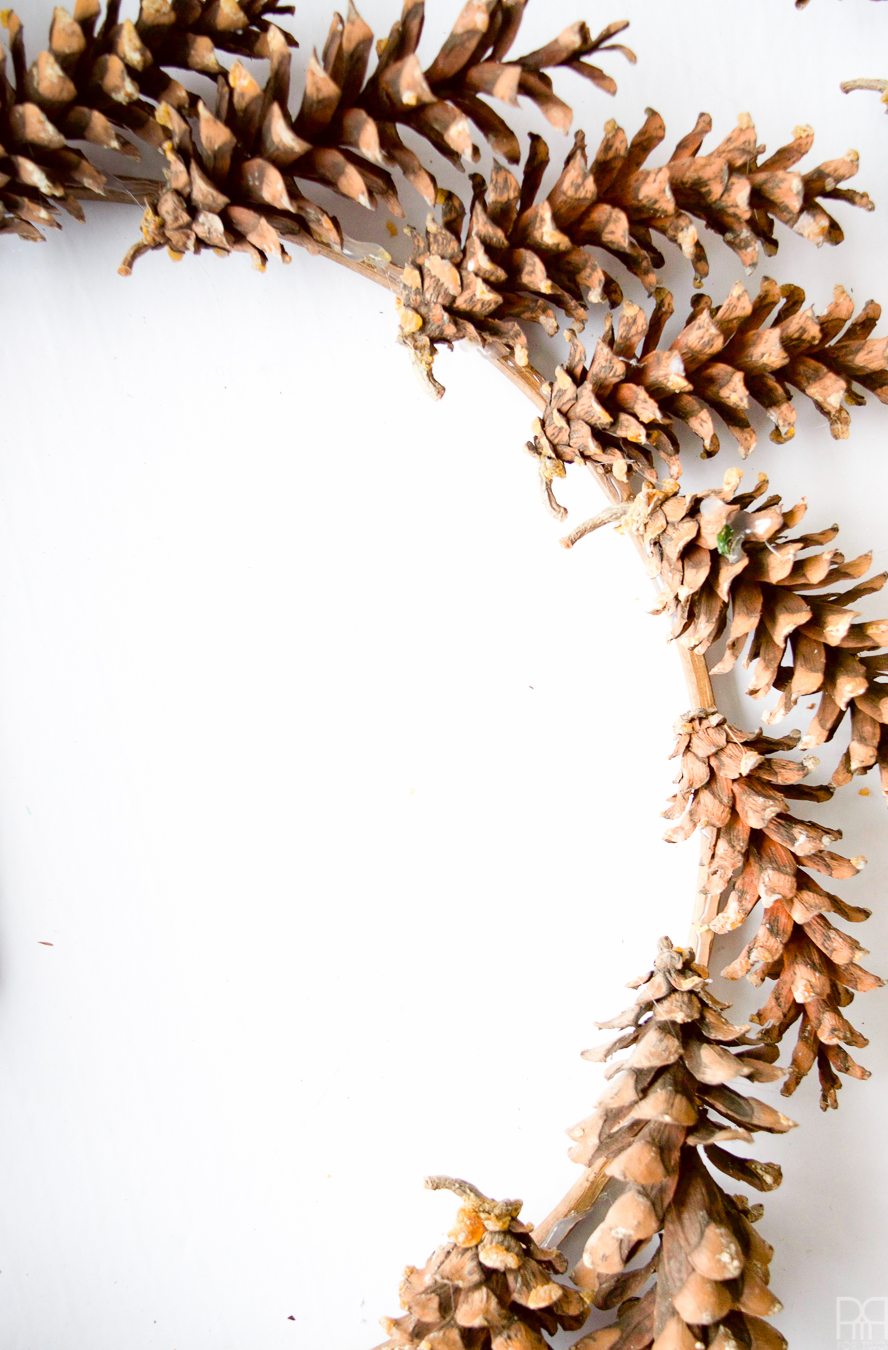
Step 4: With your base layer securely attached I then moved to adding the painted pinecones in the spaces in between. I kept to one direction (the same as the initial fanning), but inverted some just to keep it fresh.
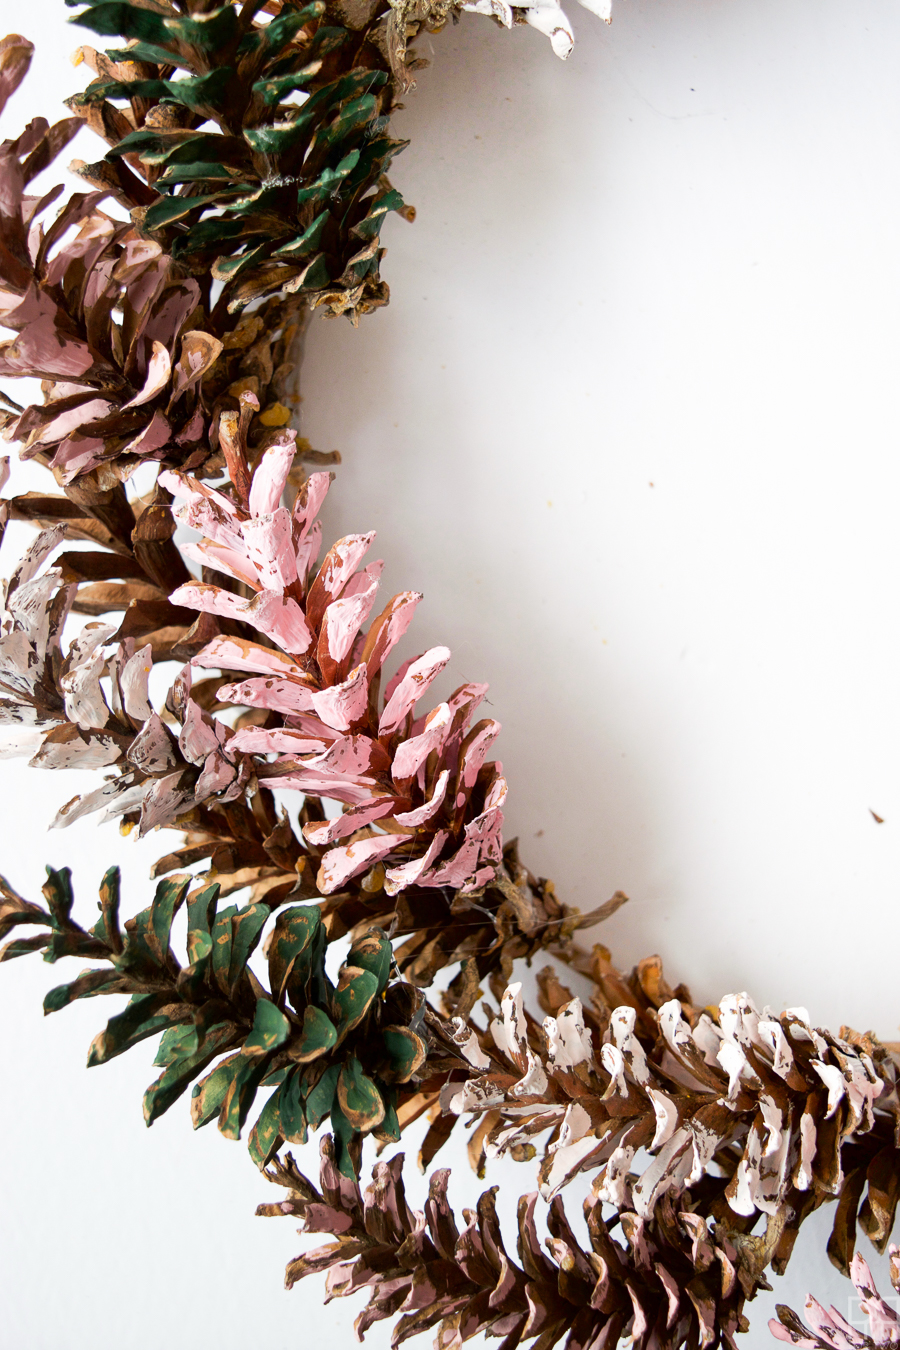
Step 5: Once you’ve applied your Eastern Whites, glue the smaller ones into the gaps to cover the giant gobs of glue and such. This was fun as I got to play around with all the complimenting and contrasting shades I painted.
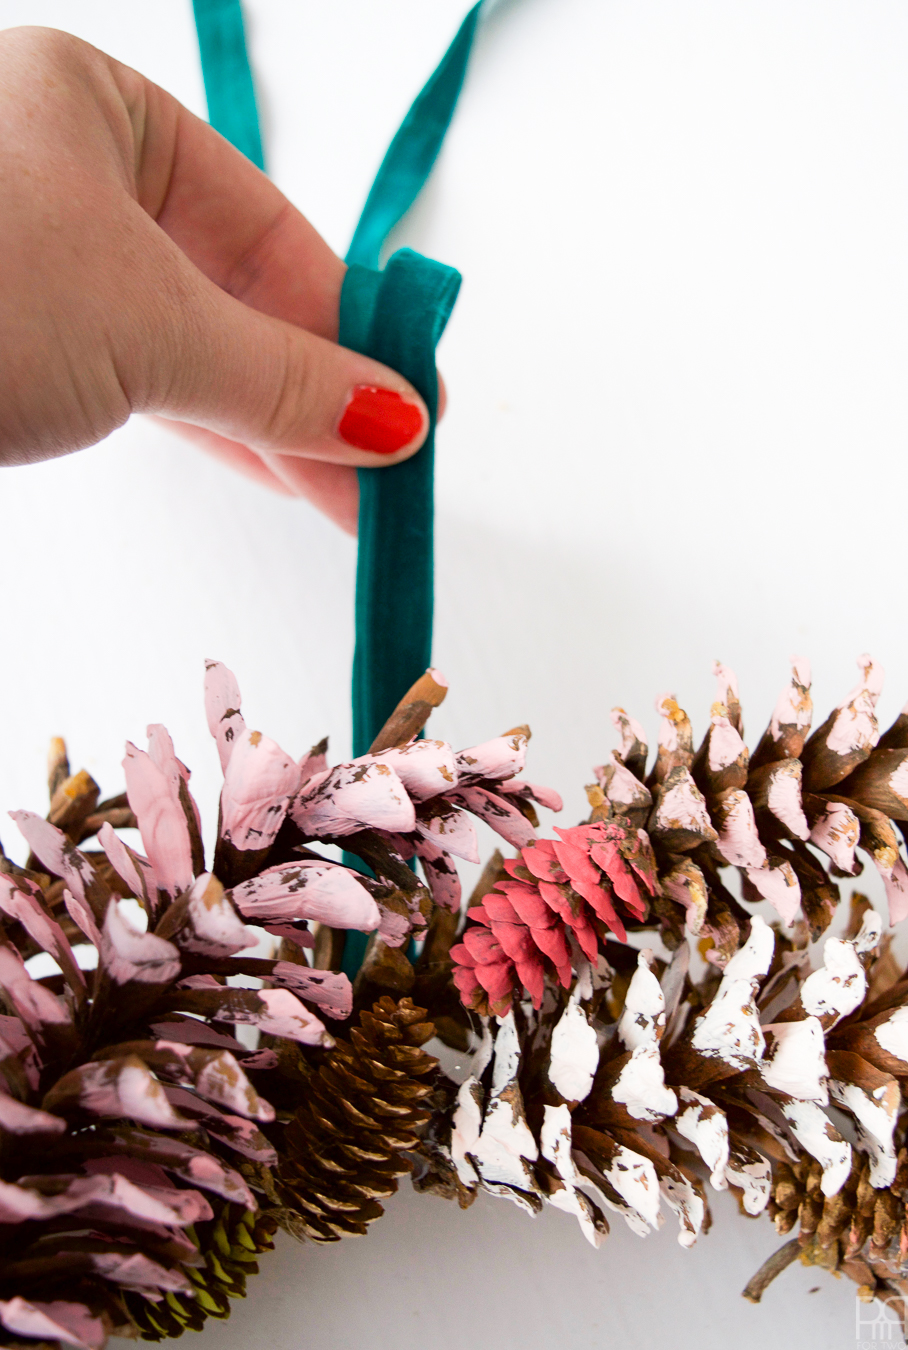
Step 6: Once you’re satisfied with the wreath’s cone placement, add your ribbon! Thankfully the pinecones left a few gaps between them and the hoop, so I was able to thread a big velour ribbon through the hole. Of course the ribbon is velour 😉
Step 7: Hang and enjoy!
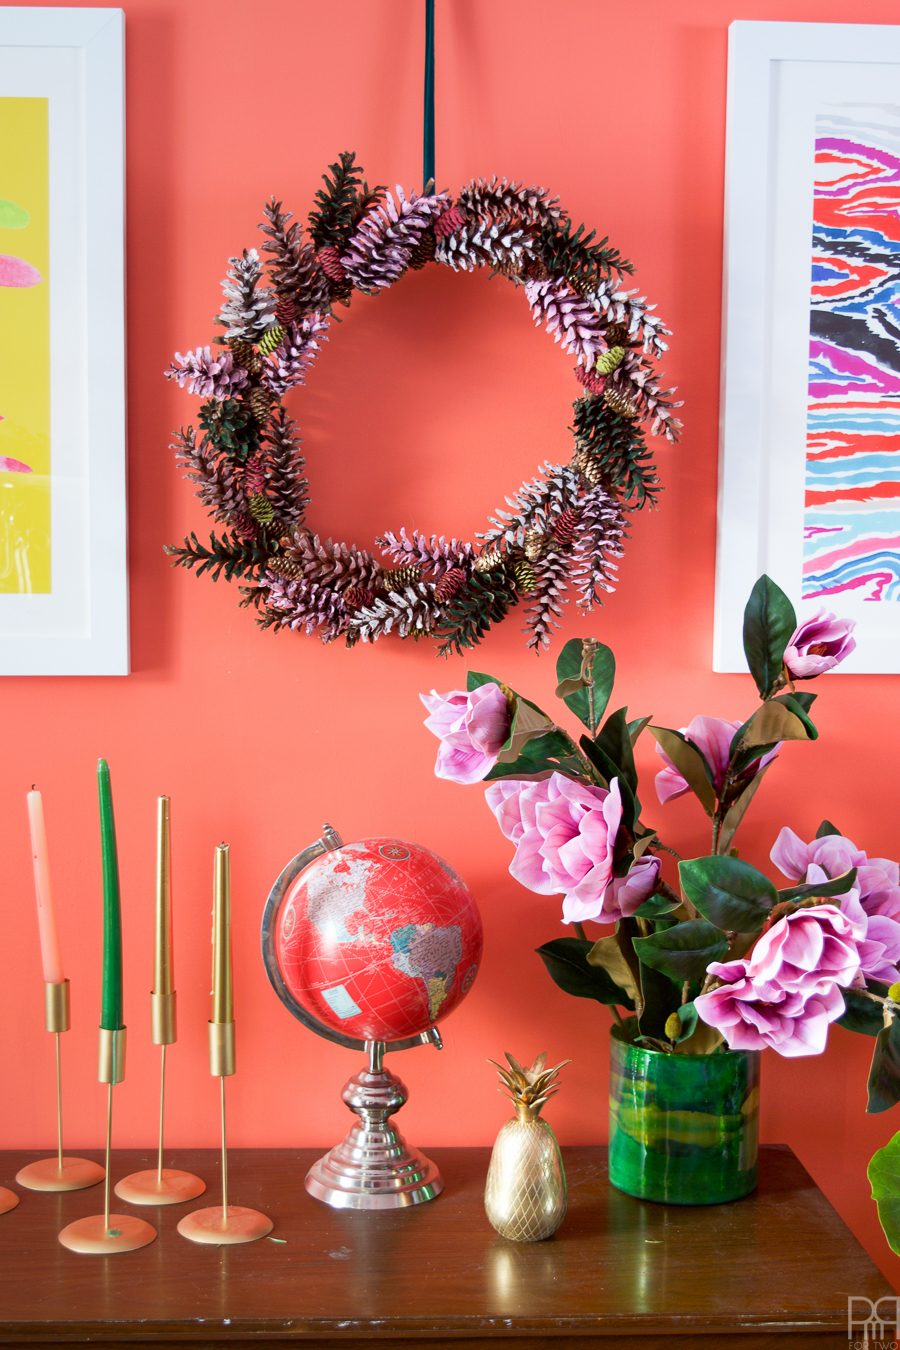
let’s all pretend we can’t see the little glue threads 😉


Thats cute! Those colors speak to me ????
So cute! I love the way it looks against that wall color!
Thanks 🙂 Me too! When I made it, I chose colours with that wall in mind too
Beautiful ariel! You know we love our pinecones and your modern and cheery colours definitely make it seem like spring’s around the corner!
Thanks Jane <3 Cheery and colourful, you get me!