[social_warfare]
I found the software intuitive and easy to use, but I am also computer literate and sometimes take for granted the amount of things I can do within a software. SO, I’m breaking down the Cricut Design Space software for you, so that you can get started on a project.
*The following product links contain affiliate links. Thank you for supporting the brands that make PMQ for two possible. For my full policies click // here //
Once you sign-up for an account (for free) you’ll likely be loaded into the canvas, which will look something like this:
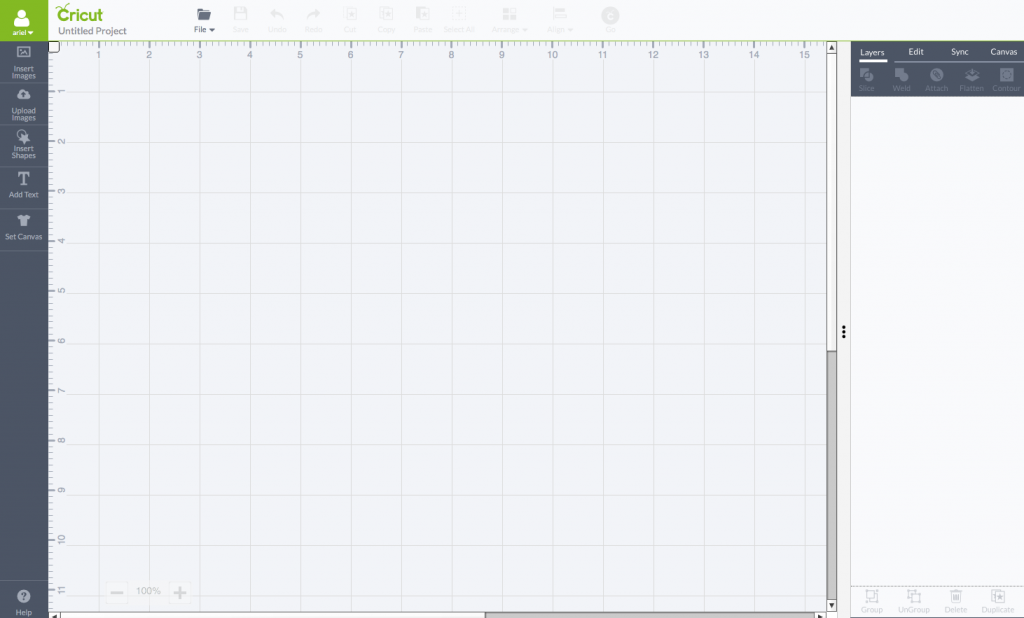
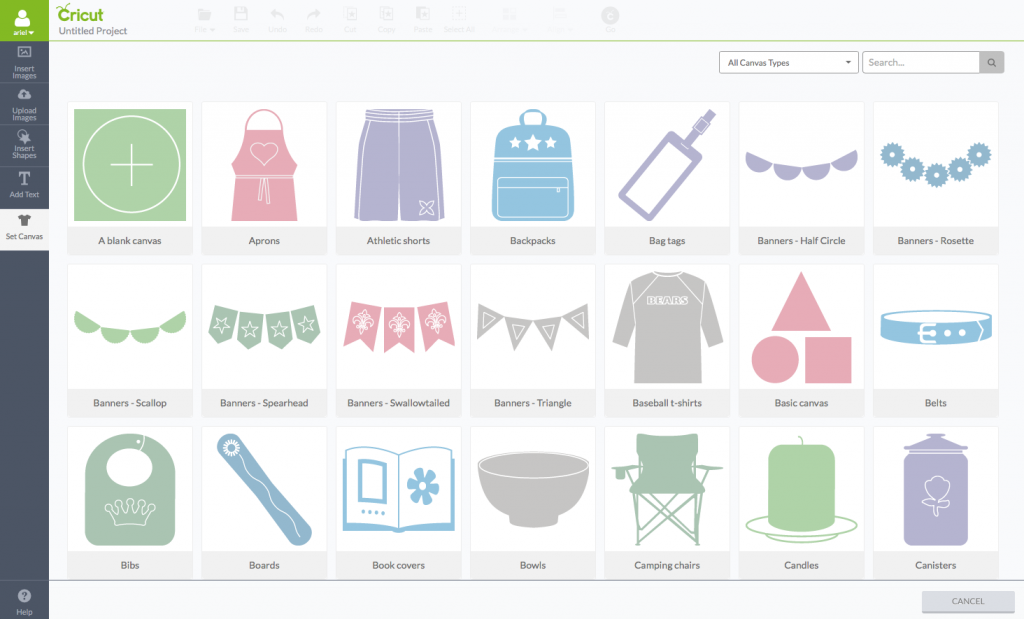
I like to work on the blank canvas, BUT there’s the option to select from pre-sized canvases based on your project in order to help you stay within the bounds of the project. This is especially helpful if you’re making your own project or uploading one of your own files // here //. To view the canvas options, simply click on the “canvas” button at the bottom of the left-hand sidebar:
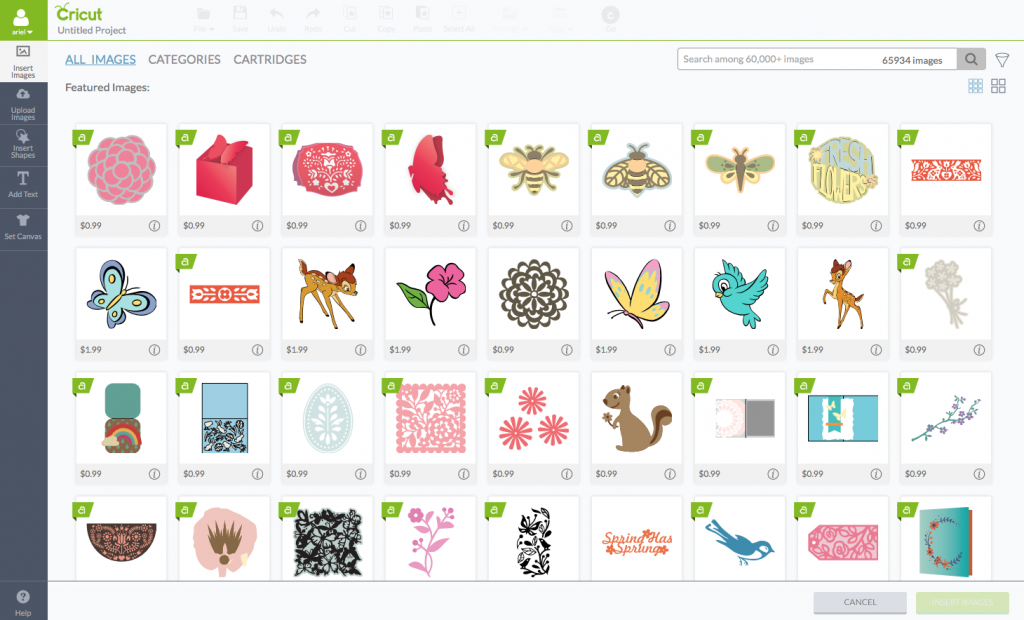
Once you’ve got a canvas picked-out, get going with your project! If you’re going to use one of the many files already loaded within the design space just click on “insert images” and it will take you to the following page. You can search by image, category or cartridge.
If you don’t already have one, a Design Space Access (I like the Premium one) is a year-long subscription that gives you access to all these images. You can get one // here //:
If you’re uploading your own images, read my tutorial on how to do that // here //
If you need to pair cartridges to your account you can read my tutorial // here //
If you want, you can also just use basic shapes from their pre-loaded selection. To do so, click on “insert shapes” and select your shape.
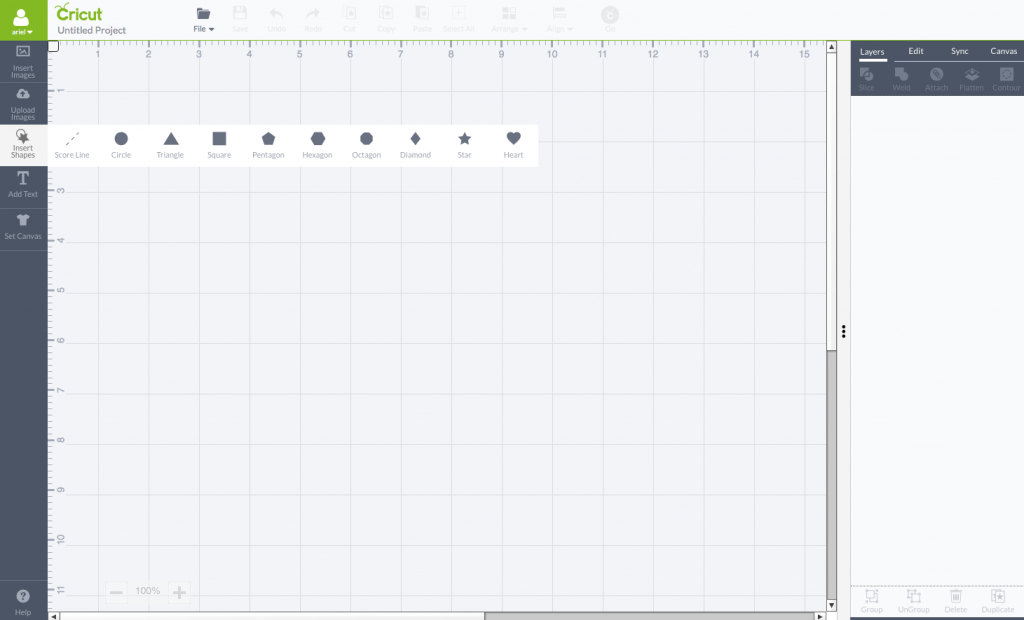
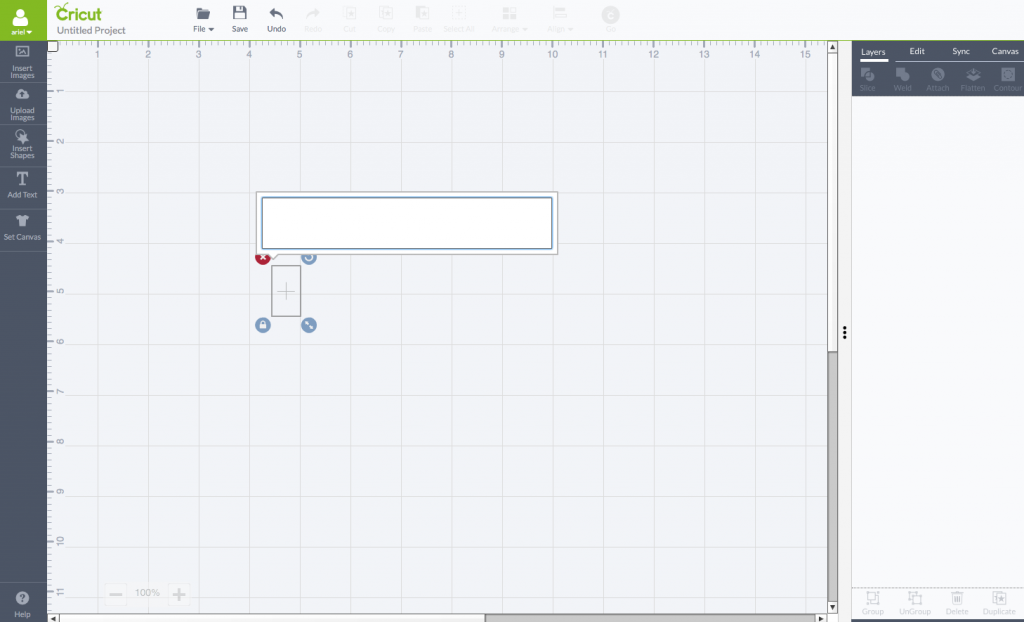
You can also add text the same way, by click on “insert text.” Cricut also now sells access to a font library, and you can sign-up // here //. This is especially useful if you don’t have a large selection on Photoshop or Canva or Pic Monkey (for example).
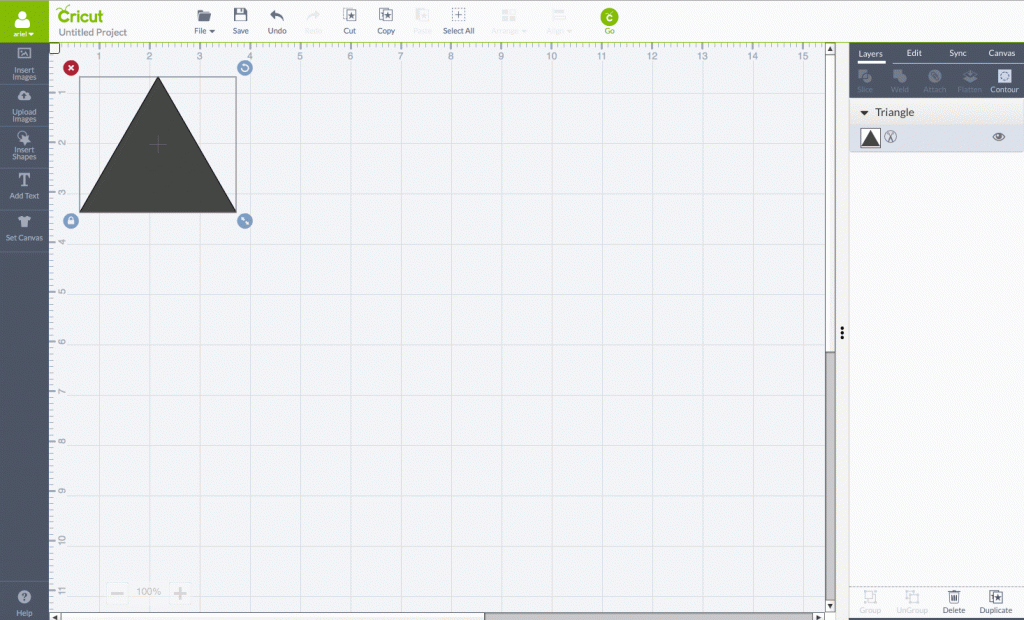
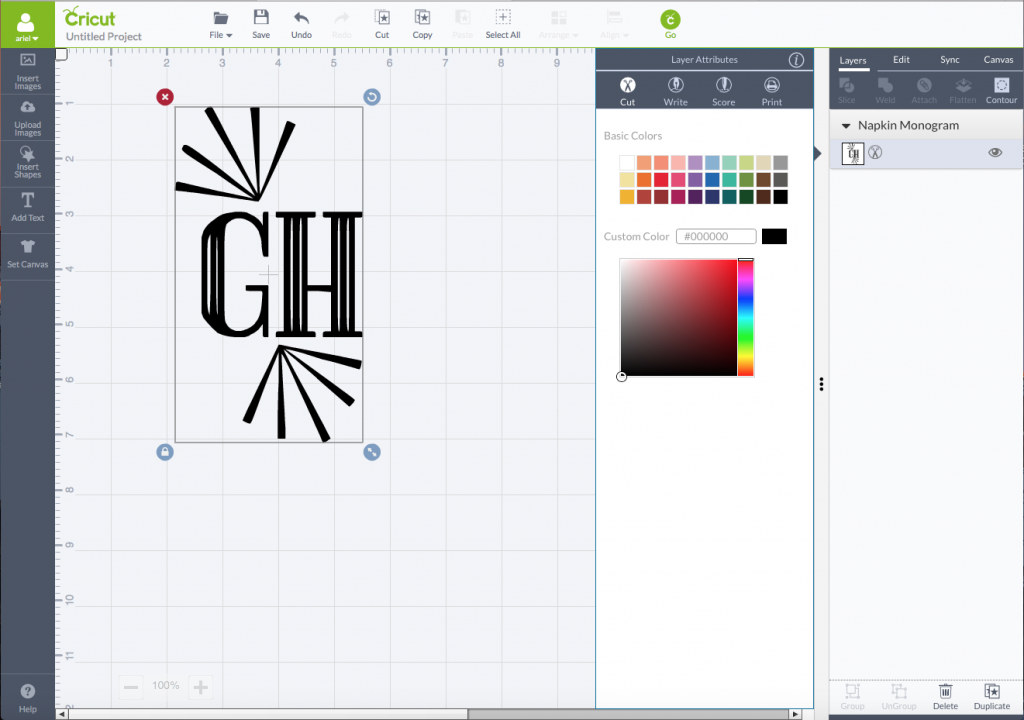
Now that you’ve got whatever project you’ve chosen into the canvas space, you can adjust the size by selecting the image and click on the lower right hand button and then expanding or collapsing to your desired size.
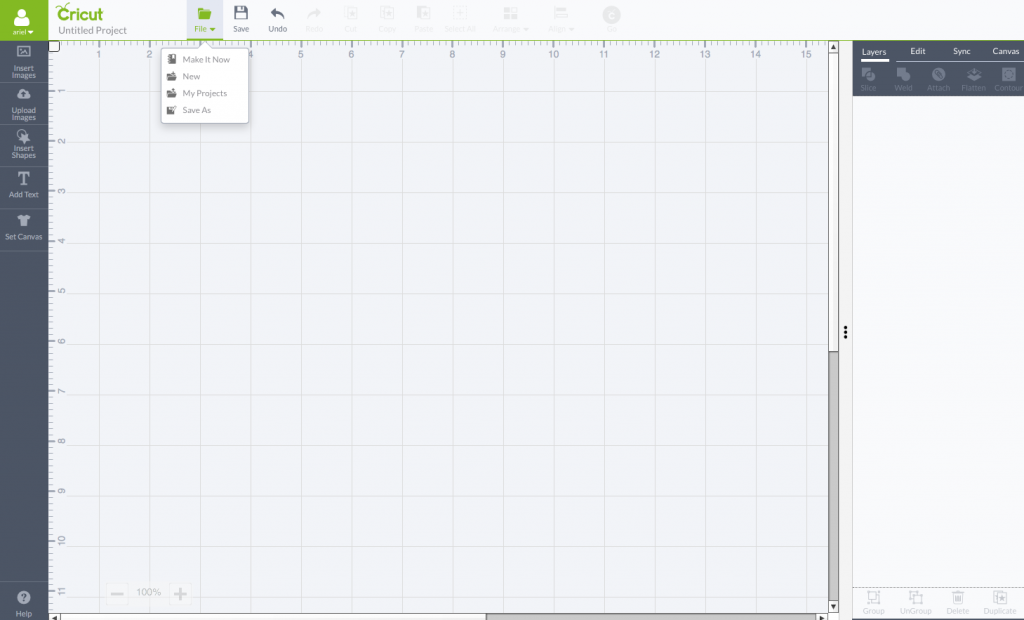
If you want to learn how to do a Make It Now project you can view my tutorial // here // but basically, clear your canvas and select “make it now” from the drop down menu under “file” as seen below:
When you’re uploading an image or using an existing file. If you want to change it from a cut, print, write or score file to any of the other types. Follow my step-by-step tutorial at the end of this post // here //
Back to the PMQ for two Guide to the Cricut Explore Air 2
