[social_warfare]
Uploading your own files to the Cricut Design Space is super easy. If you’ve ever used any type of photo editing software or created an image online you’re good to go.
I create my own images in Photoshop or buy them as vectors off CreativeMarket.com or Etsy. Ideally you’re looking for an .svg file (what is an SVG file // here //) but most of my own images are not, and I’ve been just fine.
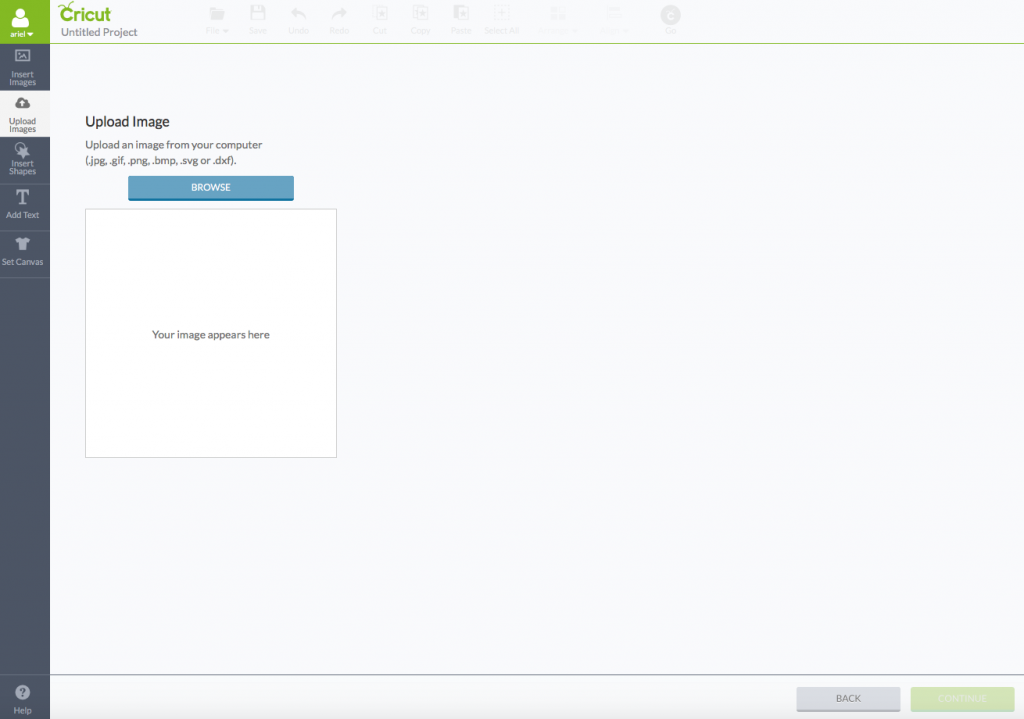
Step 1: You’ll start on the canvas of your design space account. I’ve toggled over the “upload your own images” button. Click on it!

Step 2: You’ll be invited to browse your image and file collection. Select your desired file.
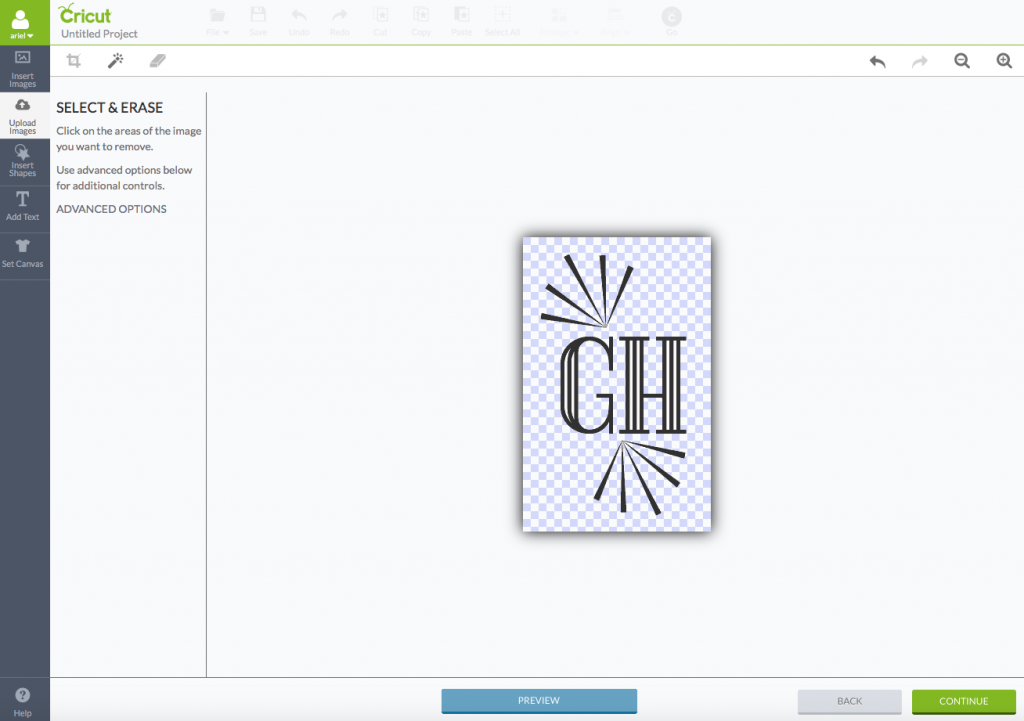
Step 3: Once the file is selected, know you start to cut-away and erase the portions of the image that you do not want your Cricut to cut/draw using the wand and eraser tool. For super complex cuts, don’t forget to use the zoom options to make sure you get all the necessary details. The machine is quite precise, but only if you give it the right roadmap.

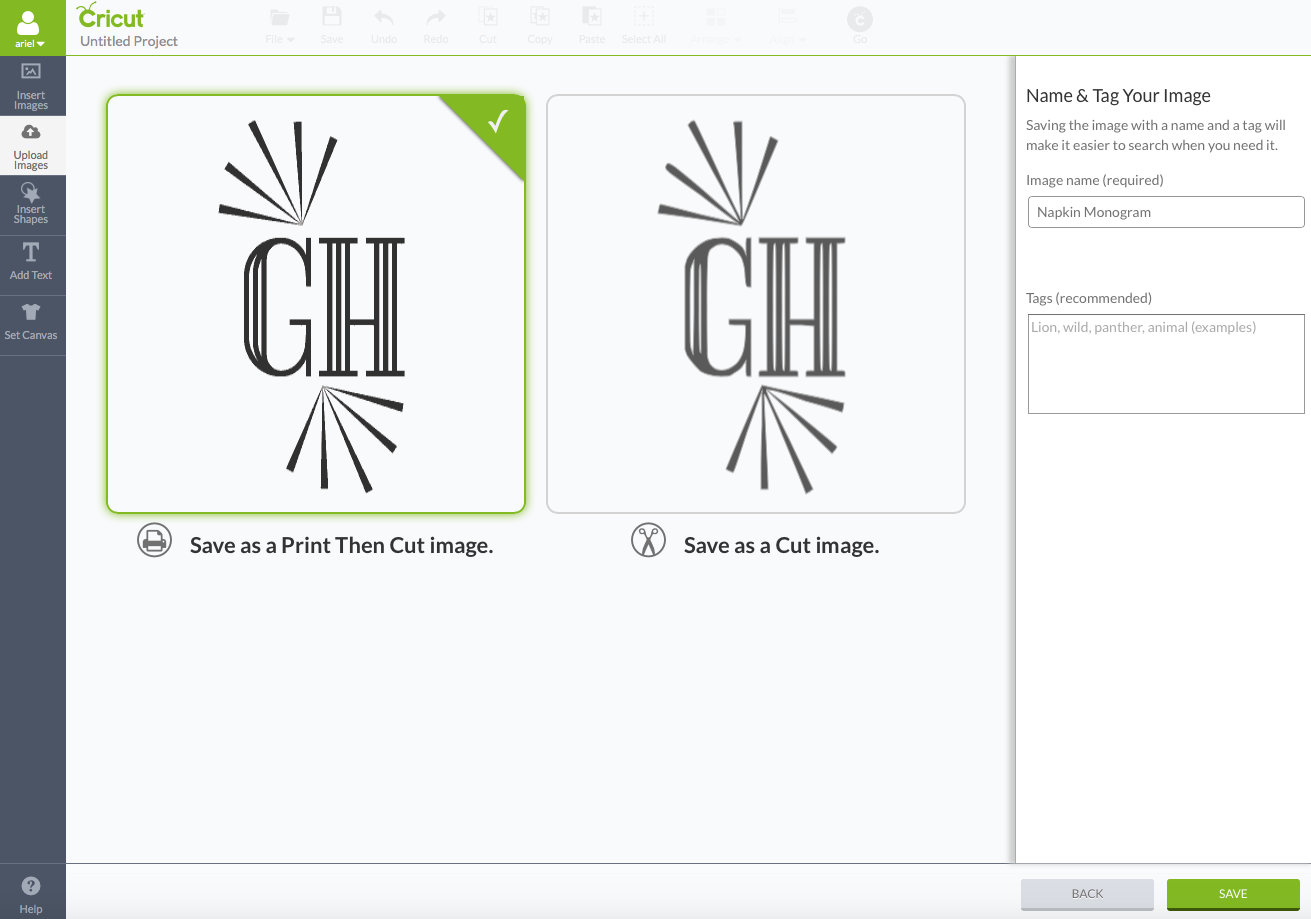
Step 5: Once your file is ready, hit continue. Your final step is to specify whether the file is a “print then cut” or “cut” image.
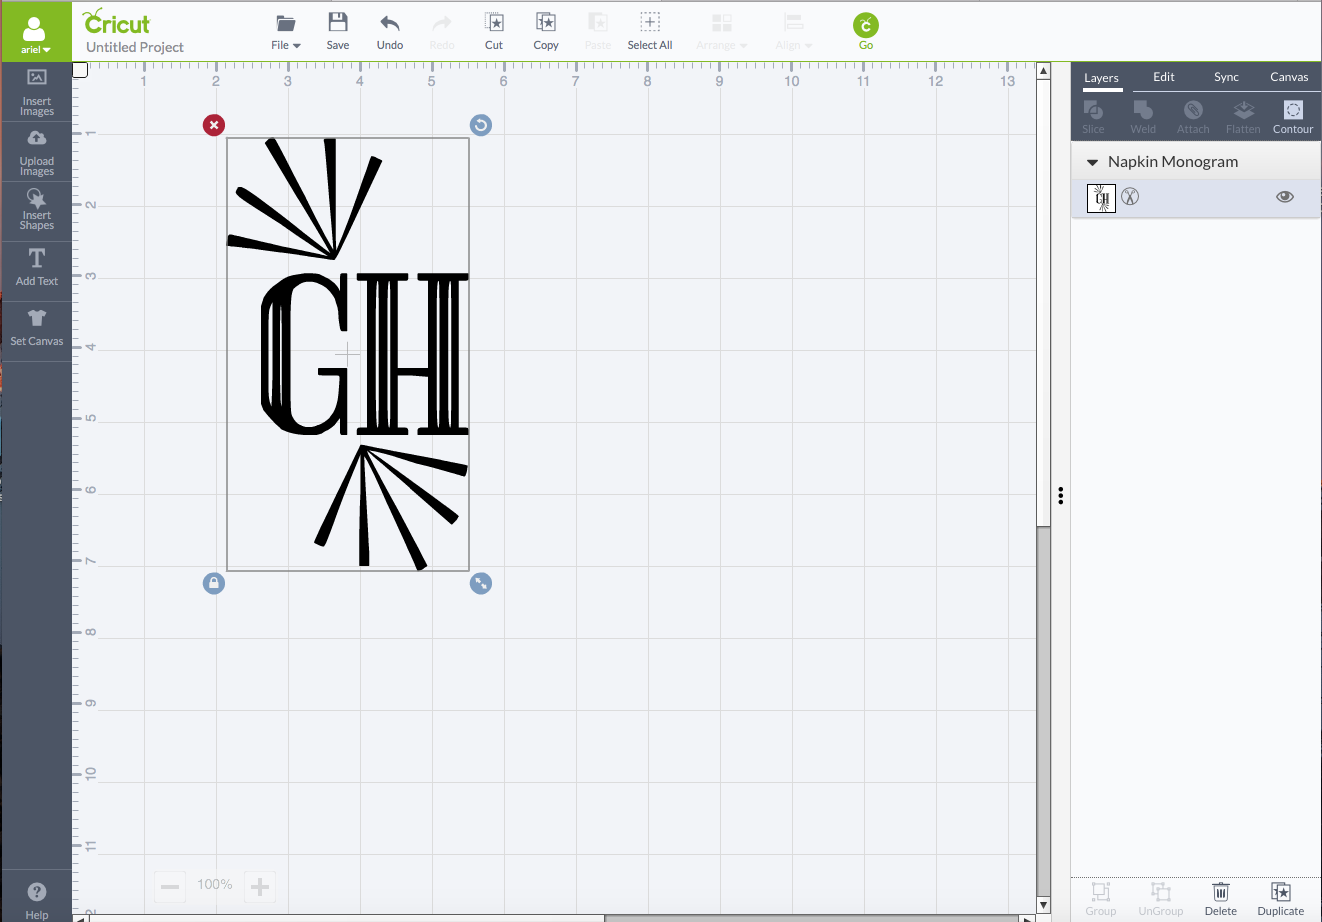
You’ll be brought to this page where you can then select your image (from amongst all the other images you’ve uploaded).
If by some chance you accidentally chose the wrong image format, it’s OK! You can edit that inside the design space.
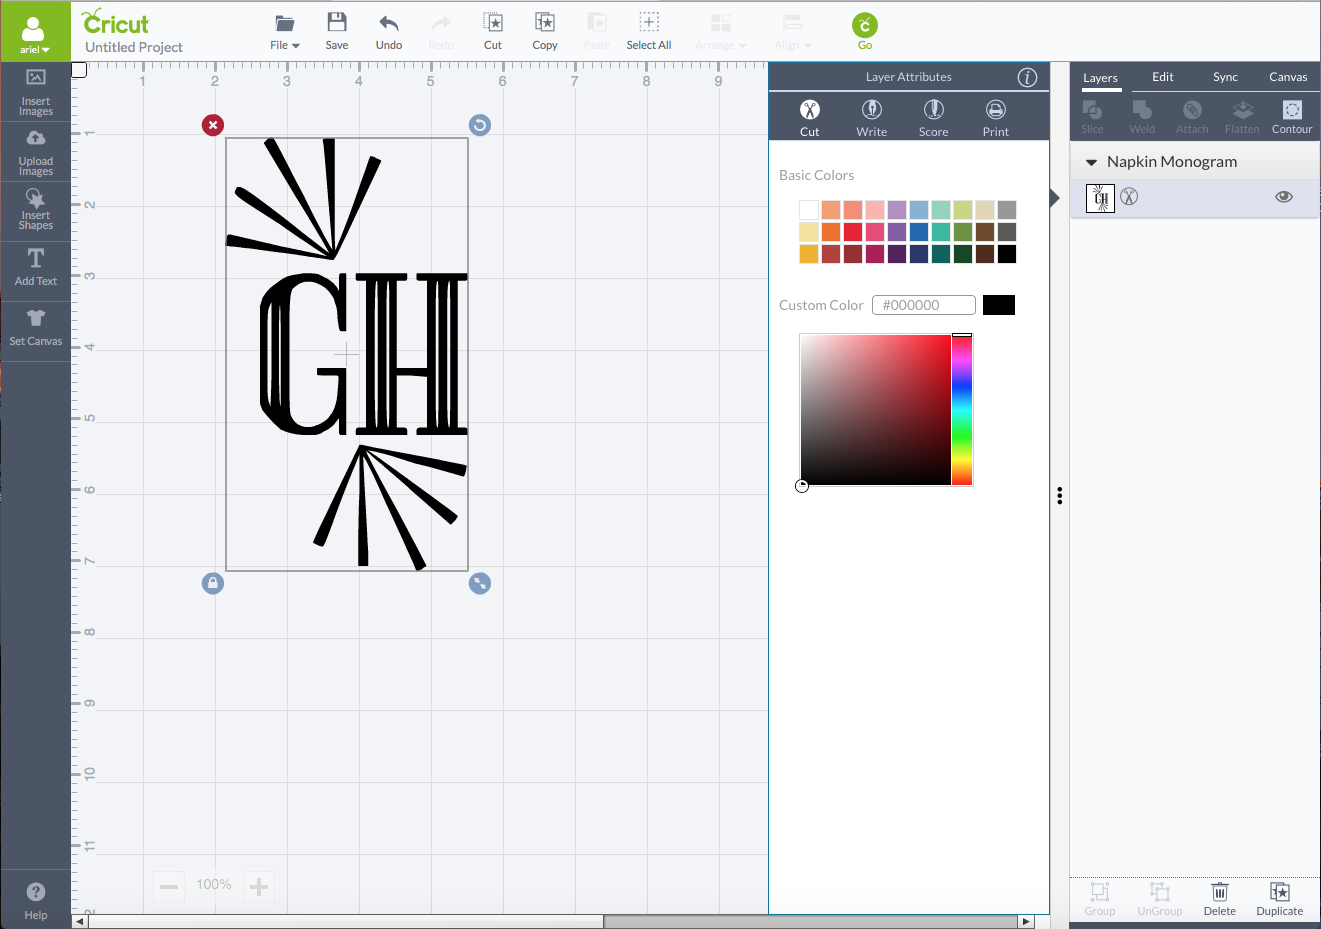
For example, say I had originally placed my monogram as a cut image but I really wanted it to be a “write” image.
Upload the image into your canvas, select it, and look at the sidebar on the right-hand side of the page. See where the thumbnail of the image is? See the little scissors icon next to it?
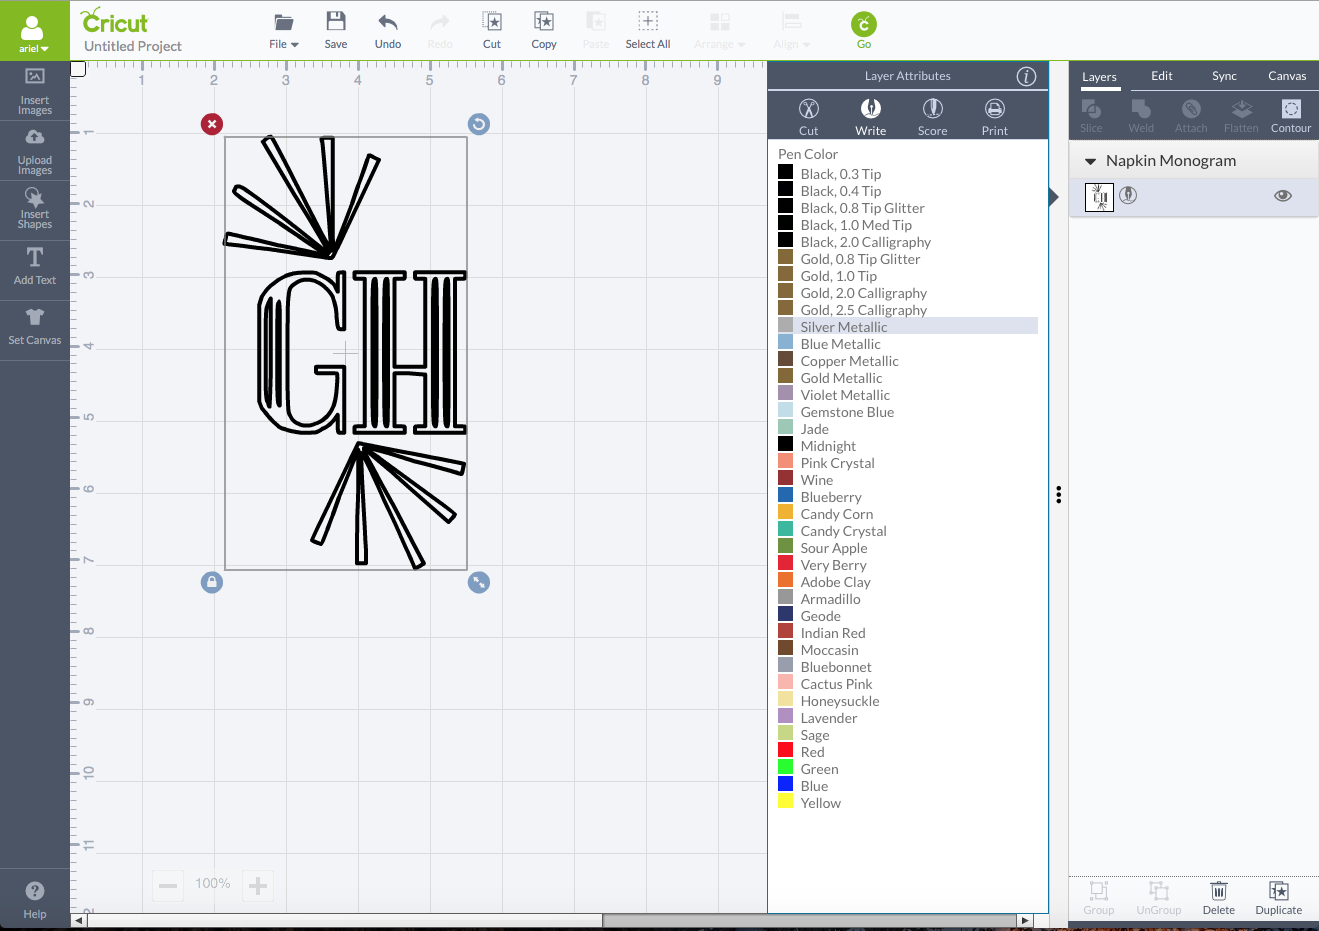
Once you click on it, you’ll be presented with a new window and options. Select the correction option for your file.
You can then customize it according to your needs and pen options.
Back to the PMQ for two Guide to the Cricut Explore Air 2
