Hey remember how I made-over our bikes this summer using Tiffany Pratt’s color collection for Krylon // here // ? You can see Dan’s Bike // here // and my bike // here //. Now I’ve been given another opportunity to work with the series and chose to make something fun and practical for all the hosting and entertaining I’ll be doing this season; spray painted striped candles!
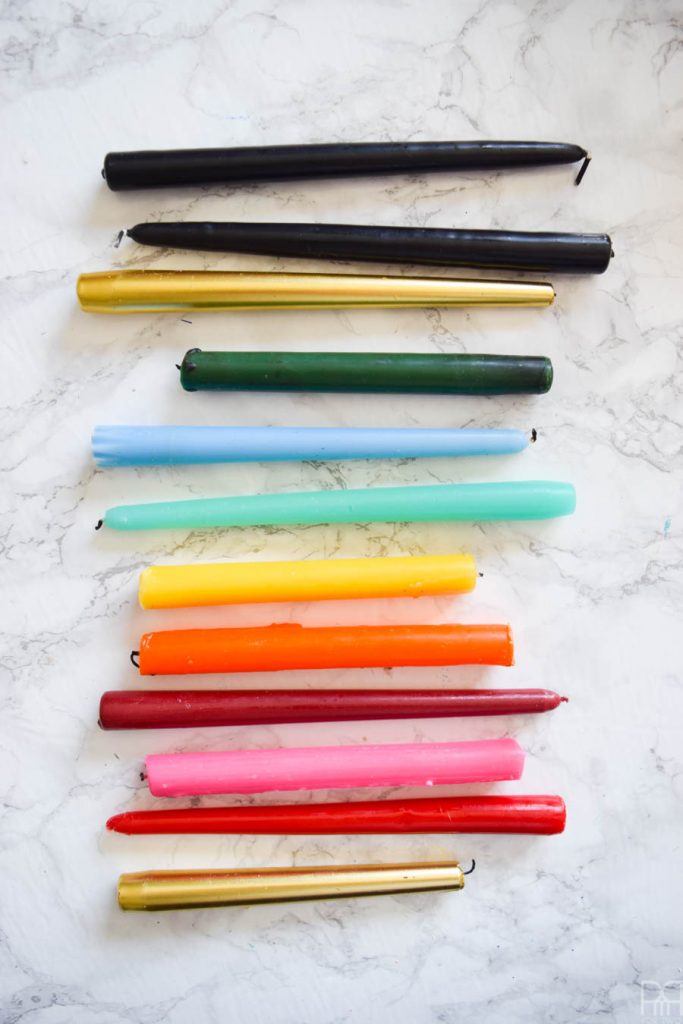
I’ve been slowly but surely building-up a collection, err I mean, stash of candles. I find them in bags at Value Village and have quite the array of colors. You can’t beat a dozen tapers for 1.99$! But that also means I have a lot of candles that all look the same, and we all know that I don’t do much that looks the same. Striped candles are kind of a basic DIY, but that doesn’t mean it’s not worth doing it! As such, I present the simplest yet most impactful DIY you could do for your tablescapes.
*Krylon sponsored this post, but all thoughts are my own. Thank you for supporting the brands that make PMQ for two possible.
*The following product links contain affiliate links. Thank you for supporting the brands that make PMQ for two possible. For my full policies click // here //
Materials
- Frog Painters Tape
- Candle sticks (pillars, tapers – your choice)
- Krylon Spray Paint available at Home Depot, Canadian Tire etc.
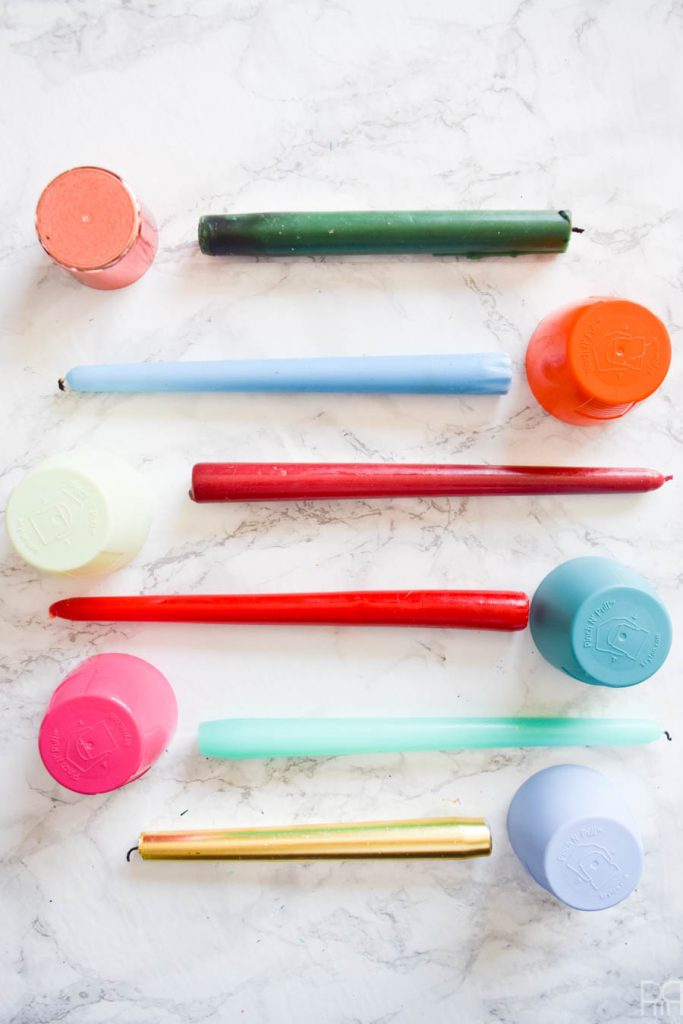
Step 1: Chose your colour pairings carefully. I plan these kinds of things in advance to avoid having to re-paint, but also to ensure I’ve got the whole rainbow.
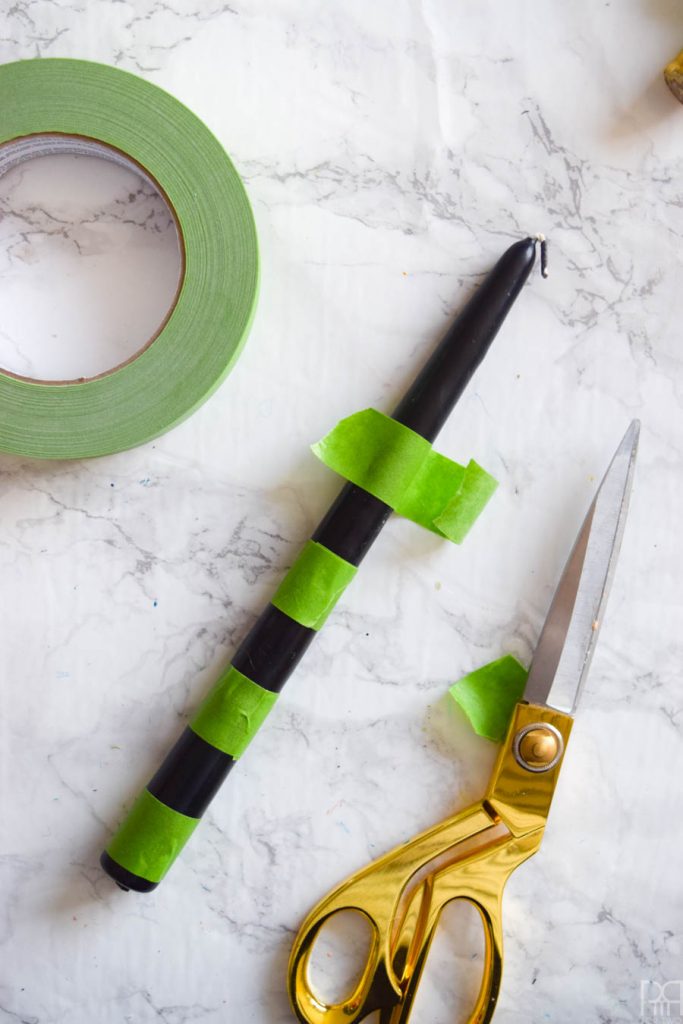
Step 2: Wrap your candles in painters tape to create the stripes you want. I chose to make mine uniform in width and distance from each other but if you wanted you could do lots of little stripes, bigger stripes, fewer of them etc.
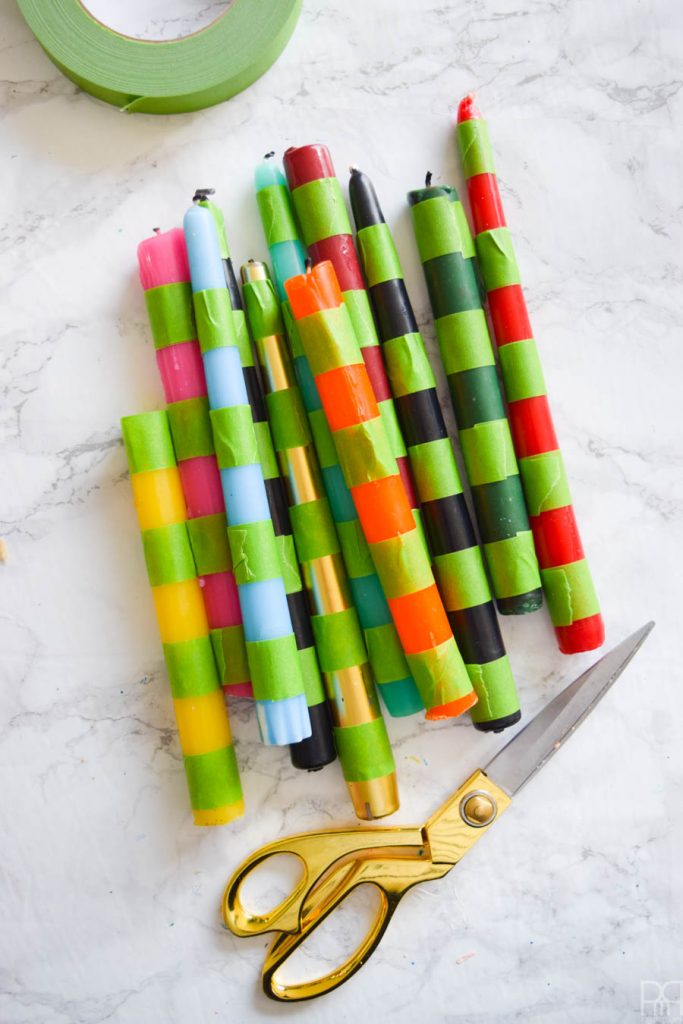
Step 3: Apply a light coat of spray paint to each candle. We have a little spray paint area set-up in the garage with a tarp and a fan, but anywhere outside is best. Remember, you don’t want to spray on really humid days, and you need to shake the cans really well.
Apply the spray paint in sweeping motions at a distance of about 25cm. If you hold the can too close it will pool and run – no bueno.
Apply a second (and maybe 3rd) coat until the candles are completely covered.
Step 4: Leave the candles to dry overnight. Some of them will dry really quickly but others may take quite a while depending on how waxy the candle is.

Step 5: Remove painters tape et voila!
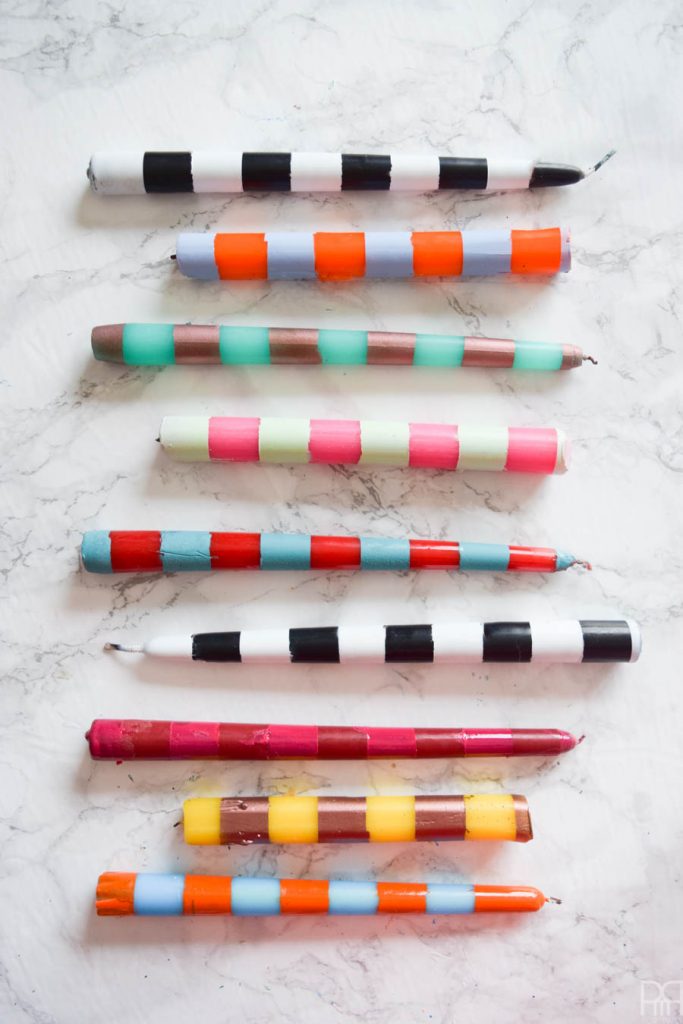

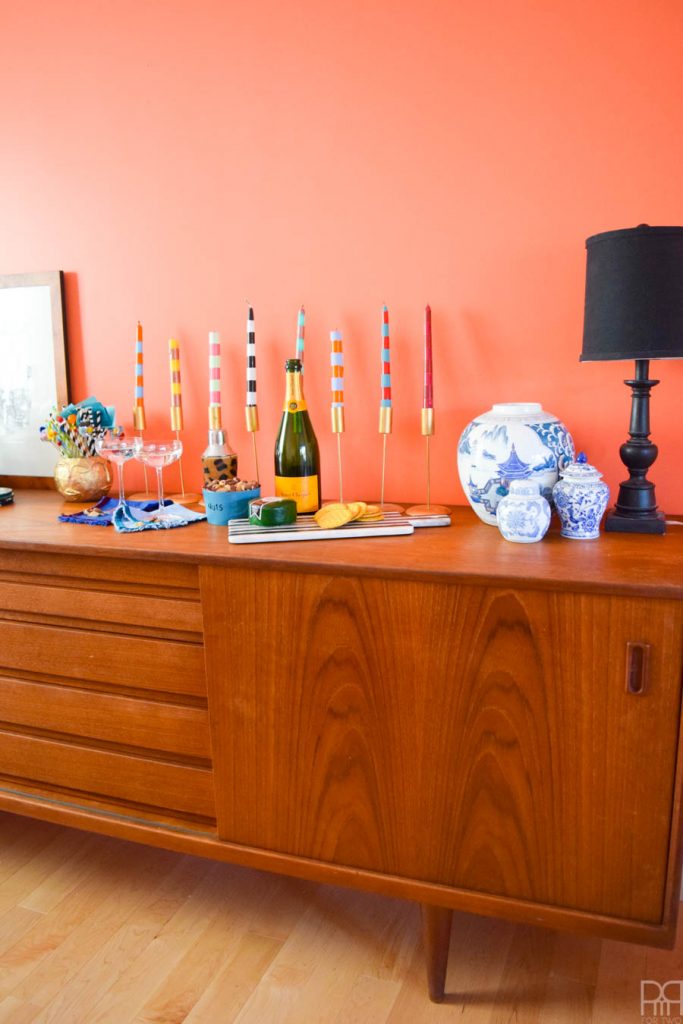
I completed these in time for Canadian Thanksgiving weekend, so my various guests were lucky enough to enjoy turkey dinner by spray painted striped candle light. What do you think of the colour combos? Would you do different combos? Try one colour across all of them?


They look lovely! I’ve done this before but I never use the candles.
Oh yeah? what have you done it on? I’d love to see photos!