This fall faux plastic pumpkins and I are having a moment! Like, “Ariel with the colour pink” moment. They’re everywhere and I love them for two reasons a) they’re not rotting from the inside out b) I can put all this effort into them and they’ll be around next year. At this point I’ve done // decoupage pumpkins // and because I love to paint, I’ve got these DIY Painted Fall Pumpkins for you.
Check out my other pumpkin tutorials: more painted fall floral pumpkins, DIY Drilled Pumpkins, DIY Fabric Pumpkins
Looking for a pumpkin recipe? Try my Baked Pumpkin & Gruyere Dip or my Handmade Pie Hack
*DecoArt provided the paint for review, but all thoughts are my own. Thank you for supporting the brands that make PMQ for two possible.
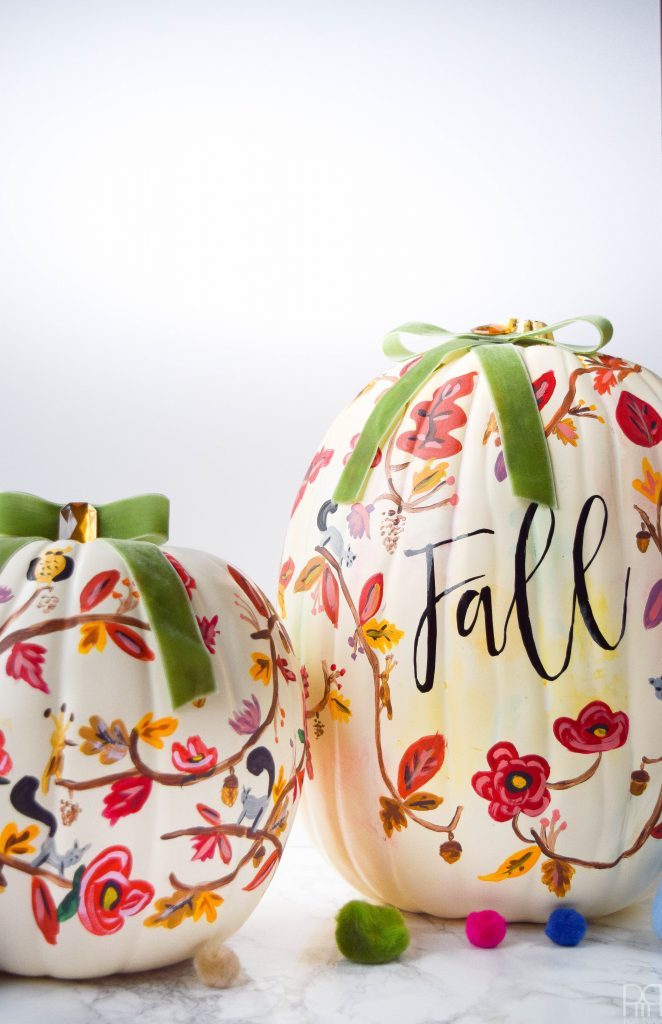
Painting Detailed Patterns The Easy Way
In the past I’ve done a few hand painted projects like my painted florals on glassware, and my astrological sign painted breakfast in bed tray but they all kind of hinge on you having talent… I accept this is a major flaw in my posts. So this time, I’m making it really simple! We’re just doing falling leaves, a flower or two, and maybe a squirrel. I’ll be spending more time showing the steps involved in creating these three elements, so that you can take it from there.
What I love about this style of painting, also know as the Rifle Paper Co. inspired school of painting, is that it’s less formal and more whimsical. You can have fun with colour and shapes and perspectives. So if you’re a sloppy painter free spirit with a paintbrush, this one is for you!
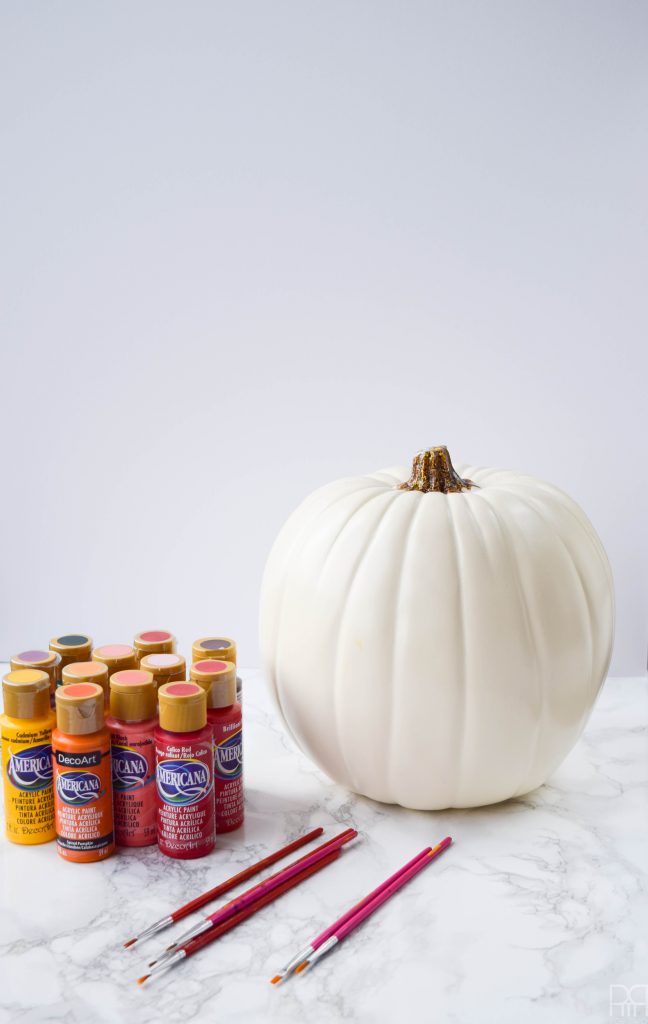
How to Paint a Rifle Paper Co. Fall Pattern
*The following product links are affiliate things. Thank you for supporting the brands that make PMQ for two possible.
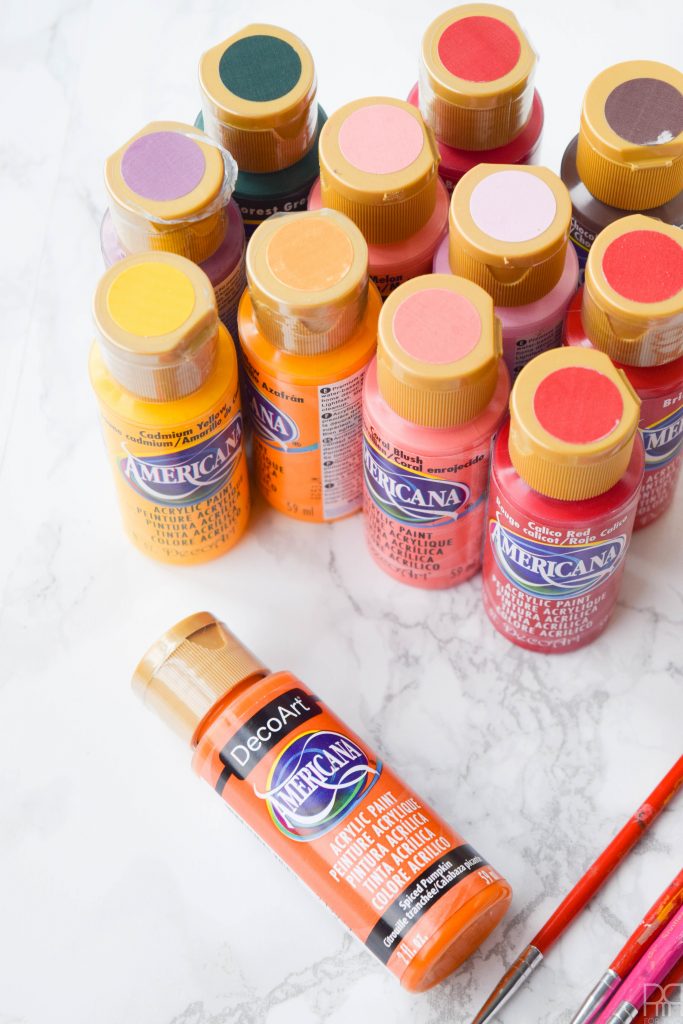
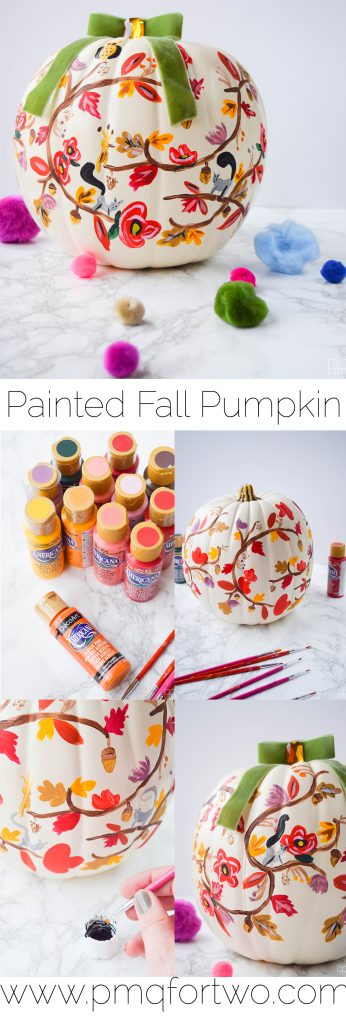
You’ll need all these paints and materials to recreate this exact pattern and palette. If you’ve got different shades, feel free to use them!
-
- Americana Paints – I used the following colours:
- DecoArt Americana Acrylic Paint, 2-Ounce, Poodle Skirt Pink
- DecoArt Americana Acrylic Paint, 2-Ounce, Melon
- DecoArt Americana Acrylic Paint, 2-Ounce, Coral Blush
- DecoArt Americana Acrylic Paint, 2-Ounce, Brilliant Red
- DecoArt Americana Acrylic Paint, 2-Ounce, Tuscan Red
- DecoArt Americana Acrylic Paint, 2-Ounce, Georgia Clay
- DecoArt Americana Acrylic Paint, 2-Ounce, Spiced Pumpkin
- DecoArt Americana Acrylic Paint, 2-Ounce, Saffron Yellow
- DecoArt Americana Acrylic Paint, 2-Ounce, Cadmium Yellow
- Americana Acrylic Paint 2oz-Frosted Plum
- DecoArt Americana Acrylic Paint, 2-Ounce, Dark Chocolate
- DecoArt Americana Acrylic Paint, 2-Ounce, Slate Grey
- DecoArt Americana Gloss Enamel Paint, 2-Ounce, Black
- Fine tip brushes
- Plastic pumpkins – I purchased mine on clearance at Michaels this week, so take advantage while the sales are on!
- Americana Paints – I used the following colours:
A note on colour choice: I chose beautiful warm shades of red and yellow for the season, but you could easily do something in blues or purples and have it be perfectly seasonal. You can also buy all of these paints at Michaels or online through amazon.
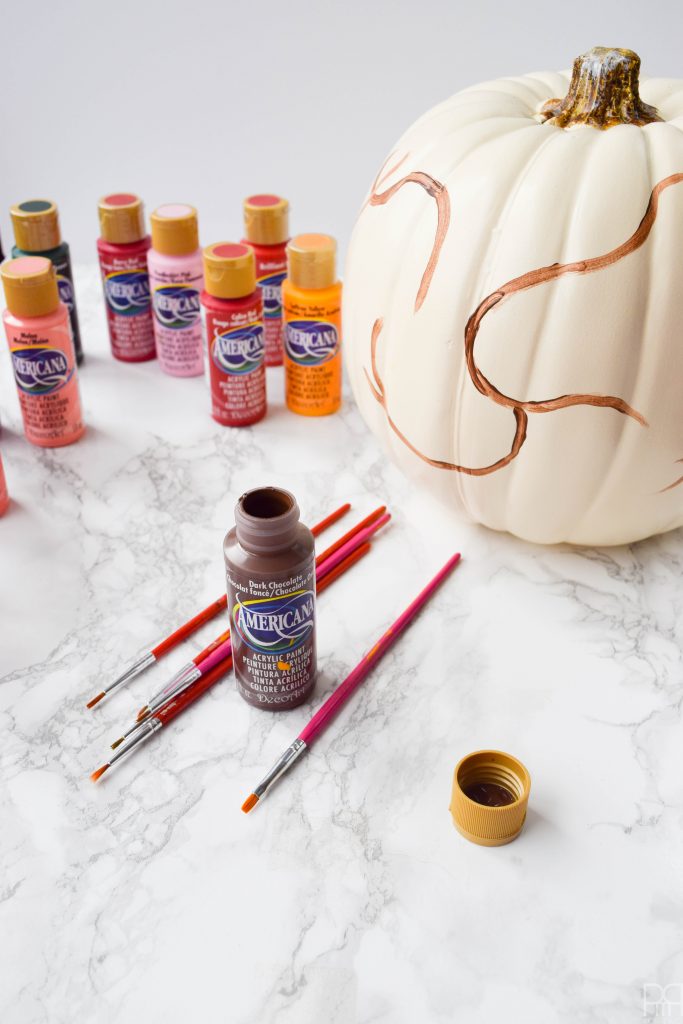
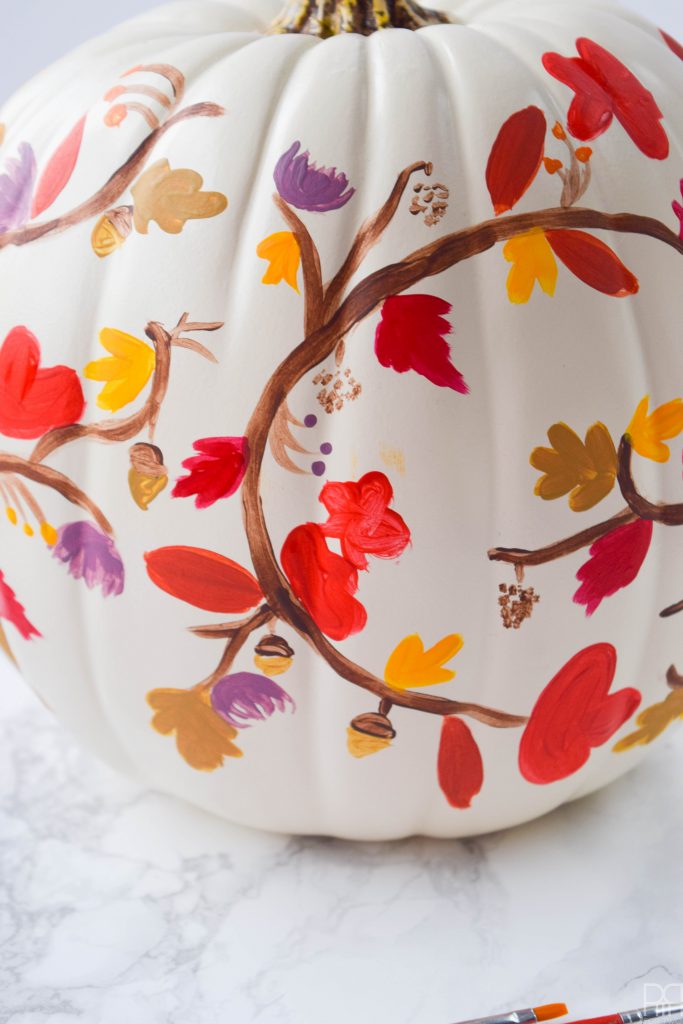
Using Dark Chocolate, paint a series of branches in overlapping arabesques. Add extra branches and offshoots to fill the space. Keep in mind that you will be adding leaves all around the branches, so don’t space them too closely.
Painting Fall Foliage
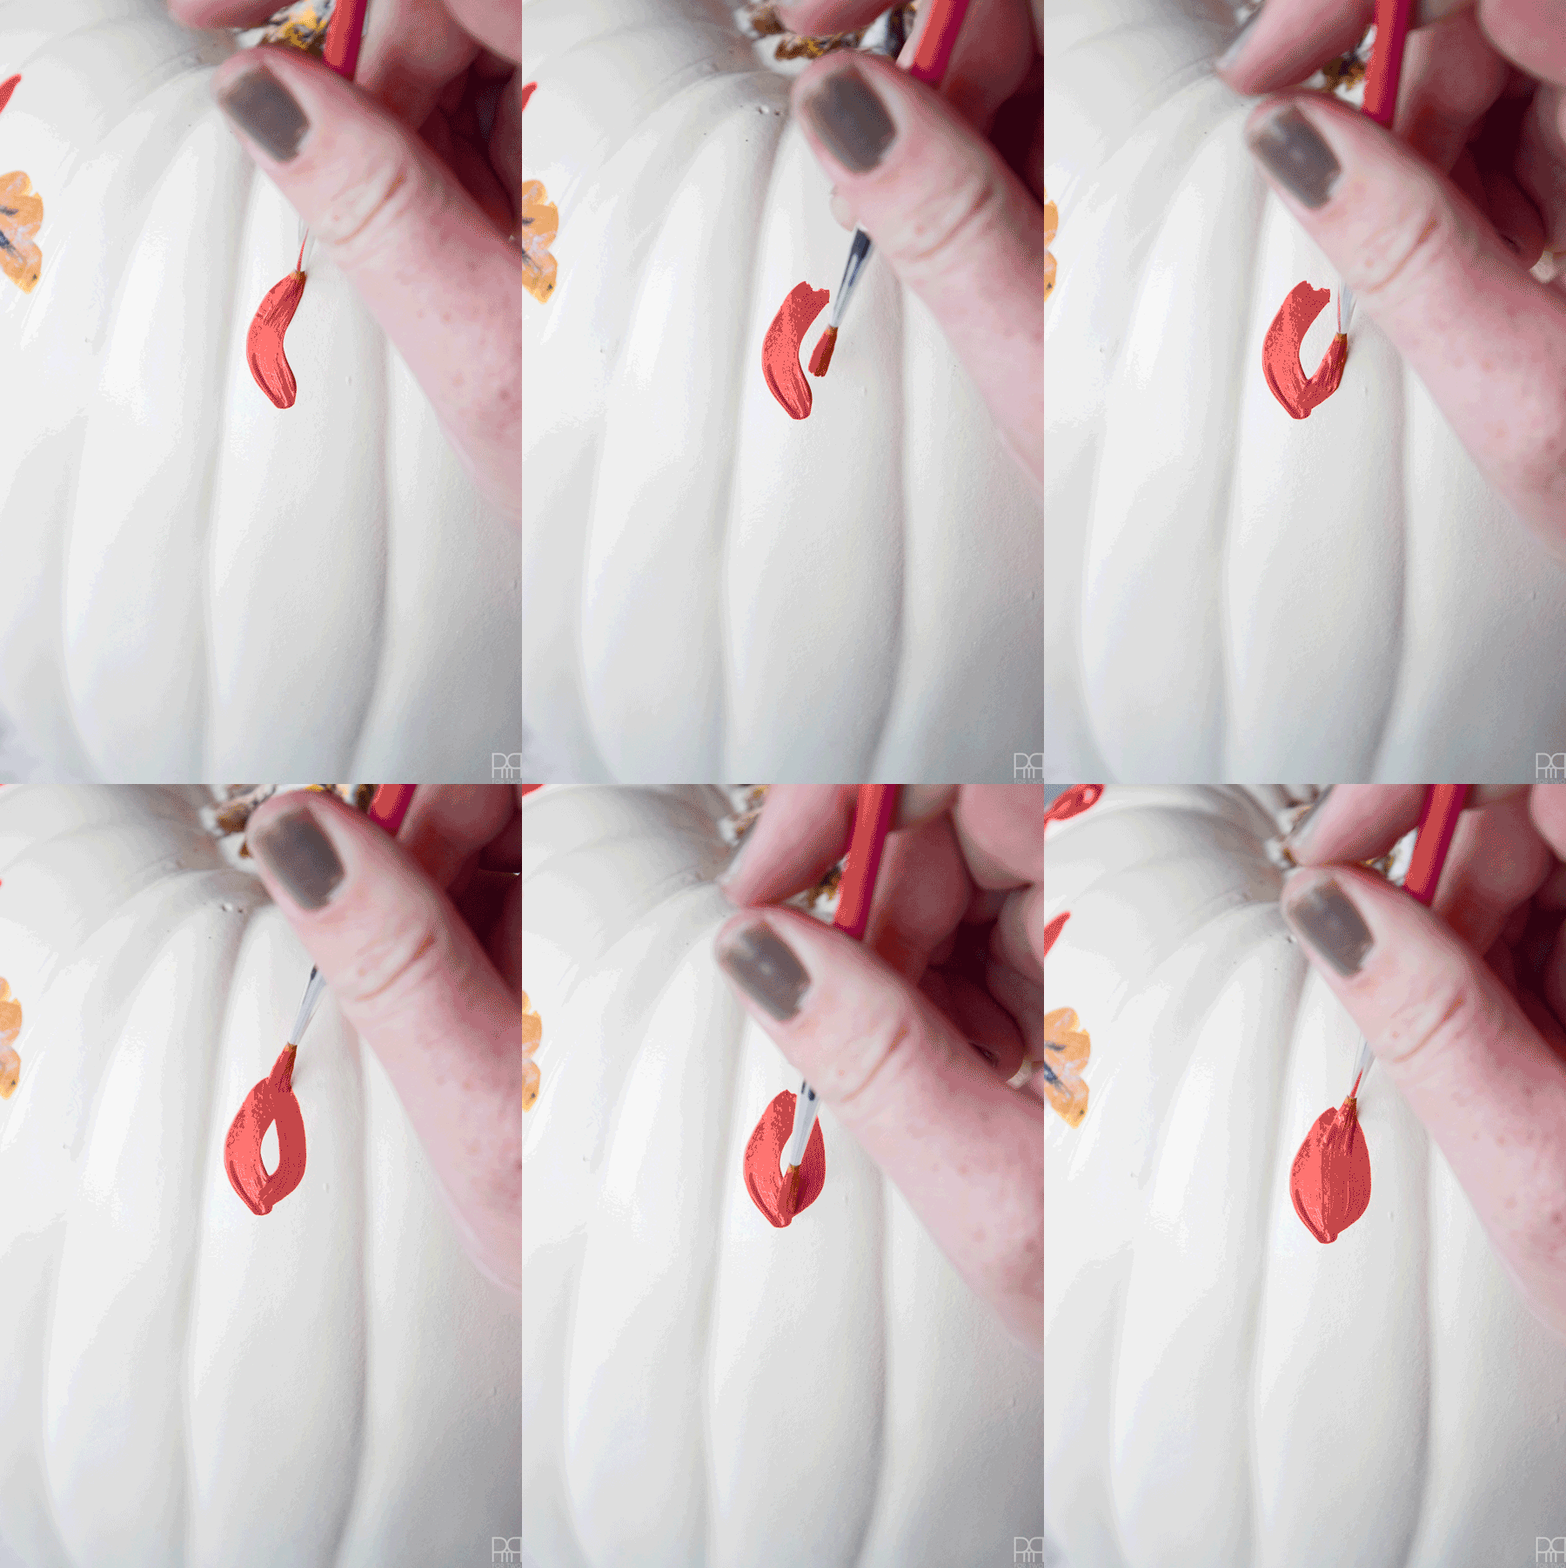
Paint your first leaf using Georgia Clay
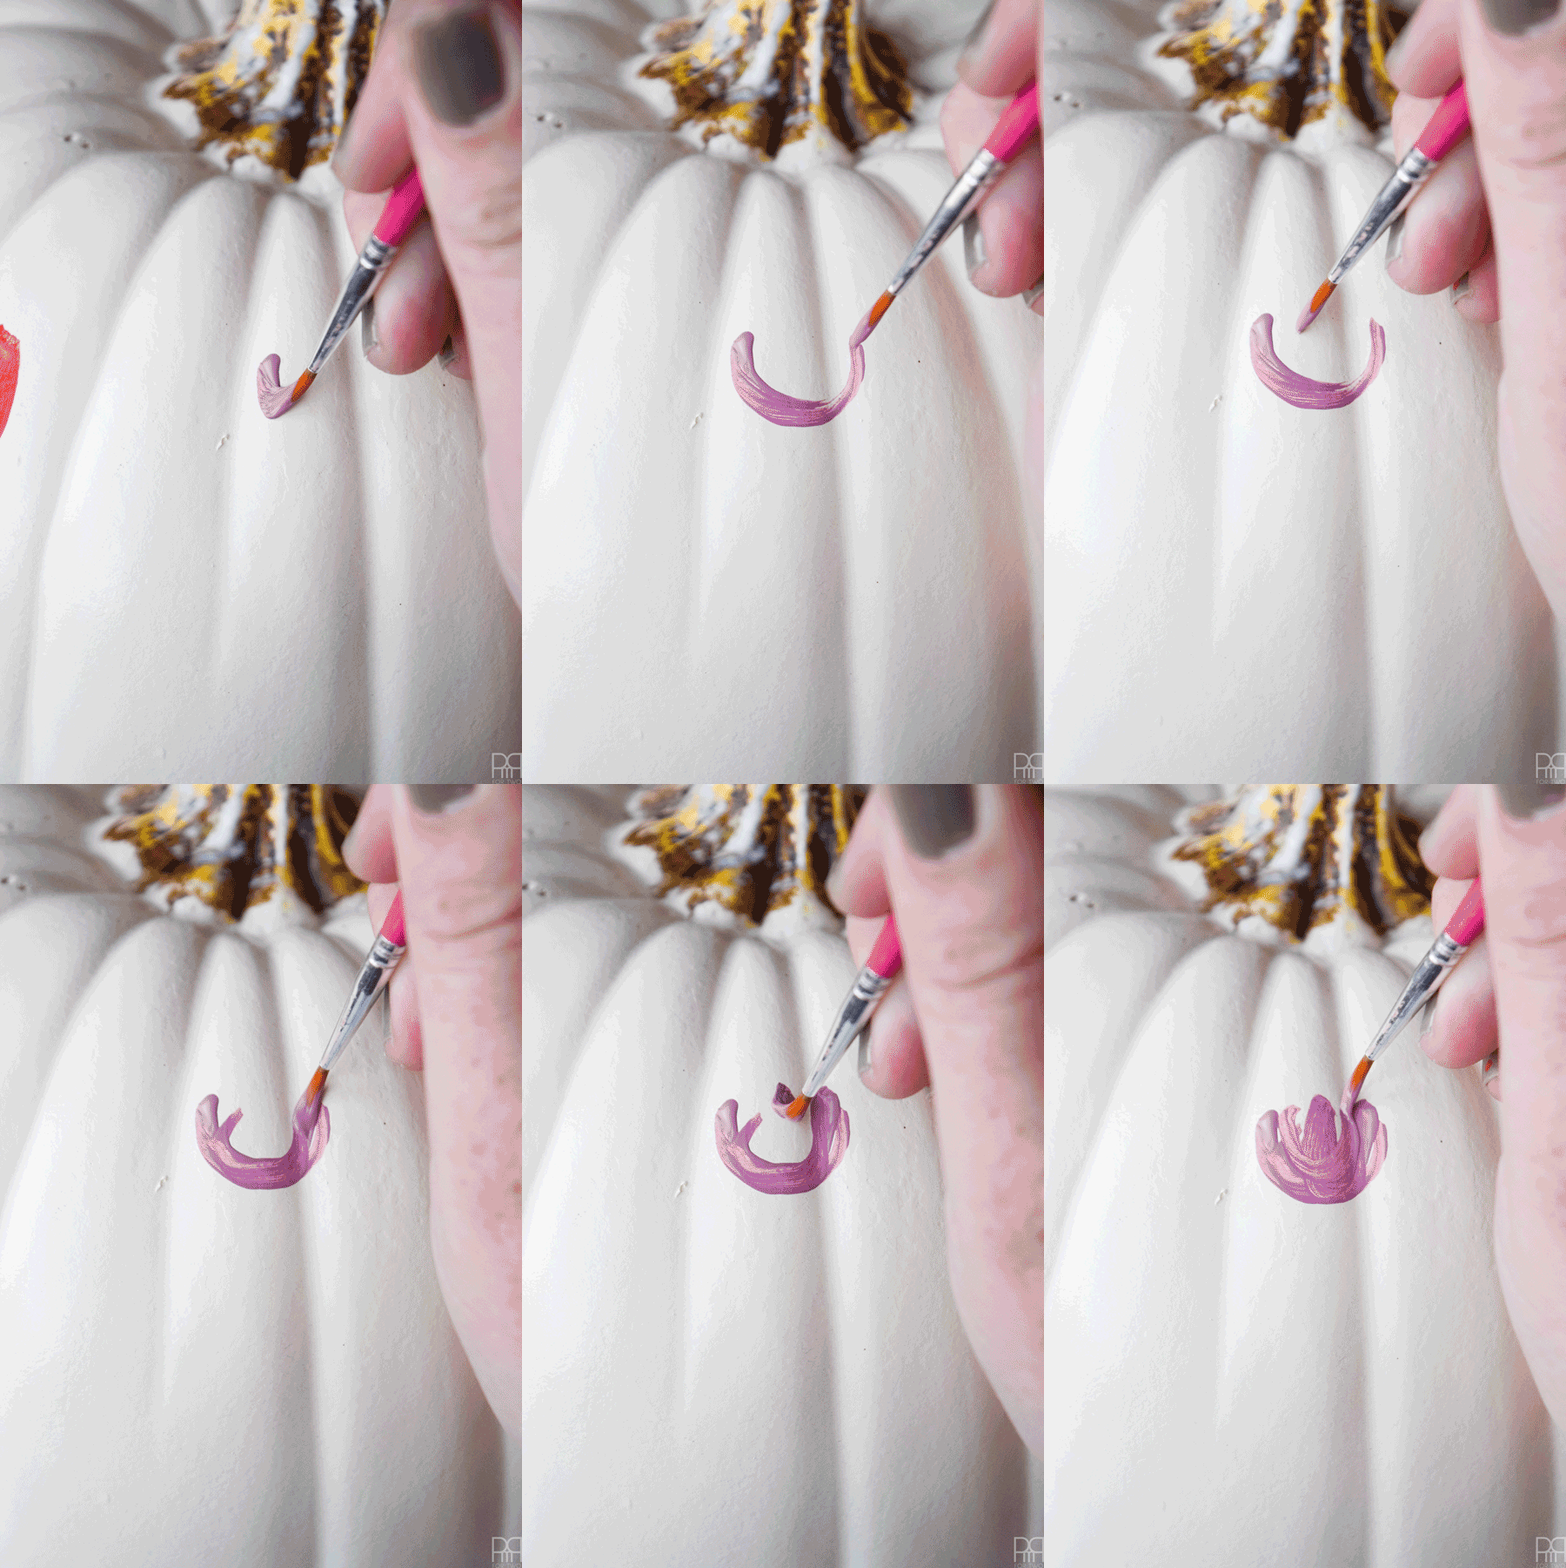
Paint your flower bud using Frosted Plum.
Using Tuscan Red, paint your second leaf. This one is more like a sloppy maple leaf.
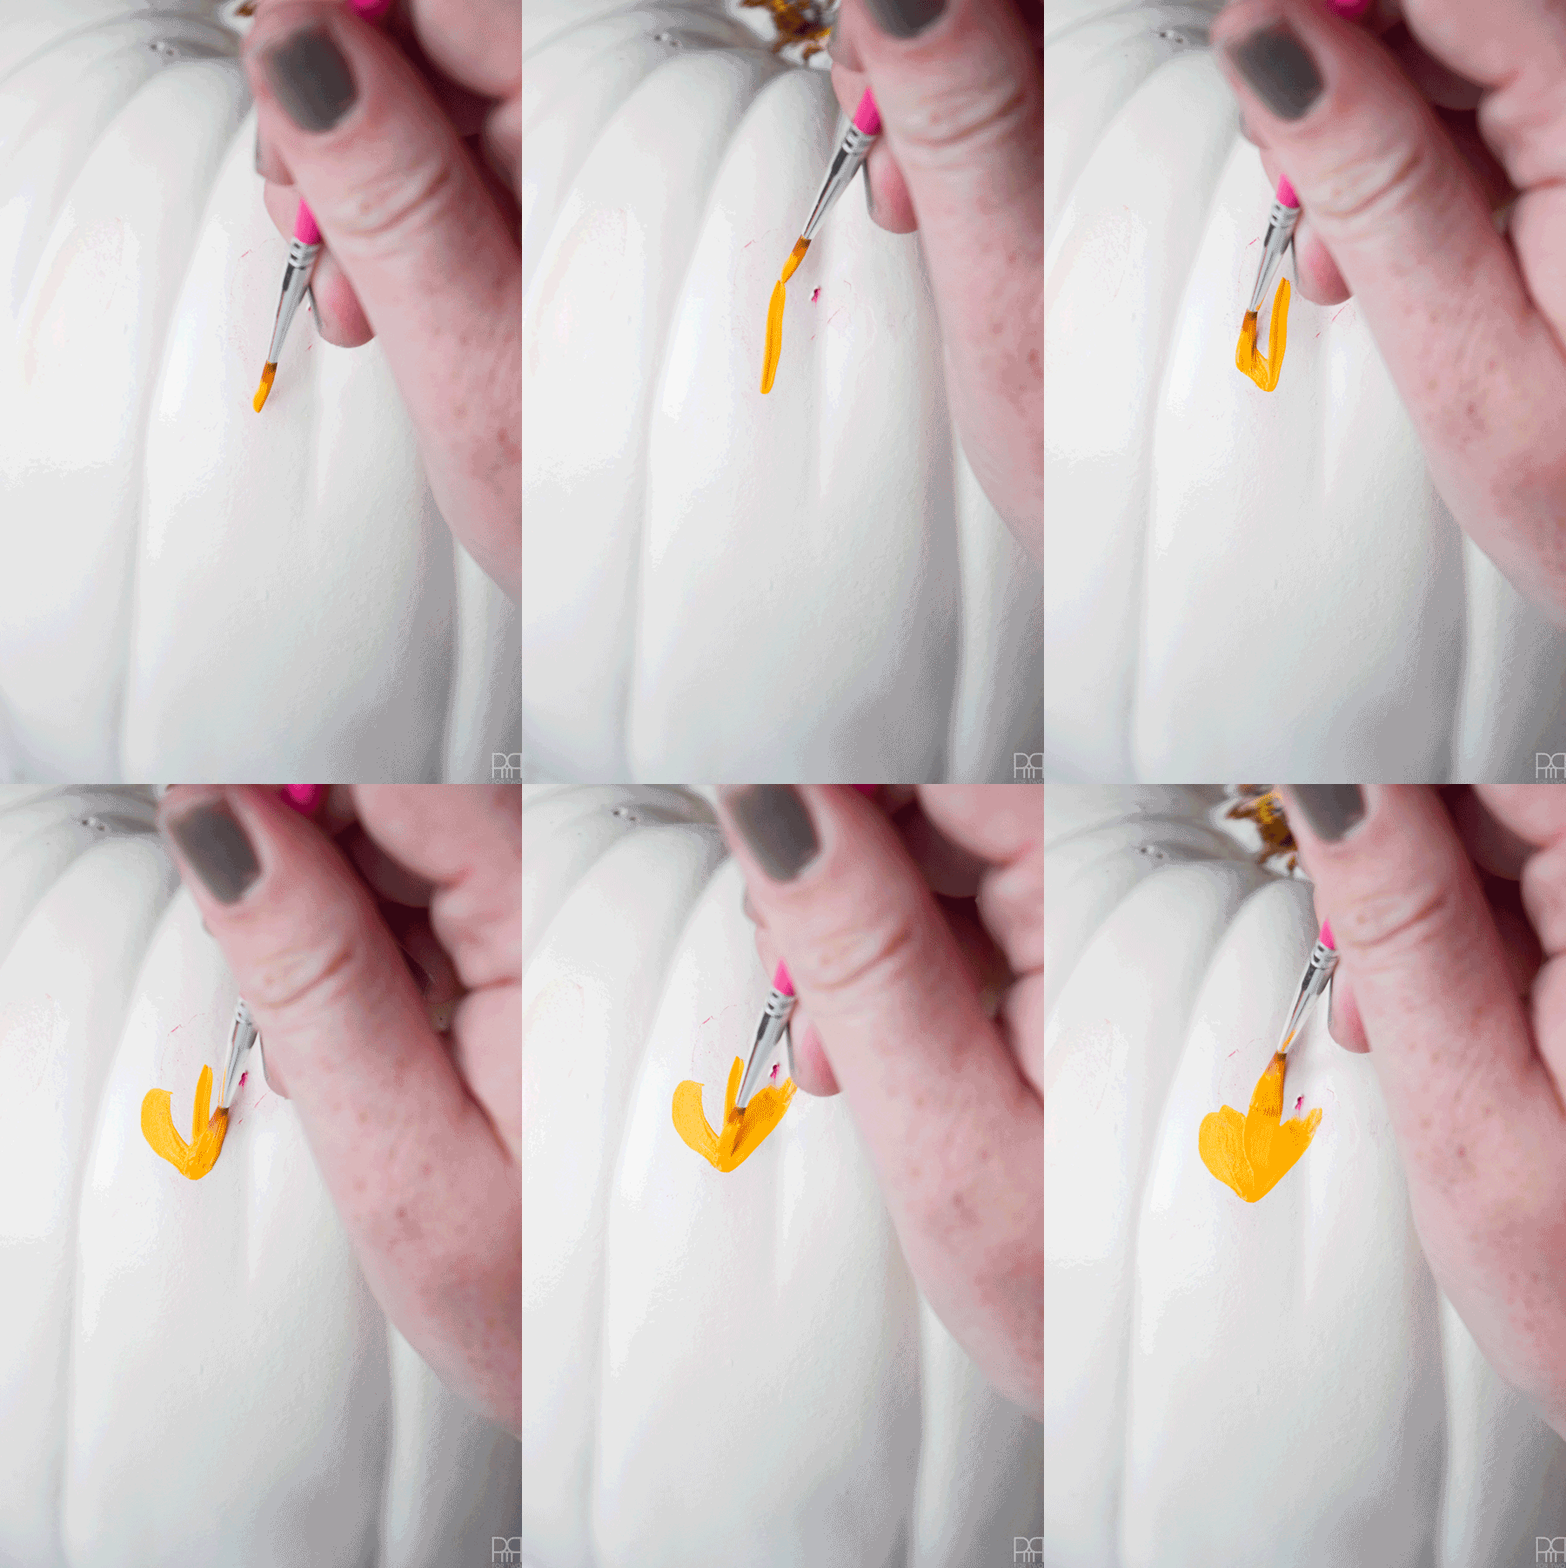
Using Saffron Yellow, paint your third leaf on the branches. I wish I knew the name of the tree off which I am basing this leaf, either way, it’s simple and small.
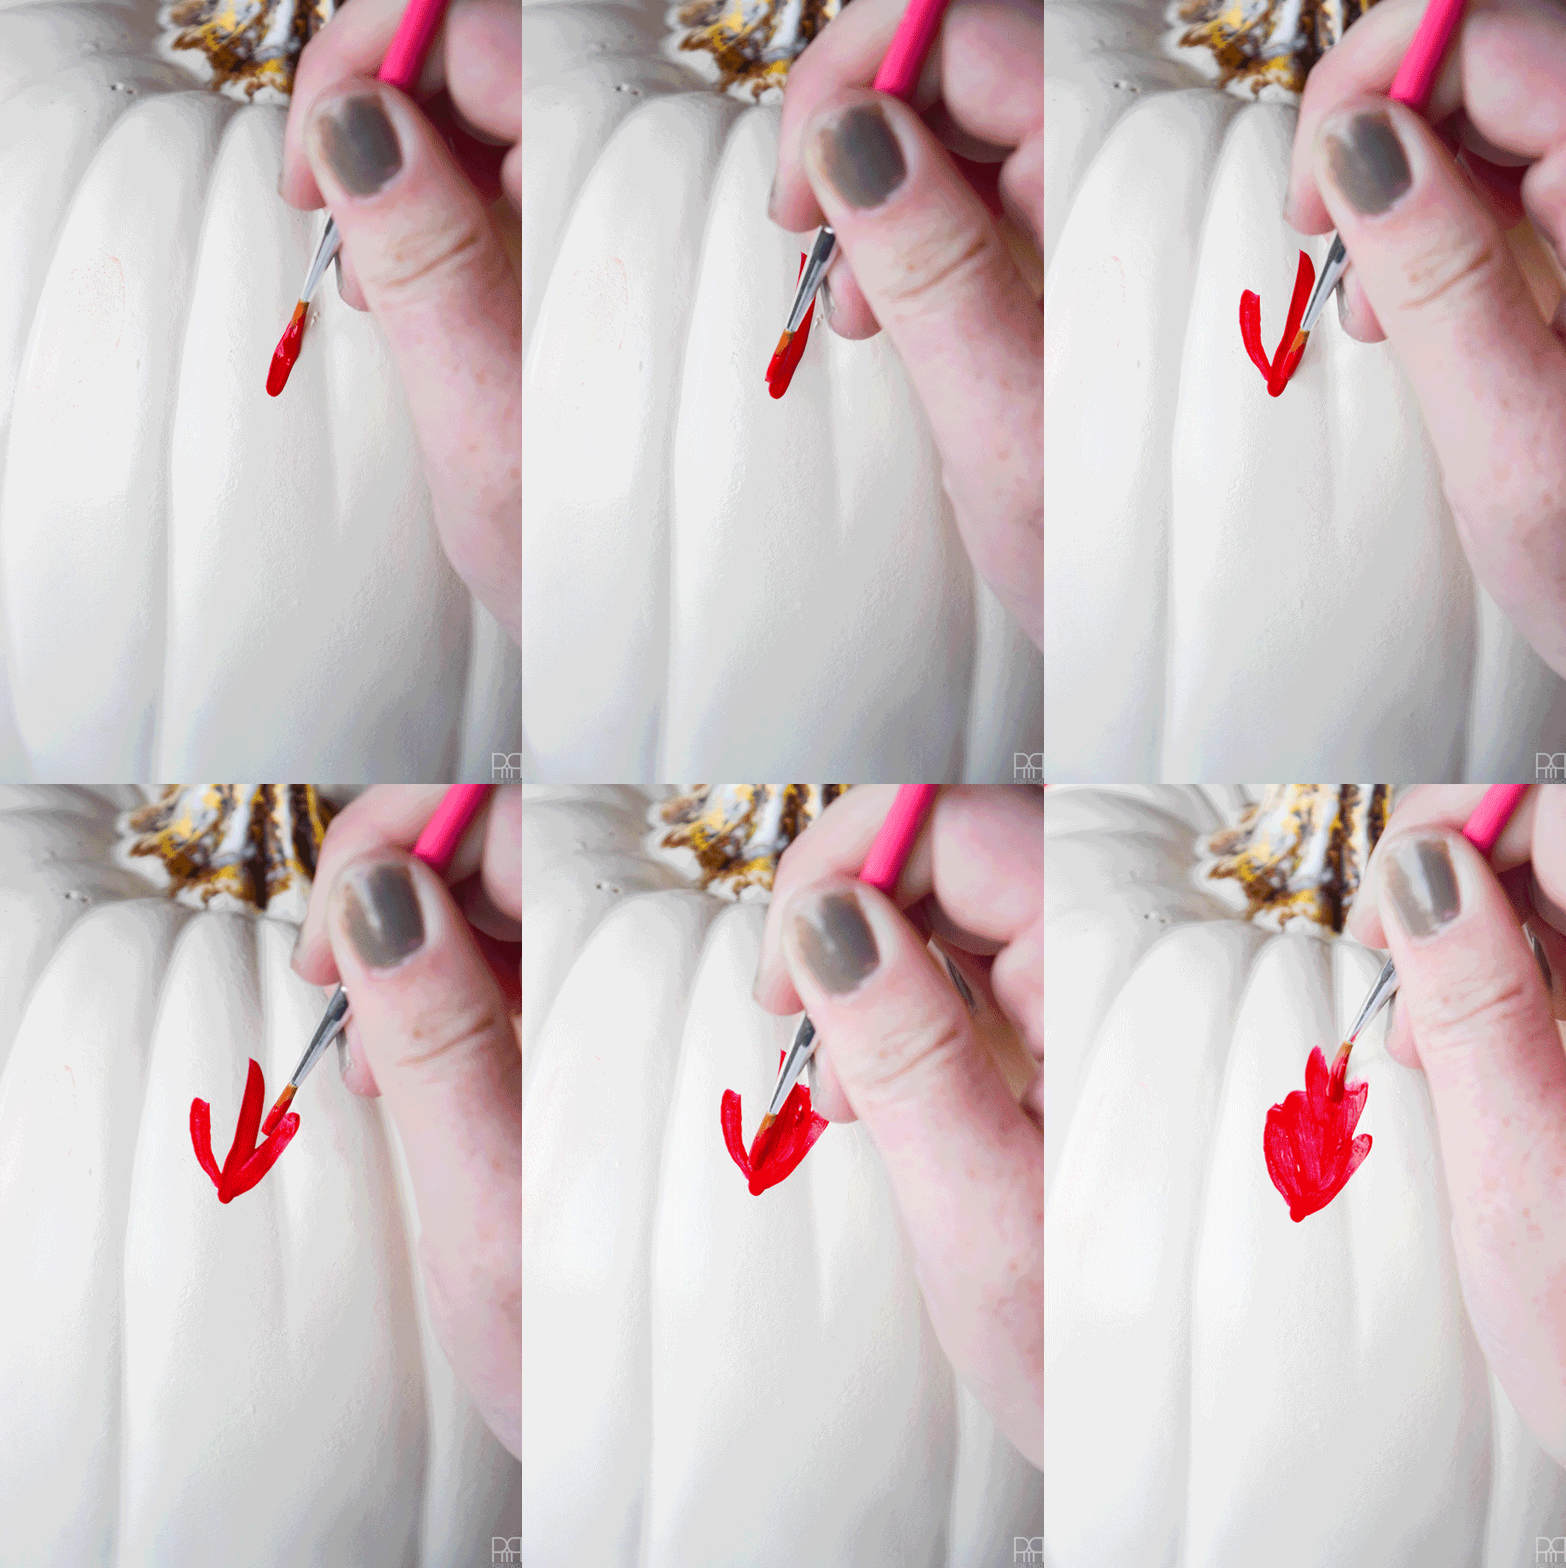
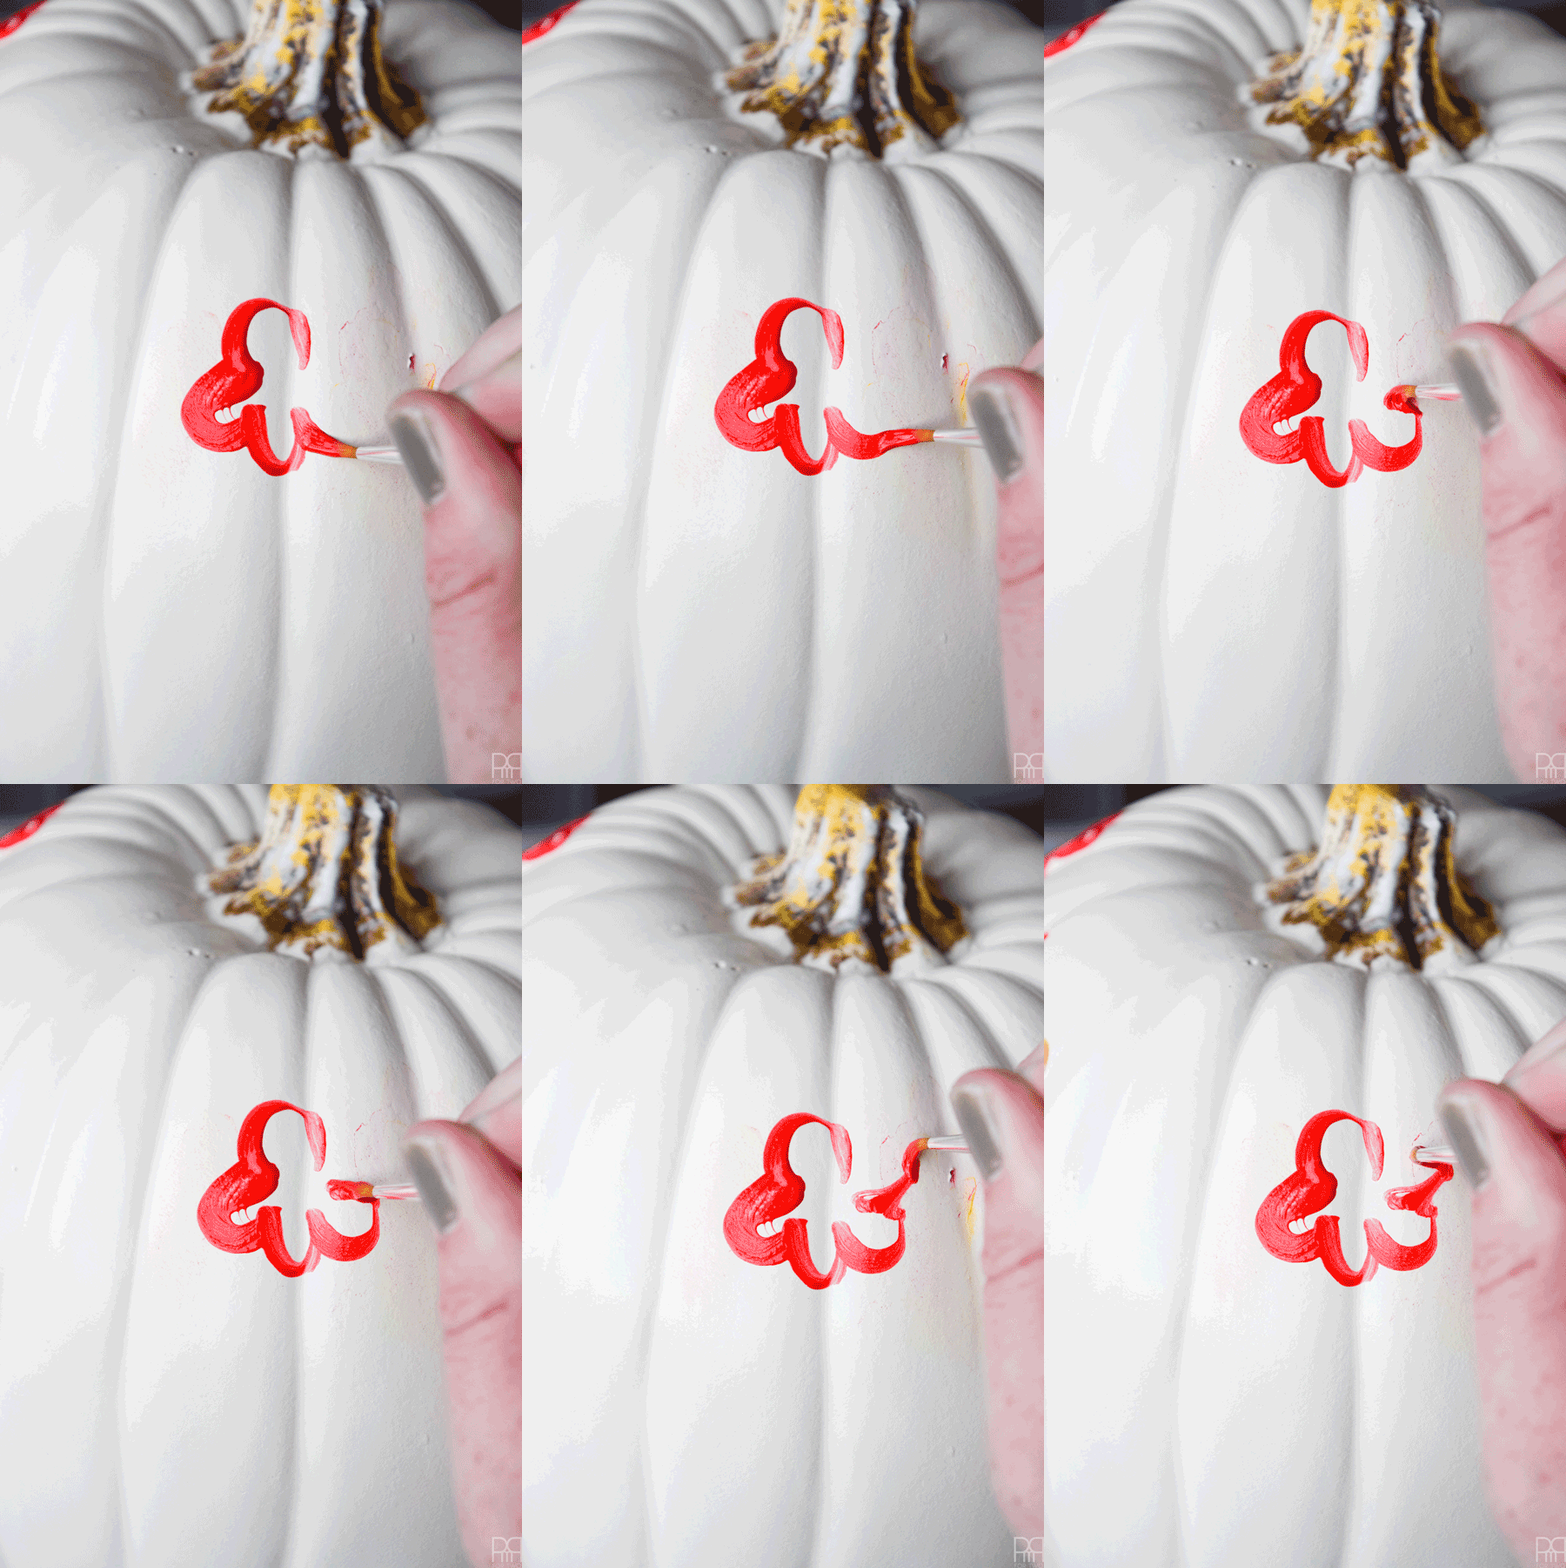
Using Brilliant Red, paint large anemones around the branches and to help fill spaces. These are like big red flowers. The real beauty of these ones comes with the finishing and contrasting details.
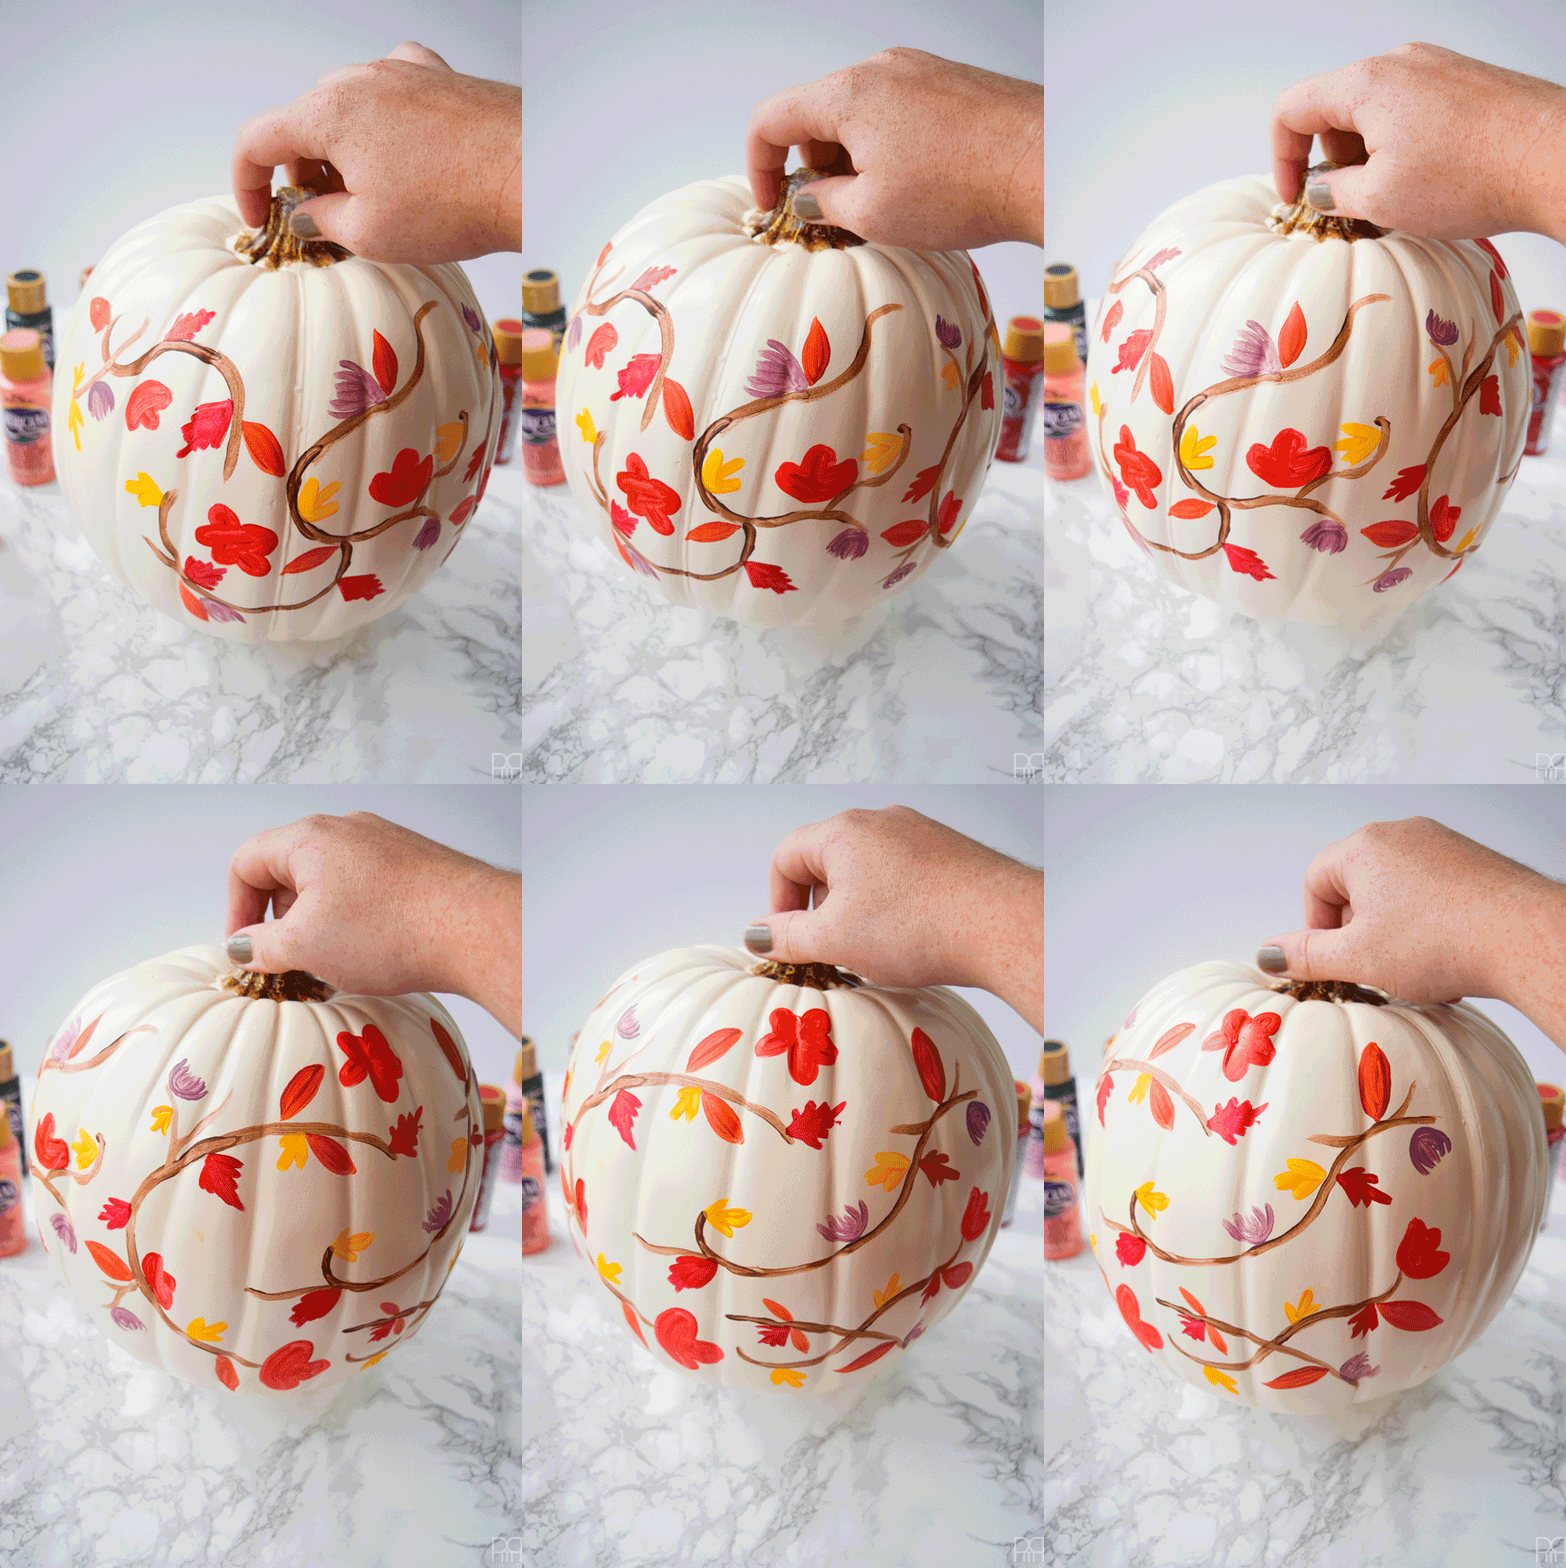
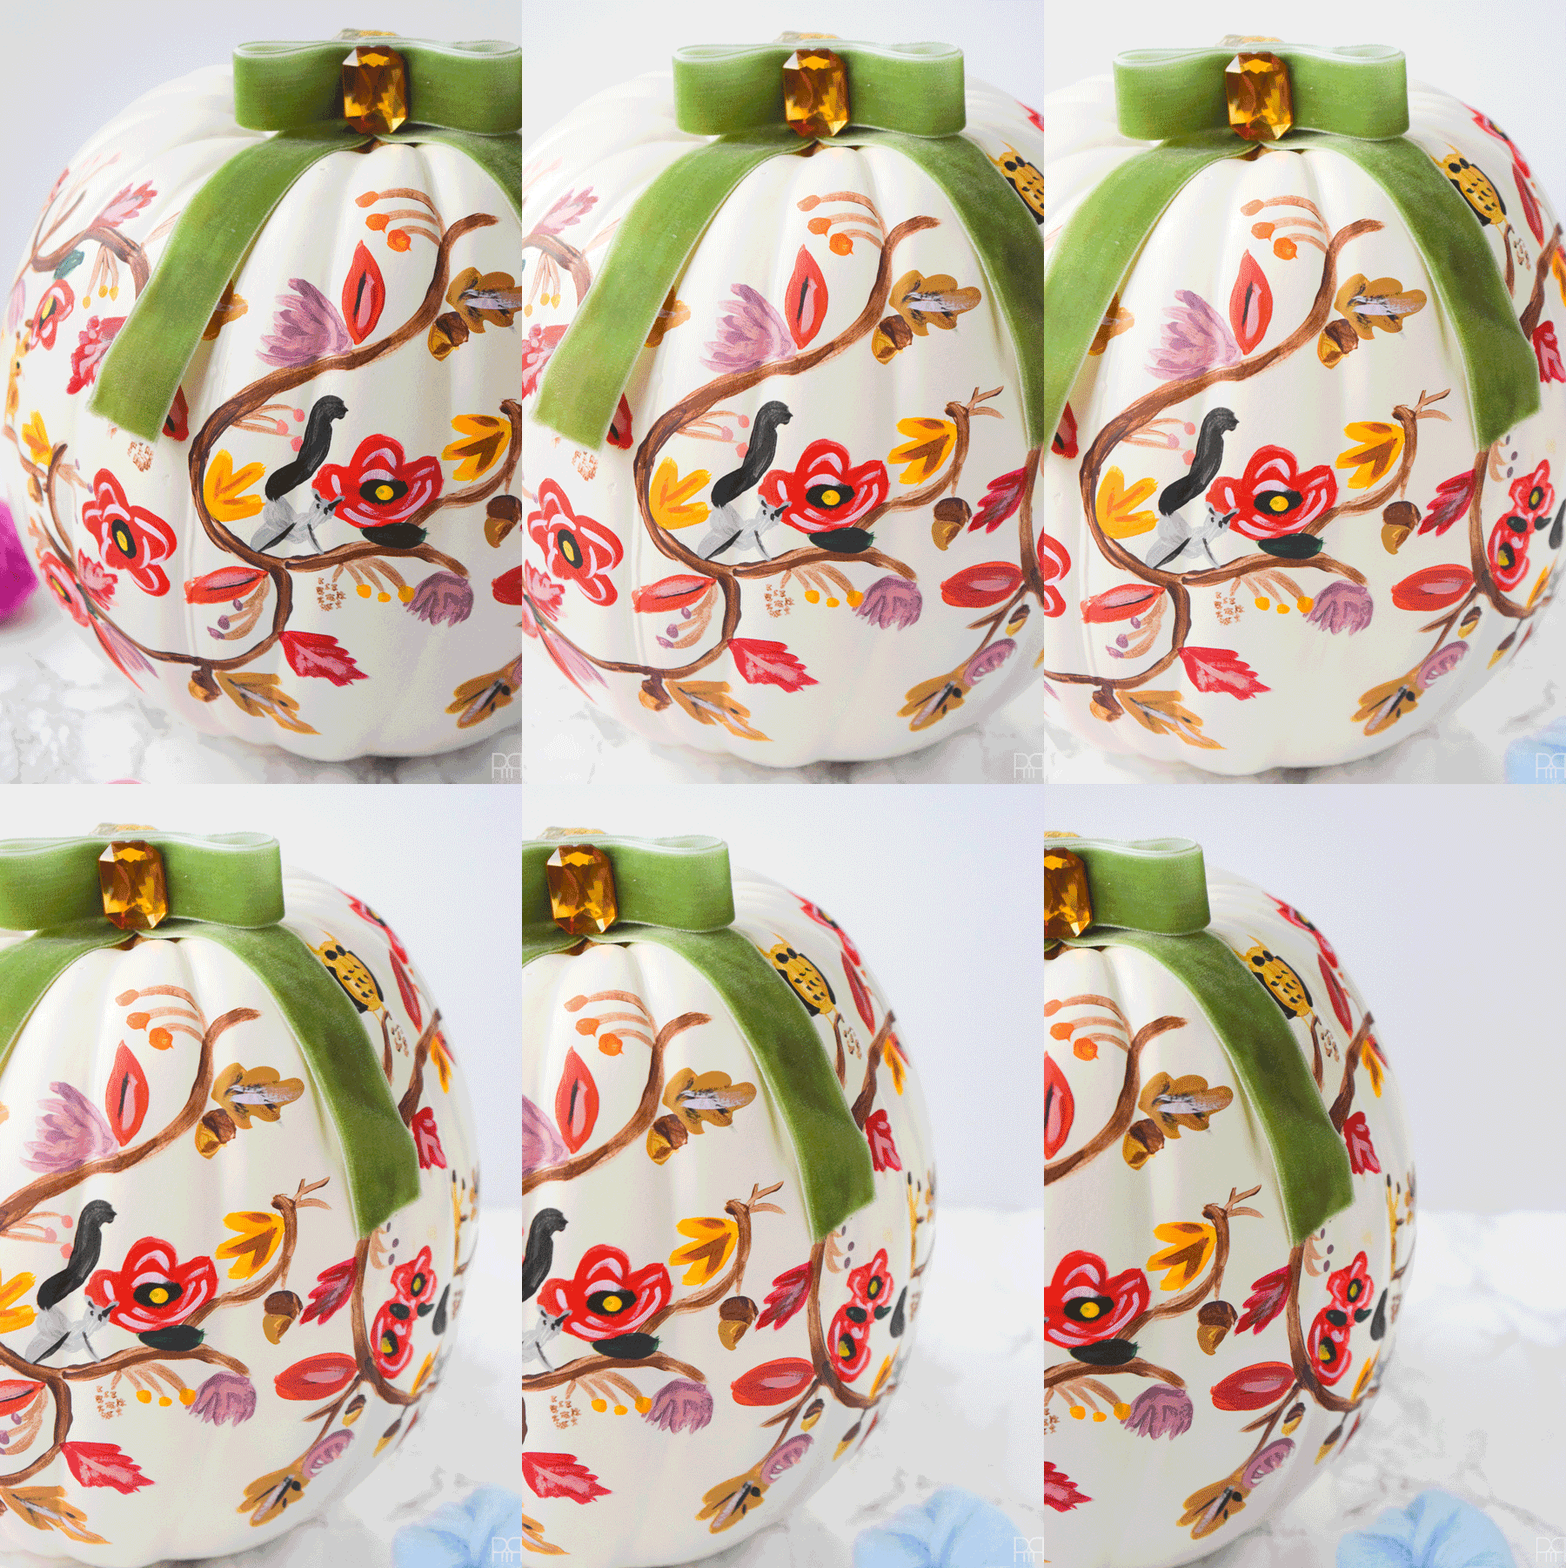
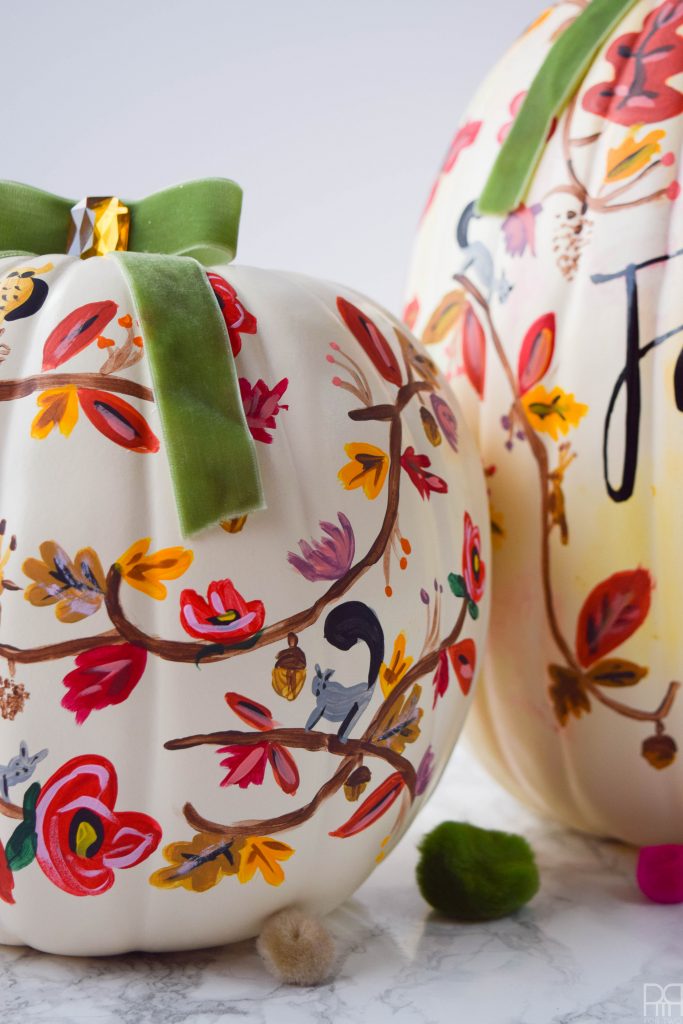
At this point your pumpkin should look like this! This is where you take stock, add blooms or leaves, and figure out where you’re going to put your finishing touches.
Using a mix of Dark Chocolate and Saffron Yellow to create a light brown for a final leaf motif on the branches. This one looks like an oak leaf. Make sure you make enough for two coats, and for some wildlife critters!
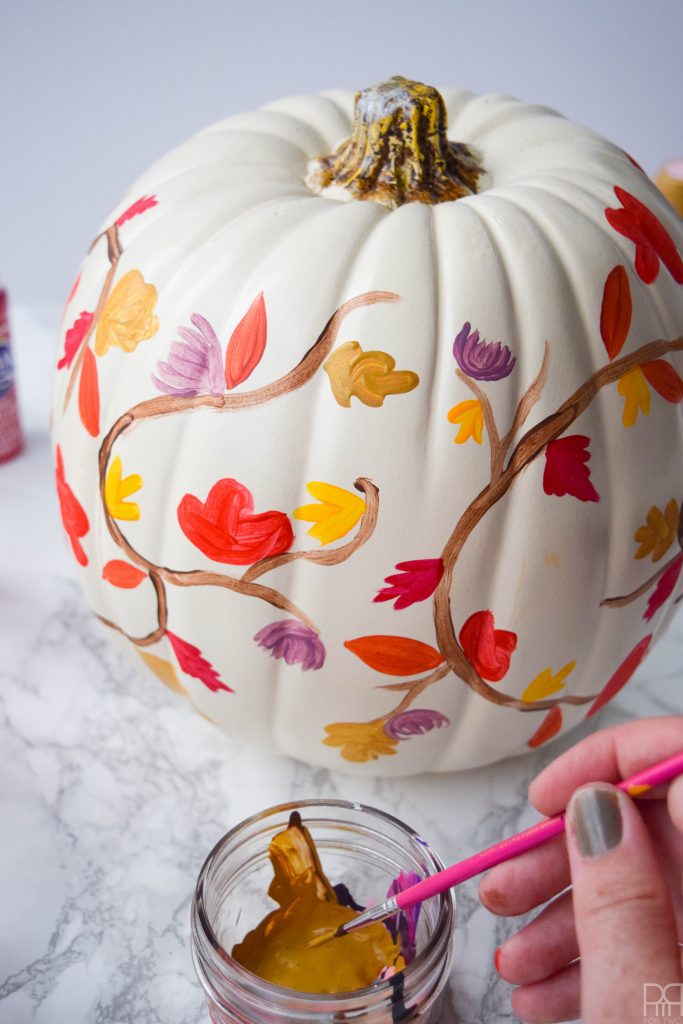
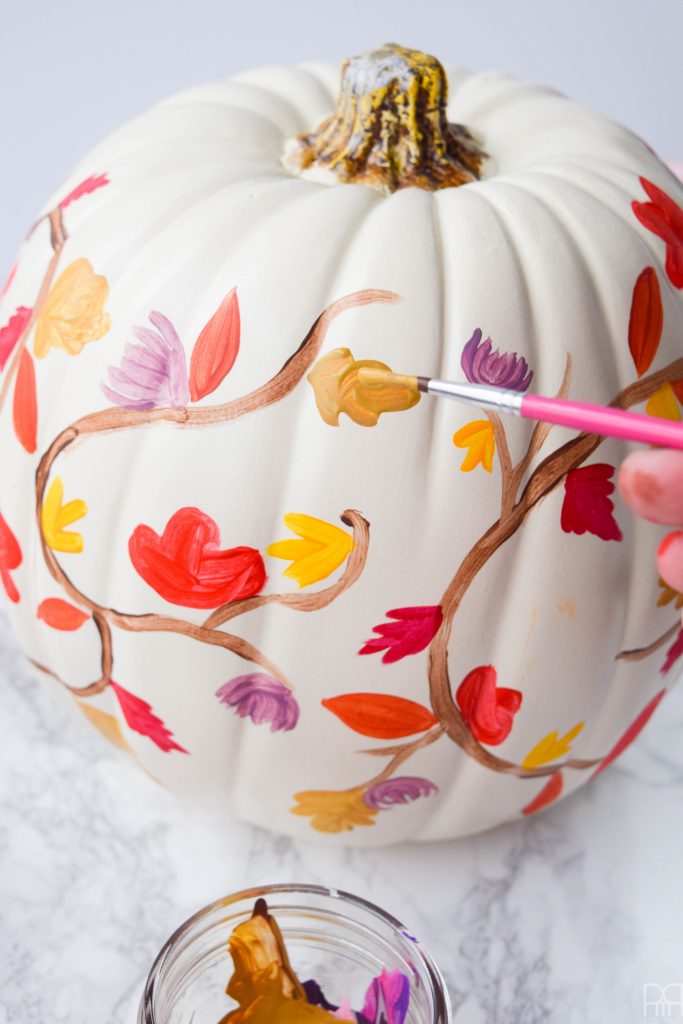
Using Dark Chocolate add three little twigs closely together. Sprinkle them throughout the leaves and buds on the branches. You’ll add different coloured berries to complement the leaves. You can make them as long or as short as you’d like. I use them to help fill space and add another colour. You’ll also add pinecones and acorns. They’re simple enough and don’t really need a gif.
Painting Squirrels
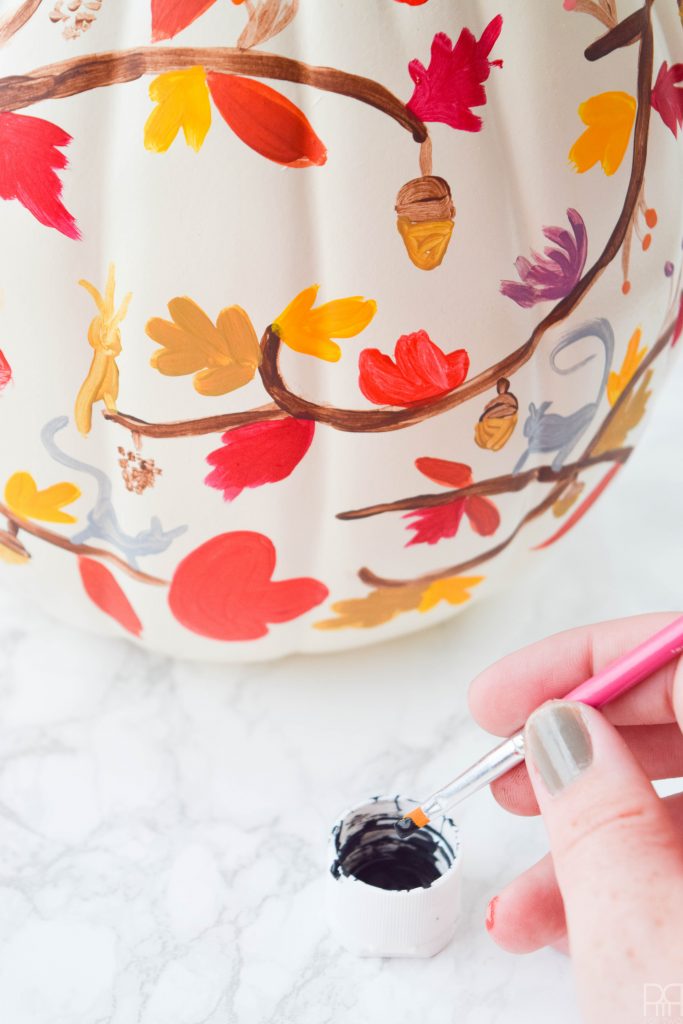
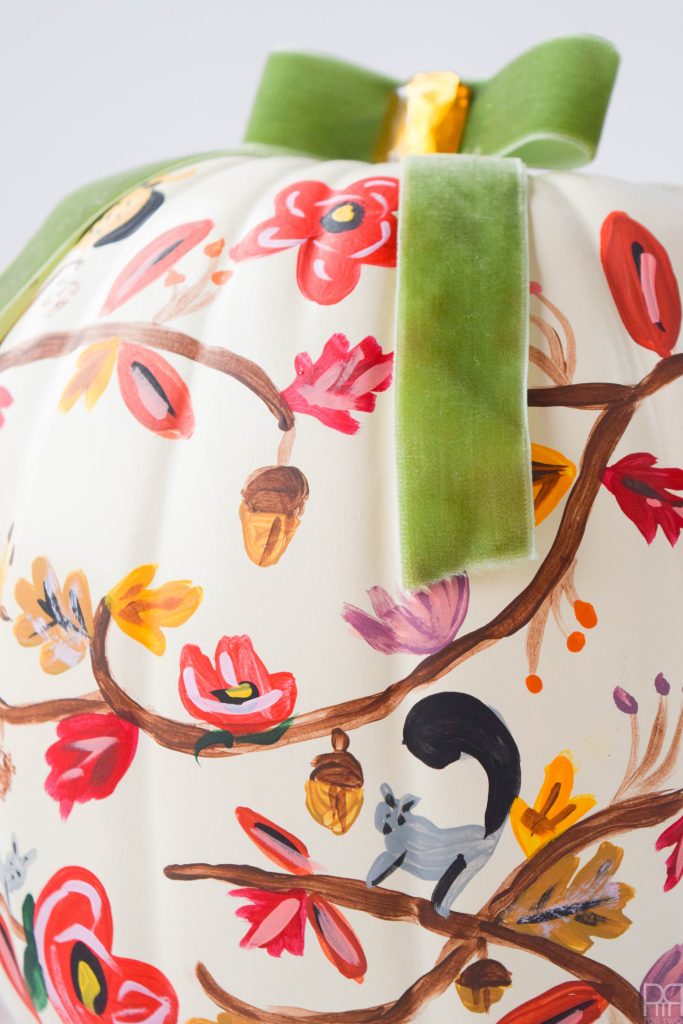
Using grey, add the squirrel shapes; using the brown mix from step 6 add squirrels and birds.
Wait till the first coat is dry, and then apply a second coat. You want the colour to be rich and deep, and you don’t want to see the white pumpkin beneath.
After the second coat is dry, using Black and the Dark Chocolate, add the details on your leaves.
- For the first leaves (Georgia Clay) I used black to run the veins down the centre of the leaves.
- For the other leaves I used Dark Chocolate.
- For the anemone, you’ll add a black dot for the centre.
Adding Finishing Touches To Your Painted Fall Pumpkins
Using a variety of pinks and corals, add an extra stroke to the leaves and the flower bud to create depth in the colour of the leaves.
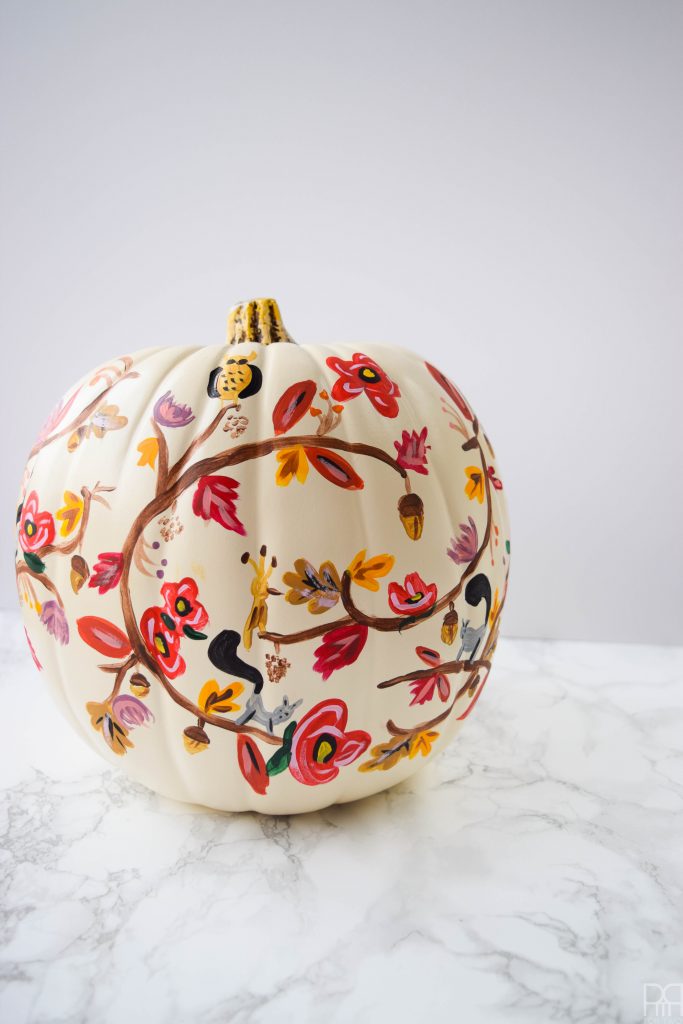
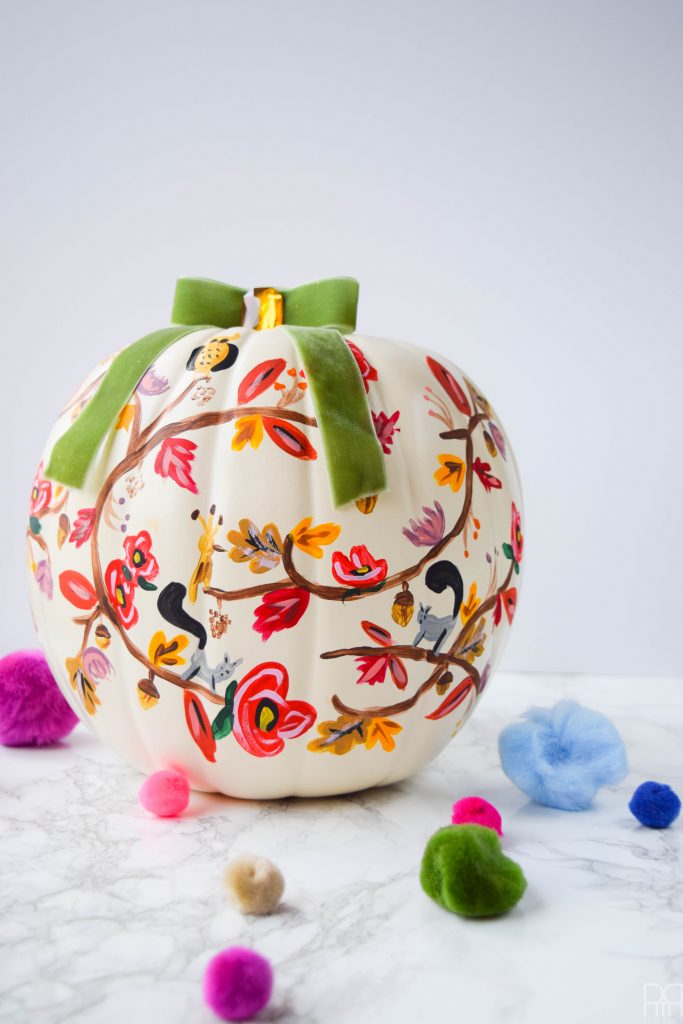
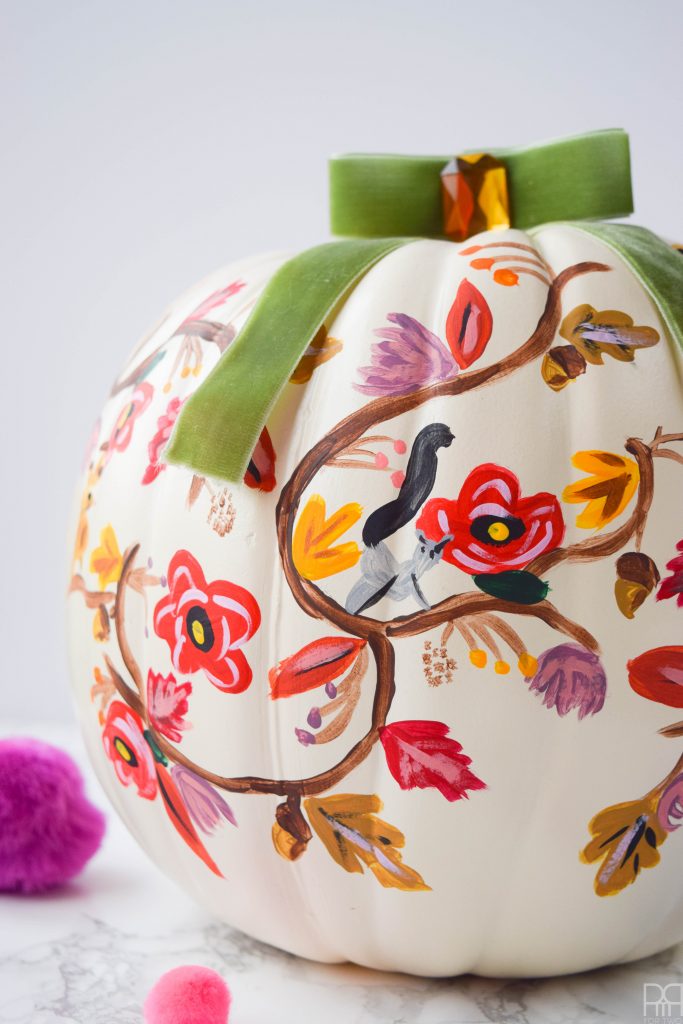
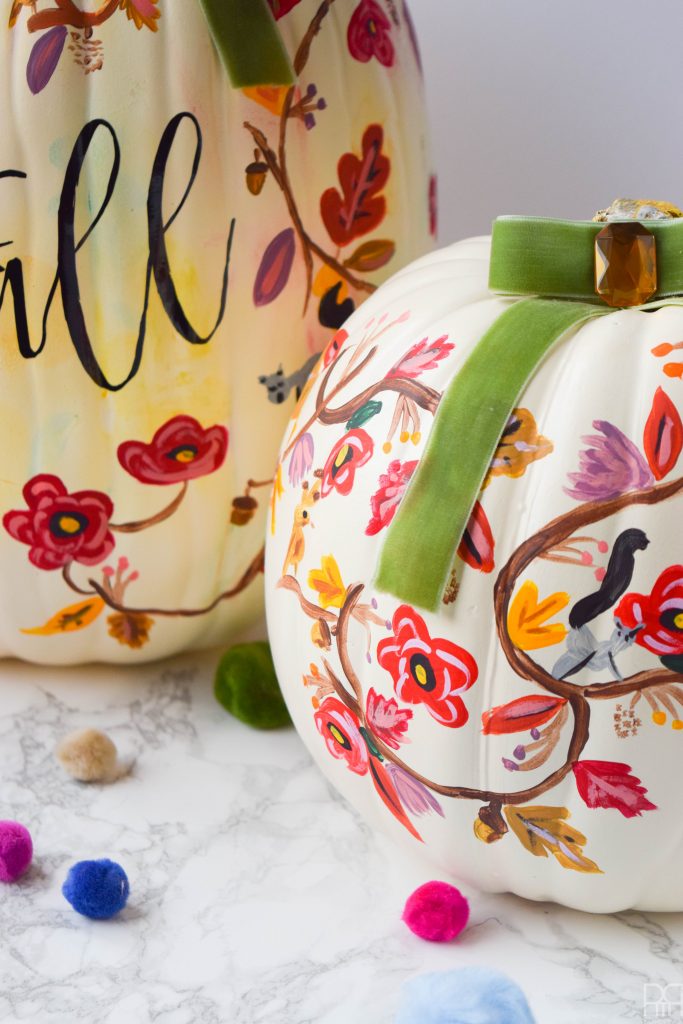
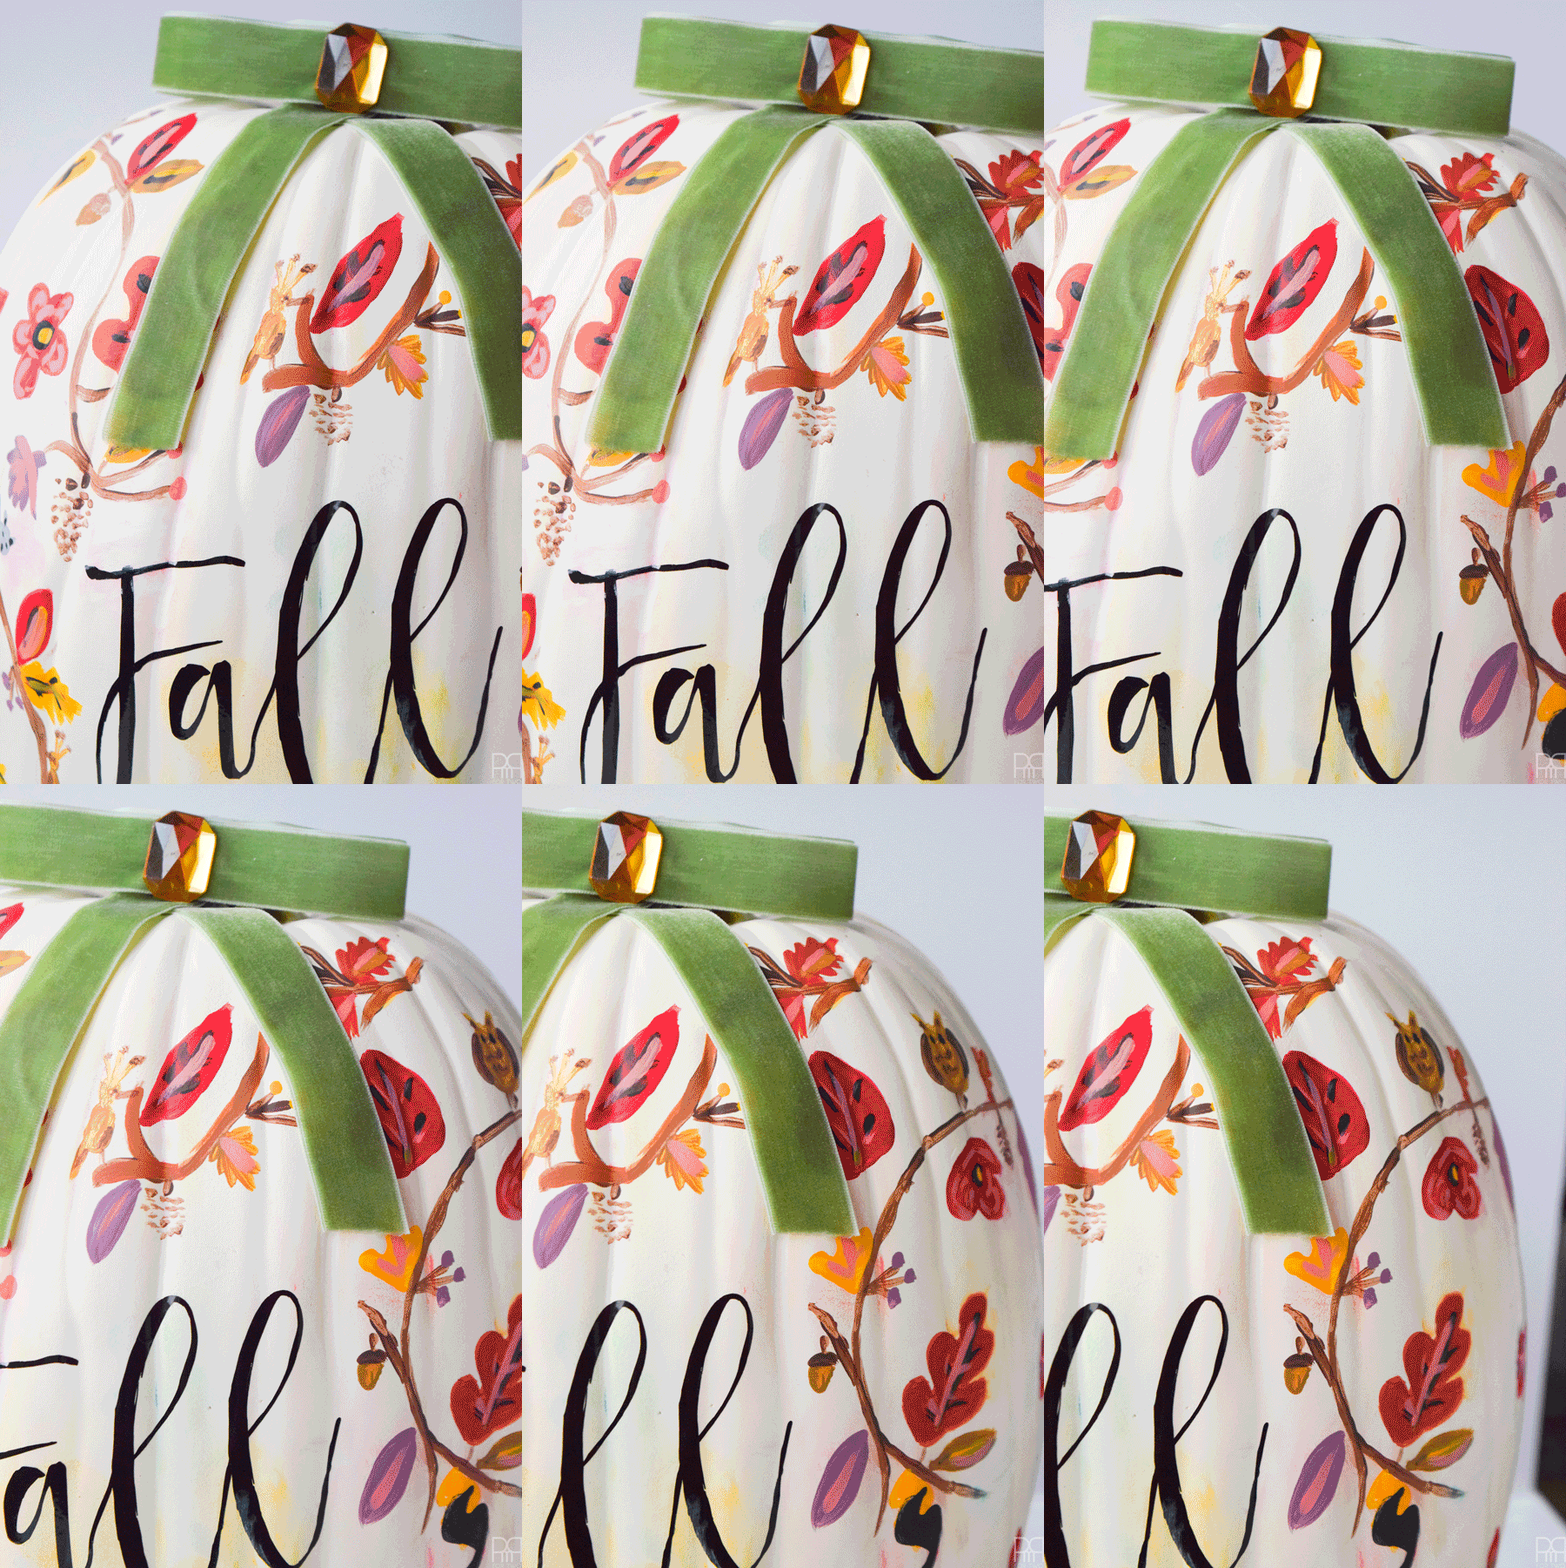
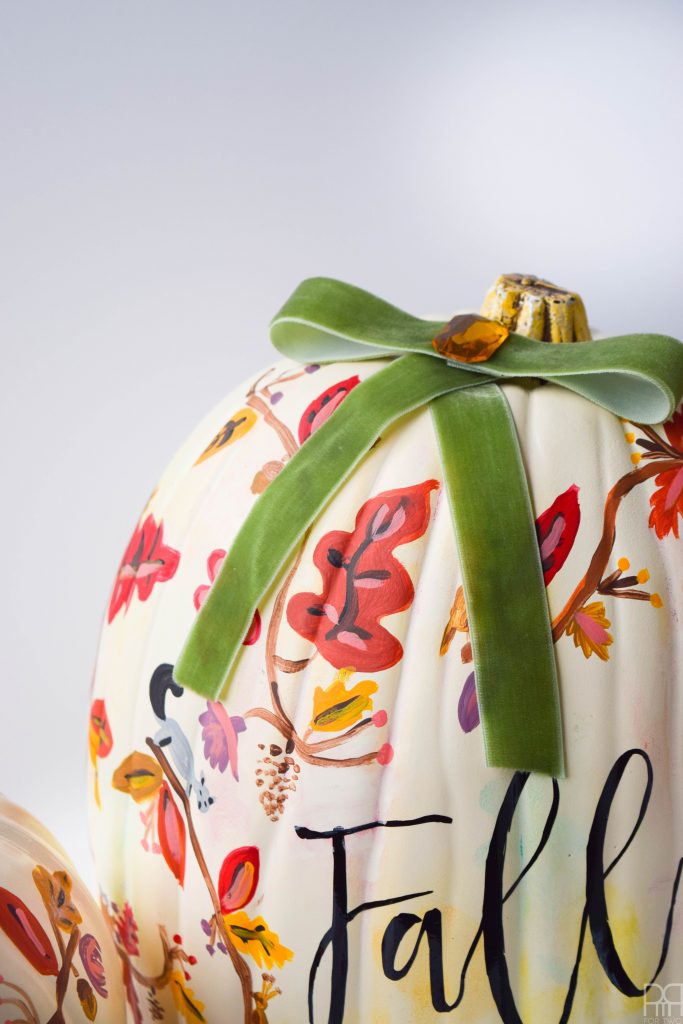
Enjoy your Painted Fall Pumpkin! Bow and gemstone are optional… but not really.



Love this! You are so talented with mixing bright colors together and making them work beautifully. I love pumpkin crafts and this is a great idea.
Thank you so much Emily, what a nice compliment! I’m a secret pumpkin craft lover too 😉 Although I don’t know how secret it is at this point haha
Hi Ariel, this is looking so beautiful..loved it totally.. the pumpkin you used is plastic white or something else? because upon clicking the hyperlink for the pumpkin it is routing me to the carvable pumpkin which is not plastic type.. can you please clarify the pumpkin type you used.. also, did you do a white coat of painting before doing the fall painting.. thank you..
Hi Nims! That is peculiar, I’ll check the link tonight. I used white plastic pumpkins from the craft store. Hope that helps!
Oh Ariel, they are absolutely beautiful!! Pinning!
Your pumpkins are seriously gorgeous!! You are so talented!
Thank you Jenny! XOXO
These pumpkins make me so happy, as well as your tutorial! So much fun and so beautiful. Pinned!
Thanks Kati! Paiting them was easy! Making all those gifs was tricky 😉
I’m thinking I may try to do one of these for my little girl’s baptism party on Sunday! Adding it to the “to-do” list. 🙂
so cool! I hope you get it done in time!
This is beautiful! After watching the debate and being unable to sleep I think I’ll get started now. So glad to have found you!
Thanks Lisa! I’d love to see a photo if you made it after all.
so you bake theM?
Hi Susan, what do you mean?
Wow amazing! Very impressive! Will definitely give this a go!