Week 3 of the One Room Challenge hosted by Calling It Home is here! If you’re curious about what the official participants did last week you can catch their progress // here // and you can see what all of us guest participants did last week // here //. For week 3 we spent damn near a week re-upholstering a chair, but not just any chair, a wingback chair. I’ve only ever really upholstered square objects, so all of a sudden taking on a chair with curves and all kinds of layers and pipping was a bit daunting. Now you understand why it took us a week!
Catch-up on the One Room Challenge to date:
Week 3 – You are here
As always, I’d like to thank our sponsors – without whom this edition of the One Room Challenge would not be possible. 
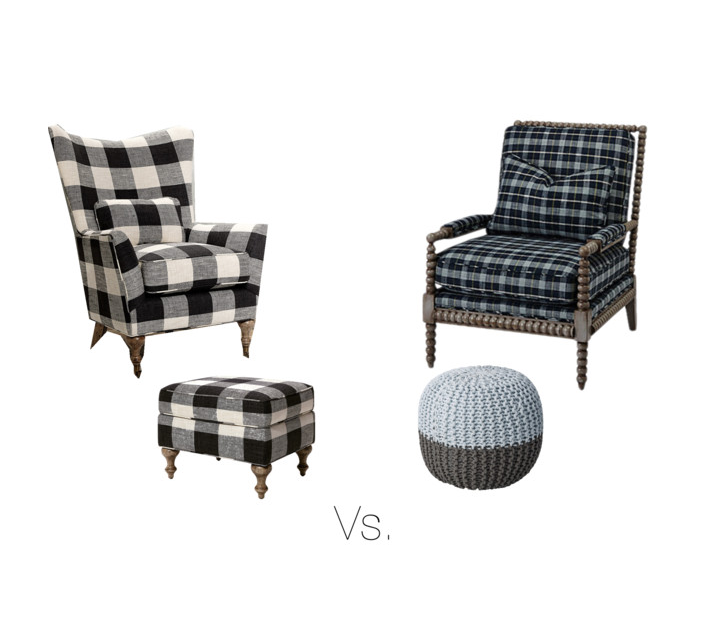
 Take 1 vs. Take 2
There are so many tutorials for upholstering chairs and wingback chairs, and each one is slightly different and wholly based on the specificities of that chair. As such, I won’t be doing a step by step for how we did this chair. Instead I’ll be sharing some lessons we learned, as well as links to some videos that may help.
For some actual posts on How To you can click here // here // here
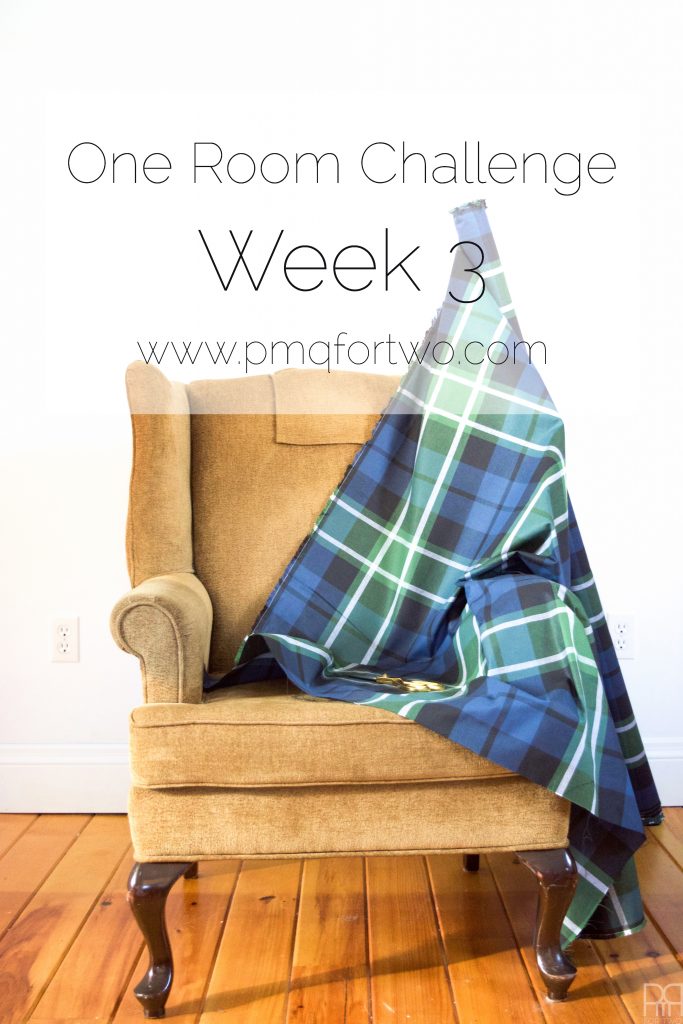
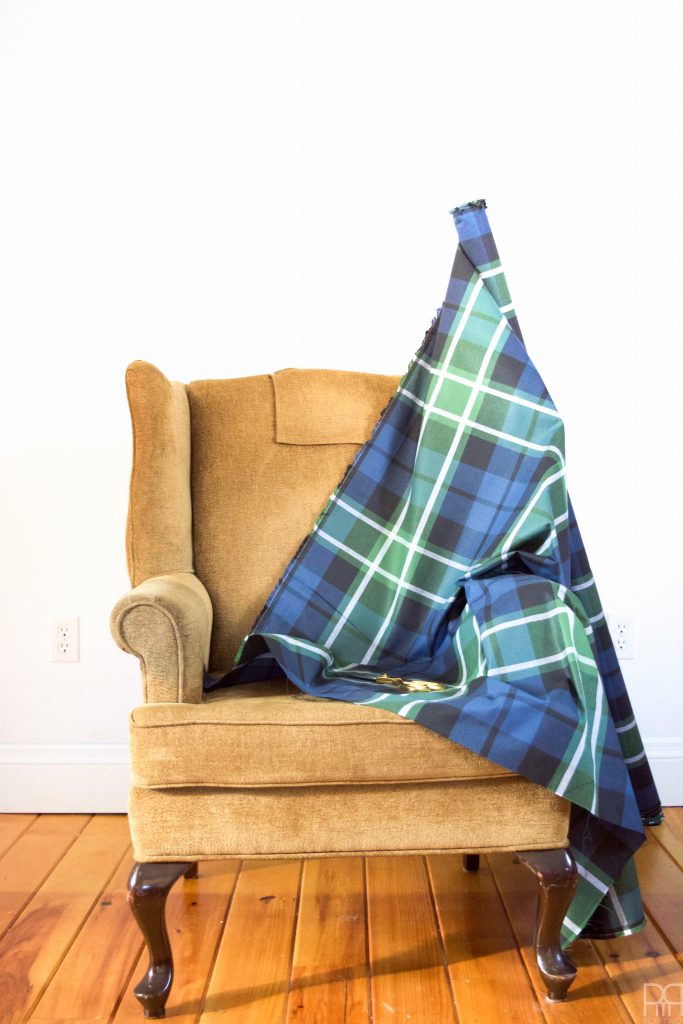
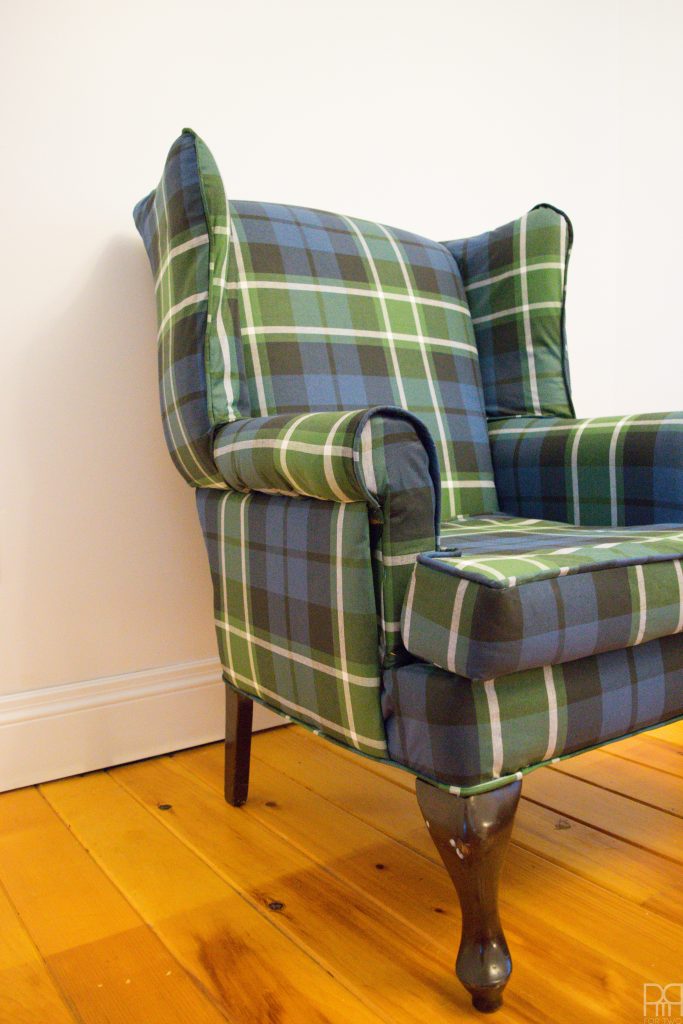
The Online Fabric Store helped us out by providing the fabric for our chair. We went with Robert Allen’s @ Home Plaid Glen Navy Green Fabric. This fabric is gorgeous, and the pattern is just big enough that it looks fresh and modern on a wingback chair. This, as opposed to the older, smaller print plaids that you often find on rec room chairs from your childhood. That definitely wasn’t the look we were going for, so this large plaid was perfection from the minute we laid eyes on it.
You may remember from our initial mood board in week 1 // here // that we had a black and white check for the chair. We ended-up having to swap it for the Robert Allen fabric to accommodate our budget, but if I had the chance I would cover the matching wingback chair (yes, they have) in the white and blue buffalo check using this fabric // here //.
I updated the look for week 2’s mood board to reflect the fabric we had chosen. You can catch-up // here // if your memory is a little foggy.
*Online Fabric Store.net provided the fabric for review, but all thoughts are my own. Thank you for supporting the brands that make PMQ for two possible.
Materials
- 6-8 yards of upholstery fabric
- Fabric Sheers
- Sewing Machine
- Staple gun
- TONS of staples
- Hammer
- Cardboard
- Flat Head Screwdrivers in varying sizes (to aid in removing staples)
Skills you will need in the process
- The ability to use a sewing machine
- The ability to sew piping
- The ability to sew a box cushion with a zipper
- The ability to re-shape or replace upholstery foam
Although I can’t provide a step-by-step breakdown of how to reupholster this chair, I can provide a list of DOs and DONTs for reupholstering …. some of them may or may not be based on lessons learned.
- DO take photos of every corner, angle, view of the chair before you take it apart. This will serve to help you pull the final look together when you get lost.
- DON’T only take one photo and rely on your camera’s zoom all project to provide details.
- DO take a photo or video each time you remove a piece of fabric so that you can which layers are beneath it and how they’re affixed.
- DON’T just take photos of the “complicated parts.”
- DO Have a bowl or tupperware nearby to collect all the staples you’ll be pulling from the chair.
- DON’T just sprinkle them around you like fairy dust, and let them fly all over the place as you pry them off.
- DO wear gloves while stripping the piece. After 4hrs of removing nails with a screwdriver (or the back-end of a staple gun) and pliers, your hands will hurt.
- DON’T try to remove jagged staples with your bare fingers.
- DO use precision when removing large pieces of fabric, especially if you’re saving it as a pattern.
- DON’T use a reciprocating saw because the staples are b*tch to remove.
- DO try and save all the pieces you remove as patterns from which to cut your pieces.
- DON’T partially rip one in half trying to wrestle with it.
- DO remember which side is up when you’ve laid the pattern down on your fabric to cut. Right vs. Left starts to matter when you’re talking about the inside or outside of a pattern.
- DON’T just lay them down and start cutting.
- DO use wash tape to identify which side of the fabric that you’ve cut is “out.”
- DON’T use street chalk… it’s messier than you think.
- DO try and line-up your pattern and lines.
- DON’T just let the whole situation get out of hand with lines going every which way.
- DO have a small hammer nearby to tap any staples into the wood.
- DON’T just let them be, they’ll likely snag on other fabric.
- DO have some furniture/fabric glue and clamps nearby. There are just some things you can’t recreate, any knowing how to fix them will be important.
- DON’T just keep stapling until it holds…. see above.
- DO remember that the learning curve is very steep on this type of project.
- DON’T lose hope and start crying while surrounded by staples and broken zippers
- DO have a second or third person handy to question your cuts and help pull things tight while you staple.
- DON’T lean your chair agains’t a wall and hope it “holds tight.”
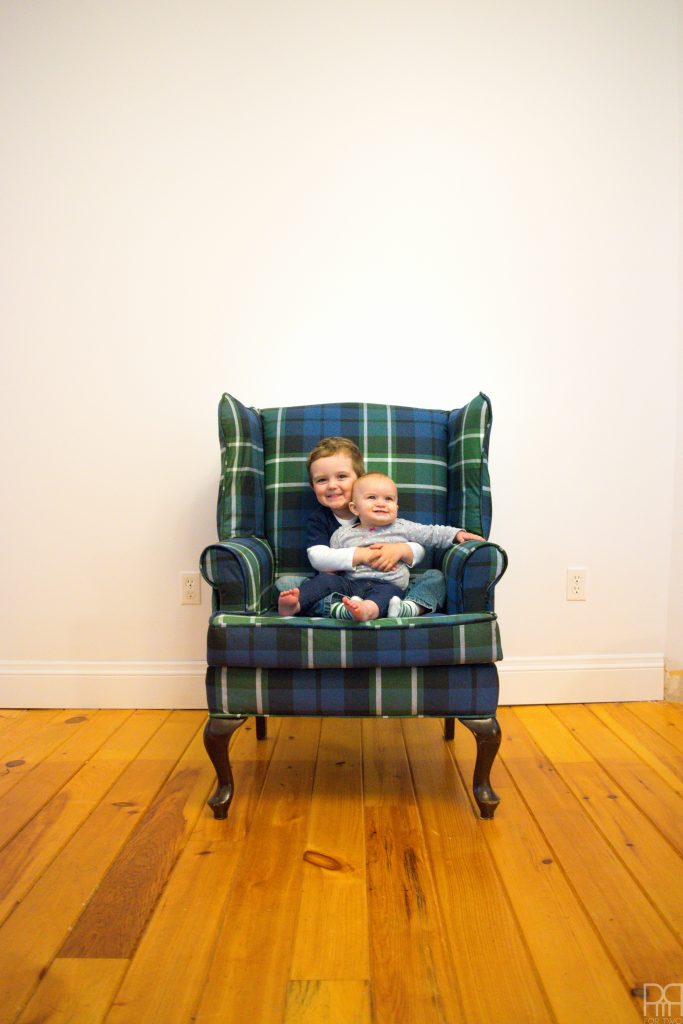
Most of all, learn! If it takes you an hour to do one thing, think how much faster it will be the next time you do it! And don’t be afraid to go back and correct things after you’ve perfected them. The chair is basically done. We have one or two more things to perfect before we consider it done, finite, fait accompli. But those will be done in time for the big reveal on Week 6, so don’t worry! For the final shot of the chair I have some adorable photos. The two kids decided to finally partake in a photo! 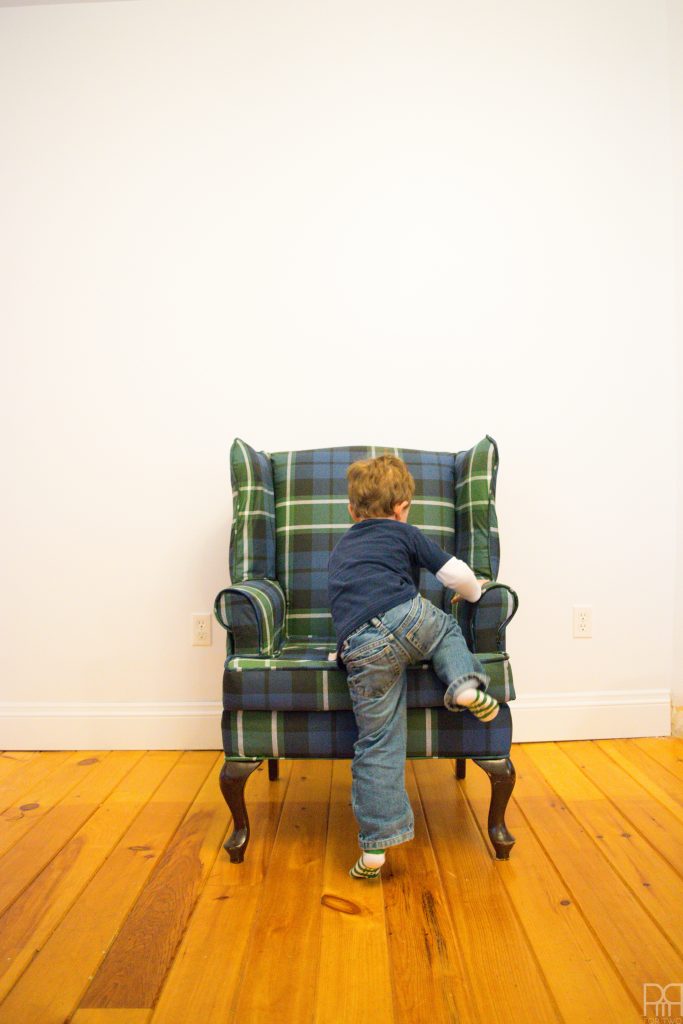
 p.s can we talk about these amazing hardwoods?! Up next week: Built-ins, shelving, a picture rail and the fireplace – Building the big stuff for week 4. After that we’ll only have two weeks left: Week 5: Styling the space with a rug, lighting and art Week 6: The reveal – how it all comes together

Saving this for sure! I have a chair from my grandmother that I’ve been putting off working on because it seems beyond my skill level. But I need to tackle it!!
Nothing is beyond reach! It just might take a while, and if you’re not doing it under the gun of the ORC, you’ll have plenty of time to learn and make mistakes (and correct them)
Upholstering is one project I haven’t tried yet. This really came out amazing, pinning!!
Hooray! Thanks for Pinning 🙂
I’ve only ever upholstered square things, so this was definitely a labour of love, and one aided by Ainsley’s sewing and Brendan’s handiness.
It tested my sewing skills for sure! My seam ripper and I have become great friends!
the best of friends
ooooh it is so pretty!!!!!! i am impressed!
<3
I love the fabric you chose! Reupholstering a wingback is NO JOKE. We tried to do it with a couple of chairs for our dining room and ended up giving up and selling the chairs long before we finished, haha.
AHAHA I think we thought of doing that at least once…. or maybe that was just me?
Either way, it took a team that’s for sure.
I’m so impressed that you tackled this! Upholstery that involves sewing has ALWAYS intimidated me. But now that I have a new sewing machine, I just might have to try it again sometime!
You should! We were saved by Ainsley! I like to glue things when in doubt, and I probably would have finagle something, but it wouldn’t be as nice as this.
Oh Ariel, kudos!! I’ve upholstered a few things in my day and chairs are the HARDEST! It looks fabulous!!
Right?! Thankfully I was at least familiar with my staple gun and how all the pleating works. Thanks girl!
This looks amazing! The fabric is absolutely perfect. And your babies look adorable on the chair too!
well they’re not my babies 😉 They’re Ainsley and Brendan’s! I just shamelessly used them as pawns in my photo!
So many great tips! I have reupholstered a chair but it looks fun and a lot of work. It looks great!! Excited to see the room come together.
Thanks girl! Fun and a lot of work – that about sums it up!
Wowzers. I love it! I have a chair exactly like this that I would love to upholster. Maybe someday I will after seeing this. I’m getting excited for the whole reveal my goodness!!
Thanks Cara! It’s tough work, but if you have time and a buddy I see no reason why you couldn’t do it too! <3
What you did takes talent! Very impressive!
Maria
Thanks Maria! It was a team effort 😉
Big changes happening here, love the plaid!
CH-CH-CH-CHANGES!
My gosh, Ariel…that upholstery job looks like a lot of work. No wonder it took such a long time! It came out beautiful so it was definitely all worth it. Love the photos of the cute kids!
Thanks Tee! I’d say we’re about 95% done on that chair. This weekend we’ll be able to make some minor adjustments to get it where it needs to be.
Wow, I’m impressed you got that pattern so straight. Way to go!
team ork for the win!
I have a wingback chair in the garage almost down to it’s frame that I really need to finish. Thanks for the tips!
Get it done! You can do it! I know you can!
Hey Ariel…I am in AWE! After having just finished tackling my first foray into reupholstering, I can’t even imagine you doing it with a plaid! You are one brave woman and it looks great. I’m feeling a little sheepish with my very simple, no pattern tan linen. But you’ve motivated me to step out to a pattern next time around. And it’s funny as I have a very siimilar wingback that I have been eyeing for a reupholstery job next. Hmmm…I may need to find a great pattern.
Well done my friend.
Hugs, Lynn
Thanks Lynn! What a nice comment 🙂
I definitely pushed these two into some bolder colour and pattern with this plaid. We had originally considered a big black and white buffalo check, but the budget wouldn’t allow it. I’m very pleased with this though.
Go for bold! Even if it’s just a black and white pattern. It’s a step into something new right?!
Wow Ariel – you are brave and talented. We know first hand how hard plaid fabric is to line up. Your chair looks fabulous!
Oh really?! Did you guys use a trick to get it to line-up? We didn’t really kind it in mind when cutting the fabric (which we should have), rather once it was cut and we had no wiggle room we were like “oh maybe this should line up!” hahaha
Oh I love that plaid fabric! Great job doing that chair, you have mad skills with the sewing machine too. Tutorials are great too. Can’t wait to see how the room comes together.
Those sewing skills are all Ainsley! She’s a whiz with that machine!
Love the fabric!! I’ve done quite a few of these upholstery type projects….Not for the faint of heart at all, great job!
Thanks Karrie! I think this one took the wind out of all our sails, if only for the week!
I’ve always hired out the upholstery so major props for giving it a go!
That’s what I would have done had I had the money! 😉
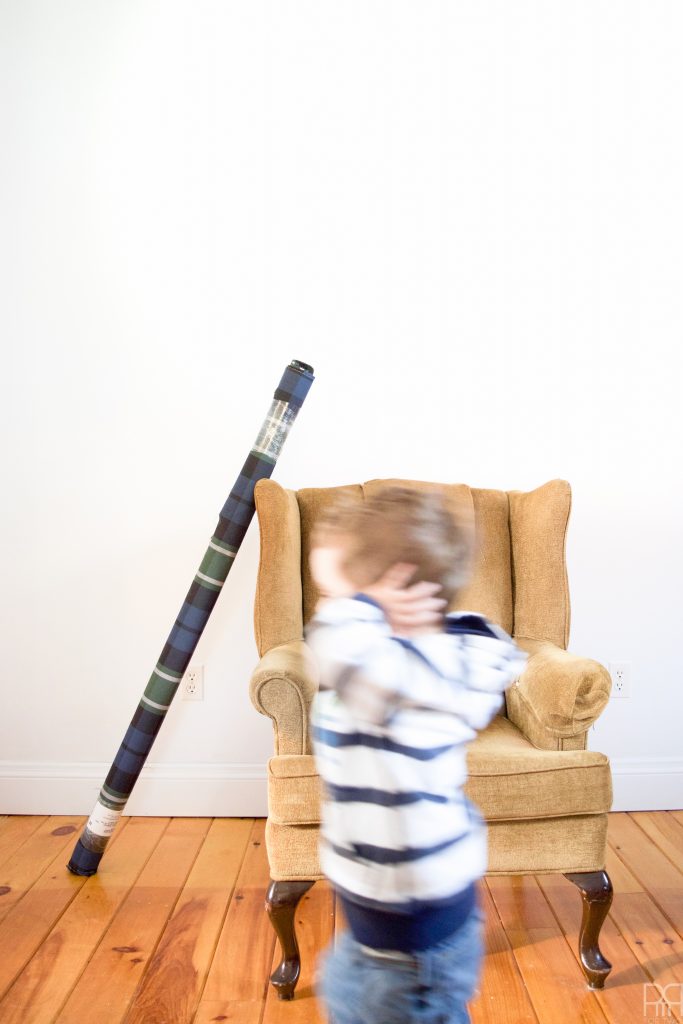
That first photo of the child – that would be me, fleeing the upholstery project! Good for you. It’s a complex job and you did it beautifully.
ahaha he was not digging photos, so as soon as he saw the camera he ran! But once the chair was done he was more than willing to sit and pose with his sister
Oh wow!! The chair looks amazing! I have never taken on an upholstery project, but I feel like your do and don’ts apply to the building projects we’re working on in our room, especially the part about losing hope and starting to cry, except I’m surrounded by nails and sawdust 😛 I think your project is going to come together beautifully!
Very true. That list could apply to a lot of things!
Thank you though! I am more than excited to see it come together. I think we might be done the bulk of the work this weekend!
You are so brave! Your plaid wingback chair turned out so beautiful. I’ve only done slipcovers and have never given a thought to try my hand at reupholstery. Thumbs up!
I’m not so hot with sewing, so stapling and gluing are usually my MO. Thanks for the kind words Carol 🙂
That chair looks a lot more fun now, especially with those two kids on it!
doesn’t it?! And if you looked back through the other weeks you’ll see how it’s all going to fit in.
GORGEOUS fabric choice! I think I still have a little PTSD from my own upholstery project. Gah! Looks great!!
I think this is the first and last upholstery project of the year for me… sewing on the other hand…
The new fabric looks great! Very impressed with your upholstery skills.
It took a whole team to get it done! that’s for sure.
Thanks girl!
Fantastic job! That old chair looks a hundred million times better 😉
Doesn’t it?! P.s I’m trying to line-up some workshops at the Esquimalt MFRC! Next time you’re in there let the Holly Flower now you’re interested 😉
LOVE this entire post. The chairs are gorgeous. What a difference a change in fabric makes. Plus, I need ALL of the tips on how to reupholster. On my list of DIYs to do. Will definitely reference this post!!
Thanks girl! That was exactly my thought process too! Change the fabric and get the most of our the chair for the space 🙂
Taking on a wingback chair is serious business. This turned out great! Nice work Ariel!
Thanks friend 🙂 We’ll be done it this weekend. After doing all that legwork we needed a few days to wrap our heads around finishing it and I think we’ve got a solid plan for the final 5%
Wow! Impressive chair transformation girl! LOVE the change! and the fabric 🙂
That fabric is such a strong focal point in the room. It’s totally amazing!
This looks great and these tips are gold, pinning!
Thanks friend 🙂 Those tips were learned the hard way 😉
I love a good upholstery project and that fabric is stunning. I don’t think I would have thought of a plaid, but it works perfect on this chair. Great job!
Well we had originally wanted to do a large buffalo check, but the plaid tied-in with the Nova Scotia-ness of the room, so it all worked-out!
Your chair looks awesome! I am getting ready to recover a sofa, so thanks for the Dos and Don’ts and the encouraging words 🙂 I know I will need them!
ooh! Let me know how that goes! I had wanted to tackle a couch but decided that was years above my skill level. I hope it works out!
Wow! It looks amazing!
Love the fabric you chose! And your kids are such cuties!
Oh it looks so great!!! Love the way it turned out!
It turned out great!
Wow, your so brave to take on that chair. It came out great!
Thanks so much Katy 🙂
Love the fabric you chose for the chair. I don’t even own a sewing machine, nor have I attempted sewing since 7th grad Home Ec. class, but I feel like it would be a wonderful thing to learn. Something to add to my bucket list 🙂
Thanks! I really like it on the chair. It was a bold move and a leap of faith, but it definitely paid-off.
I really like how the chair turned out! I’ve always wanted to reupholster a large project like that but have been nervous! Great tips and I may have to give it a try! 🙂
Me too! After having done the wingback, I think I can more than handle the chair in my office.