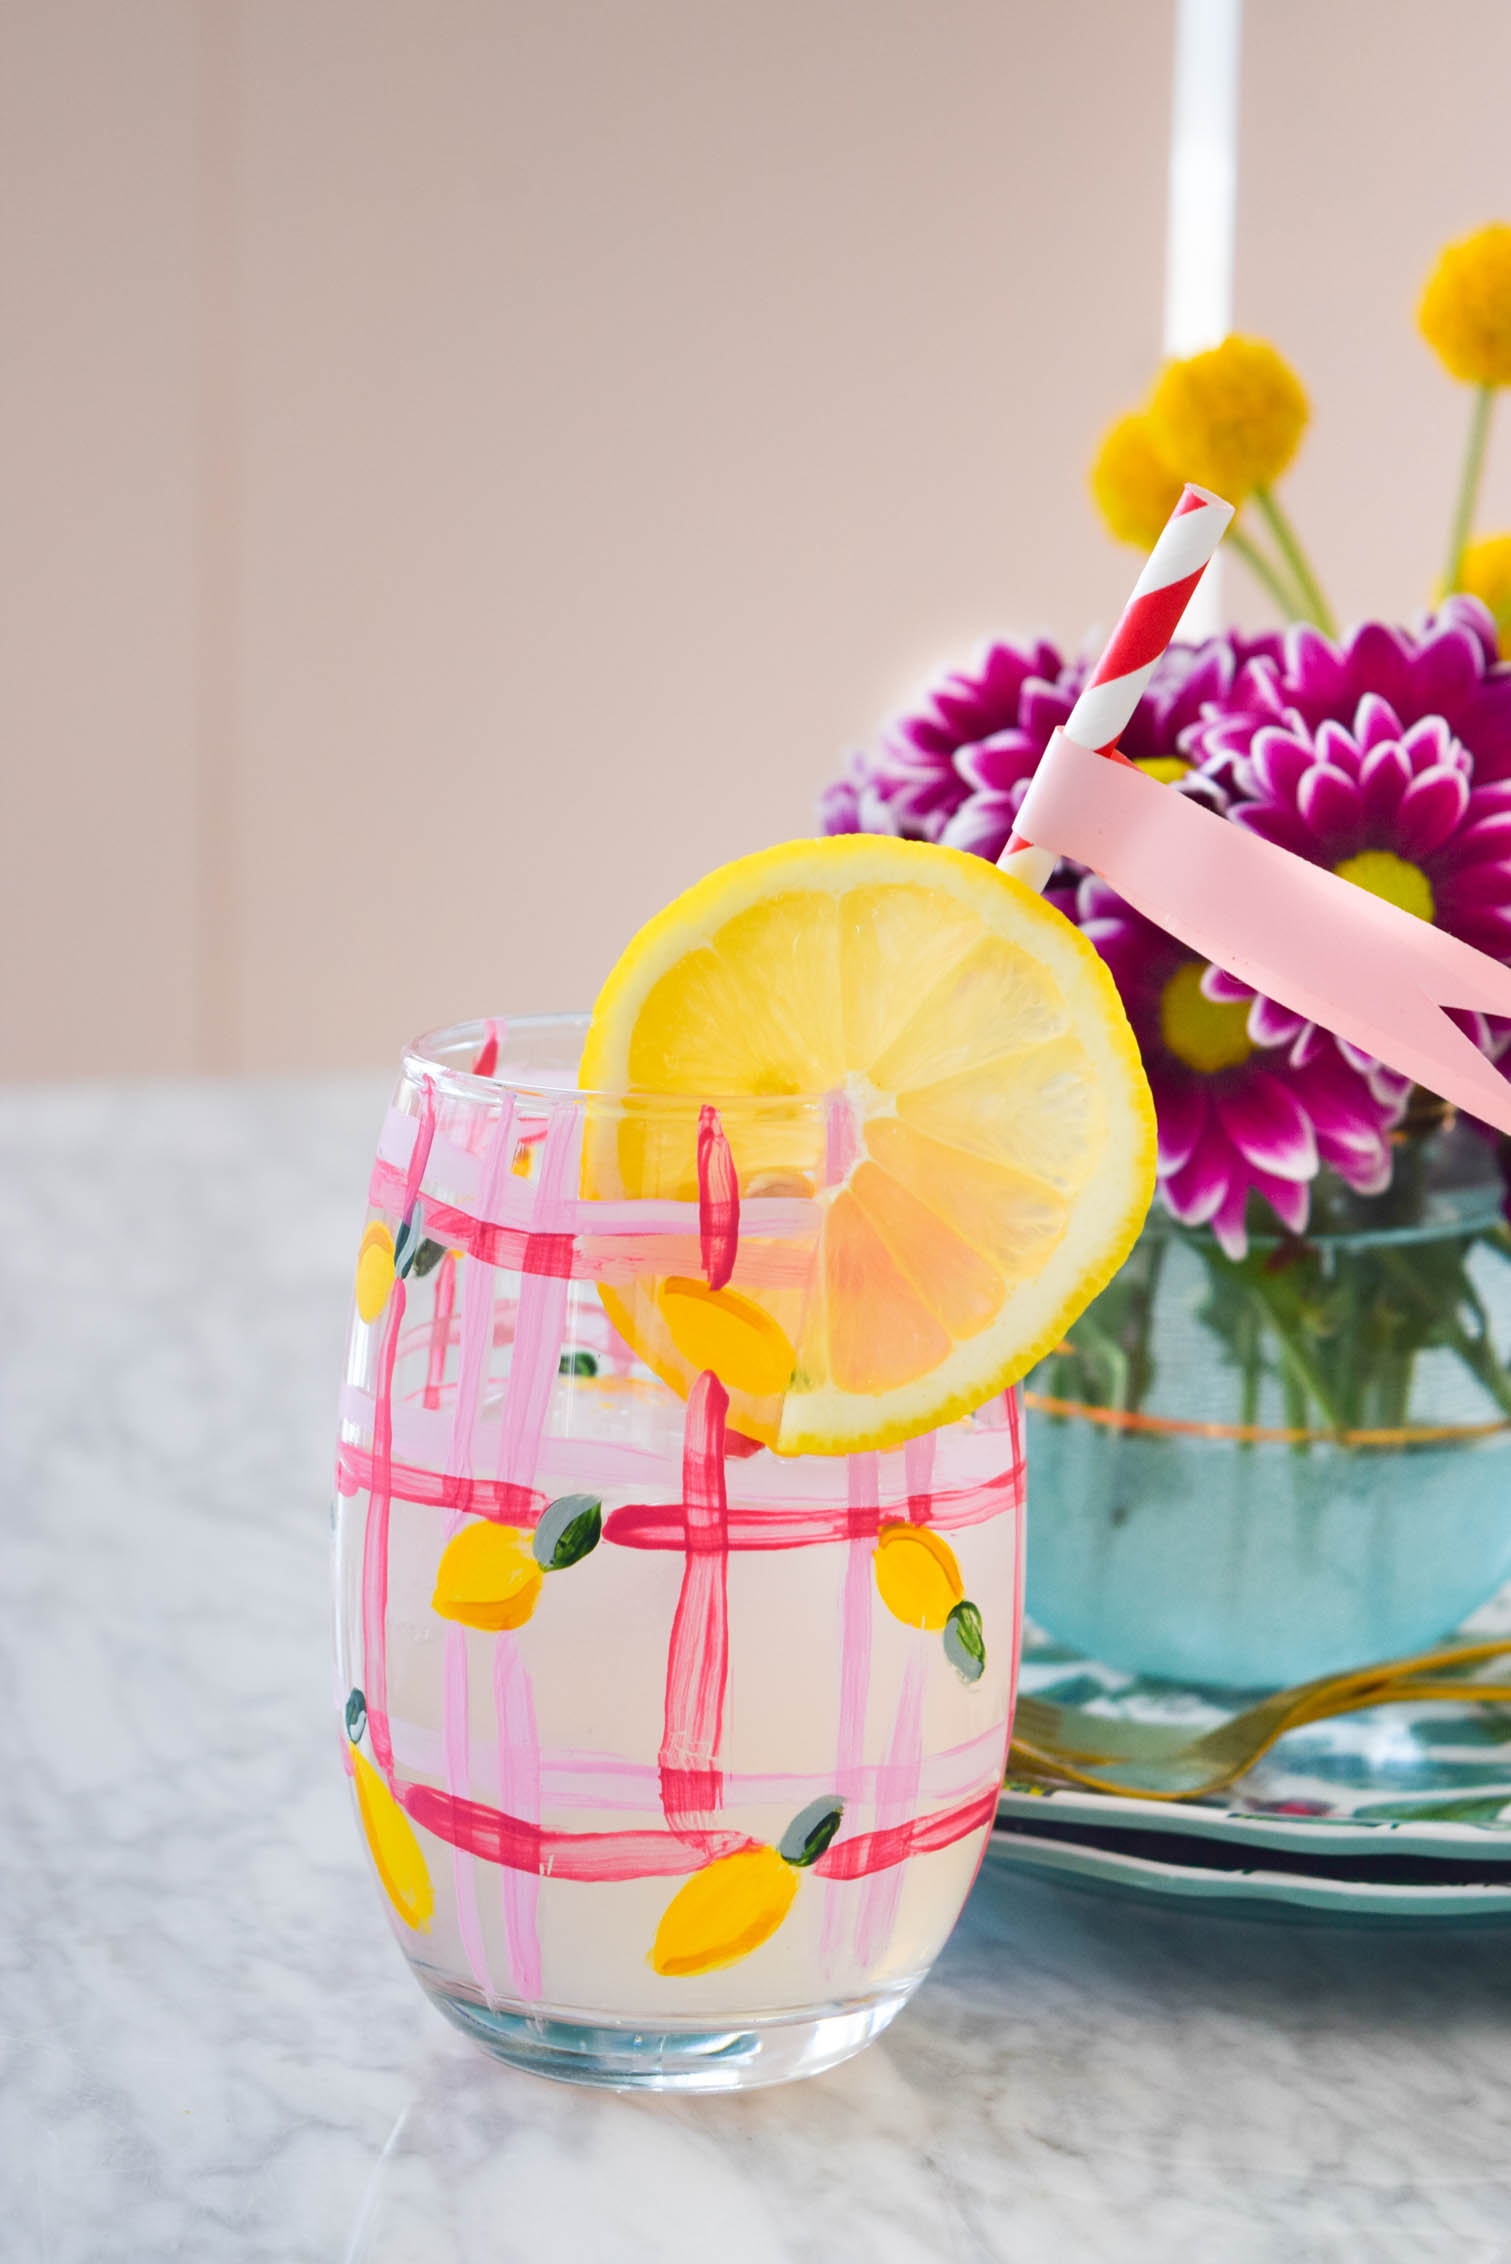
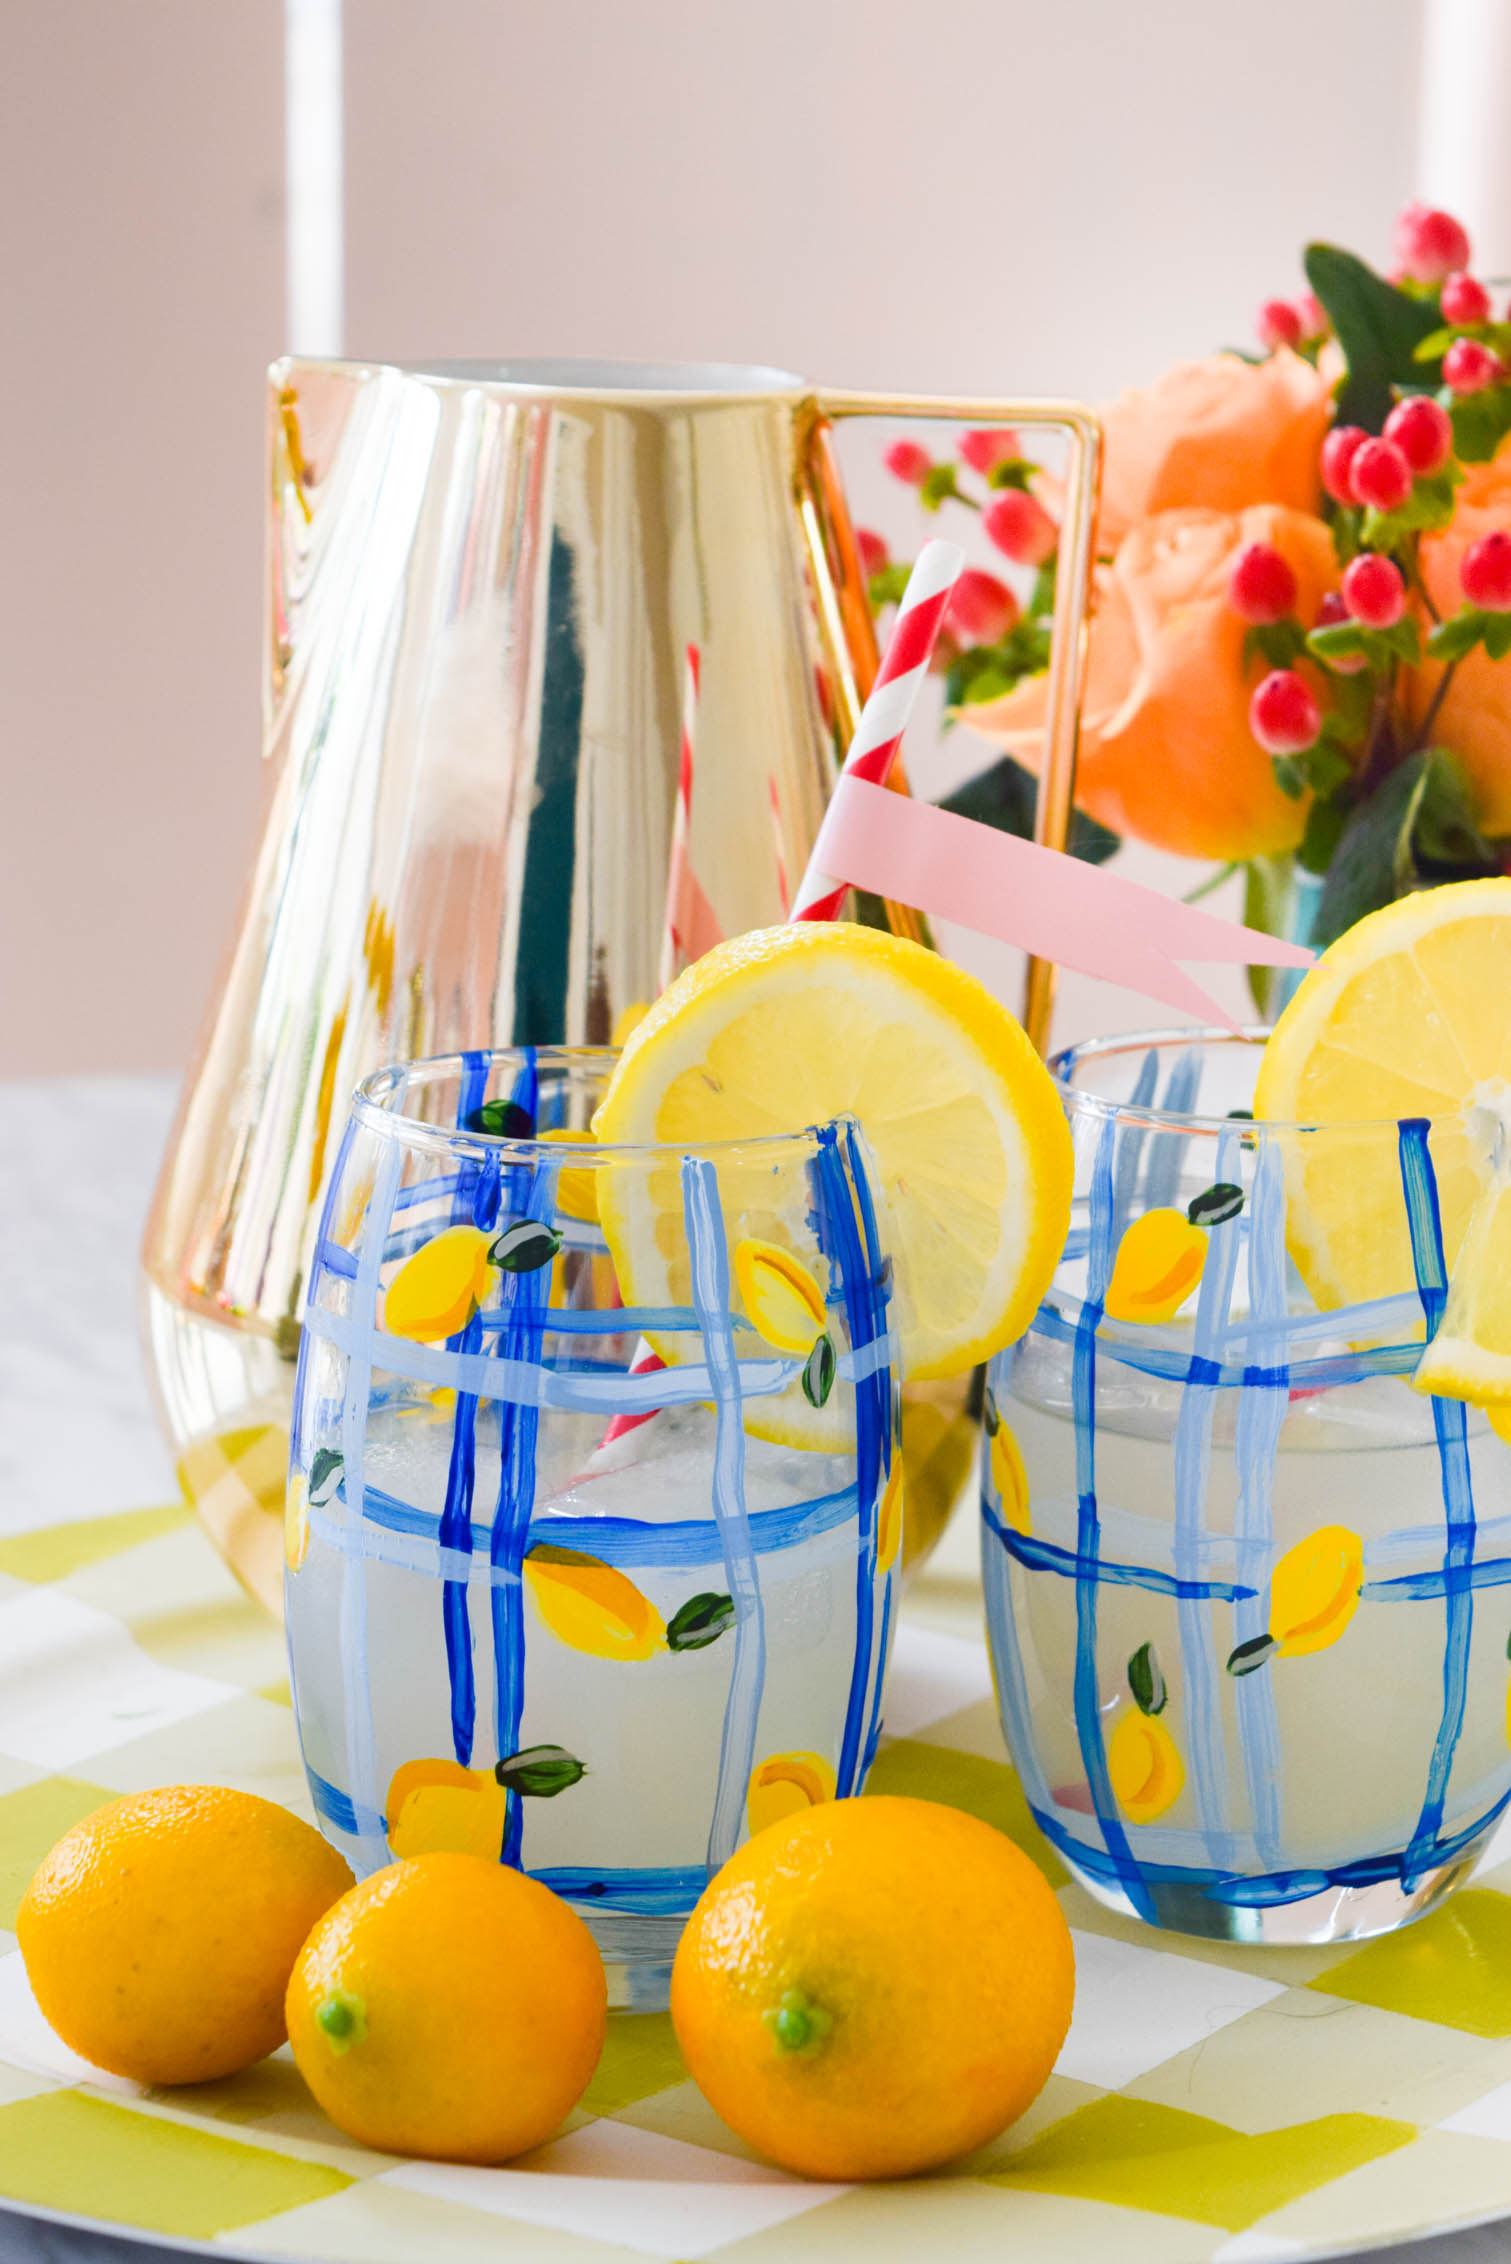
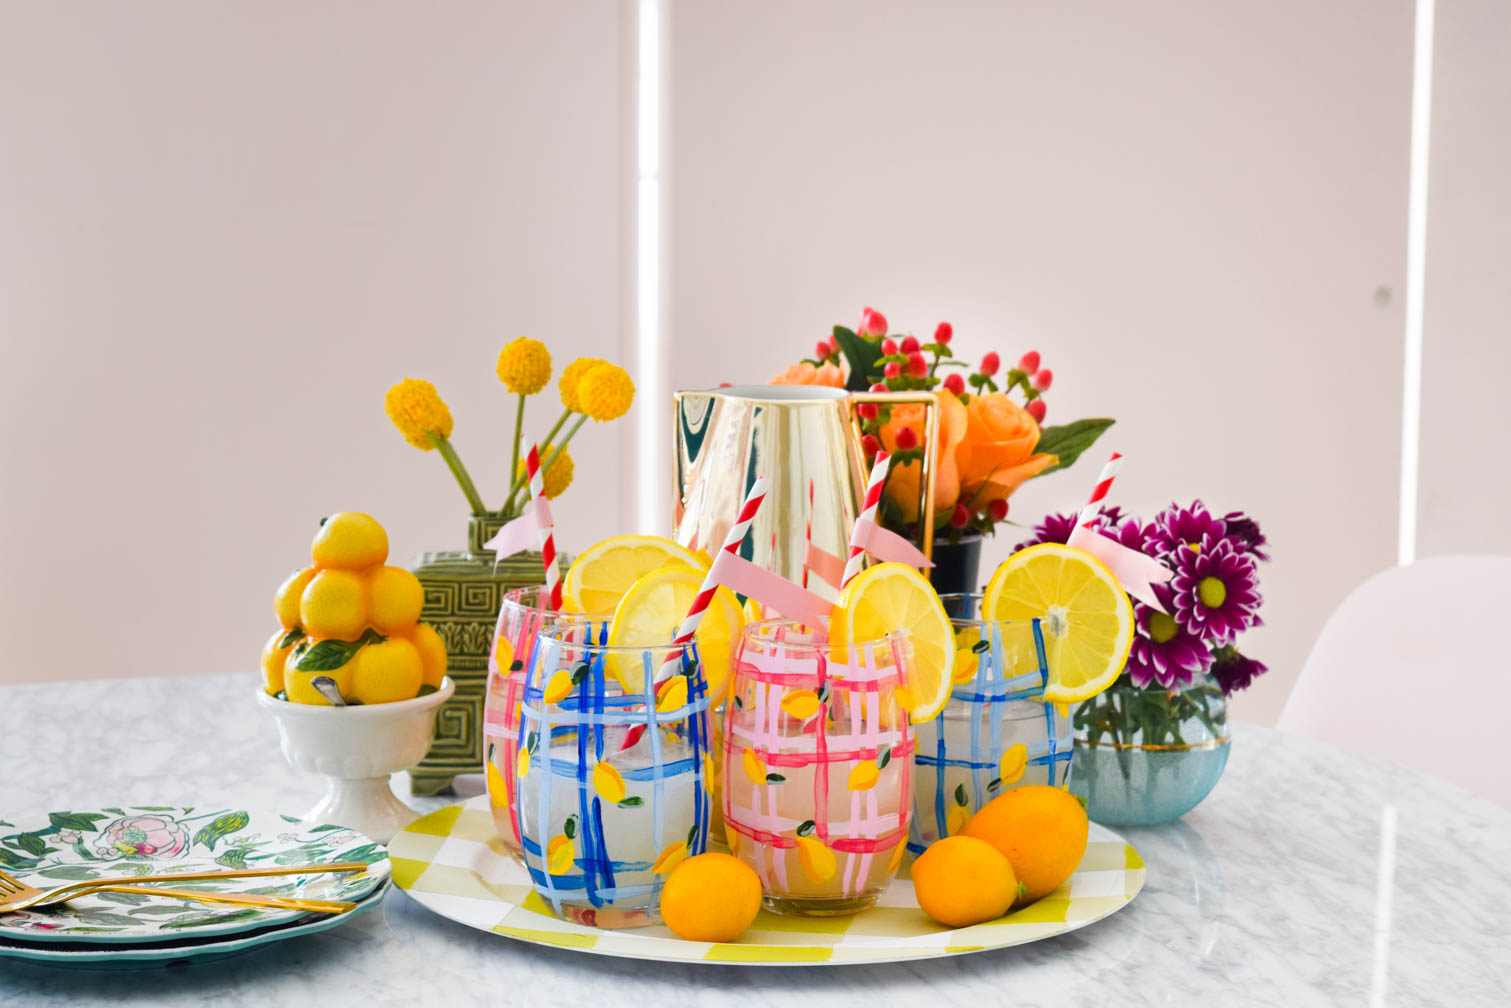
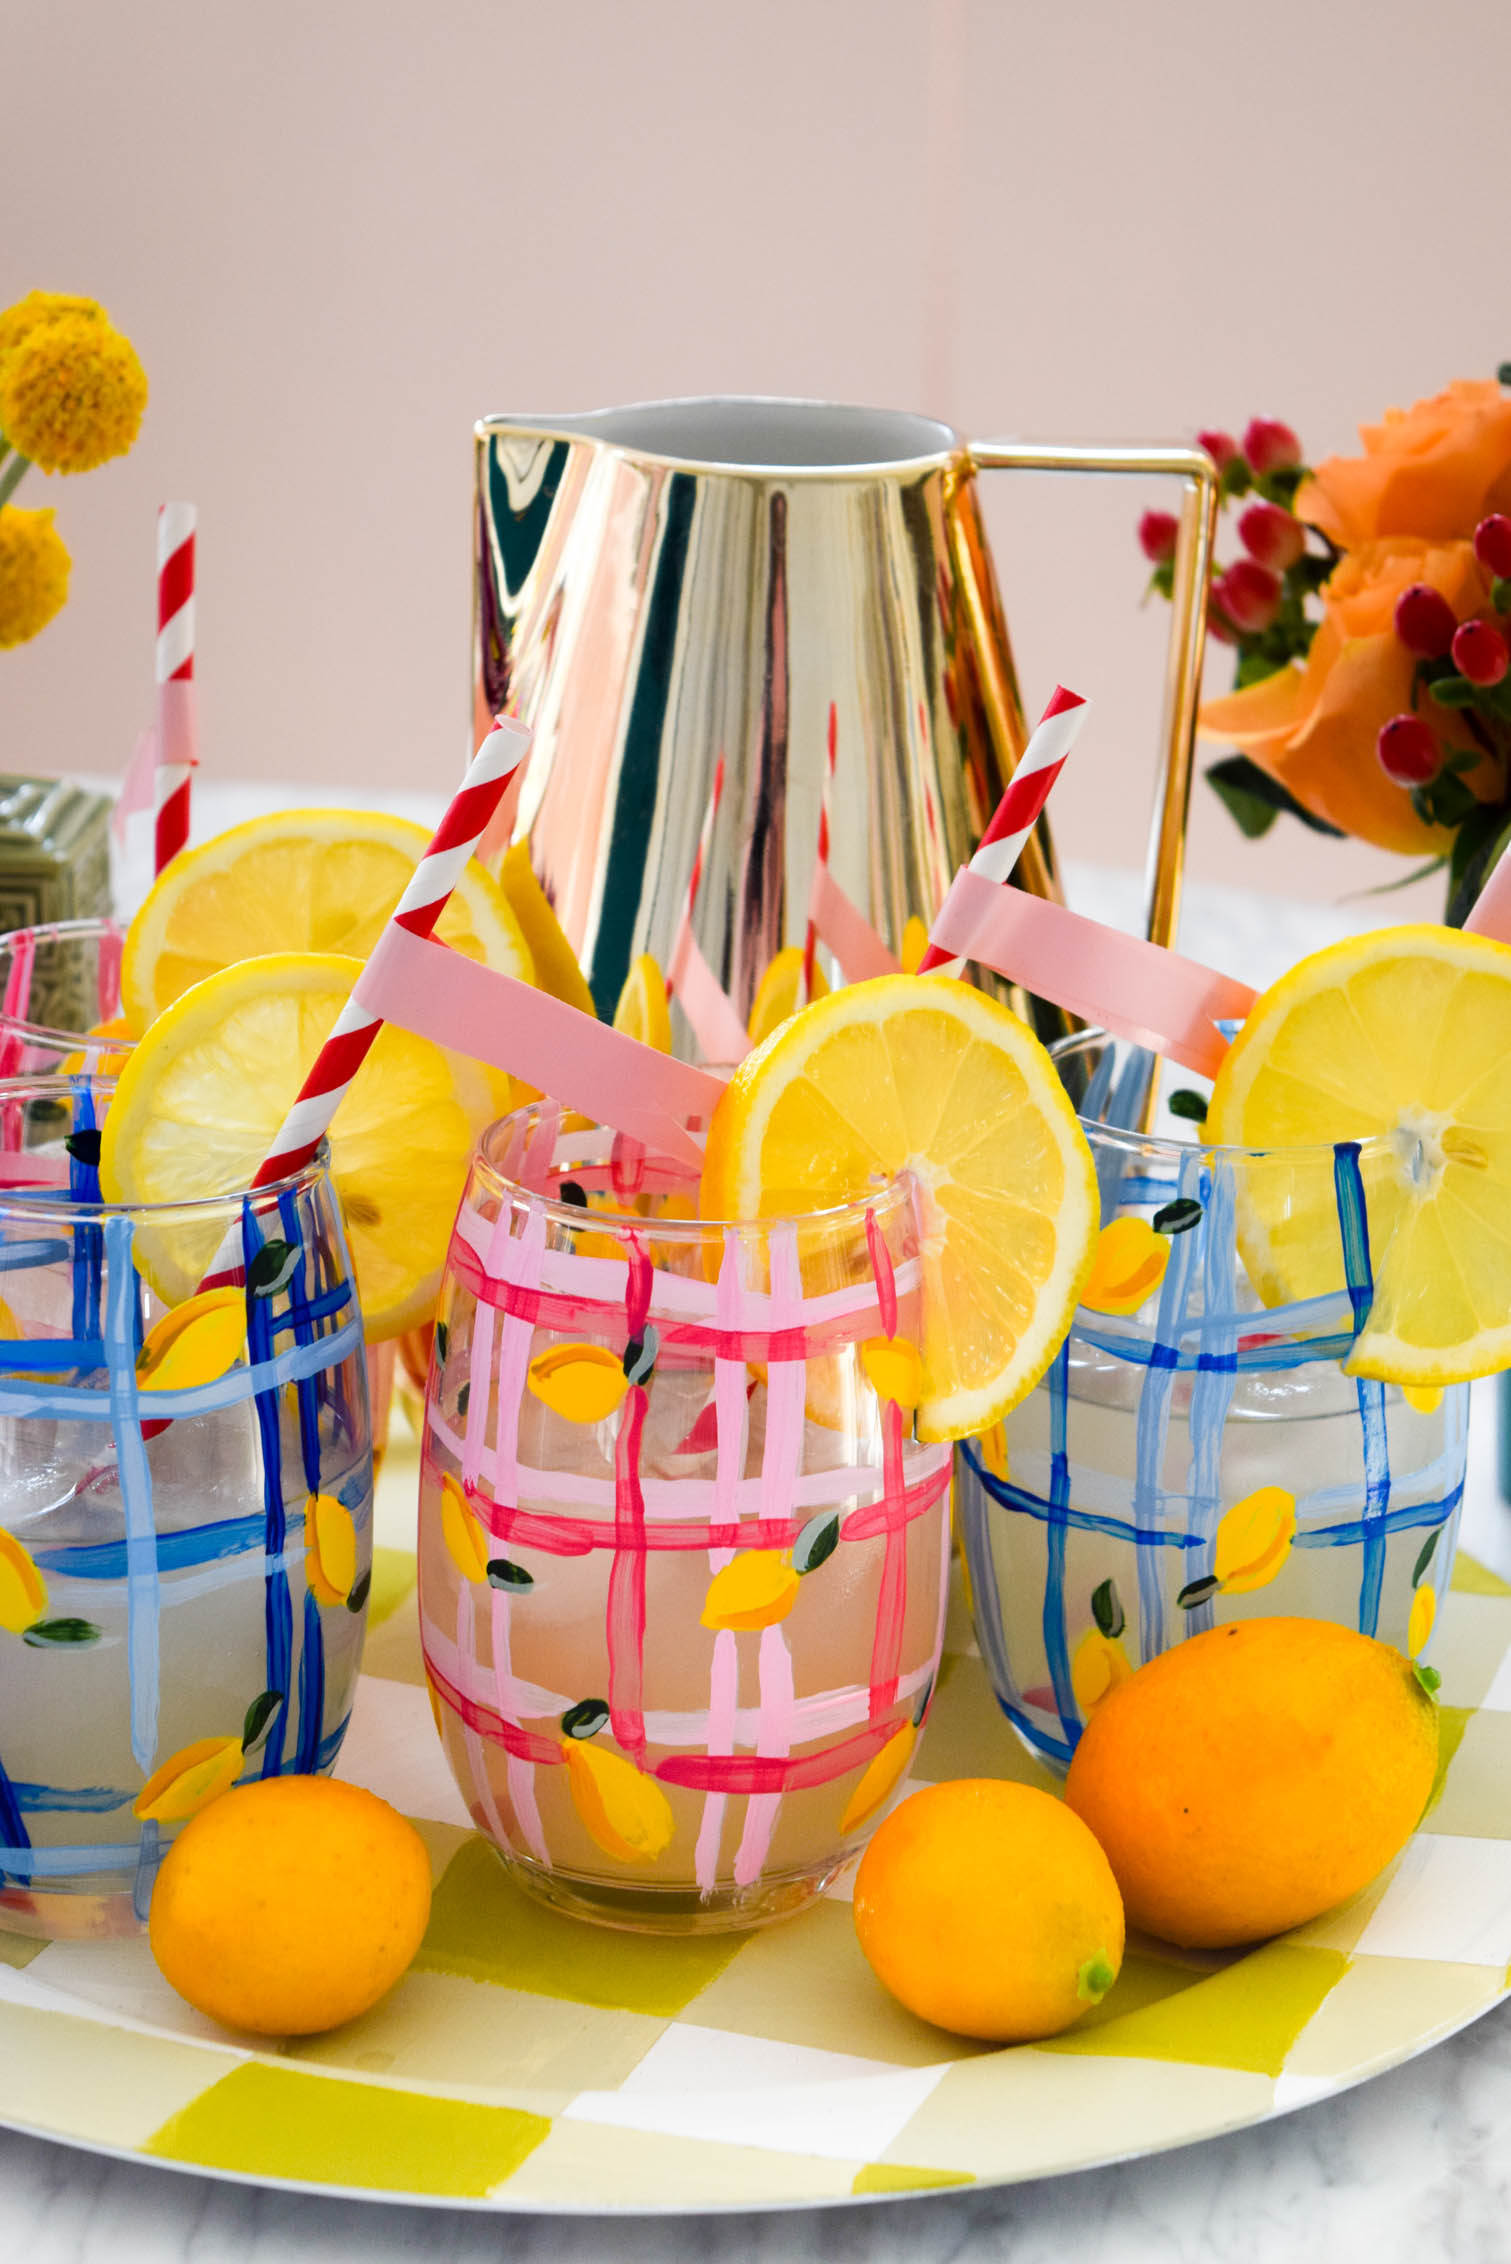
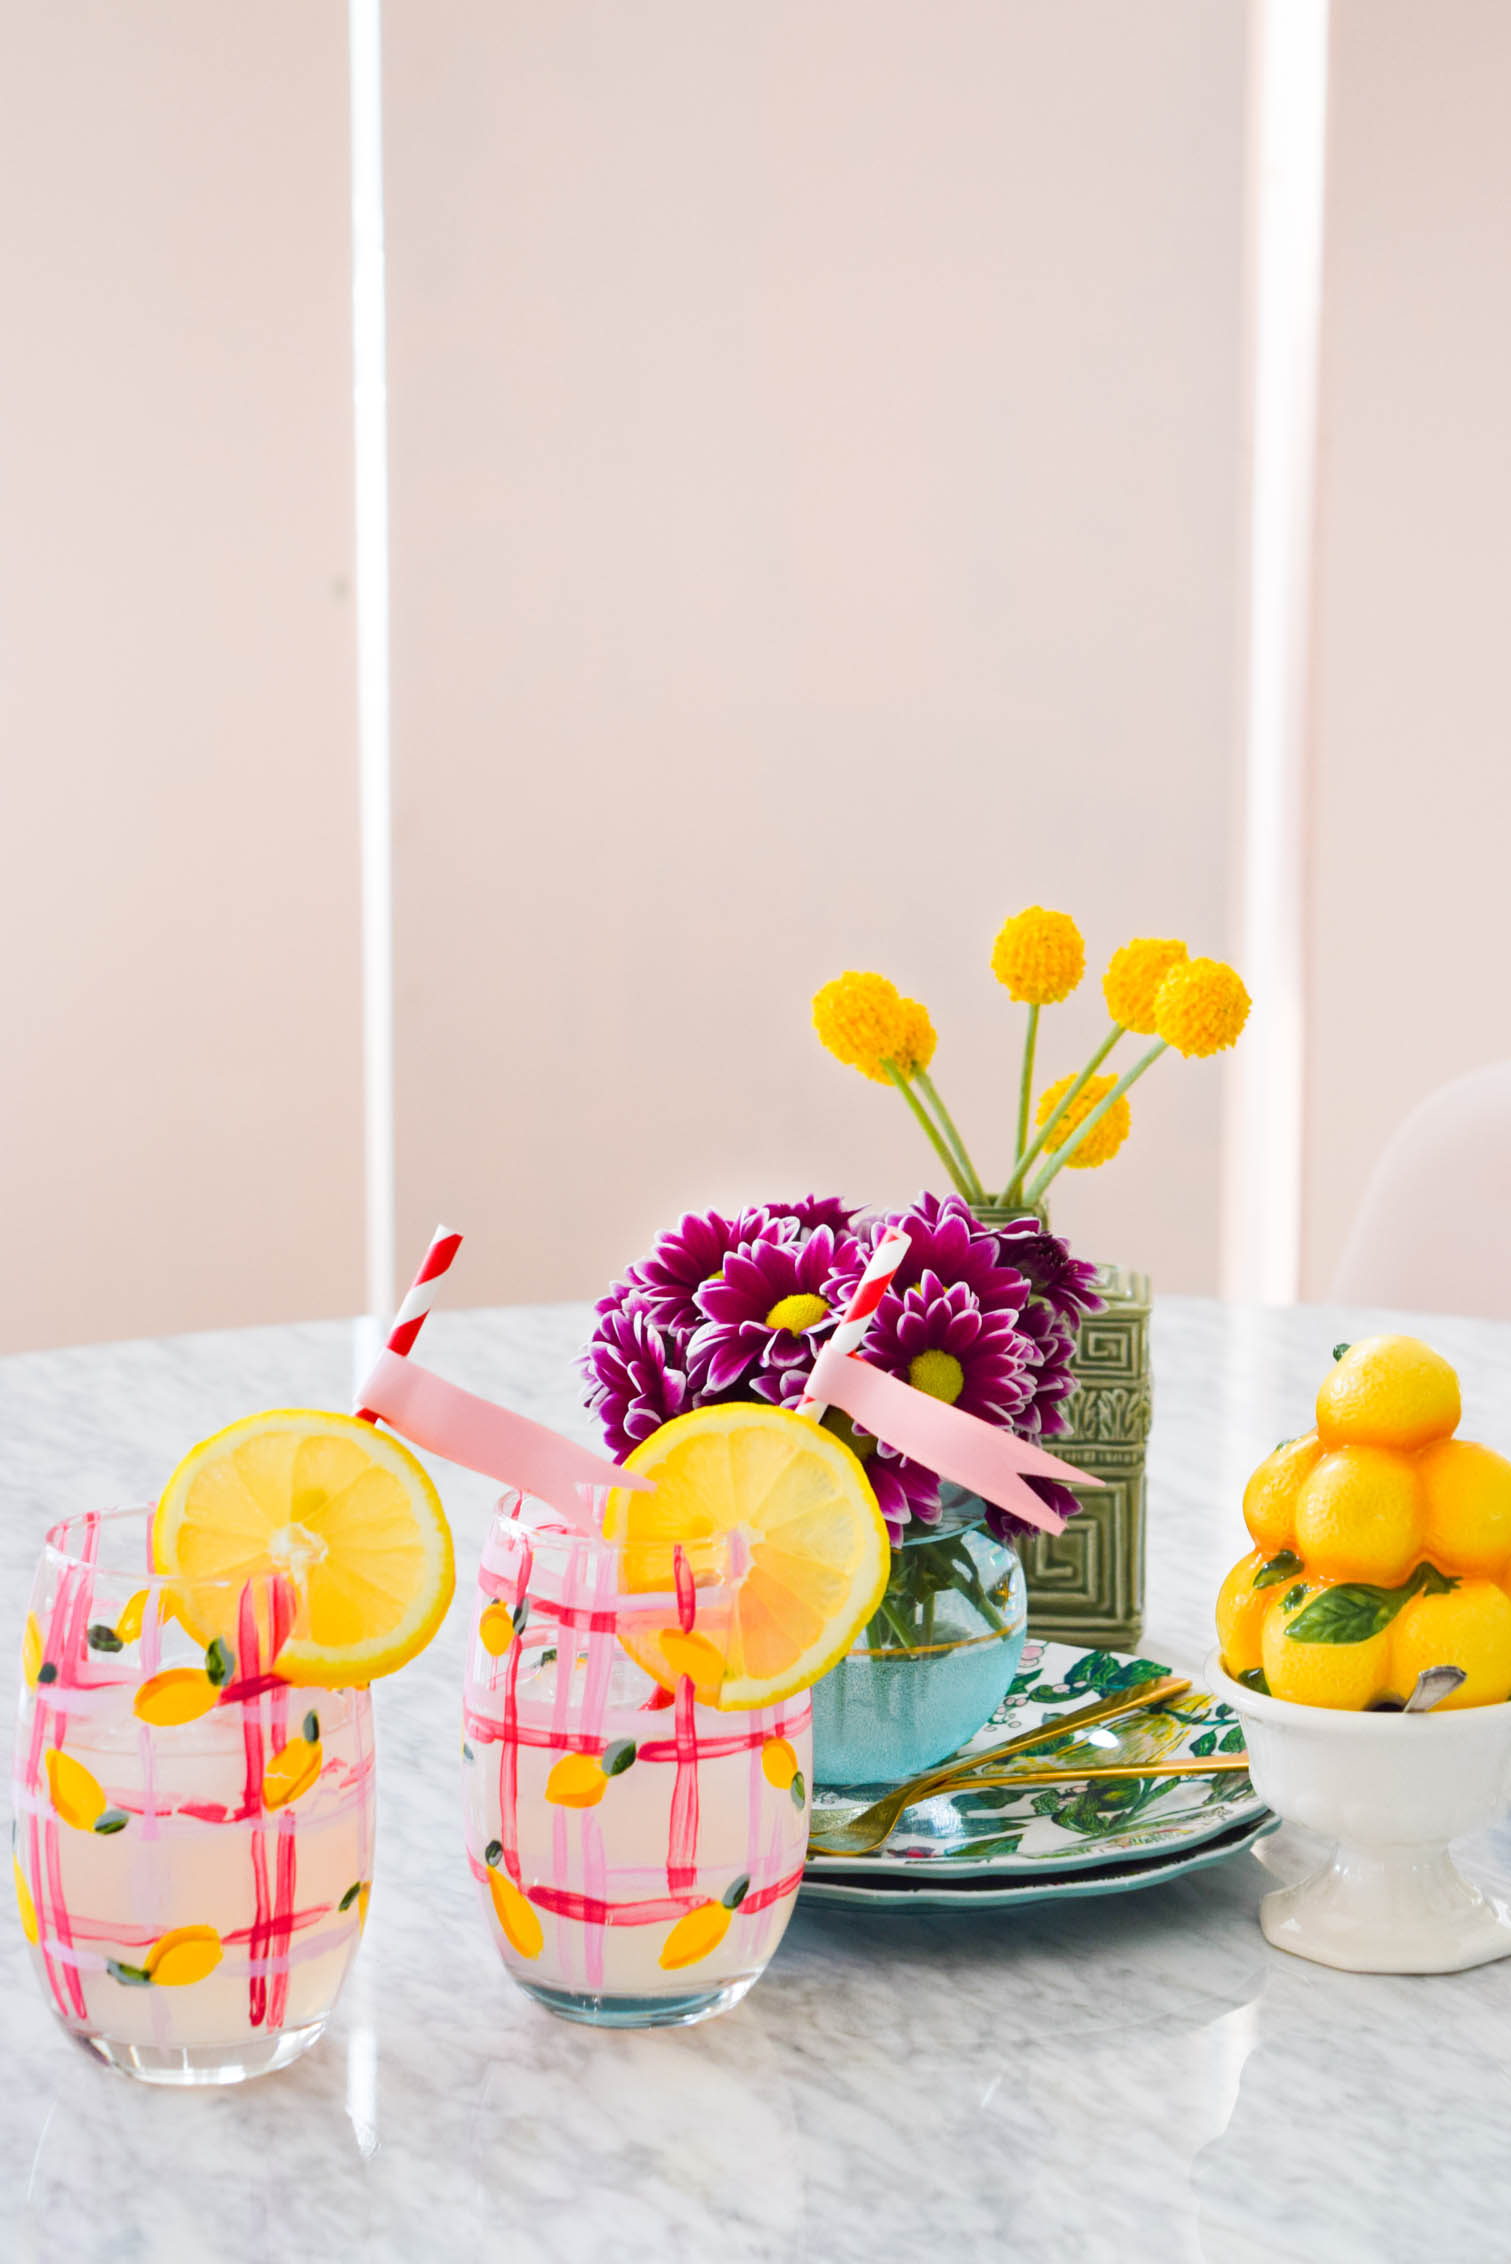
It’s been a hot minute since I wrote a post here! Just over a week, and I’ve been busy in the background playing catch-up and doing other stuff. I’m still here though <3 I also want to thank you all for the overwhelming outpouring of love after my // PCOS post last week. // These DIY Painted Plaid & Lemon Glasses have been in the back of my mind since Atlanta, and was so happy to be able to put them together yesterday. They’re fresh, colourful, and summery.
They’d look tasty with any of my summer cocktail recipes too // here //
*Decoart sponsored this post, but all thoughts are my own. Thank you for supporting the brands that make PMQ for two possible.
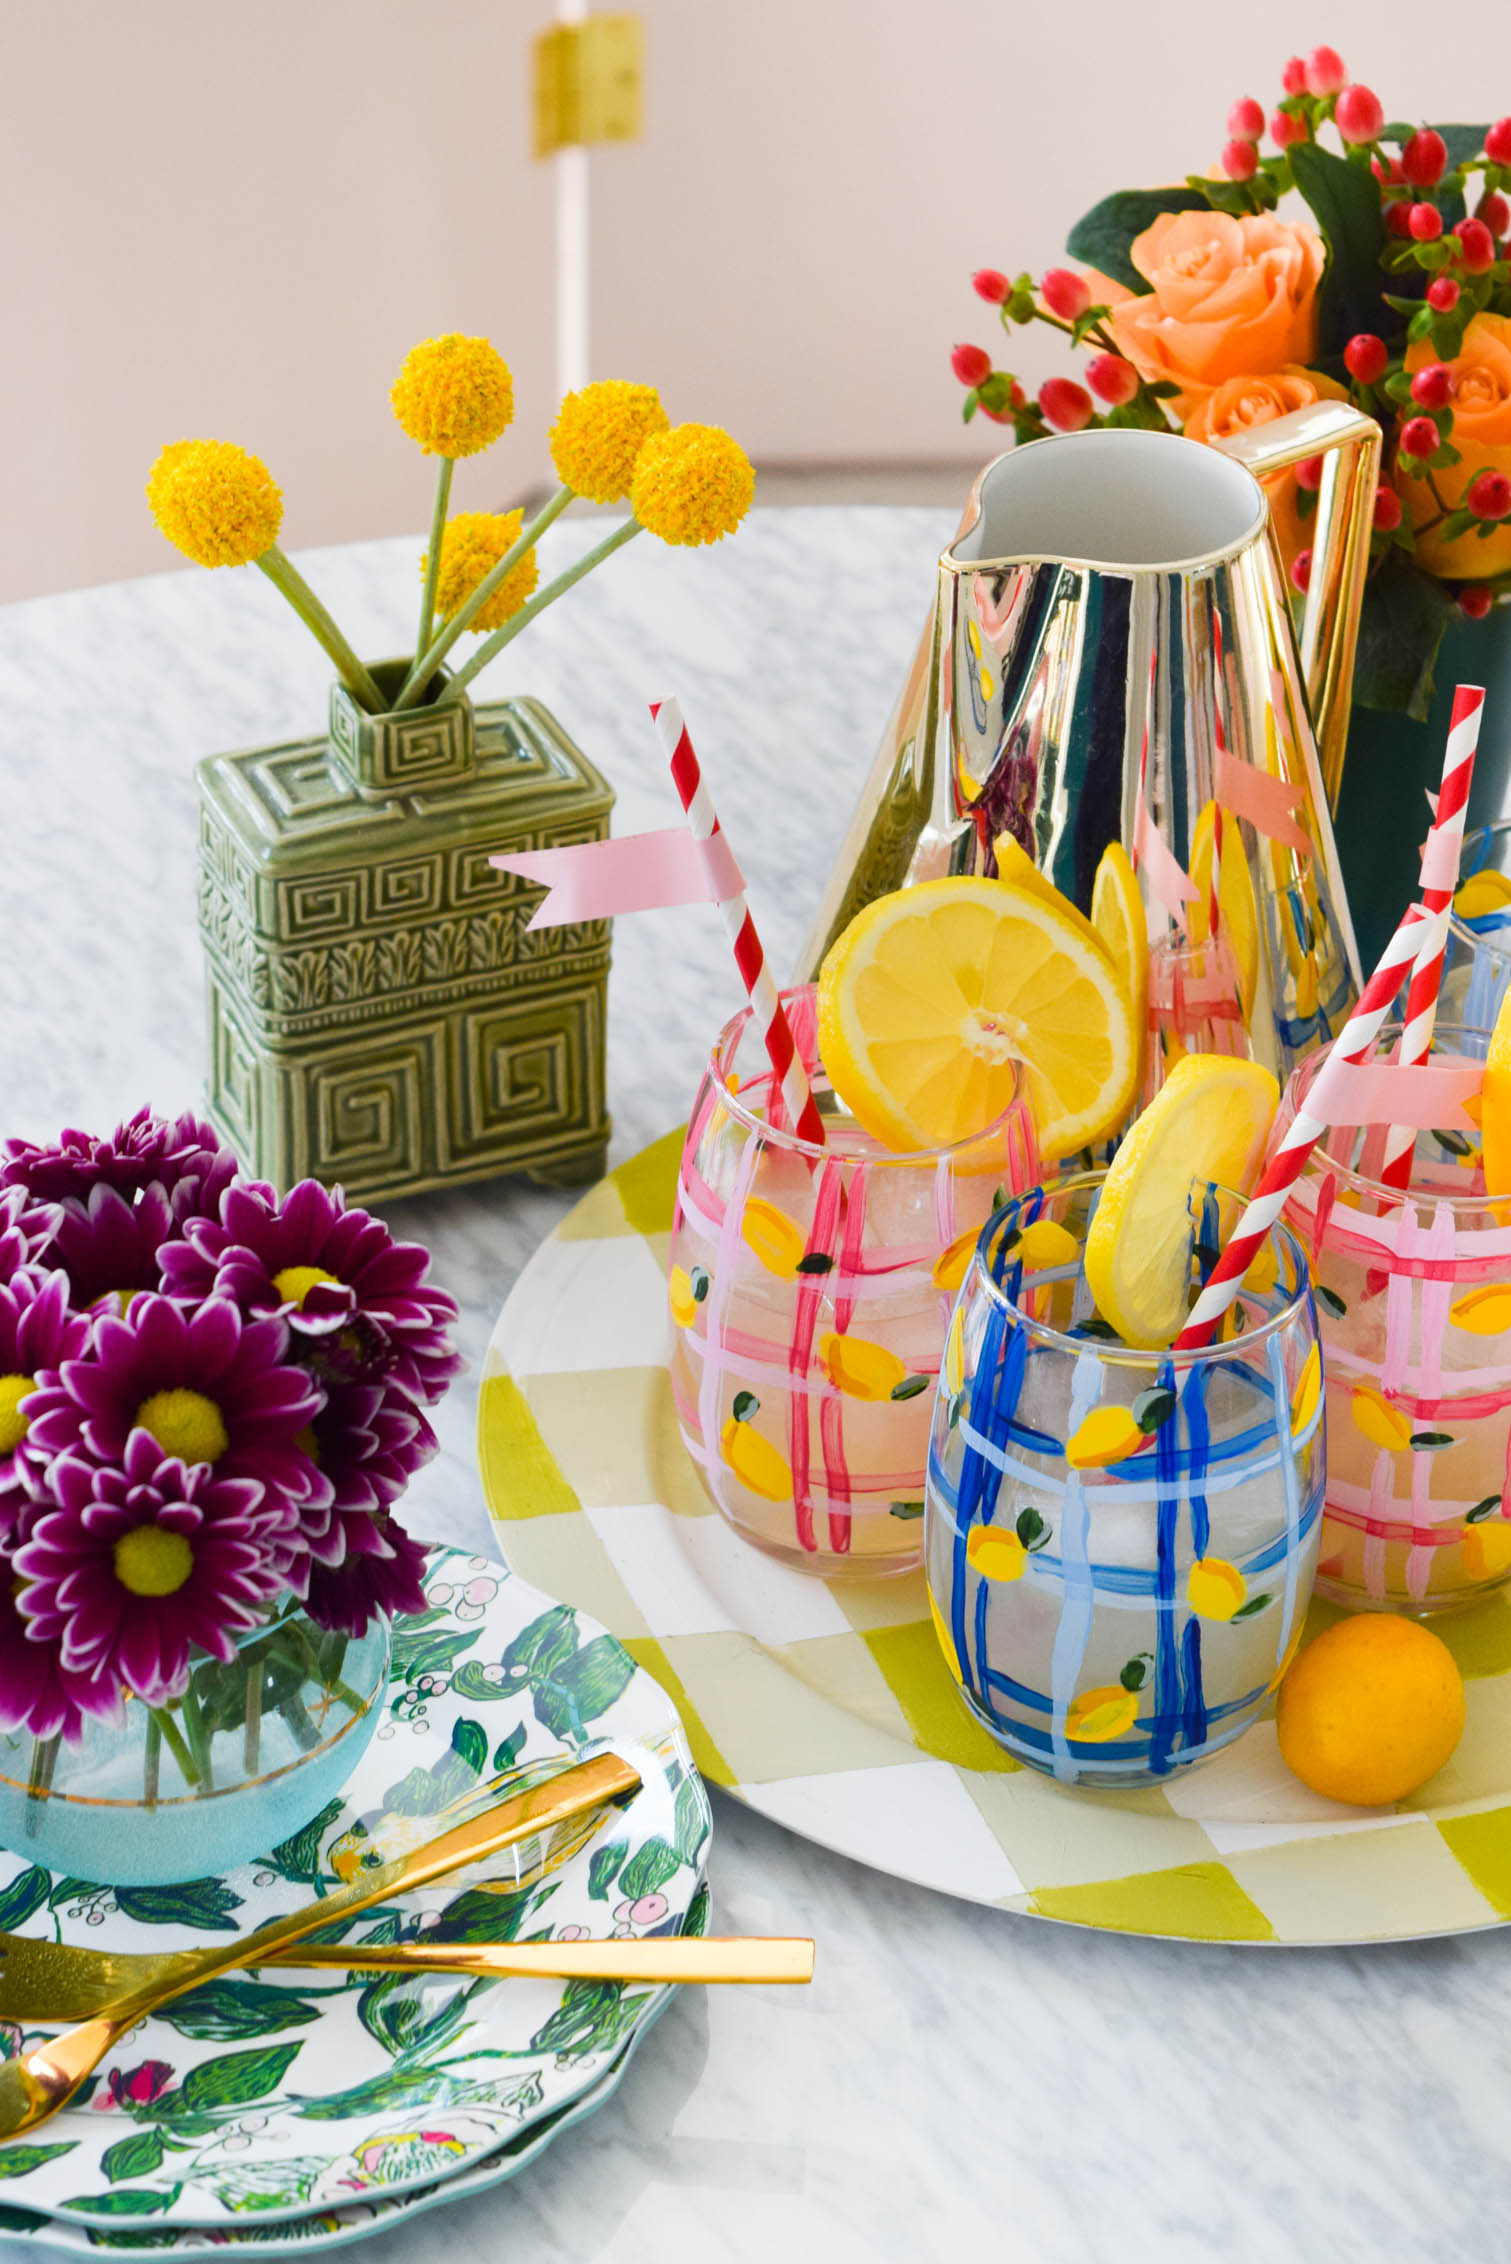
You can make these in any combination of plaid and lemons, but I think they look super cute together, ya know?
*The following product links contain affiliate links. Thank you for supporting the brands that make PMQ for two possible. For my full policies click // here //
Materials for DIY Painted Plaid & Lemon Glasses
- Glasses . – I used stemless wine glasses from Homesense
- Americana Decoart paints: Cadmium Yellow, True Ochre, Boysenberry Pink, Poodleskirt Pink, Silver Sage Green, Ultra Blue Deep, Evergreen, and Baby Blue.
- p.s DecoArt actually makes glass paints // here // but I didn’t have any on hand.
- Paint Brushes
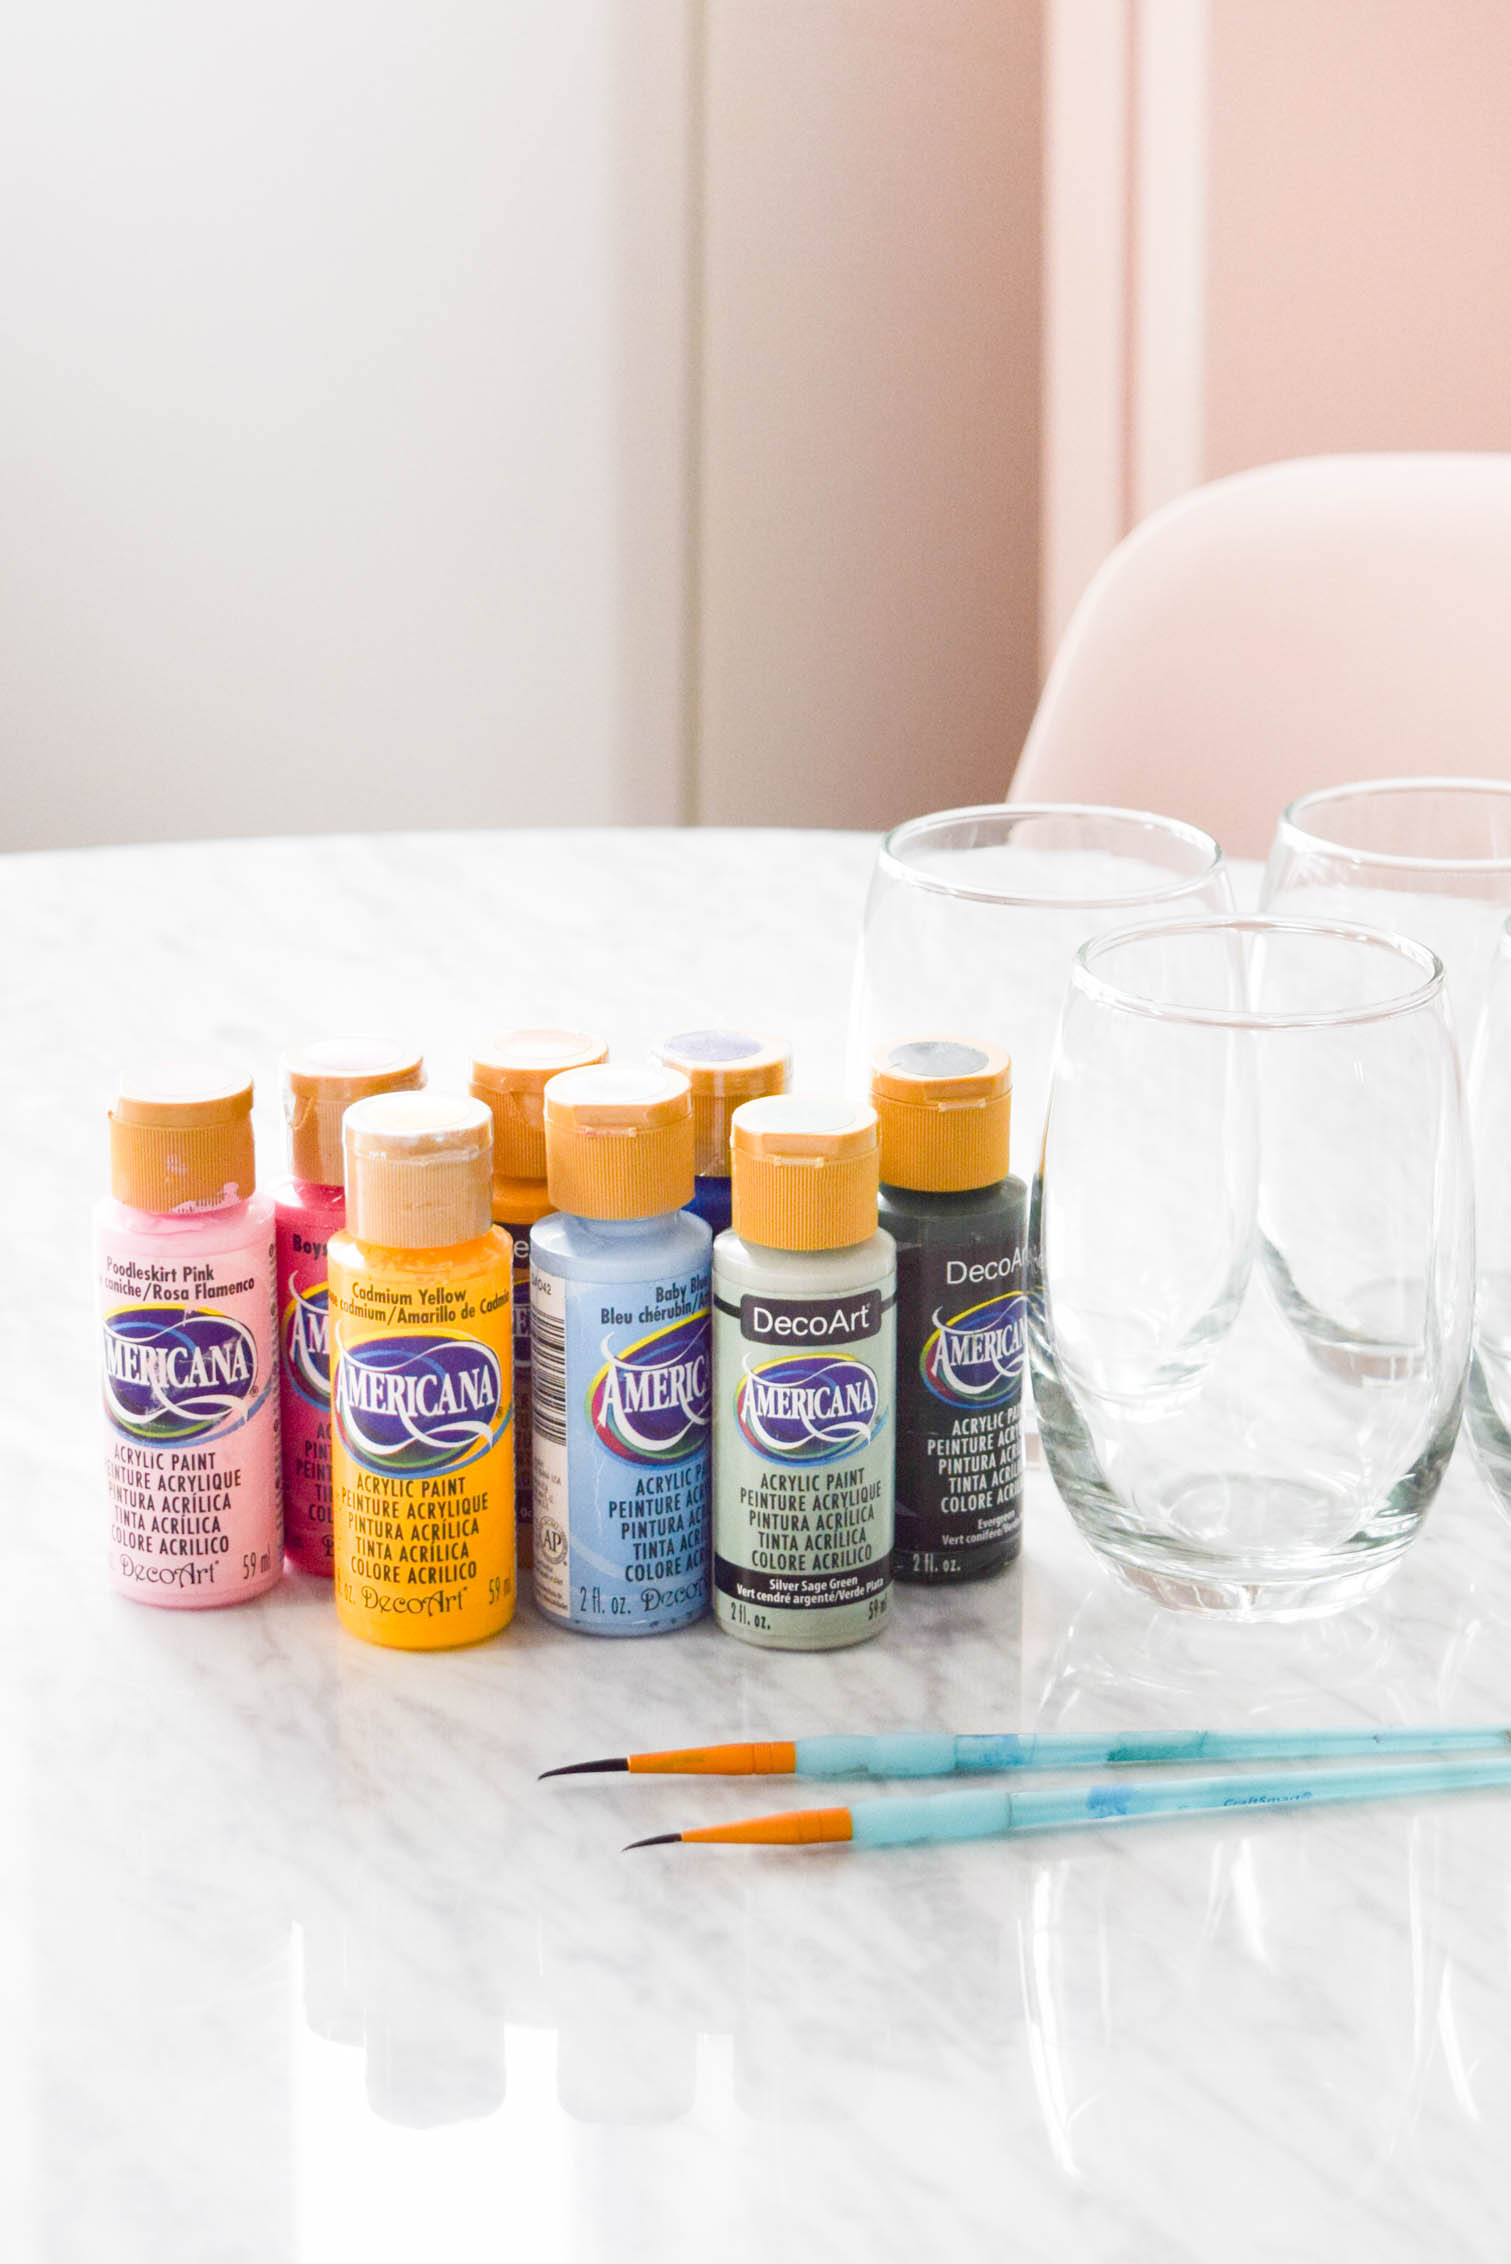
I did the same process on each glass, so if the colours shown for each step are different, don’t worry! It’s the same process for each glass.
Step 1: Start by painting the first coat of the lemons on the glasses. It’s a simple shape to do, nothing fancy. Don’t worry, you’ll add a second coat and some shadowing later.
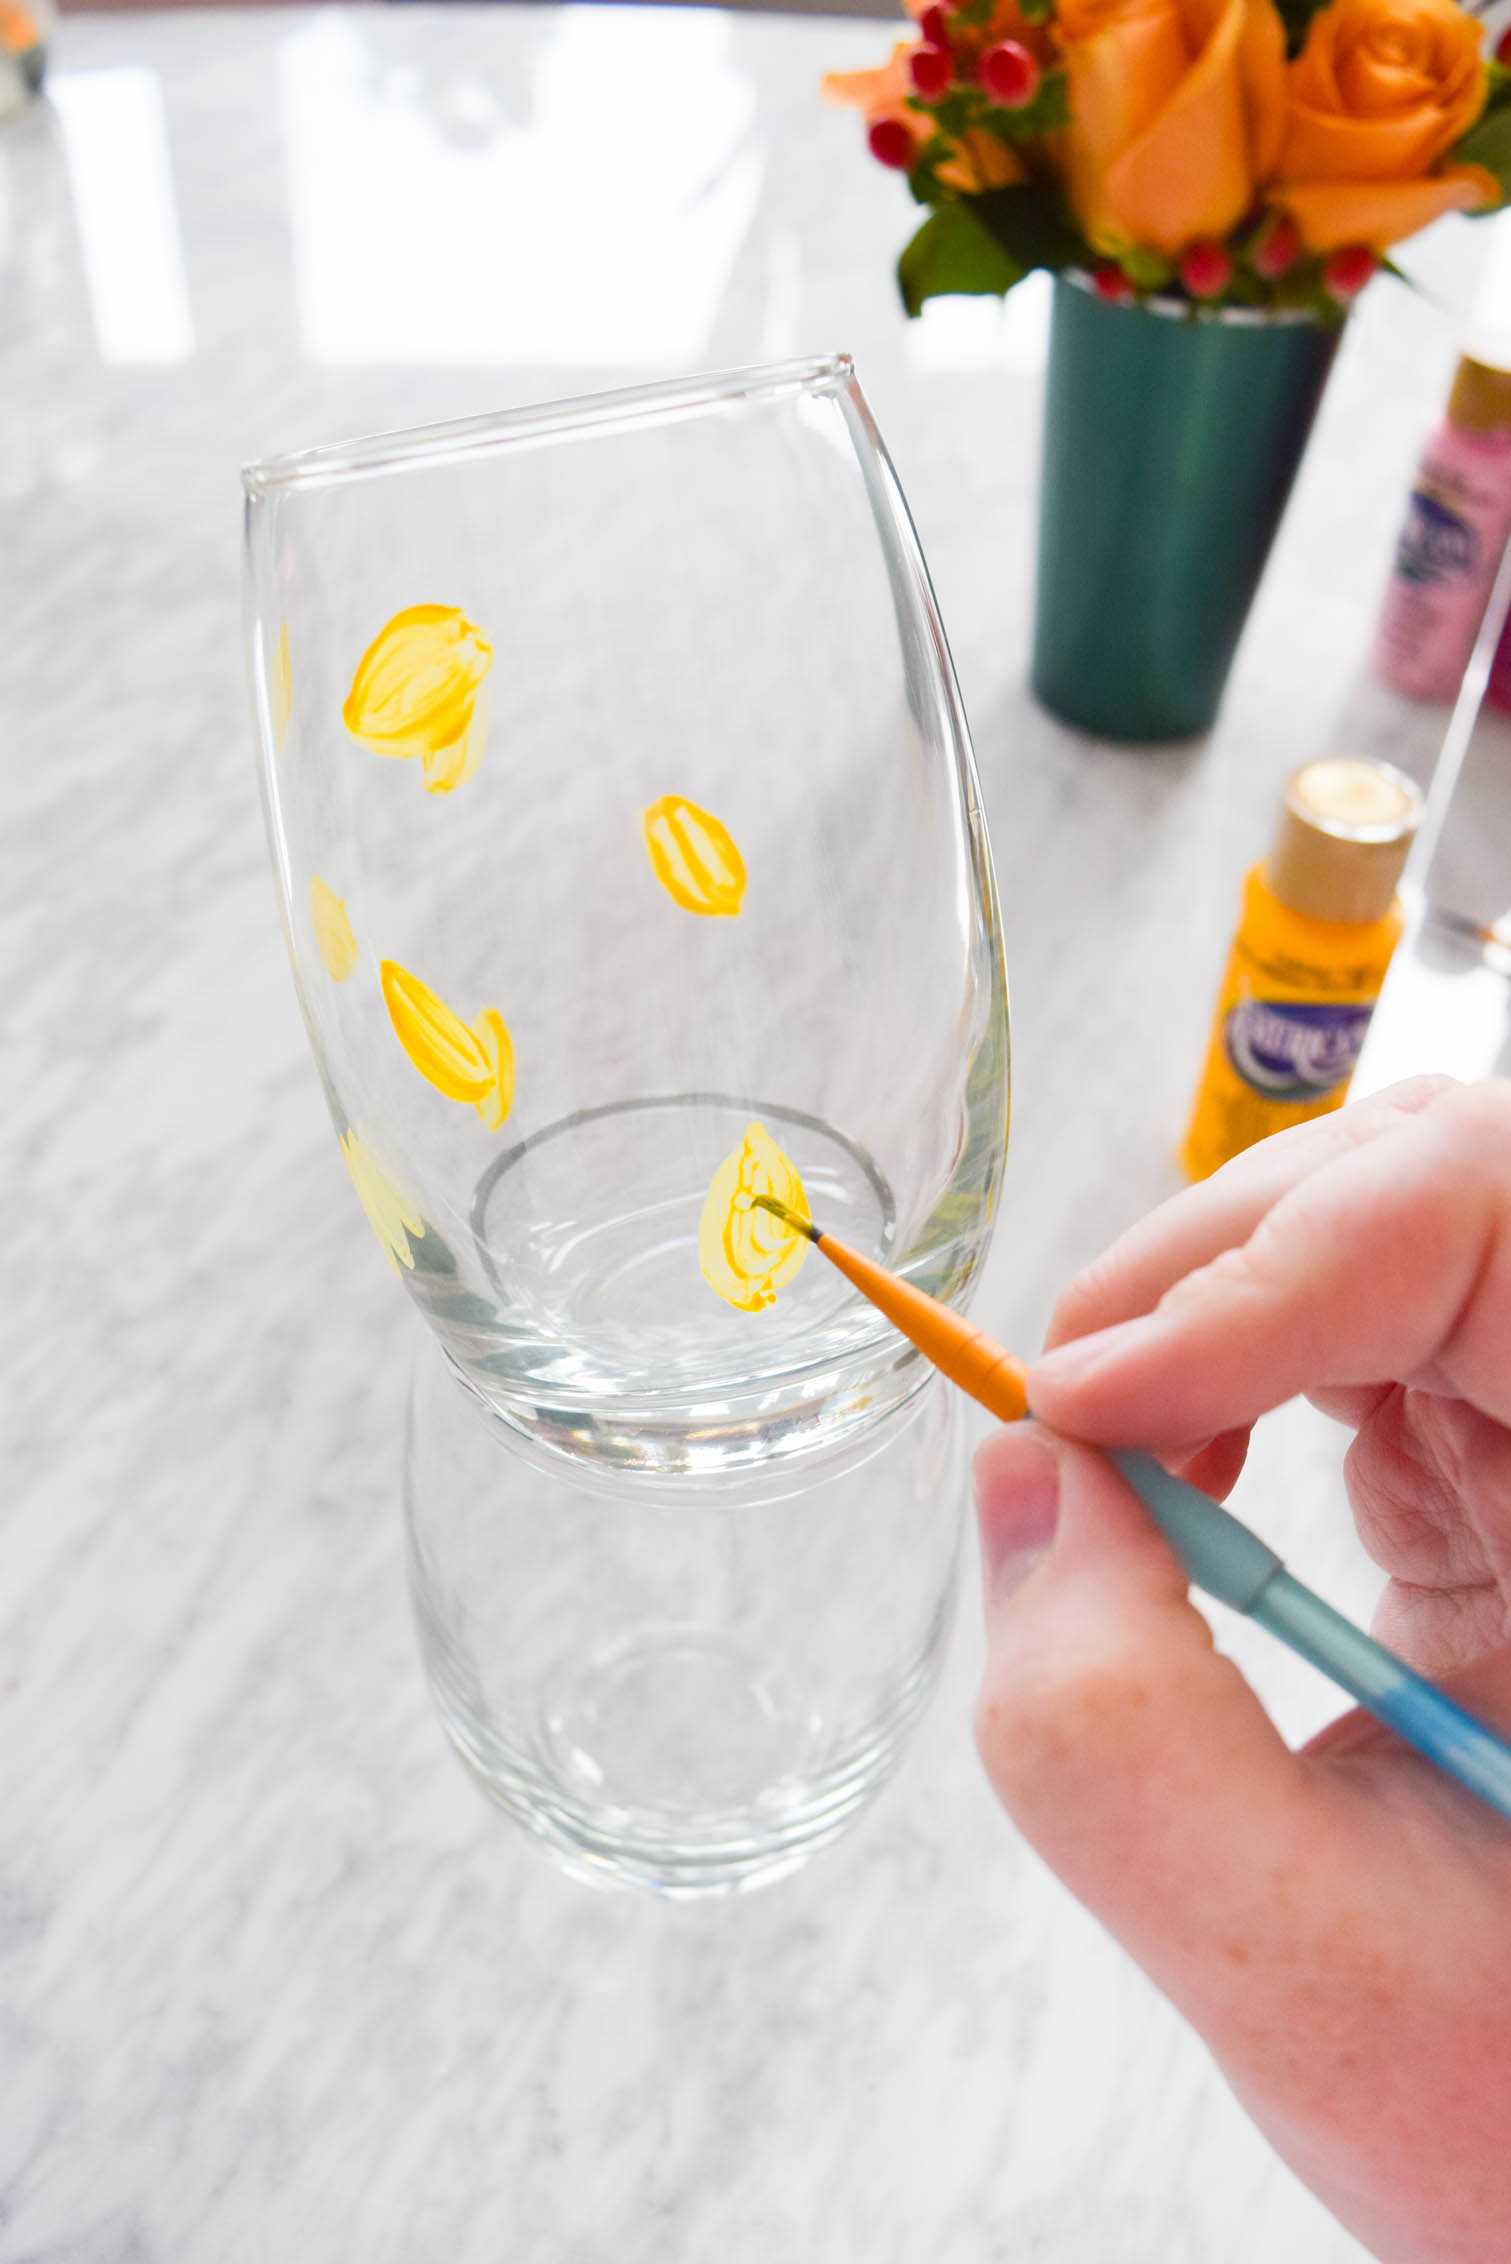
Step 2: Do a second coat! The first glass should be dry by the time you’re done the last one in a set of 4.
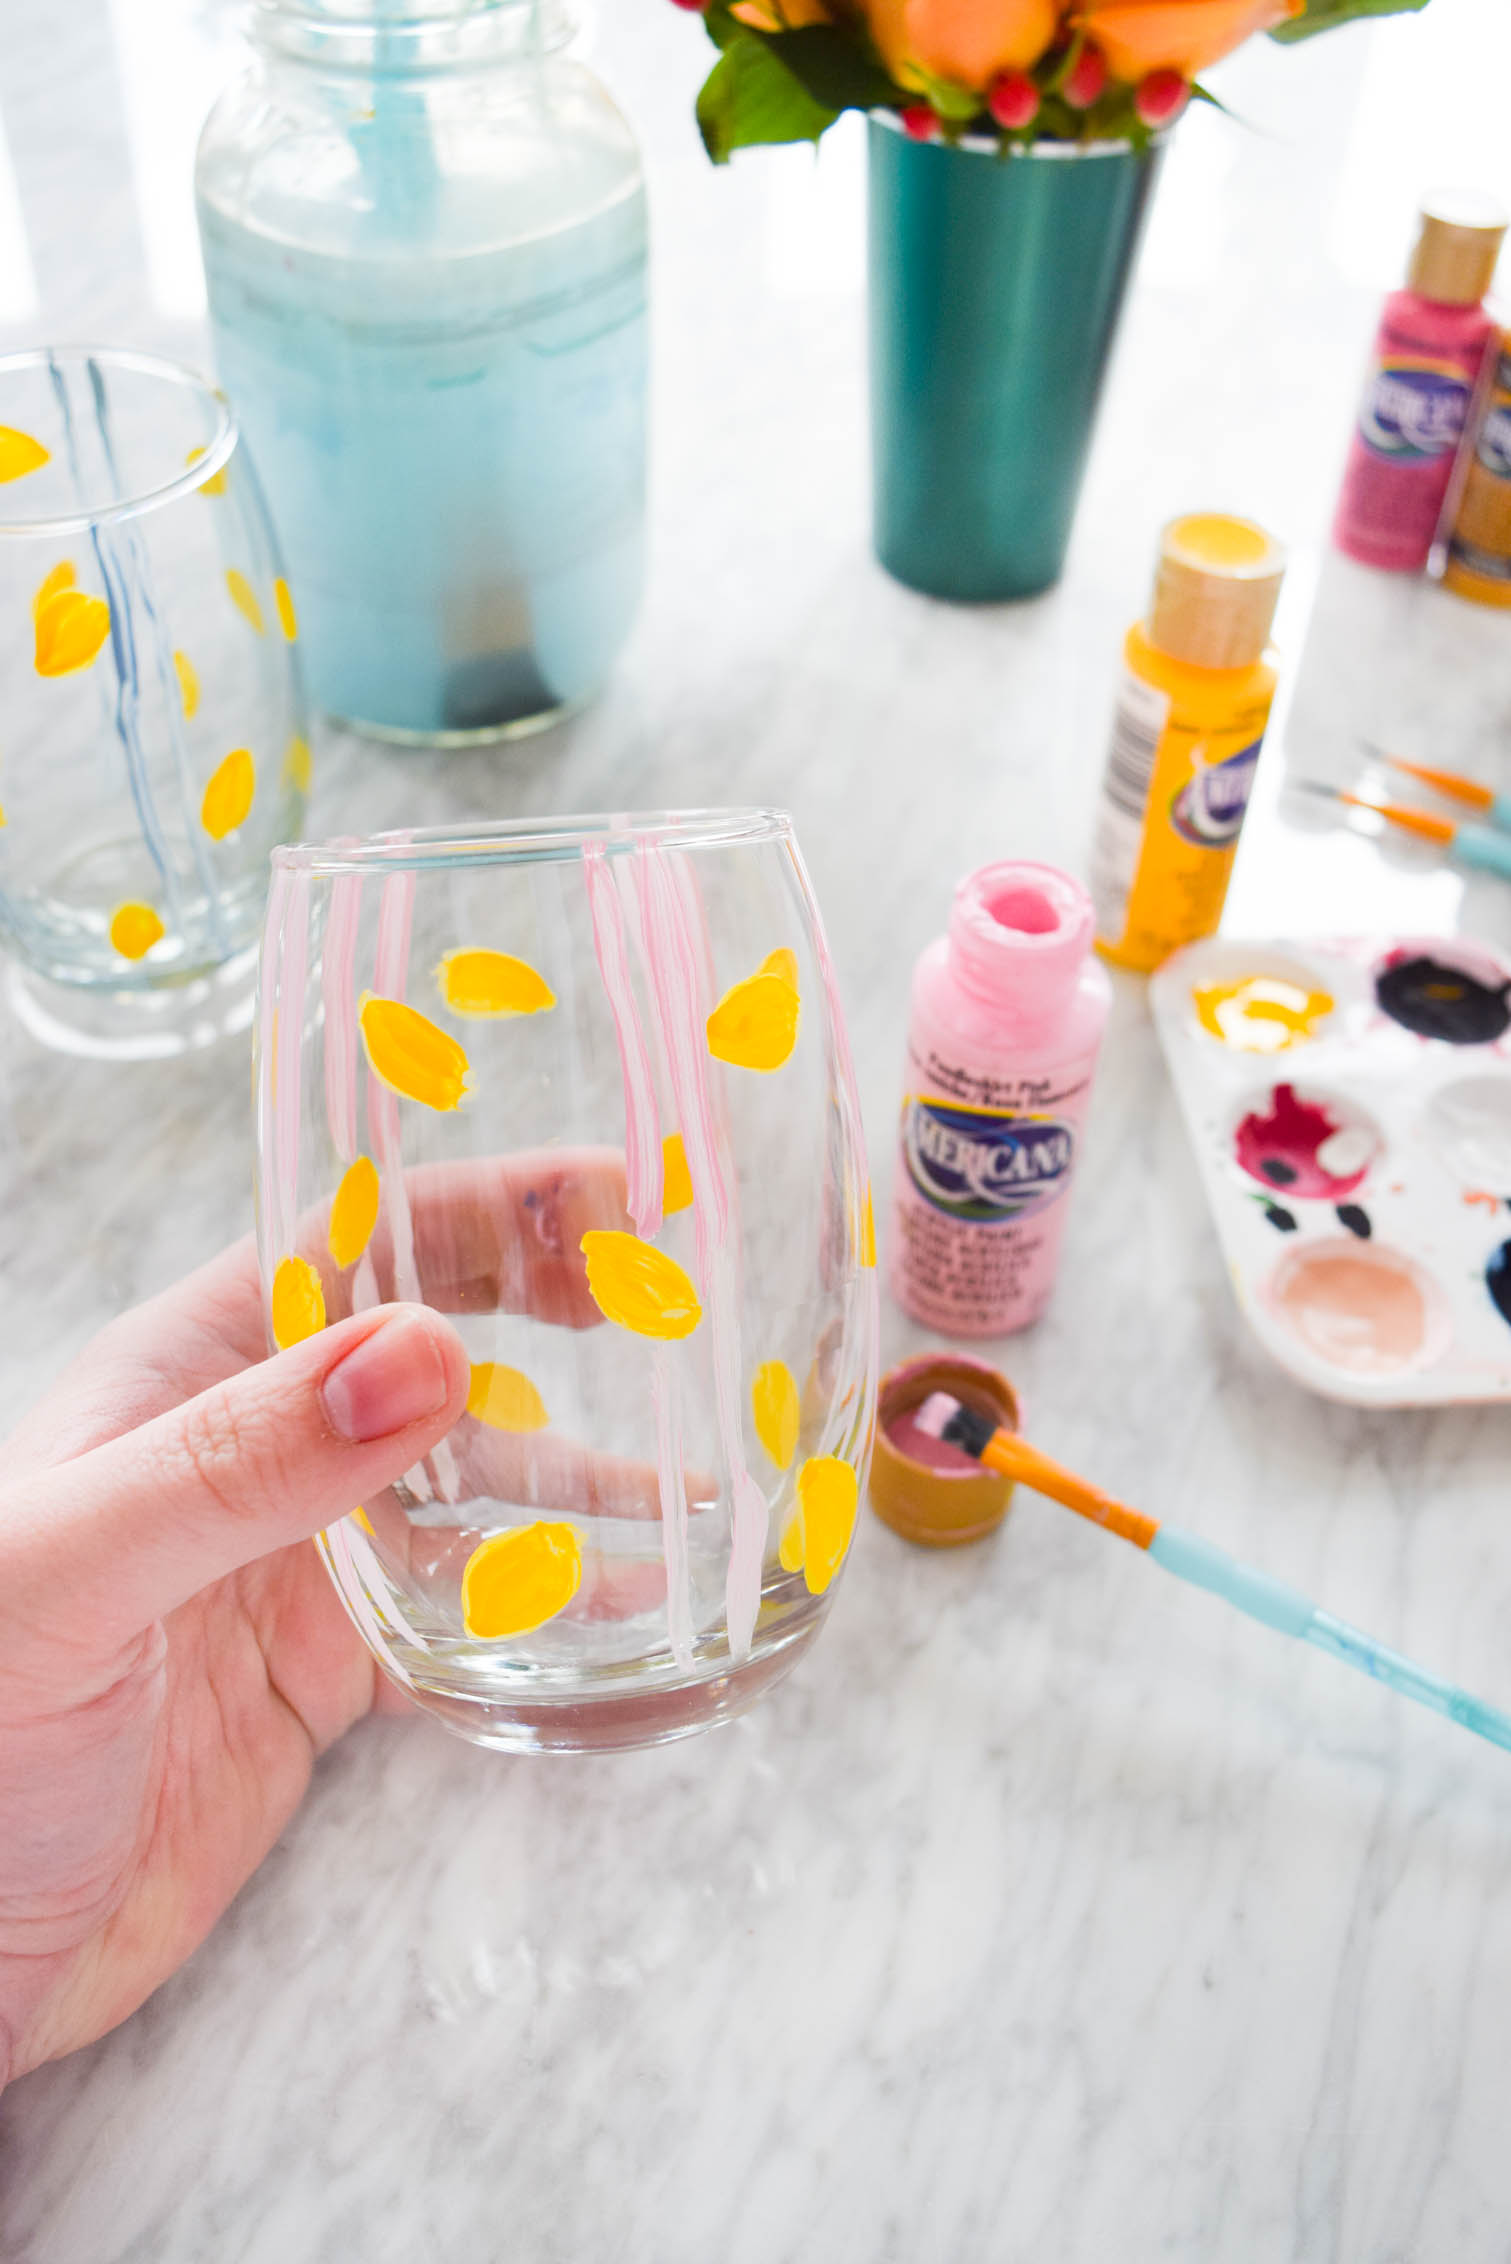
Step 3: Add a little green leaf to each lemon, and then start by placing two vertical stripes, relatively close together, at even intervals around the glass. I got 5 sets of stripes on each glass.
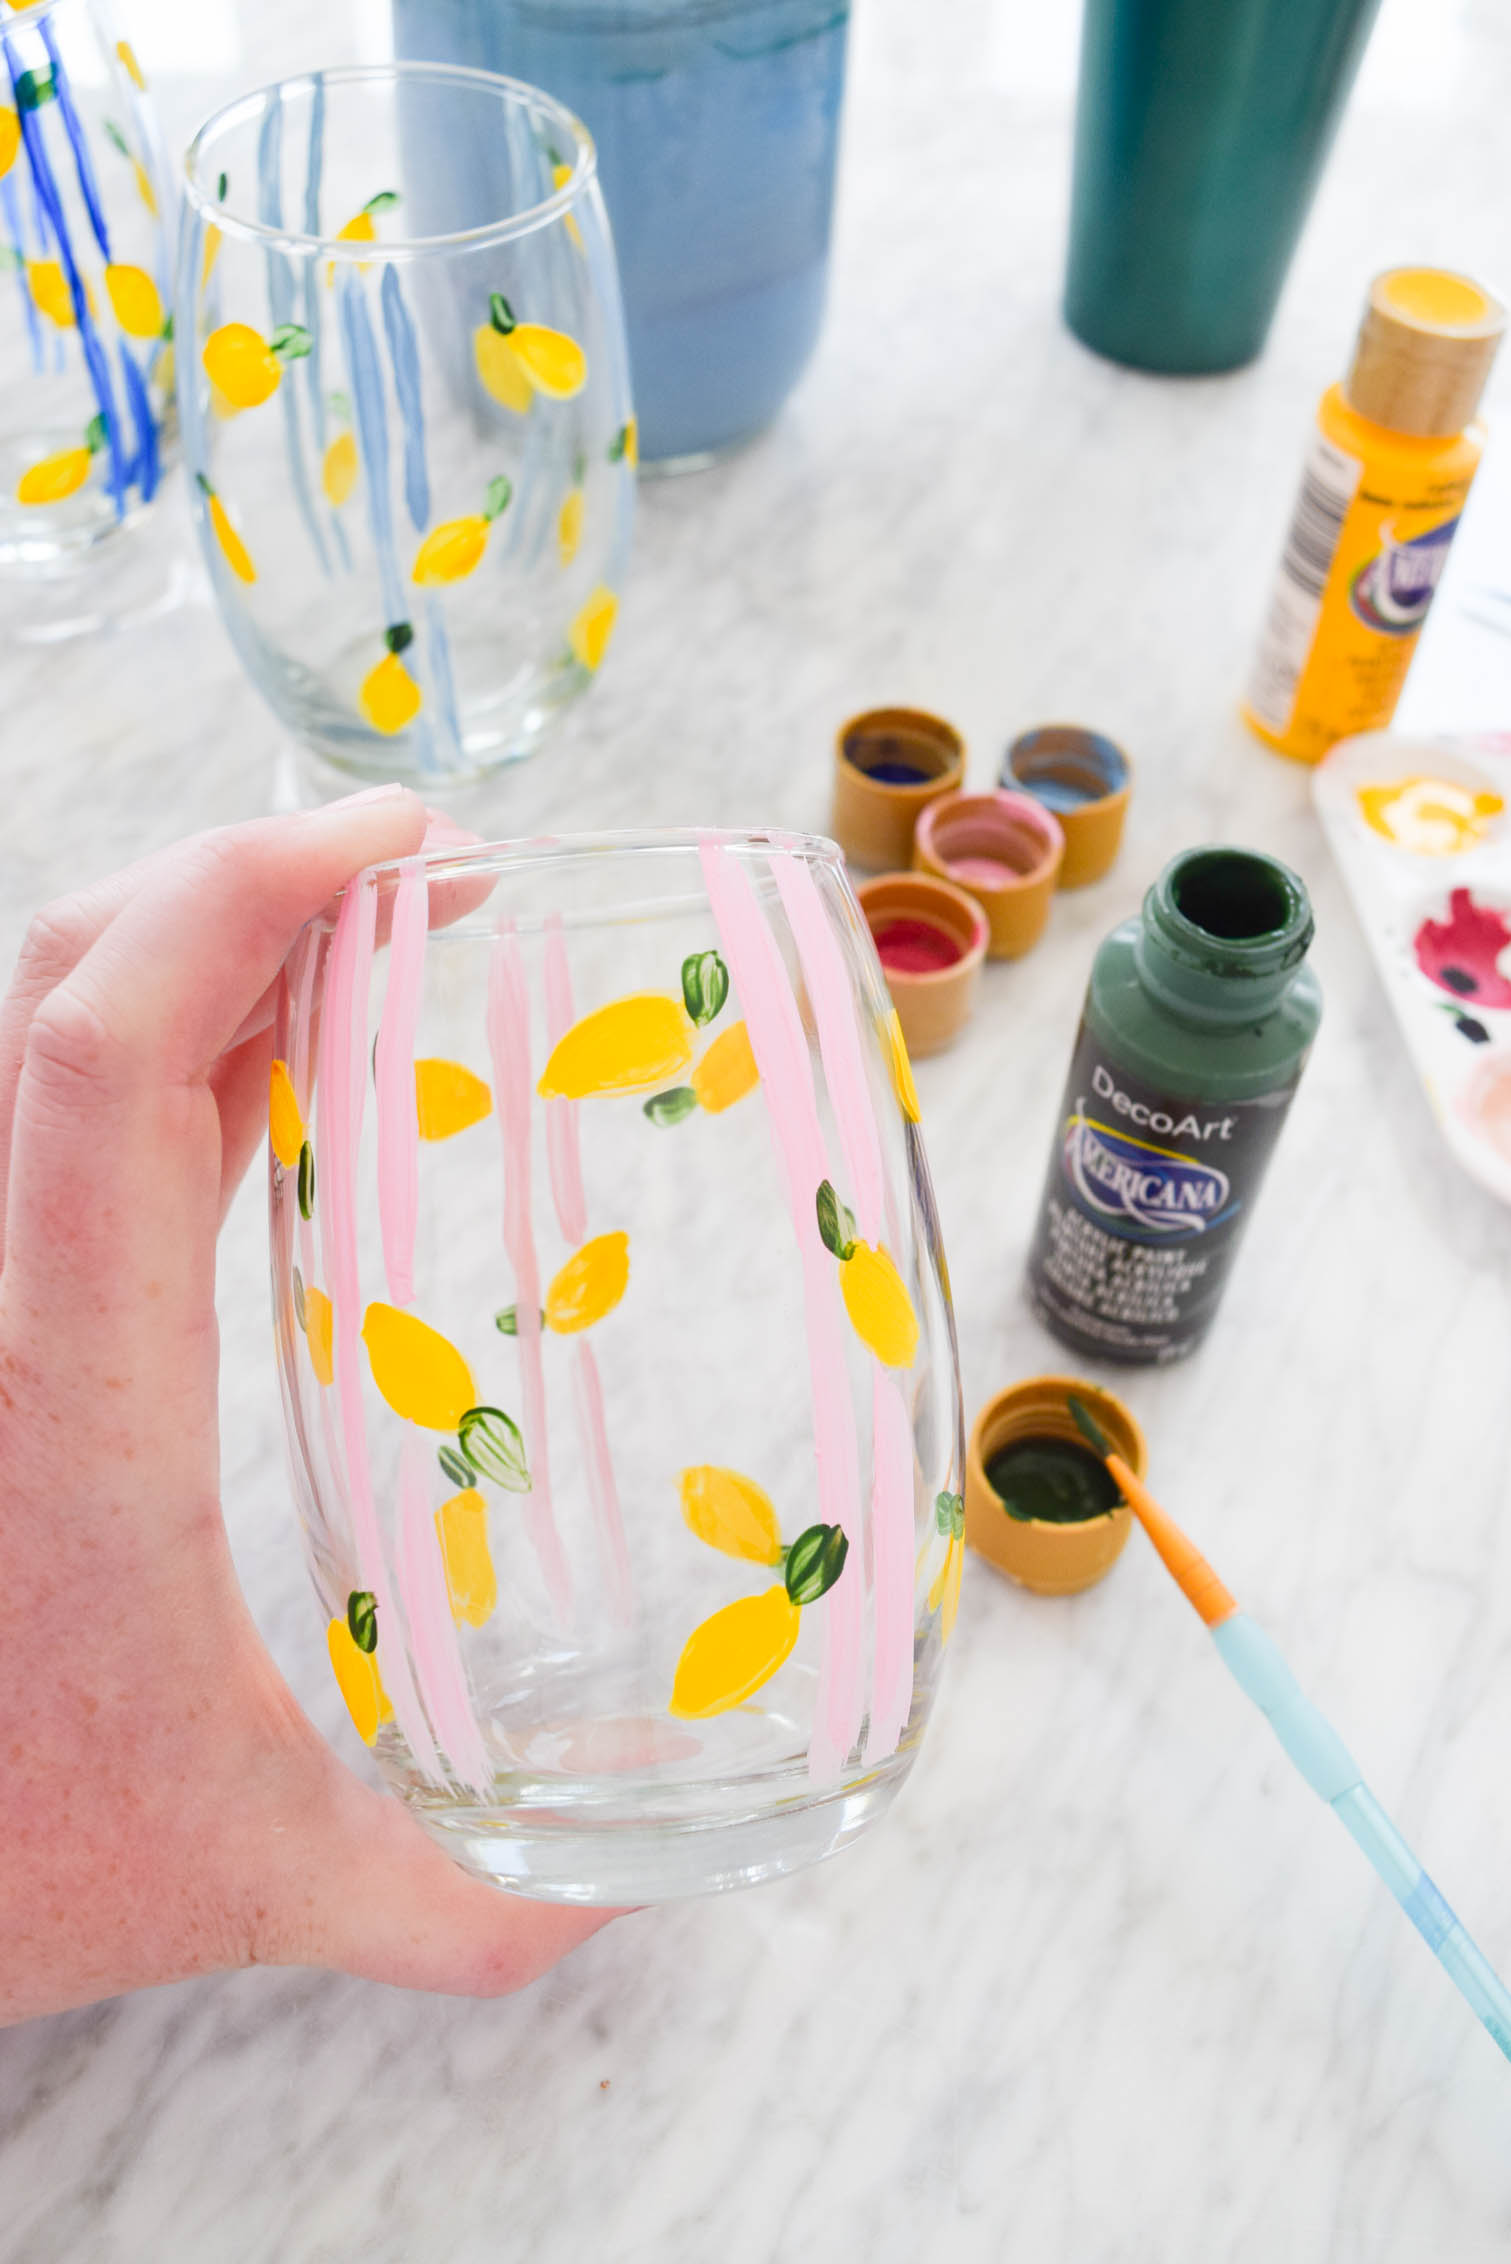
Step 4: Add 3 horizontal stripes in the same colour as the vertical stripes. Using a contrasting but complimentary shade, add a shadow detail to each lemon with a simple brush stroke.
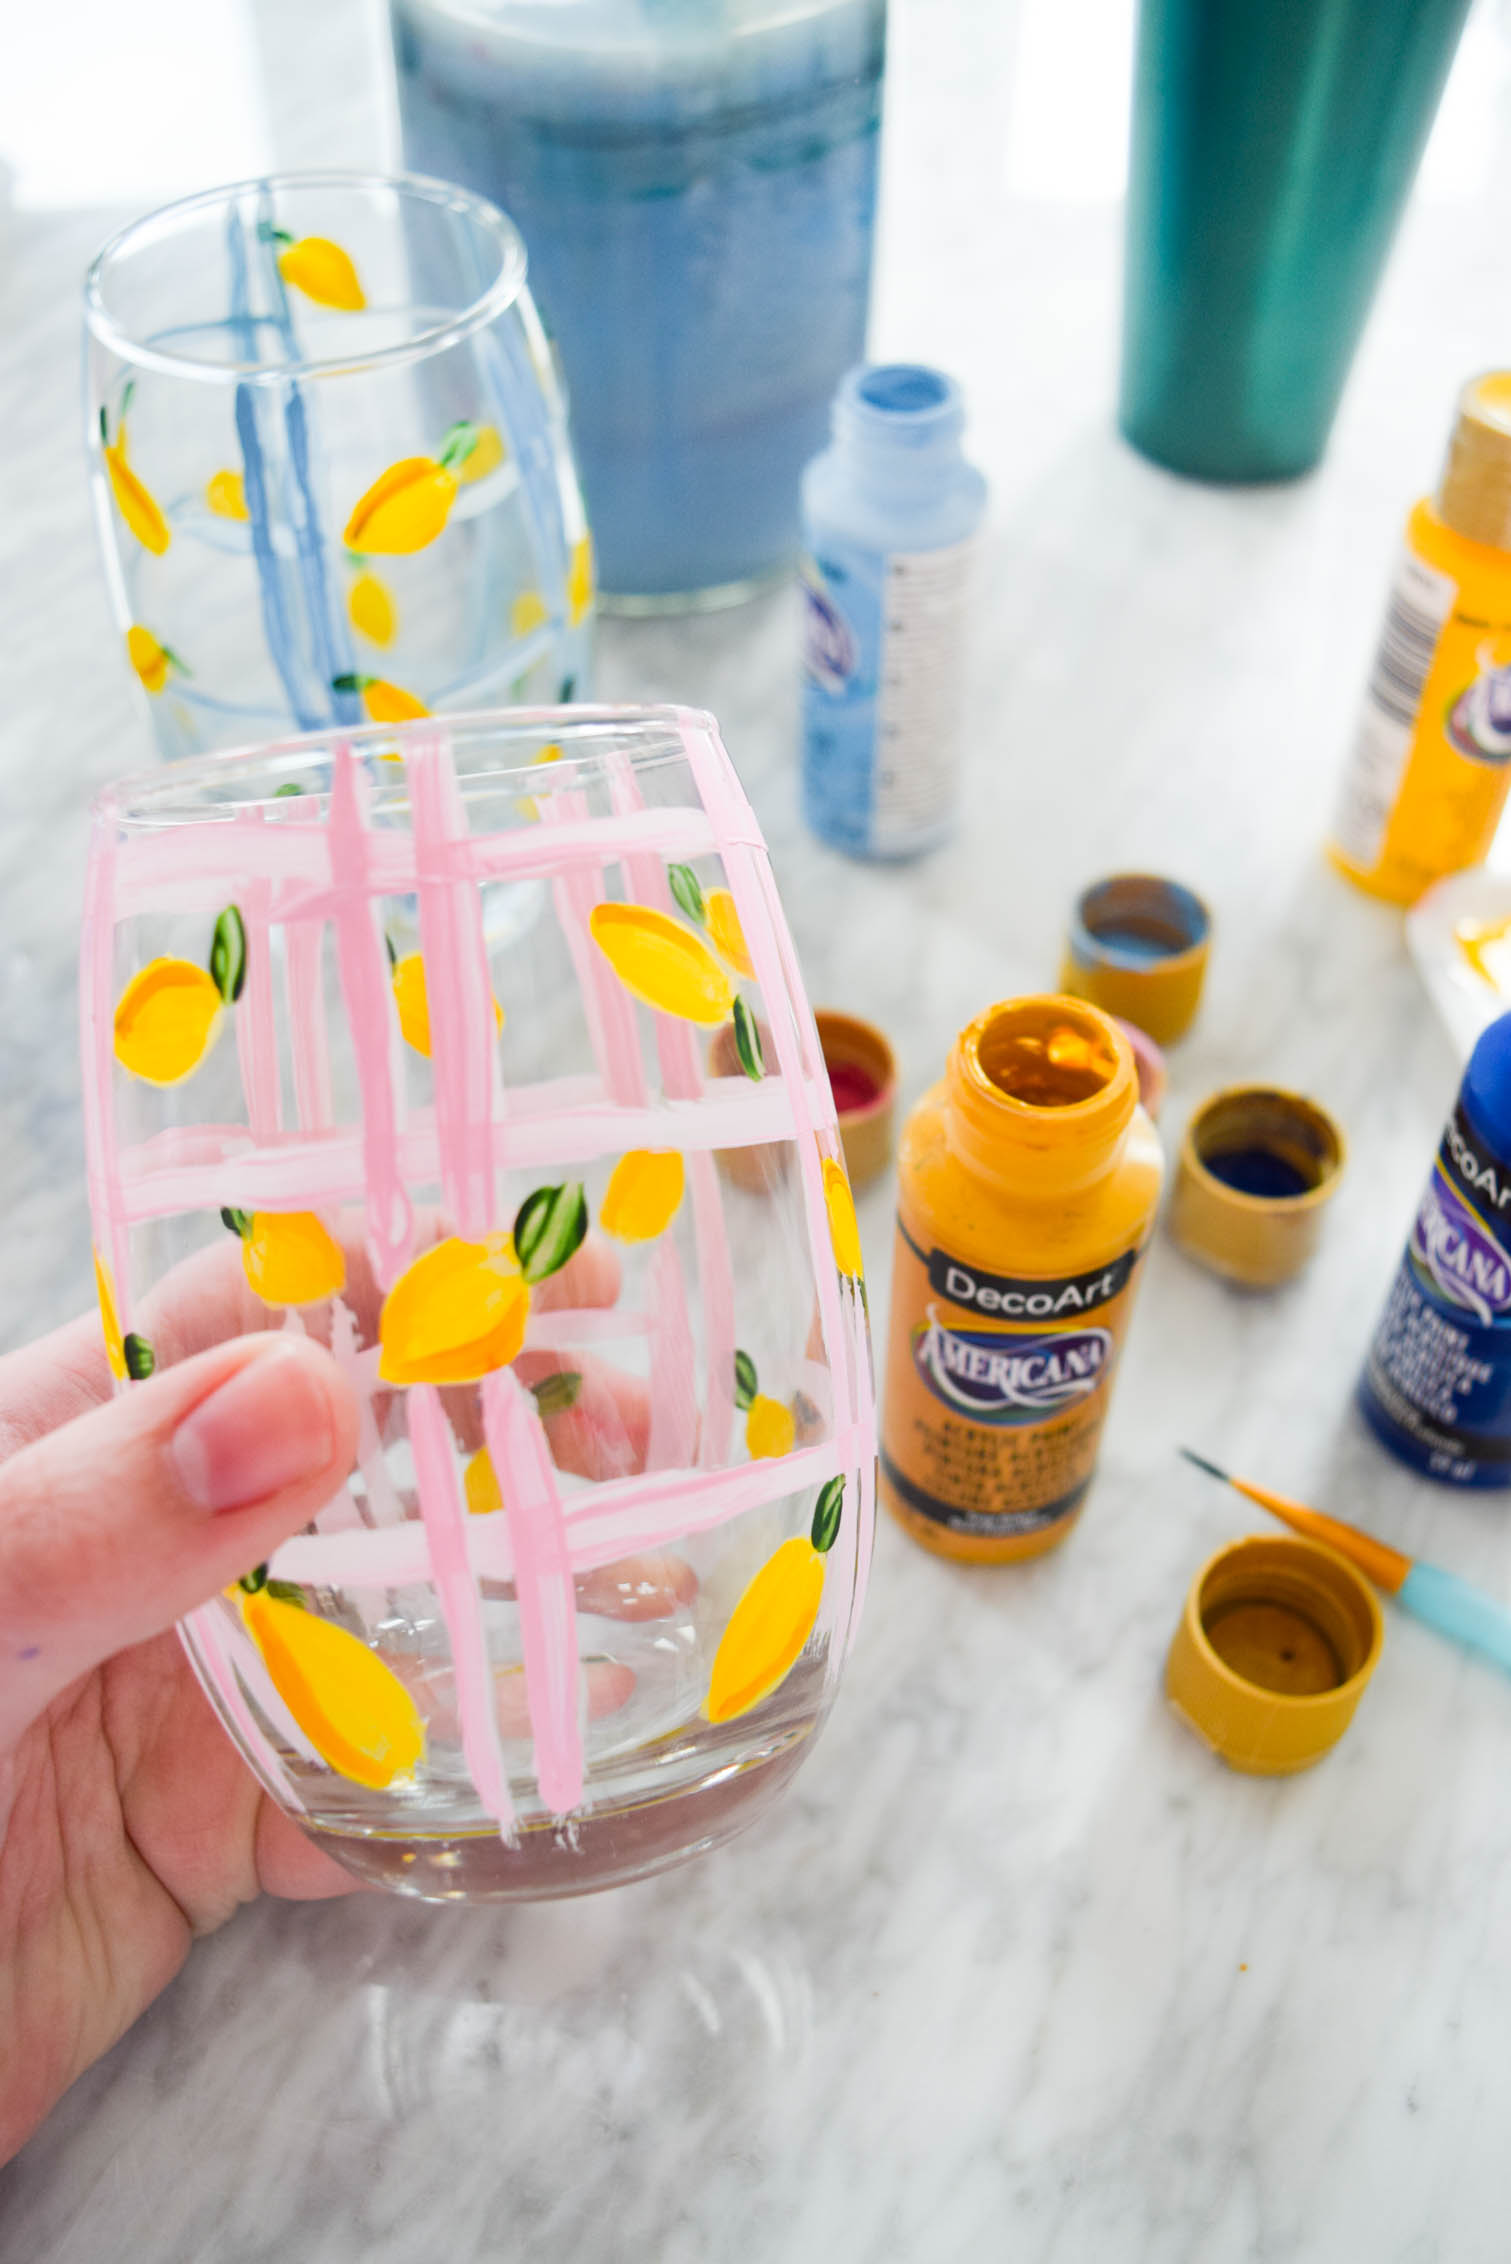
Step 5: While you’re at it, add another coat to the stripes and the leaf. Then when it’s all dry, add a second set of stripes in another shade from the same colour. In this case, I used 4 colours: 2 blues and 2 pinks, and just used them across the glasses.
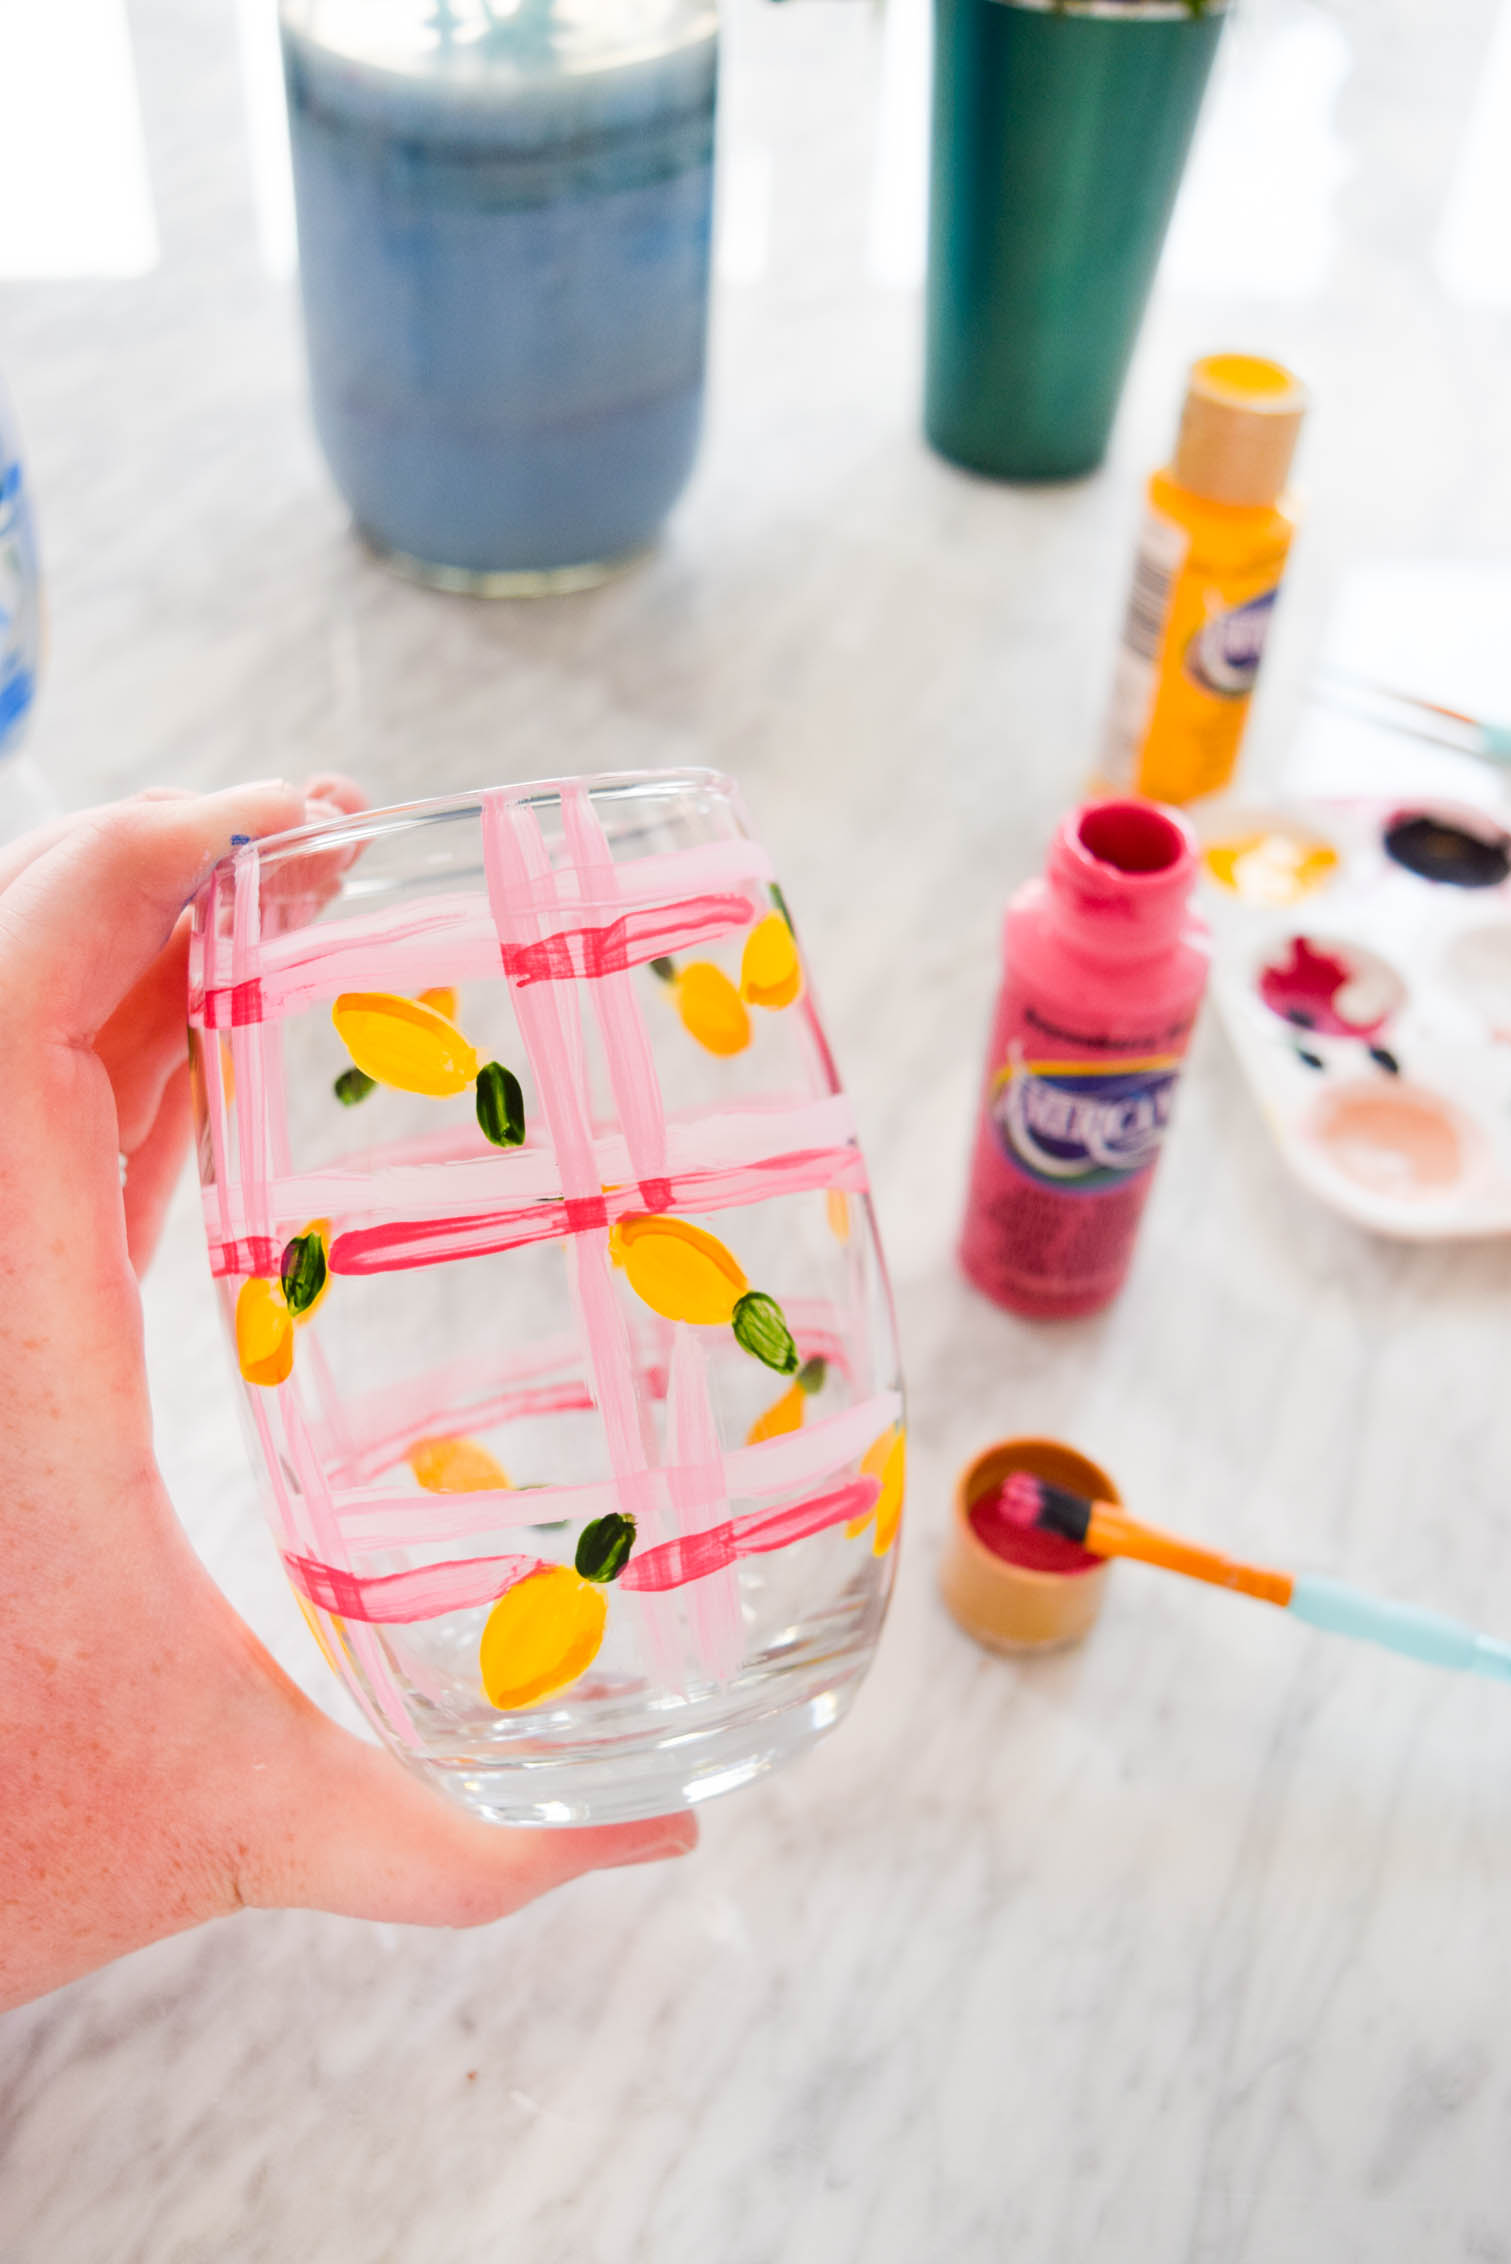
As you can see, some of the stripes aren’t super clean. That’s OK. Short of taping everything off and taking forever, there was no way I was gonna get clean lines, so I’m embracing the very loose style and loving it. Because the lemons are so tight, it all works.
Step 6: Let everything dry and then coat them with a dishwasher safe sealant.

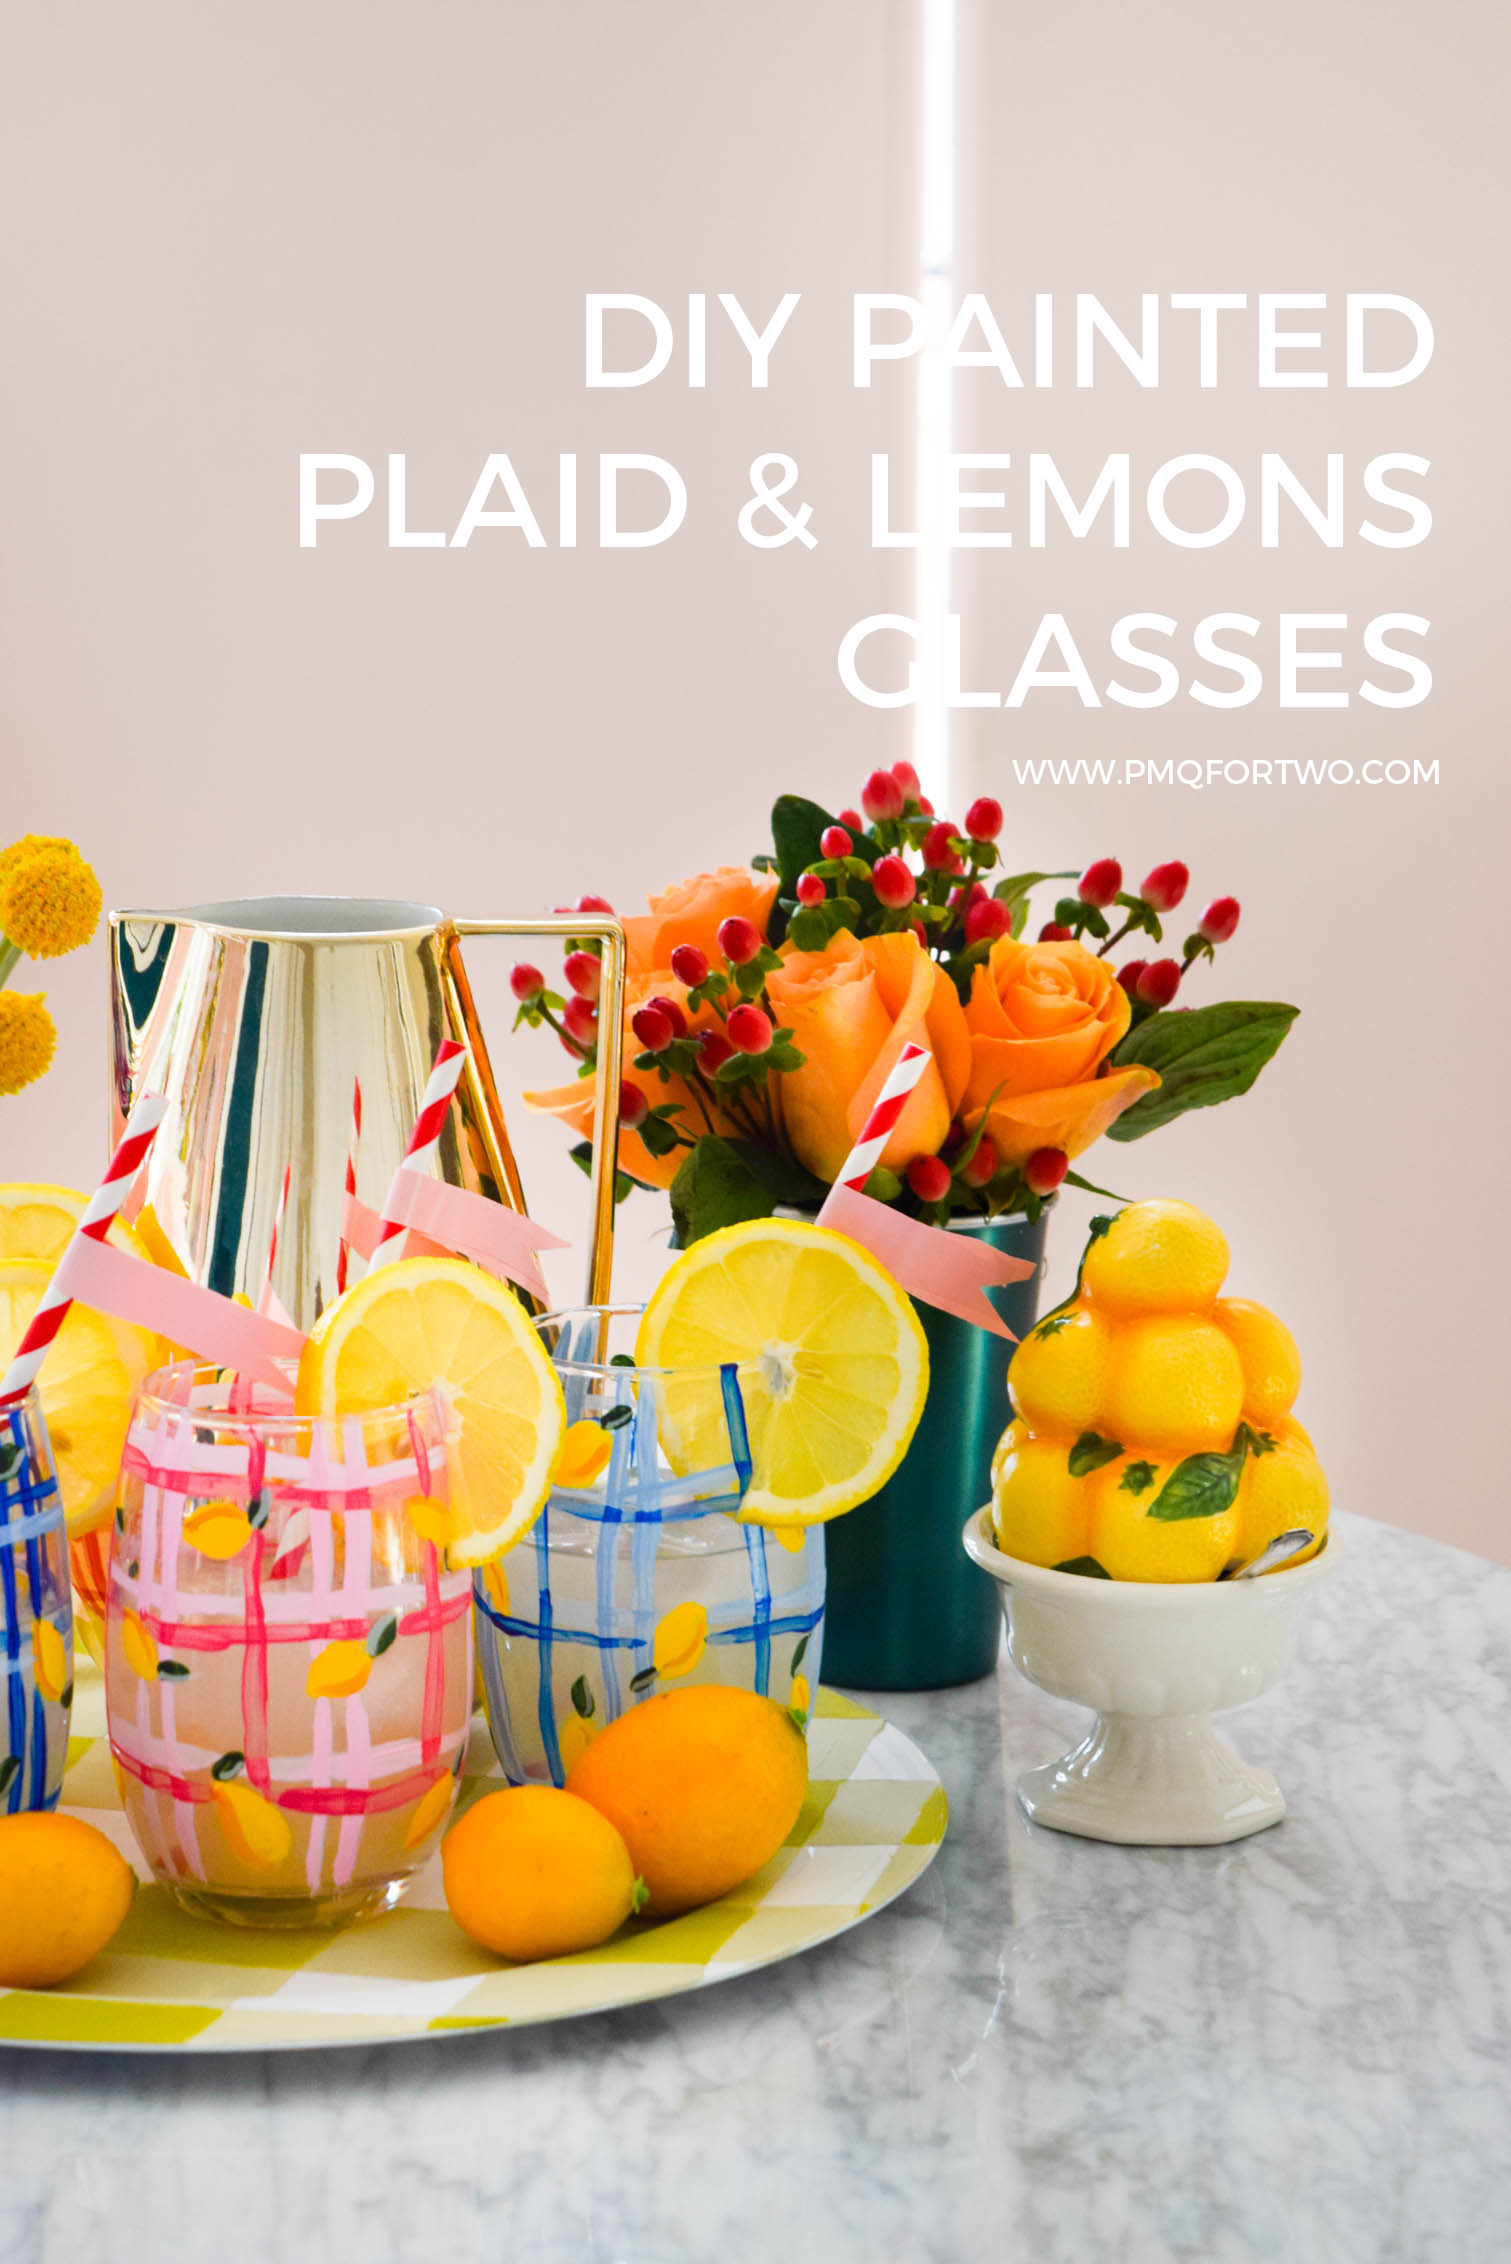
I am SO happy with how these DIY Painted Plaid & Lemon Glasses turned-out. They’re fun, they’re whimsical, and boy do they hold a solid glass of lemonade.
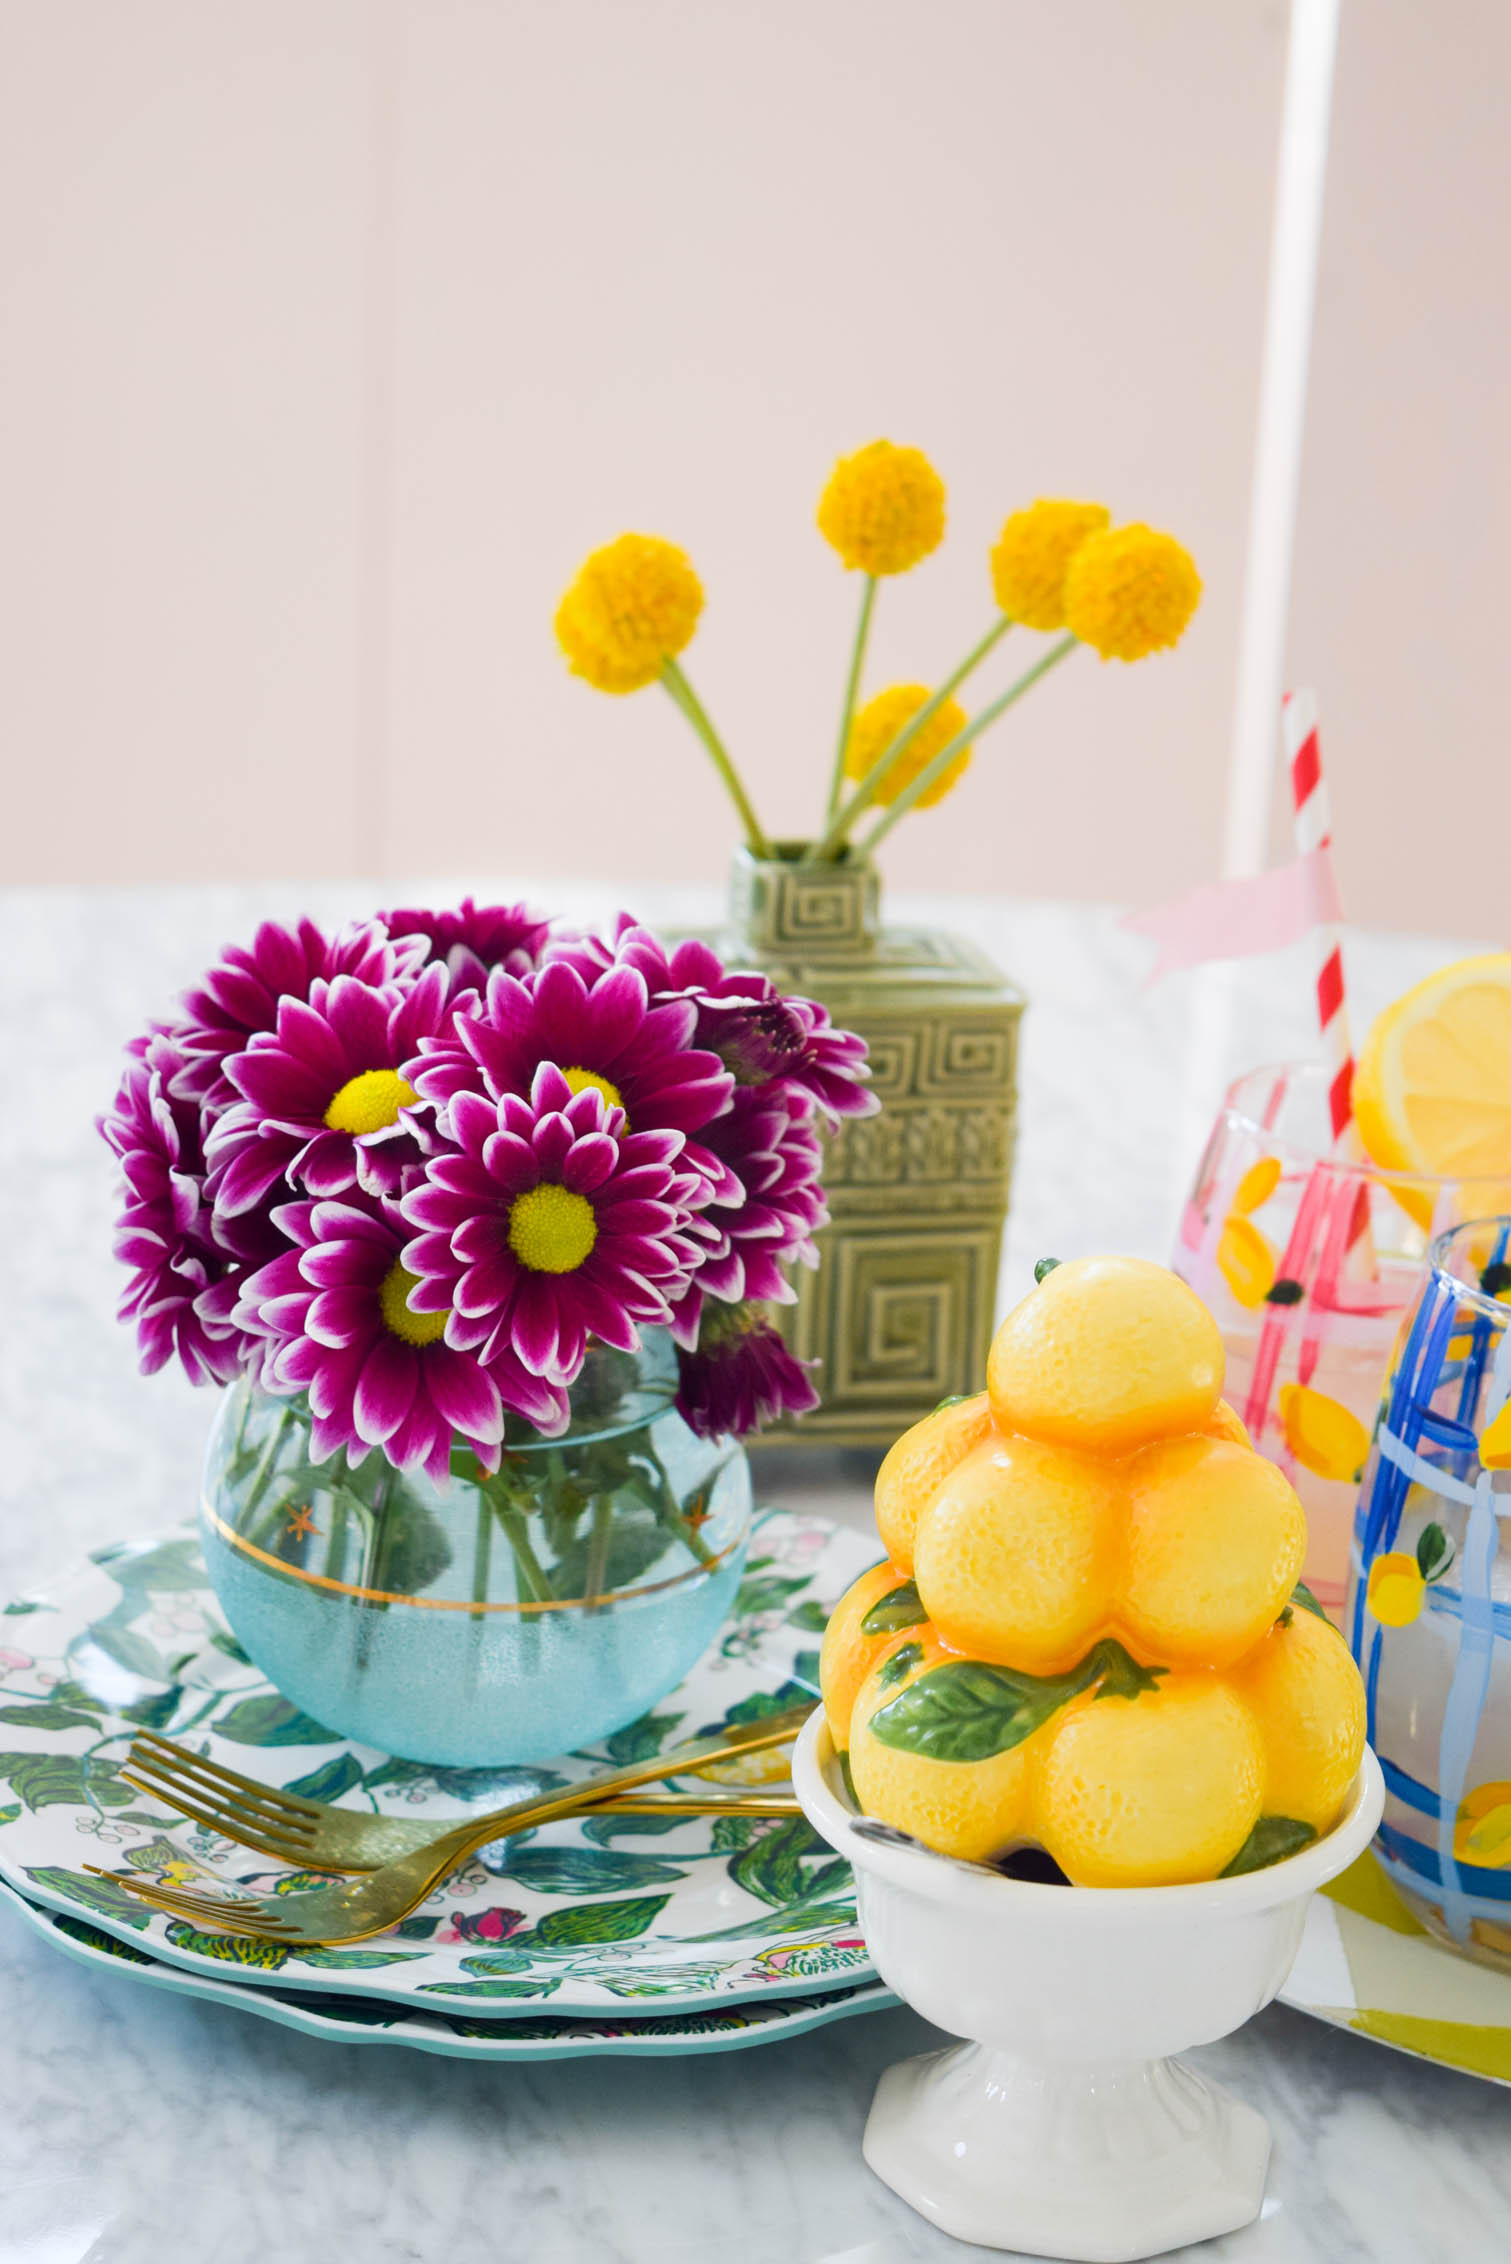
Also, how cute is my new adorable little sugar keeper? I thrifted it this weekend and am going to bring it everywhere hahaha


These are super cute! Whats the sealant that’s best to use?
I used the Mod Podge dishwasher top coat!
Adorable!! They yell ‘summer drinks on the patio’!