PMQ for two

Bold, Bright and Colourful Home Decor & DIYs

  • Home
  • About me
    • Press
    • Policies
  • Download Colour & Pattern Mixing Guide
  • Project Gallery
  • What is a PMQ?
    • The duplex
    • The Row House Tour

DIY Beeswax Food Wrap

September 3, 2021~ DIY and craft projects, sewing

I’ve been using beeswax food wrap in our home for almost two years now. I love how easy it is to use, to clean, and I feel like I’m contributing less to our trash when I do. Instead of buying more, I wanted to try making my own! Not only could I make more sizes, but different shapes to suit my needs, so here we are.

*Michaels & Fiskars sponsored this post, but all thoughts are my own. Thank you for supporting the brands that make PMQ for Two possible.
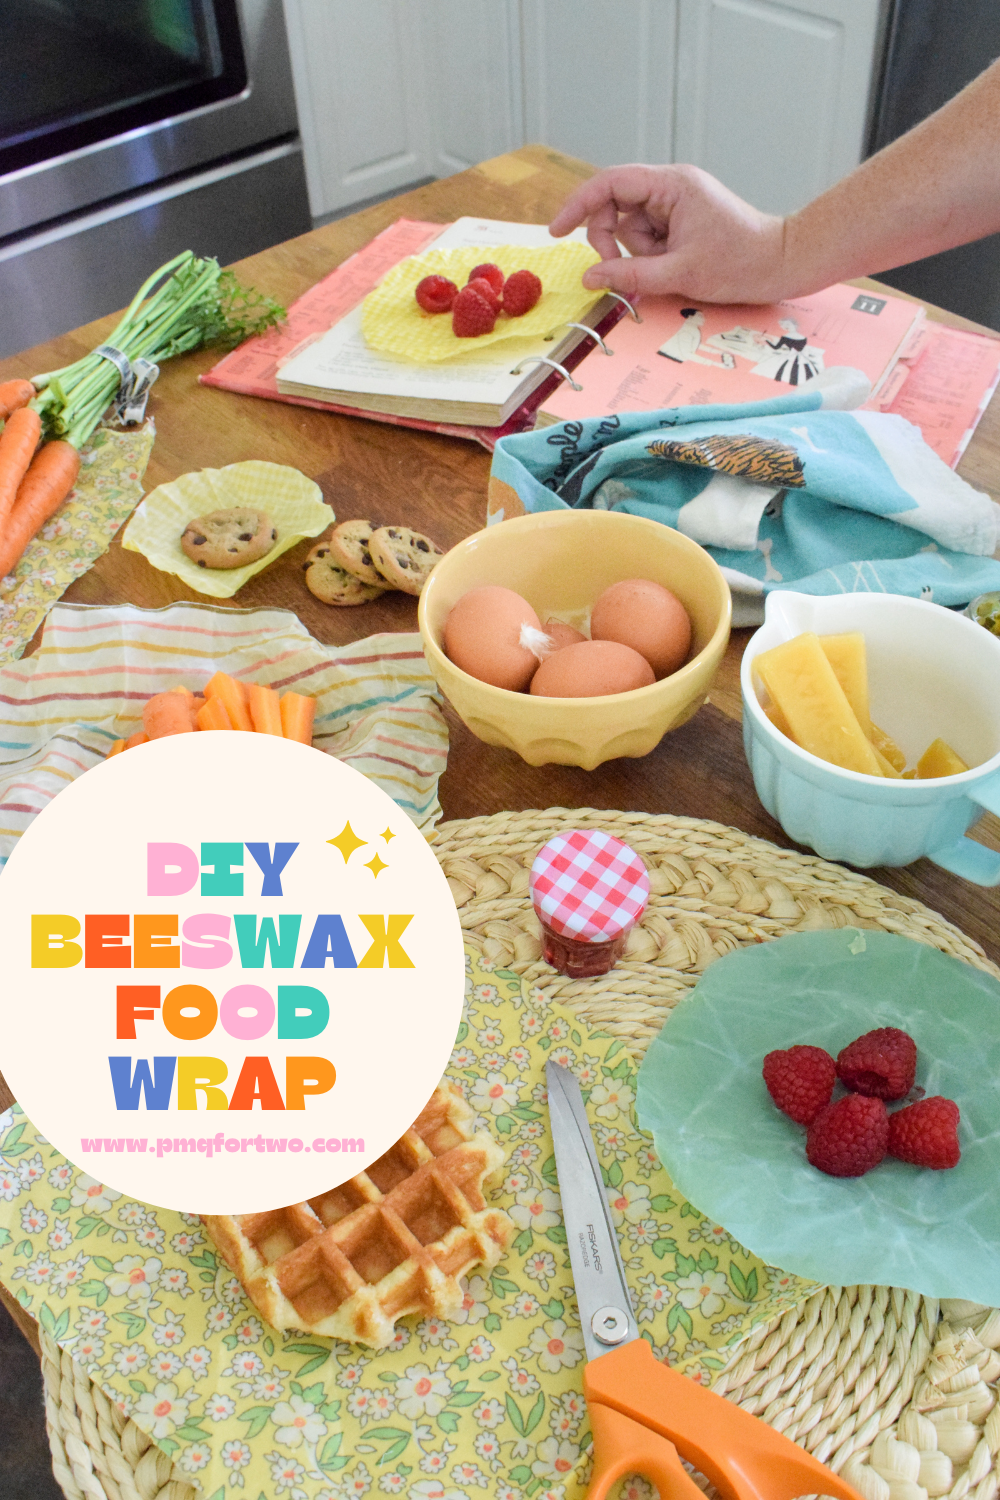
What is beeswax food wrap?

It’s a nifty little item that lets you use beeswax coated fabric to secure and safely store food items. It has a shelf life of about 4-6 months depending on how you care for it, and it’s a great way to reduce your regular household waste. 

Where can I use beeswax food wraps?

Anywhere you would use a plastic snack bag, saran wrap, tin foil, wax paper, tupperware etc. I’ll include the following disclaimers: not for storing liquid, do not re-heat, do not put through the dishwasher, not recommended for the freezer.

How does Beeswax food wrap work?

The natural beeswax coating creates a protective seal around whatever it encloses. So by wrapping food in a beeswax wrap, you’re keeping it fresh, moist, and secure. You seal the edges by using the heat from your fingertips to get it to adhere to itself or the container/food item.

What do you need to DIY beeswax food wrap?

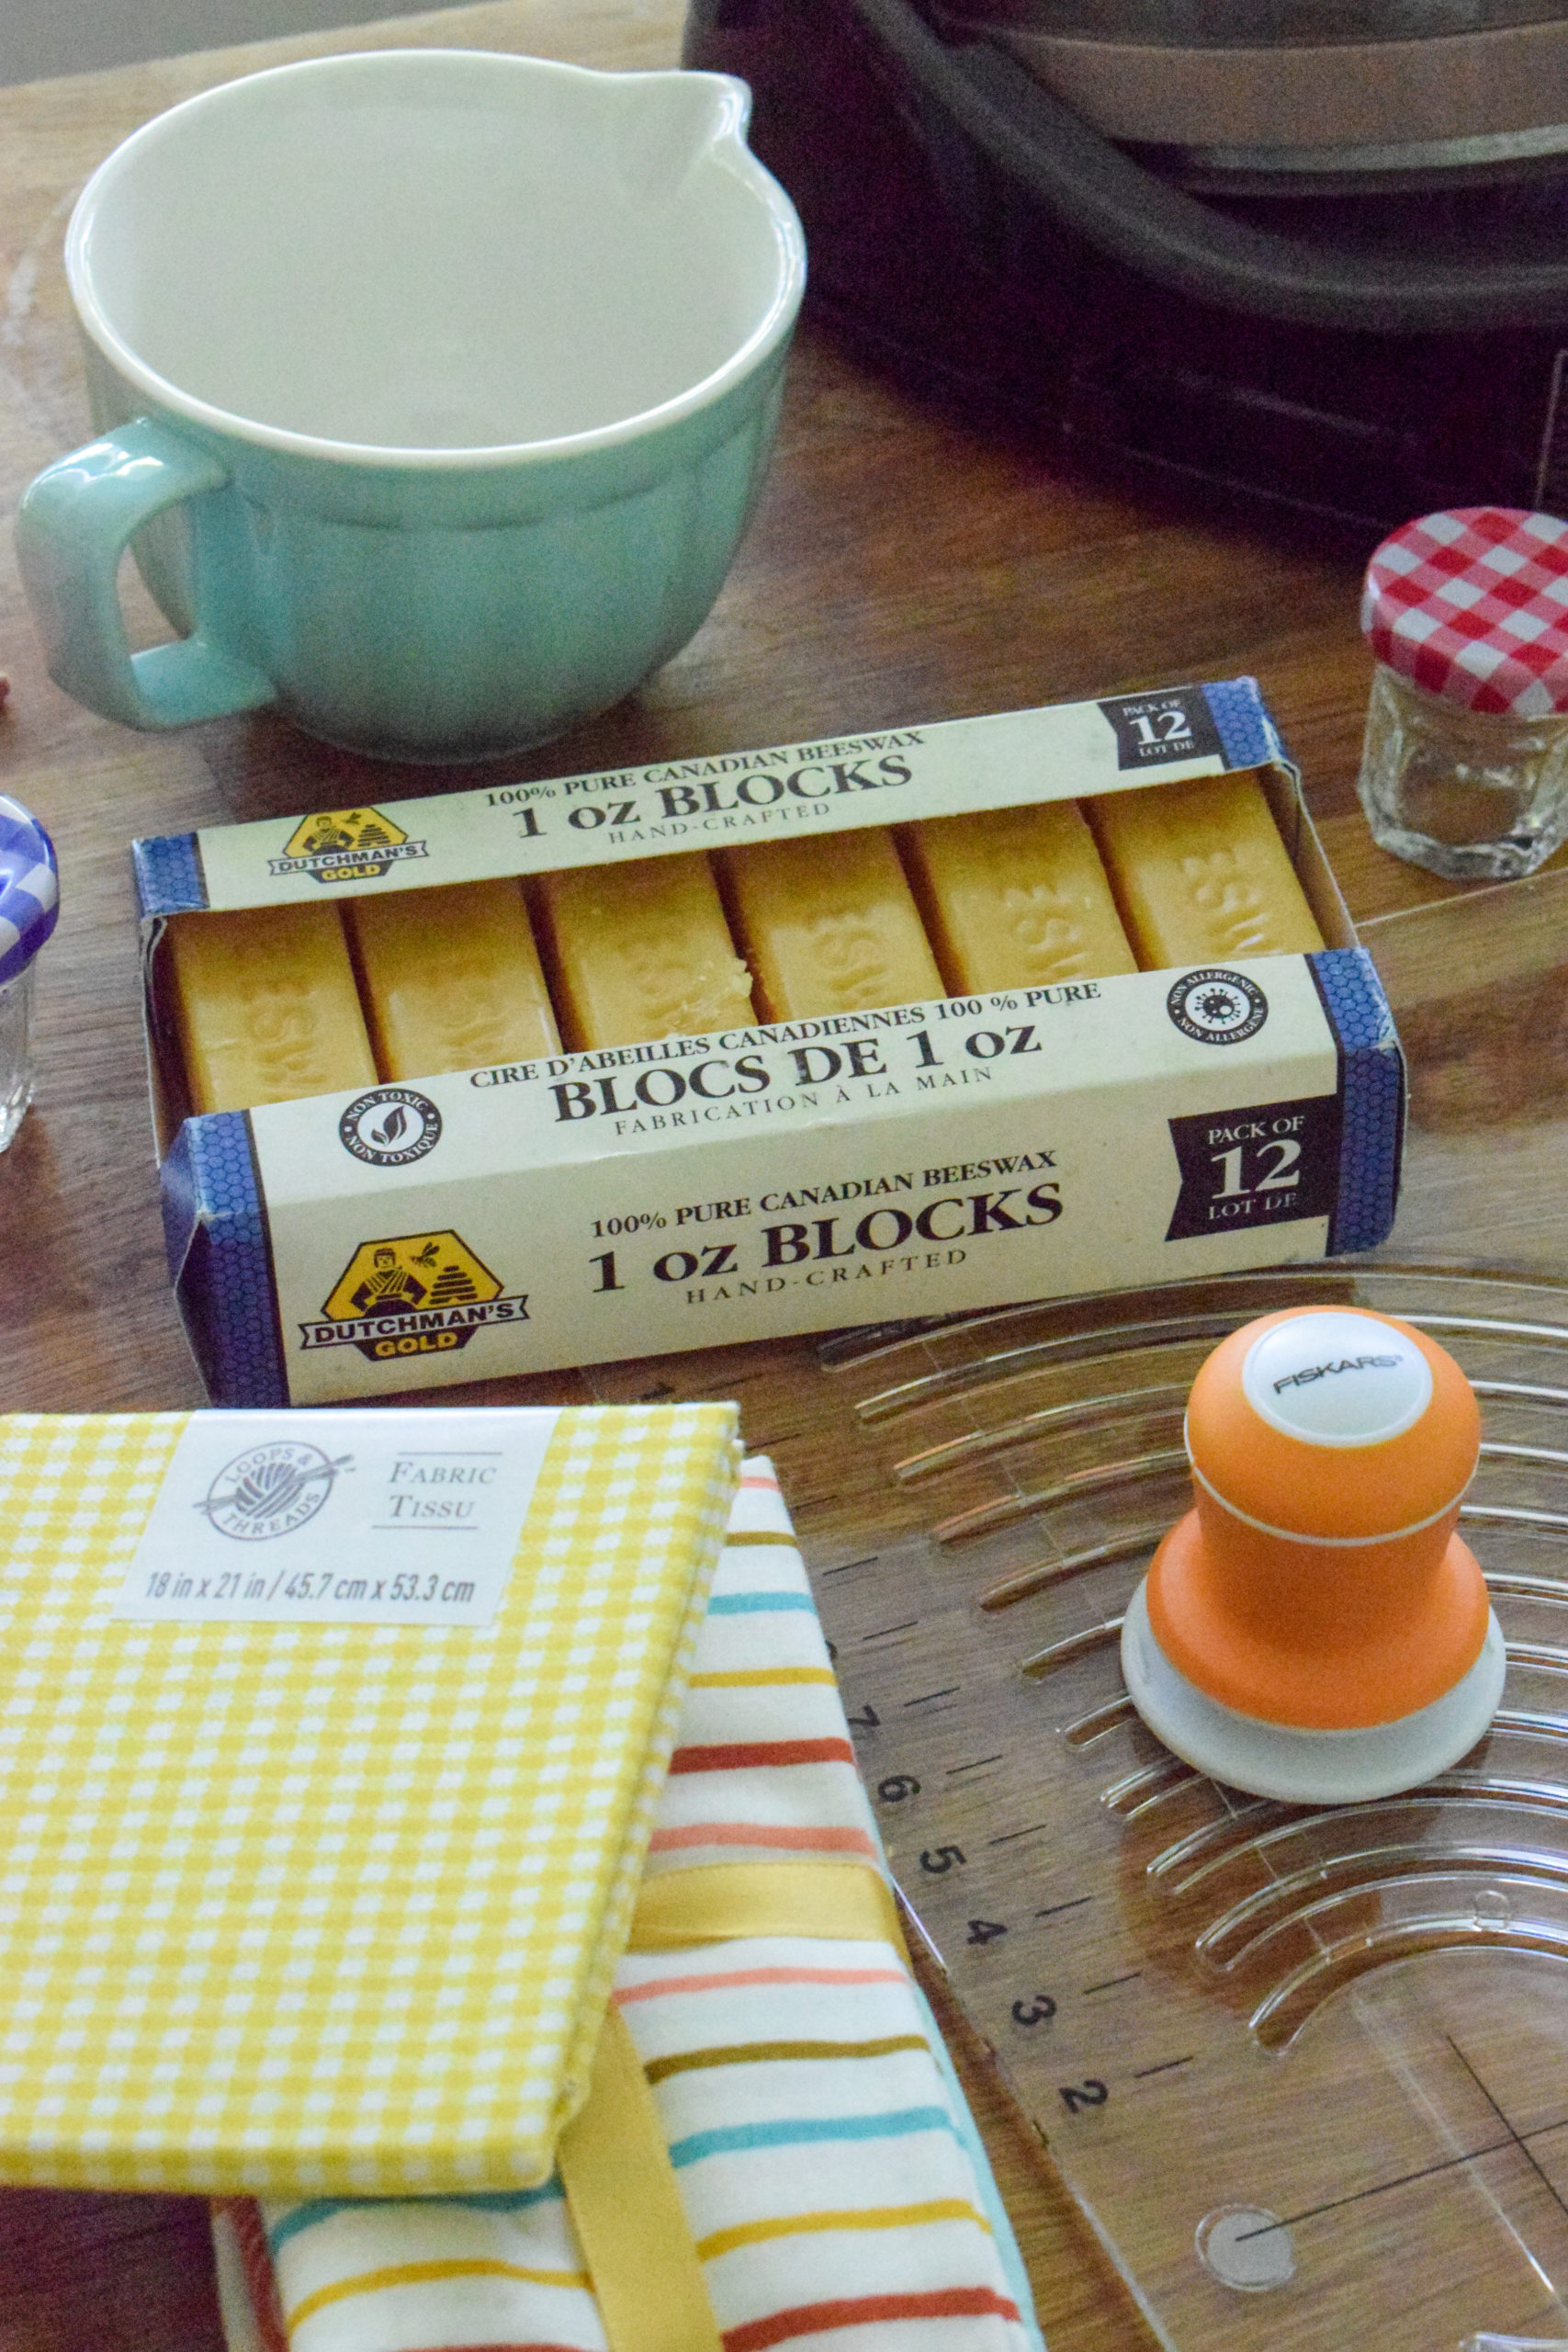
A few things! And you can get all of them at Michael’s.

Fiskars® RazorEdge™ Fabric Shears
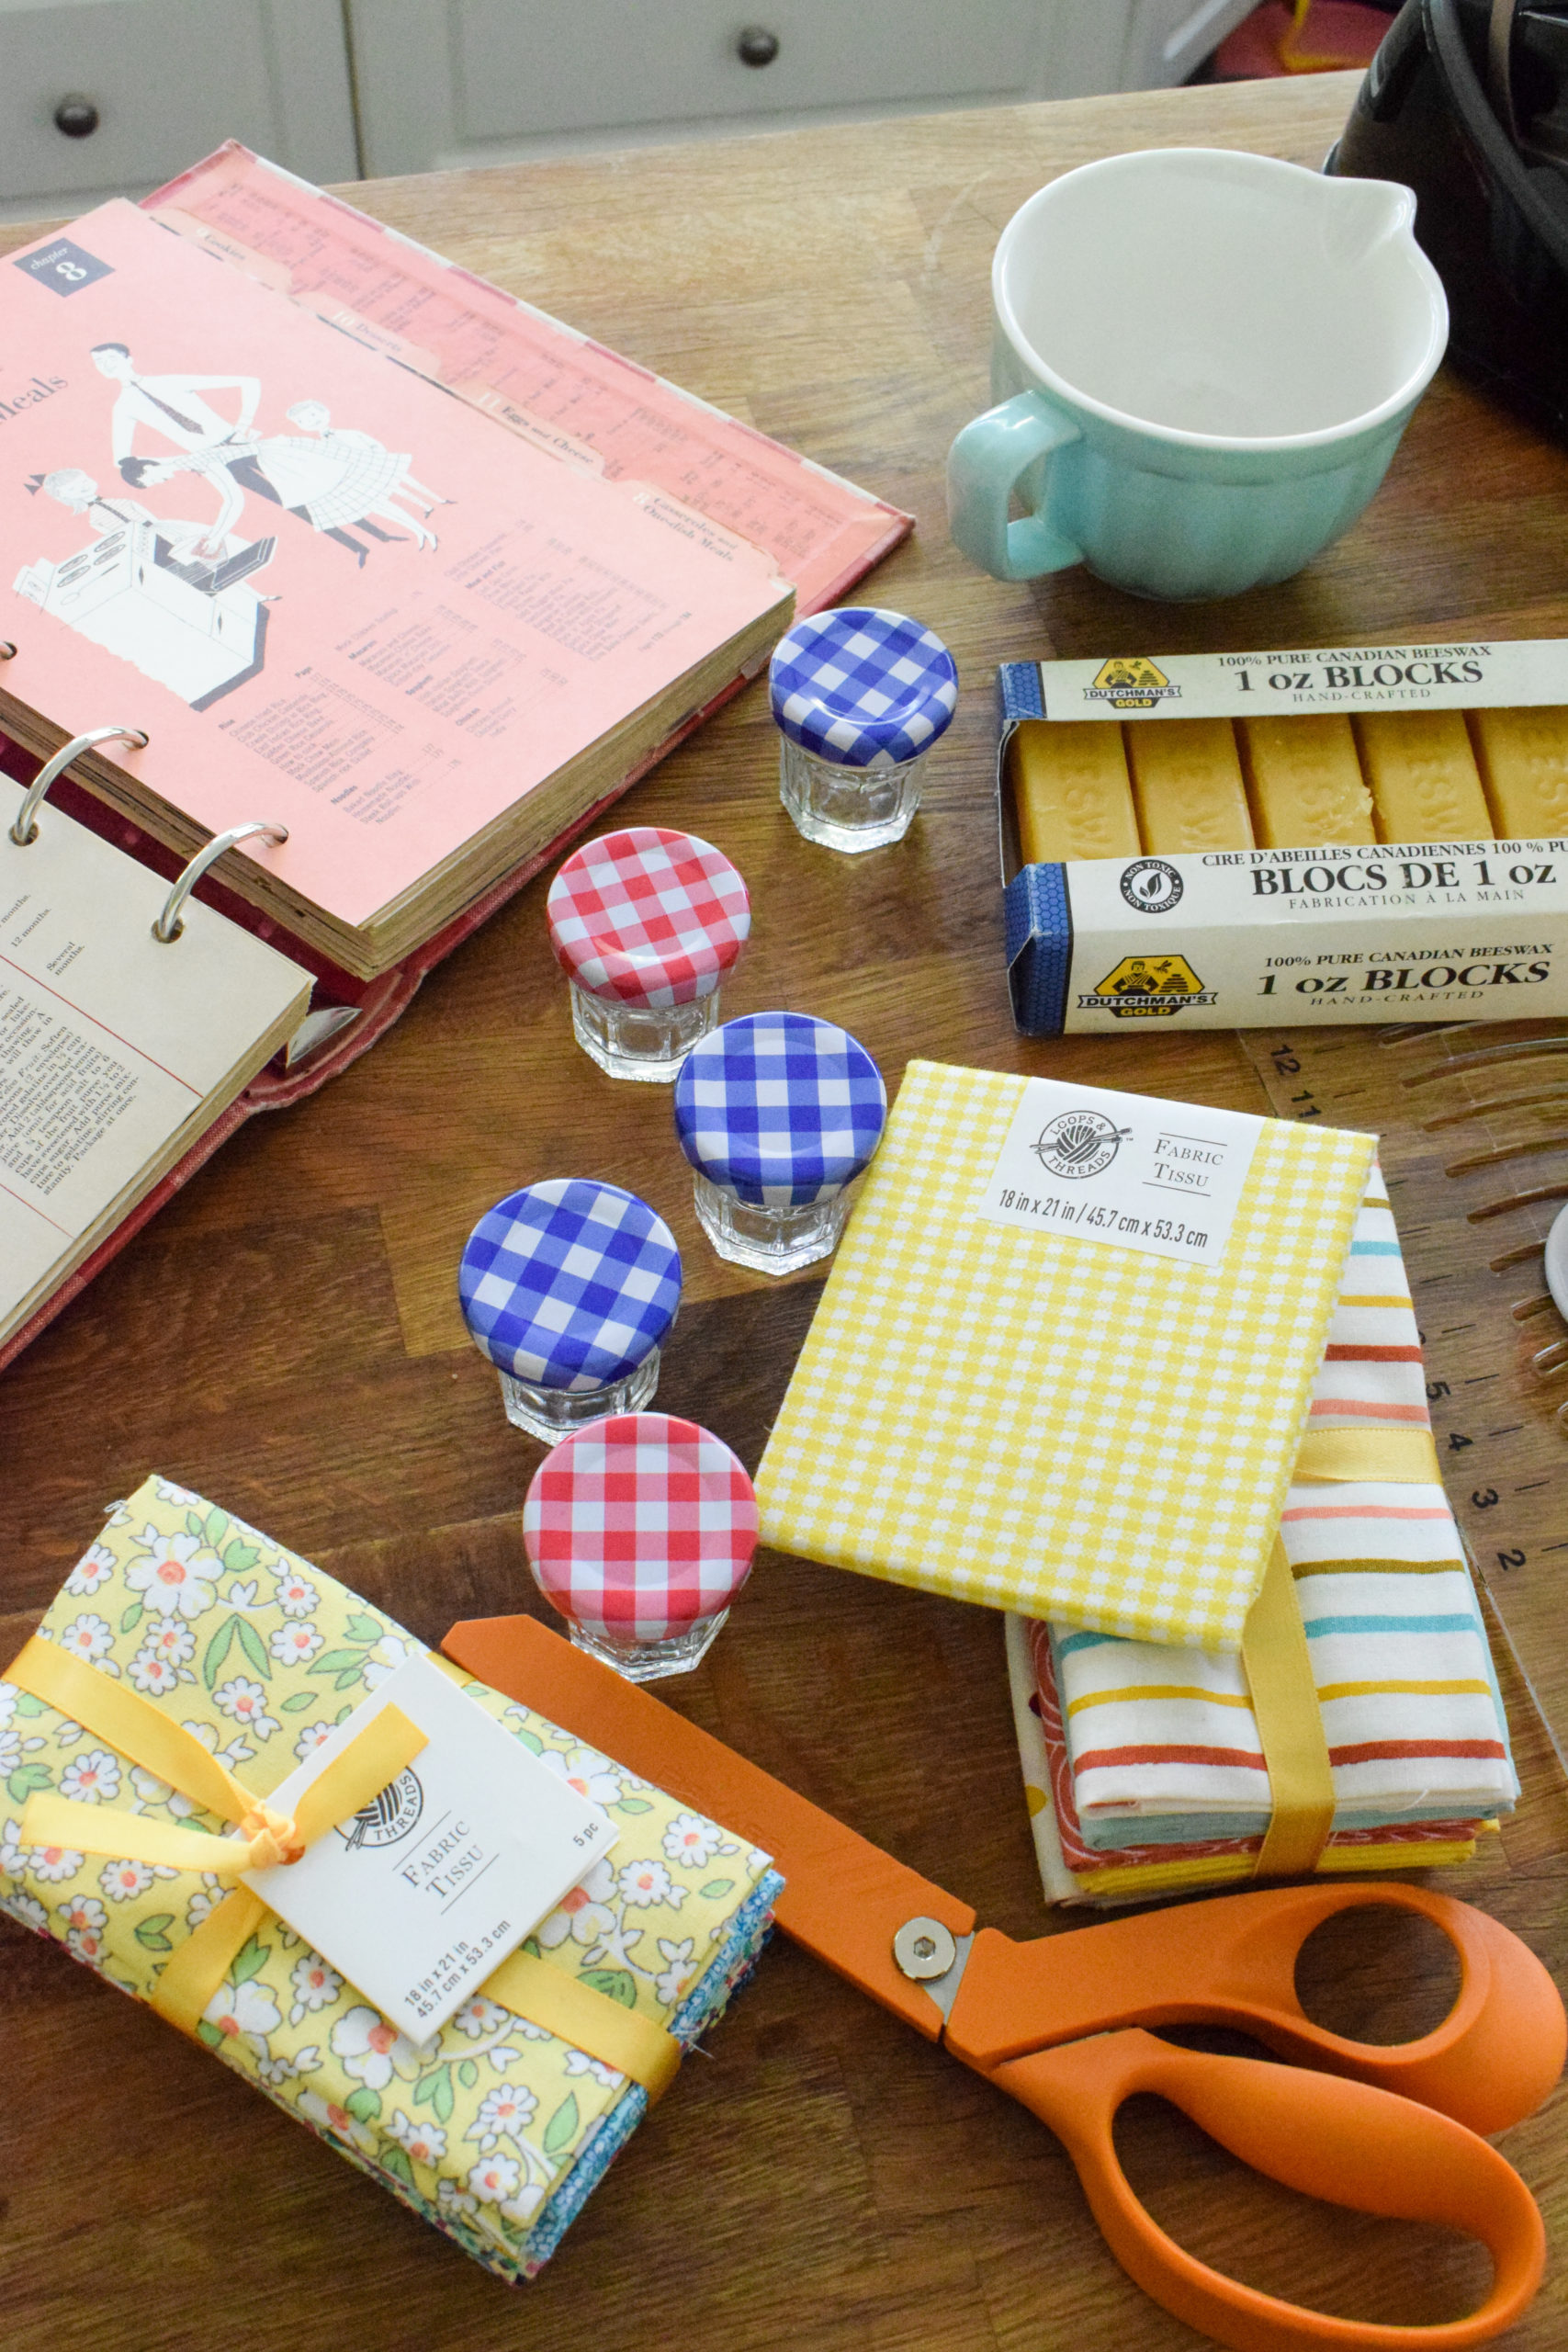
Fiskars® Fabric Circle Cutter

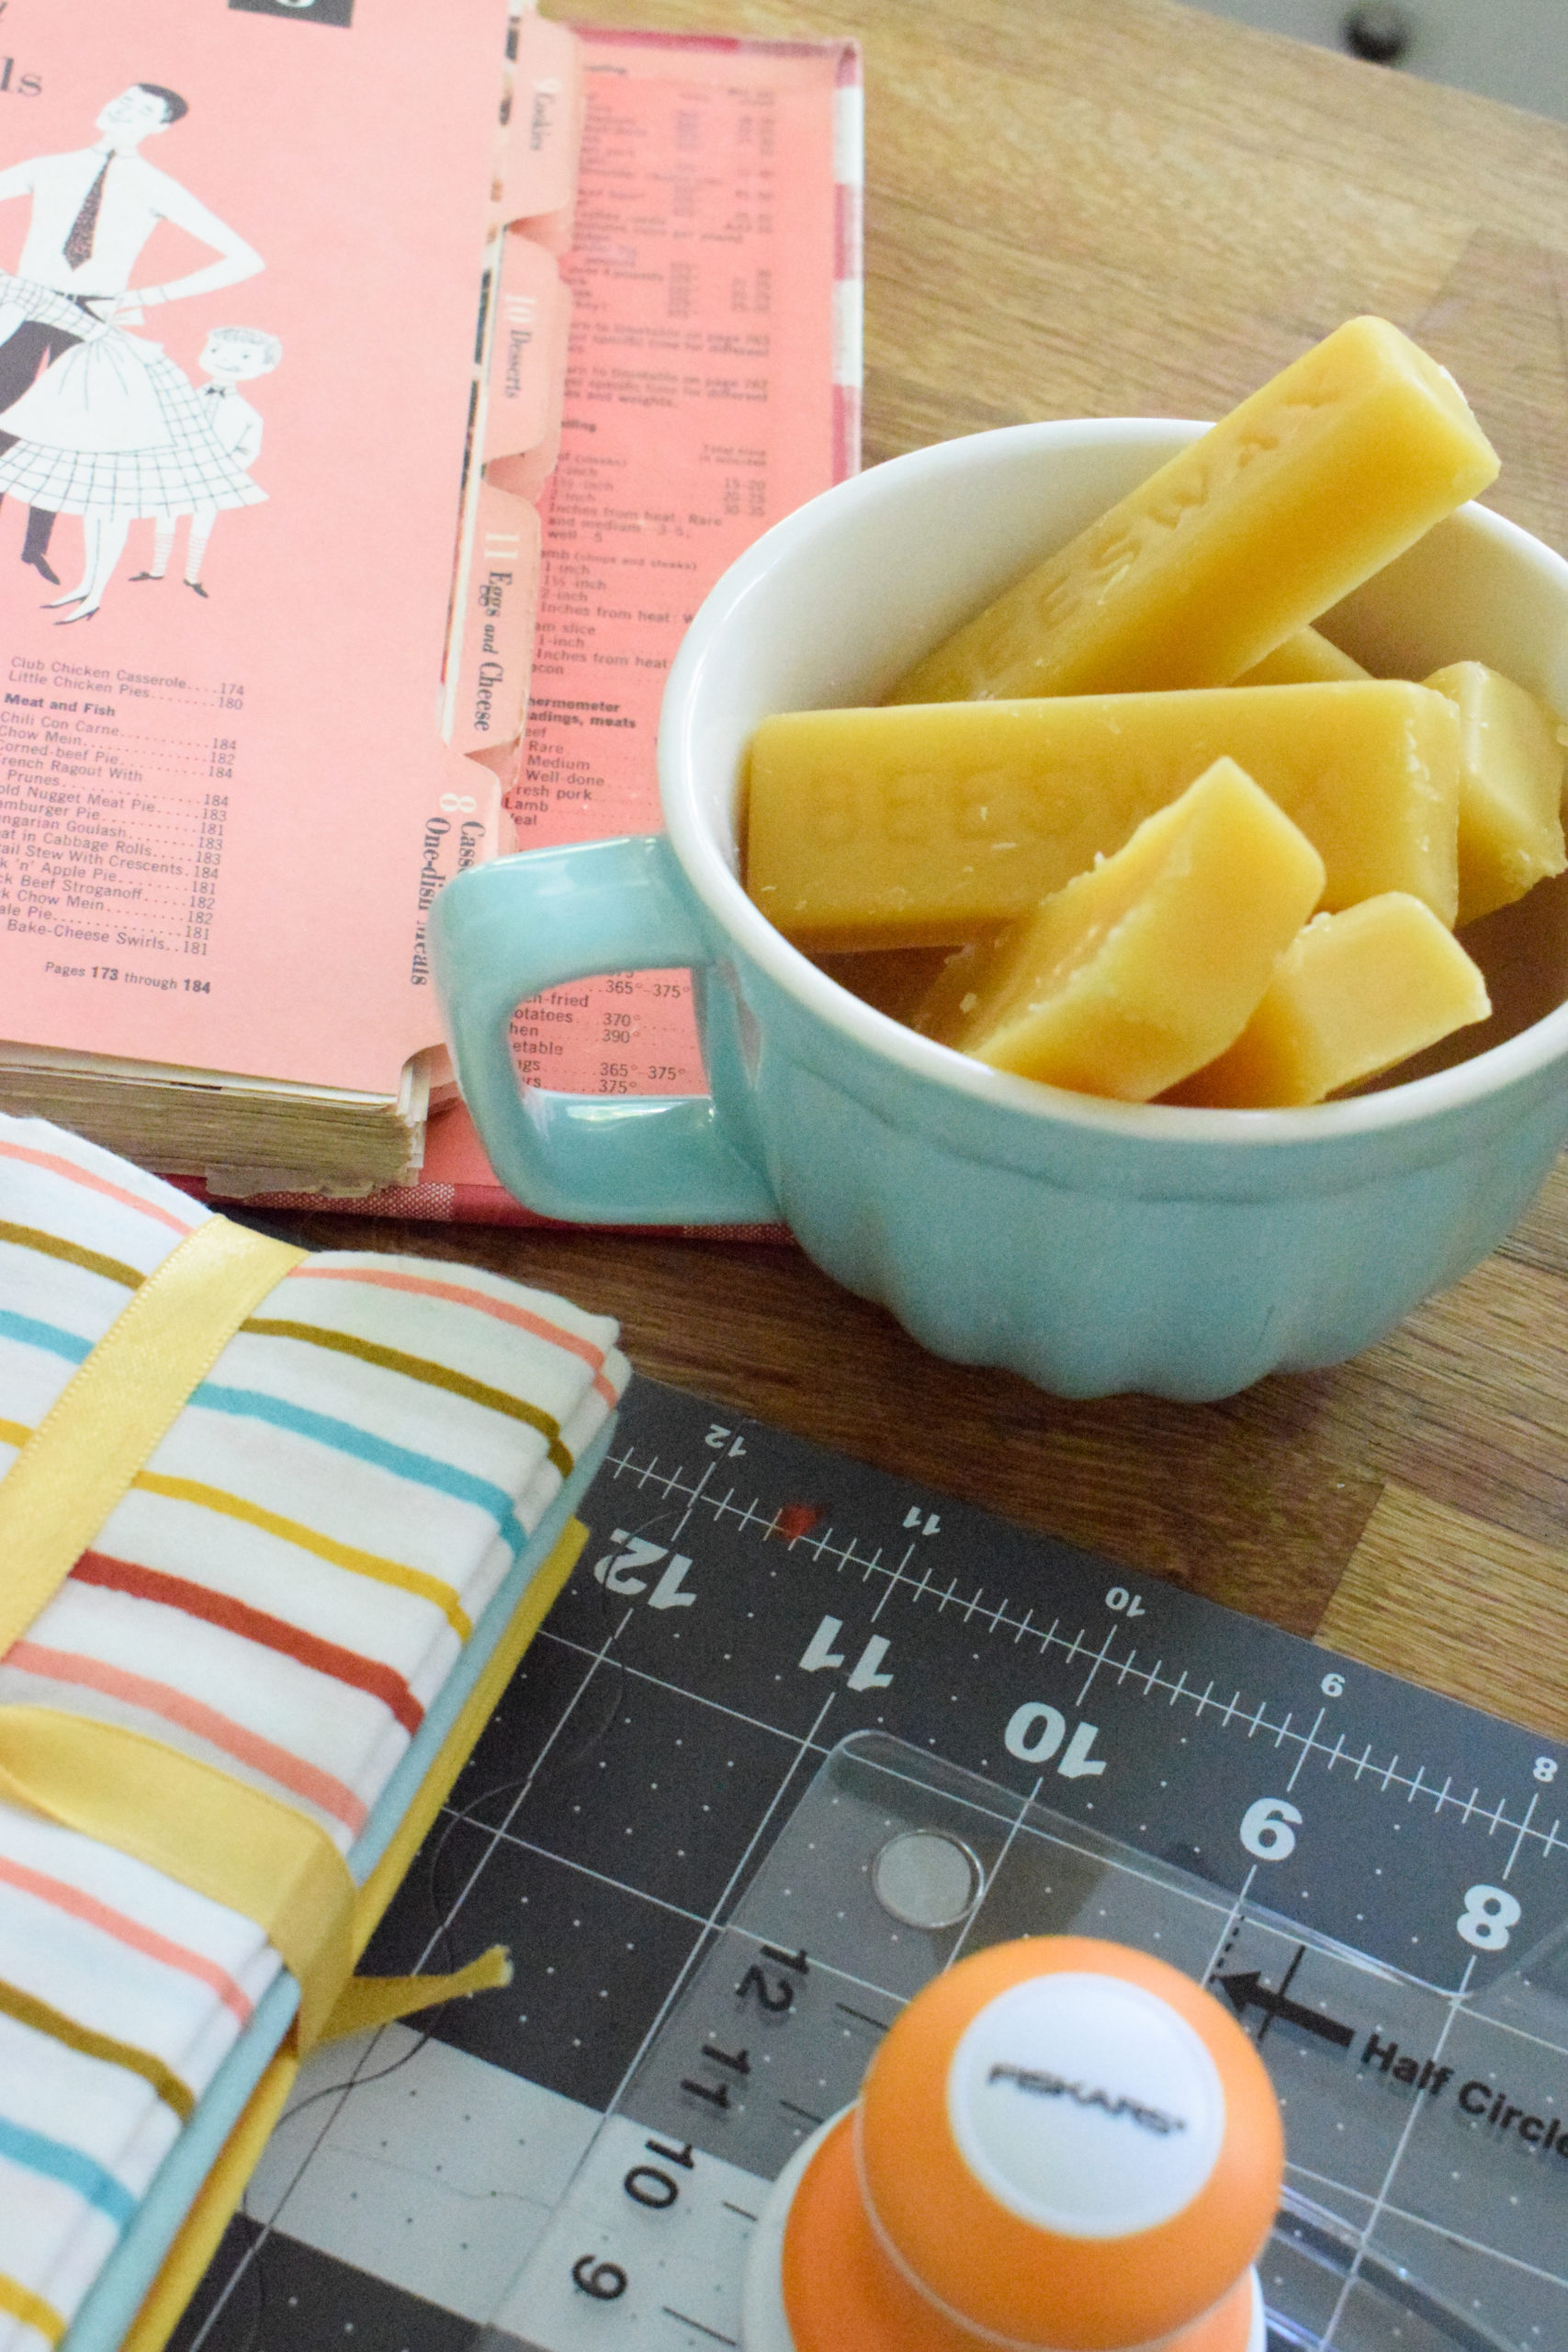
Dutchman’s Gold – Pure Yellow Beeswax Block – Cosmetic Grade from Canadian Hives

michael’s crafting and quilting fabric in colours and patterns of your choice
 
You’ll also need wax paper, an iron, and ironing board (or wood cutting board)
DIY beeswax food wrap is an easy first step you can take towards reducing your household waste. Bonus, it's easy to make!
 
DIY beeswax food wrap is an easy first step you can take towards reducing your household waste. Bonus, it's easy to make!
 
DIY beeswax food wrap is an easy first step you can take towards reducing your household waste. Bonus, it's easy to make!
 

How to DIY Beeswax food wrap

The process is relatively simple, and takes about 30mins to do half a dozen sheets. 

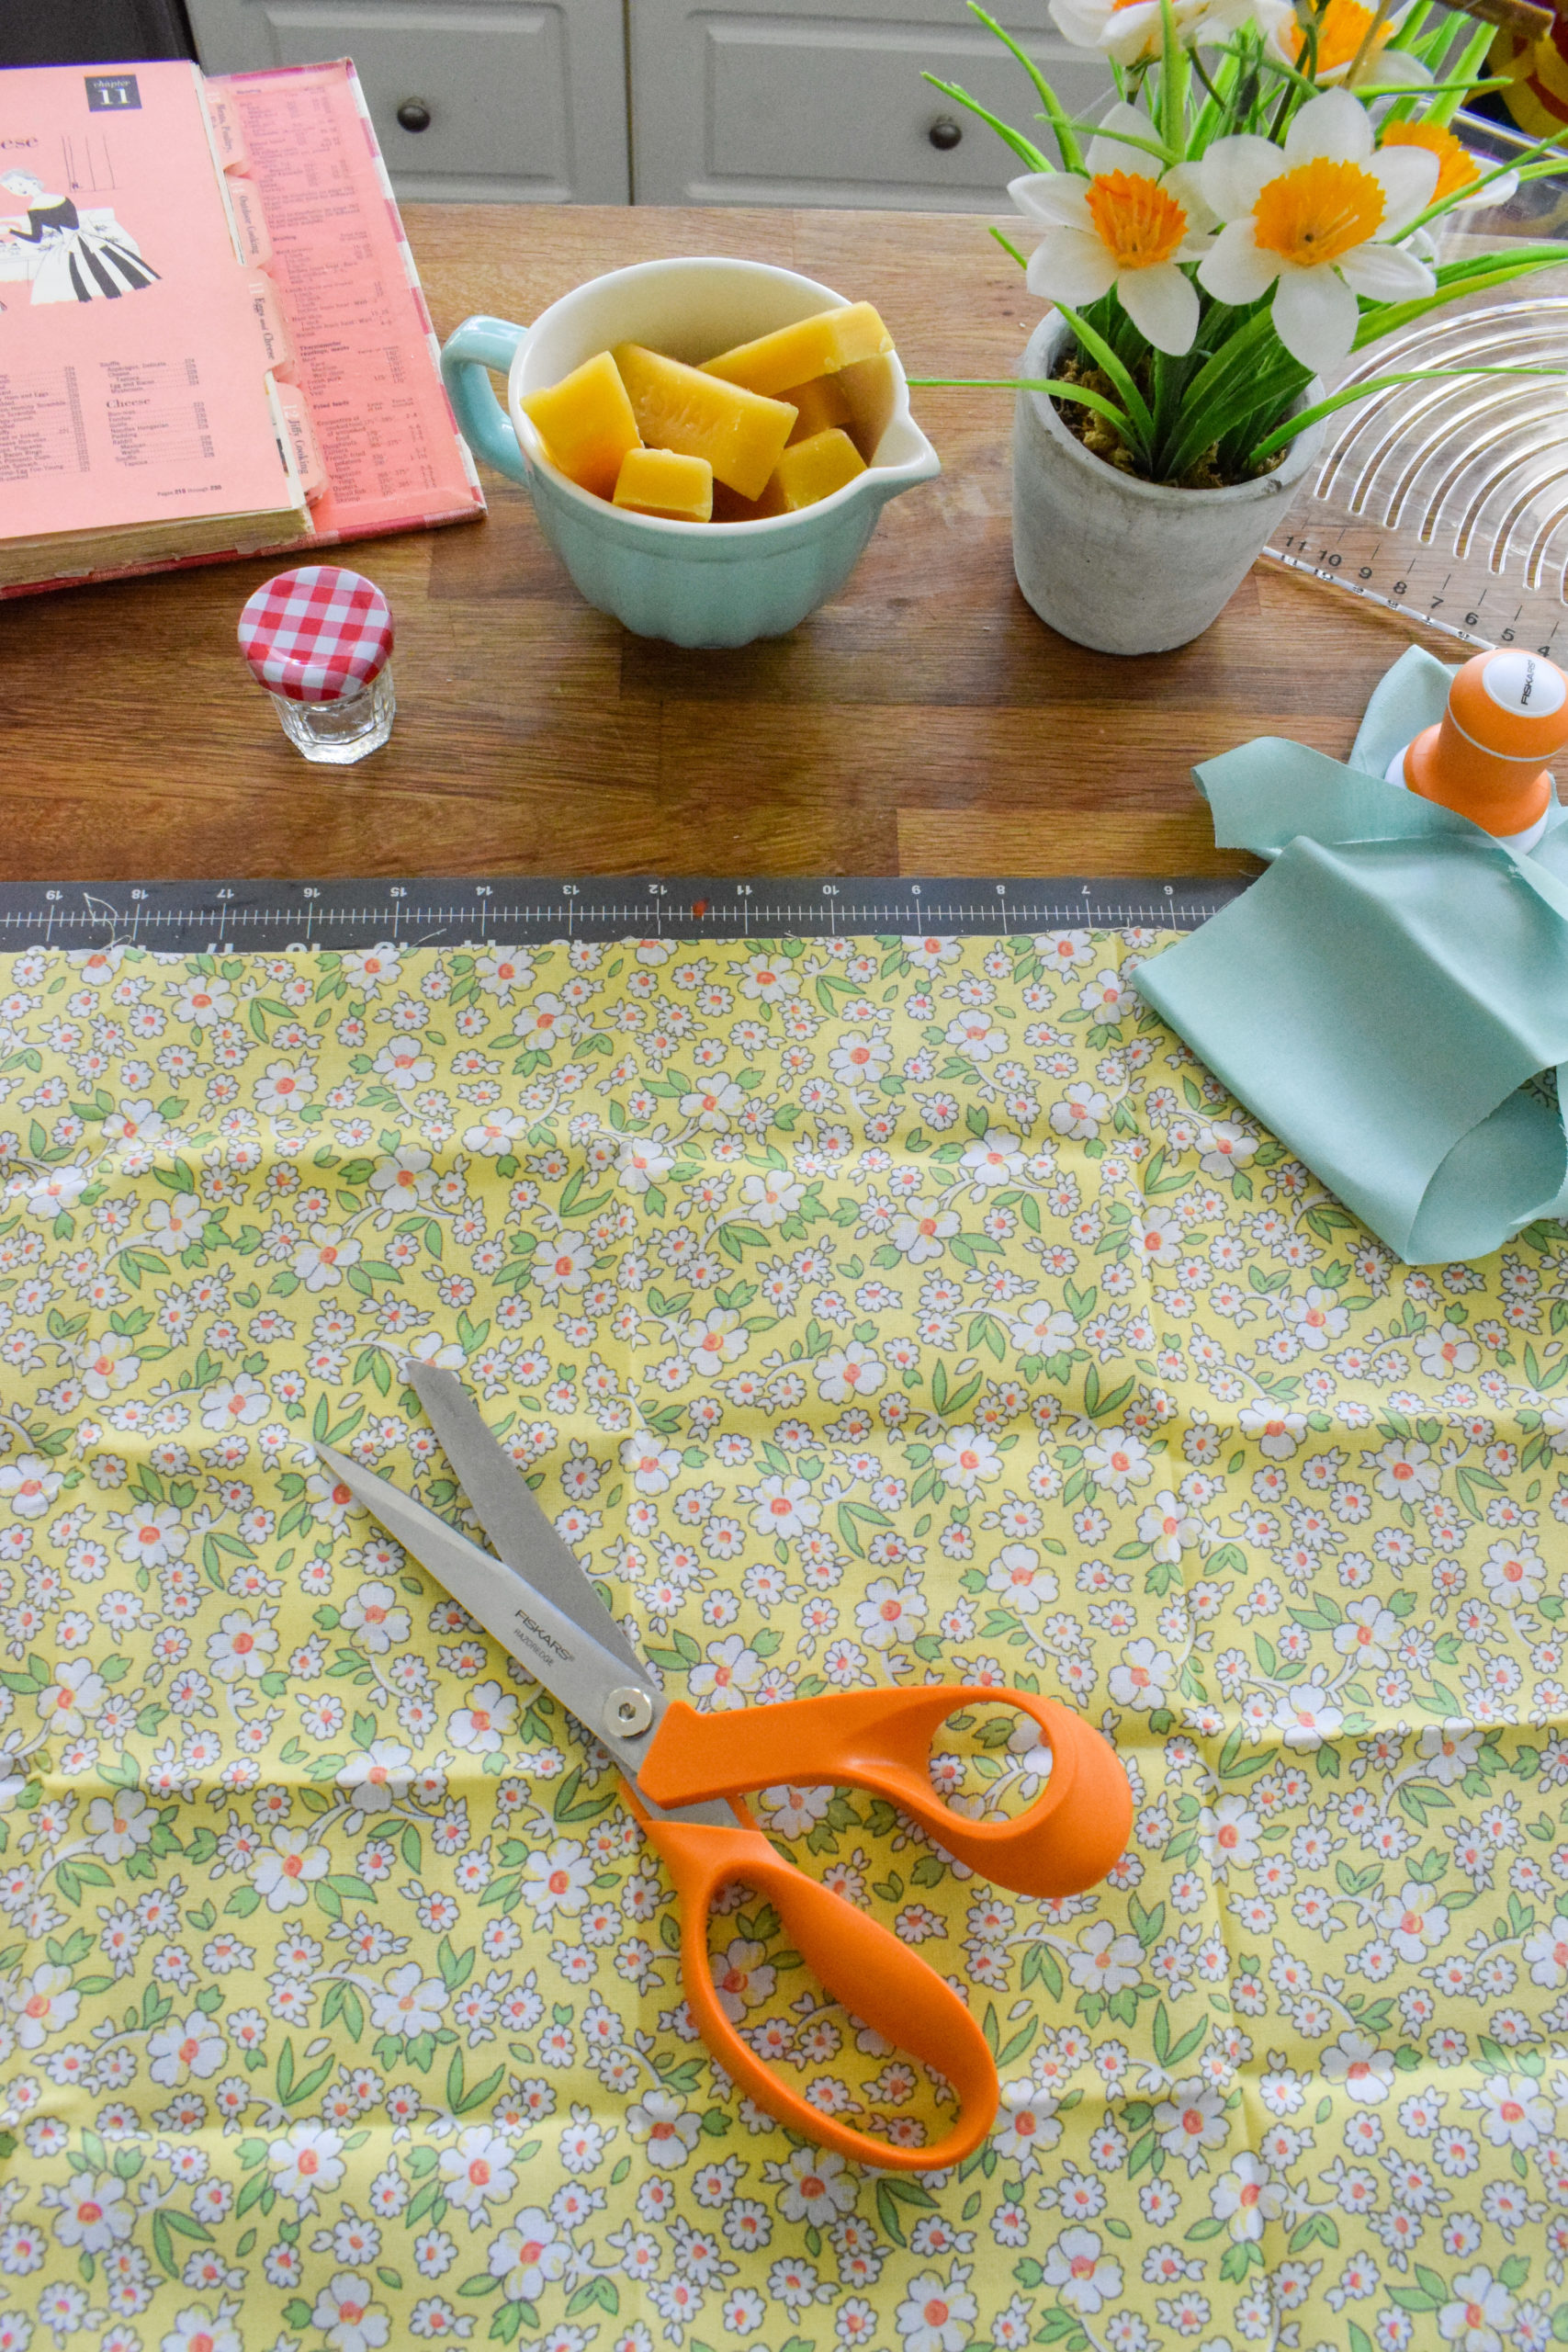
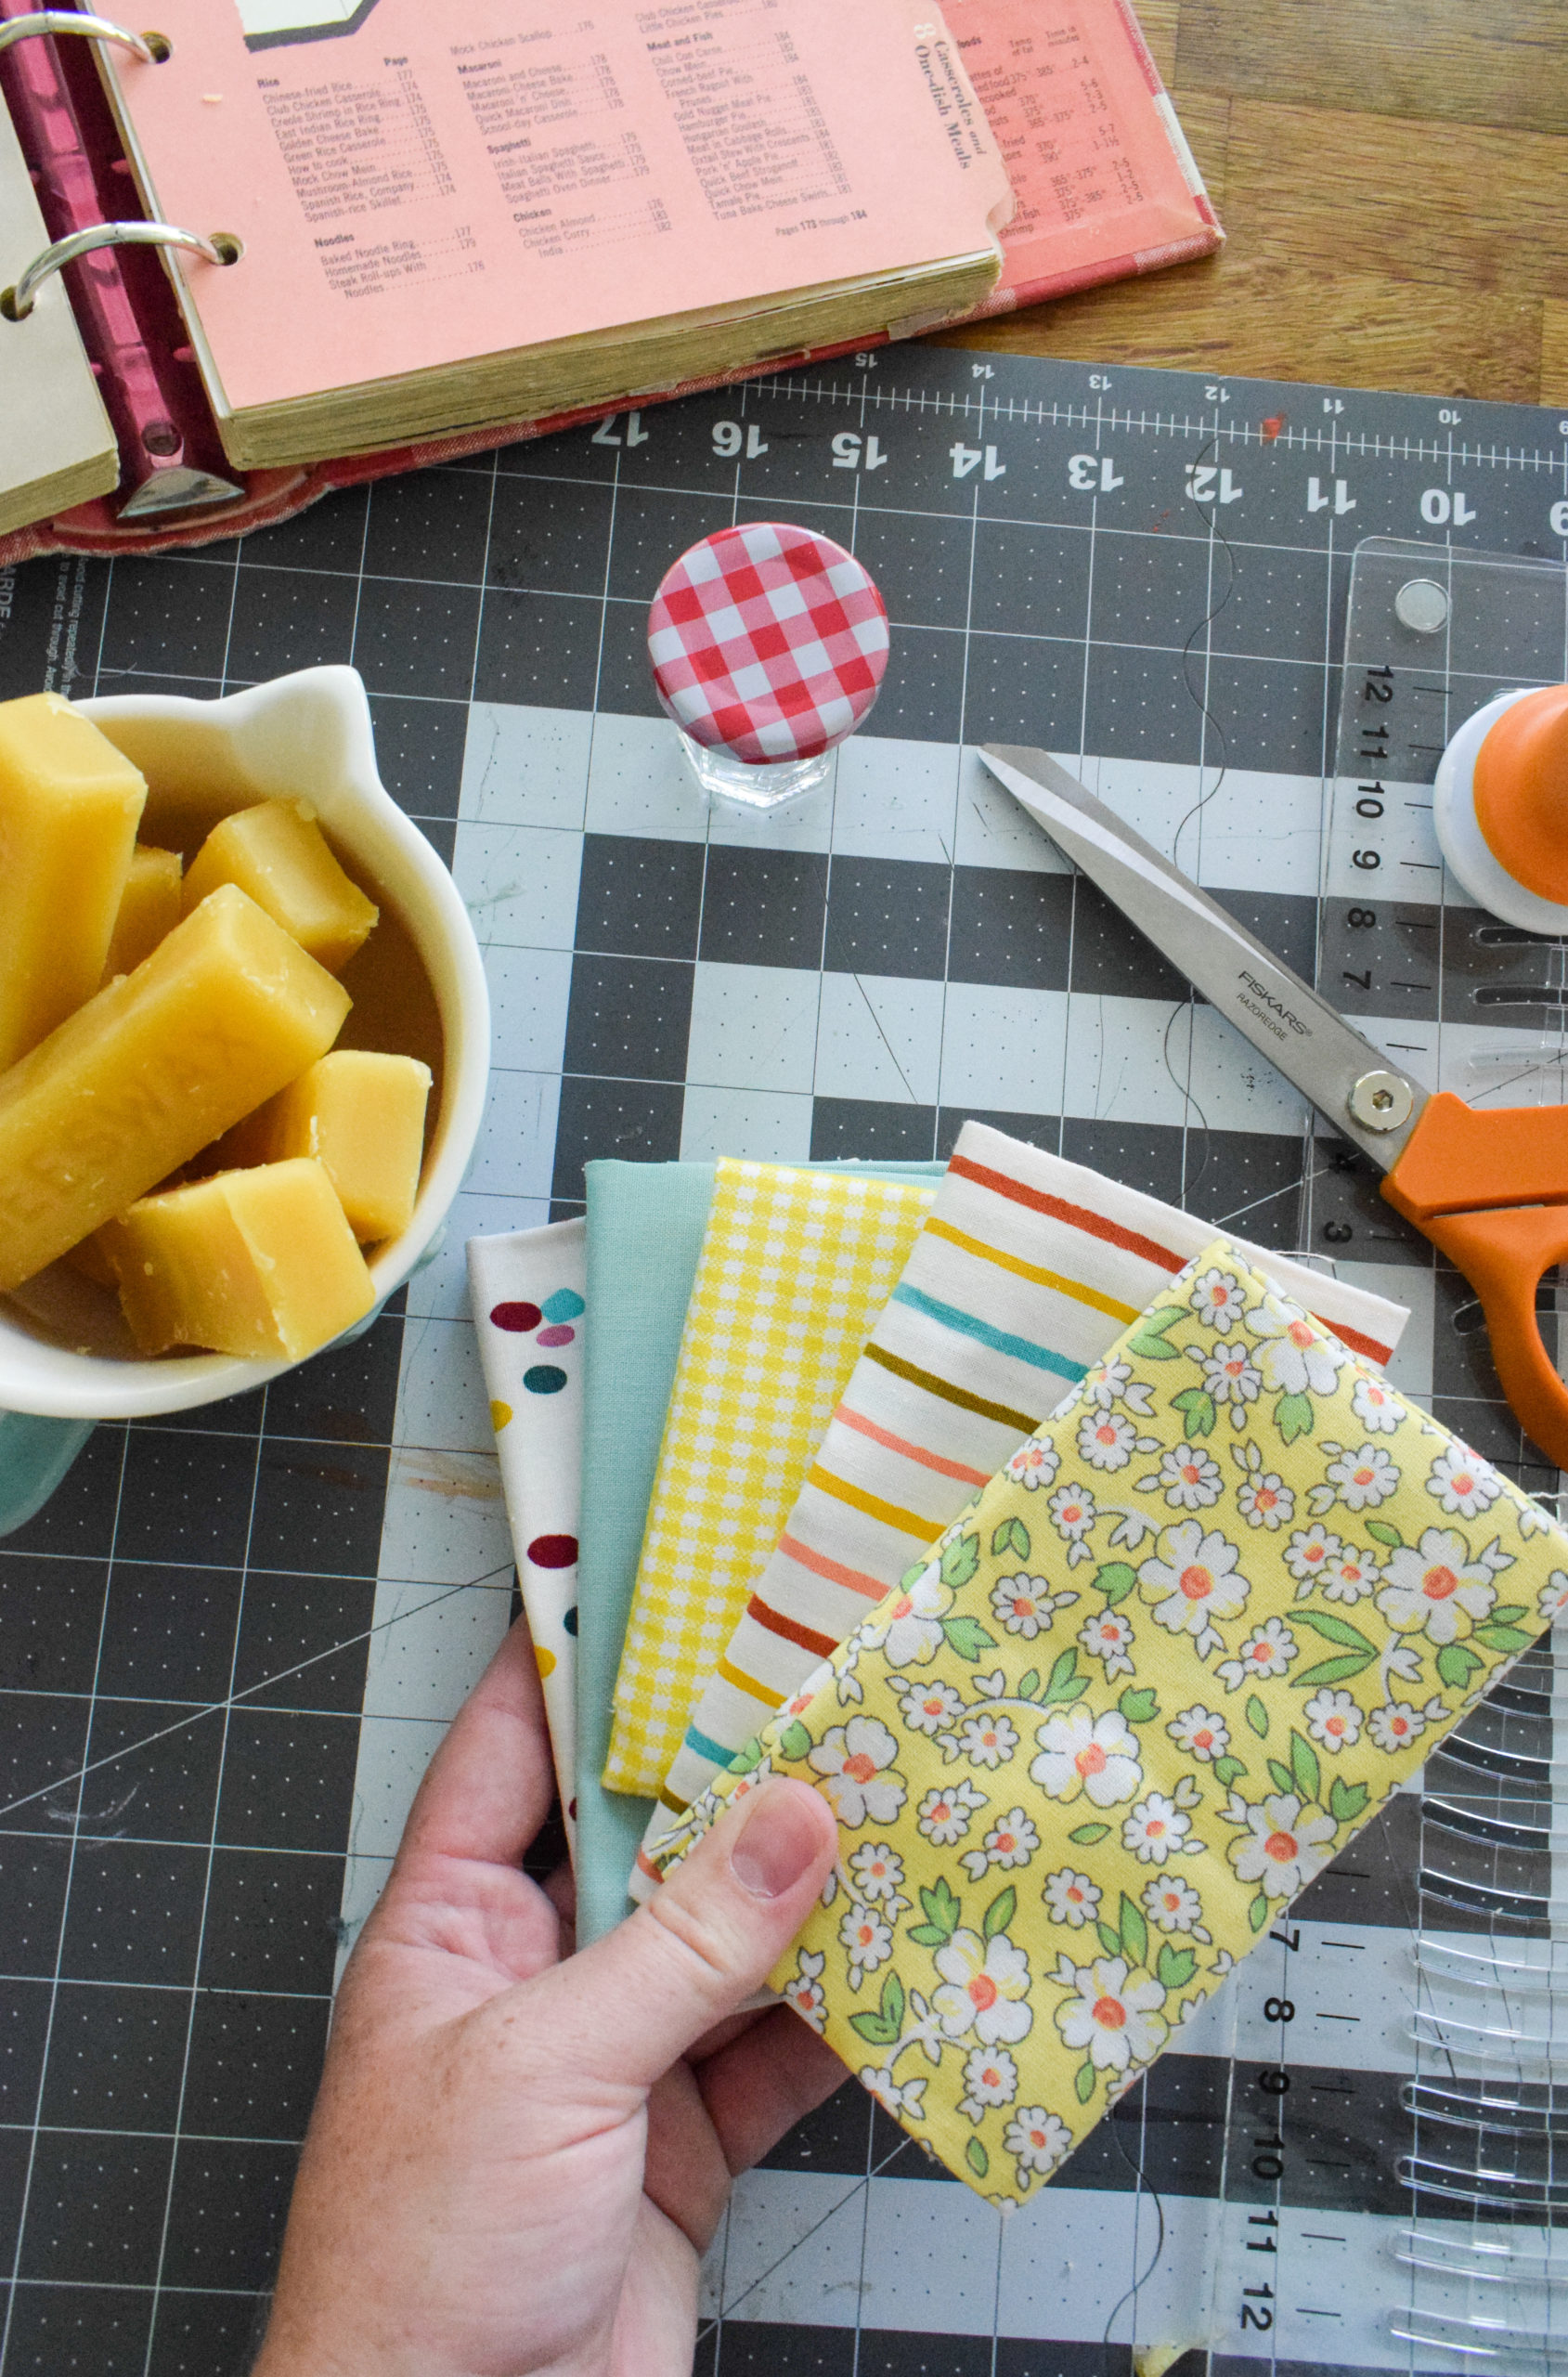
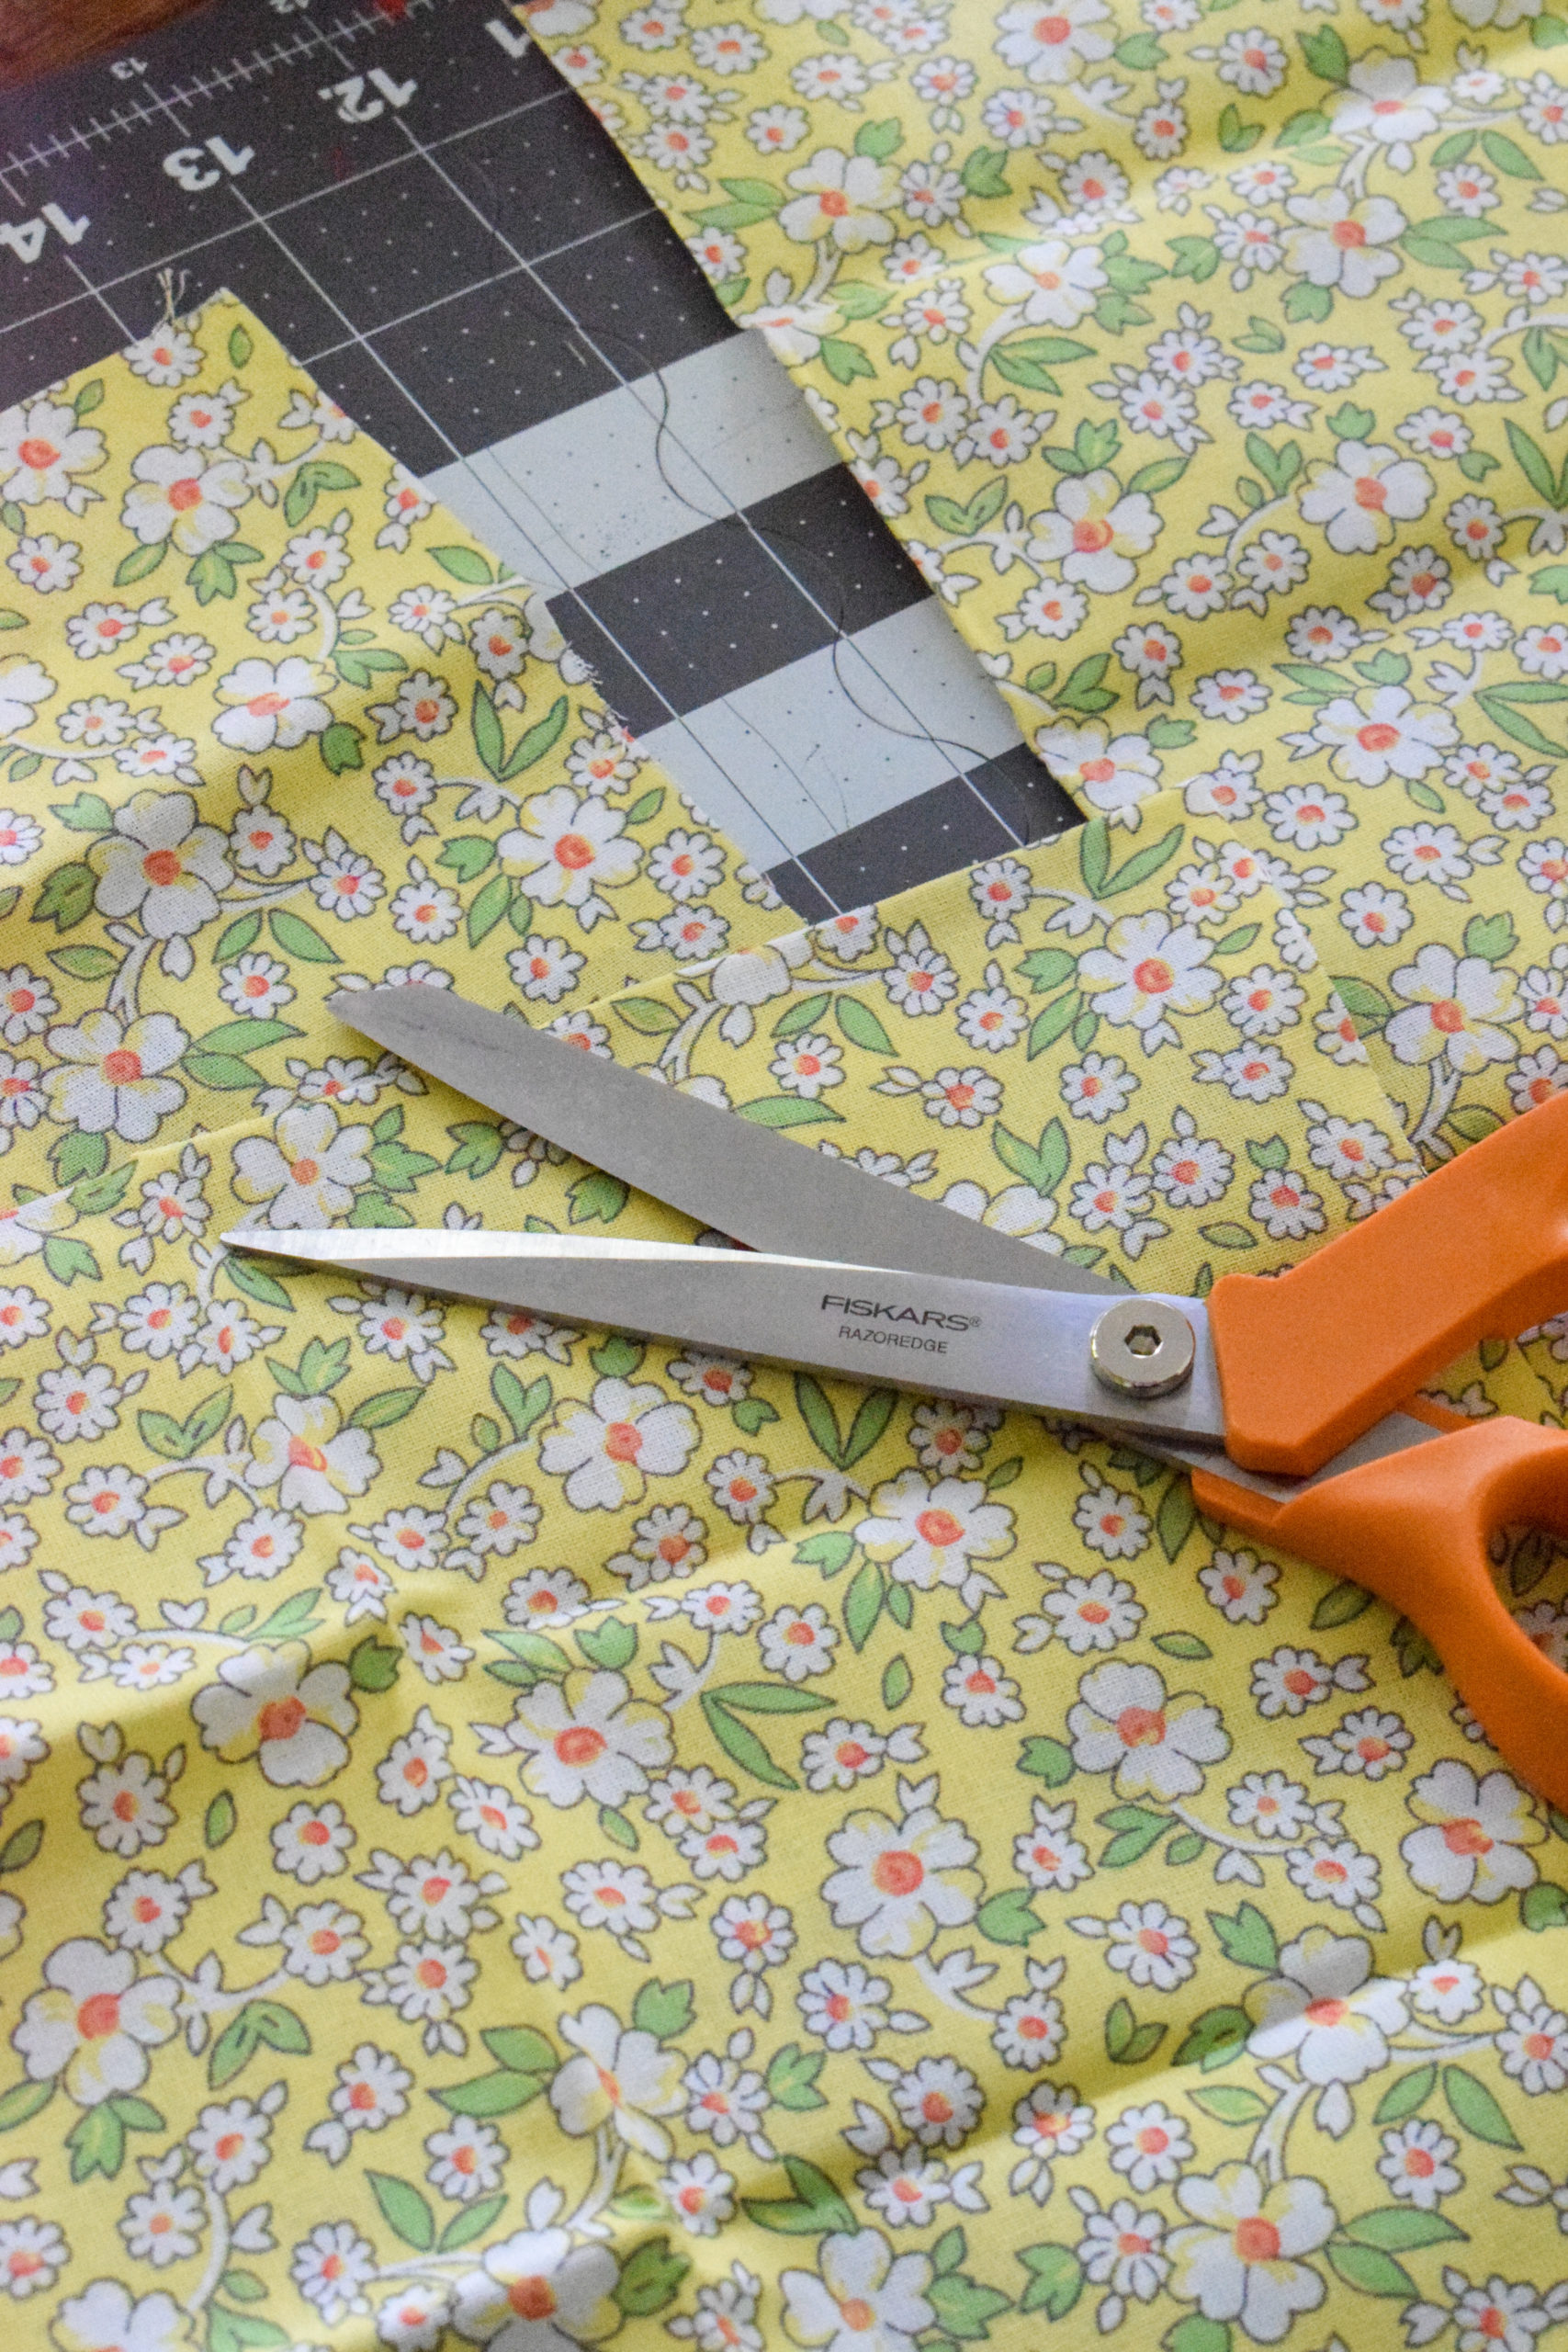
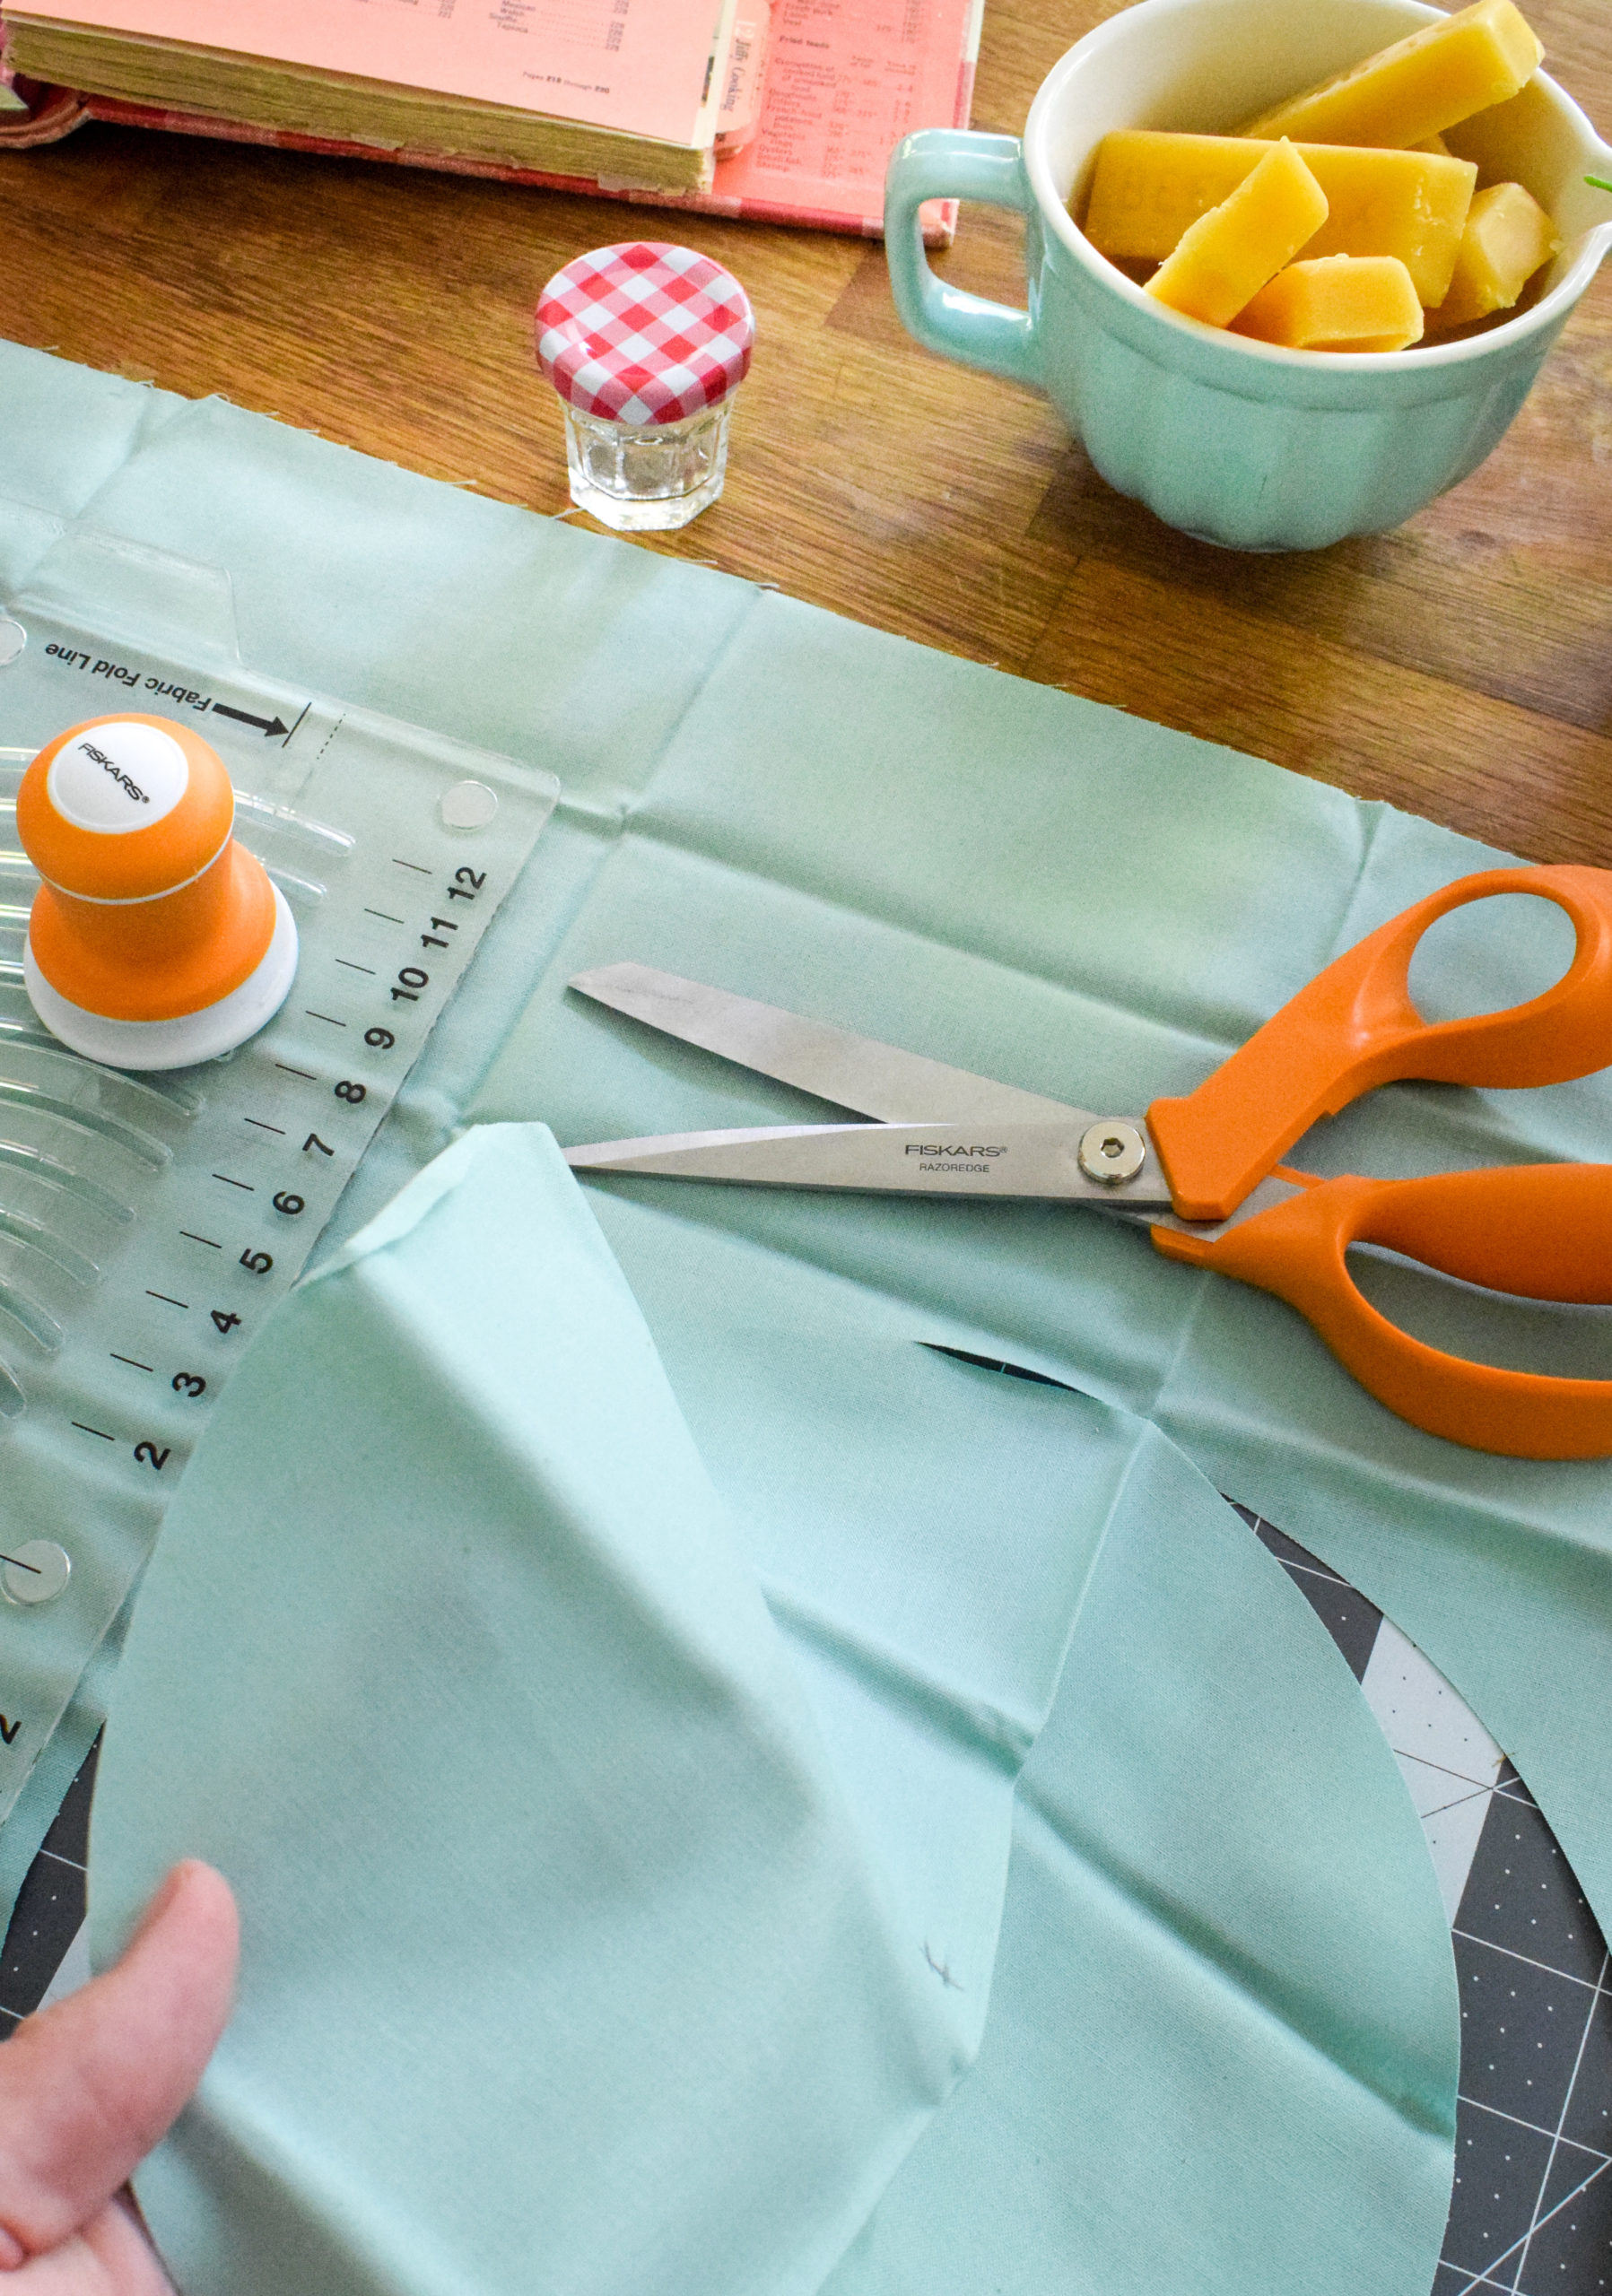
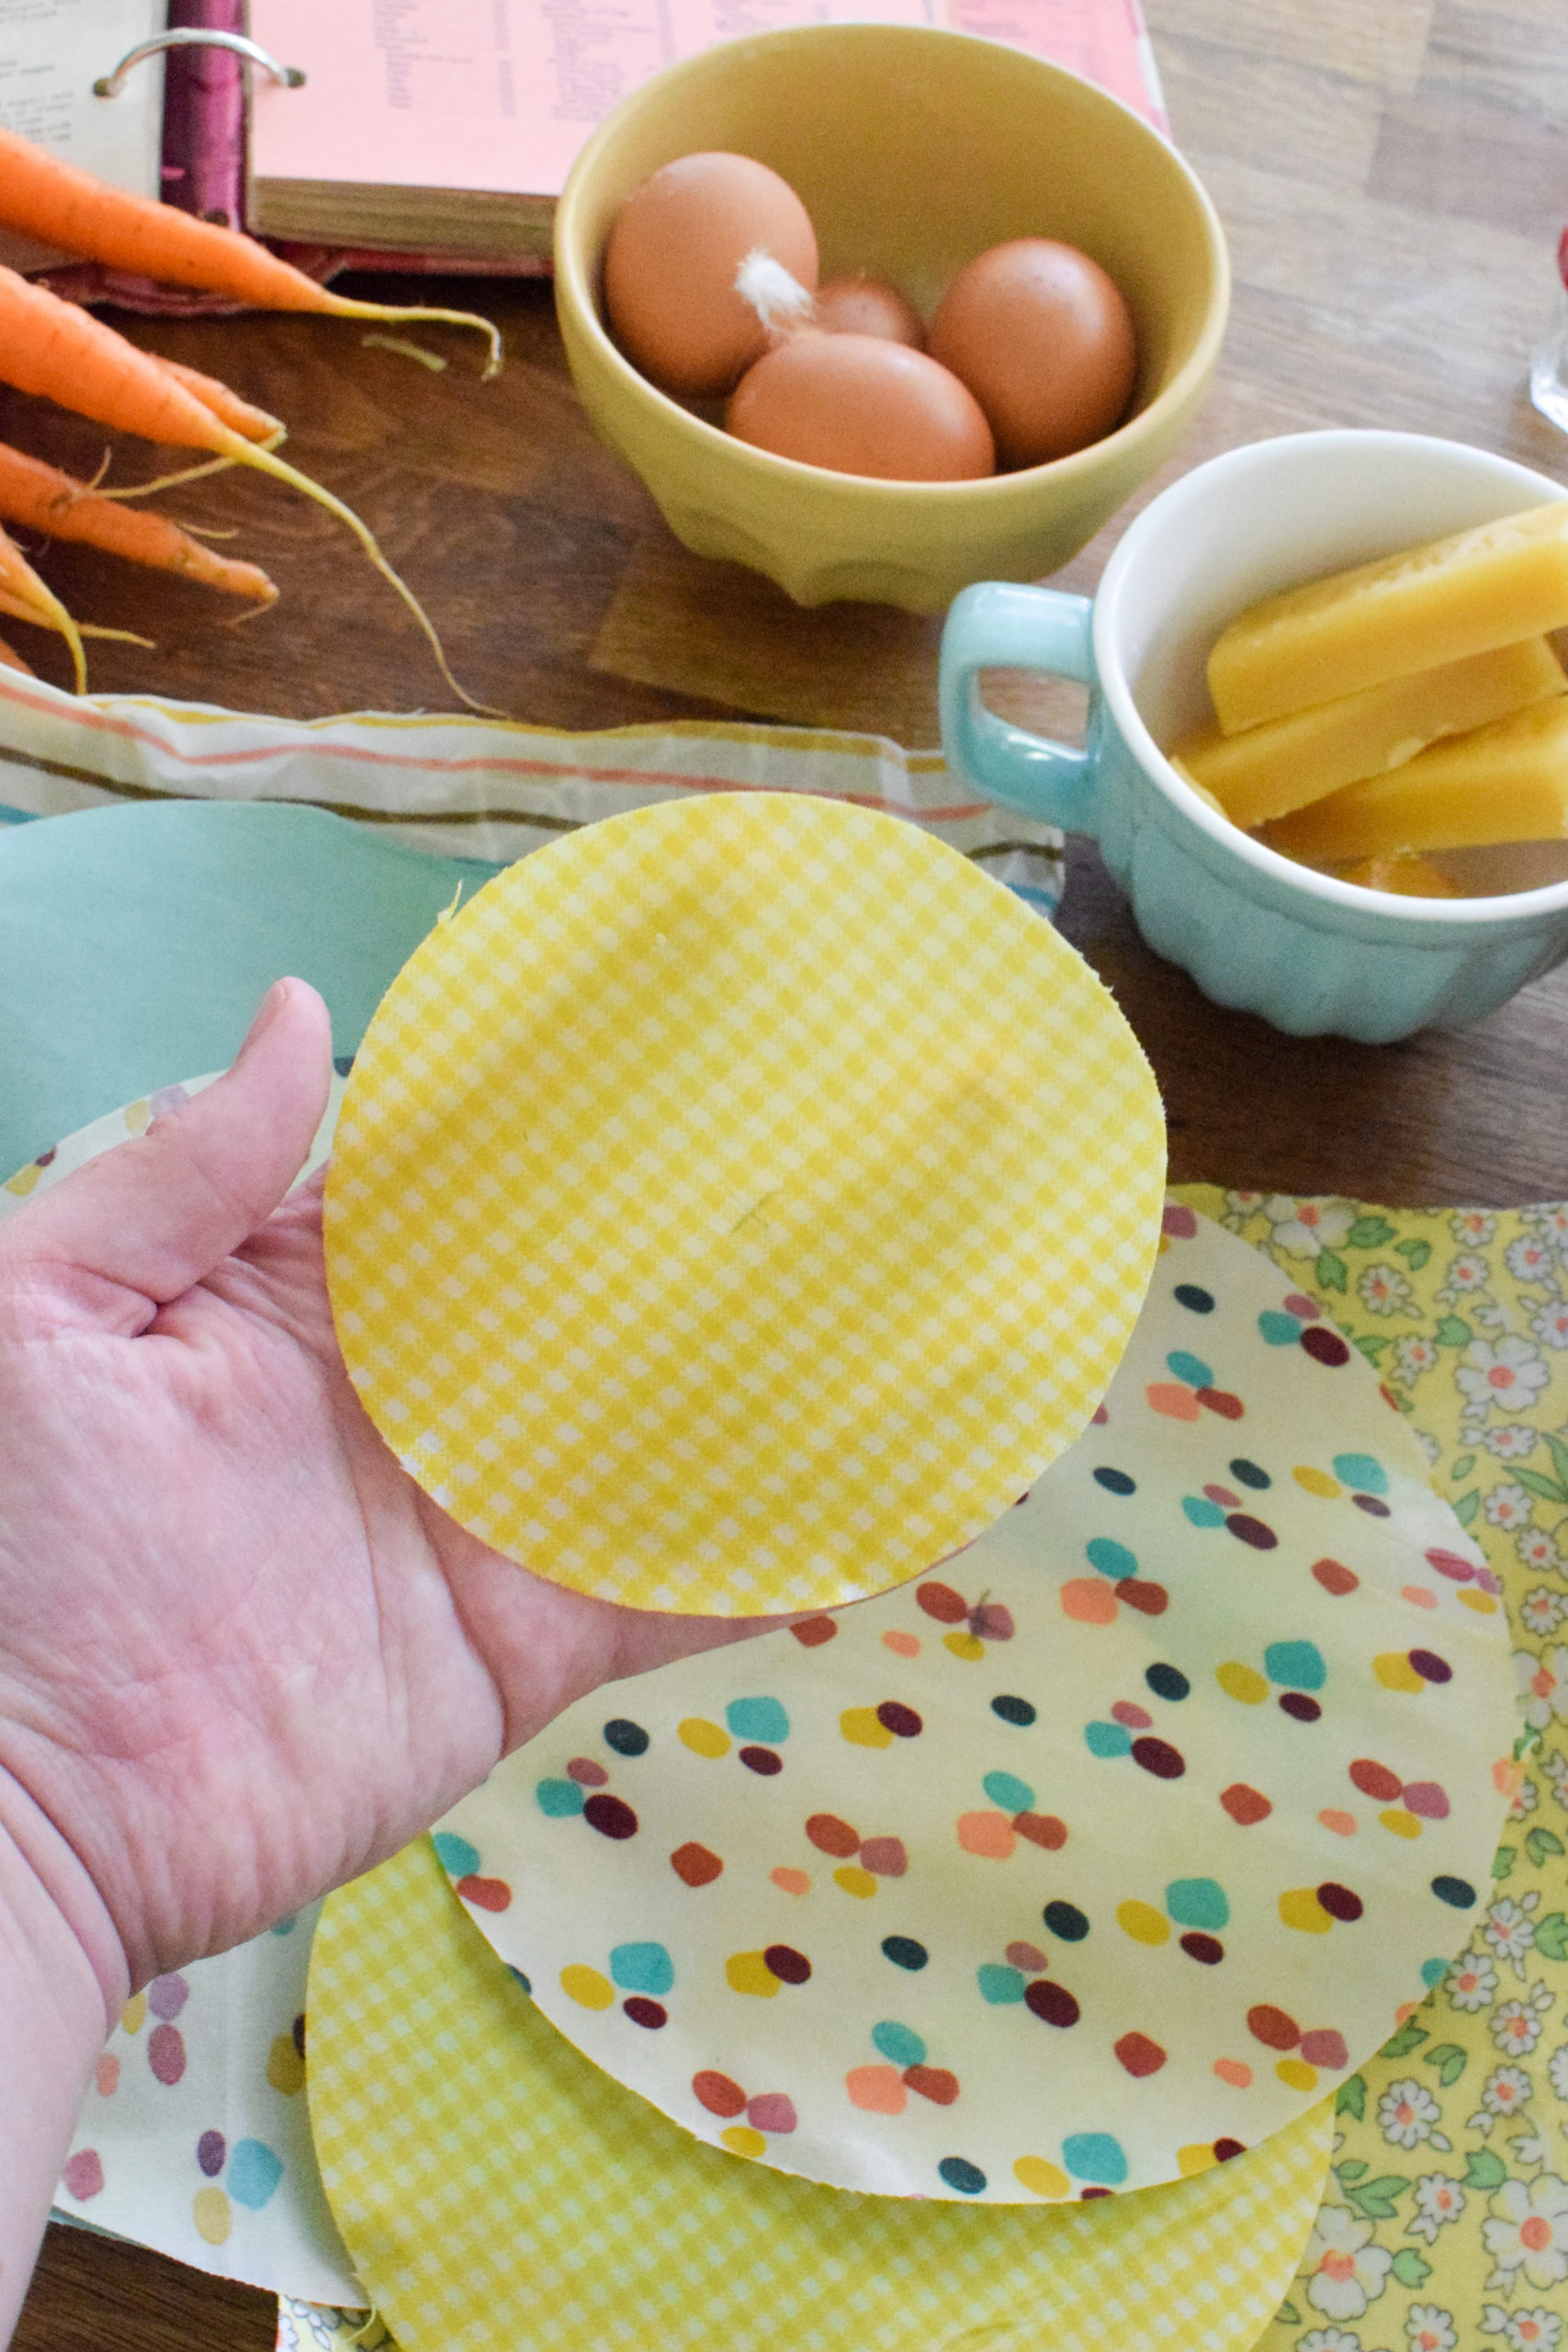
Start by cutting the shapes you want to use. I used the sheers to create simple squares, and the circle cutting tool to create a few different sizes across a variety of the fabric patterns. 
DIY beeswax food wrap is an easy first step you can take towards reducing your household waste. Bonus, it's easy to make!

DIY beeswax food wrap is an easy first step you can take towards reducing your household waste. Bonus, it's easy to make!

The Fiskars cutting mat is always  a handy tool to have, even if you’re just cutting.  You’ve got a built-in guide if you’re free-handing the cut, but I find it provides an extra clean surface between my material and the table surface. Nothing worse than randomly getting a stain on something because you thought the table was clean. 

The razor edge sheers are a dream. They cut through fabric with zero issues, and provide a nice clean cut. Good scissors are always worth the cost.
DIY beeswax food wrap is an easy first step you can take towards reducing your household waste. Bonus, it's easy to make!

Why cut circle beeswax wraps?

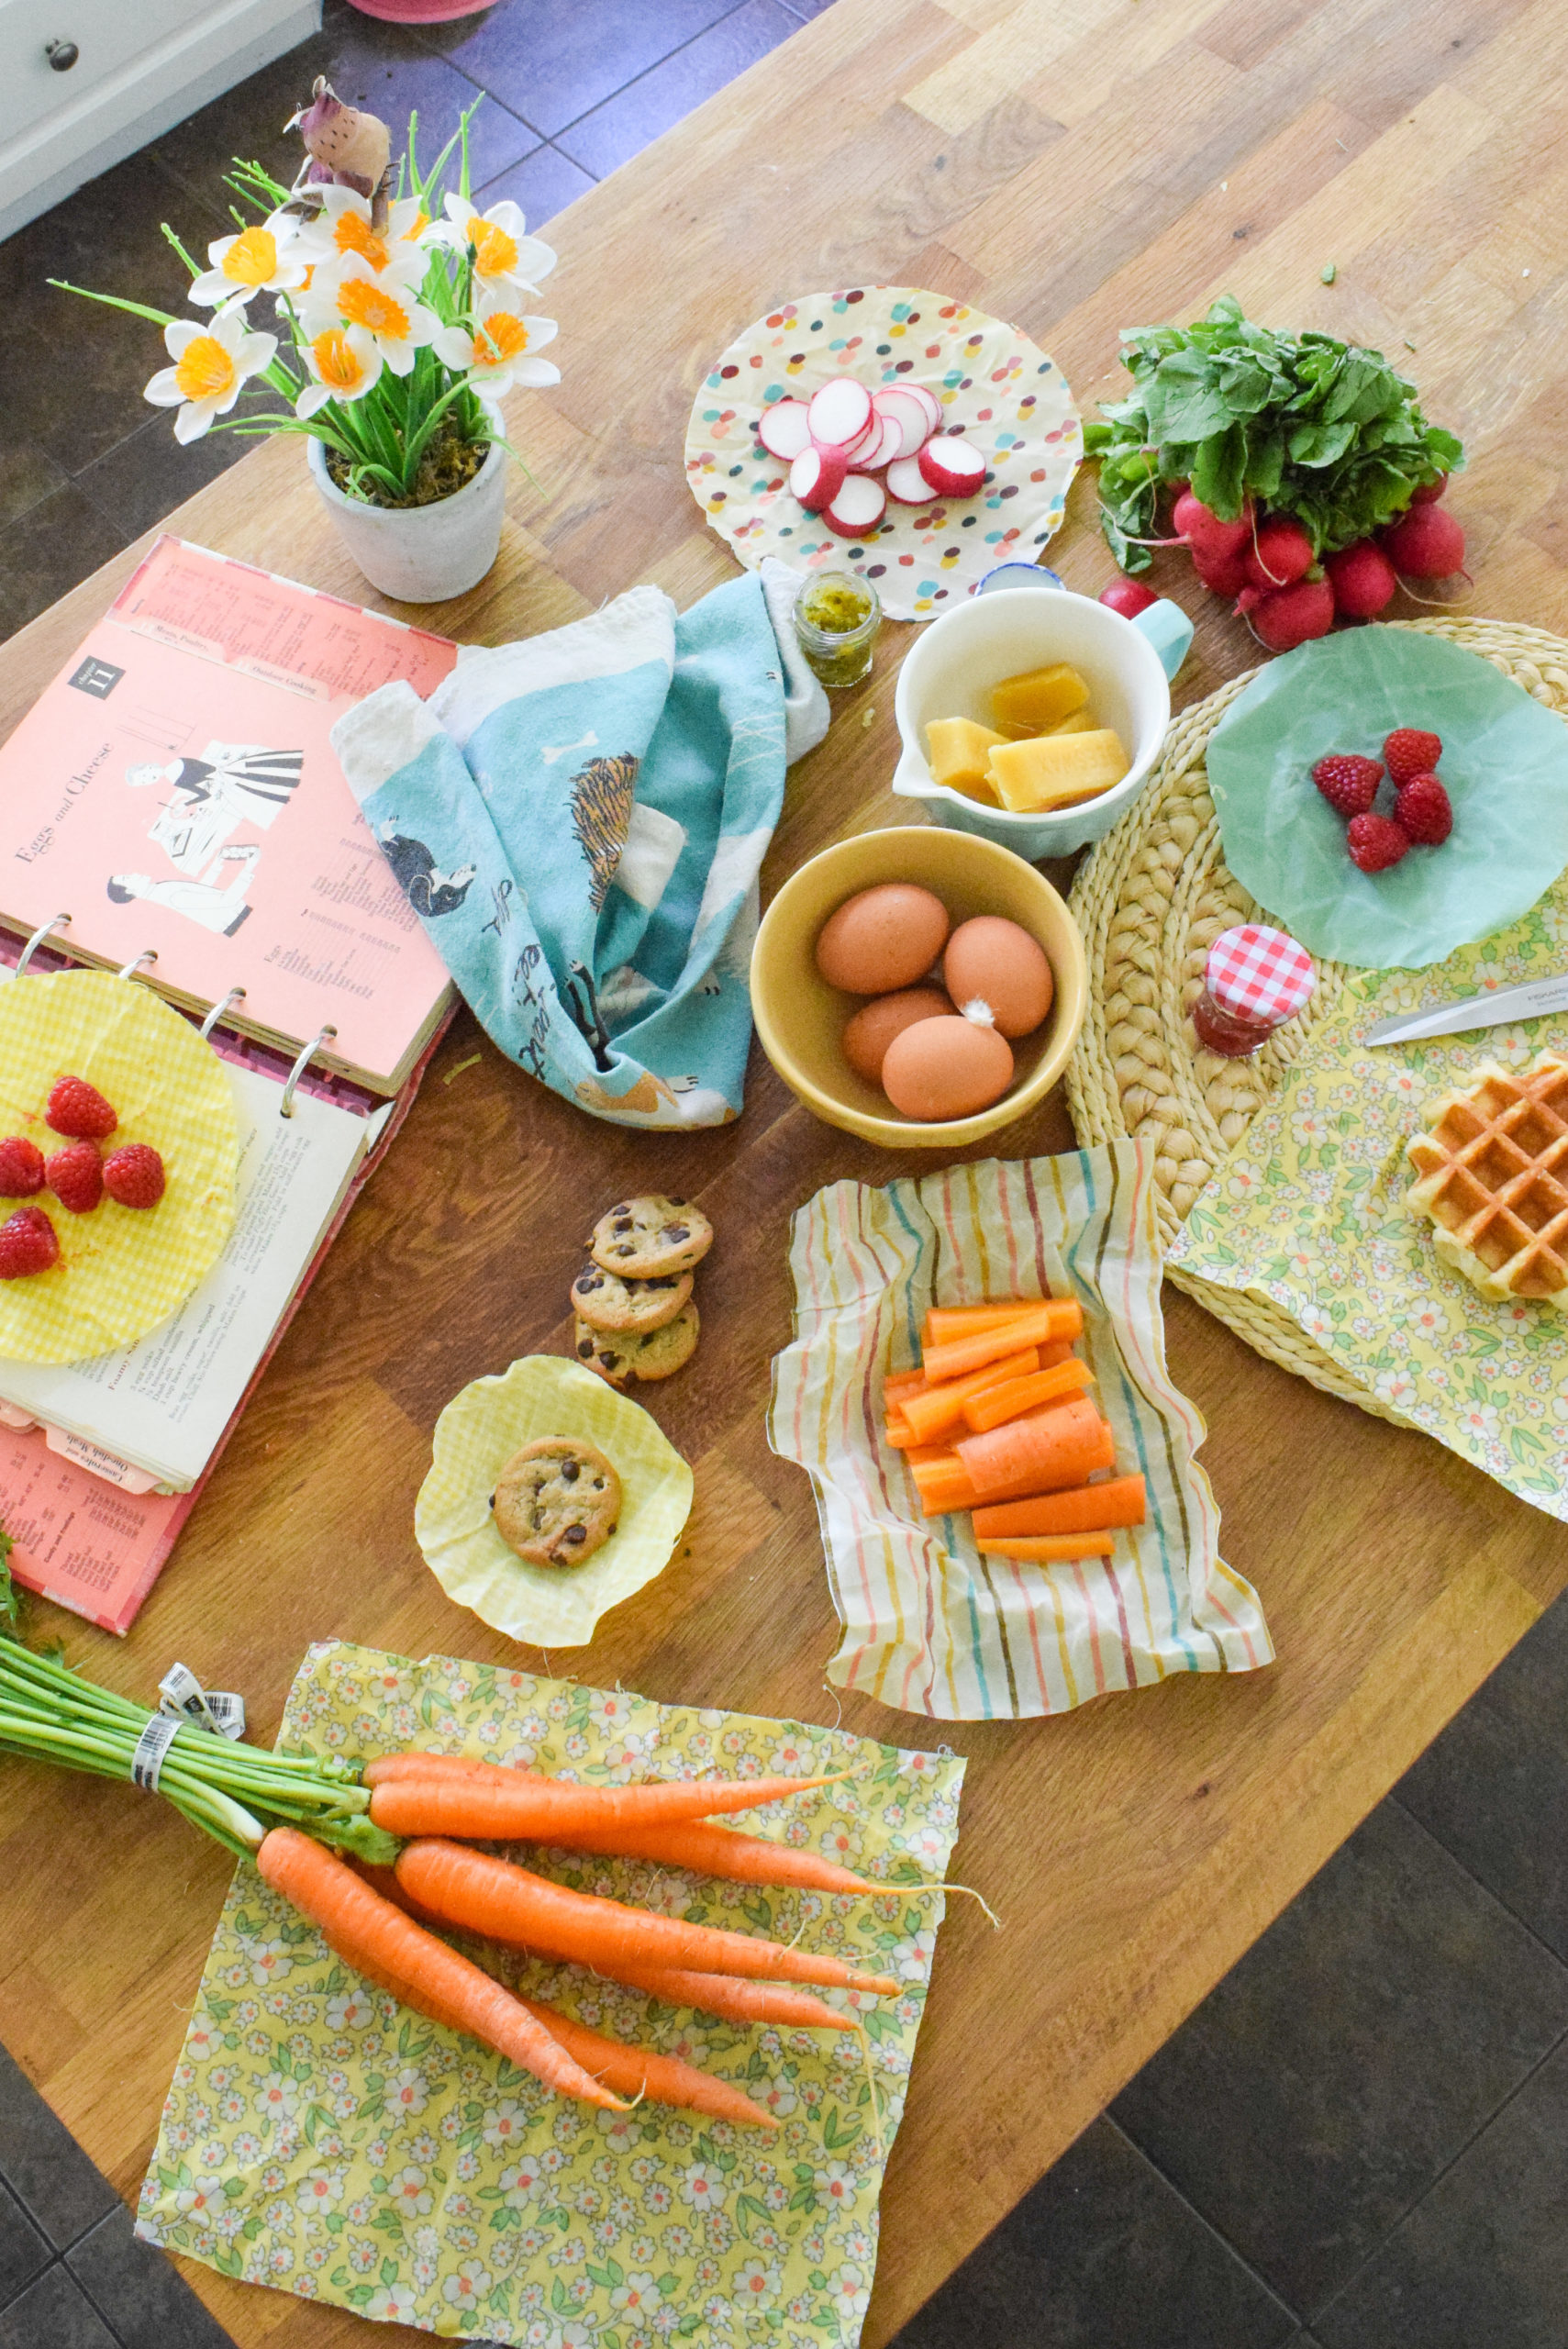
Fun fact, most beeswax wraps are just squares, but with circles you can do a lot!  You can cover half a fruit like an orange or apple, wrap-up a cookie or two, and you can of course use them to cover jars or cups ex. dressing that wasn’t fully used, or a jar to which you lost the lid.

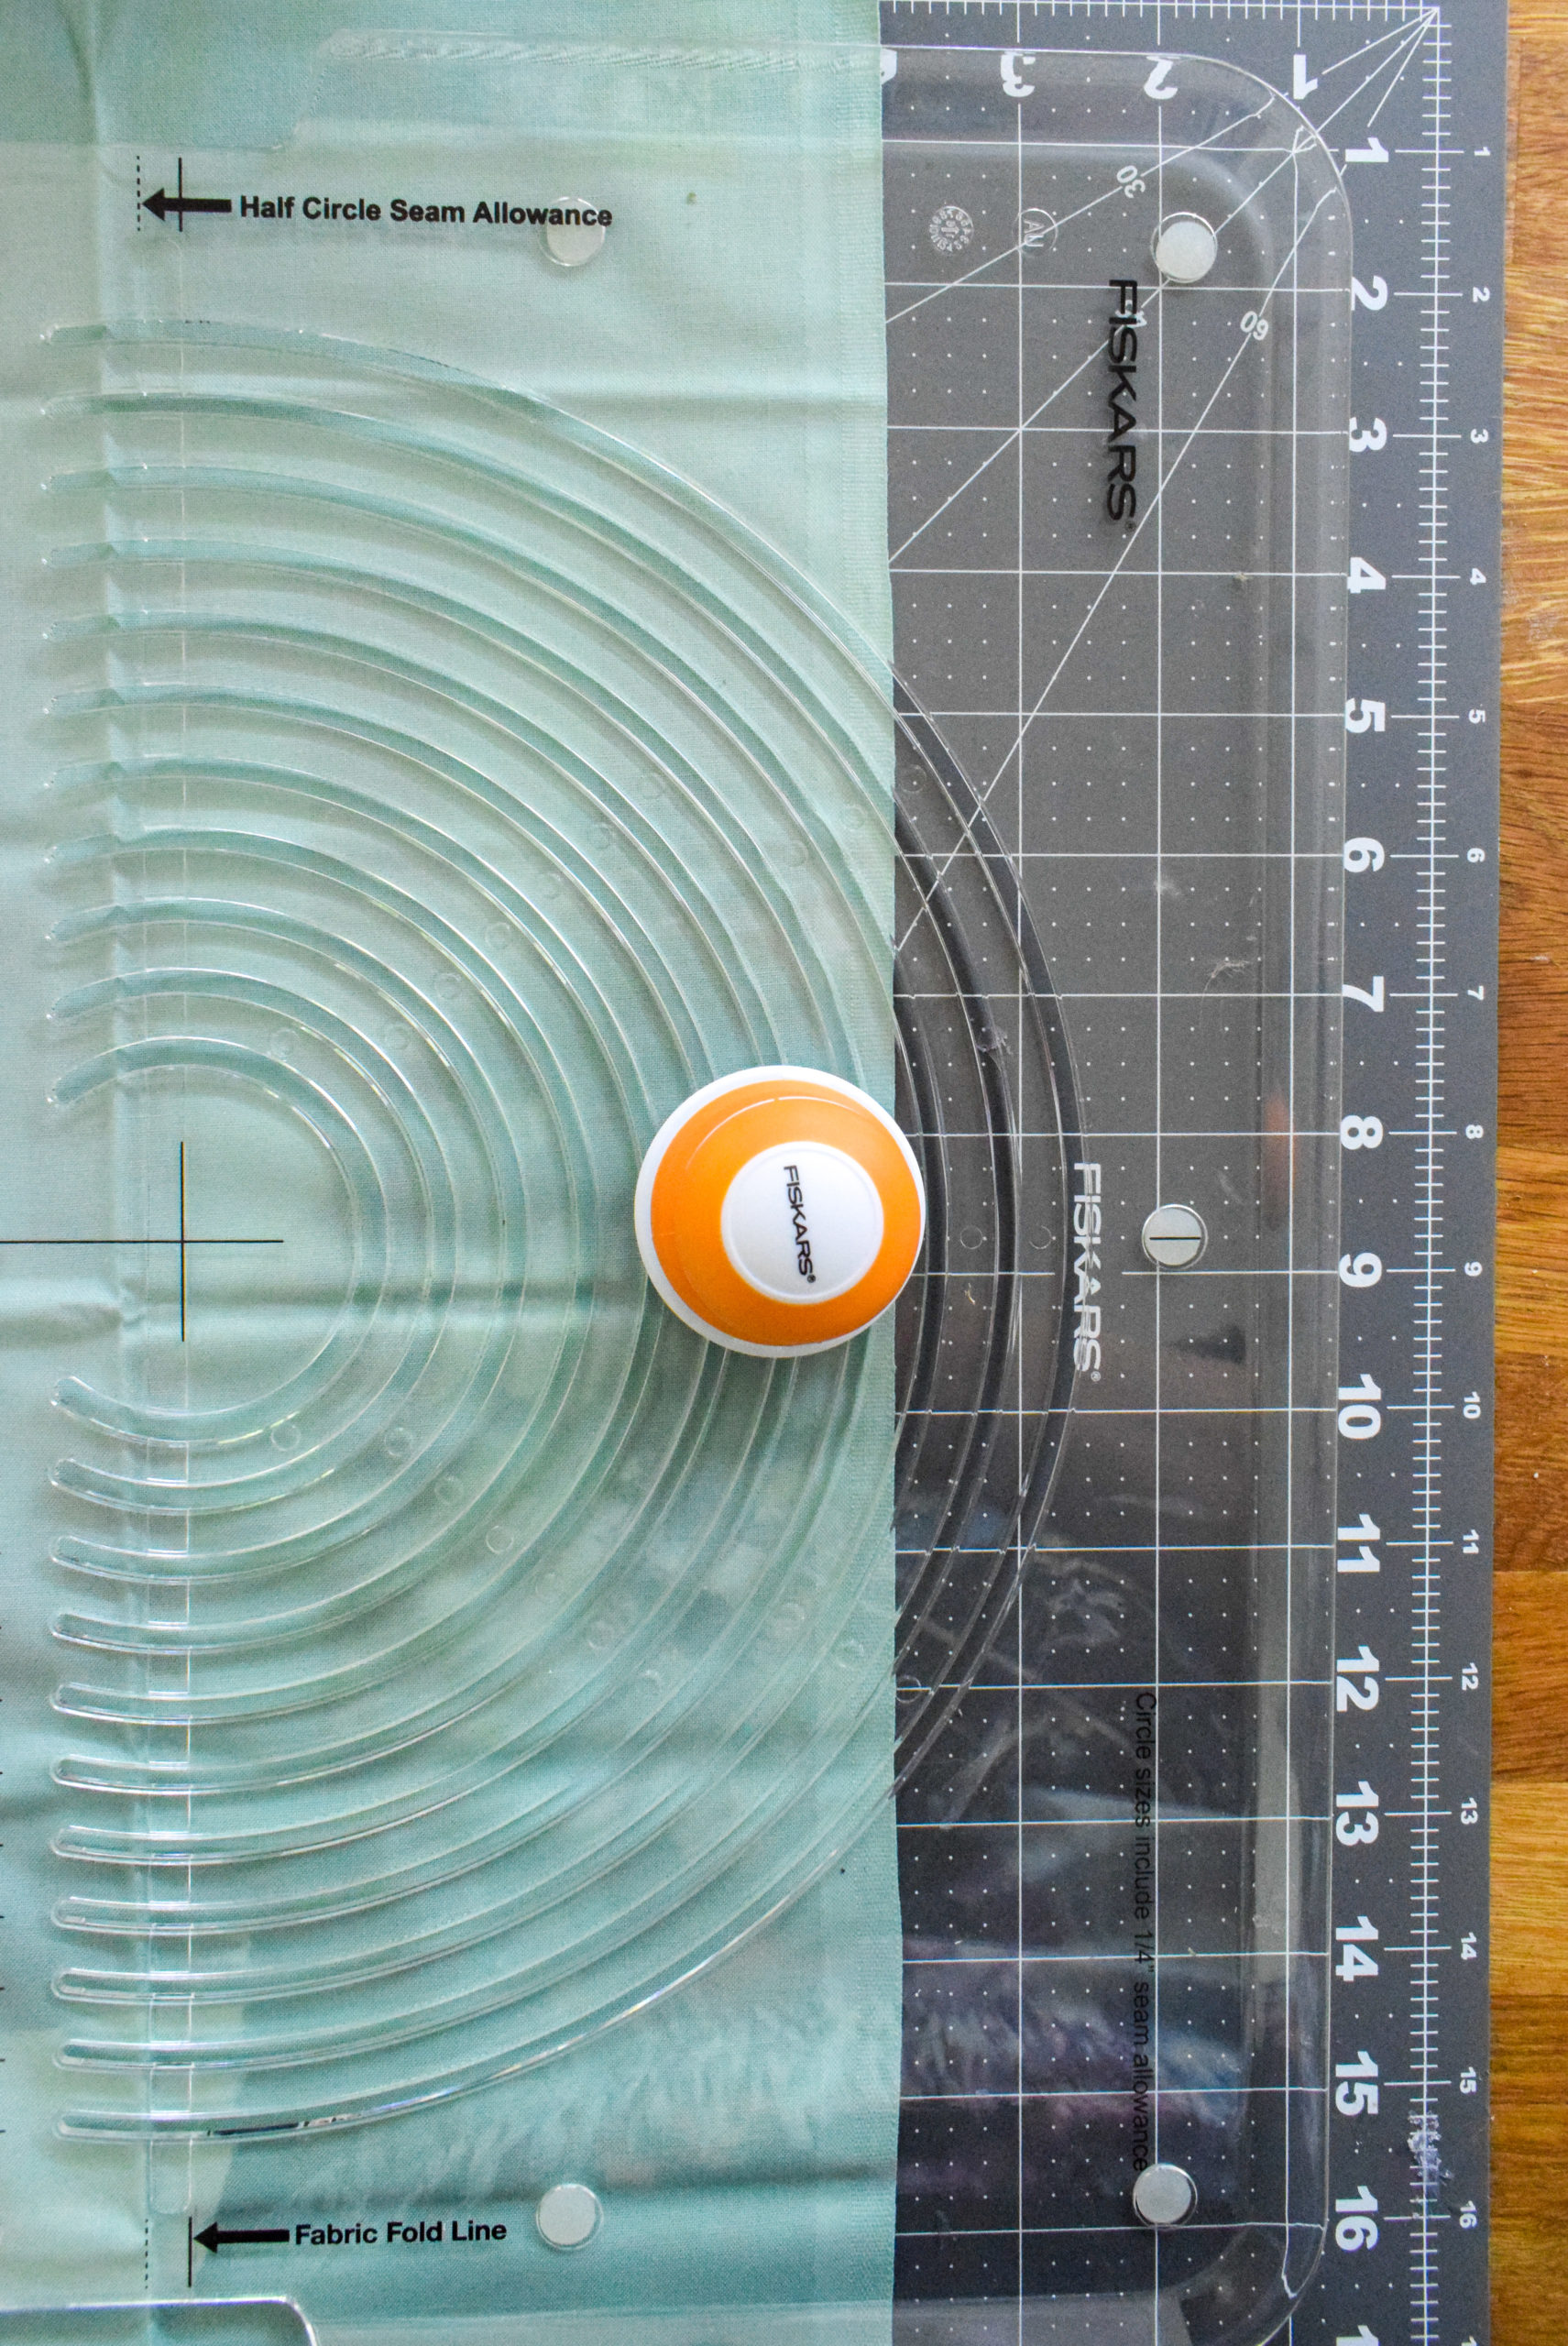
I had also been dying to use the Fiskars circle cutter, so this was as best a use as any that I could think of. The jig is simple, easy to use, and should absolutely be used with a cutting mat beneath it.
DIY beeswax food wrap is an easy first step you can take towards reducing your household waste. Bonus, it's easy to make!

How to use the circle fabric cutter

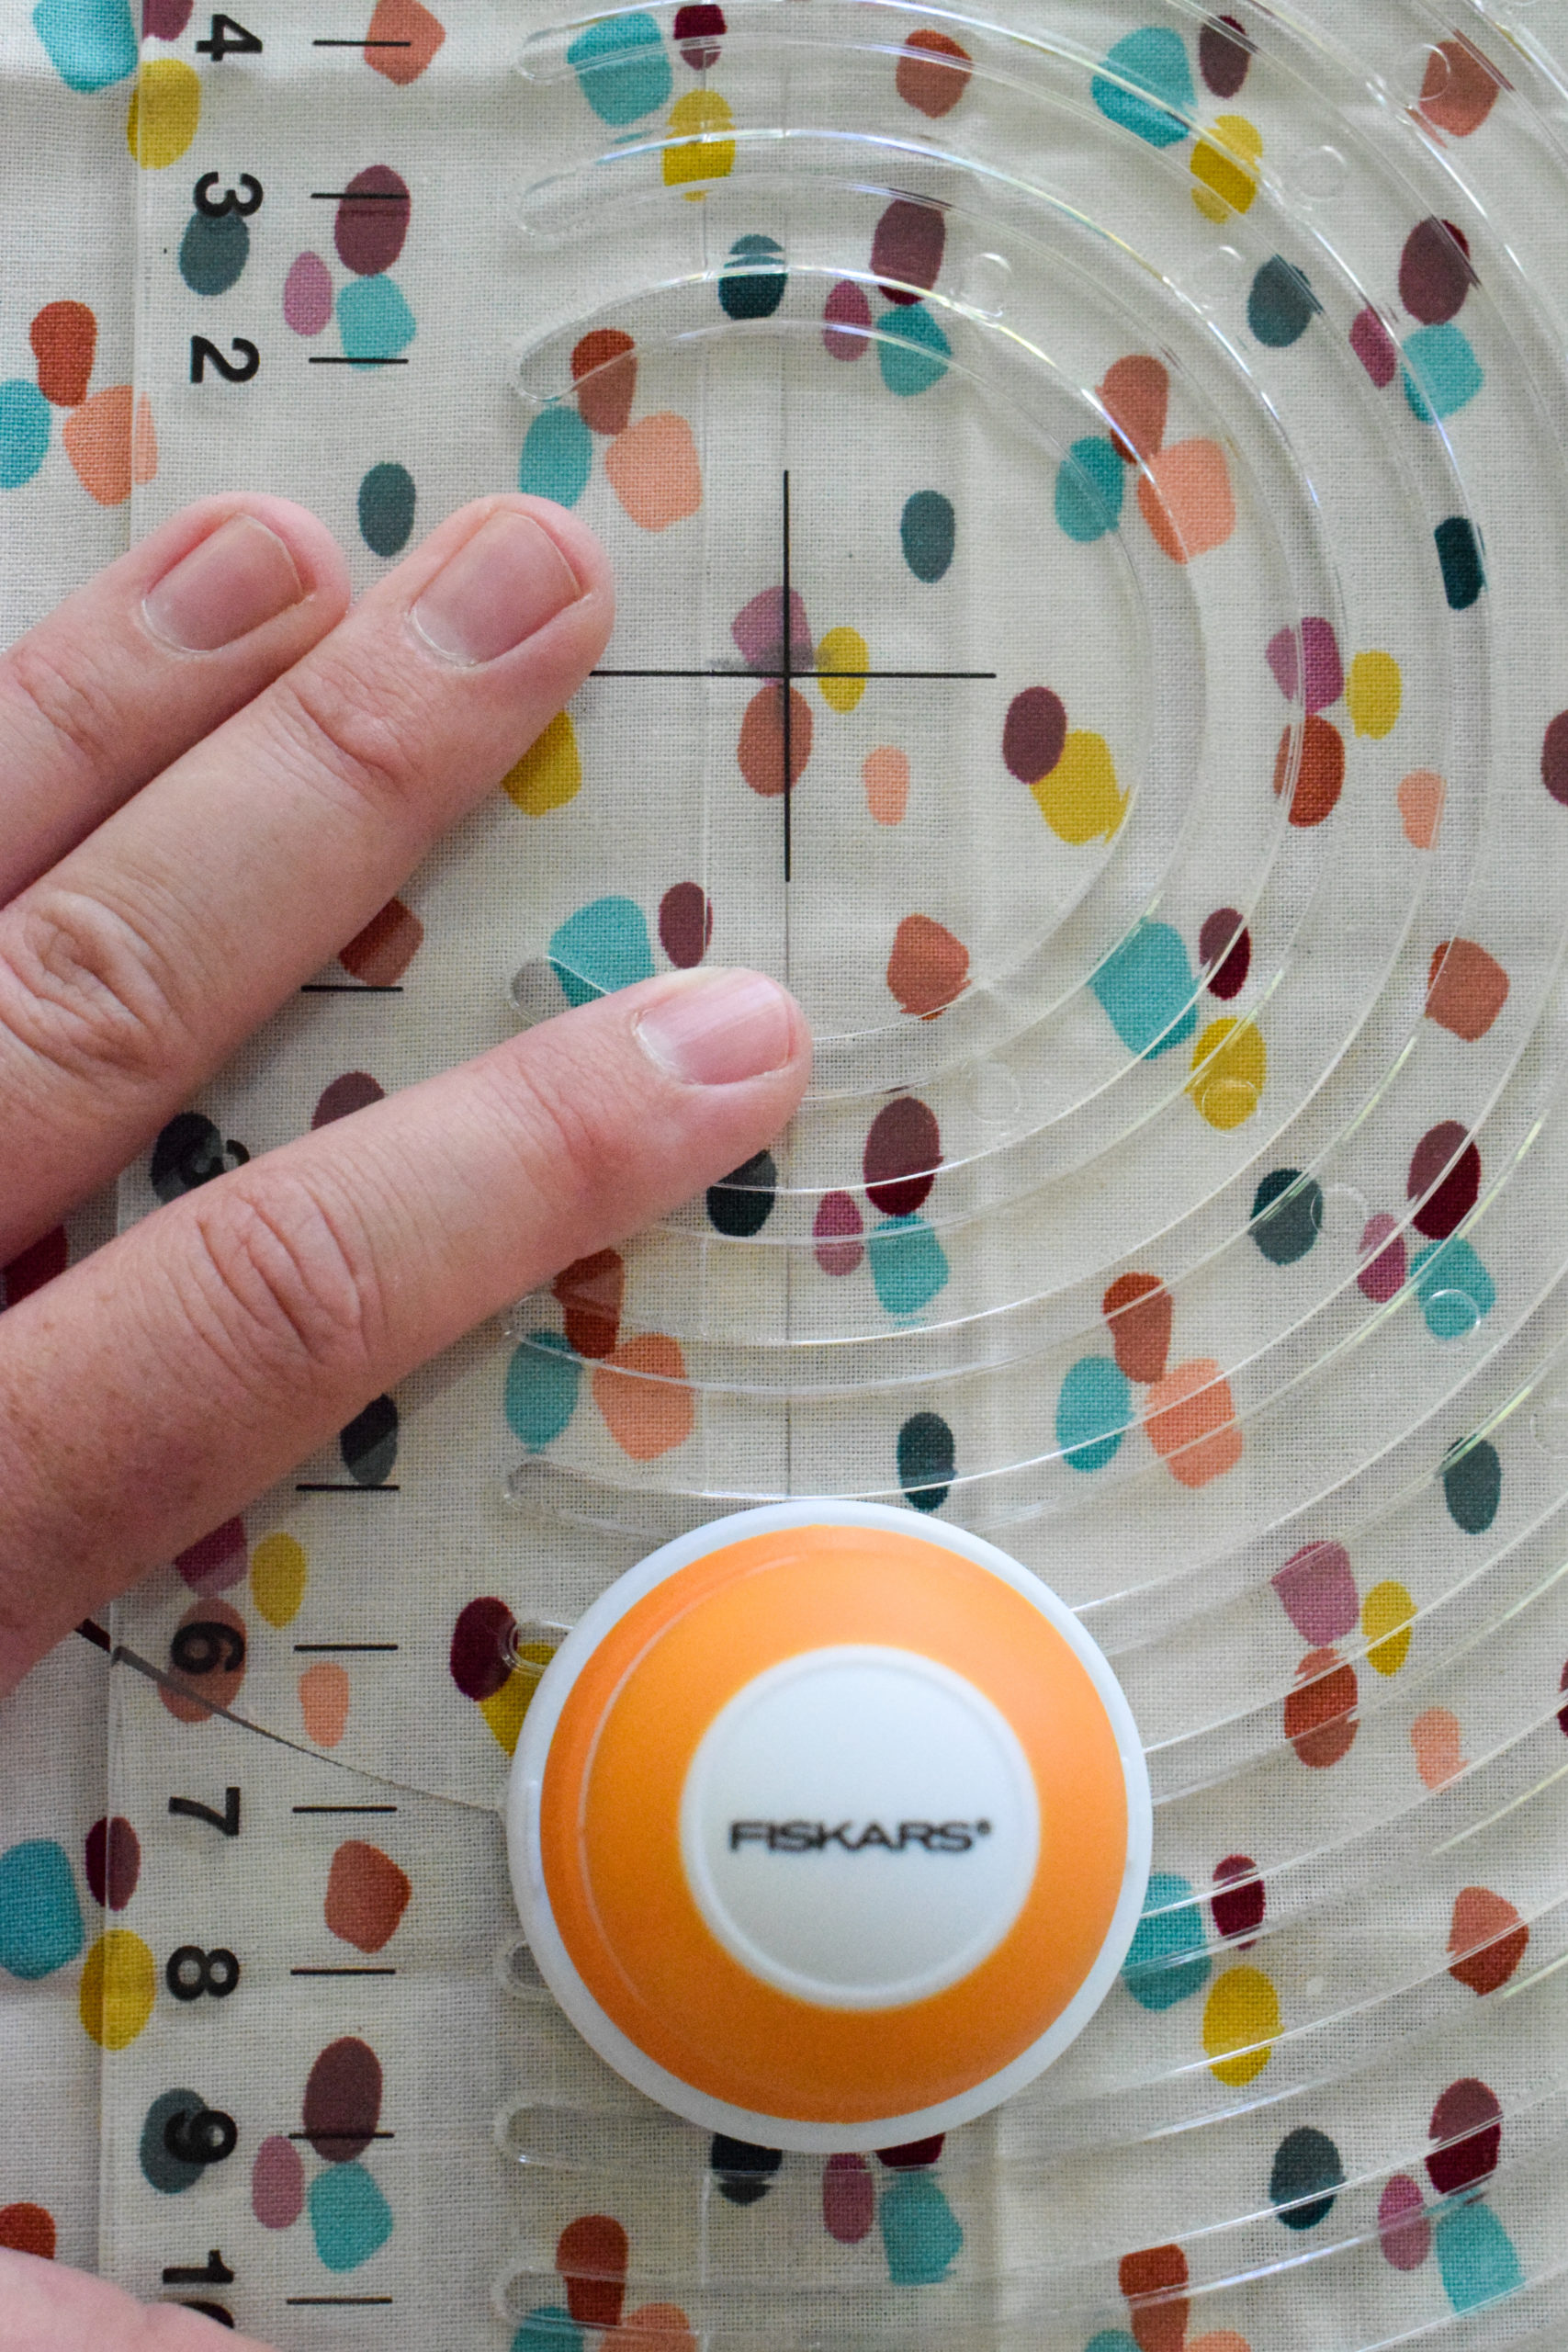
Real simple, assess the desired size of your circle, mark a center, and place the sight lines over your center. Place the blade into the correct arch, push down, and slide from one side to another.
DIY beeswax food wrap is an easy first step you can take towards reducing your household waste. Bonus, it's easy to make!

DIY beeswax food wrap is an easy first step you can take towards reducing your household waste. Bonus, it's easy to make!

Once you’ve got all your pieces cut, it’s time to add the wax! I placed a cutting board with a sheet of wax paper on top as my work surface.

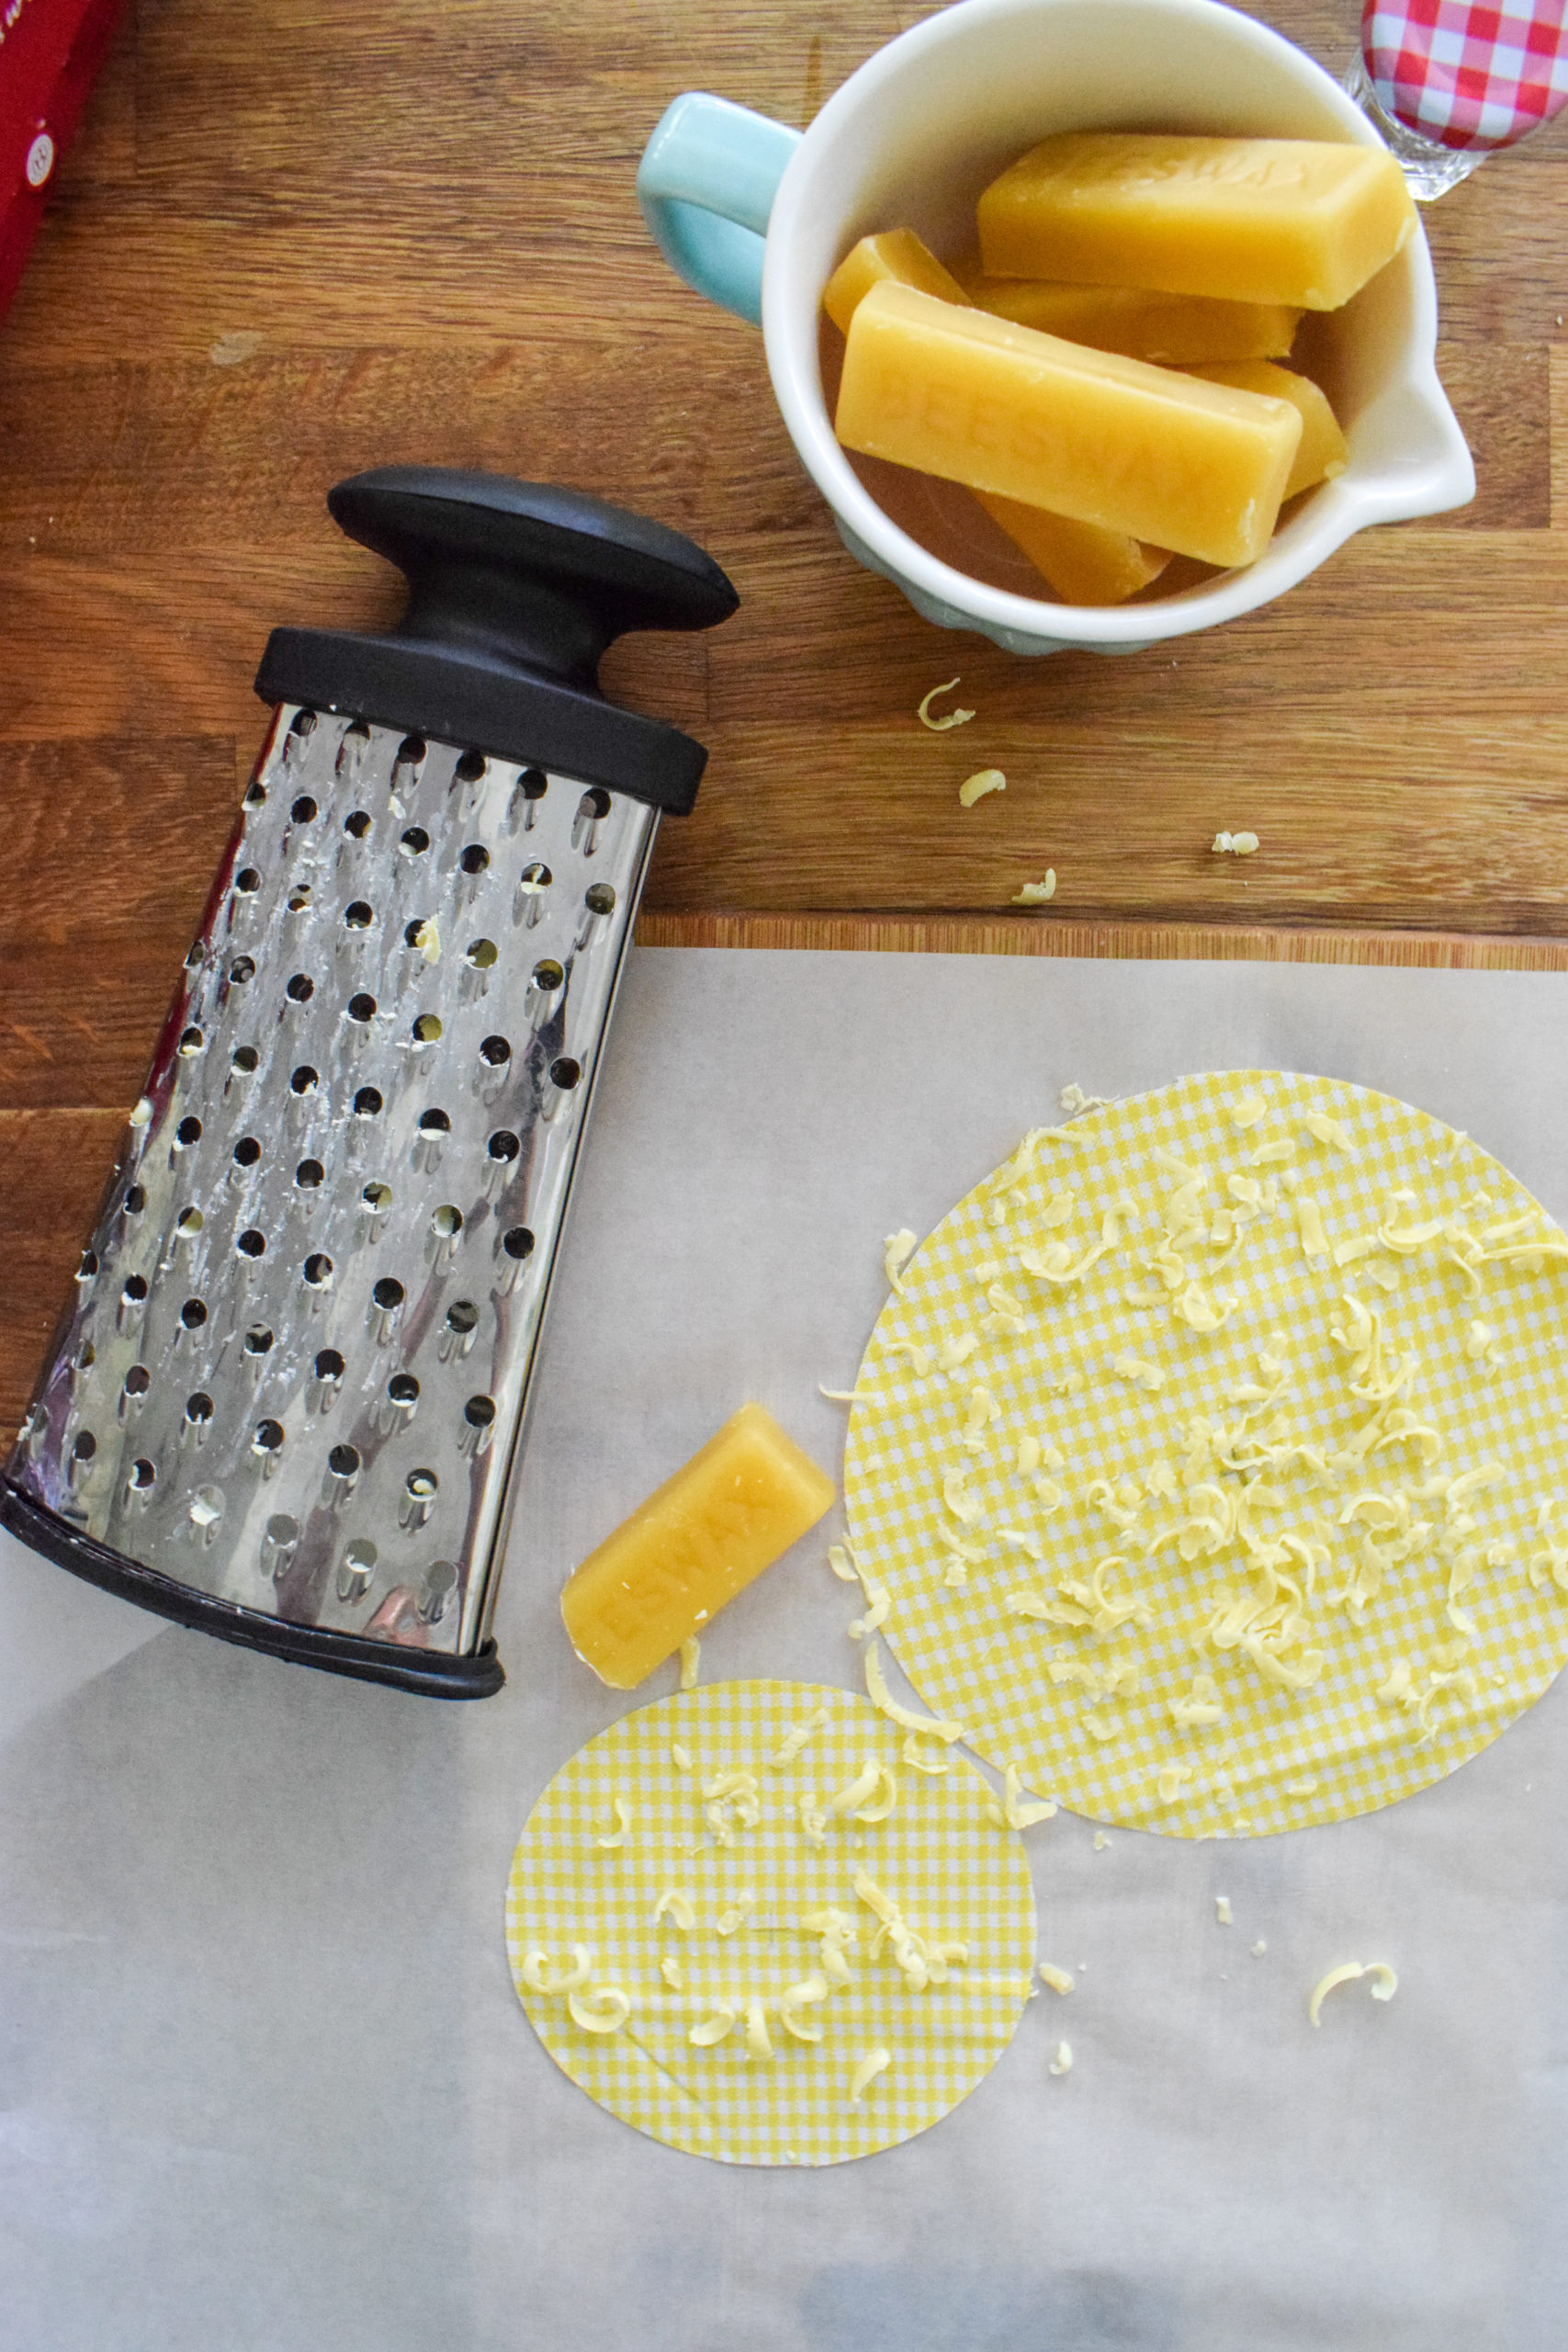
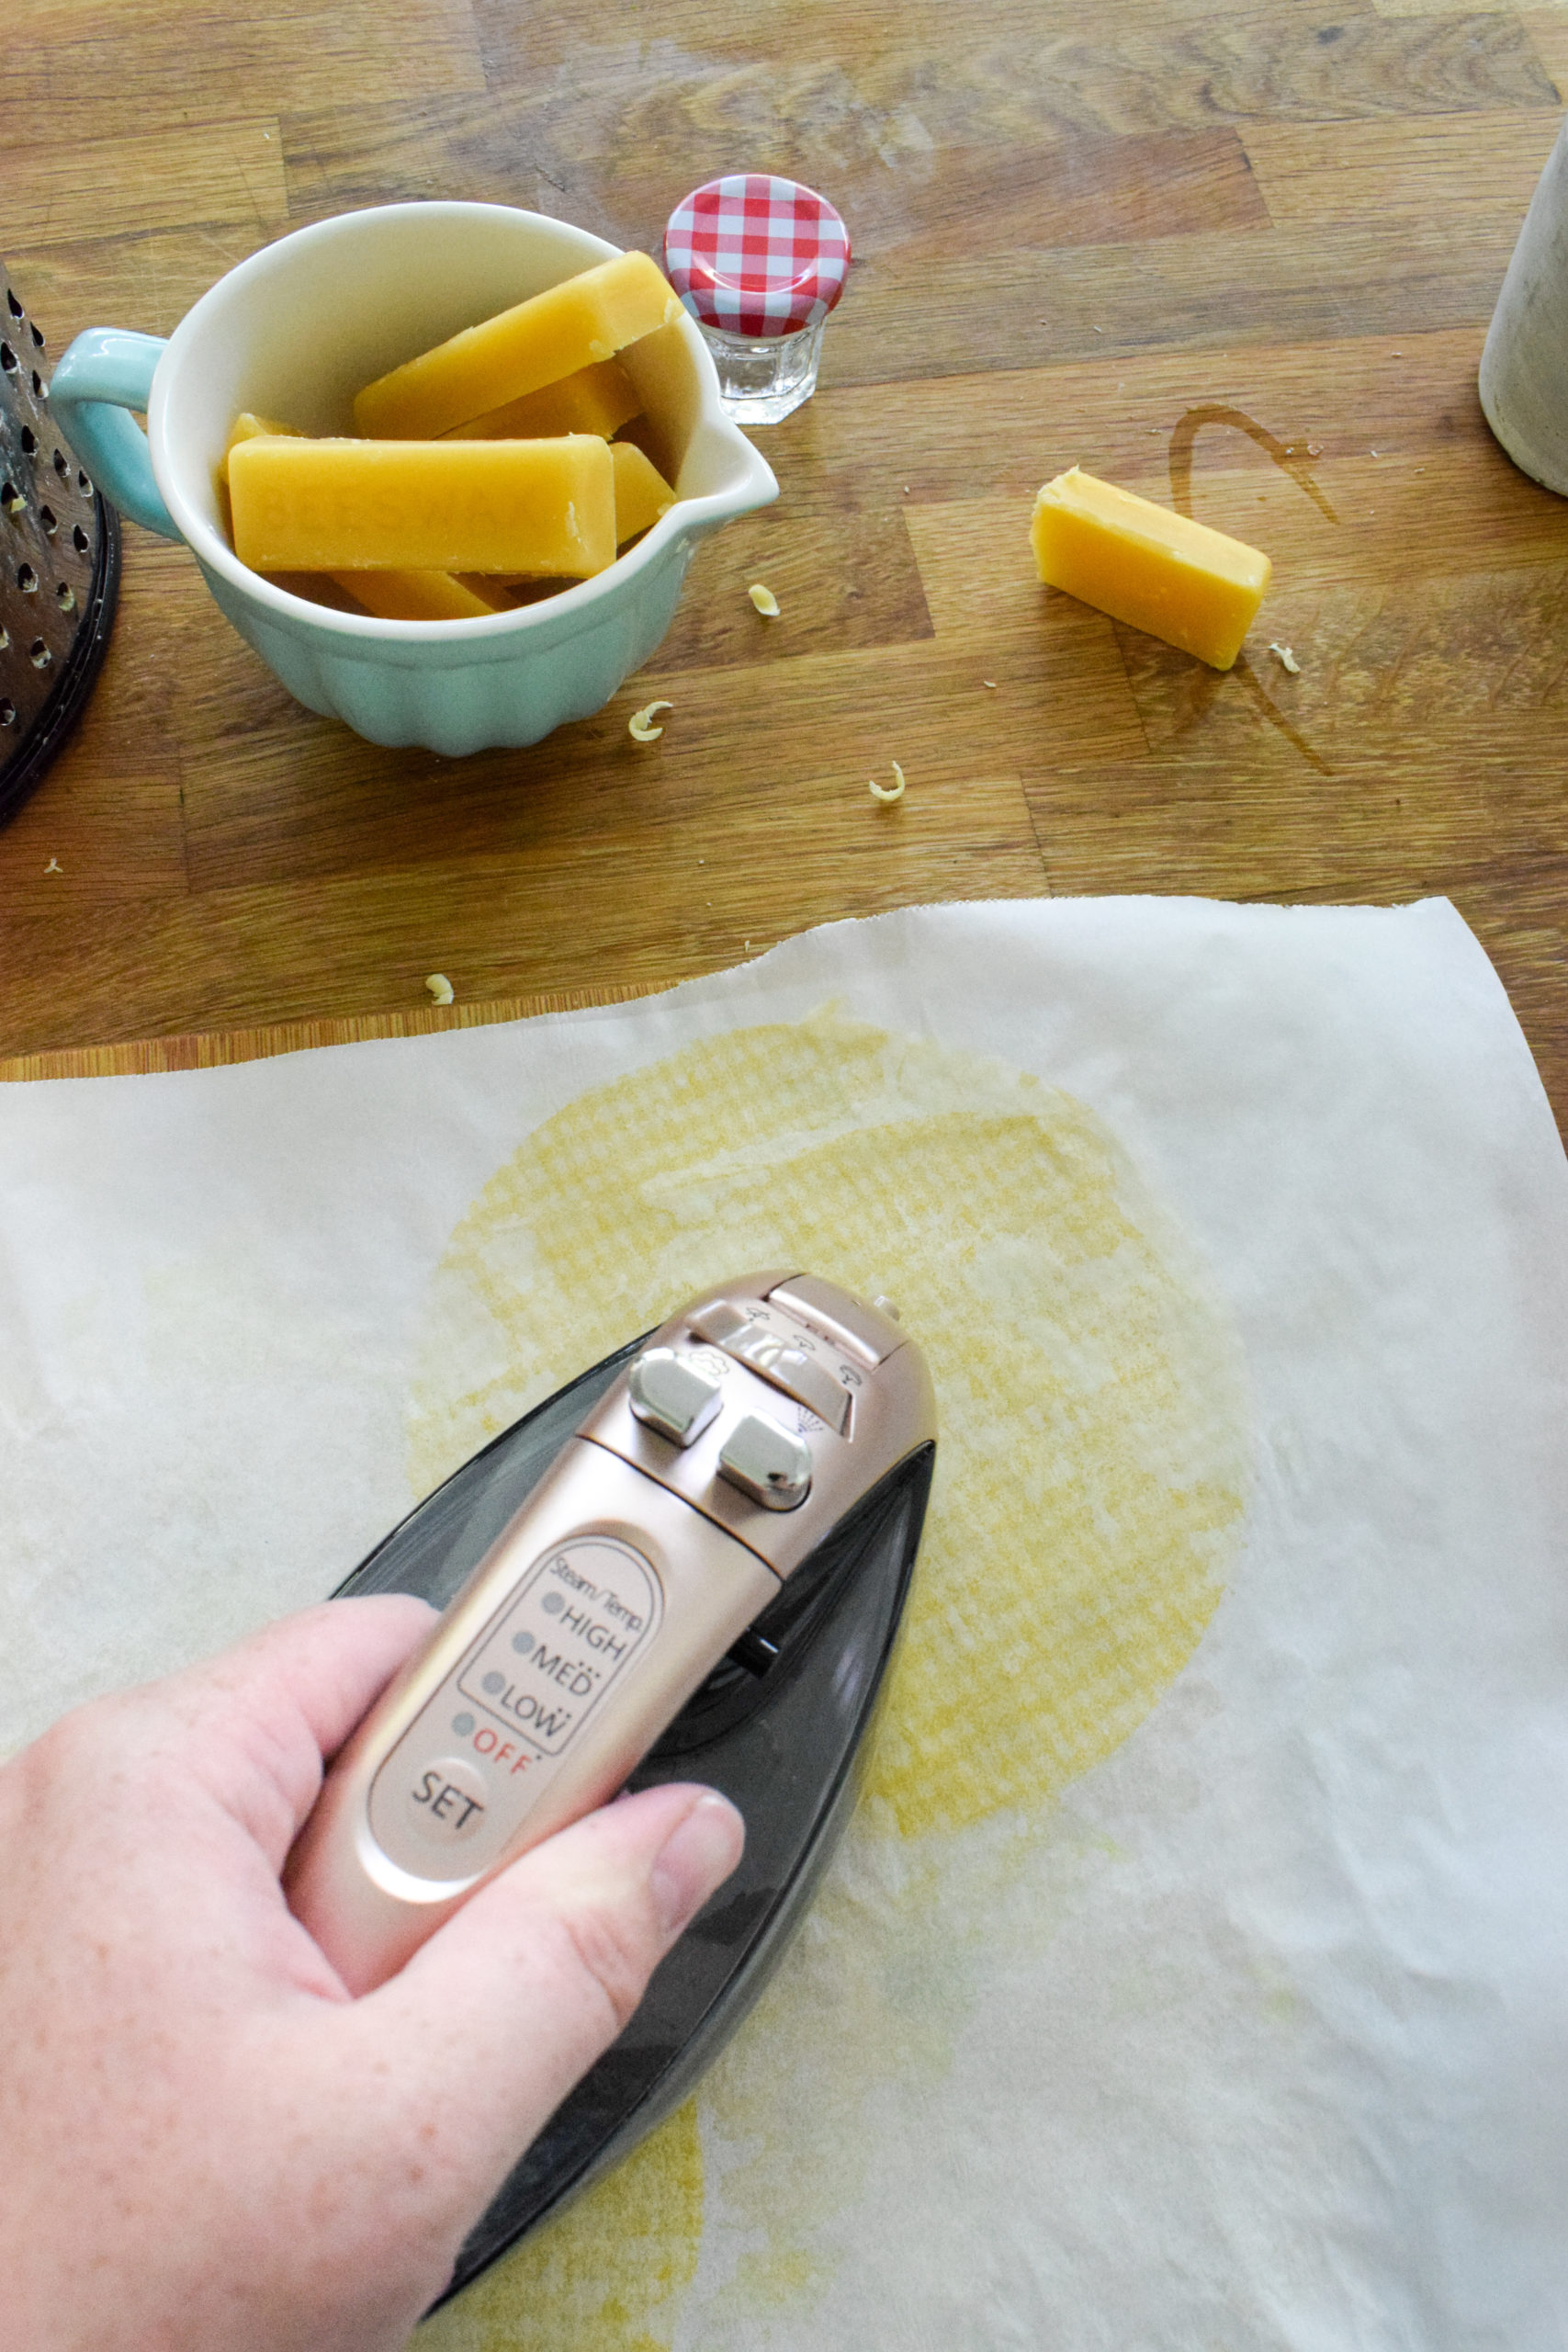
Lay-down your piece of fabric, and grate the beeswax all over the item. Start with less because you can always add more. Cover it with another piece of wax paper, and then using your iron on a med-high setting, apply heat. You’ll be able to see the wax melt between the sheets, and using the pressure of the iron you can help move it around the surface of your fabric.
DIY beeswax food wrap is an easy first step you can take towards reducing your household waste. Bonus, it's easy to make!

DIY beeswax food wrap is an easy first step you can take towards reducing your household waste. Bonus, it's easy to make!

Once the piece is coated, wait a few seconds for it to cool down, and set it to dry on a pitched surface (think: dish rack)

How can you make your beeswax food wrap better?

Some people recommend mixing coconut oil with beeswax, others recommend coating both sides of the sheet, and some say do coconut on one side and beeswax on the other. No matter which way you do it, you’ll find a mixture that works for you. Just remember that it will be in contact with food, so don’t go putting essential oils in it.
DIY beeswax food wrap is an easy first step you can take towards reducing your household waste. Bonus, it's easy to make!

How to use your beeswax food wrap

As I mentioned at the top, I’ve been using it in a variety of ways for a few years now, but I cut new shapes to be able to do the following:

  • wrap smaller items
  • cover jars or cups or bowls
  • cover entire pans or trays in the fridge
  • seal an opened fruit or vegetable
  • wrap loose items like nuts or seeds
  • keep an opened coffee container fresh 
  • etc.

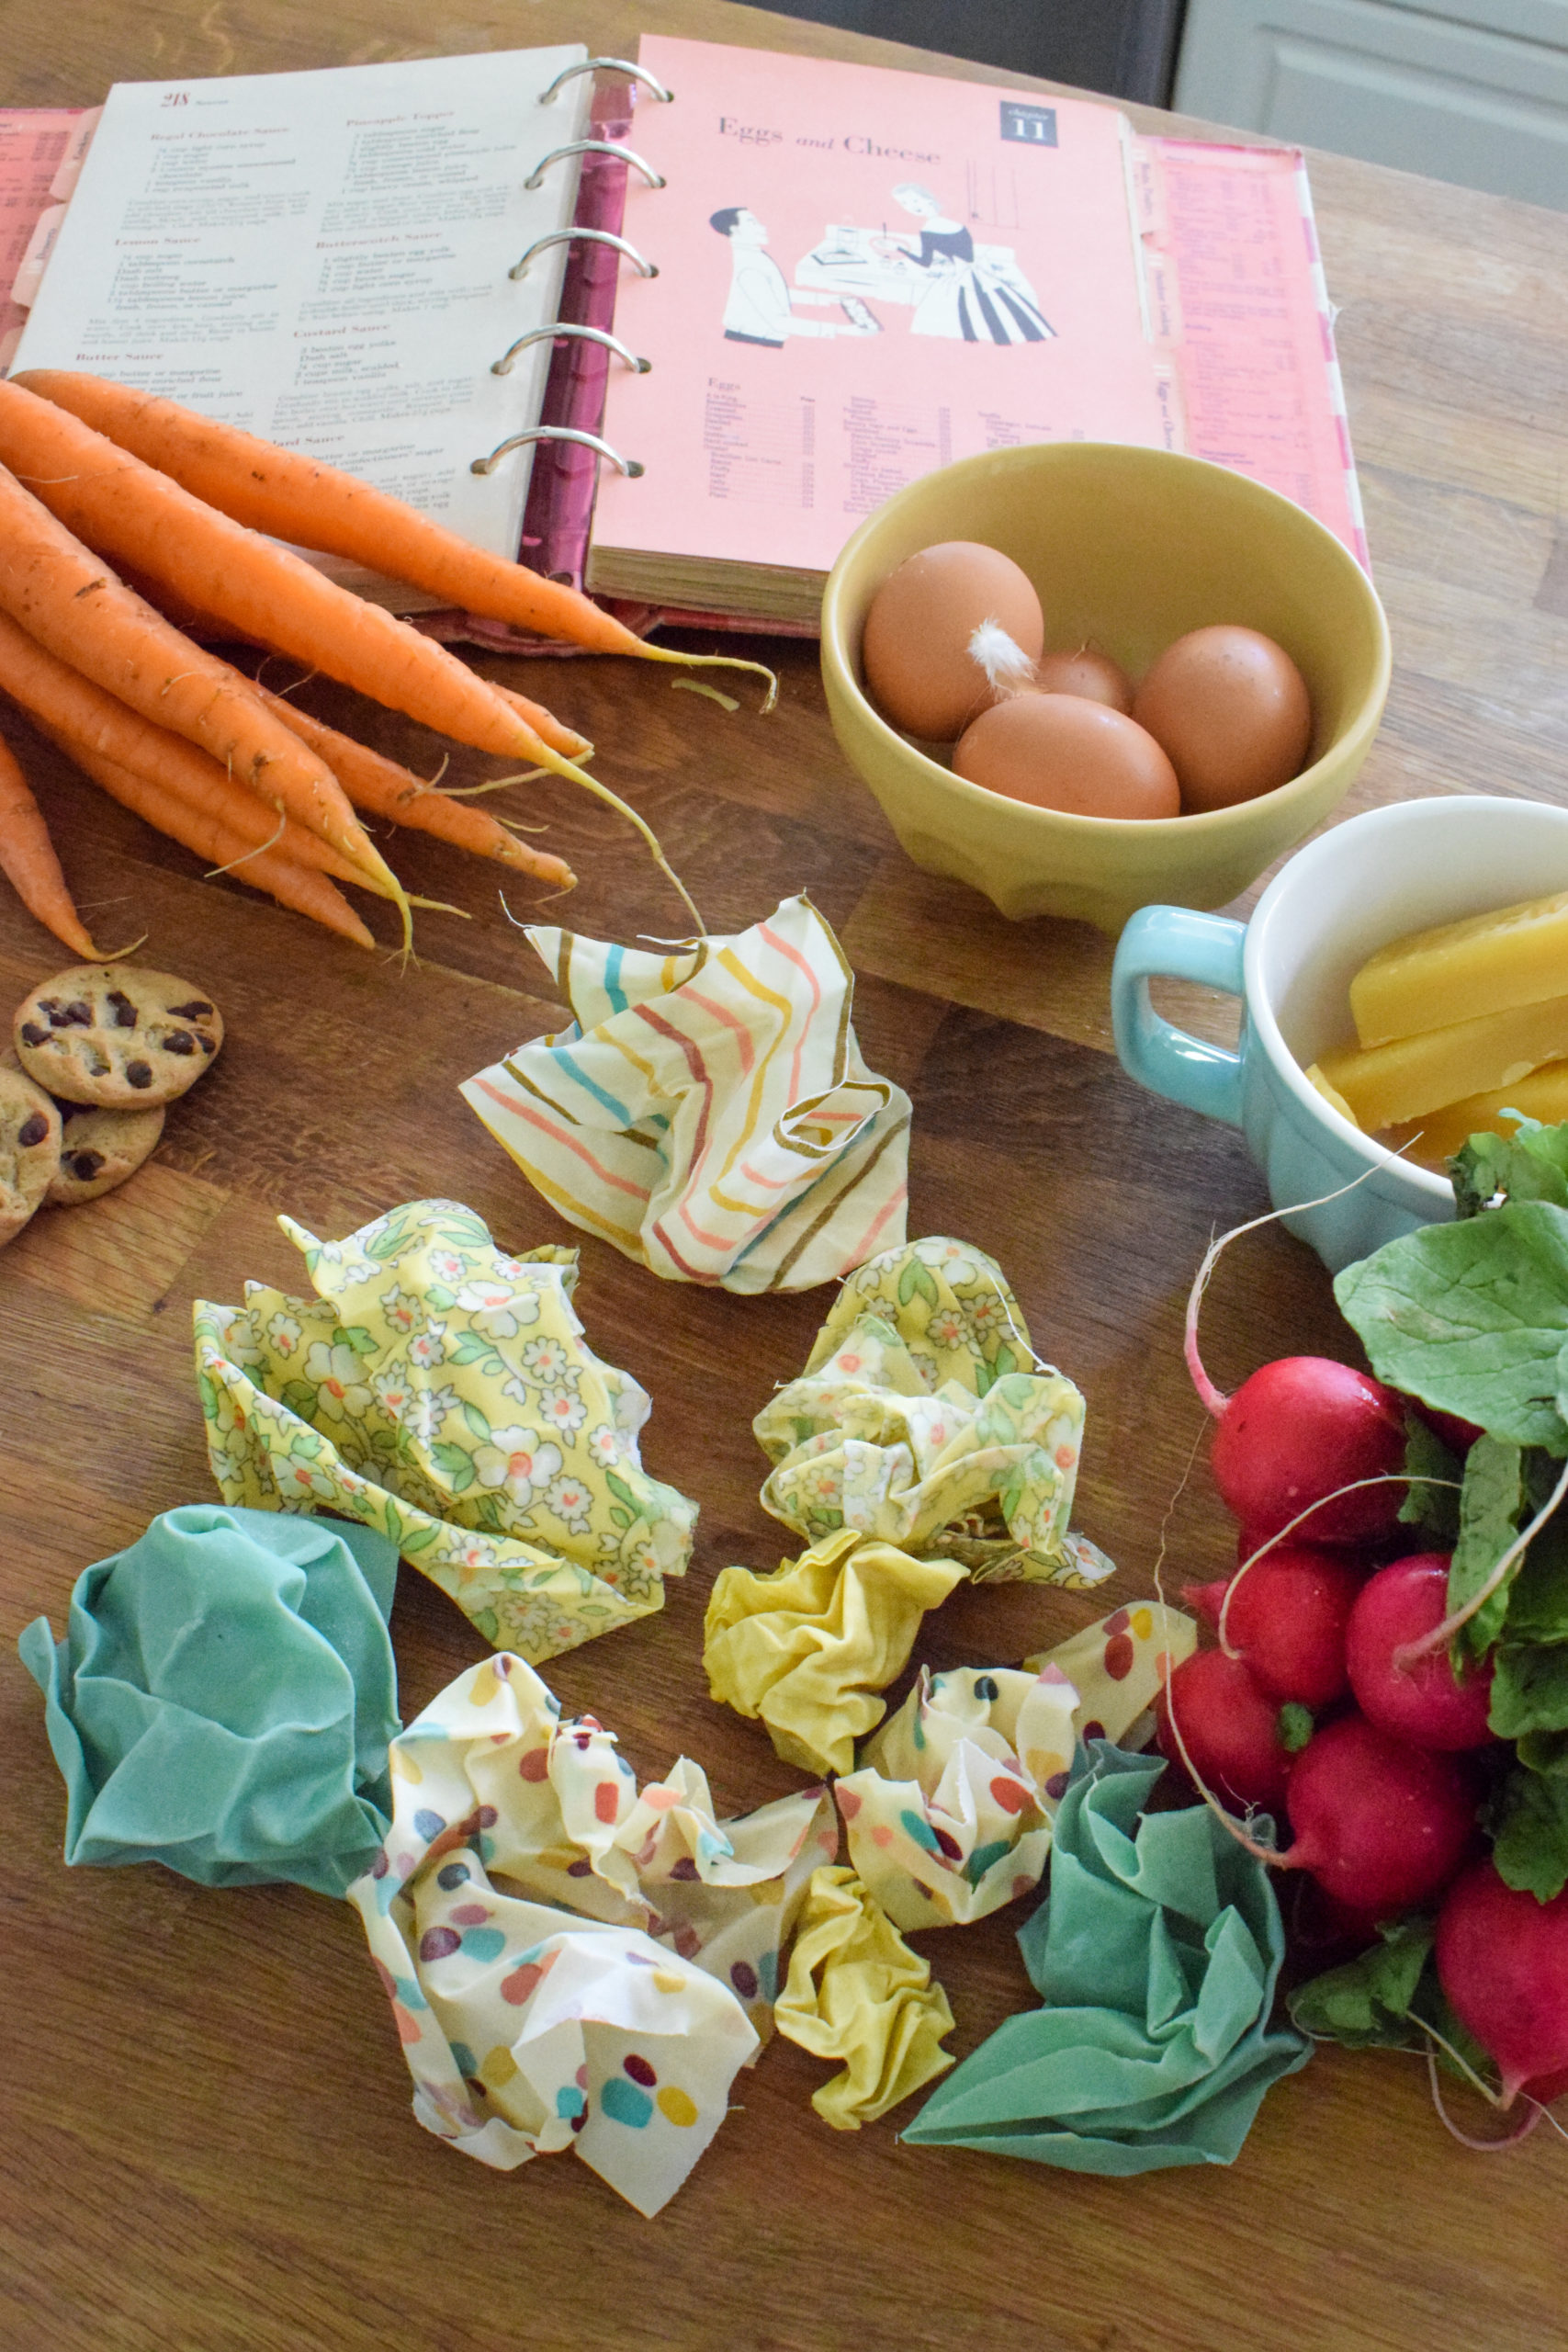
Before you start using them, scrunch them up into a ball in your hands because the heat of your hands will warm the wax enough to seal whatever you’re covering.
DIY beeswax food wrap is an easy first step you can take towards reducing your household waste. Bonus, it's easy to make!

DIY beeswax food wrap is an easy first step you can take towards reducing your household waste. Bonus, it's easy to make!


✨Are you signed-up for my new post updates? ✨

* indicates required
Email Format

2 Comments

Colorful Fall Decor Ideas »
« DIY Ghost Decor

Comments

  1. Jenny says

    September 3, 2021 at 6:41 am

    I’ve been meaning to try making beeswax paper forever. Now that I know it’s that simple, I need to try it. Thanks!

    Reply
    • Ariel says

      September 13, 2021 at 8:26 pm

      yes you do! It’s dead easy, and honestly makes a lot of things simpler when it comes to packing lunches and cleaning-up while cooking.

      Reply

Leave a Reply Cancel reply

Your email address will not be published. Required fields are marked *

woman in red dress on counter

Hi! My name is Ariel and I'm the voice behind PMQ for two. I'm an internet rubbernecker, creative soul, and mom

  • Bloglovin
  • Facebook
  • Instagram
  • Pinterest
  • Twitter

PMQ for three

Time For A Cocktail

pmqfortwo

Ariel - PMQ for two
Someone asked if Bruce and Boots were still around Someone asked if Bruce and Boots were still around - yes they are! They’re just getting old, they’re tired of my antics, and honestly spend a good chunk of time sleeping. To be honest, who isn’t 😅 
Happy Friday? 

#wallpaperwednesday #wallpaperdirect #irishsettersofinstagram #lapofluxury #bhgstylemaker #bhghome
Excuse me, have you seen these floors?! AD: The Ch Excuse me, have you seen these floors?! AD: The Champagne Oak flooring from @goldenselect is the one element (other than paint) that runs throughout our house! It’s a unifying element, and brings depth to each space, especially the ones built around neutrals. It’s waterproof, exceptionally durable (to pets and kids!) and easy to clean. It’s also the flooring we installed in our last home, so you know we love it! 

#vinylflooring #goldenselectflooring #costcofinds #kitchenflooring #bhgstylemaker #springflowers #sodomino #kitchendecor #kitchendesign
Would like to further immortalize Dan’s epic pre Would like to further immortalize Dan’s epic pre-baby beard and moustache combo on the grid 👨🏻‍🦰 and remind you that I have a healthy offering of cocktail recipes on the blog. This Lemon 🍋 & Gin Champagne cocktail is a delightful spring recipe! 

#mancrusheveryday #gingerbeard #bhgfood #cocktailoftheday #cocktailrecipes #champagnecocktail
Because you can’t do just do photos or just do a Because you can’t do just do photos or just do a reel, you gotta do both! Anything you’re curious about price wise? Happy to do a reel and explain costs for this space in the context of the build! Here are the details - AD - @villalagoontile Zellige tiles in Iceberg for the shower walls, @officialmetrie casing and architrave on window and door, and baseboard. And the entire space is ultra pure white from @behrpaint. ✨ We purchased the following: mirrors through @homesensecanada, lights from @wayfaircanada, faucets from @kraususa through @homedepotcanada, sinks/toilet/bathtub/shower doors through our plumbing supplier, vanity is a custom build, floor tiles were from a local supplier, and plumbing fixtures in matte black are @deltafaucetcan, and the bath mats are from @urbanoutfitters 

#architecturaldigest #bathroomdesign #bathroomdecor #bathroominspiration #modernbathroom #midcenturymoderndesign
Spring is on the horizon, I swear! Only 5 more sno Spring is on the horizon, I swear! Only 5 more snow storms to get through. AD: in the meantime, I’ve got @mrsmeyerscleandaycanada’s NEW Rain Water detergent to bridge the gap between snow storms and rain storms. 🧺 I use the liquid detergent to keep our clothes clean, smelling fresh, and in ship shape for all that life with a toddler throws our way. Head to my stories for more details! 

#mrsmeyerscleanday #laundryroommakeover #laundryroomdecor #laundryroomgoals #bhgstylemaker #hgtvmagazine #potterybarn
Today is a weird one. So here’s a fun throwback Today is a weird one. So here’s a fun throwback to my Nancy Drew cover fun back in spring 2020. Funny how two years has gone by eh? 

#nancydrew #closetorganization #closetgoals #walkincloset #eclectichomemix #eclectichome #bhgstylemaker #wallpaperwednesday
June met Rupert, and immediately wanted to read to June met Rupert, and immediately wanted to read to him. These two have got a friendship based in love, snuggles, reading, and causing absolute chaos - they’ll get along just fine. 🐅 

#kittensarelikethat #welcometothefamily #kidsroomdecor #kidsroominspiration #houseofcats #kidsplayroom #eclectichome #collectedhome
Follow on Instagram

- THEME BY ECLAIR DESIGNS -