We had big plans for a concept Halloween costume, and then June decided she really wanted to be a witch for Halloween. There will be plenty of time to have cool black capes and hats, but she’s 2, so I thought we’d go with a fun and colourful cape that can be used for dress-up in a variety of scenarios later. Of course, my Fiskars tools came along for the ride
*Fiskars sponsored this post, but all thoughts are my own. Thank you for supporting the brands that make PMQ for two possible.

I love the idea of sewing, and I love a good kids halloween costume. I don’t however love the super detailed part of projects, so this means I will forever be limited in what I can do well. Except when it comes to sewing (and painting), because things are tailor made and for the most part it’s just assembling pieces.
Why you should make a colourful cape
I know witches usually get down in all black, but when making items for June, I like to create things that she’ll get prolonged use from. I don’t want to make something with a limited use – this ties into Montessori’s concept of open ended play.
With a black cape that screams “spooky” she’ll only really use it once a year. But if I make a colourful cape that feels more “magical” than “scary”, she might chose to use it when playing dress-up in any number of scenarios: magician, prince(ss), Anna from Frozen, etc. Basically, a yellow cloak/cape with flowers and stars is more useful for her play.
Check out my DIY Witch Cape
How to make a cape without measuring
I meant it when I said I didn’t measure much. It’s a step too far for me, and I tend to get lost in the details. I’ve been winging it this long, why stop now!
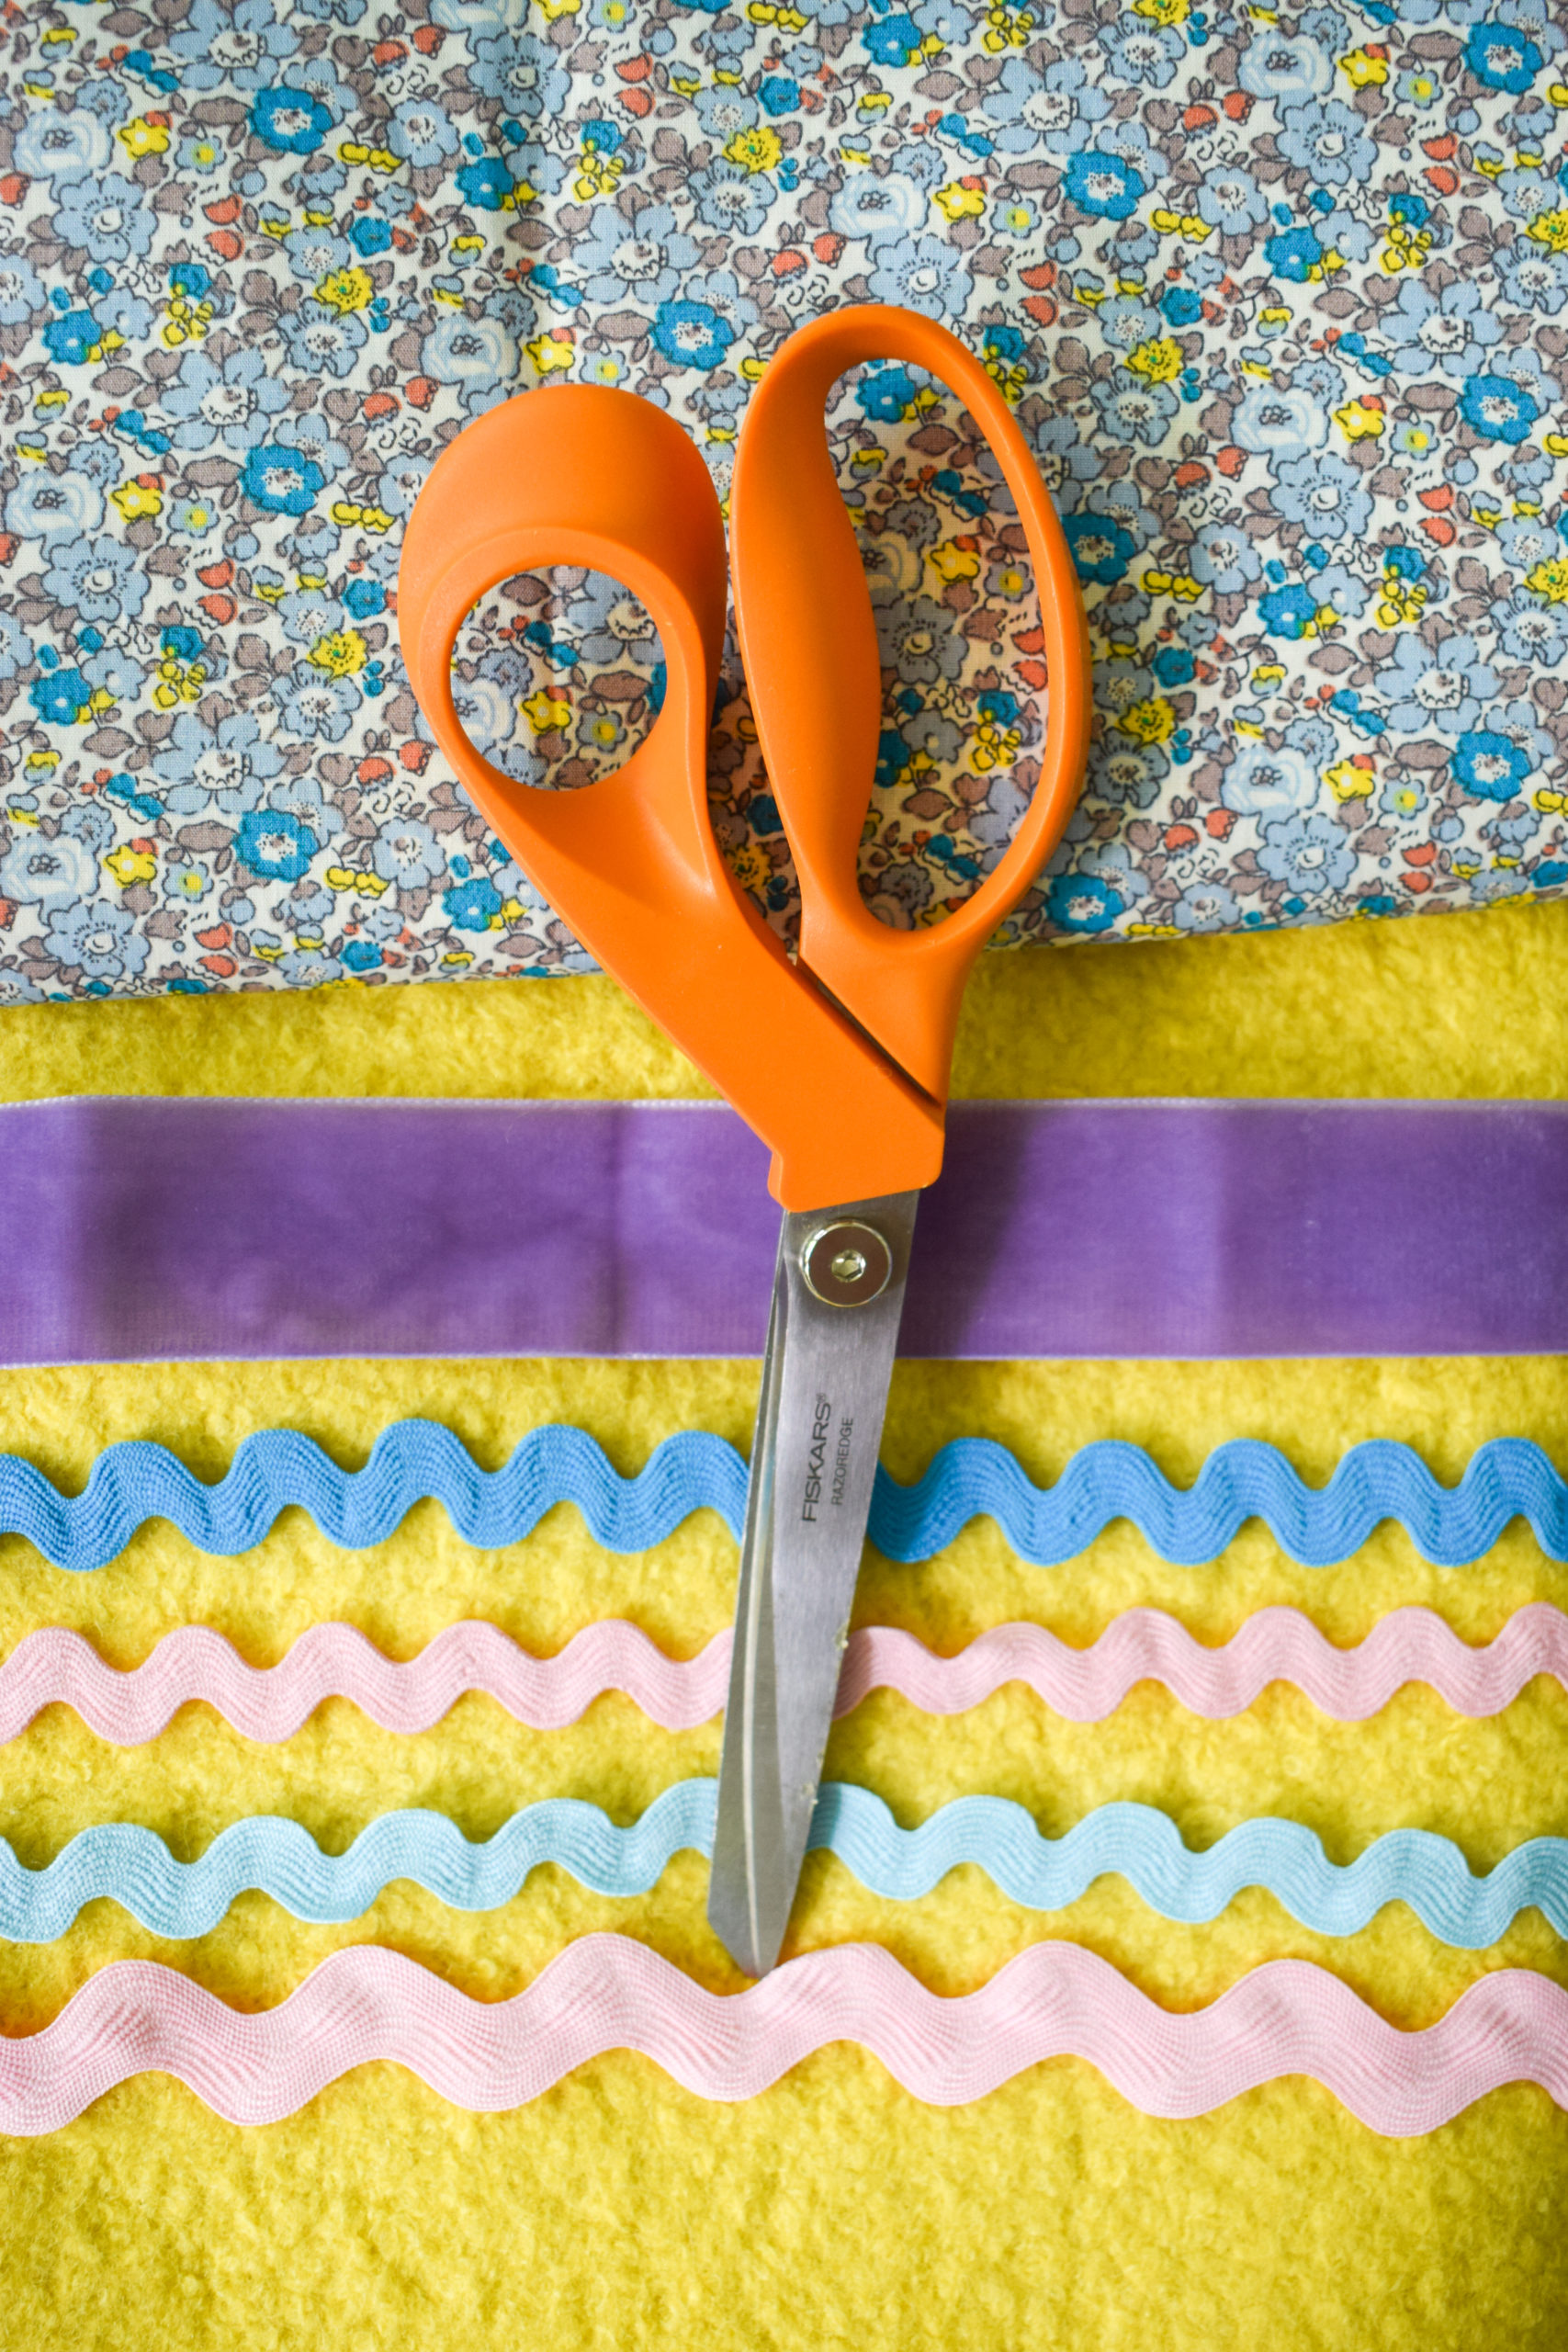
Here’s what you’ll need to sew a cape for a toddler
- 2m of fabric for your cape *Michael’s carries a variety of fabrics, but I made this cape using boiled wool
- 2m of lining fabric for inside *Michael’s carries a variety of fabrics, but I made this cape using left-over fabric from a previous project
- 2m of rick rack in your desired colours
- iron-on patches like stars (or any other accoutrements)
- Iron + ironing board
- Fiskars® RazorEdge™ Fabric Shears
- Fiskars® Folding Cutting Mat, 18″ x 24″
- Singer Sewing machine + threads
- Shirt of child for who you are sewing this
How do you sew a cape without measuring?
Easy! Guage sizing requirements based on existing clothing, and fitting items on your child as you go.
If you needed permission to do that, I am officially granting it to you.
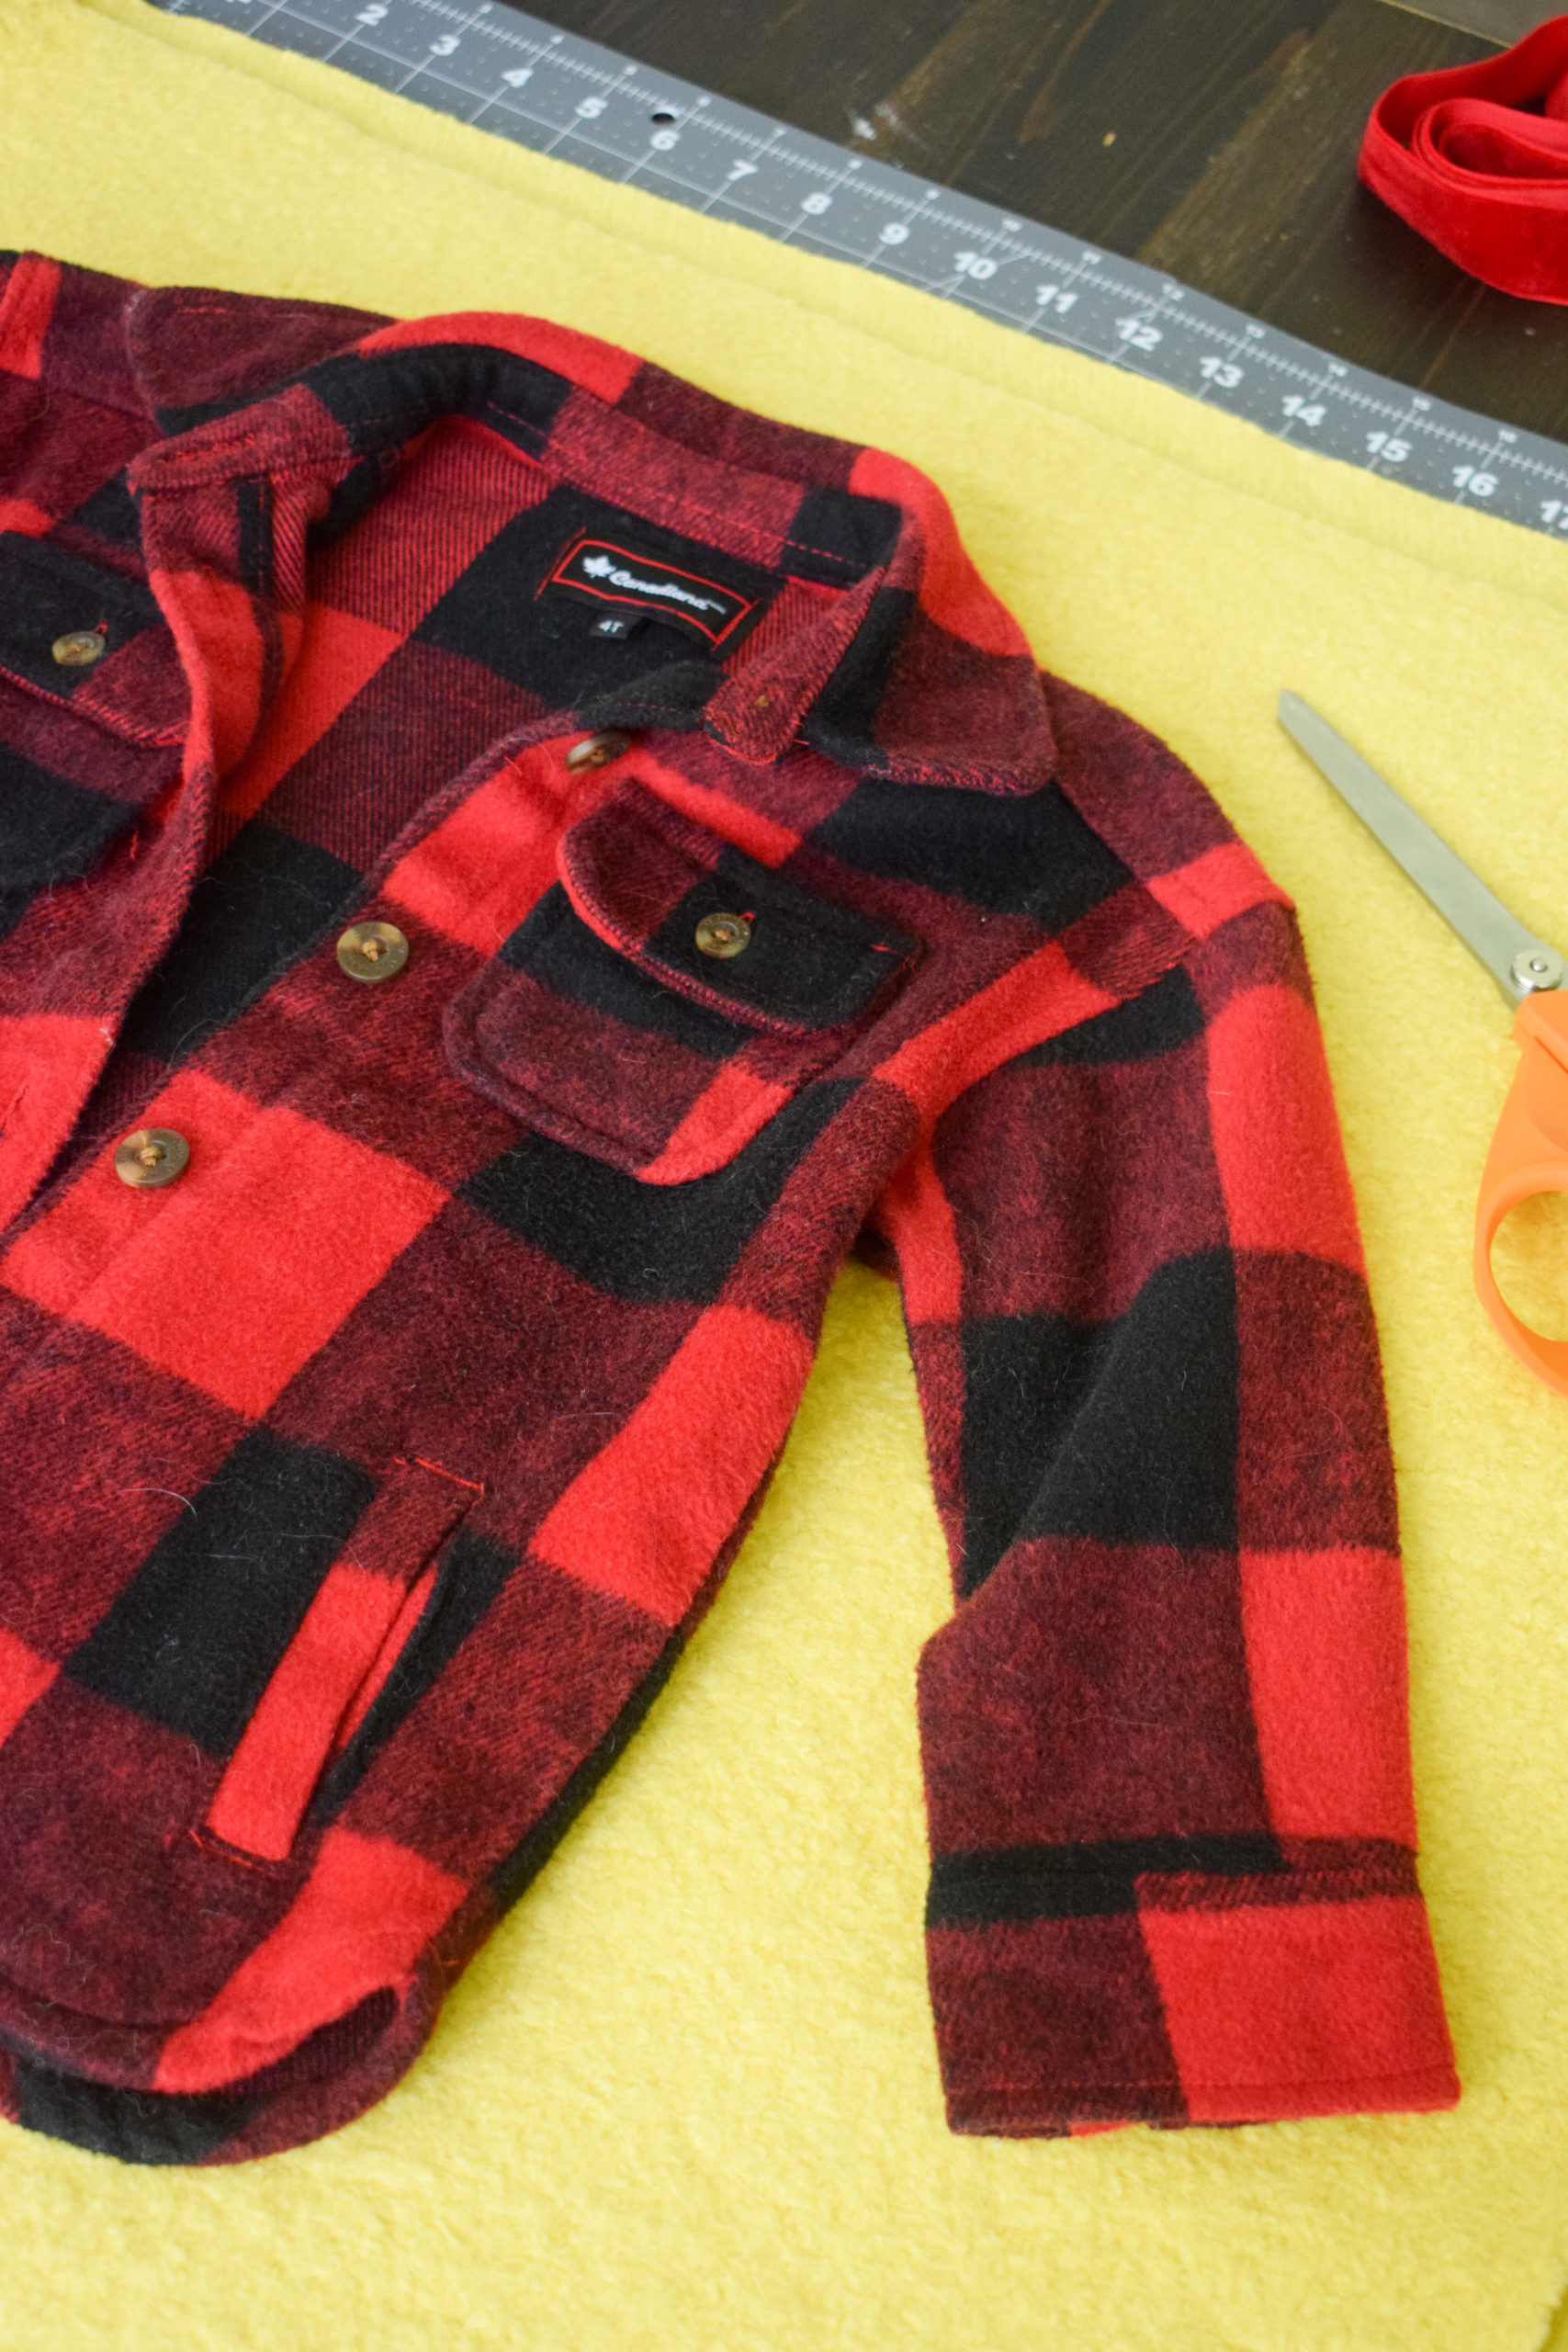
I laid a “large on her” jacket on the fabric, and then added a few inches in each direction for errors and seam allowances. I then cut into a big rectangle.
The handy markings on the cutting mat made it easy to keep things straight. Next, lay your lining fabric beneath your top square, and cut to match. You can always lay something heavy on top to prevent the fabrics from slip-slidding, or you can pin things. If you’re not measuring, you’re likely not pining.
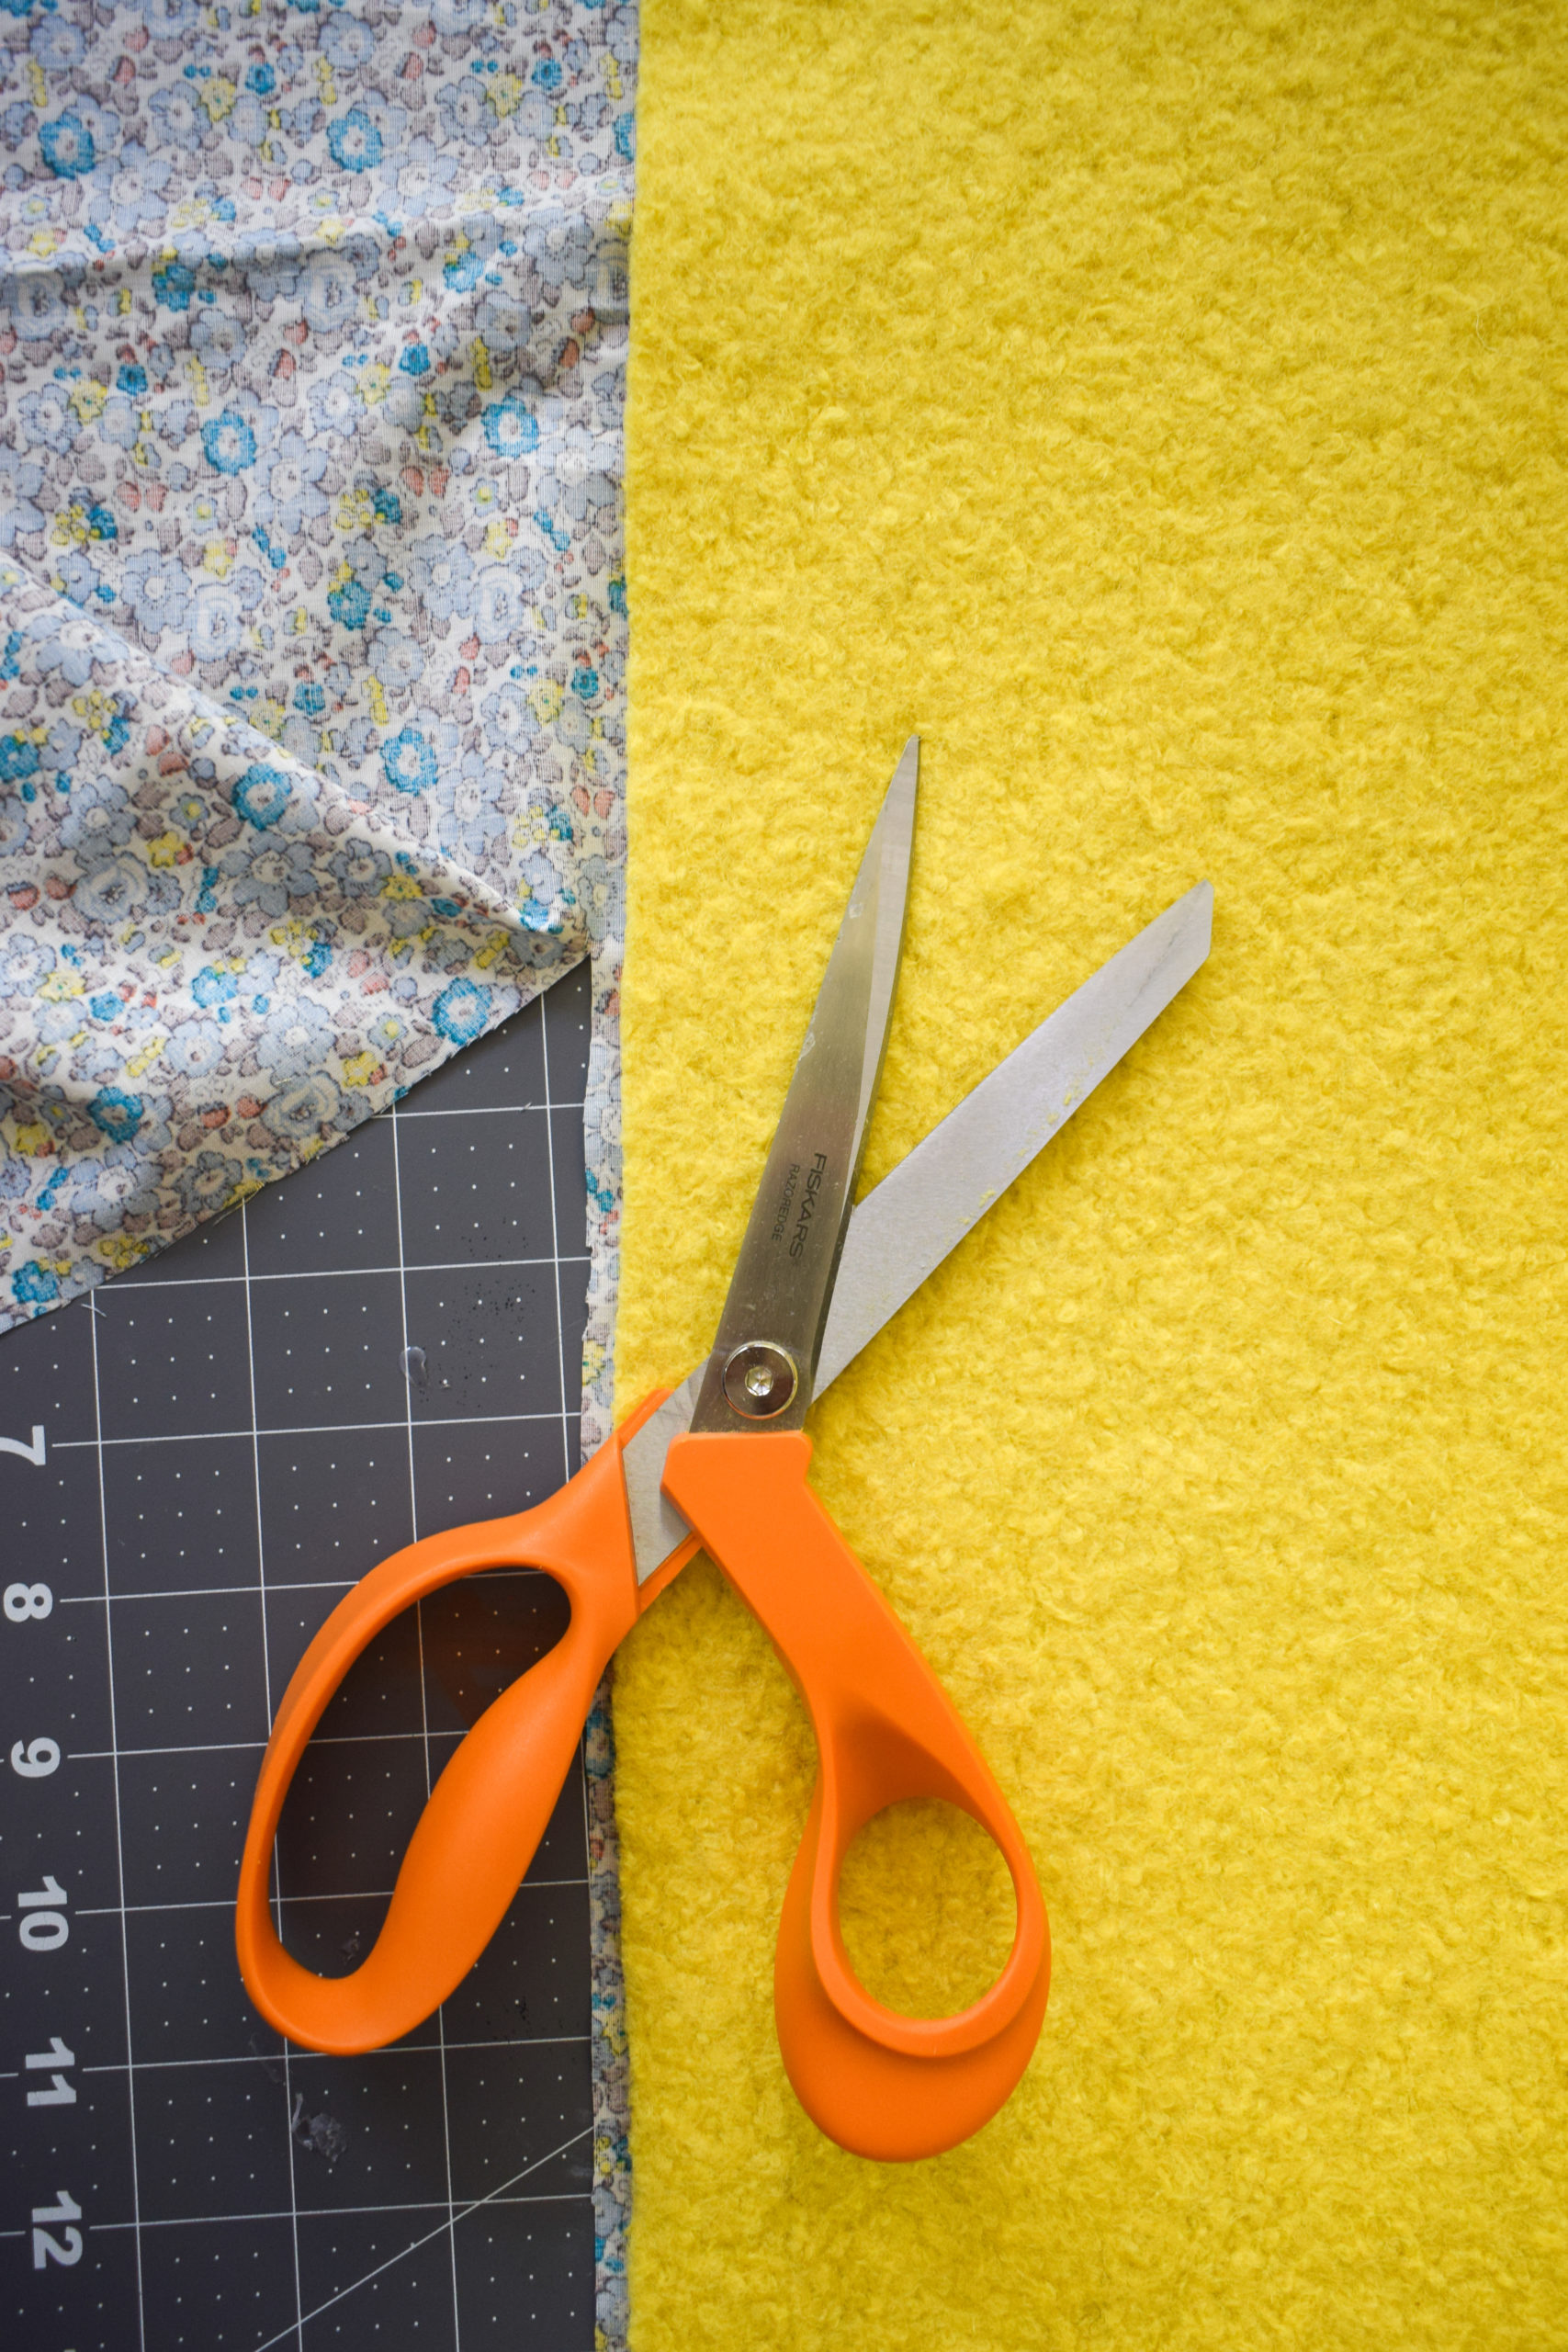
Next, time to sew the two pieces together! I did pin the corners here, but that just to prevent massive missallignment.
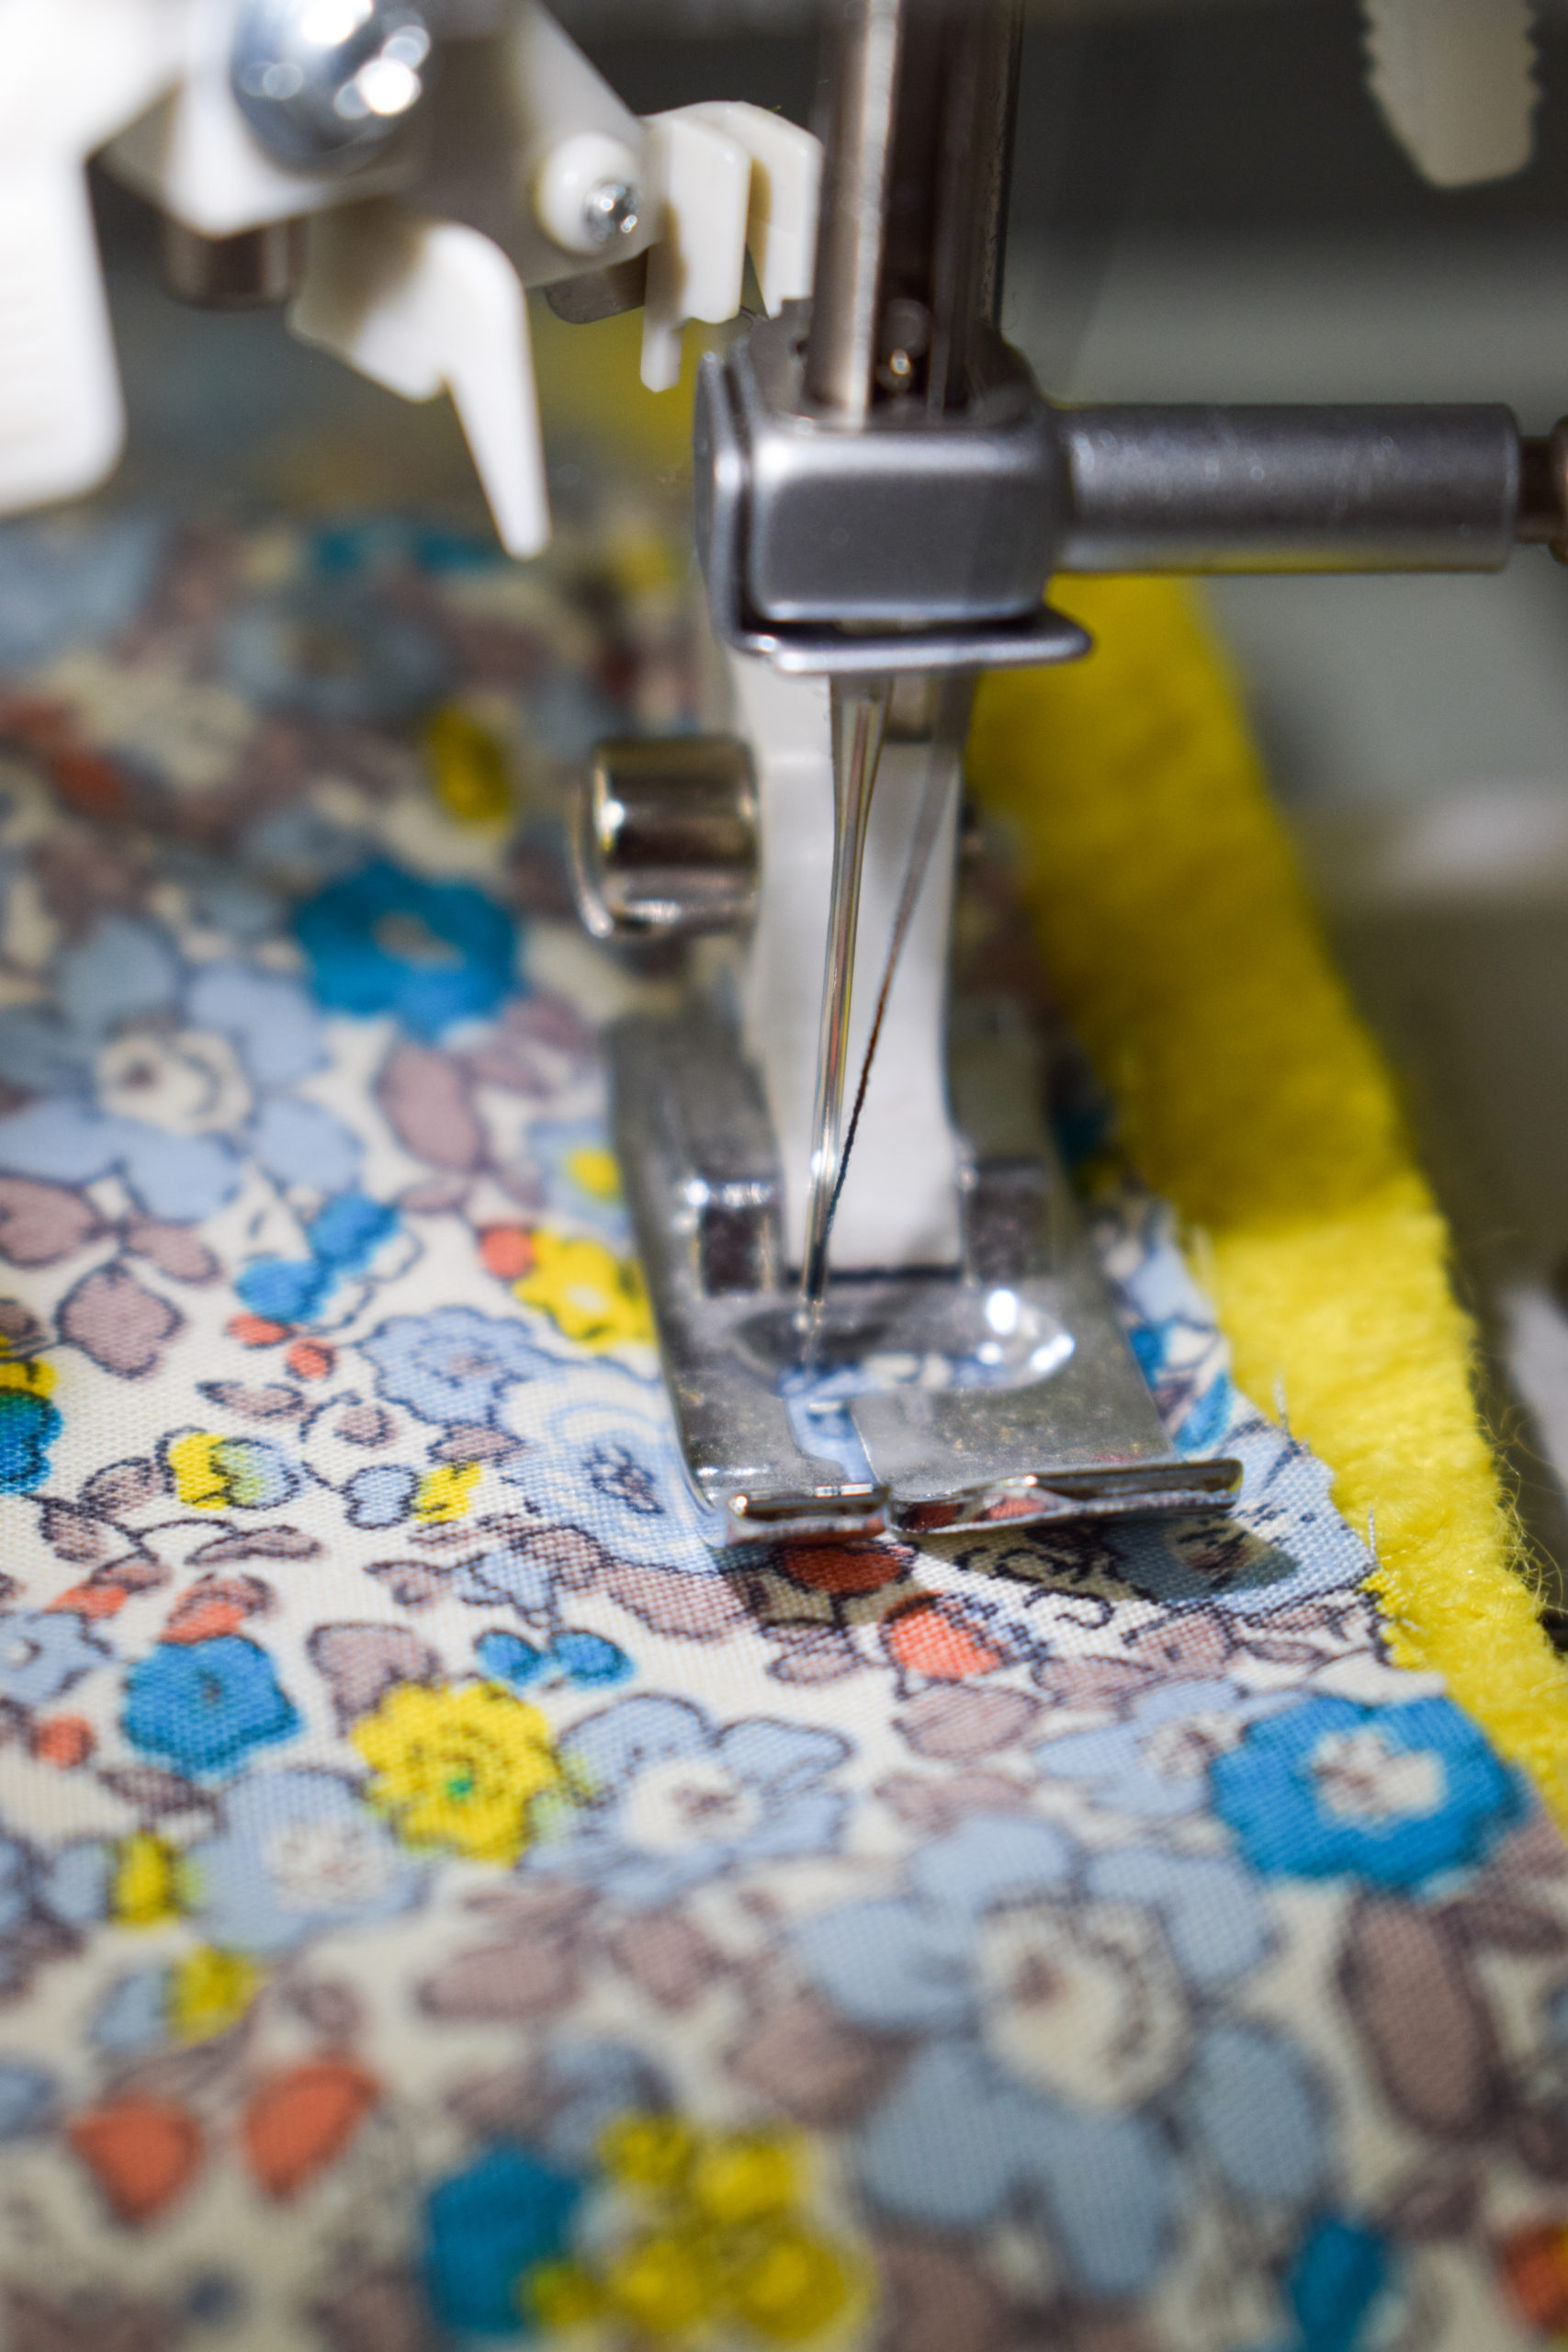
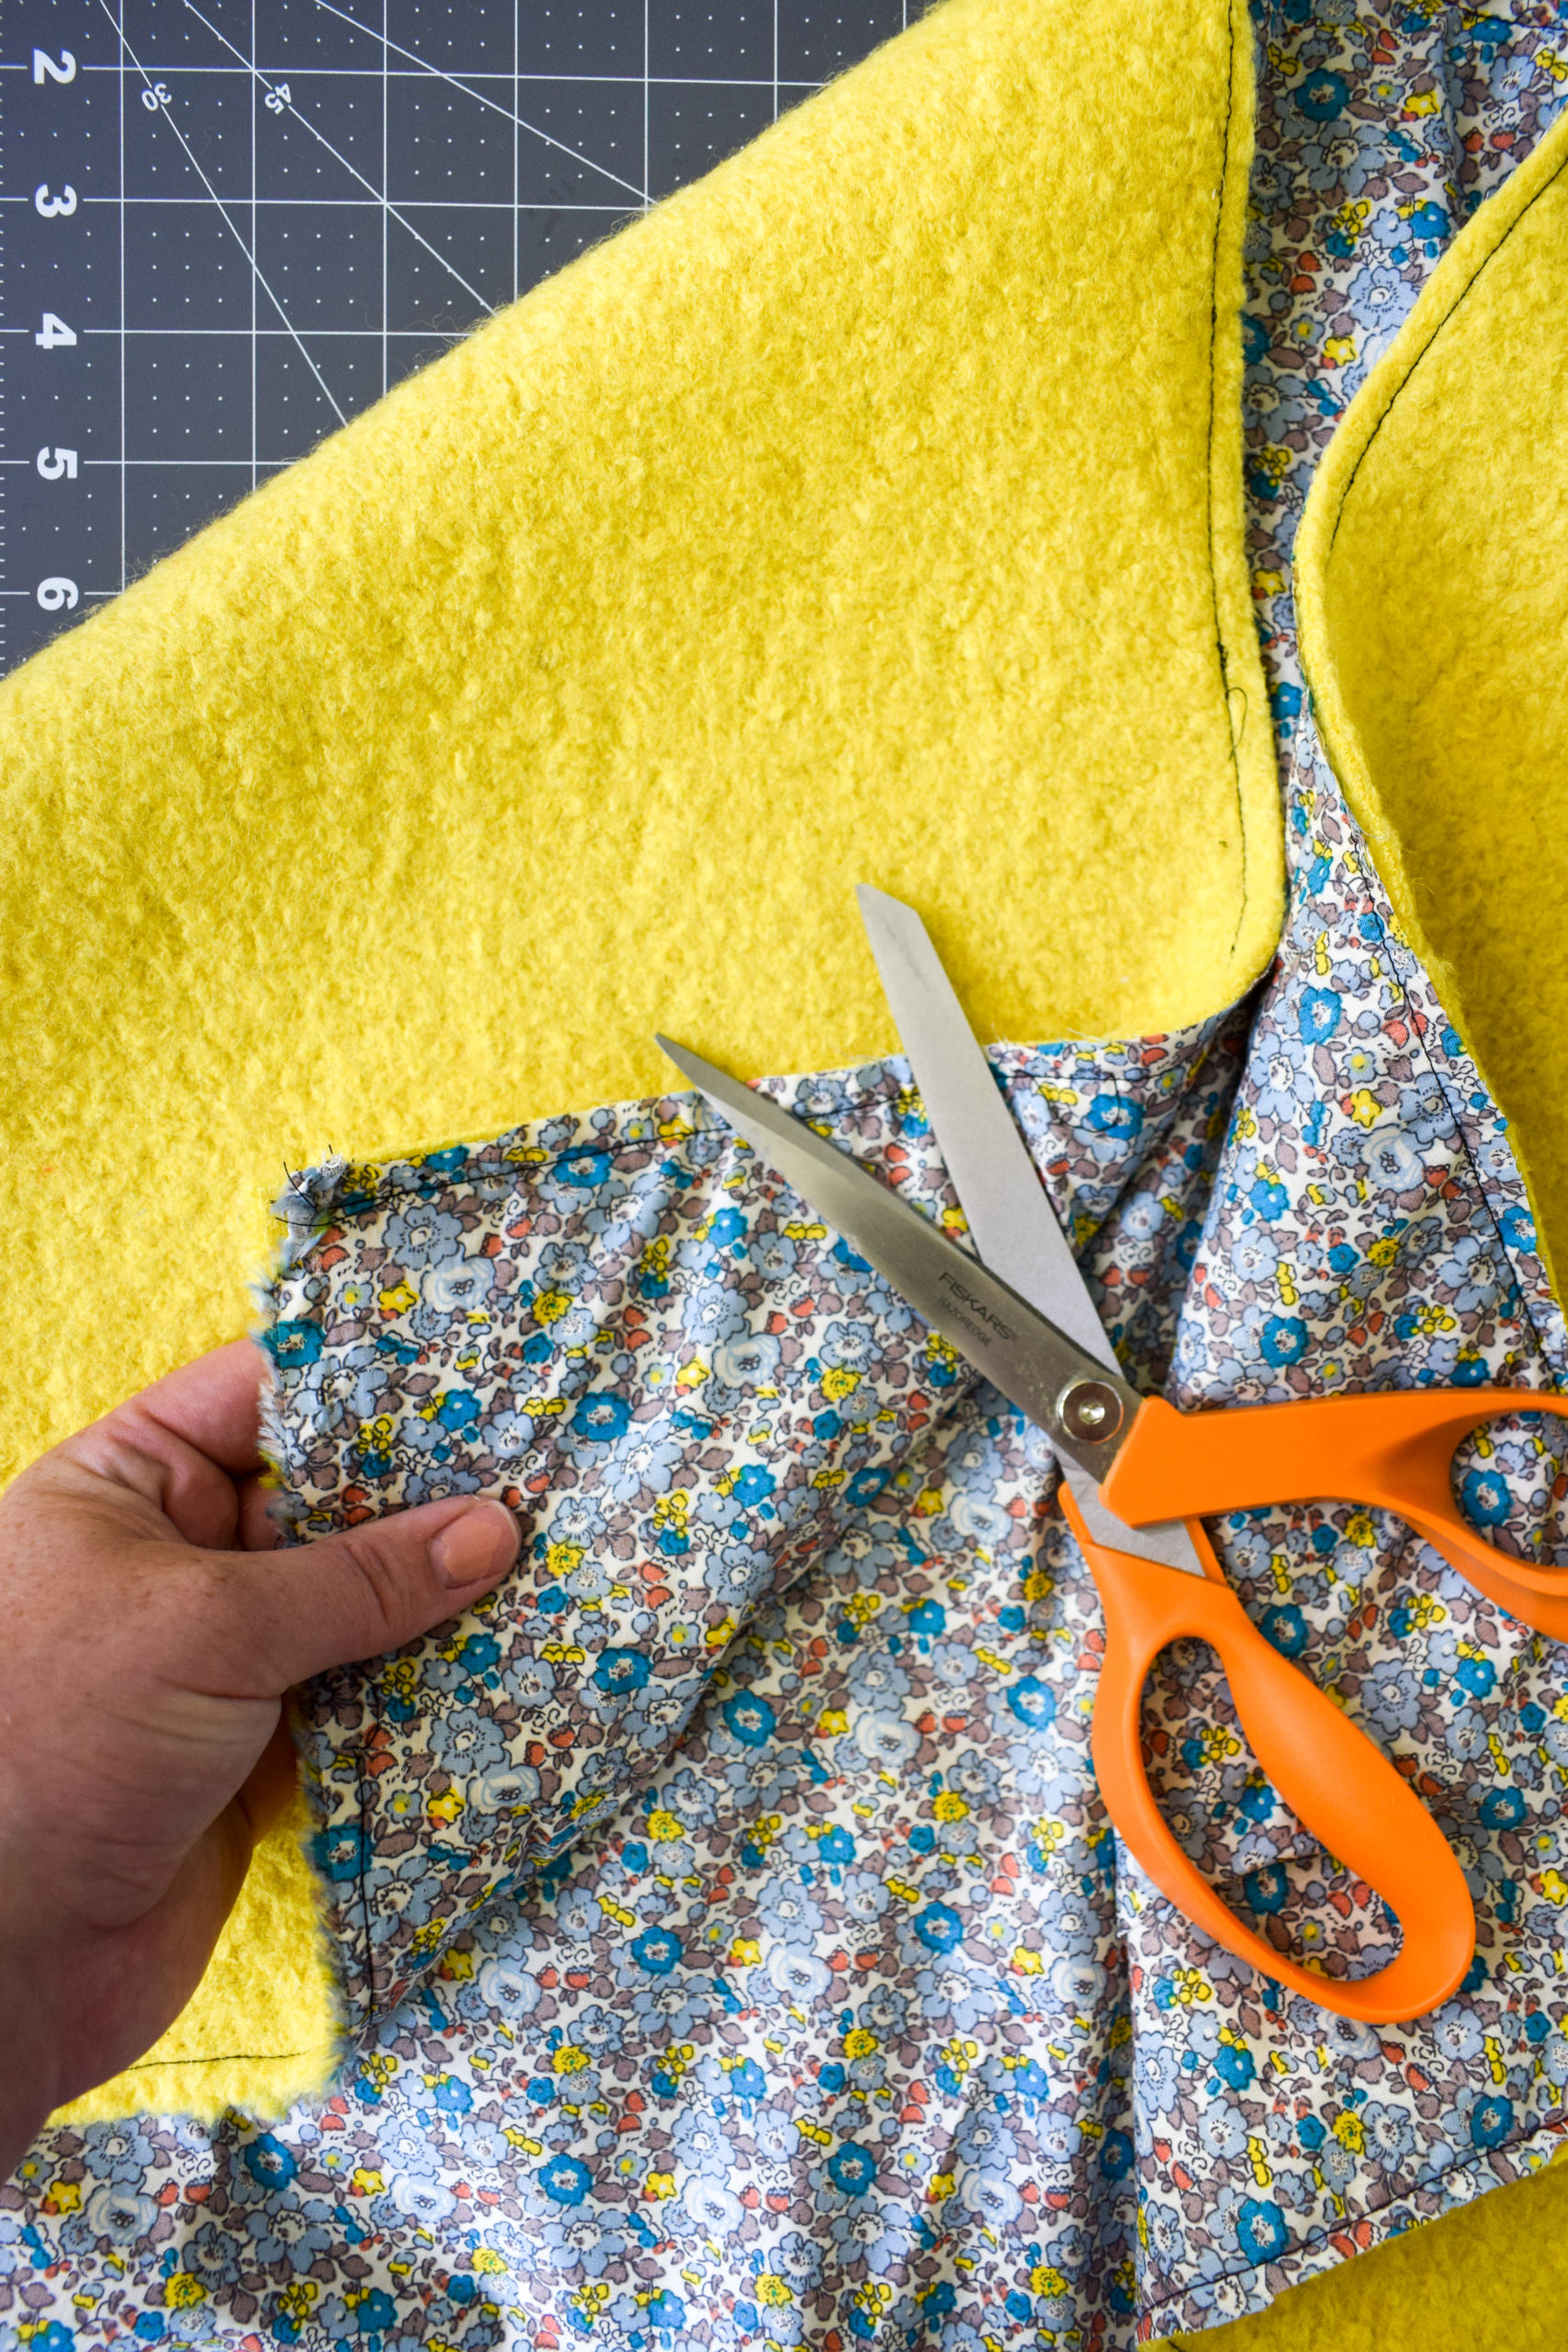
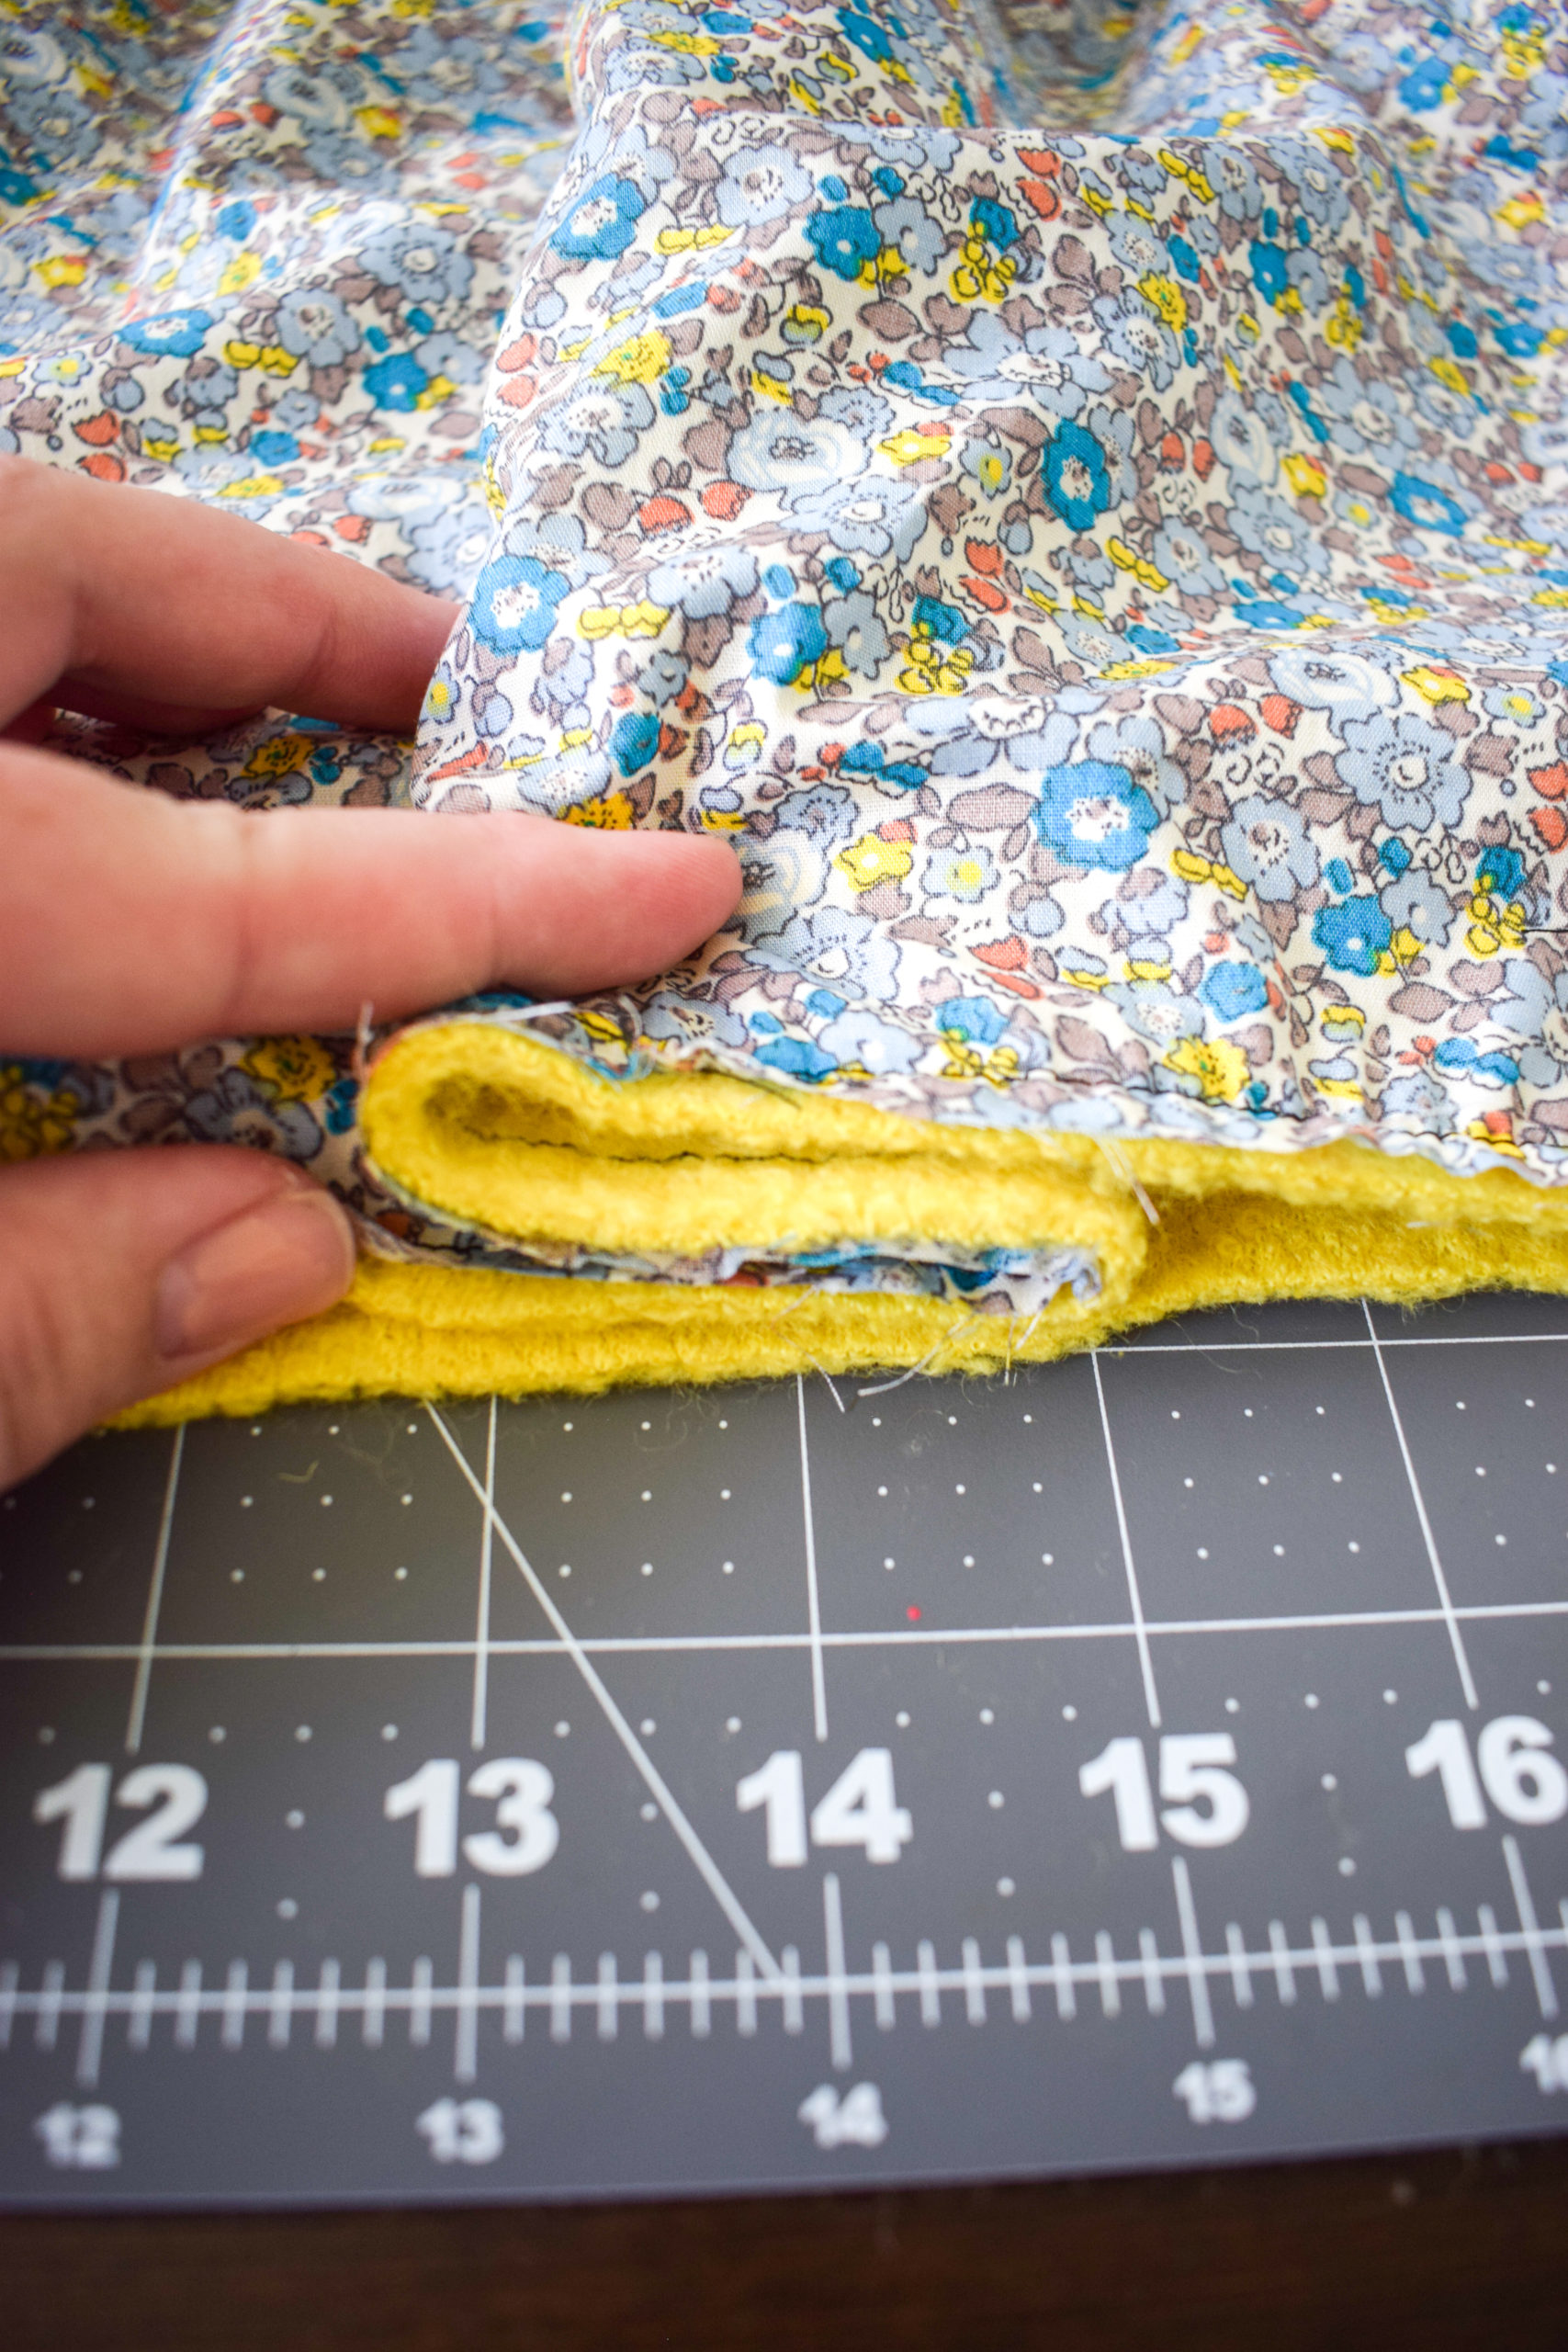
Trim any excess fabric, and then it’s time for pleats! You can skip this, but I wanted to try something more structural, so I added two darts – one on each side of the collar. Sewing over them with my machine was tricky, but not impossible. Just go slow.
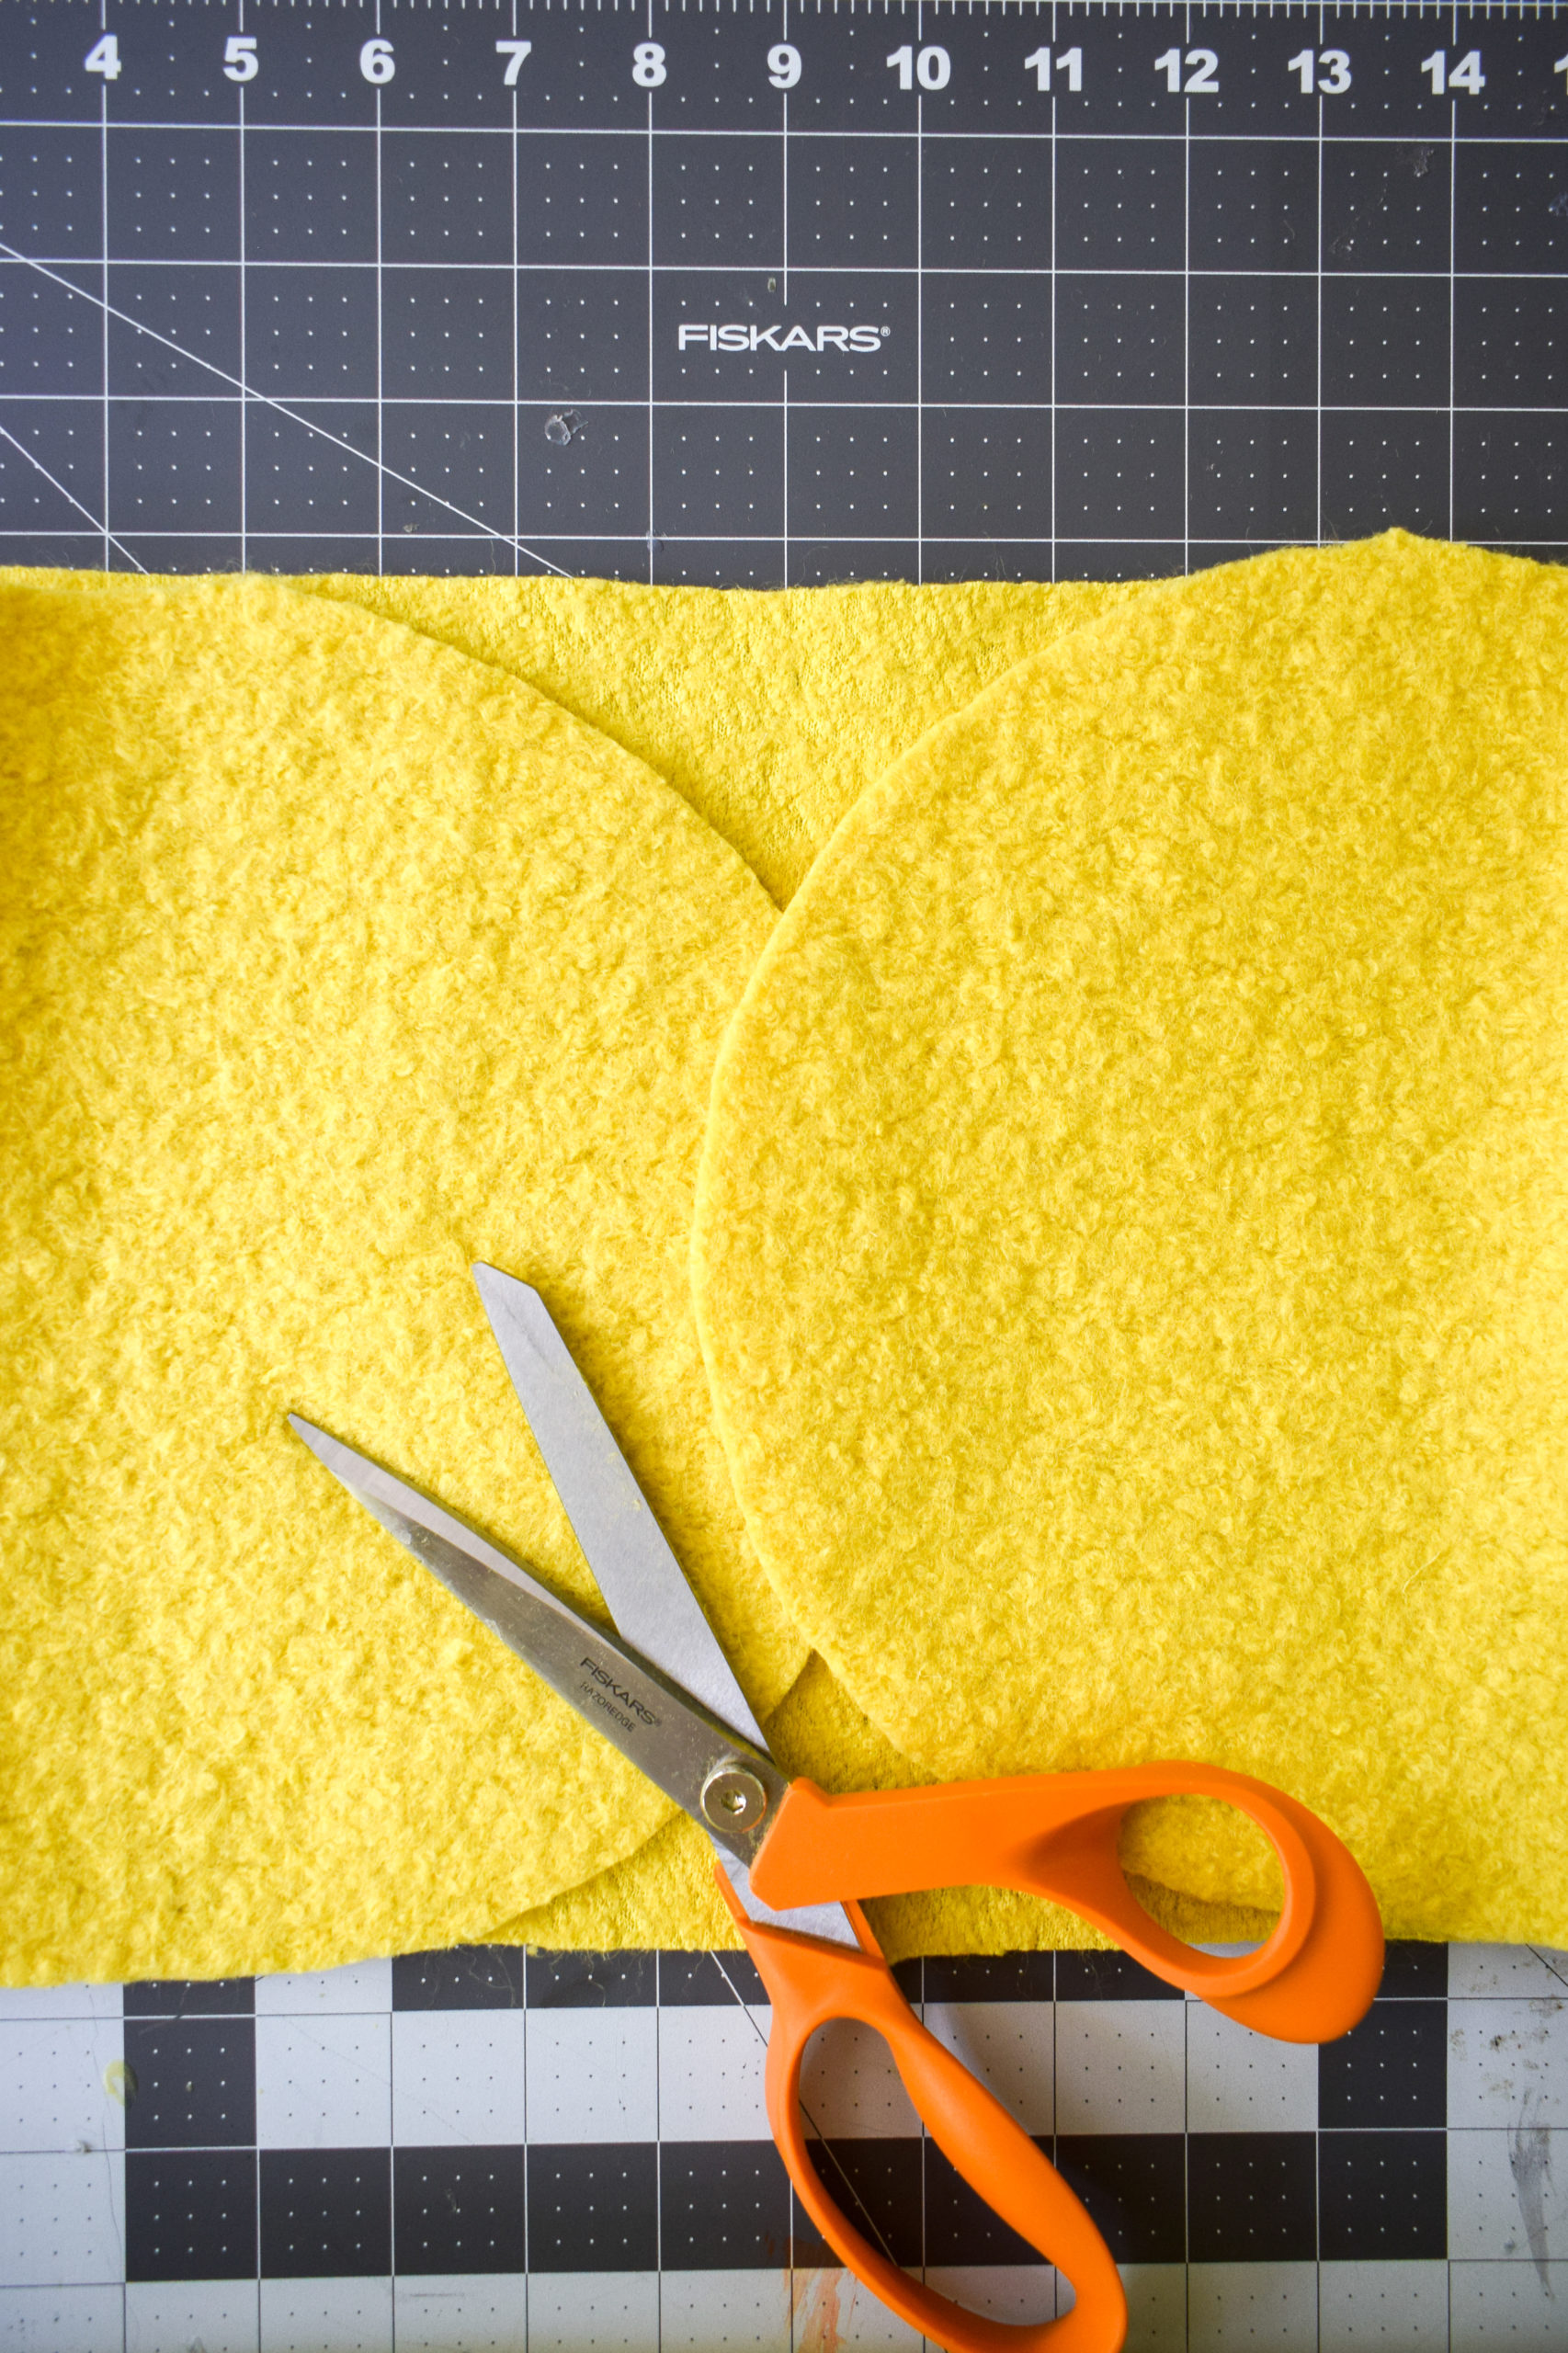
Next-up, cute capelet! I didn’t want to do a hood since June is all about the witch hat, and I didn’t want an outrageous collar that would prevent her from wearing said hat.
Capelet it is! This one is directly inspired by Frozen. I put a long rectangle and curved the ends.
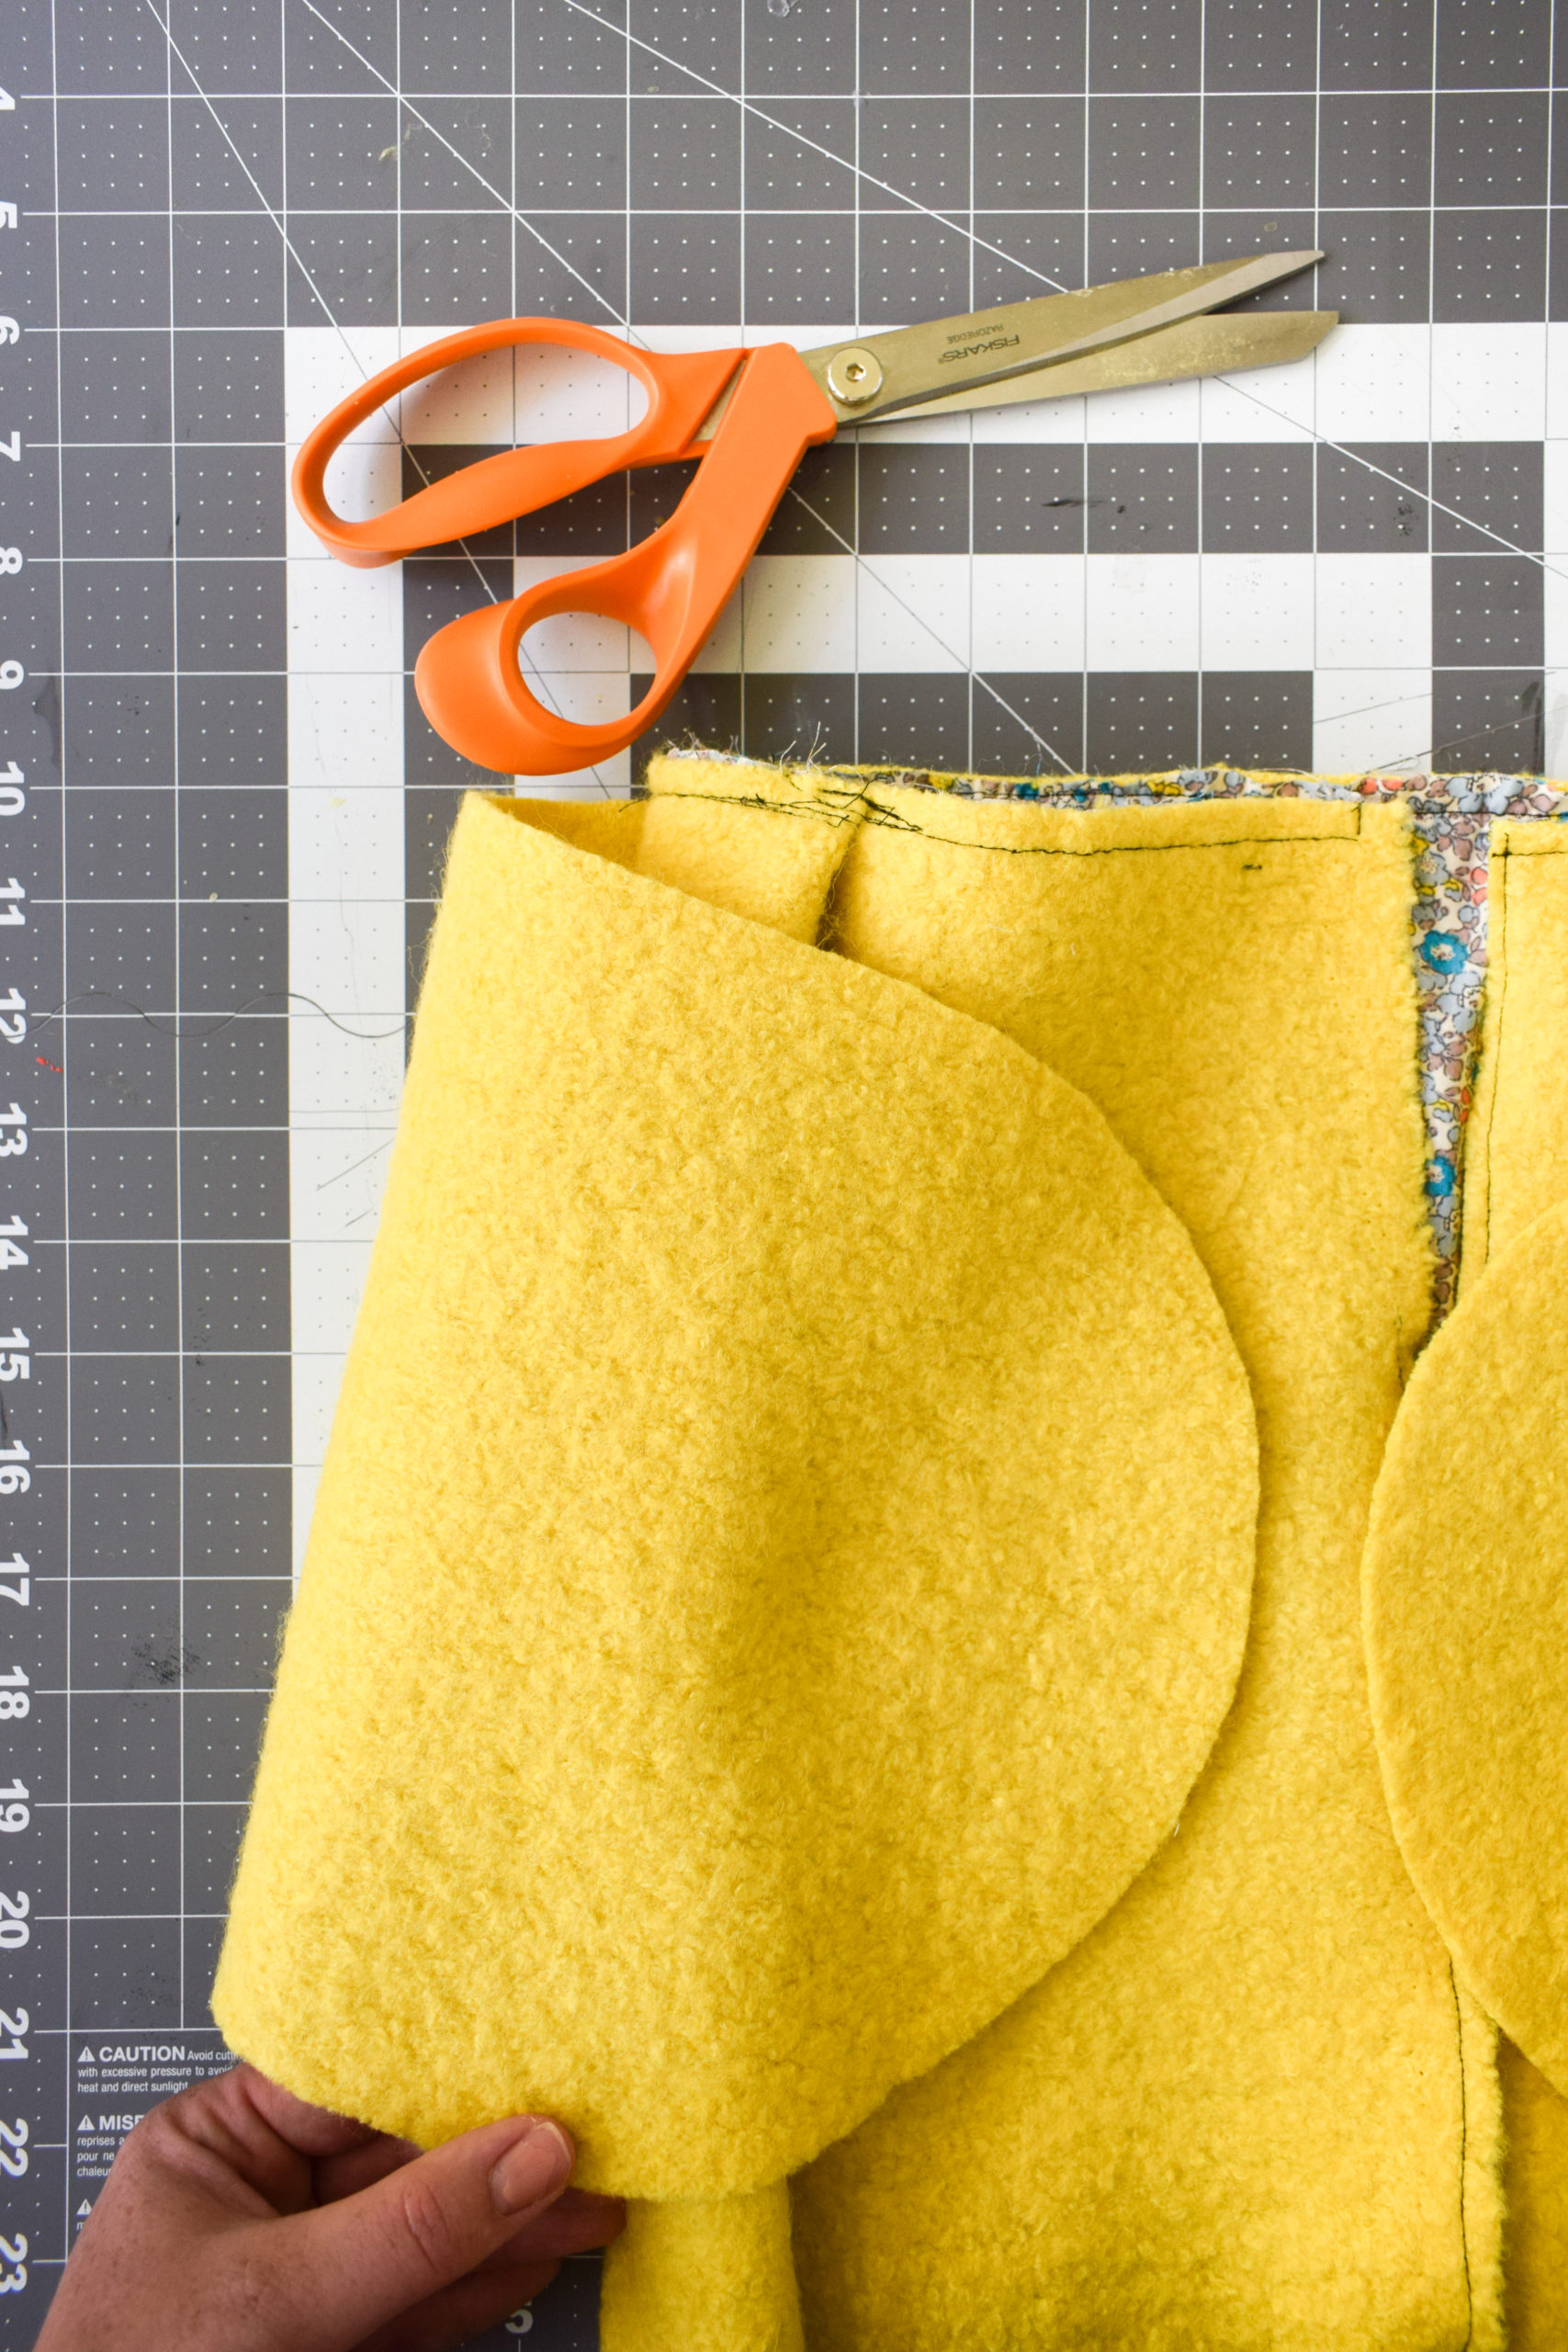
I then sewed the top line along the top of the cape using a matching thread. Don’t go all the way though, you want the circle ends to hang down a bit.
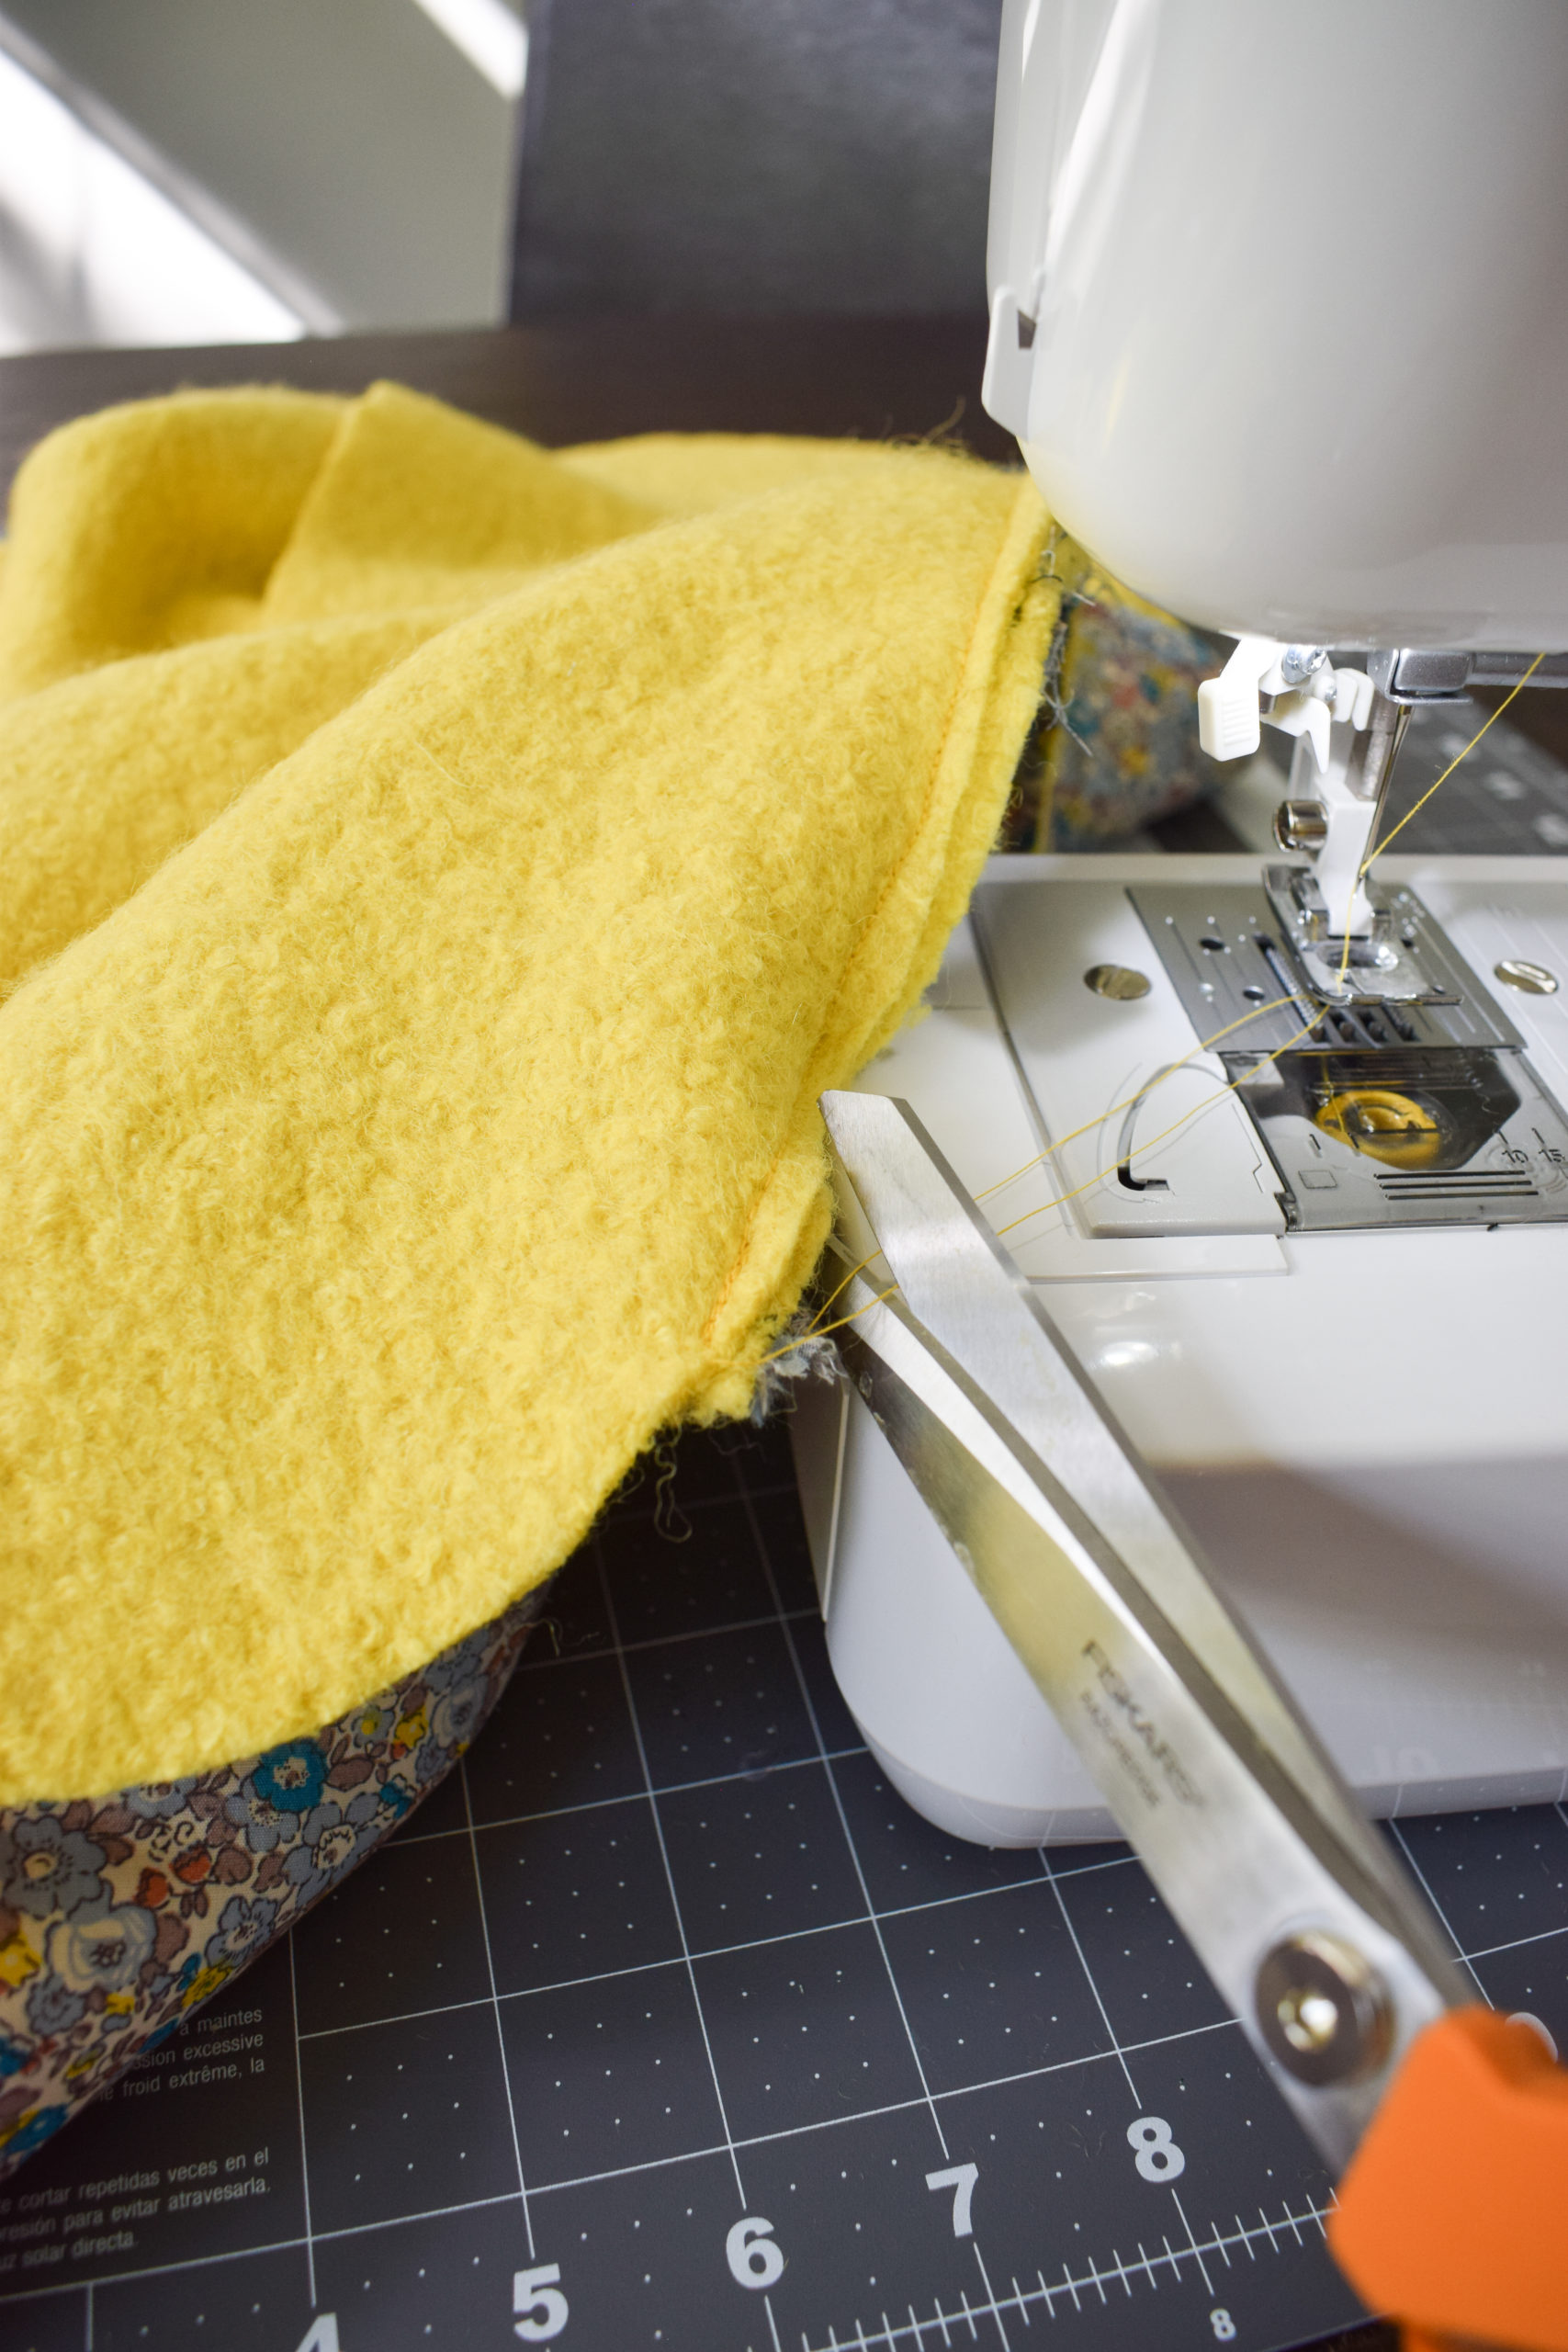
Now it’s time for a fit check if you haven’t already done it. You can easily trim length or width before the embellishments.
If you’re good to go, time to hot glue rick rack. Why? because ain’t nobody got time to sew that.
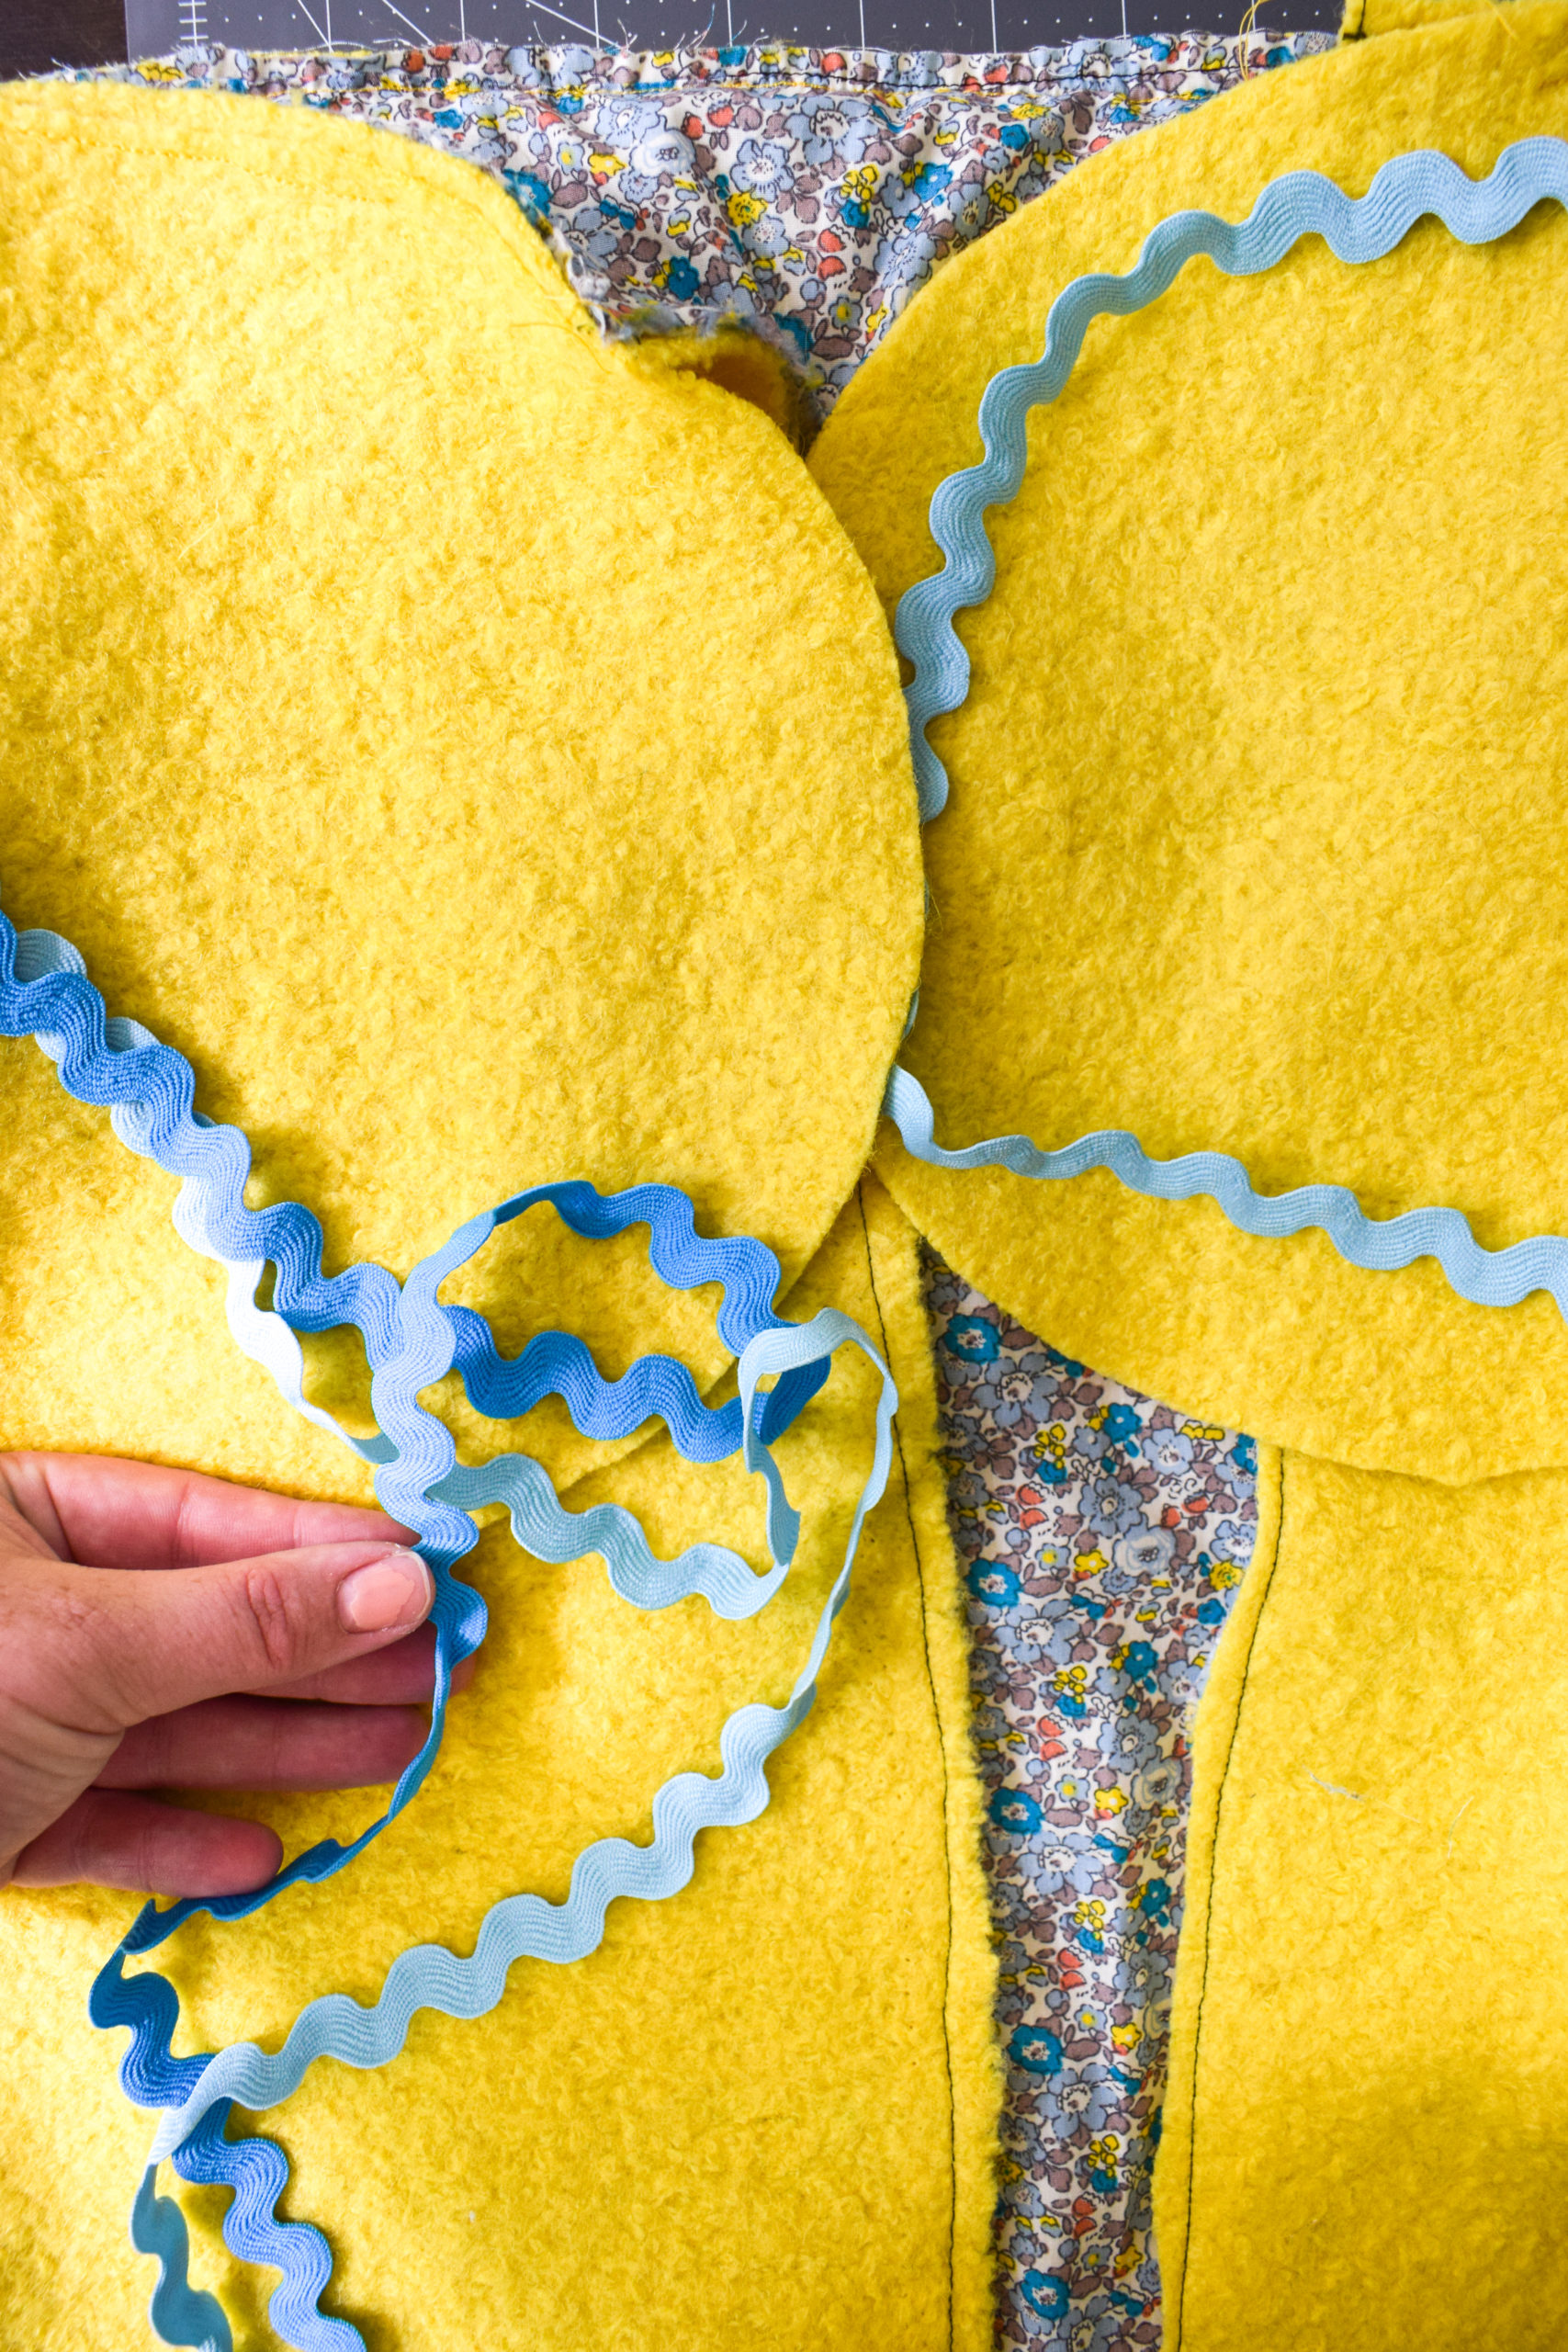

You’ll want to add a ribbon tie at the collar to keep it attached when on. This could also be a fun opportunity for some buttons, but I’m not that detail oriented.
I then ironed the lining on the cape to make sure everything was good to go. I made June’s cape a little big so that she can grow into it, and she loves it!
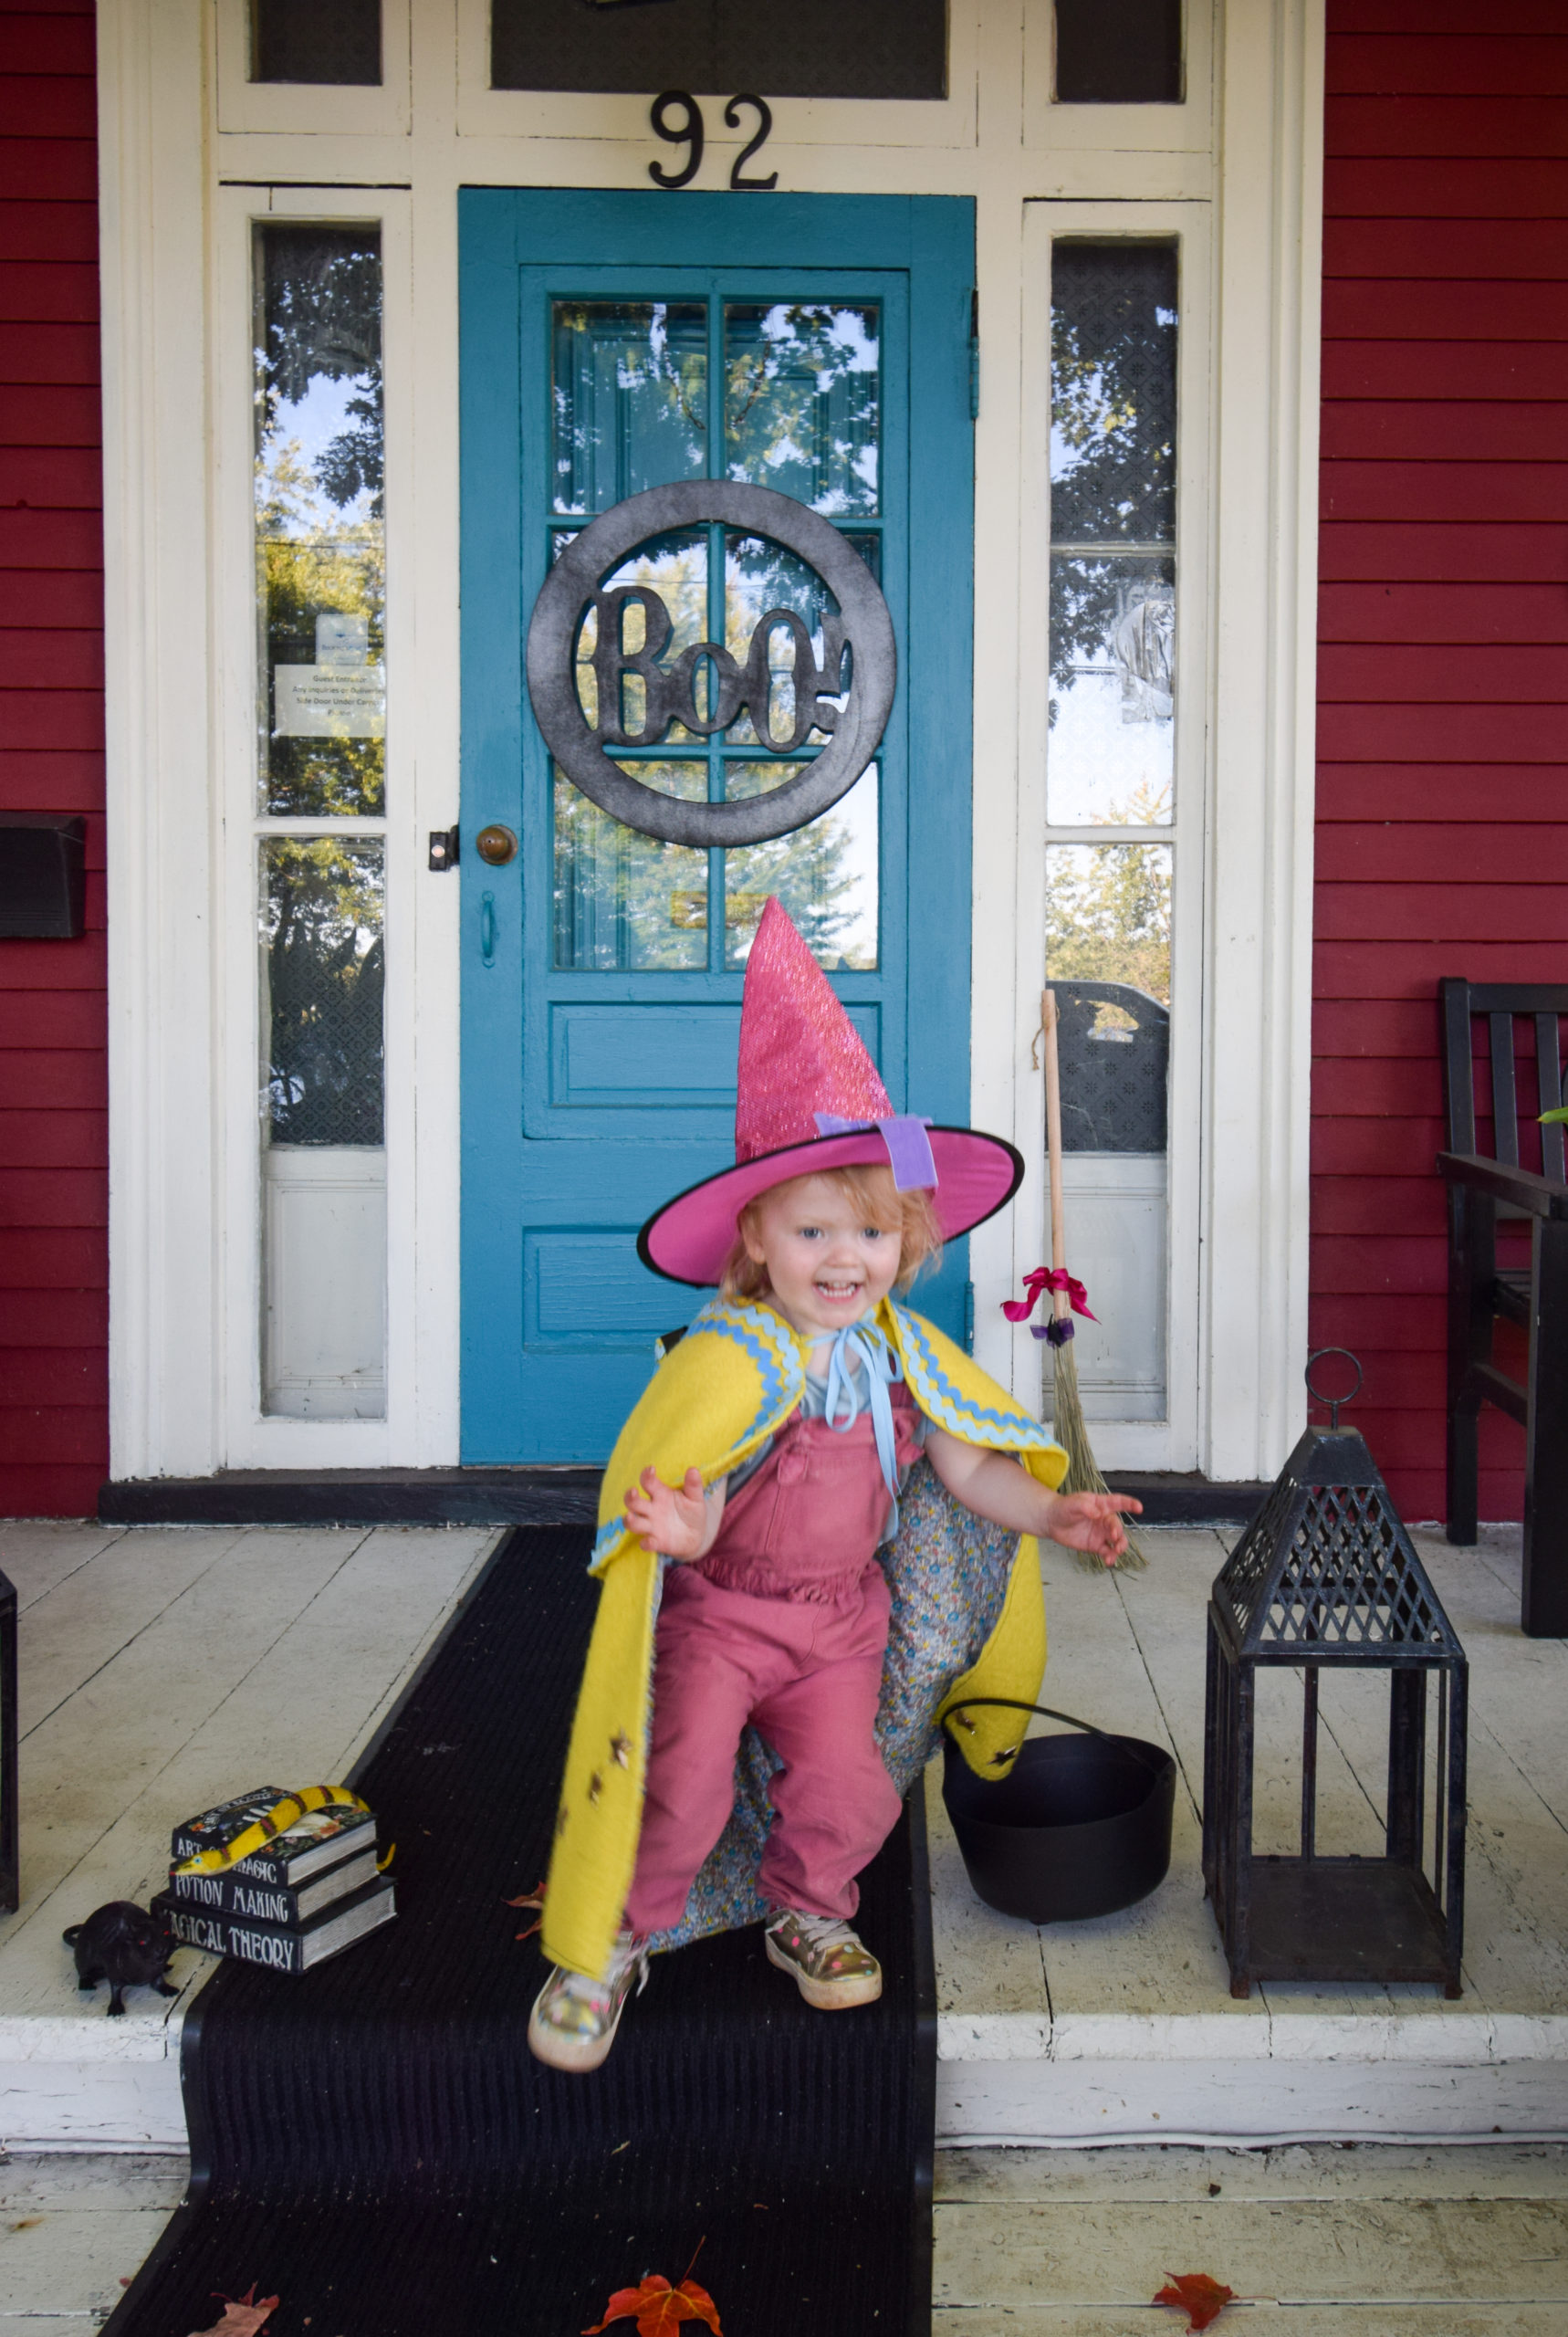
DIY Colourful Witch Cape
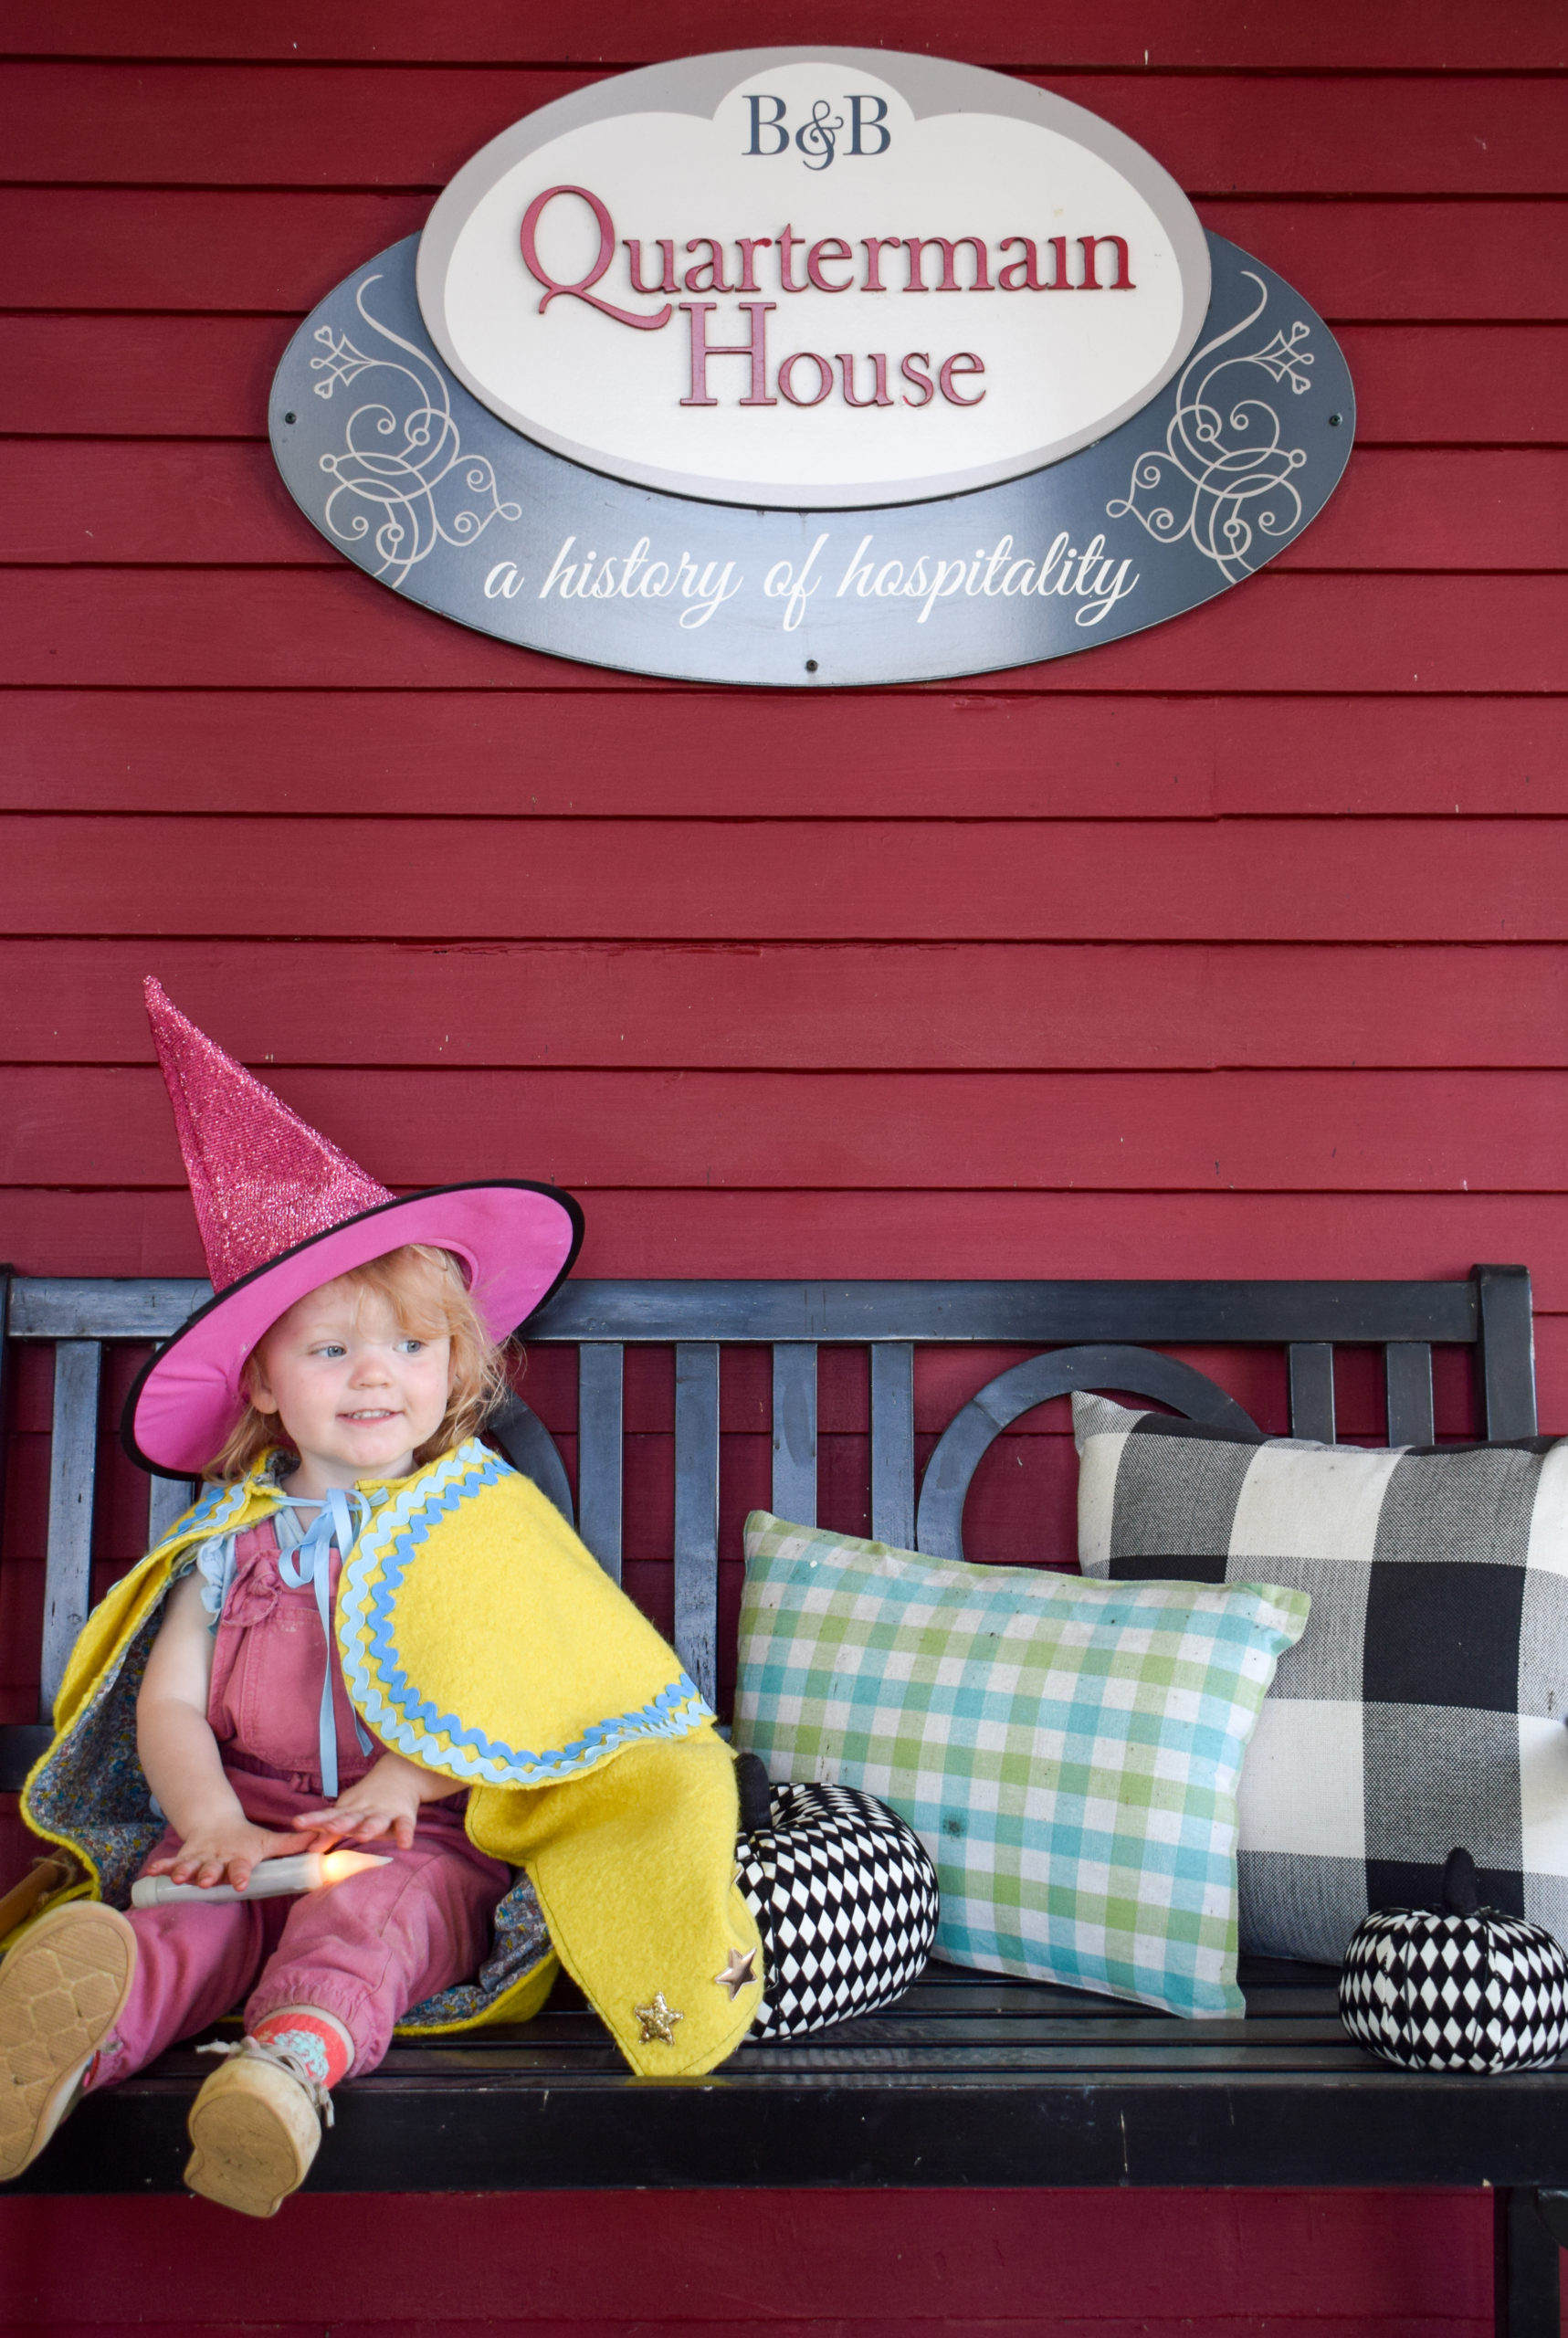
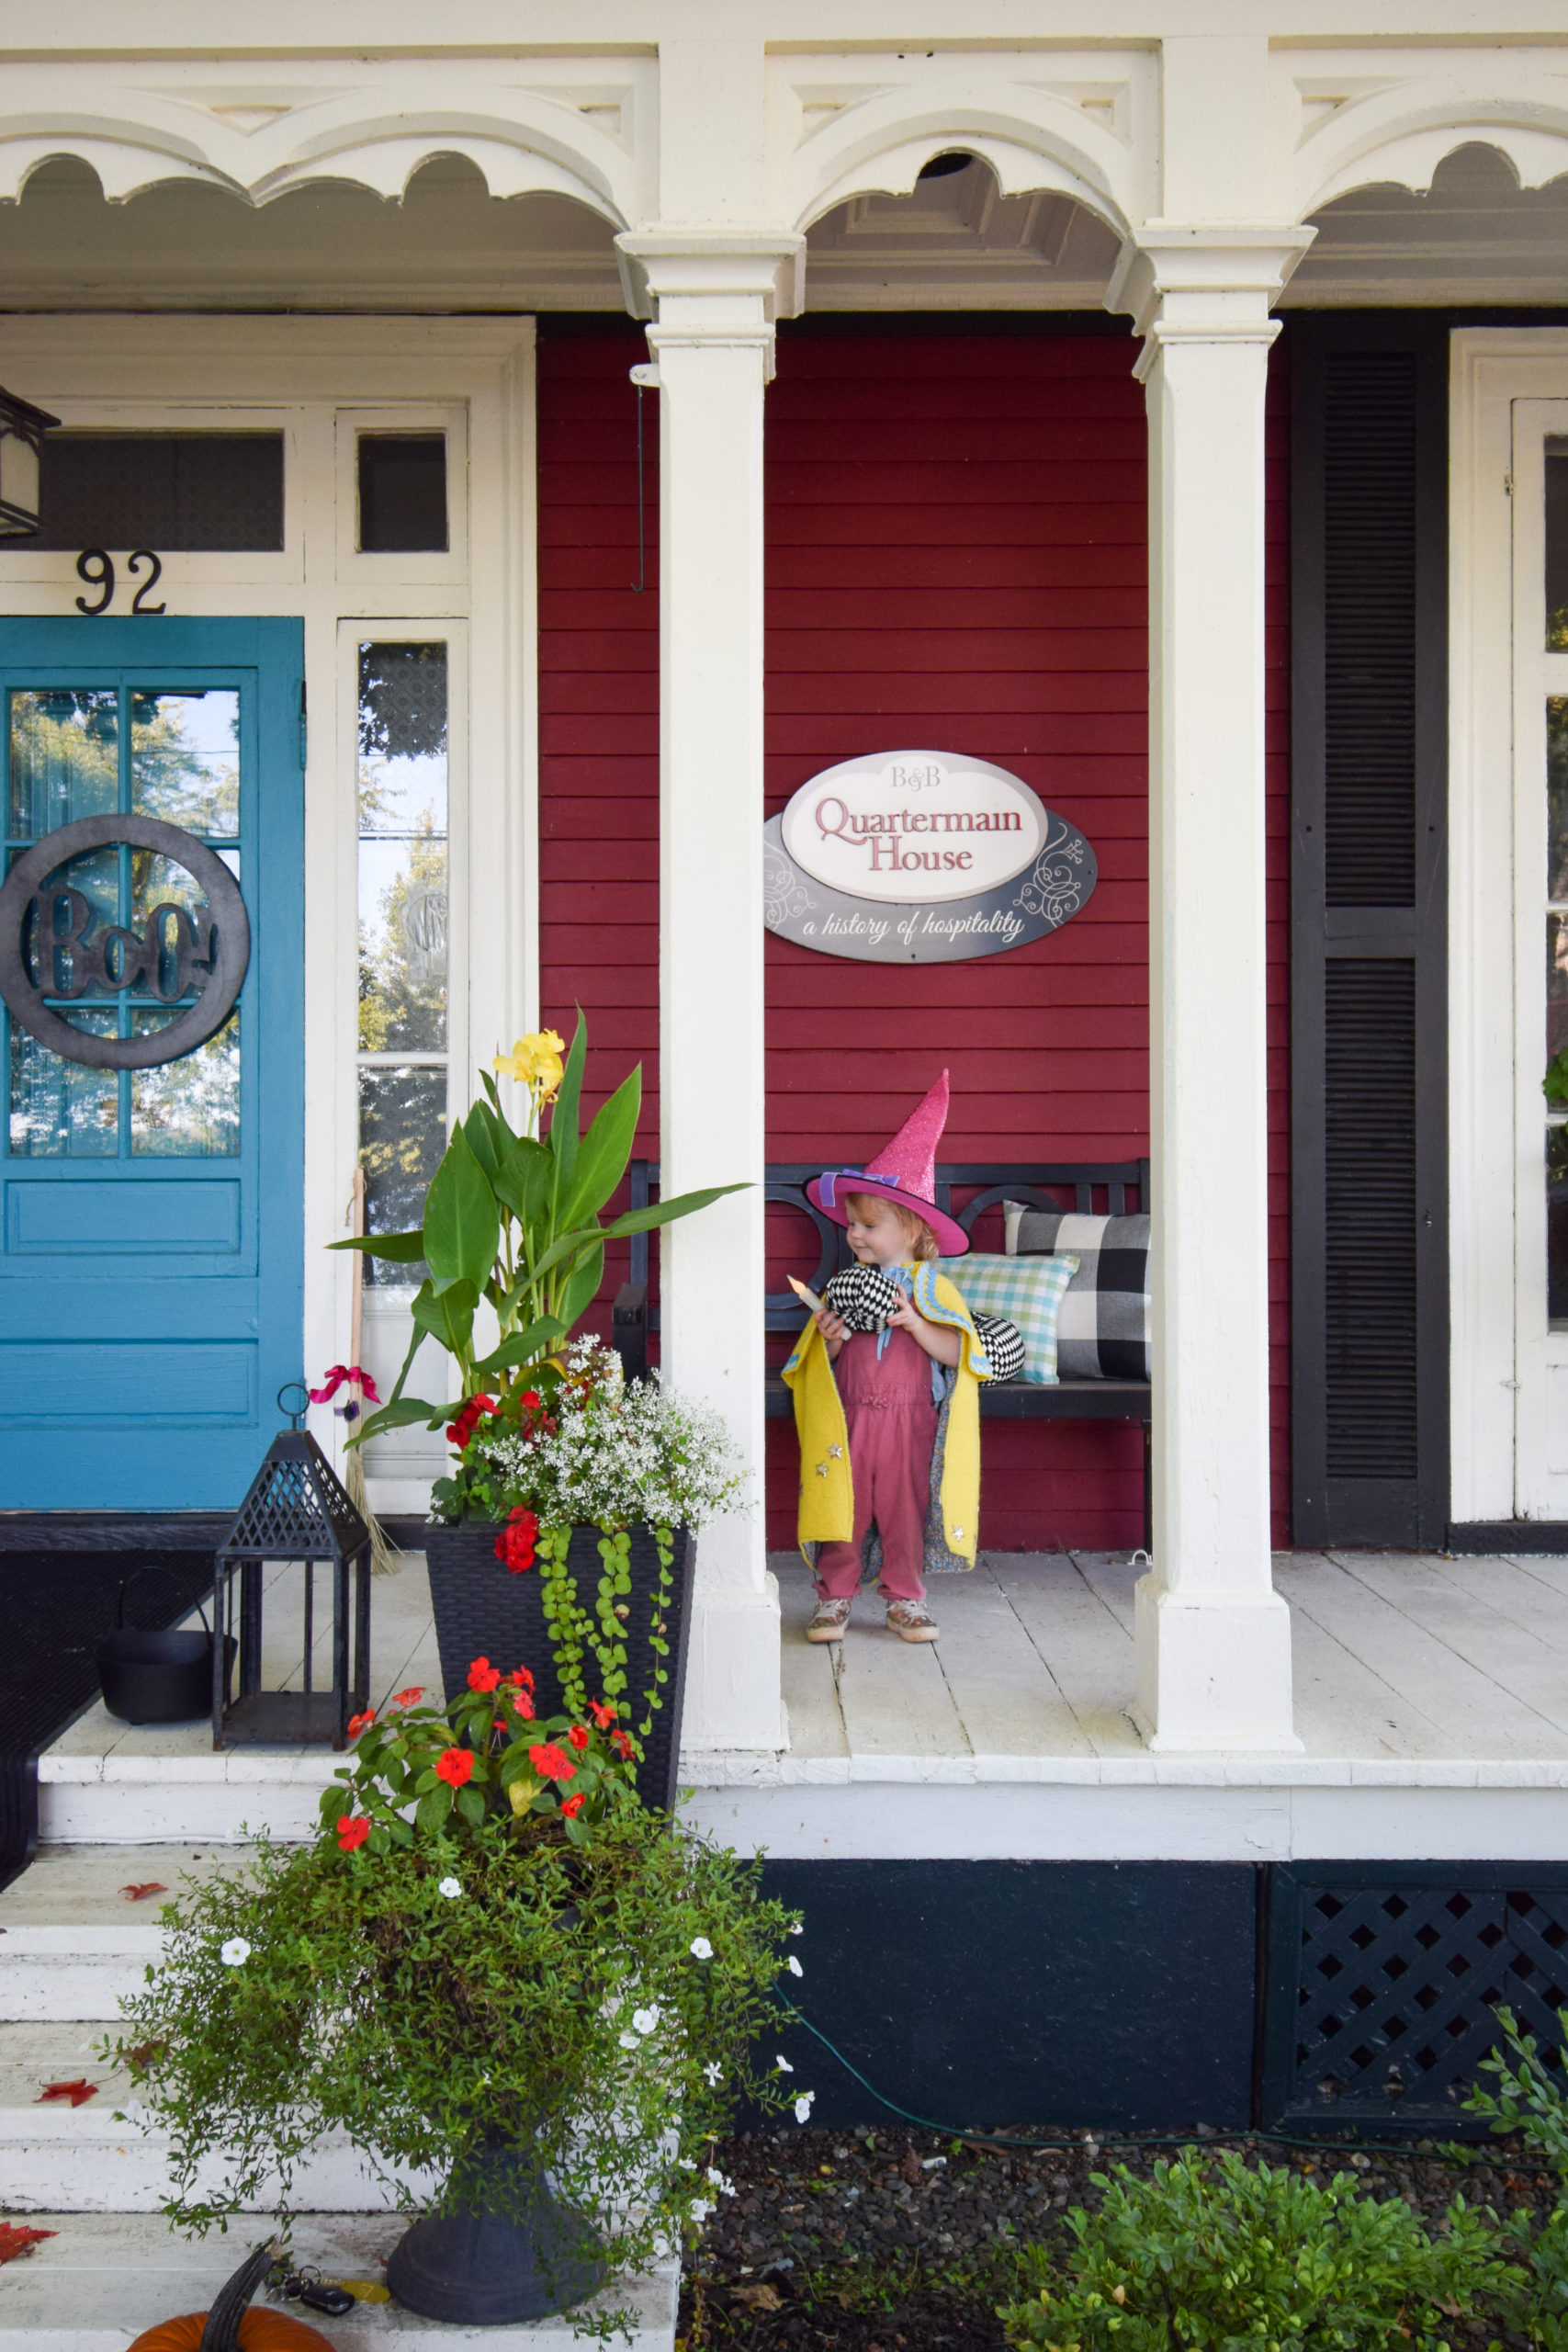
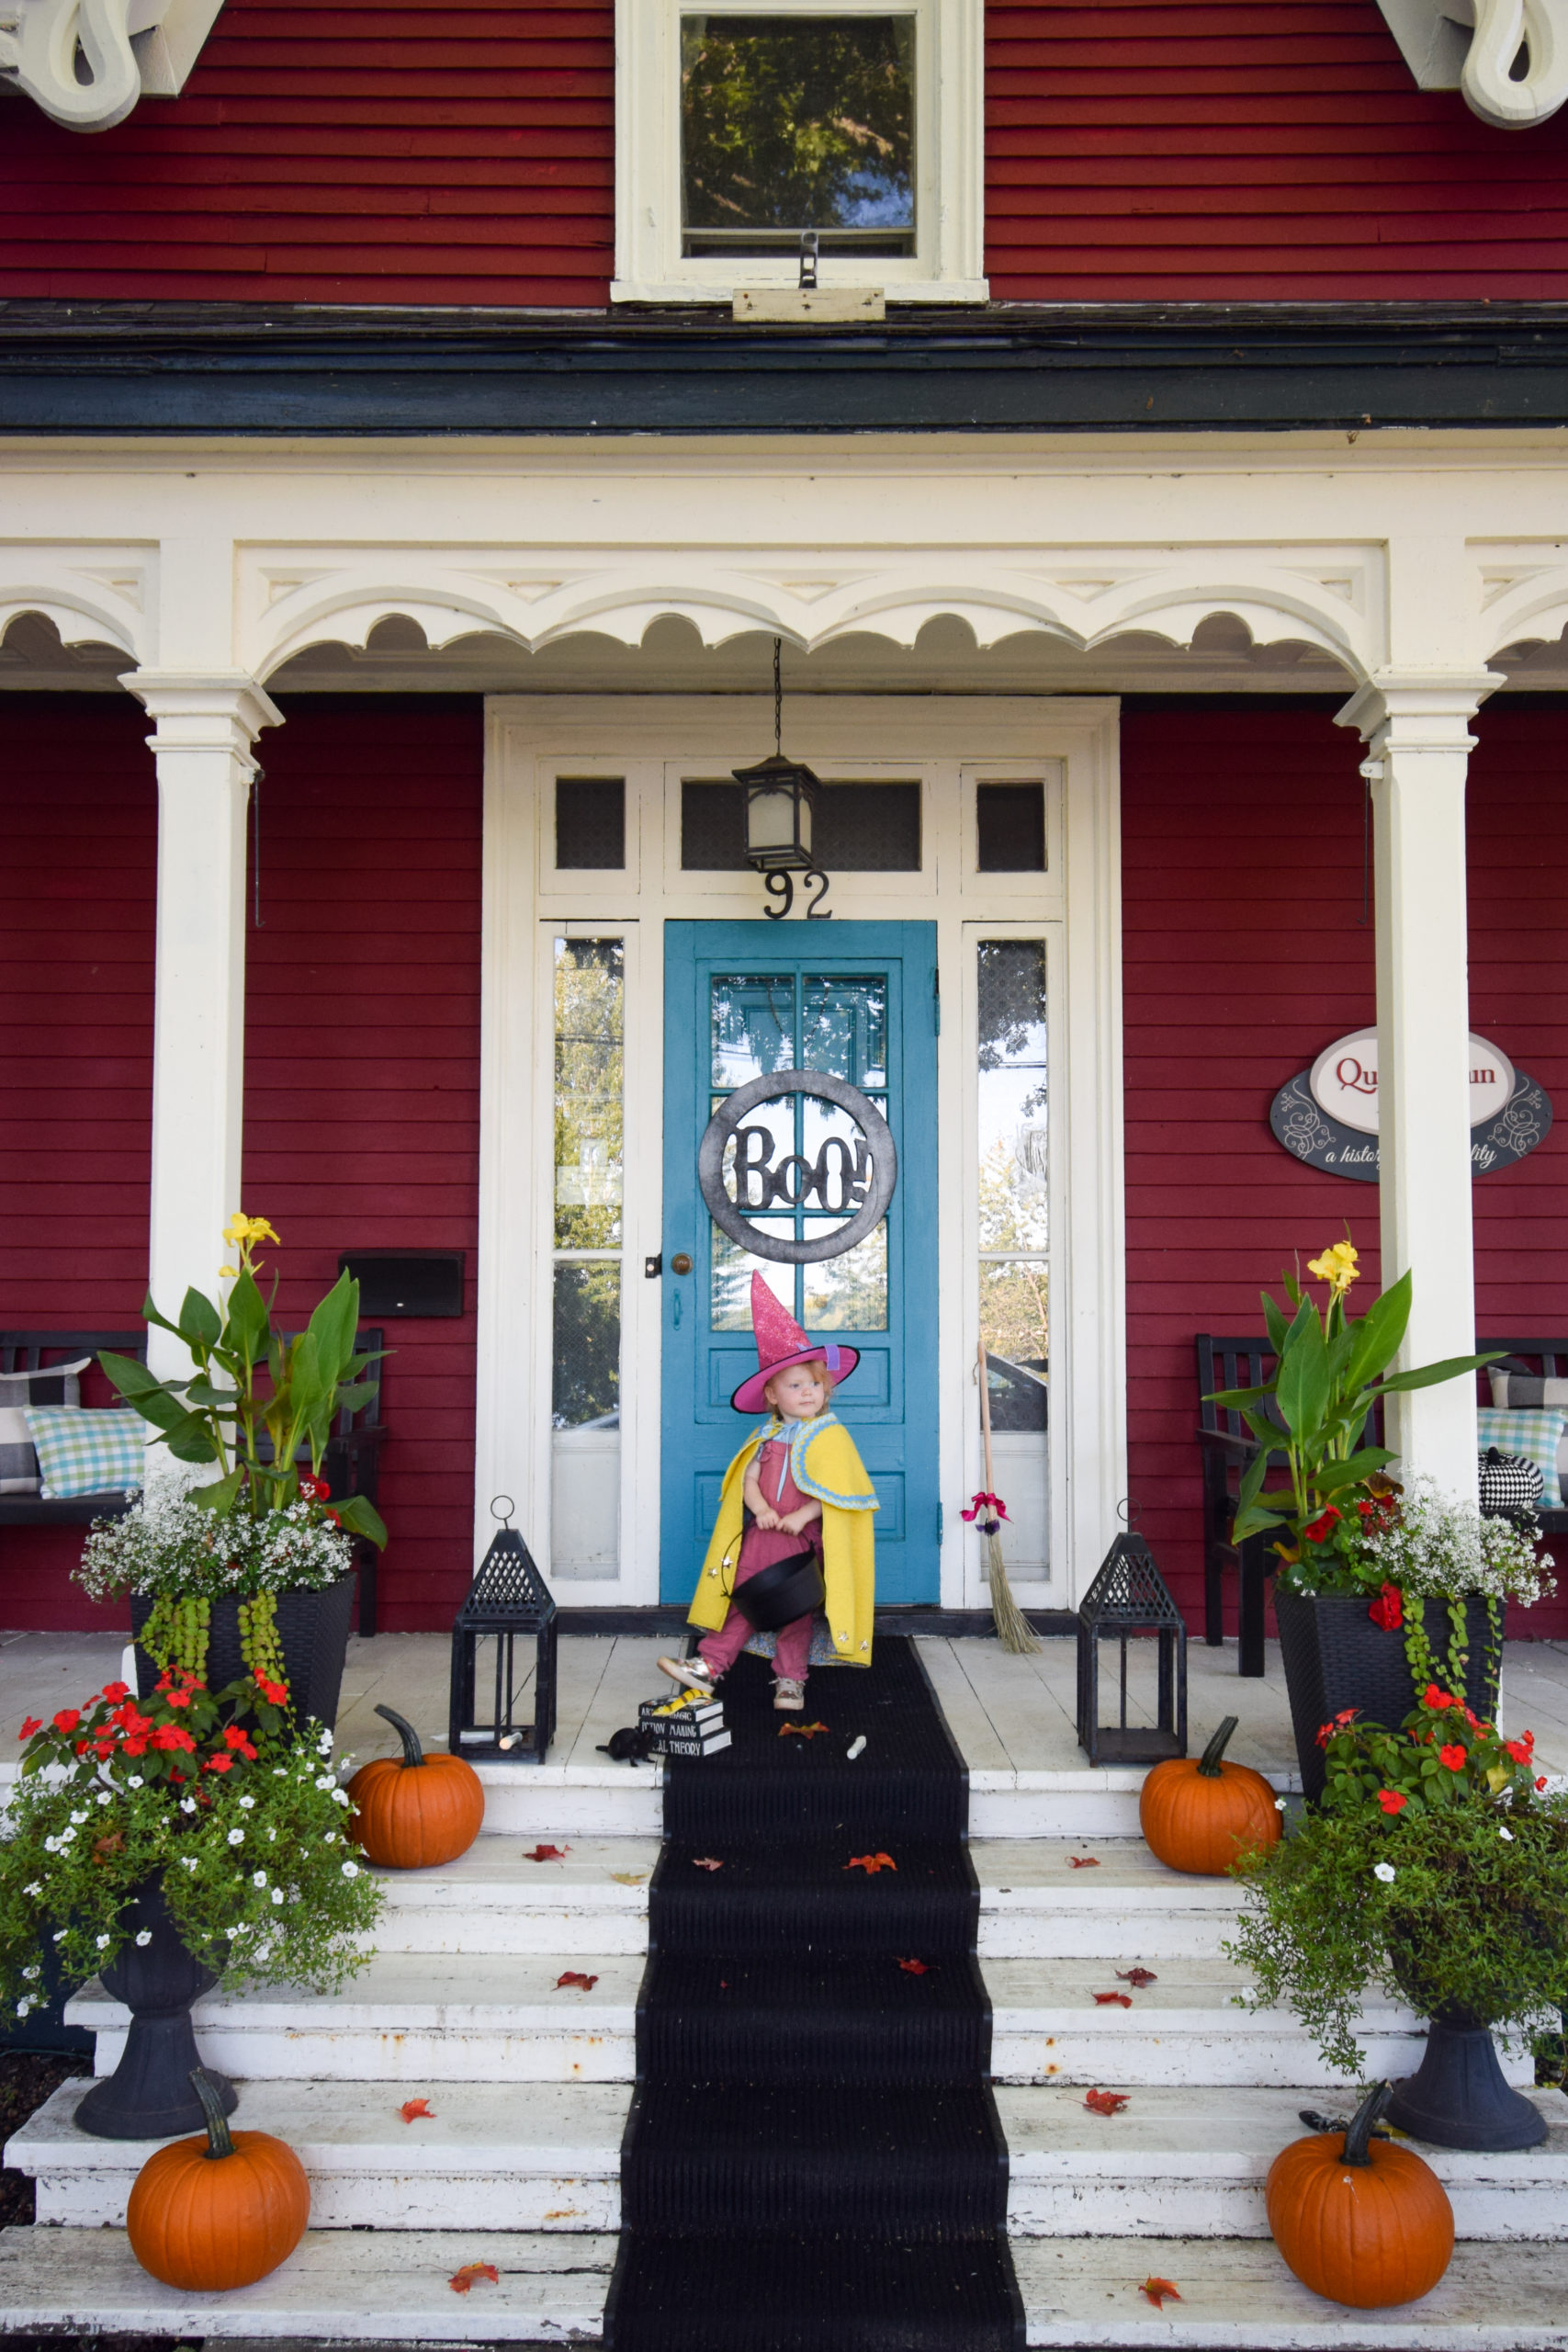
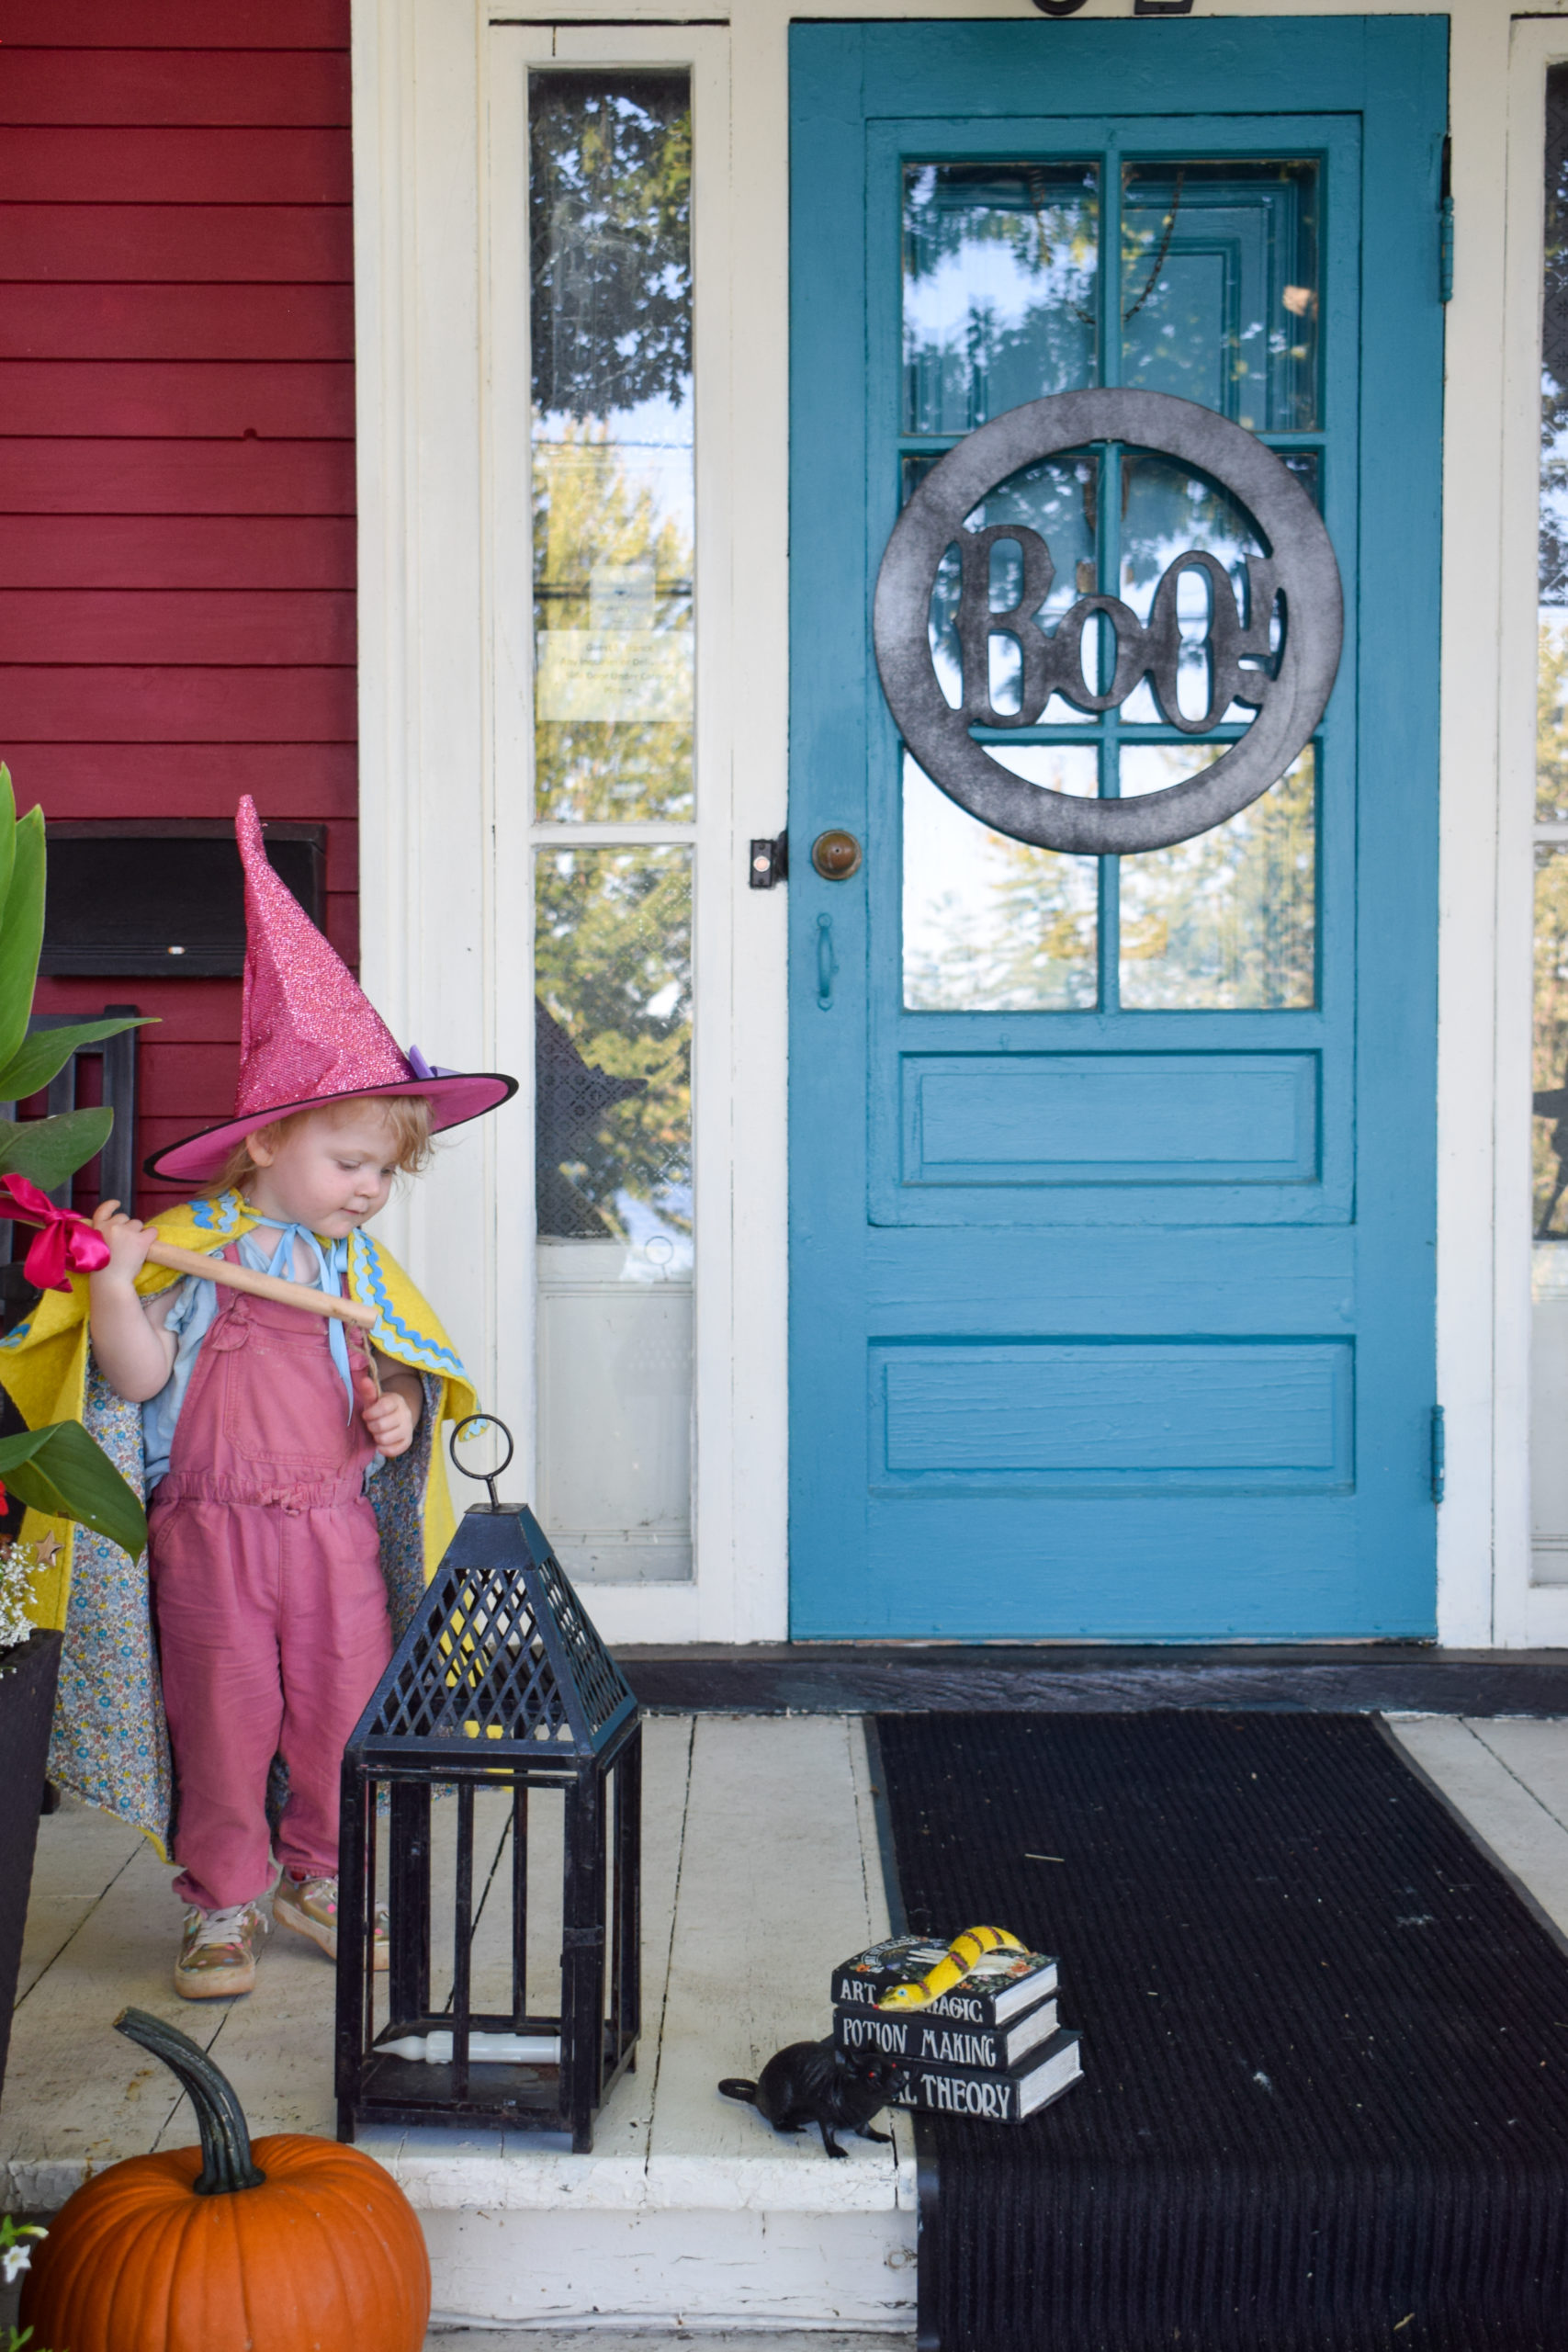
Here’s the final product! June modelled it outside a very charming B&B downtown. The Quartermain House is a cozy and colourful (and world class rated) B&B in Fredericton.

Leave a Reply