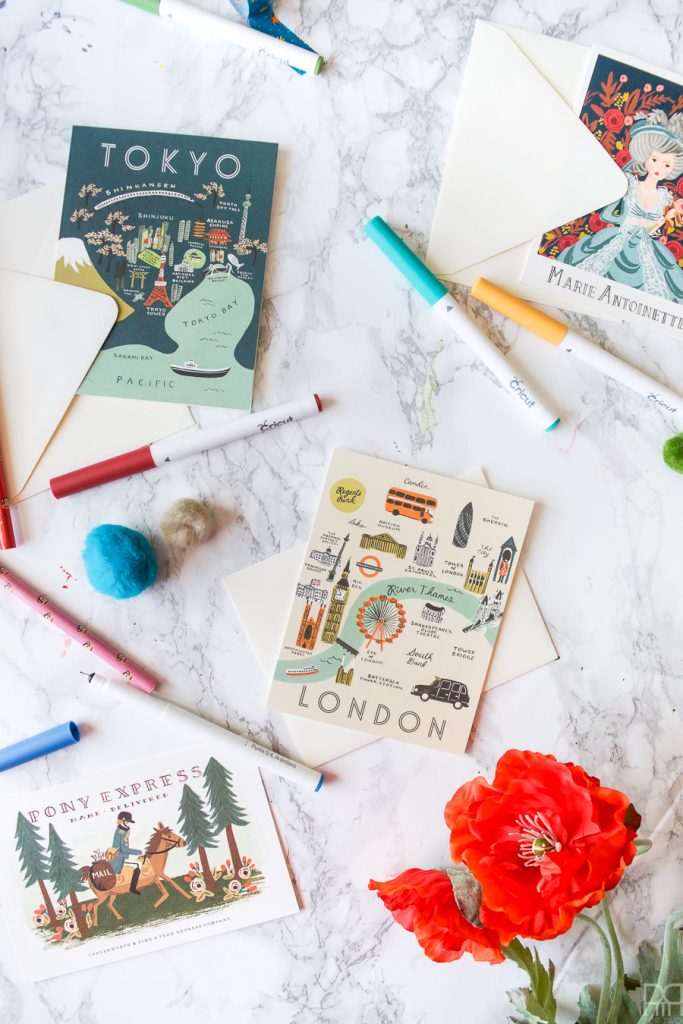
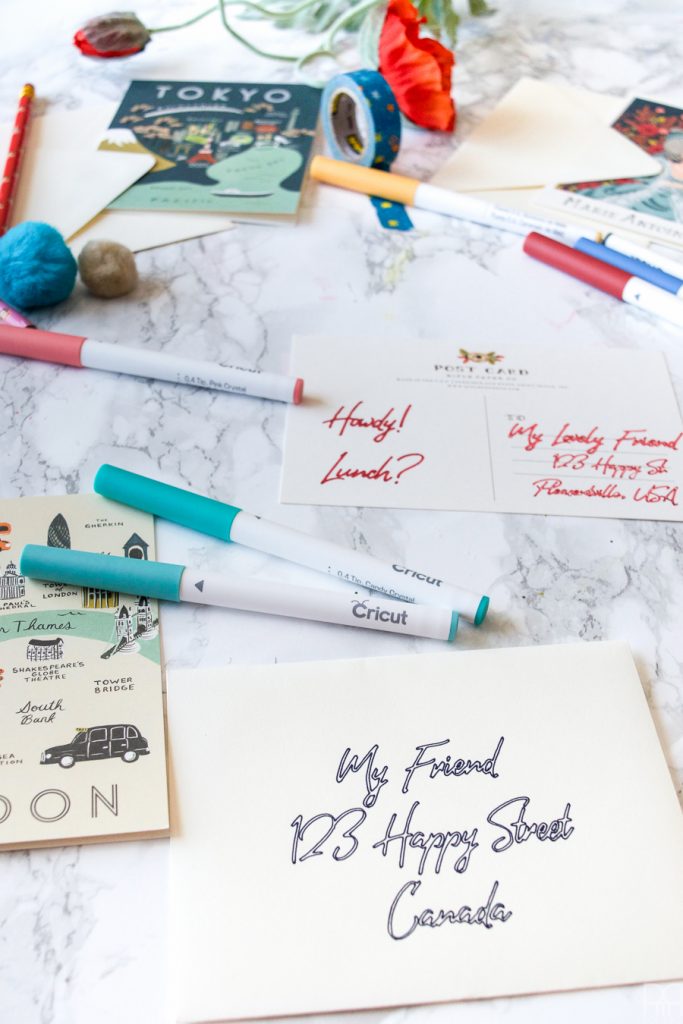
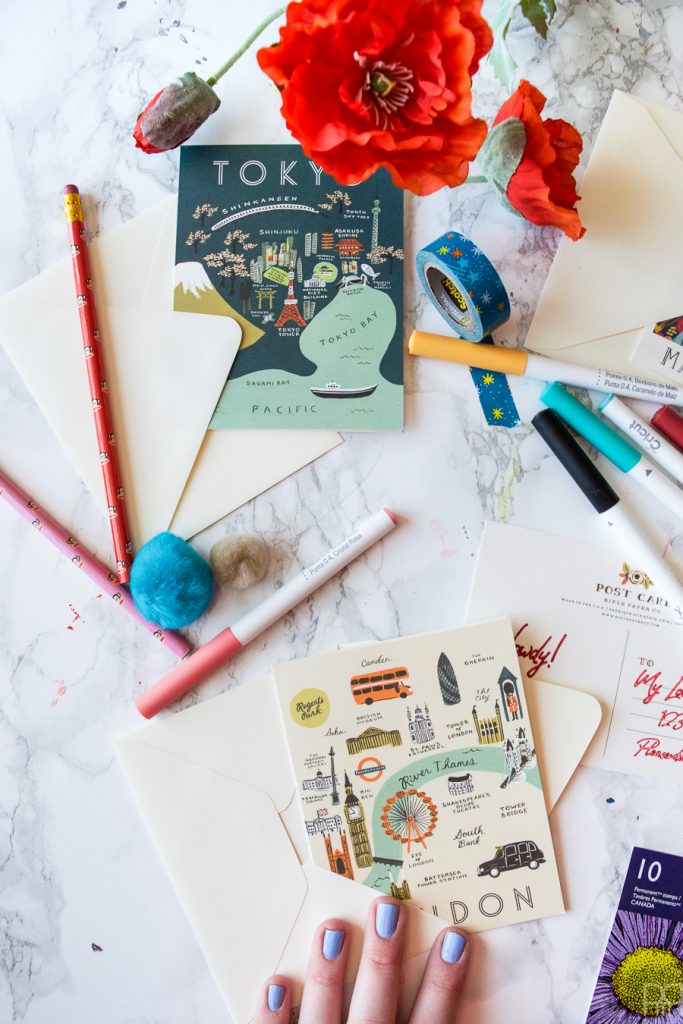
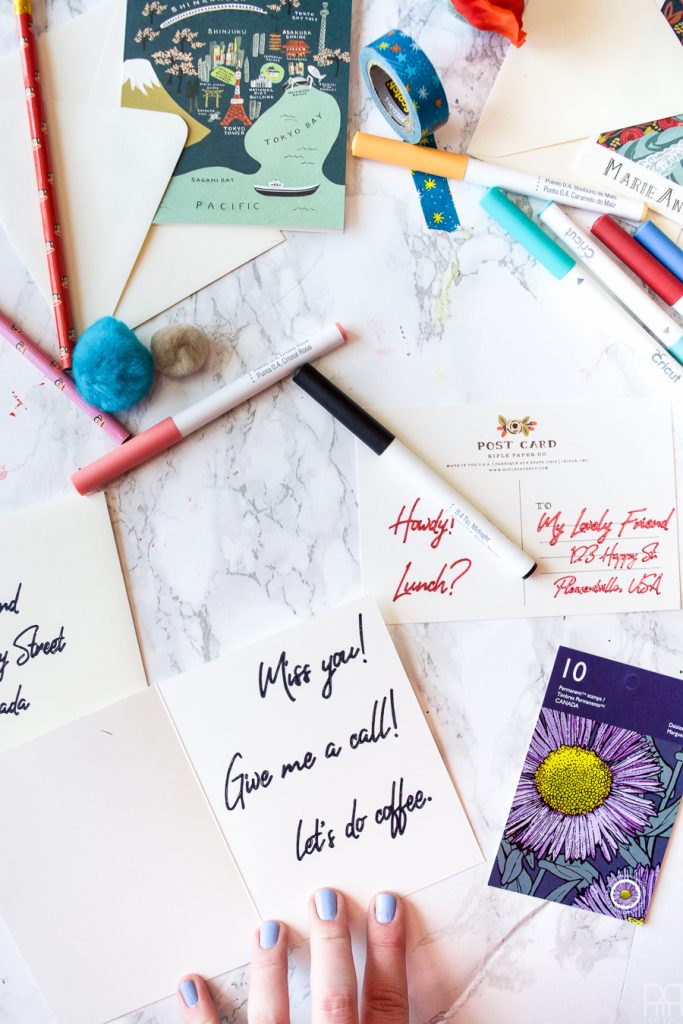
Spring has sprung! Or at least that’s what they tell me. We’re expecting another 30cm of snow today, so talk to me on Thursday about Spring. I’ve got a million and one things on the go at the moment which is why it was super quiet on the blog last week. Spring is not only a time to do some deep cleaning and set the schedule for summer, but I view it as a time to reconnect. Often in the hustle and bustle of the holidays we’re rushing from one gathering to another, or on the road. The hardships of winter usually call for snuggles and TV time with your SO, but Spring is time to dust off your address book and go for coffee. To honour the occasion, I’ve written-up a few Spring Calling Cards with the help of my Cricut Explore Air 2 and some lovely Rifle Paper Co. stationary that I’ve had on my desk for a while.

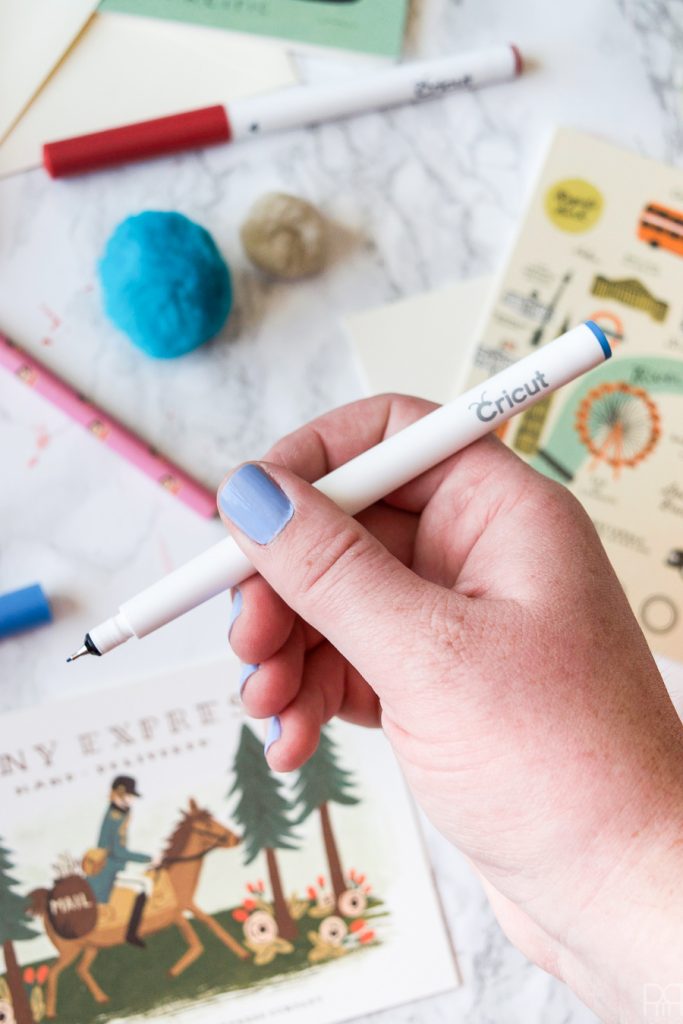
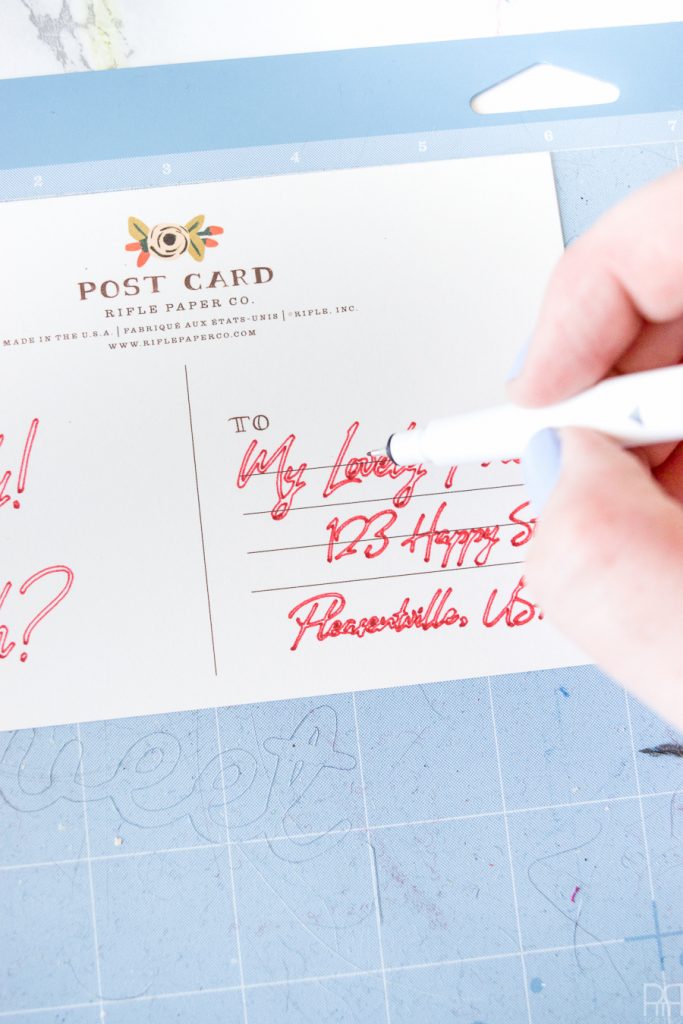
Did you know that you can write with your Cricut? That’s what the extra holder is for! Our blades sit in the B housing, but pens are meant to go into the A housing! Crazy huh! If you’re like me, your handwriting is so-so, and your calligraphy game is not on point, let alone on fleek. Using a cursive font and photoshop allowed me to create the files I needed for this DIY. I’ve included the files below, so make sure you snag those!
The following product links contain affiliate links. Thank you for supporting the brands that make PMQ for two possible. For my full policies click // here //
Materials
- Cricut Explore Air 2
- Cricut Explore® Southwest Pen Set & Cricut Explore® Antiquity Pen Set
- Cricut Cutting Mat Variety pack
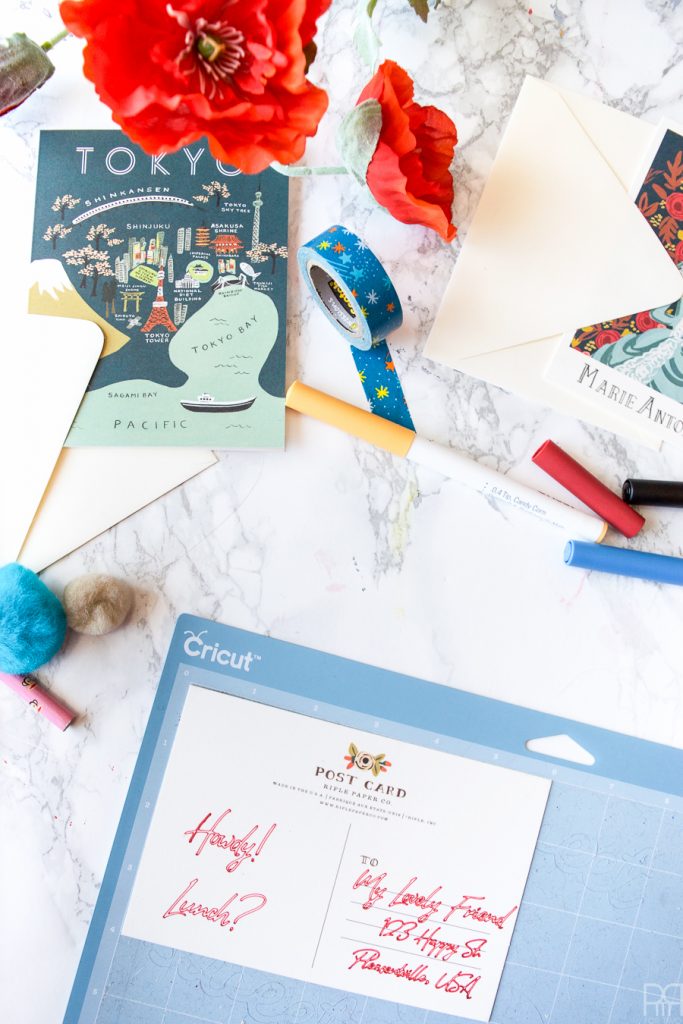
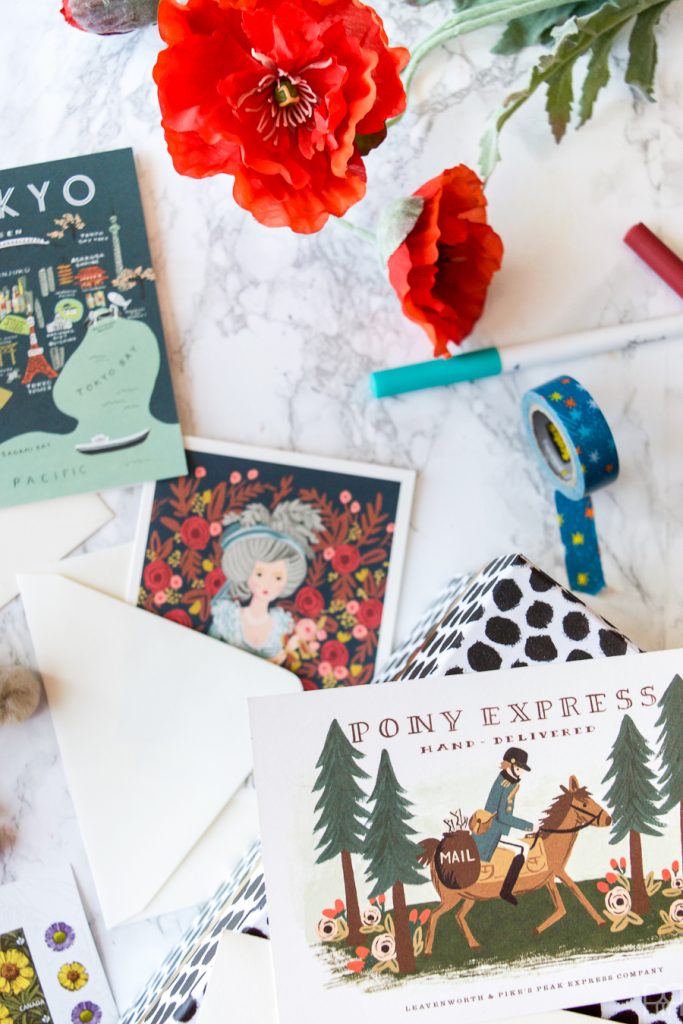
- Post cards or occasion cards – I used some Rifle Paper Co. cards I had laying around // Pony Express// & // City Maps // & // Queens //
- Stamps
Step 1: Create your handwritten note as a jpeg in photoshop. Feel free to take the one I’m sharing below. The others aren’t worth sharing since they don’t actually have anyone’s address.
I used the SansaDior font // here // for these ones, but any other cursive font would look lovely. BTW if you want to use Cricut’s new fonts!!!! in the design space you can read more about the // Cricut Access Fonts //.
When you upload them to the design space, do so as a cut file, and then once they’re on the mat in the design space you’ll change the layer attributes. There’s a whole post on how to do that // here //

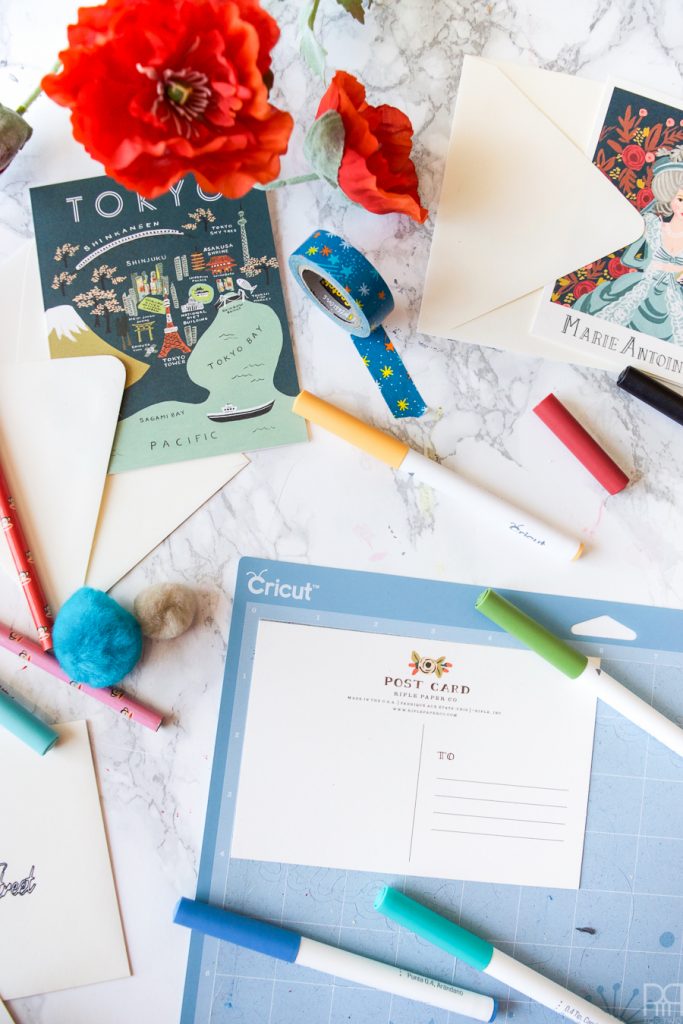
Step 2: I find this next part easier if the card is already on the mat. I laid it out so that once the desired message was in the design space, I could drag and drop it to the corresponding place on the mat, so that the machine would write it where it needed to be.
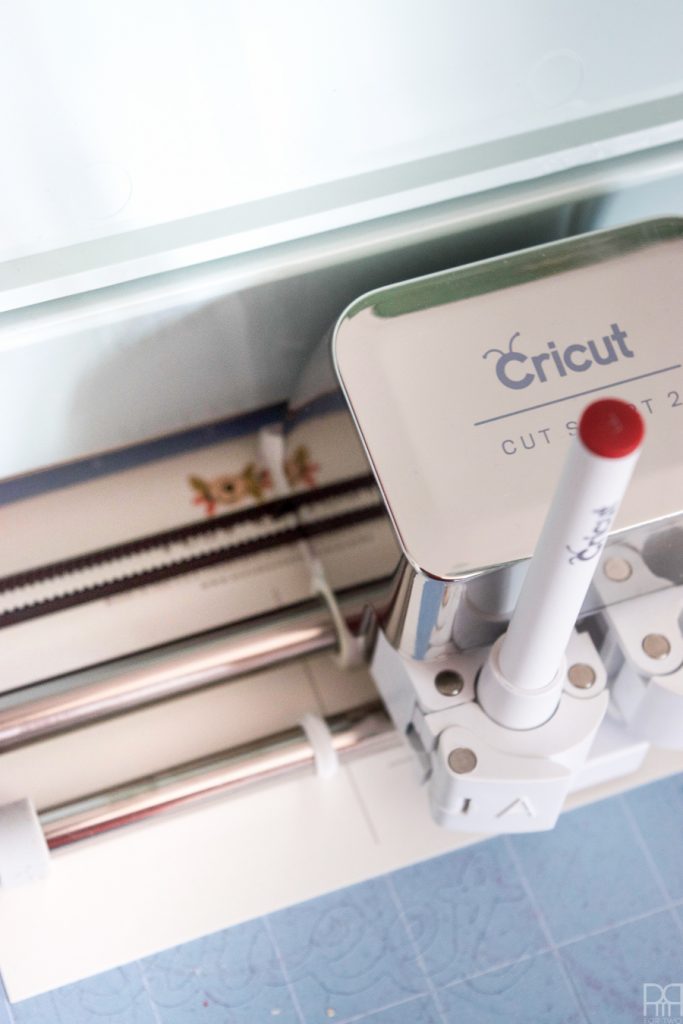
Step 3: Remove the blade from the B housing and put your desired pen into the A housing before starting the project.
Step 4: I even used the machine to add the address on the front of the card! If you’re doing that, don’t forget to add the return address to the back of the envelope.
Step 5: I wanted to fill-in the text, so I took the pens and quickly did that. I’m sure there’s a way to do it with the machine, but I didn’t get that far today. Maybe next time!
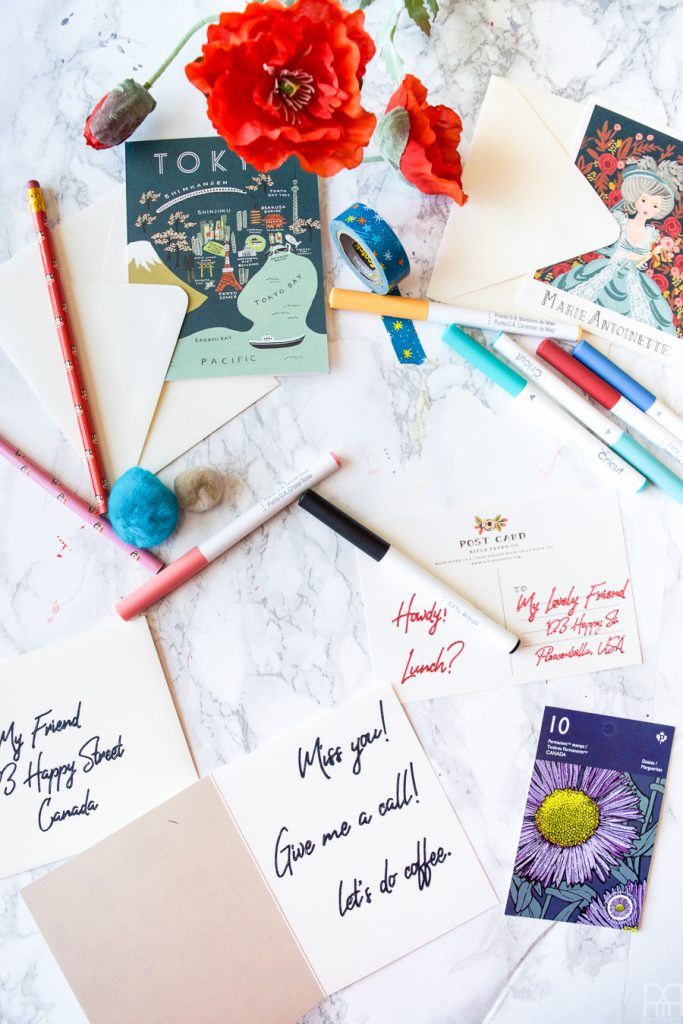
This really is a super simple DIY. I’ve sending these spring calling cards to a few friends who I haven’t connected with for a few months. Hopefully I get a call or two and have lunch plans next week.
Who would you send a spring calling card to? Also, now that I know how to write with my machine I’ll be looking for a list of things to write.

These are darling and snail mail is such a treat these days!
I agree! I have a long-standing correspondence with a friend. We send each other snail mail all the time. It’s lovely!
What a fancy machine! That would be great for someone looking to do their own wedding invitations (small wedding maybe).
I was just thinking that too! I’m actually going to use it to make the menu cards for my easter tablescape
Ariel that’s fabulous!!! I adore this idea and I had NO idea you could do that with a Cricut! I NEED that machine!! Such a great idea!!!
Isn’t that machine amazing?! Literally so many things you can do with it. Highly encourage you to look into their blogging program.
Good lord I use the word ‘idea’ a lot! LOL!!!
I use the work “like” too much, so it like all works out. Like. 😉
What a fun idea! These are so cute!!!
Aren’t they!? and a great way to use up some remnants of card collections too
Too cute! I can’t wait to have time to be crafty again!
Me too! I can’t wait to see what you come up with once you get going
This is such a sweet idea Ariel!
I thought so! I love getting snail mail, so sending some cute cards made perfect sense to me.