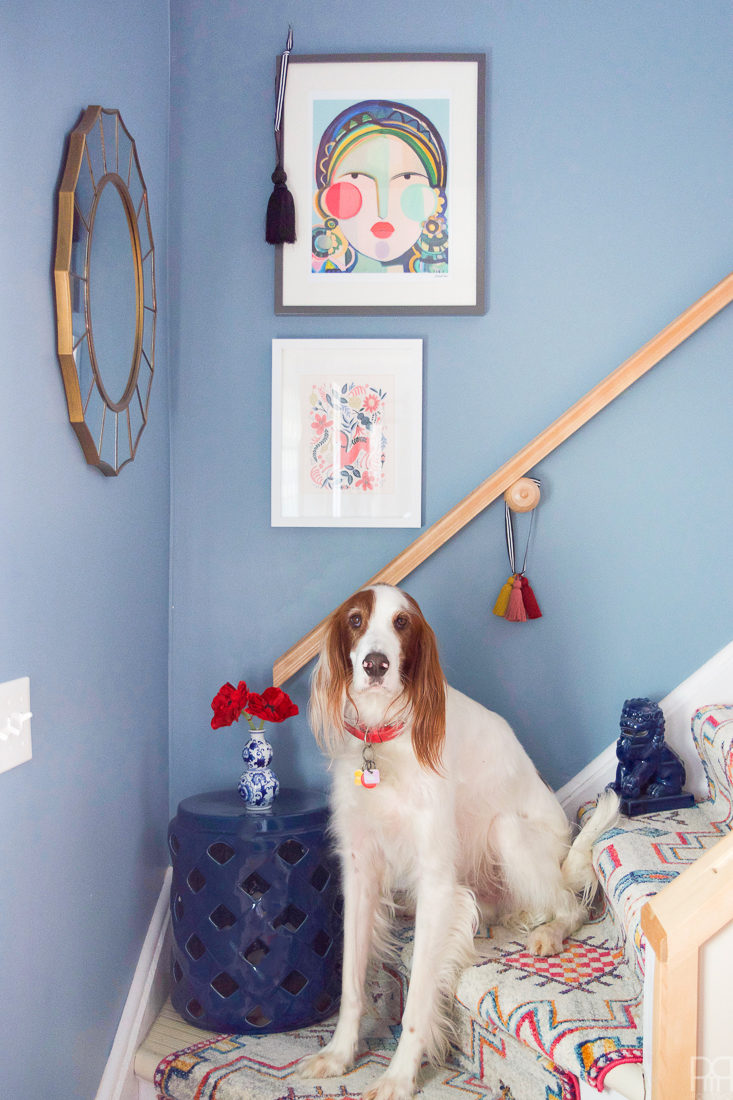
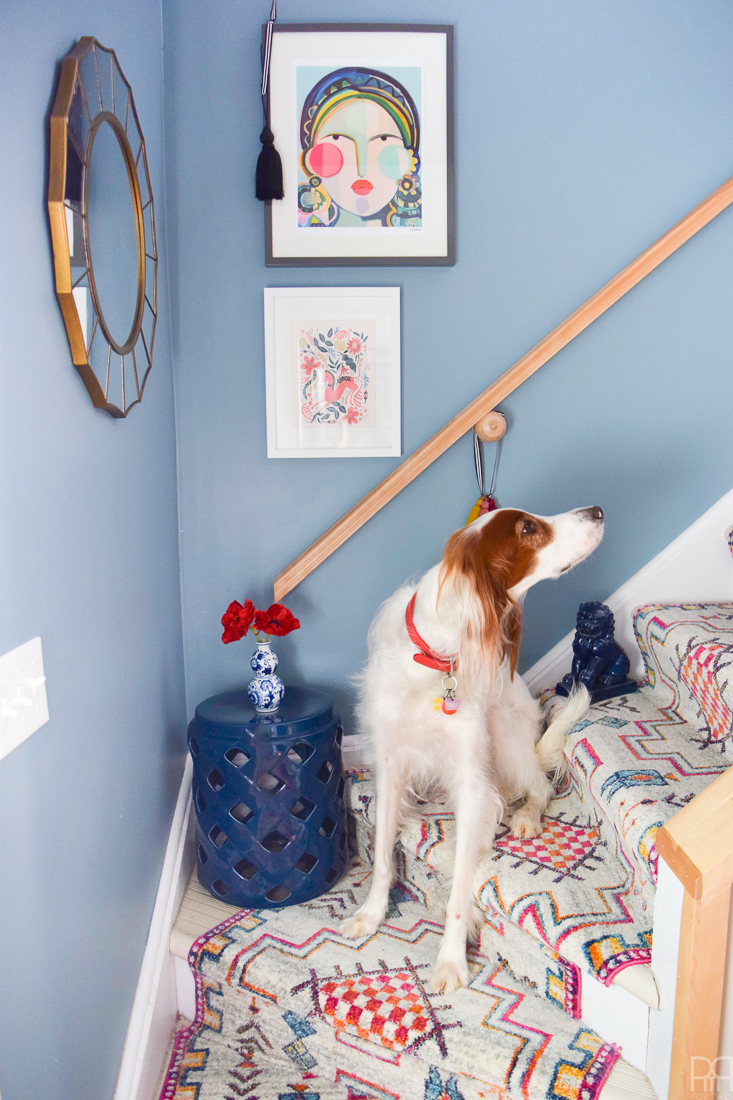
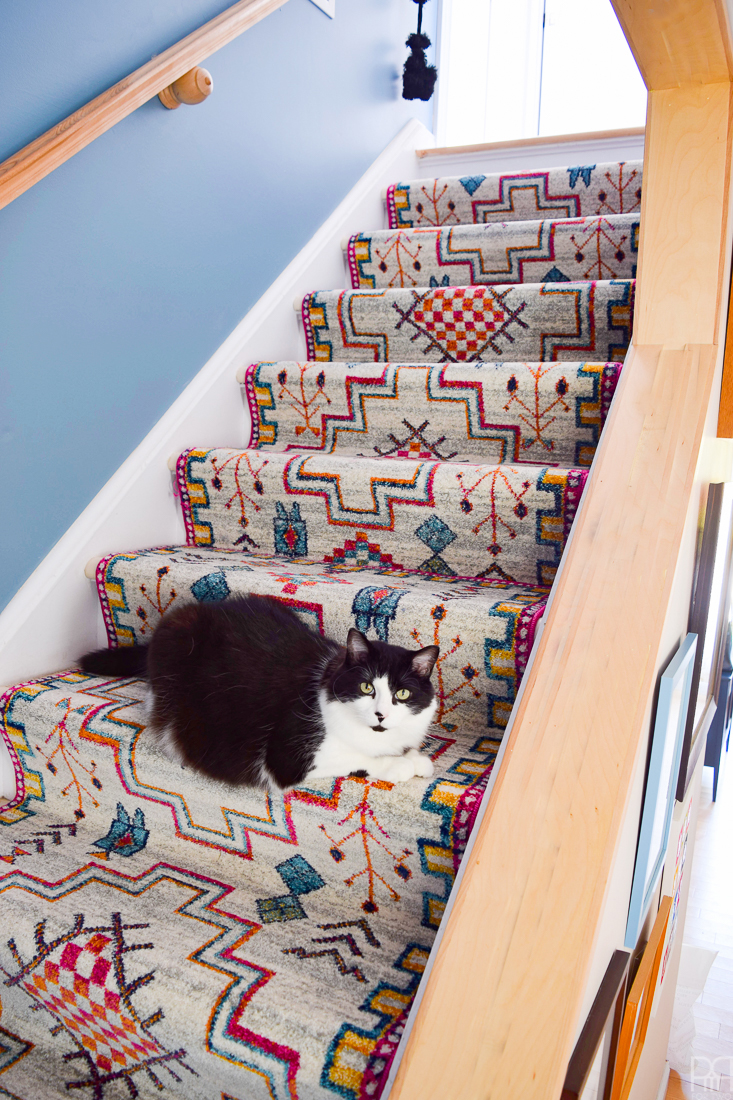
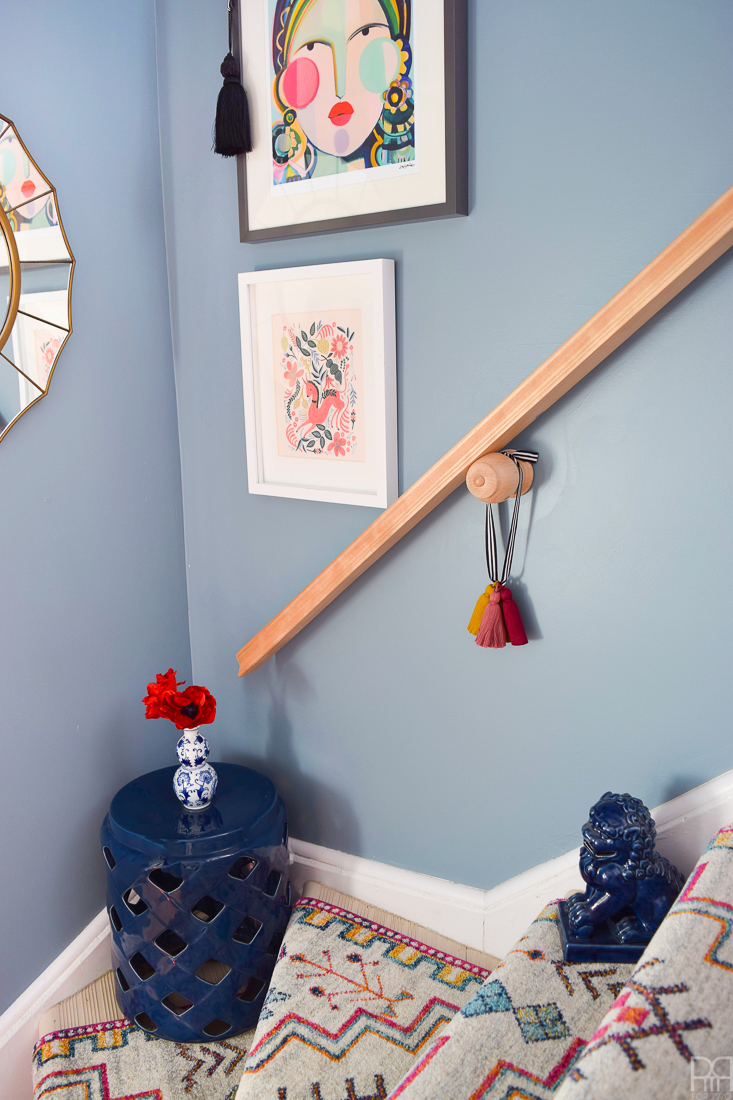
You guys have no idea how long I’ve wanted to do what ultimately took me an entire afternoon (and not days as I had feared). I finally put a renter friendly stairway runner in our main staircase and couldn’t be more happy with the results. Gone are the days are painful stair treads that catch all manner of pet hair and dirt, and here are the days of comfortable and stylish runners that tie-in the upstairs and main floor in this PMQ. With the help of Rugs USA I turned the staircase in our rental into something to be proud of – and it’ll be easy to take it down when we have to move.
*Rugs USA sponsored this post, but all thoughts are my own. Thank you for supporting the brands that make PMQ for two possible\
This post is as much a DIY as it is a reveal, and I hope you’ll share the post with anyone who living in a rental who wants to change the way their staircase looks.
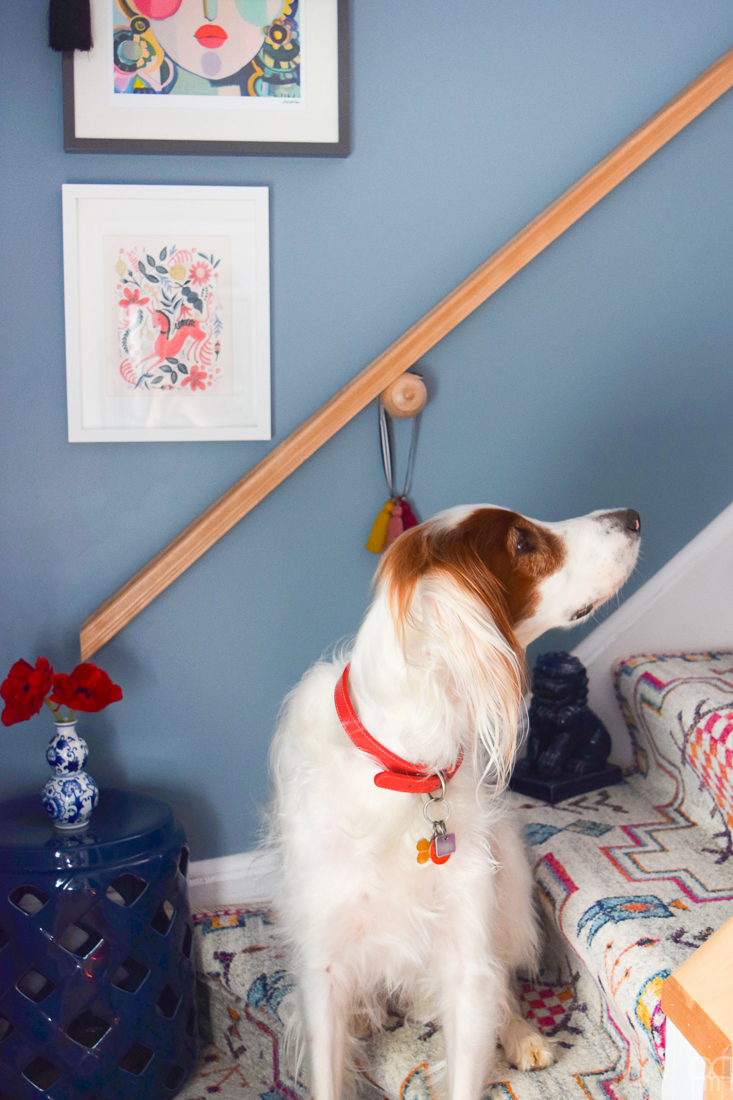
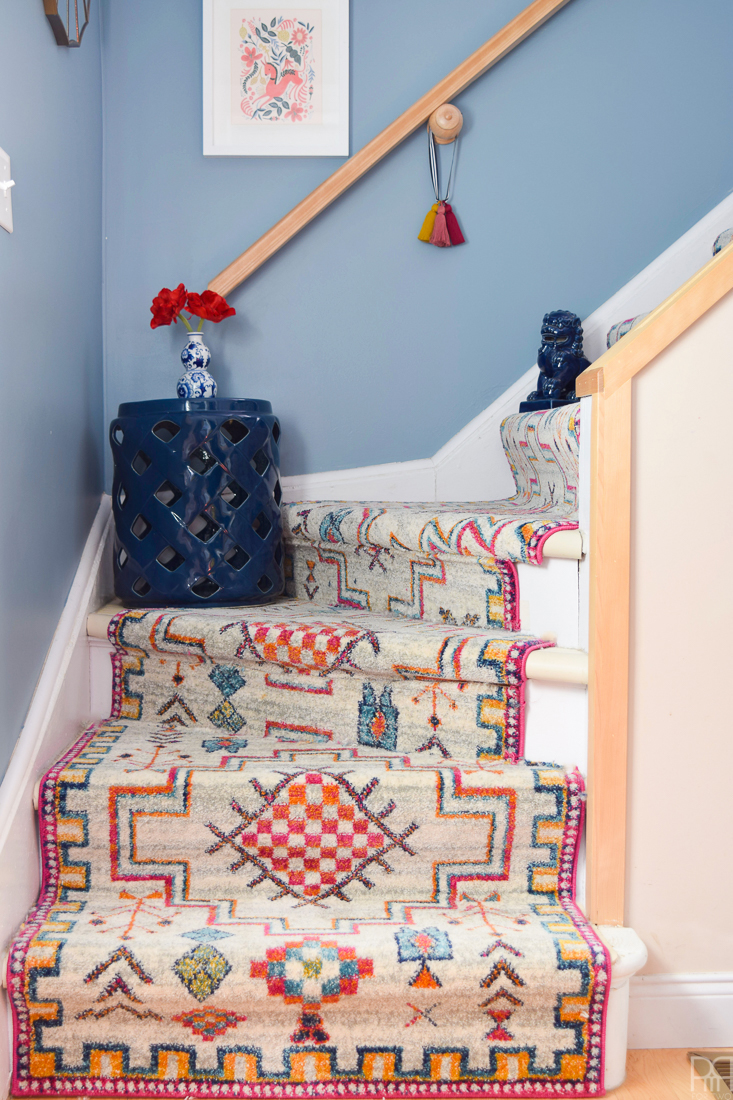
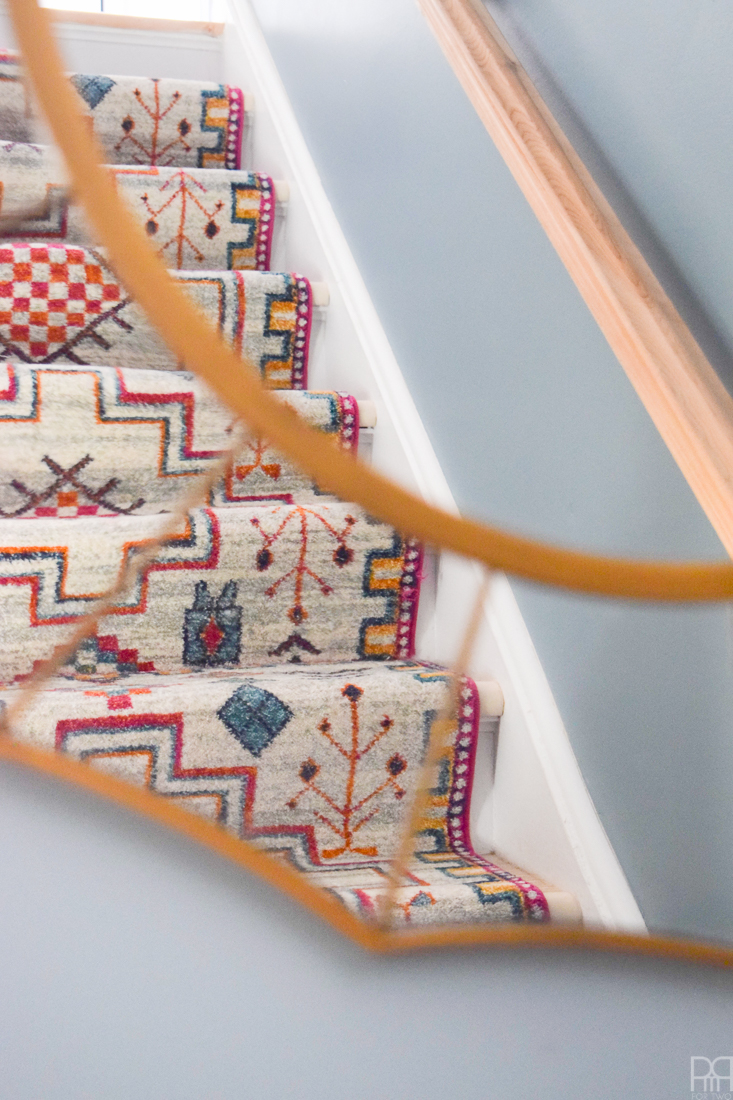
I opted for a busy pattern that would make it easy to hide breaks in the pattern and cuts in the rug. I had originally wanted a black and white stripe, but that would have proven hard to align on the risers in the curve, so I’m glad I chose the pattern of the // Bosphorus BD67 Tribal Crosshatch Medallion Rug // that we got from Rugs USA.
I was also considering these patterns as well: Bosphorus BD69 Tribal Hex Eye Emblem Rug // Savanna Tribal Wool Flatwoven VE35 Rug // Tikal Geometric Tribal Hand Made Woolen AH02 Rug
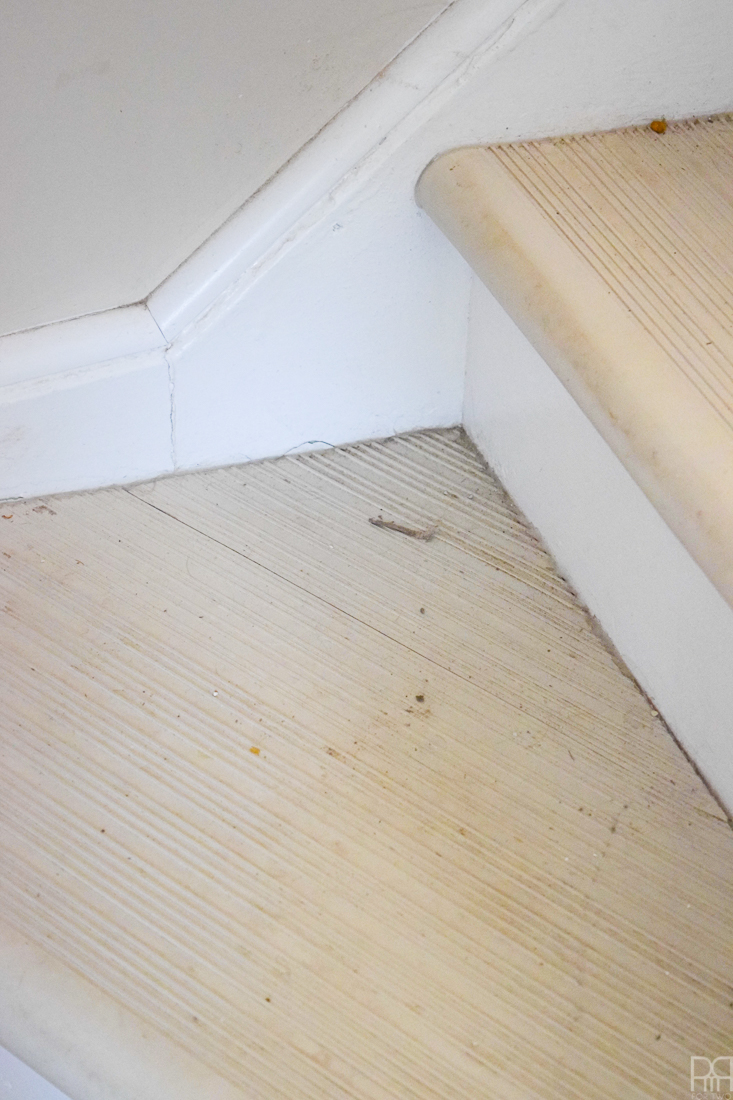
This is what we were working with before:
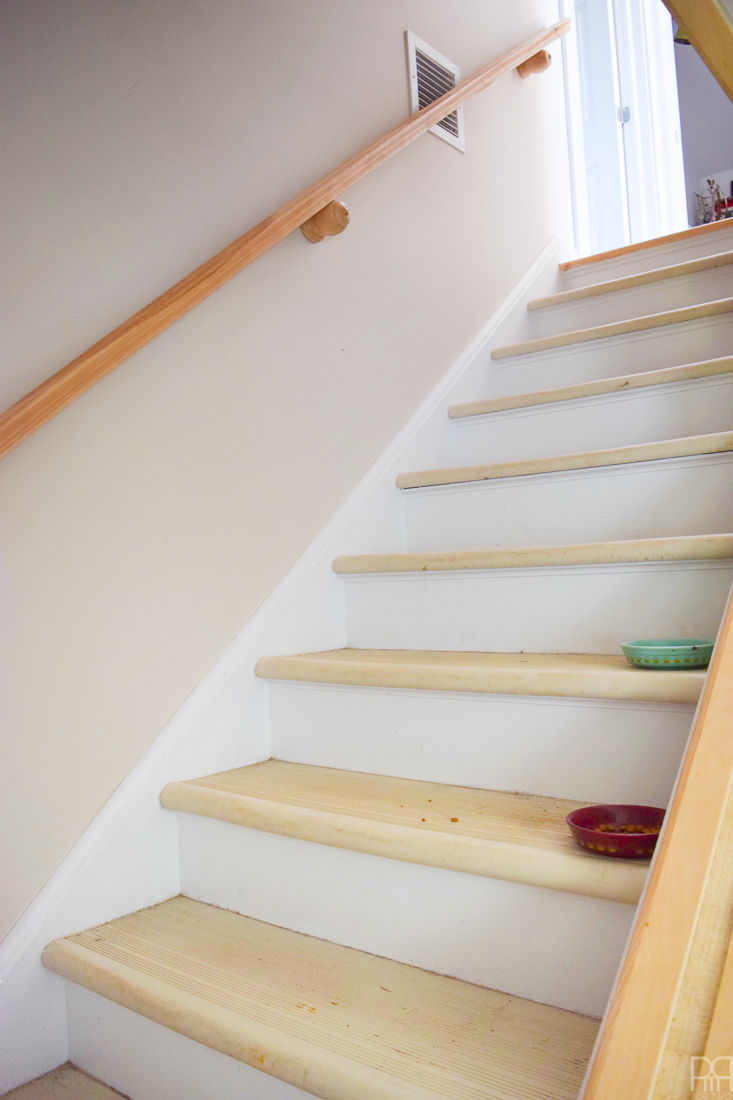
These photos make me shudder because they show how filthy the stairs were (almost always) and because you just can see the amount of cat hair and dirt stuck in the tread. NEVER AGAIN!!
*The following product links contain affiliate links. Thank you for supporting the brands that make PMQ for two possible. For my full policies click // here //
Materials
- Double sided carpet tape
- Heavy duty staple gun (it has to be heavy duty, lightweight won’t cut it)
- Box cutter or thick and powerful scissors
- Runners: make sure to measure for length and width in accordance with your own staircase. We used 3 almost completely for our tiny staircase.
*it should be noted that I decided to do the “waterfall” style runner, that is to say it flows freely from one riser down to the next step. I didn’t bind it under the lip of each step.
Step 1: Deep clean the stairs. I spent an hour on all fours with a scrubber and soapy water cleaning everything on the stairs and in the treads so that it would allow the tape to adhere.
Step 2: Based on the width of your stairs and the runner you chose, you’ll need to measure how much of the stair should be visible on each side, and then plot it on each step. You’ll be lining-up the carpet between those lines, so take your time to make sure everything is straight.
**our stairs aren’t even, so instead of trying to centre them, which would throw-of the alignment of the carpet, we decided to keep an even distance between the carpet and the wall on the left hand side.
Step 2: Apply a strip of carpet tape to the back of the top step. Place the end of the first runner plum against the riser, and then affix 3 staples. You’ll come back and add more once everything is looking the way it’s supposed to.
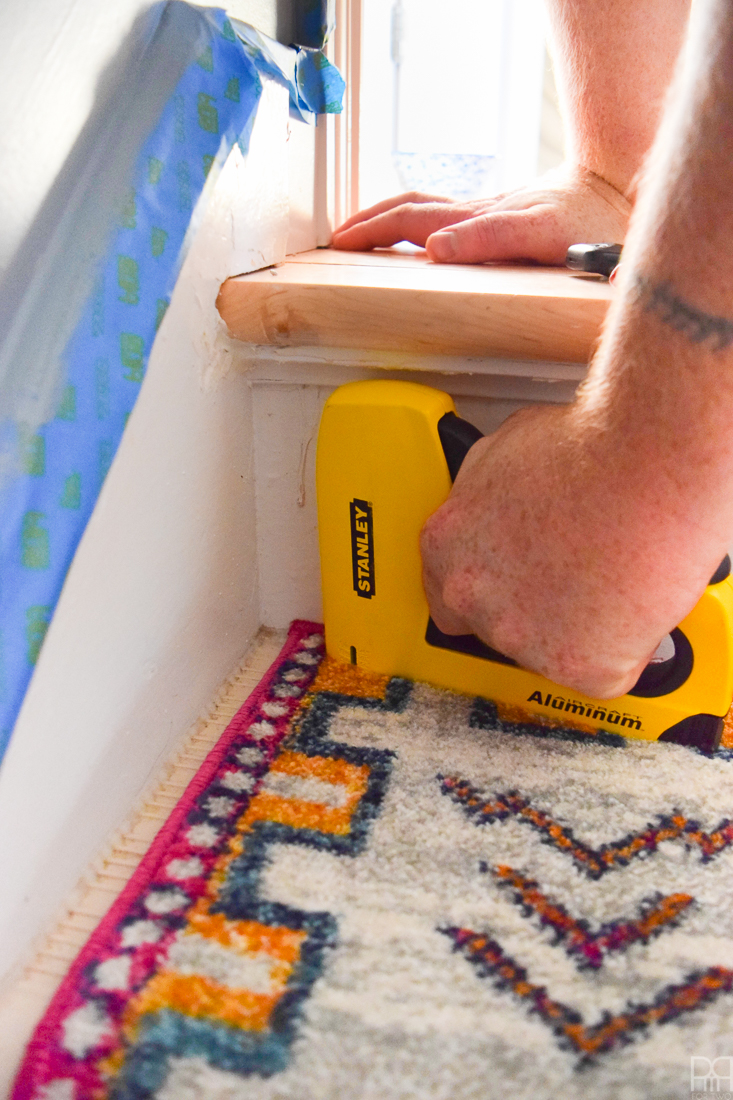
Because its easier to plug wool than it is a plastic tread, we decided to apply staples and tape to the wood riser as opposed to the plastic tread.
Step 3: For the next step, apply a strip of carpet tape at the bottom of the riser below, apply the carpet and then secure with 3 staples. Repeat the process until you come to the end of the runner.
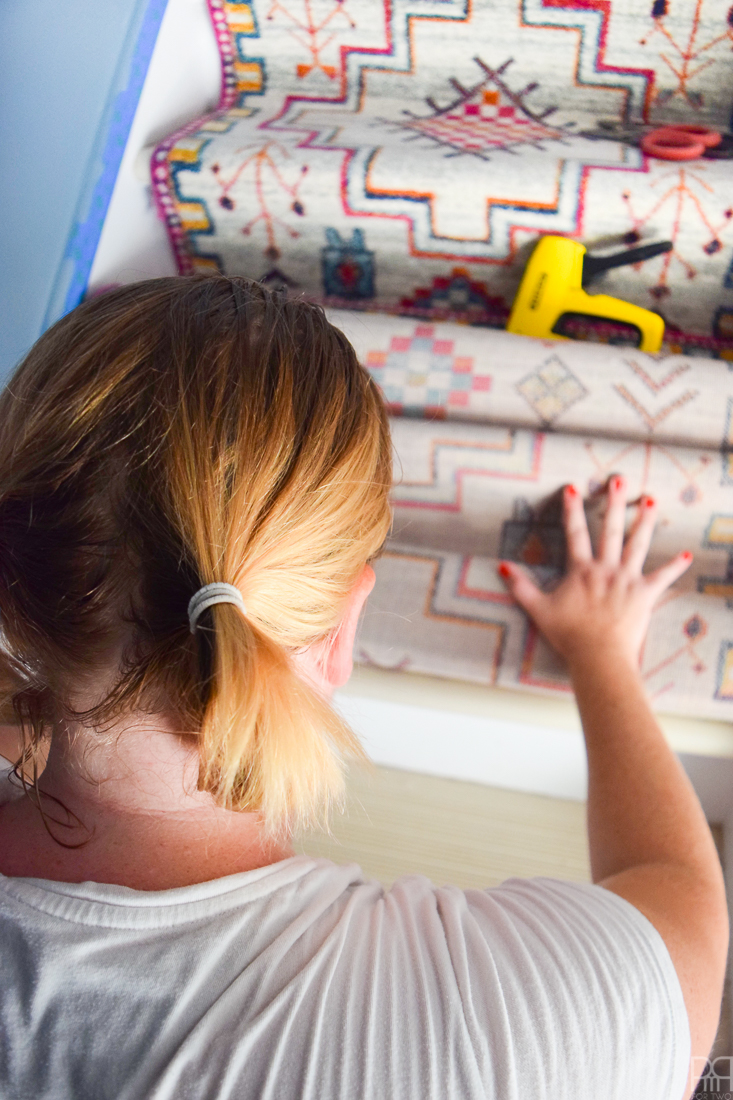
It should be noted that you’ll want to connect seams at the back of the step where the riser meets the tread. As such, if it looks like the carpet on the next step will fall short, you’ll have to adjust and make your cuts accordingly.
On those steps you’ll apply carpet tape on the back of the rise to secure one end, and then on the tread to start with the new runner, much like on step 1.
Step 4: If you have any curves in your stairs like I do, this is where it gets interesting. I needed to make 5 different cuts to accommodate the curved step. And this is where the busy pattern came in handy, because in order to align as much of the carpet from step to step as I could, i needed to cut on angles, which threw-off the pattern.
Because each staircase is different I won’t bother going into the super fine details on this one. It’s visible in the final product, but only if you’re looking for it.
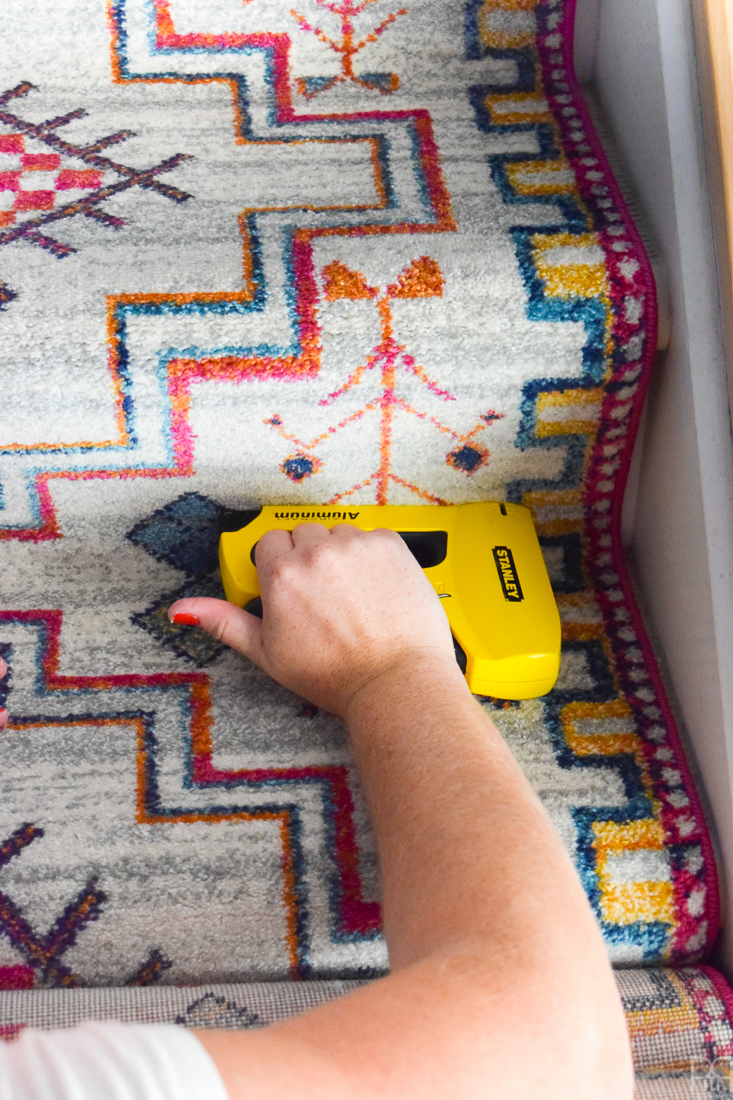
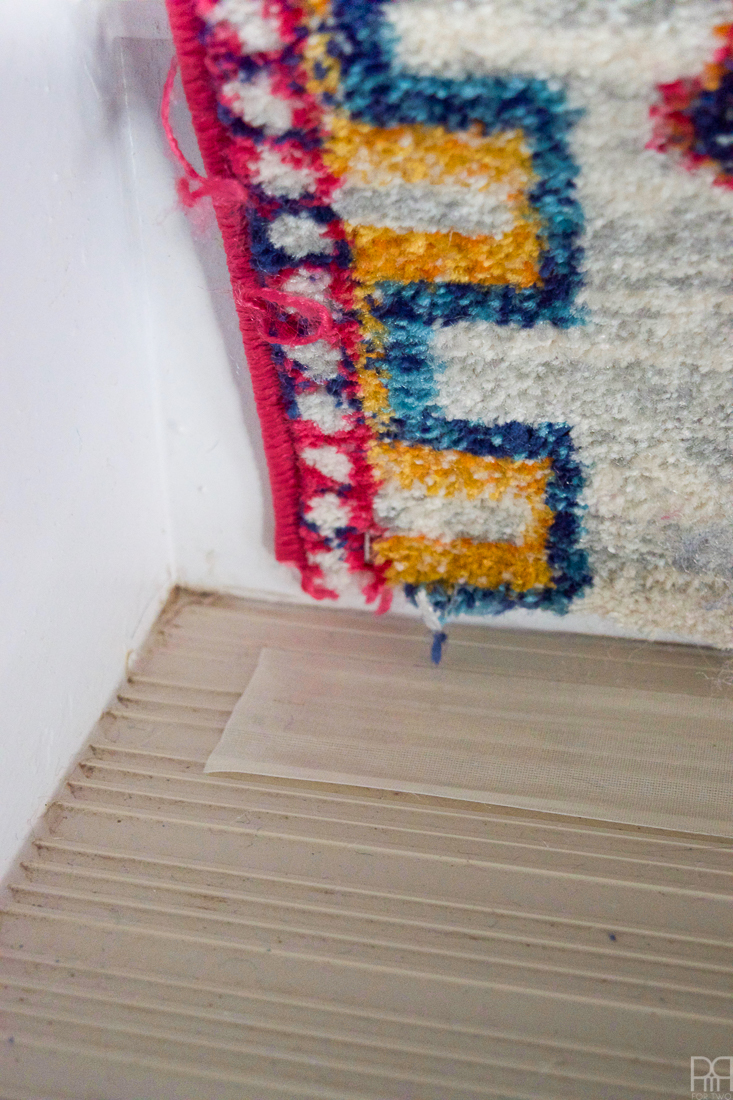
Step 5: Once you’re done, go back and add staples where necessary. The carpet should not slide around when you walk on it. I also took some scissors and cut any stray threads from where I cut the rugs, and then vacuumed the whole thing to get rid of any fibres (from when we cut the runners).
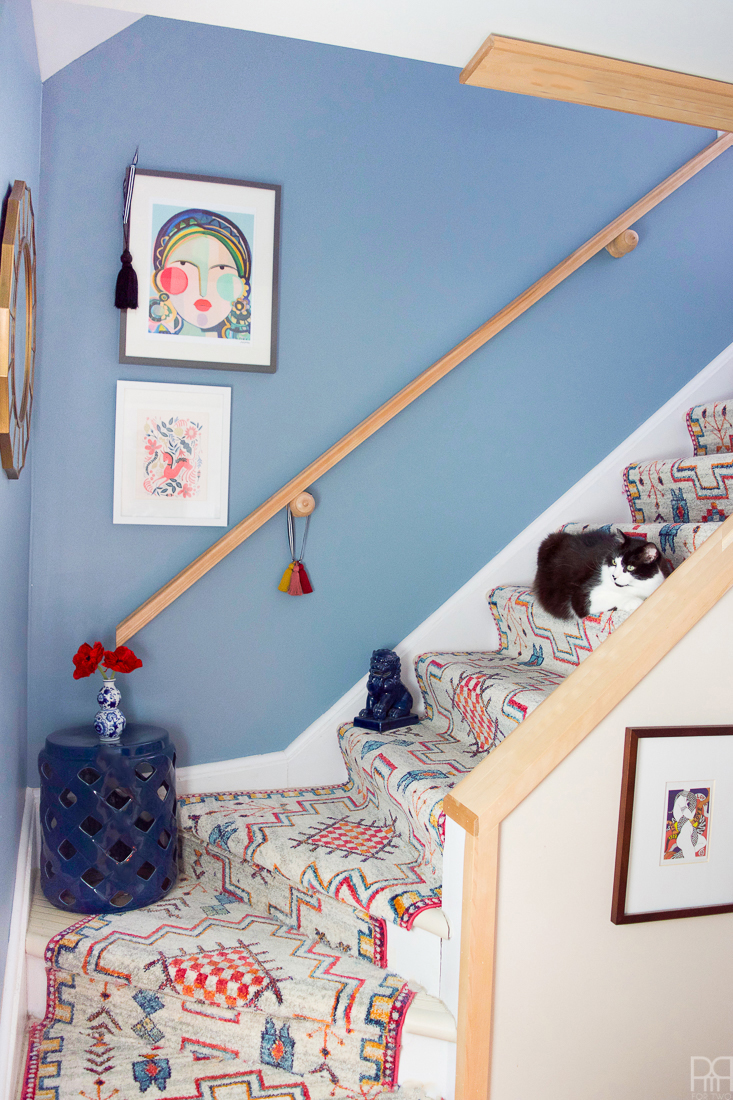
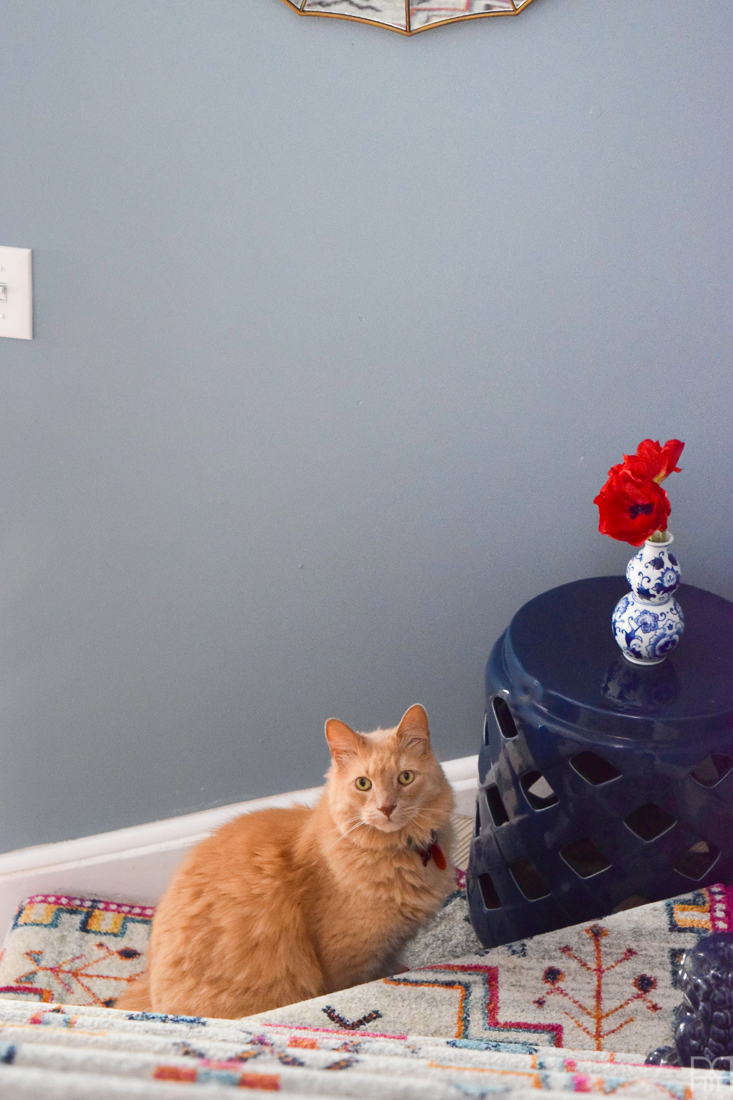
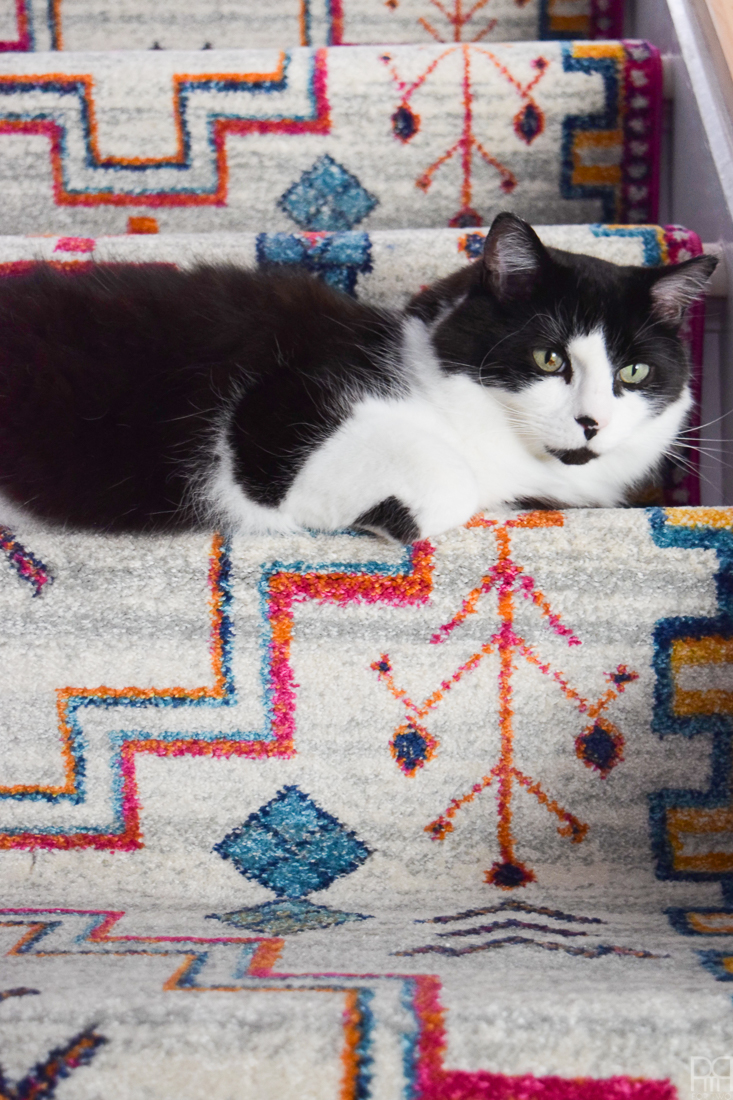
The second I finished putting down the carpet the cats were all over it. Their food bowls usually sit on the stairs, so now they won’t be so noticeable on the runner.


I love how this turned out, Ariel! Those stairs look so good now!! Such a fun rug!
I know right?! Can’t believe I waited this long to do it
It looks so professional! It seems to have got the thumbs up from Bruce, Boots & Toby as well. The print is very attractive. I like it!
Oh yes, all the pets are very happy with the runner!
Looks fantastic! I’m impressed. I can’t even imagine what it would look like if I attempted a project like this.
I’m sure it would look JUST as good ????
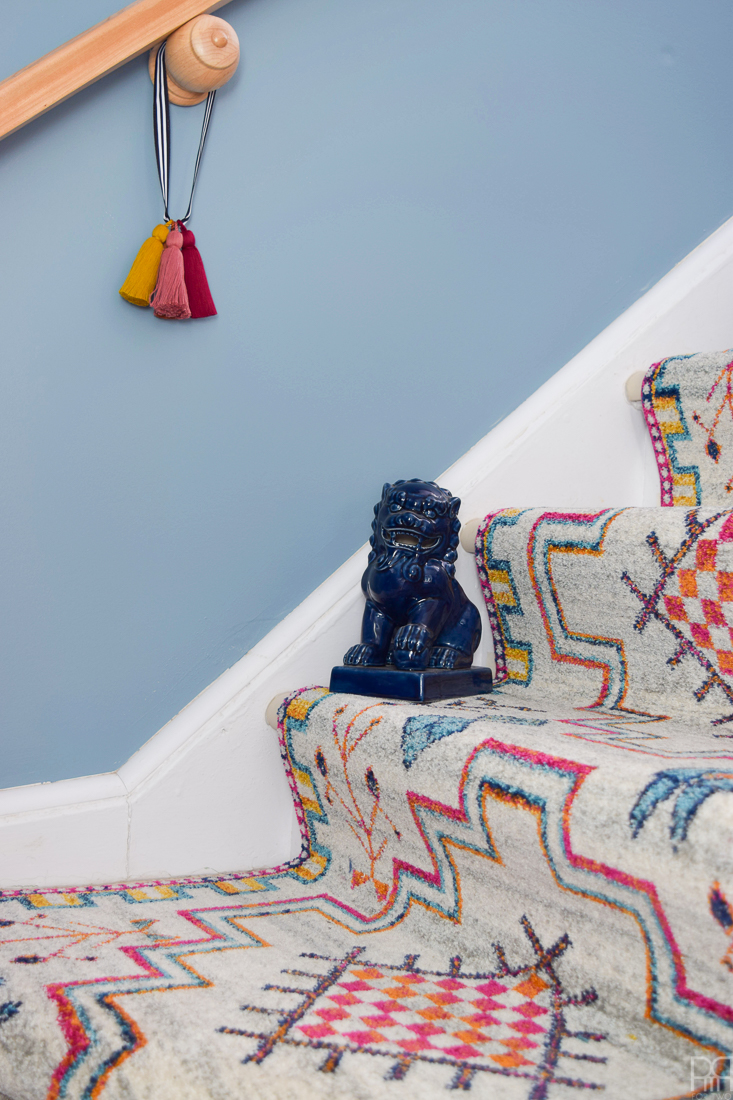
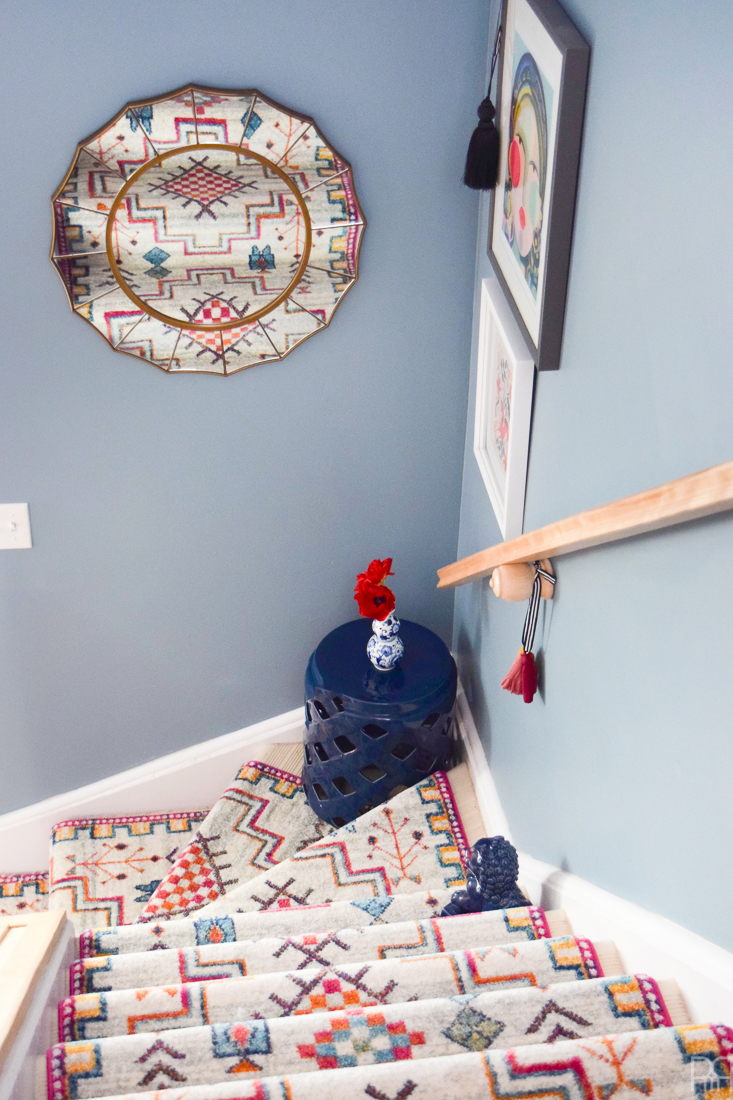
That seems so much easier than I would have thought! The finished look is so bright and lovely. Nice handiwork! And I love your foo dog.
Thank you Jill! It was so much easier! The only tricky part was the curve! Other than that I would have been done in under an hour
That looks amazing! I don’t rent but i still may copy this for my house. i love it!!!
You definitely should 😉
So very beautiful. I love how it turned out. Great job. (everything’s in lower case…sorry, I do not know what happened to my caps).
Aha! Don’t worry 😉
And thank you!
Impressive! I just put a runner on my basement stairs, but I didn’t have any angles or turns! I’m so impressed by how you did it. I also didn’t have to worry about excessive holes. It looks SO great!
Thanks Jess! I was totally inspired by your lovely main floor runner too!
This is so fun!
Thanks girl ????
oH, i LOVE THIS! mY STAIRS ARE VERY SIMILAR TO YOURS WITH THAT CURVE AT THE BOTTOM. i NEVER WOULD’VE ATTEMPTED TO DO THIS BUT AFTER SEEING HOW GREAT YOURS TURNED OUT, i’M GONNA GIVE IT A GO! tHANK YOU!!
You absolutely should! I found the curve to be tricky, but if I had chosen something without a pattern it would have been easier! I hope you can make it work 🙂
Hi. Love the runner. We installing a patterned runner on our stairs with 2 pie stairs aka winders aka a curve lol. How did you fit the runner so the pattern lined up? Thanks
Hi! I chose a pattern that had an easier repeat, and truth be told, it doesn’t fully line-up. BUT because the pattern is so busy it’s no noticeable.
hello! I just found your site and i love it. We may be posted to borden and are entitled to a 2 bedroom. i googled 2 bedroom pmqs to see what they look like and voila found you.
love your decor
S.e.
Hey Susan! I’m so glad google worked that way and it brought you to me! I hope you guys got a renovated Q, because ours makes all the difference. Let me know if you have any questions!
WHERE DID YOU find the cool runner? Love it!!!
It says so right in the post! Lol it’s from Rugs USA 🙂
How much was the runner?
hey! I’m unsure on the exact price, but if you go through the links you’ll see what the current rate is, and if there are any sales!
just saw this now…. looks amazing!
Also love the way the pets seem to think it was for them!
That’s because they think everything is for them 😉 And they’re not wrong!
Much like a commenter above, I did a search to try to find what Pmq’s in Kingston look like and found your website! We’re first timers and not at all sure what we’re in for, so I appreciate seeing all these wonderful tips on what we can do if we hopefully get our own 3-bed pmq soon! Thanks! 🙂
Hi Bronwyn! Well isn’t that fabulous! Thanks for checking in 🙂
Hi! How is the rug doing now? Just got a rental with stairs and a 2 year old so I would love to put a runner on it. The tape won’t leave residue? What about the holes from the staple gun?
Looks gorgeous. Great job!
Hi Linda! The rug is doing well for sure. It’s a little dirtier than I ha hoped, but that’s just because it’s in a high traffic area, and the cats eat their dinner on the stairs.
Unsure about residue, but whatever it leaves we’ll just clean. The staple gun holes are likely inevitable, but given that we put them in discreet places, I’m hopigg they won’t be noticed.
How much did the runner cost?
Hey! I don’t remember the exact price, but if you click through you’ll see the current price! Maybe 100$?
Hi, I was just thinking about doing this in my rental but worried about the nail holes. did you see a lot when you took the runner out?
no not terribly. And if the runner was just wood, you could easily patch and sand after.