Have you ever experienced something so satisfying that you can’t describe it? That’s how I feel about having completed these renter friendly built-ins over the past week. We took our IKEA Billy system and turned them into built-ins, but not just any old built-ins, the kind that can easily be moved! That’s right, they’re not built into the wall and come apart at the seams. How on earth? With the help of some fantastic elements from Metrie.
From the get-go back in May // here // we knew we wanted the built-in look in our PMQ rental, but we also knew that there was no way we could actually build them into the wall and get away with it come inspection time, so we got to scheming. After we moved in and put everything into place, it all felt kinda off, like we were missing something crucial. // here //
And we were! We were missing key elements of the visual and functional component like baseboards, casing and architraves. We really should have finished before we started! That is to say, we should have conceived of our project using those elements before we began putting together everything. Now we know better!
This is where Metrie comes into play. They are the makers and purveyors of some of the finest millwork and interior finishings you’ll see in use these days. Ever wondered where all those amazing One Room Challenge spaces get the trim, casing and baseboards? Metrie. Ever wondered where the palace in Versailles got the trim for all the wall panelling? Metrie! – kidding. And now you can add PMQ for two’s renter friendly built-ins to the list of awesome spaces finished with Metrie.
This is what the bookshelves looked like before. They weren’t anything extraordinary, they were straight out of the box, and assembled hastily between our unload and un-pack day. There was about 8 inches of space on either side of the bookshelves, and they sat awfully far away from the ceiling. There was potential, but nothing that would hint at what they turned into!


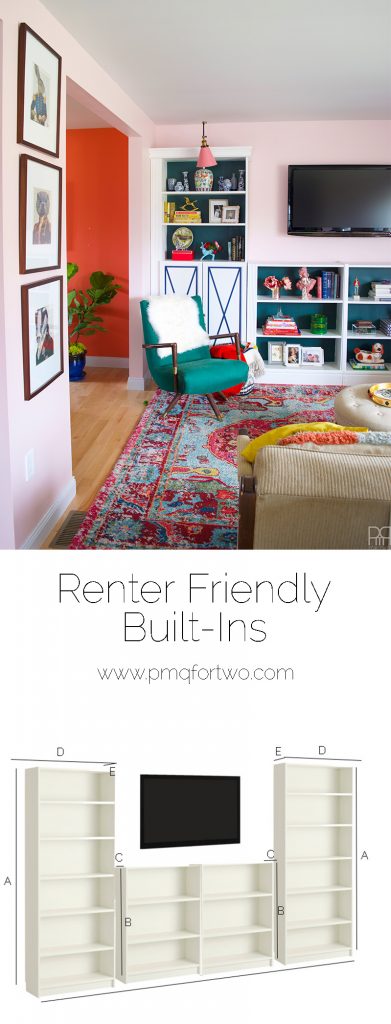
The plan was to add length with the baseboard to hide the ugly footing on the shelves, add space with casing in between the shelving units to fill the space, and add an architrave for added height and grandeur – like a crown of sorts.
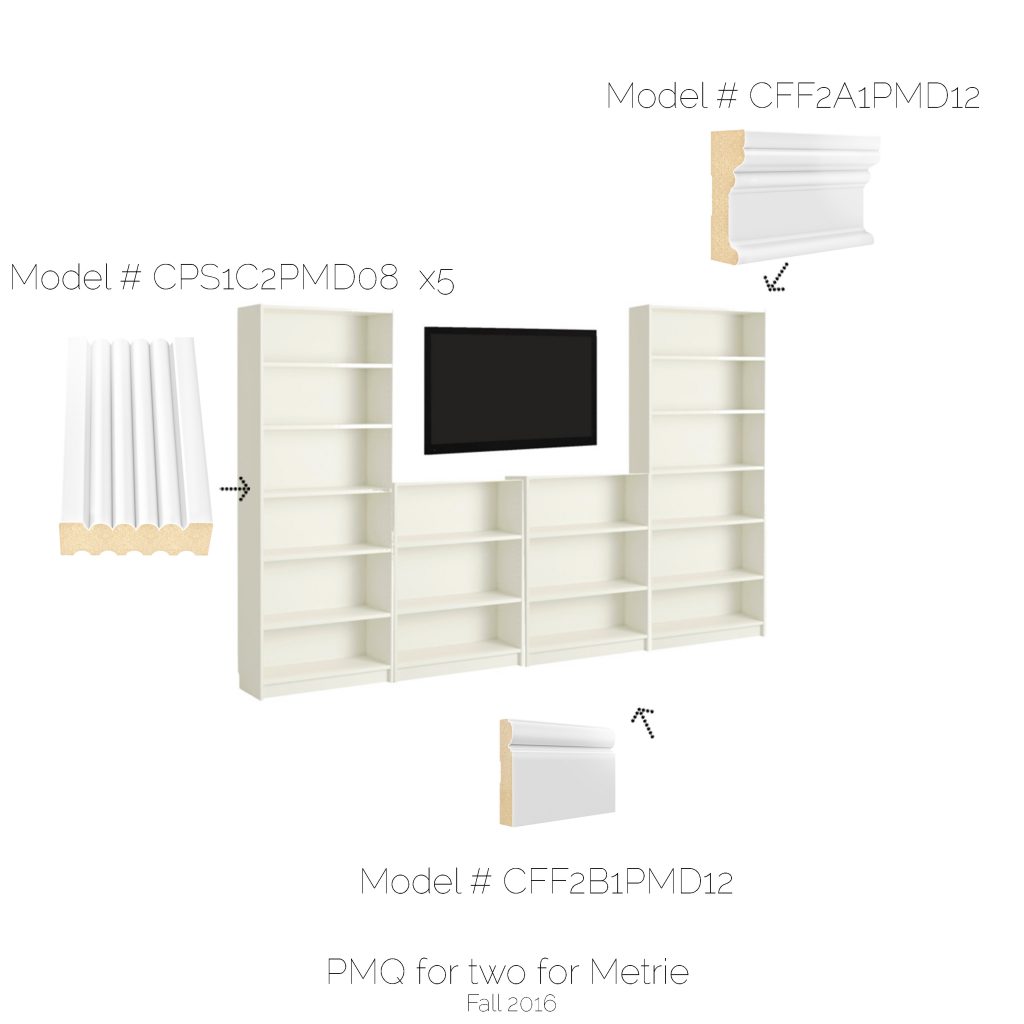 Casing Model # CPS1C2PMD08 // Baseboard # CFF2B1PMD12 // Architrave # CFF2A1PMD12
In choosing the products I did, I went for cohesive elements and collections that added to the room and project without being too overpowering. Some scenarios call for small and dainty pieces of trim, while others demand imposing and present lines. This project needed to be Fashion Forward and Pretty Simple.
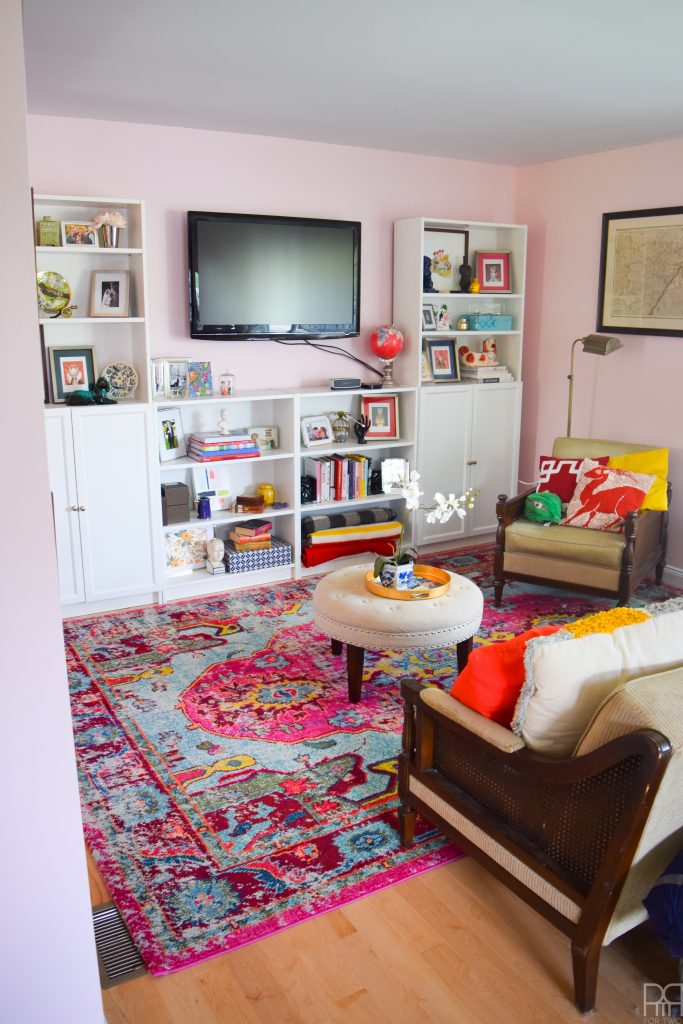
To have the built-ins run the entire width of the wall, we needed to fill about 25″ of space using the casing, and for that they would have to sit flush between the bookcases. To do that, we needed to do the following:
Step 1: Raise the towers by 3″ and the middle bookshelves by 2″. This would add the required height to allow the 5.5″ baseboards to pass in front without impeding access, and allow door clearance on the taller units.
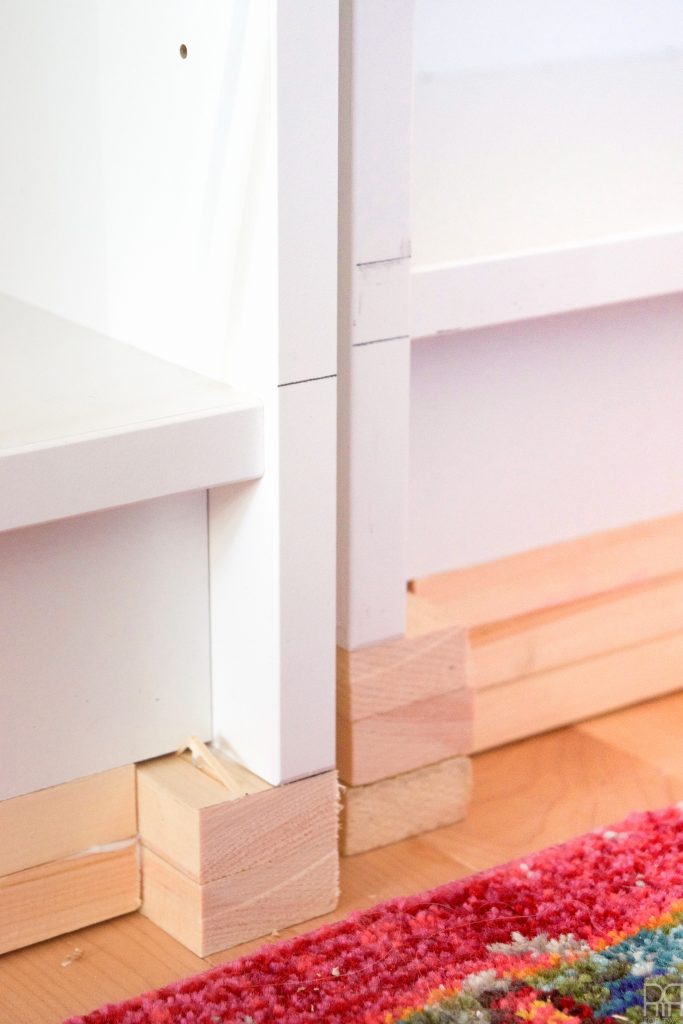
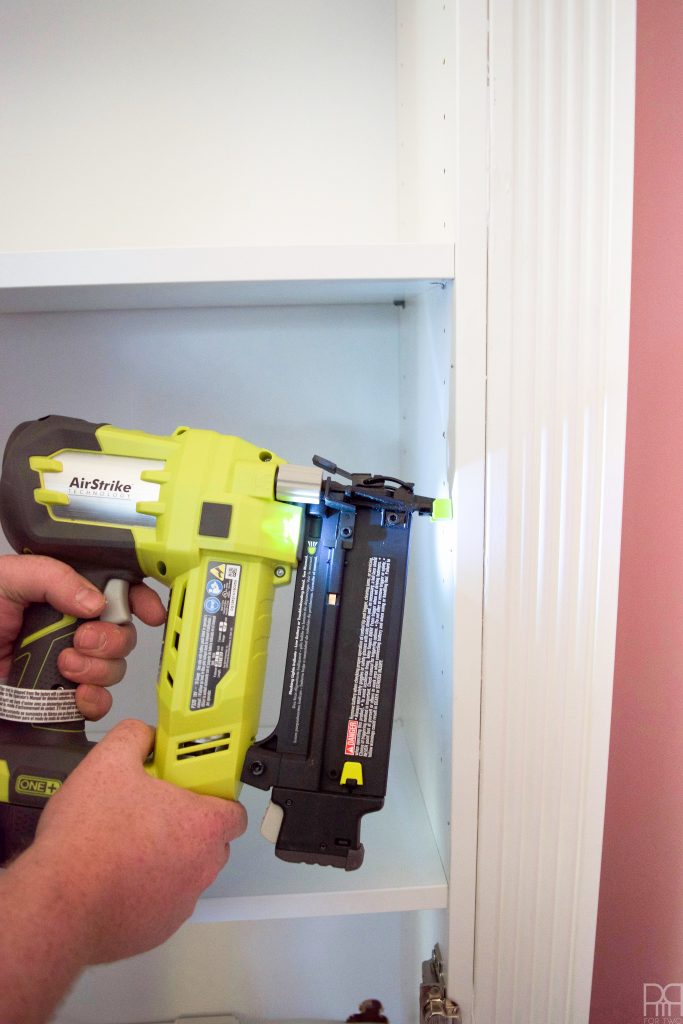
We raised the bookshelves by using 1×2″ and creating a frame that mirrored the footing of the shelves. We then doubled and tripled it respectively. We attached them using wood glue and our Air Strike.
Step 2: Move the outer towers to within 6″ of the wall – that is to say the width of the casing
Step 3: Centre the two lower bookcases on between the towers.
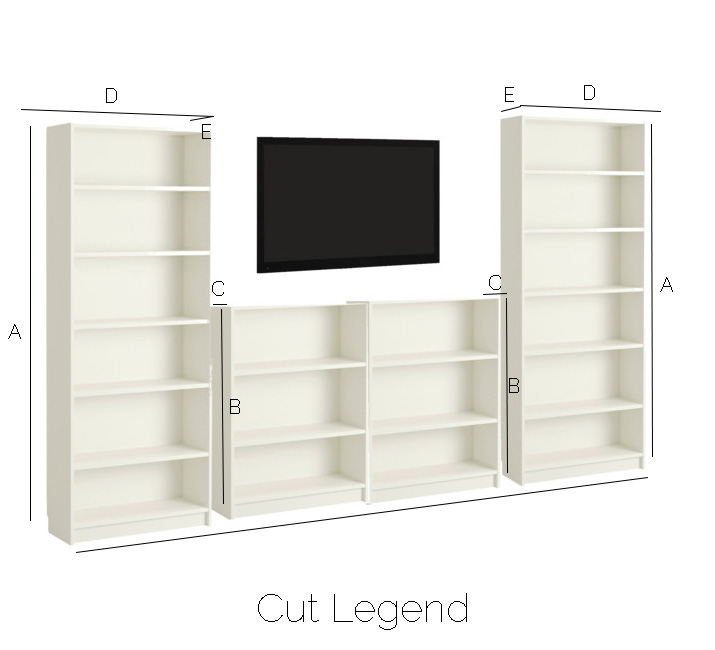
Step 4: Measure and cut the casing.
A – We measured from the top of where the baseboard would hit on the shelf, all the way to the top of the bookshelf.
B + C We decided to have the casing run as tall as they were, and then run along the surface to fill-in the space created by the gap.
Step 5: Install the casing so that it is attached to the bookshelves.
To do this we needed the casings to be attached to the bookshelves only. We used a combination of wood glue, our nail gun and L brackets. For the A + B portions we applied glue to the side of the casing and then fixed it in place while using the nail gun to fire nails into it from inside the bookcase.
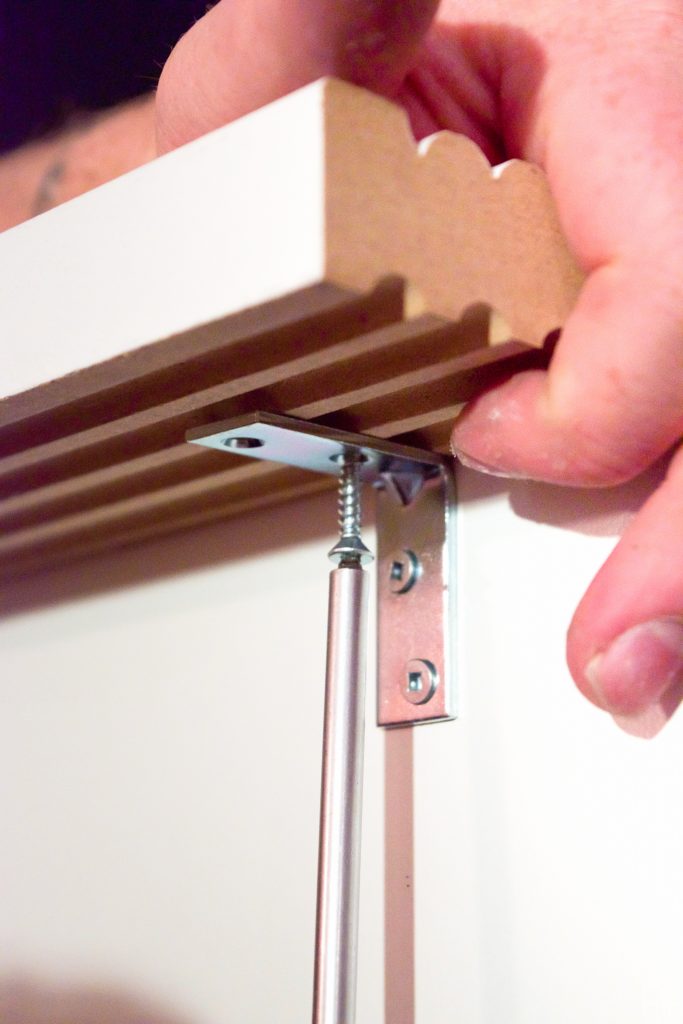
For the C segments, we used L brackets.
Once completed, the middle bookshelves looked like this, before being slid into place.
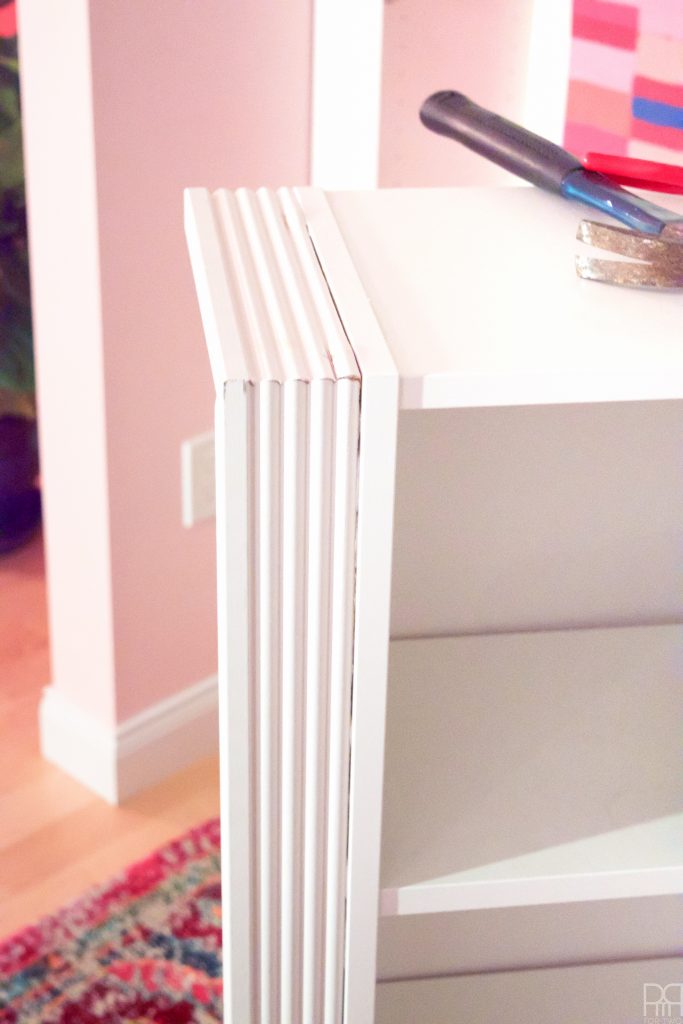
Remember: Since the middle bookshelves were meeting in the middle, the casing only had to go on their exterior sides (see the graphic).
Step 6: Once all the bookshelves had their vertical casing, we moved them back into place against the wall, and secured the shelves to the wall using the manufacturer’s devices (think of a really big L bracket).
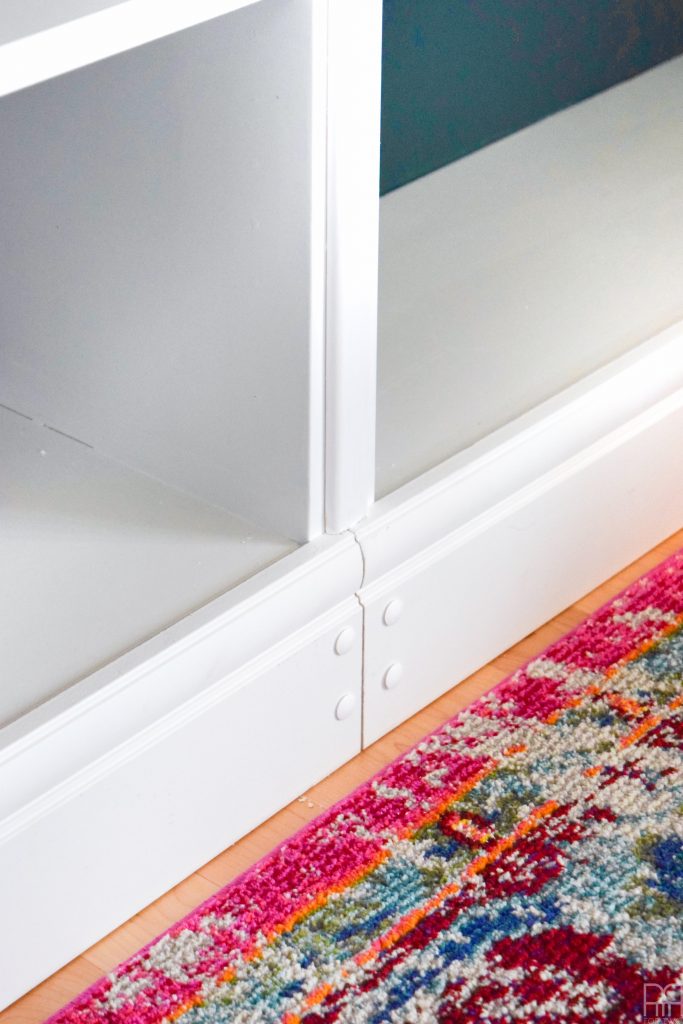
Step 7: We then applied the baseboard in two parts (for easier diss-assembly), using screws straight into the framing we had built to elevate the shelves.
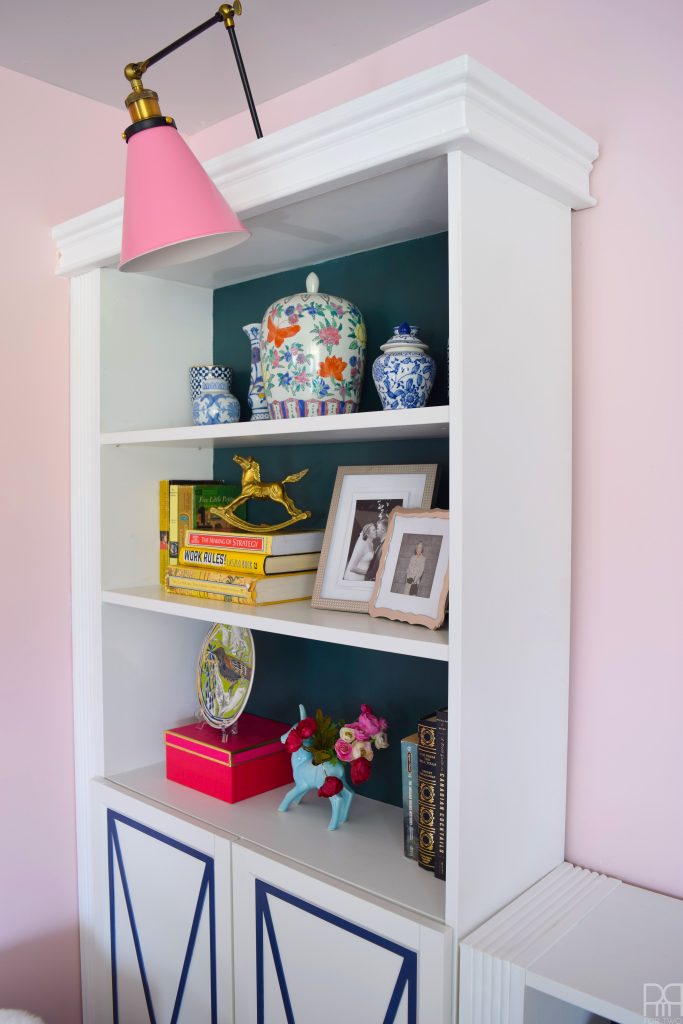
Step 8: The architrave was measured and cut to span from the wall where the casing was, to the exposed corner, and then run perpendicular back to the wall. Cuts D + E.
It should be noted we used a mitre saw with very precise angles to cut the 45 degree cuts required fur such a tight joint.
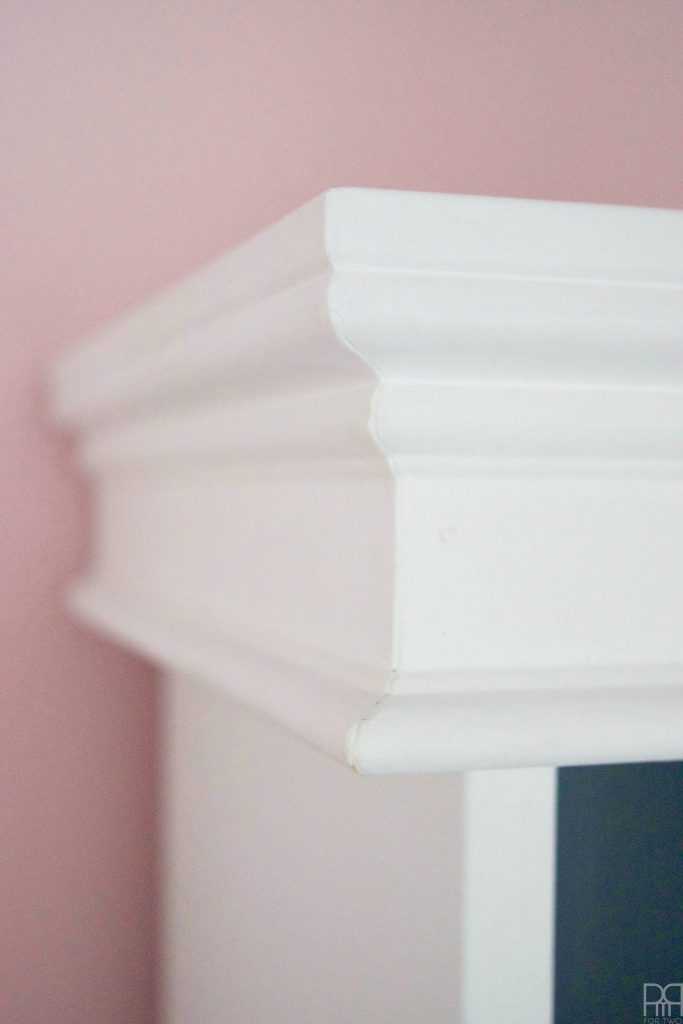
Step 9: We affixed the architrave to the towers using L brackets and screws again.
Step 10: Now that everything was in place, it was time to fill in any crack using spackle. Because the casing, baseboards, architrave and bookshelves were white (and spackle is usually white) we went with a version that went on pink and dried white.
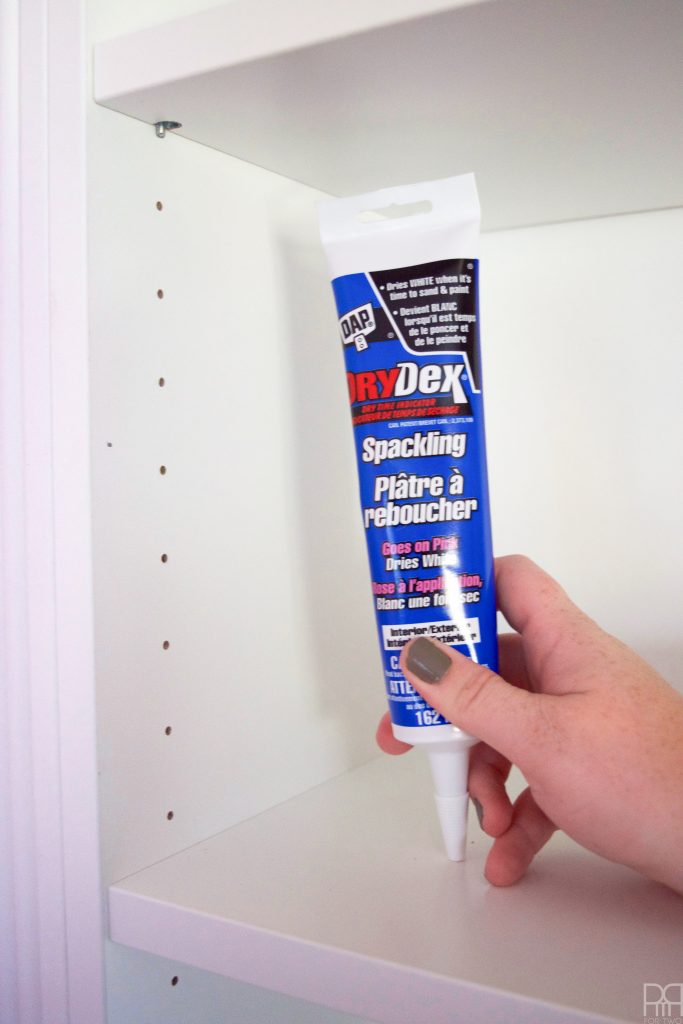
We used it to fill any crevices and plug the holes in our shelving. We decided on fixed heights for the shelves and got to it!
Step 11: After sanding down any excess dry spackle, we now had to paint! Because we opted for primed pieces, all we had to was pick a colour! We had originally thought of a deep grey, but once we tested it we weren’t too keen on how it all looked.
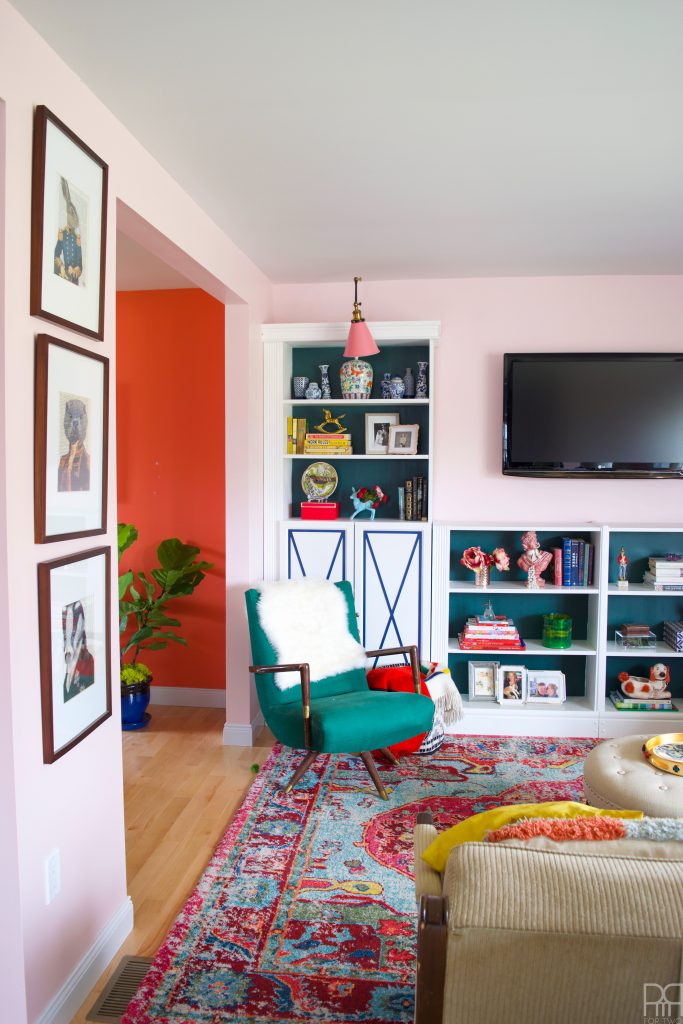
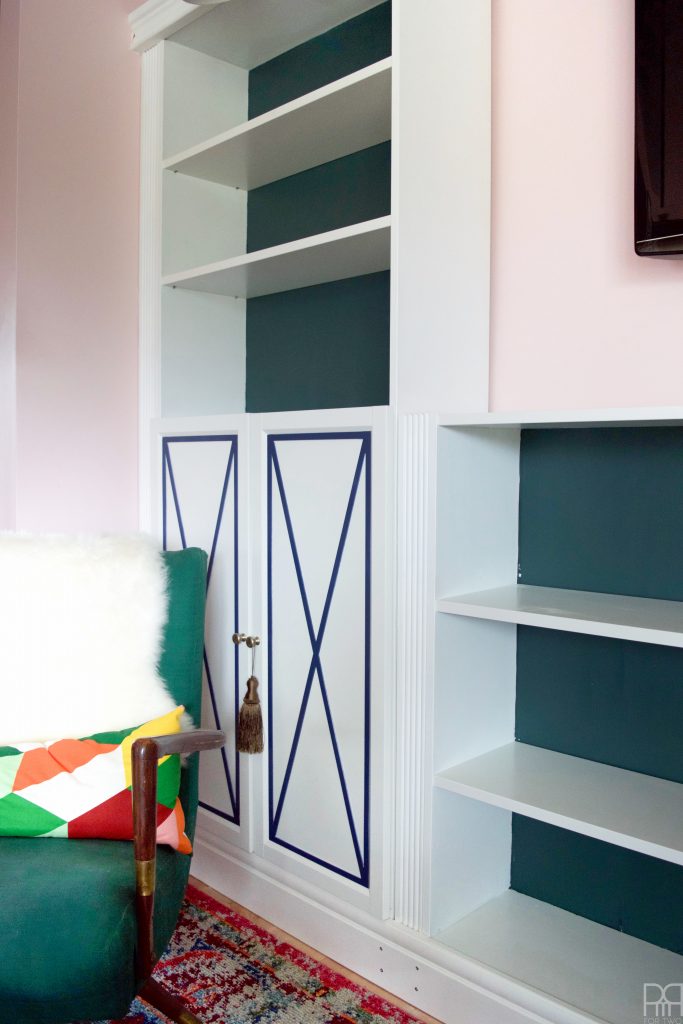
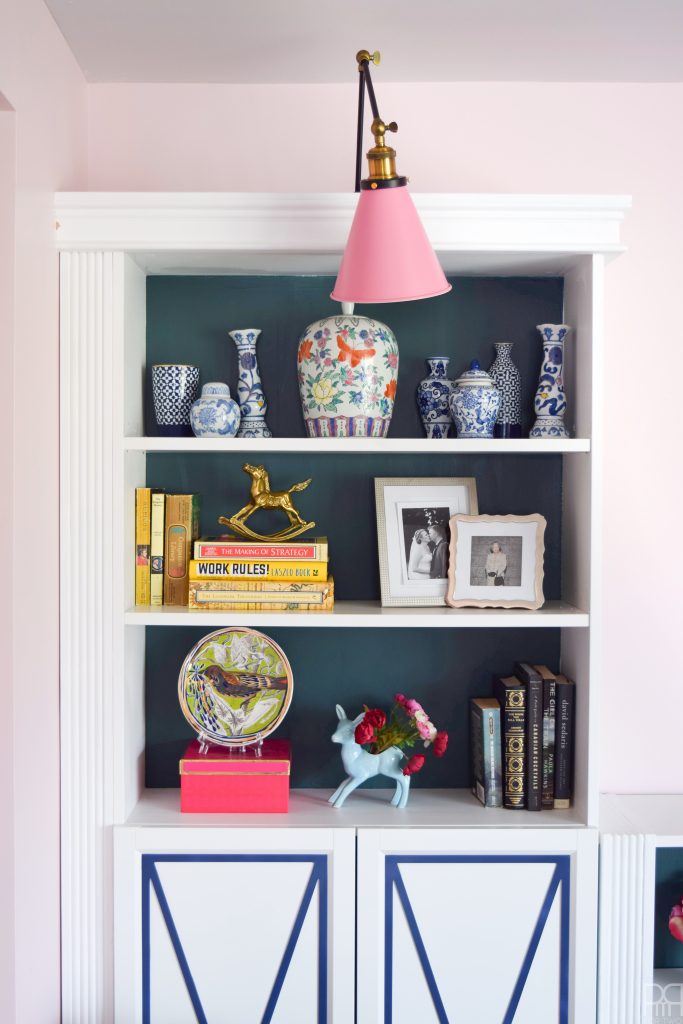
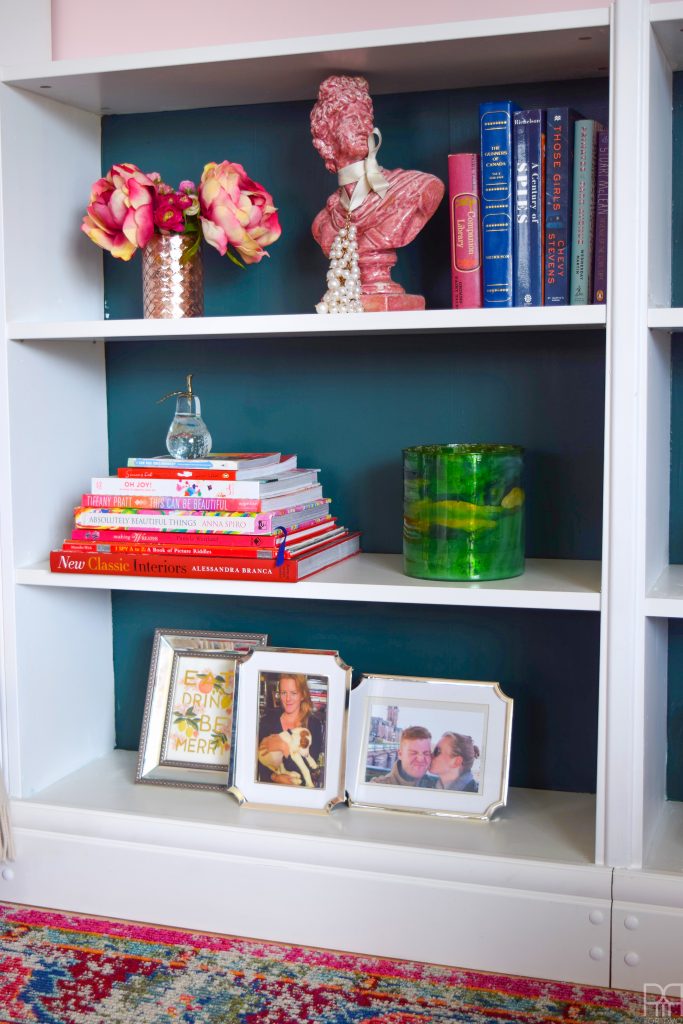
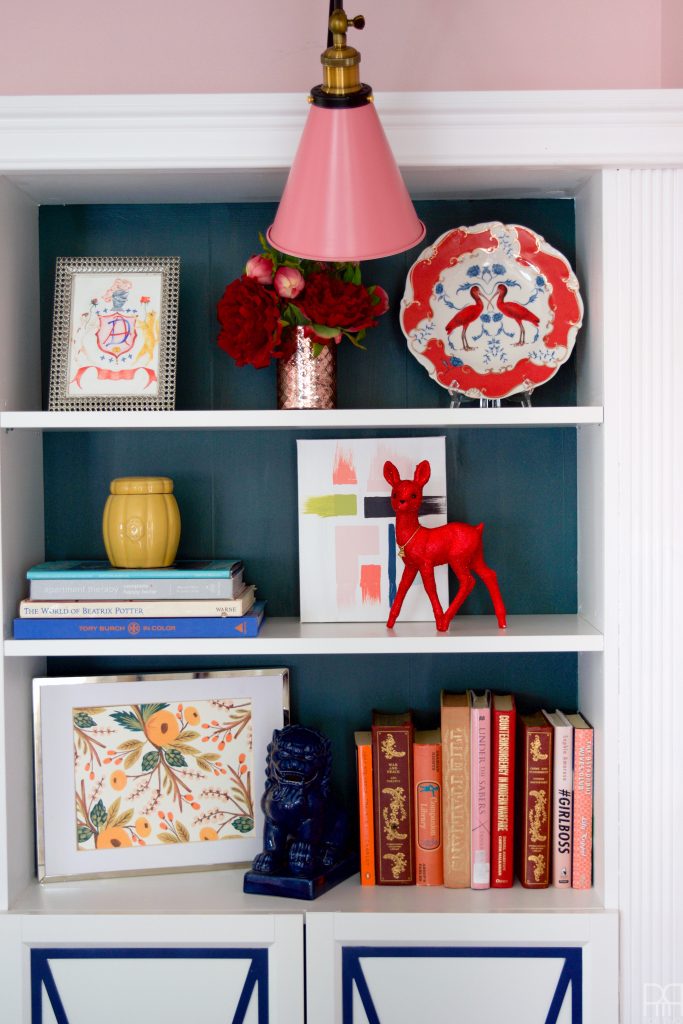
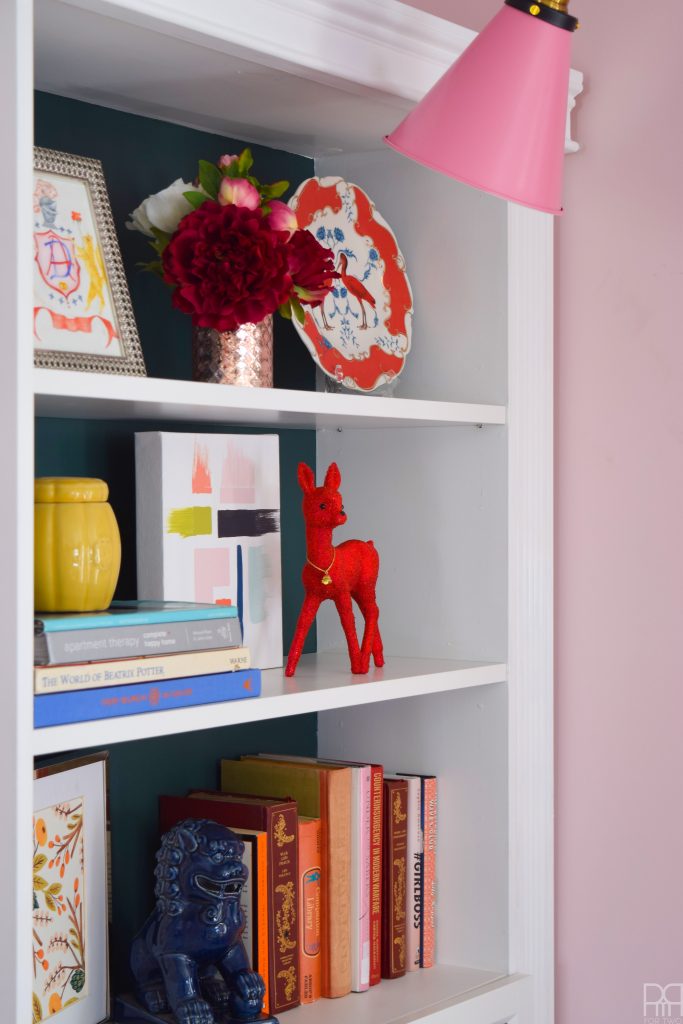
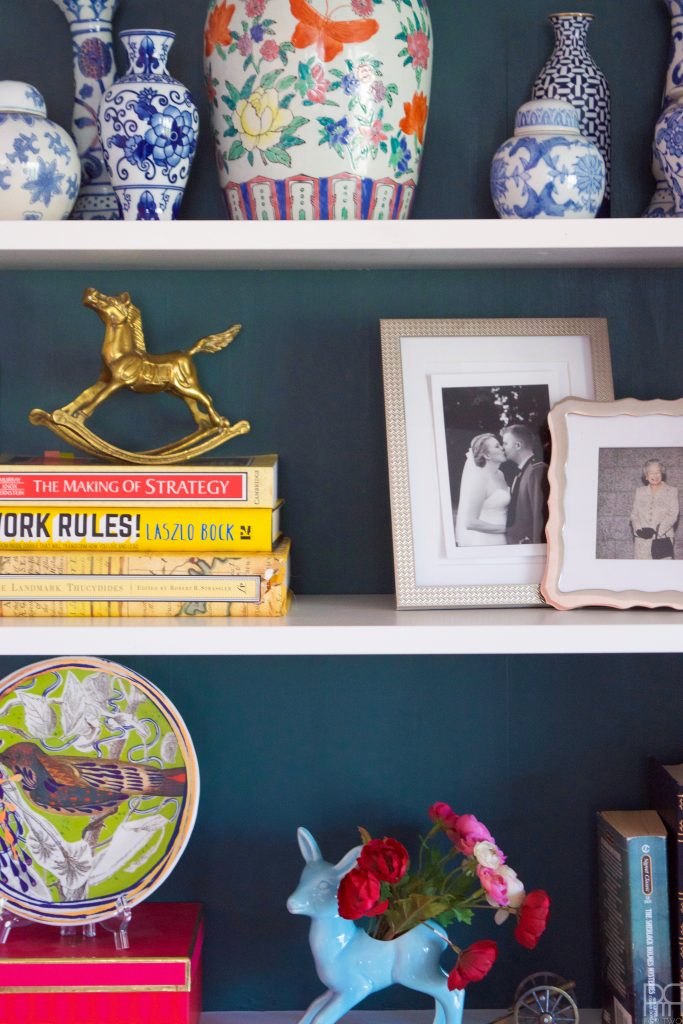
Since I had been musing about wallpaper in the backs of our shelves for months and still couldn’t decide, we opted to paint the backings a deep green. We used Behr’s Hosta Leaf MQ6-09.
Step 12: Once everything was dry I sealed it all to prevent scratching and discolouration over time and moves.
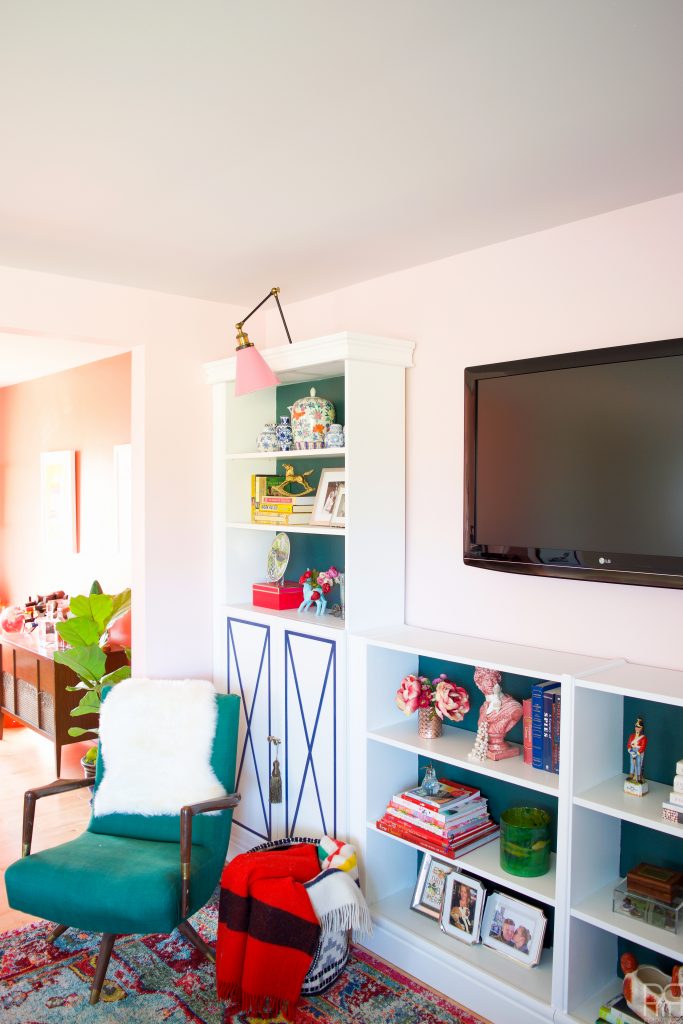
Step 13: We added our articulated sconces // here // to the tops of the towers, hidden behind the architraces, for an extra pop of colour and utility in our movable and renter friendly shelves.
Step 23…. I mean 14: After a grace period of 24hrs – waiting for everything to dry – I put the shelves back and replaced the doors – Finally ready to style!
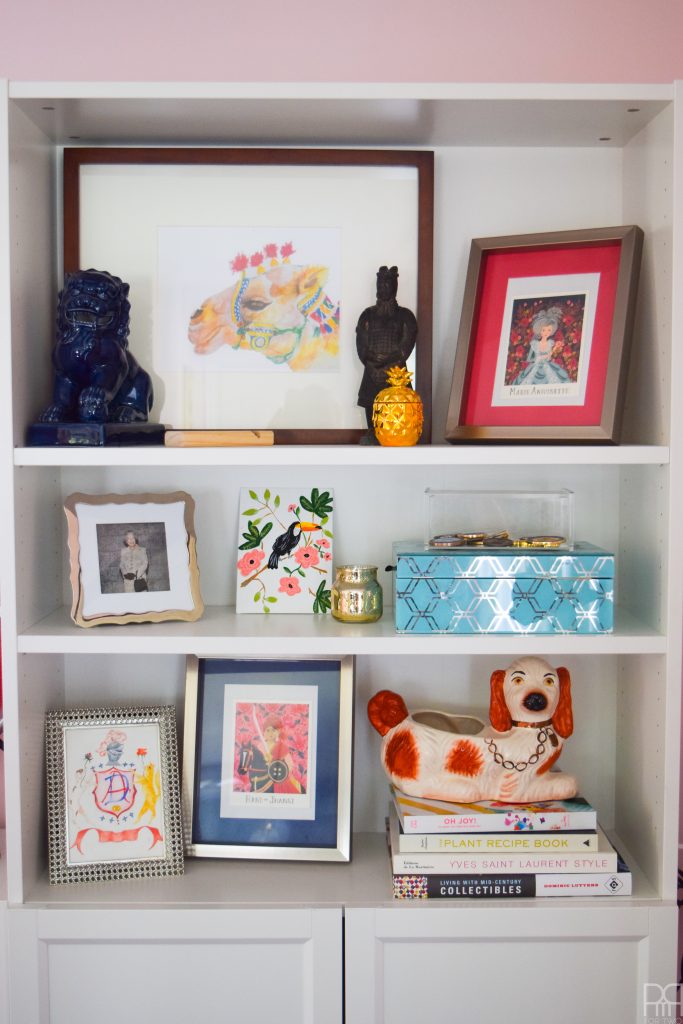
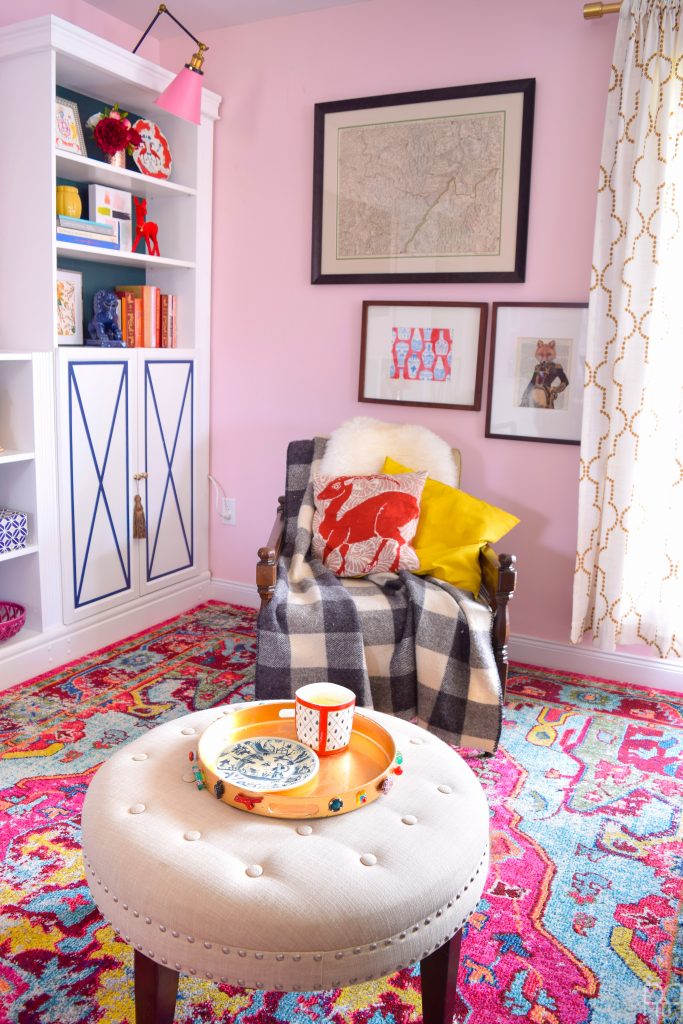
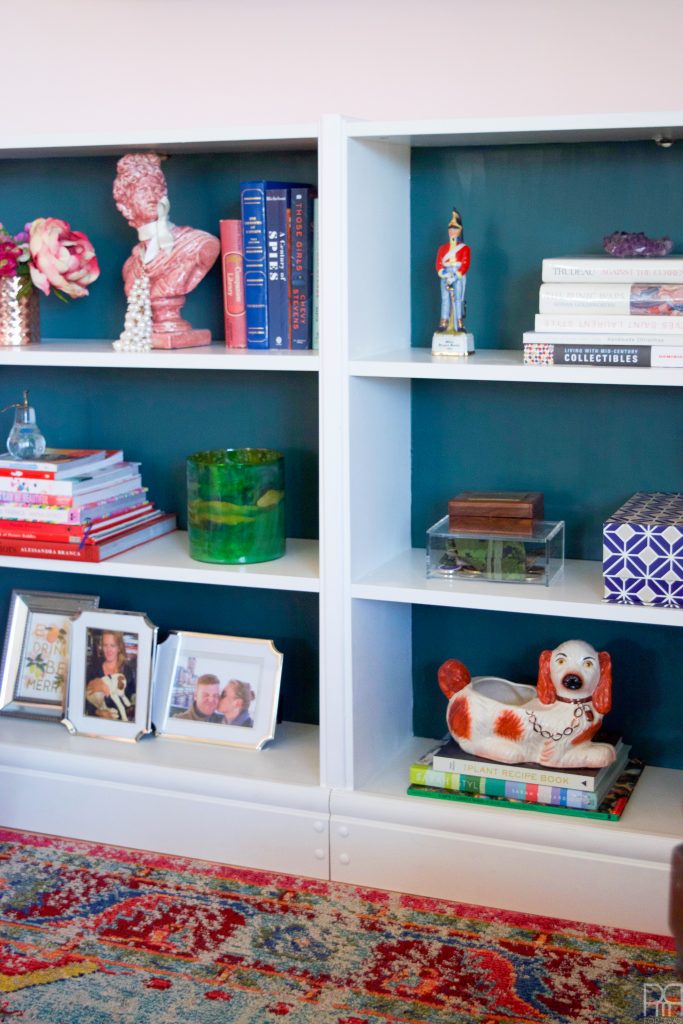
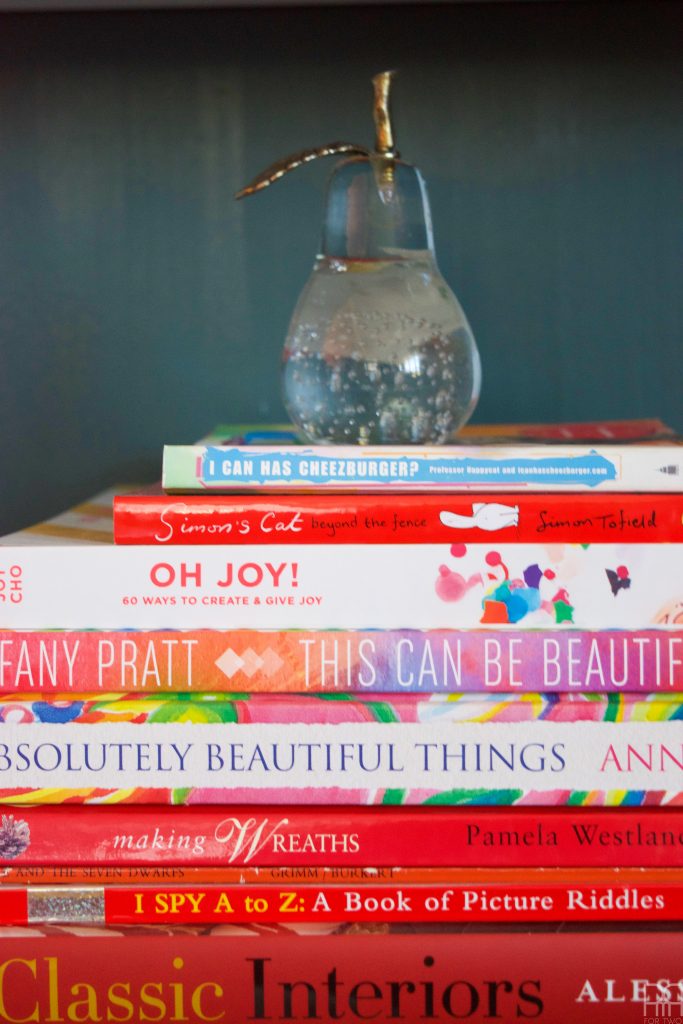
After a few days’ work, lots of waiting for things to dry – be it glue or paint – we finally had our renter friendly built-ins! I then promptly took 4 hours to style them, and then another 20 minutes of just staring at them before I got my butt in gear and photographed them.

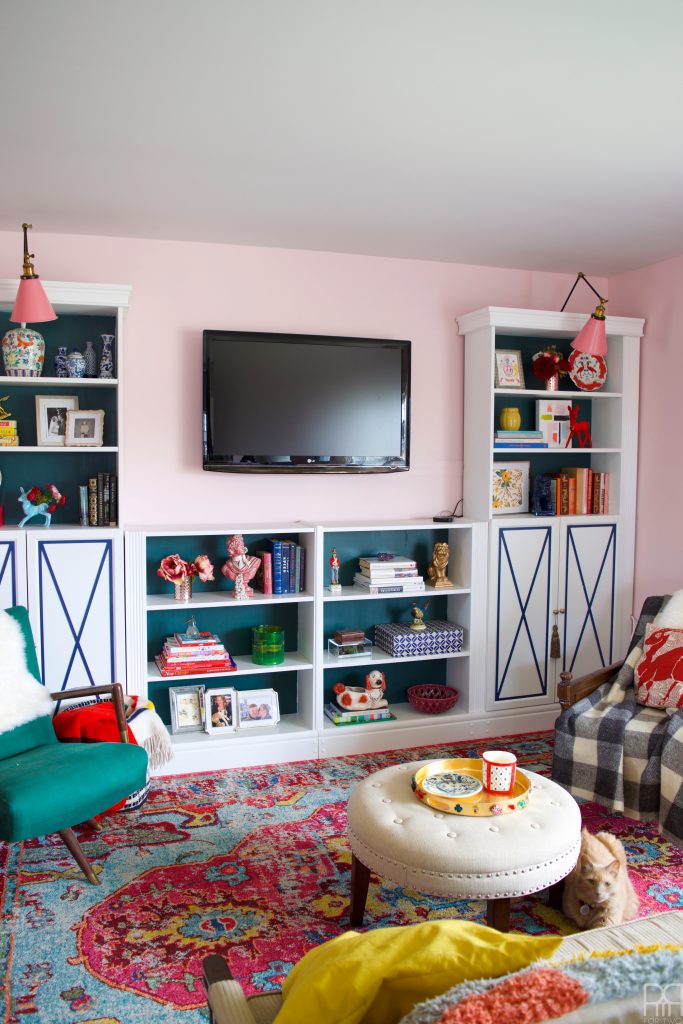
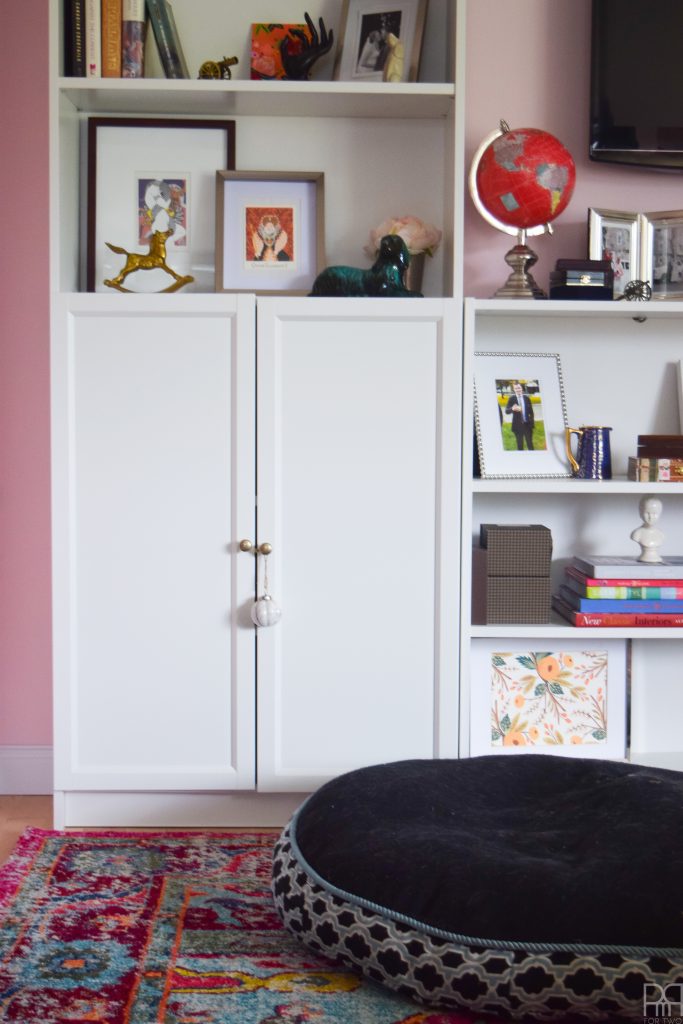
Do you see Boots? I think he’s present for all my family room projects.
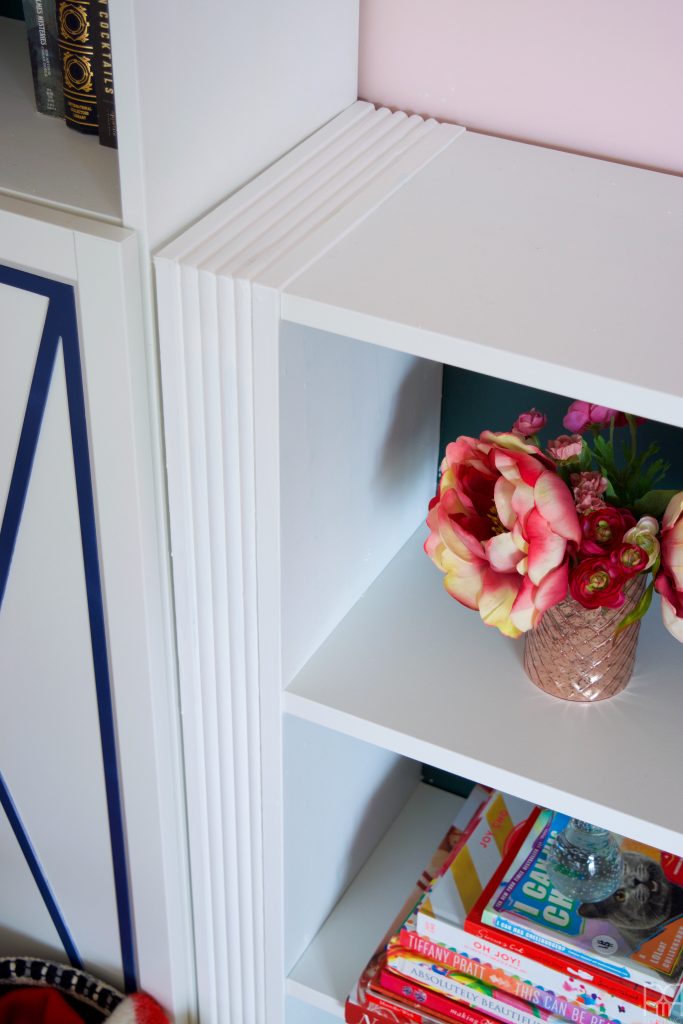
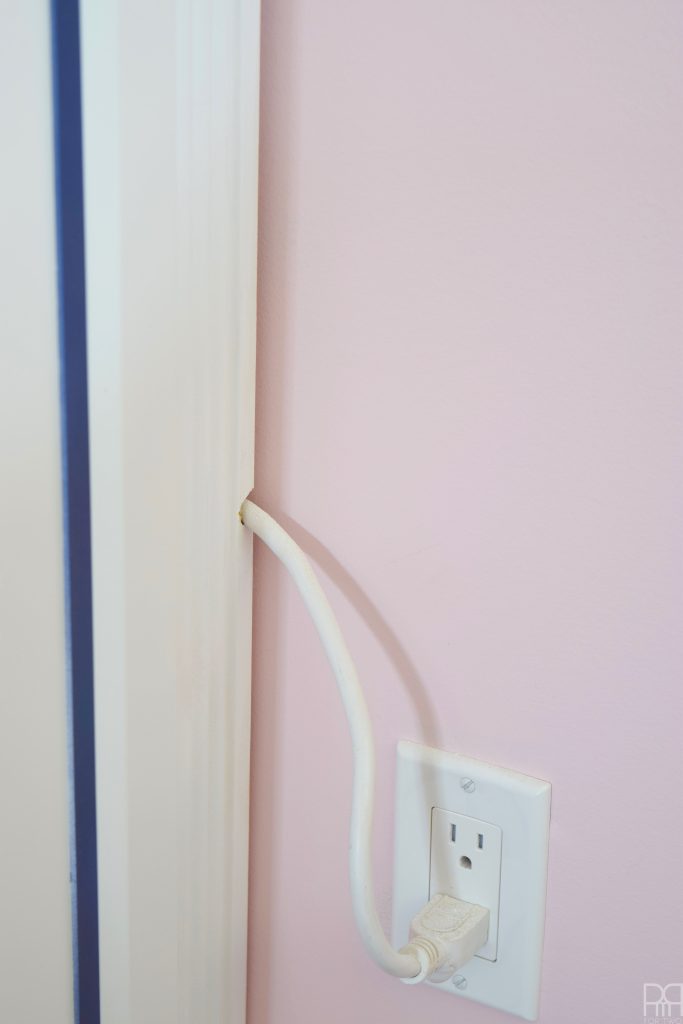
I’ll let you in on a little secret – we had to drill a hole in the casing on the far right, to allow for the extension cord/power bar that we keep inside the right-hand cupboard to still plug-in!


AMAZING! I am pinning this all over the place. I LOVE this. Your styling is amazing too. Someday I’ll be able to say that I slept with a famous stylist.
I.AM.DYING over here! ahahahahahahahahaha it’s true, it was the weirdest one night stand ever 😉
Thanks for pinning! I would love love love to get some good traction on this!
Looks great! I used the same concept when I lived in our rental townhouse. Love it and all the whimsy touches.
Really?! I gotta check those out! I feel like I didn’t invent the wheel here, but gosh darn if it doesn’t look good together eh?!
these look sooooooo good, ariel! love the teal backing, too! and the pink sconces!
Isn’t it all just kinda perfect?! and when we move, if the green no longer suits I can paint it!
First of all – this looks fantastic, well done.
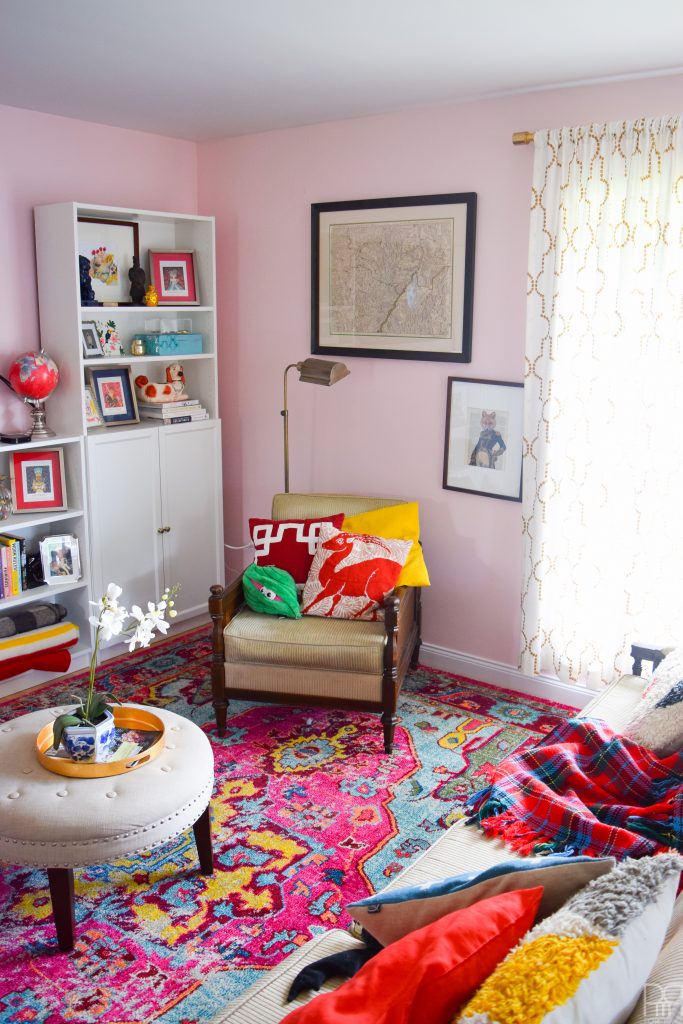
Second – that rug…WOW. I don’t think I’ve seen so much of it all at once and it is so wow.
Finally – (and, this is embarrassing) when you first introduced “moving shelves” I thought they were going to have hinges or something and reveal a secret room behind them or something like that. But now I get it – “moving shelves” refers to shelves that will easily move when you move out! Bahahahaha!
First of all: Thank you 🙂 I am so so so happy with how they turned out.
Second: oh yeah? I could have sworn I had done better reveal photos this summer! Either way, glad you’re digging the vibe!
Finally: AHAHAHA omg I’m so sorry! Reading back now I can totally see why you thought they might be on caster wheels or something. But no, these are just renter friendly in that they’re easy to move with you.
I love your use of colour..I have seasonal affective disorder and I think I am going to start to use more colour to give me added relief!…Your design style makes me smile…it’s so refreshing!
Nance you absolutely should! Nothing cheers me up come the depths of January quite like some bright colours
They’re beautiful, Ariel! I love the blue backing! It makes all of your fun decor pop!
it’s actually green! I love that it reads bluish in some lights though!
love everything you have done in this room, the rug is gorgeous! Love the styling of the bookcases, so many “pretties”,
thank you 🙂 This space was a labour of love and I’m still very happy with it