Welcome to this month’s edition of #12monthsofDIY! For March, the theme was wood hashtag march woodworking. Woop whoop! For this month’s edition I gave our IKEA bedside tables a revamp. Isn’t the red to die for?!
To be honest, we still have 5ft snow banks along the driveway, so the likelihood of me getting outside to do some wood working was slim to none. Without a garage we’re not really set-up for wood working in the middle of winter or until the snow is gone. To make up for it, I opted to paint our bedside tables.
Lately I’ve found our bedroom to be a little dark. It’s the one room in the house that hasn’t received a large dose of colour. As a space it received very little natural light, it has awkward spacing, and a large bed that dominates the middle of the room. There’s not much room for fun furniture other than a bed, a dresser and two side tables.
To bring some colour into the equation I wanted to paint our bedside tables bright red. Having never painted furniture before I asked around the blogging world and I got quite a few recommendations for Fusion Mineral Paint. Perusing their colour palette I was overwhelmed with choices and was nearly swayed by the metallics line by Matthew Mead but stuck to my guns and went with Fort York Red.
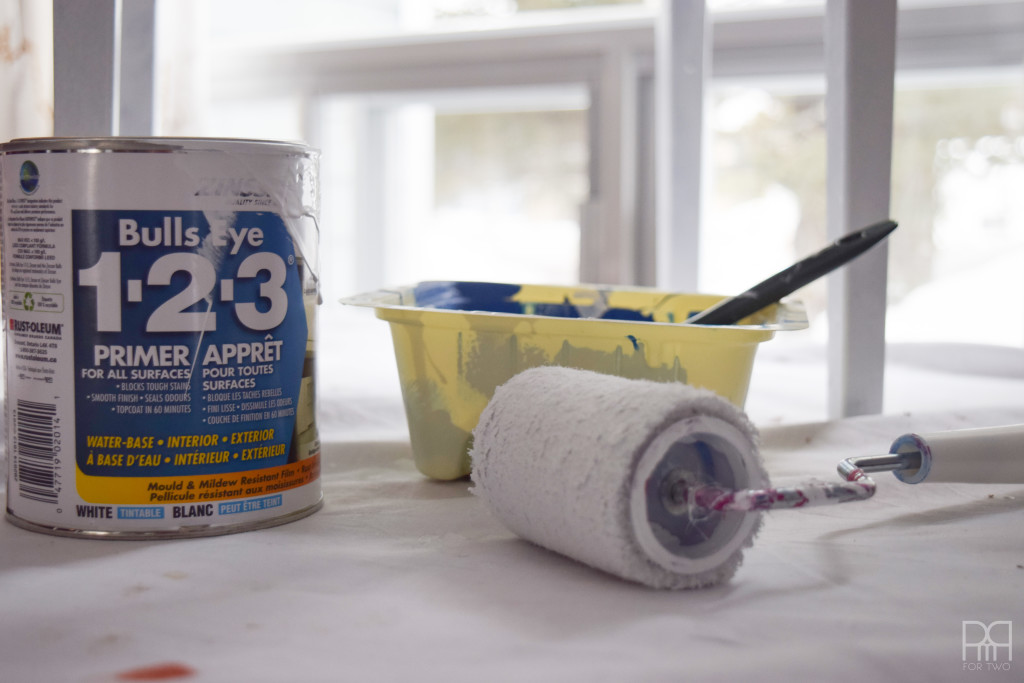
In the past, I’ve read about people sanding their IKEA furniture before painting it, but that seemed time consuming and rather impossible given the weather, so I started looking for another option. I came across a suggestion for a good primer and opted to use that.
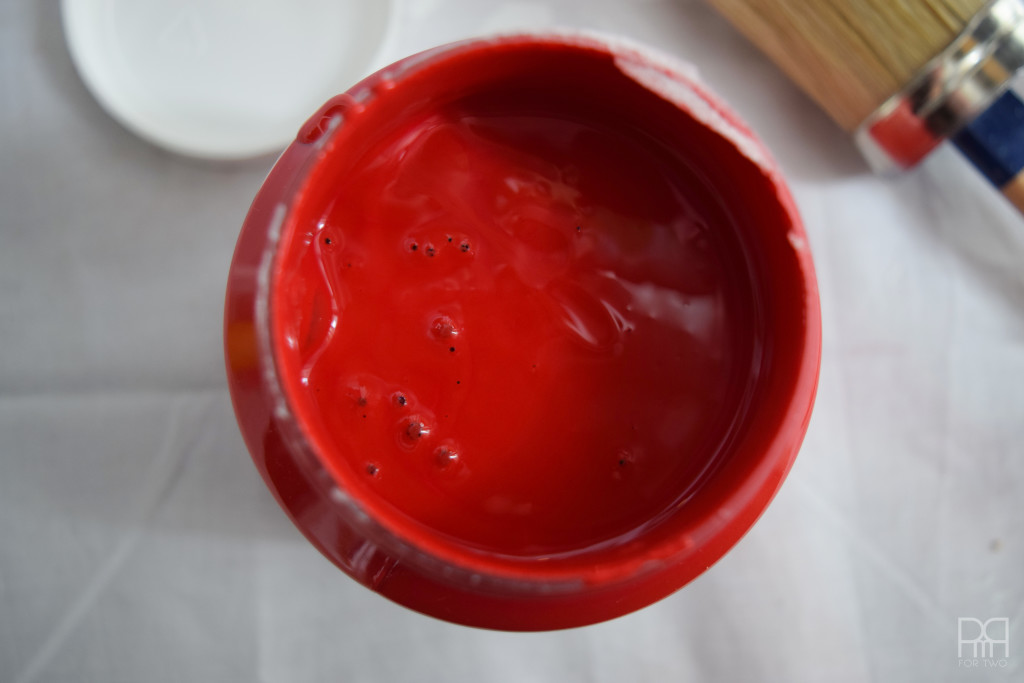
Armed with the primer I got to work on my side tables and painted on a nice thick coat to prep the dark tables for their bright red colour.
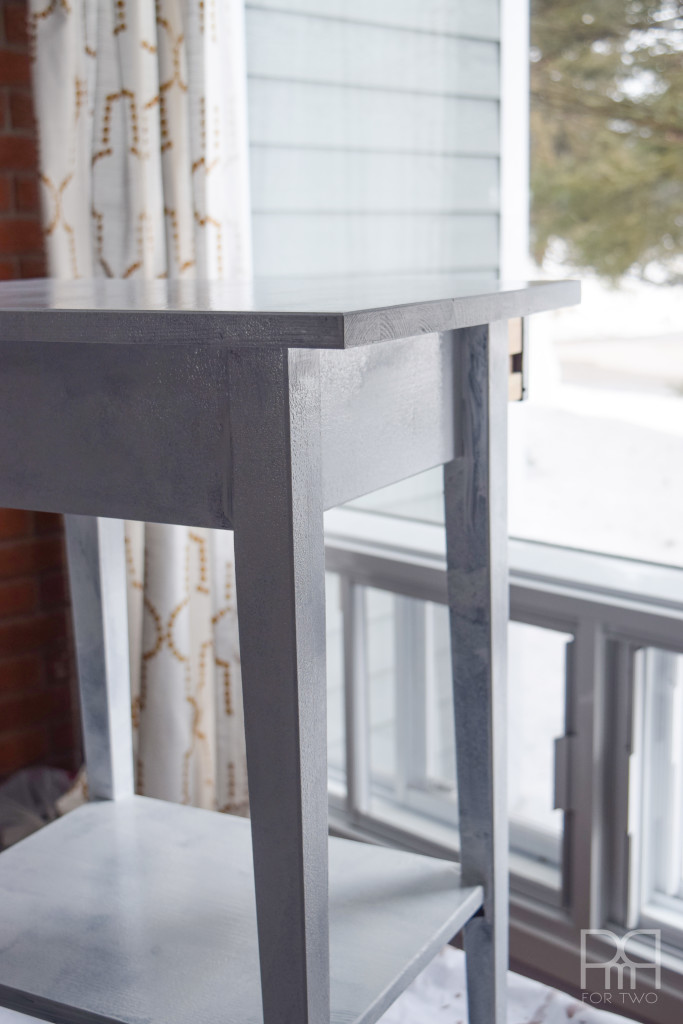
Once the primer had dried, I shook-up the paint and got down to the business of painting these tables.
It took several coats to get the hue and coverage I was looking for, but the standard pint had enough paint to cover both side tables three times.
When I ordered the paint I also snagged one of their craftsman brushes. The quality and workmanship that goes into them made the investment worth it; think of a really nice makeup brush and then amplify it x10 and you now have a great paint brush.
For some history on paint brushes:
“The Old Masters used only rounds. Flats weren’t developed until the nineteenth century. Sable and other forms of soft hair brushes were unheard of. The painter would use a new bristle tied at the head to form a round brush. He would use this until the bristle became soft, then he would remake the soft bristles into his detail brushes. It was the soft bristles that were always used for glazing. Even back then they understood what made a quality brush.”
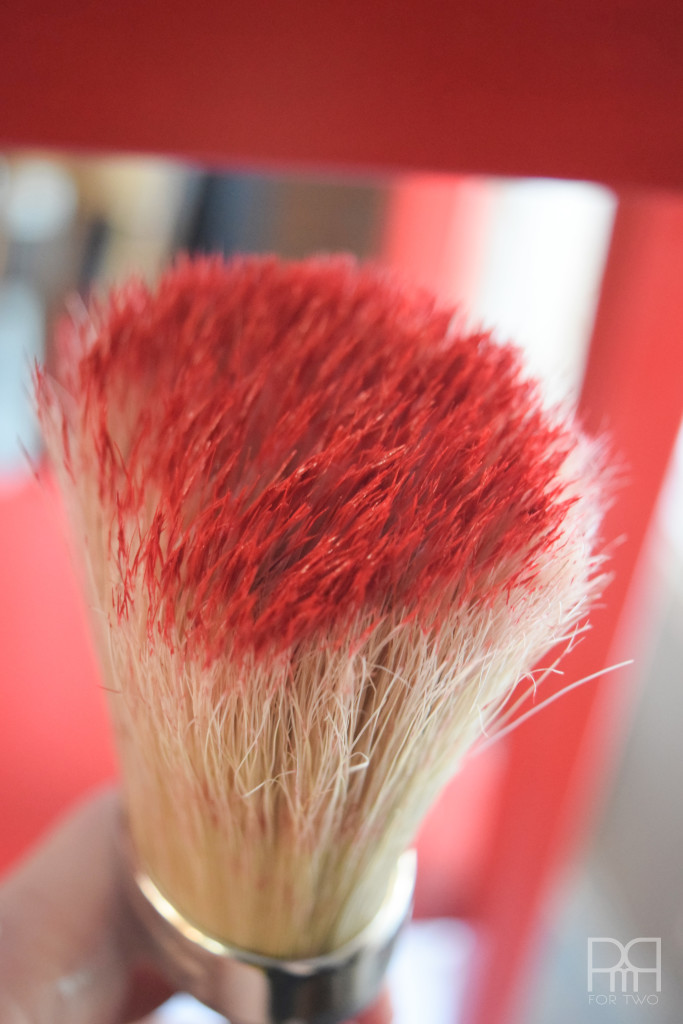
*insert glamour shot*
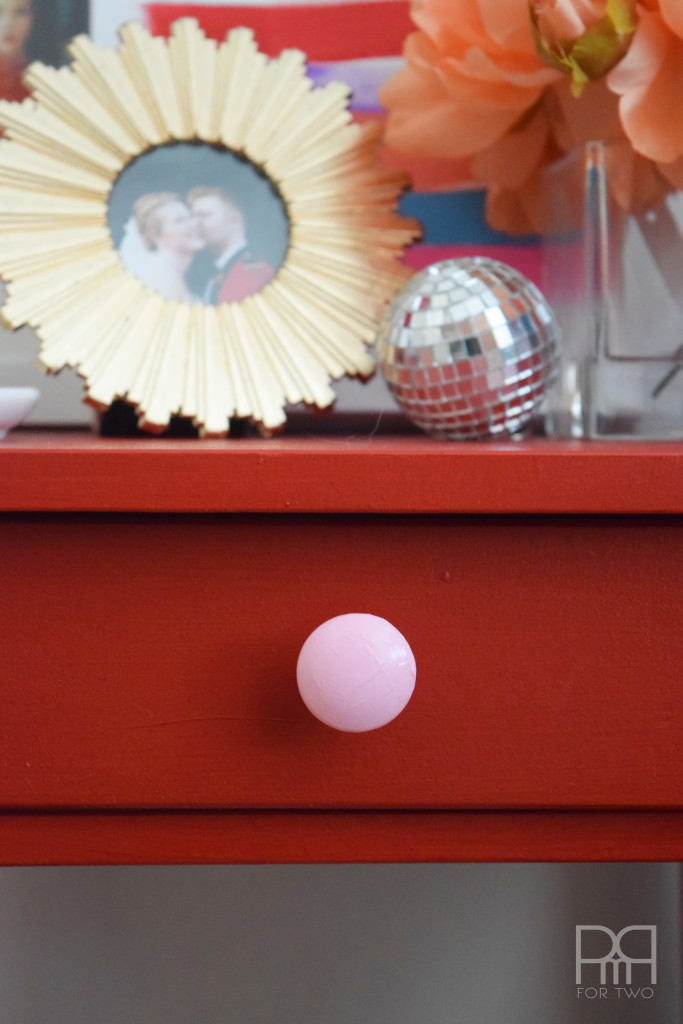
In the process of revamping the side tables I painted the nobs that came with them. I covered them in primer and then a coat or two of craft paint in pink. Although, as you can see below, I toyed with several shades for a while before deciding on pepto pink. For durability I sealed them in a varnish spray.
Stylistically, I really dig the contrast between the red and the pink and think it’s on trend right now. The nice part is that a year from now I can always re-paint the knobs to make it work.
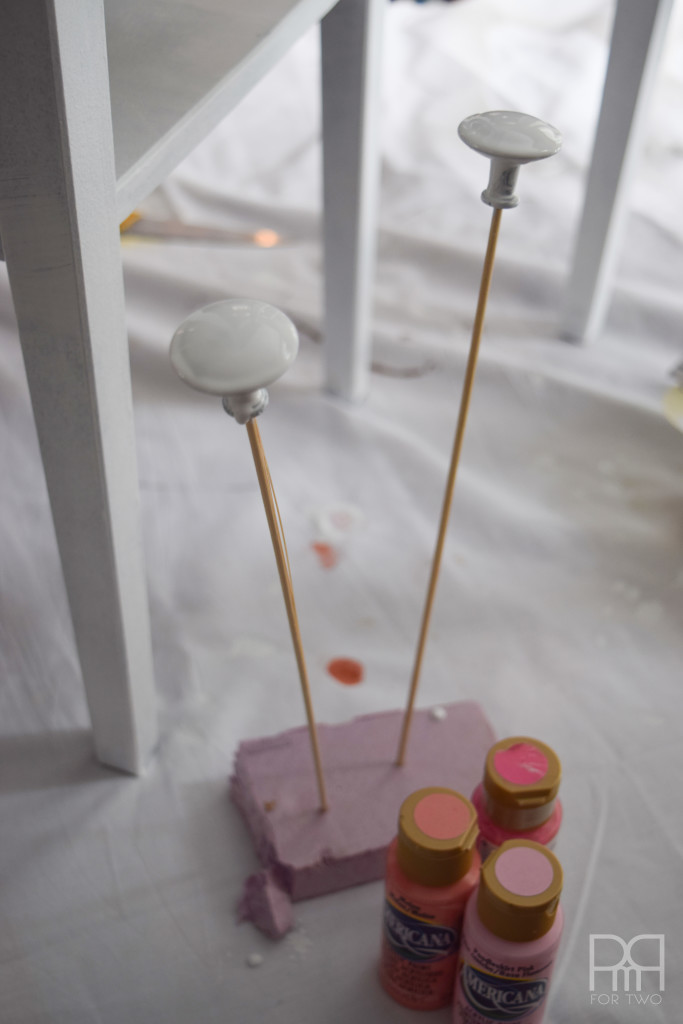
Come to think of it, I could have purchase the Fusion mineral paint in Damask and it would have come out the same colour. Maybe next time!
A day later once the paint had dried I sprayed on a varnish to seal them with a gloss. Fusion recommends a beeswax finish but I prefer a glossy finish, so varnish it is!
Without proper ventilation there’s no point applying a polyurethane finish indoors, so I opted for the sprayable kind.

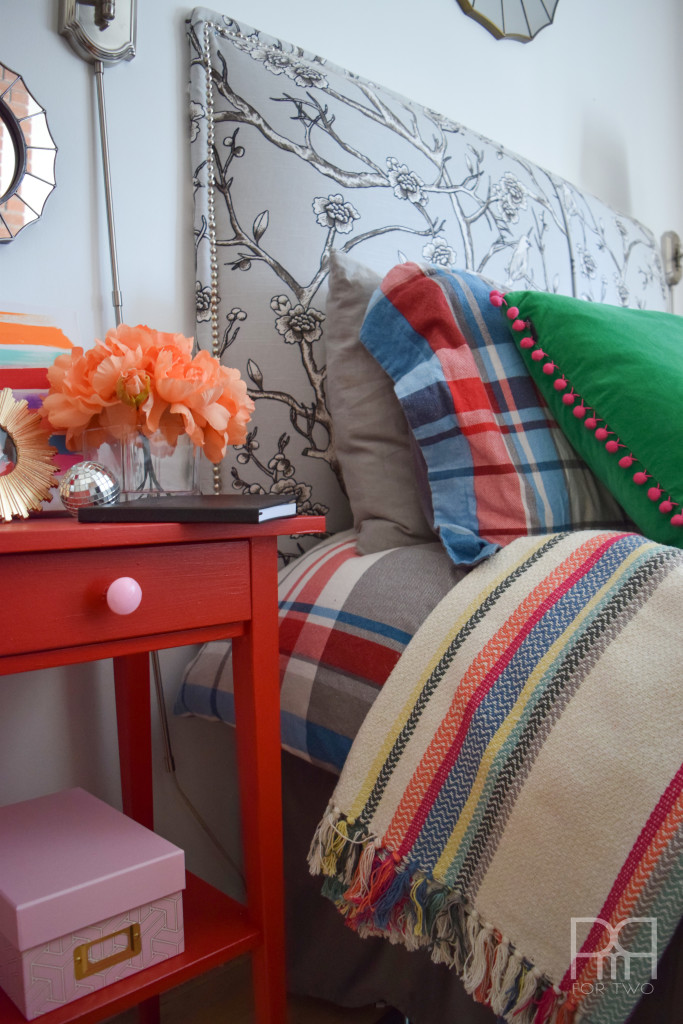
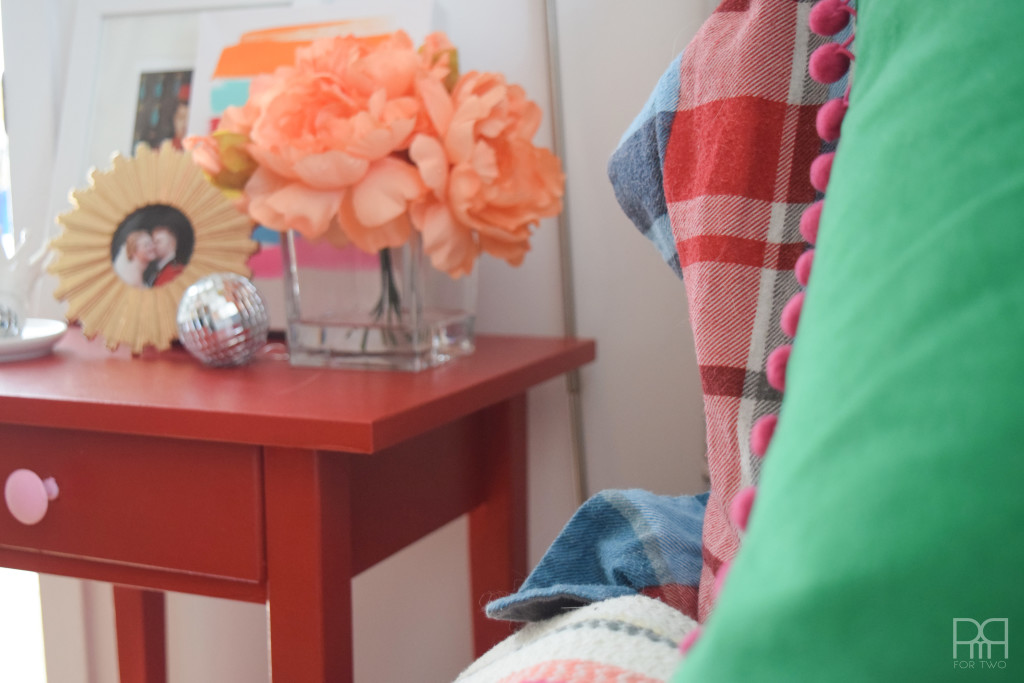
Completed and installed, I got right to styling. I went for my classic disco balls, some fresh flowers, a Janet Hill Studio print, a piece of DIY art that I previewed on Instagram, and a very funky ring holder my brother gave me for Christmas.
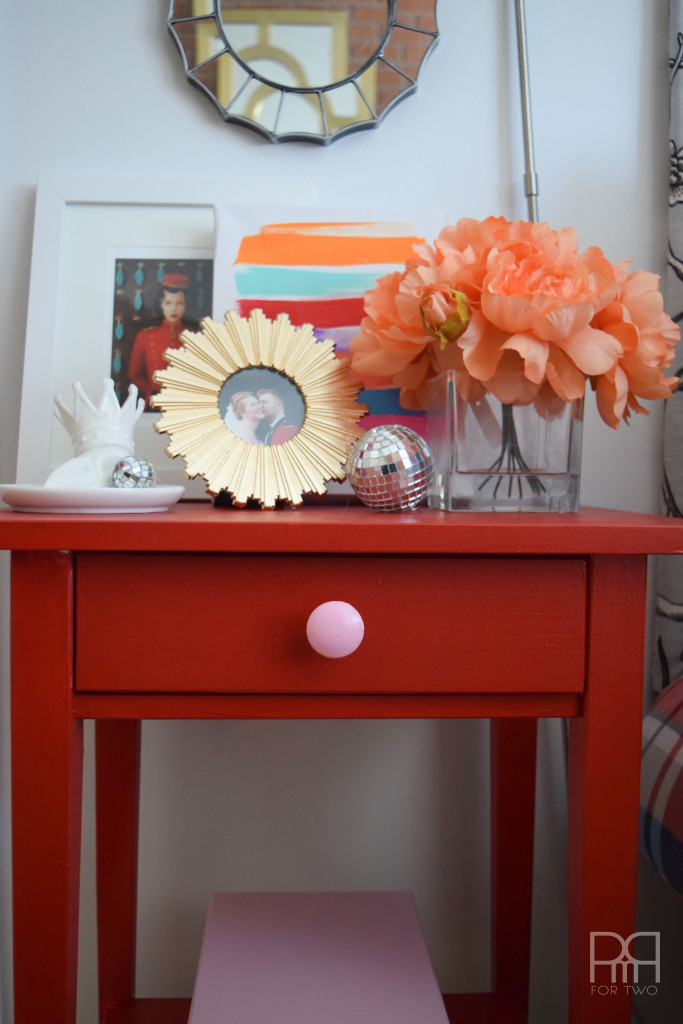
I picked-up the pink from the nob with the photo box beneath. I’ve hidden away a few treasures there for safe keeping. Photo boxes from HomeSense are an inexpensive way to add seasonal colour without breaking the bank, and a budget way of dealing with random clutter.
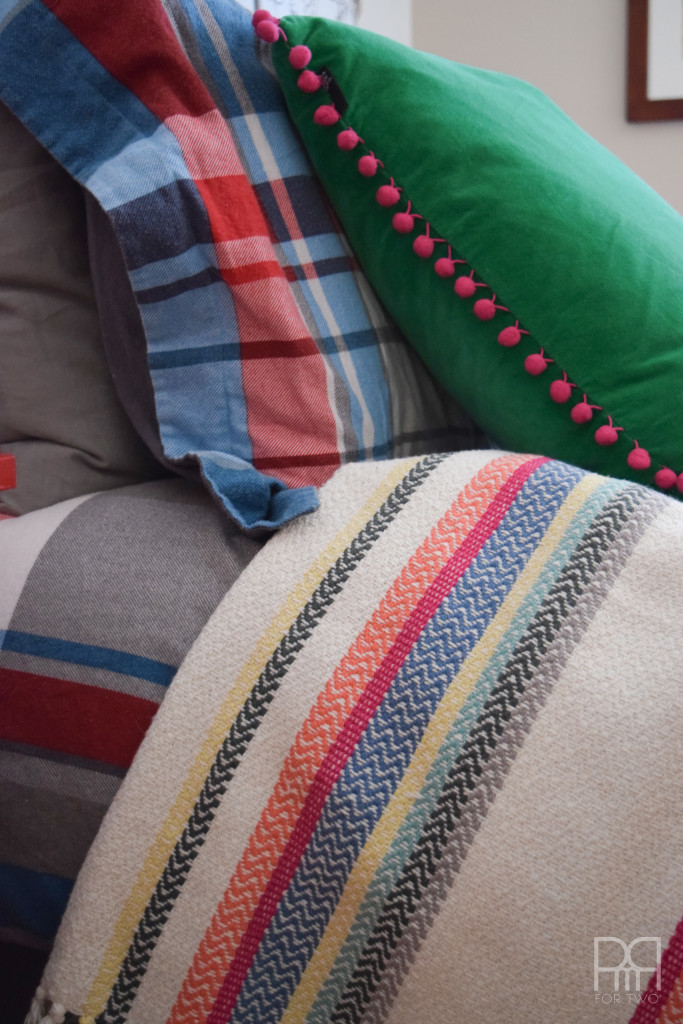
I took the occasion to usher in Spring by mixing plaids and adding a touch of whimsy, in the form of a green pillow with pink pom trim.
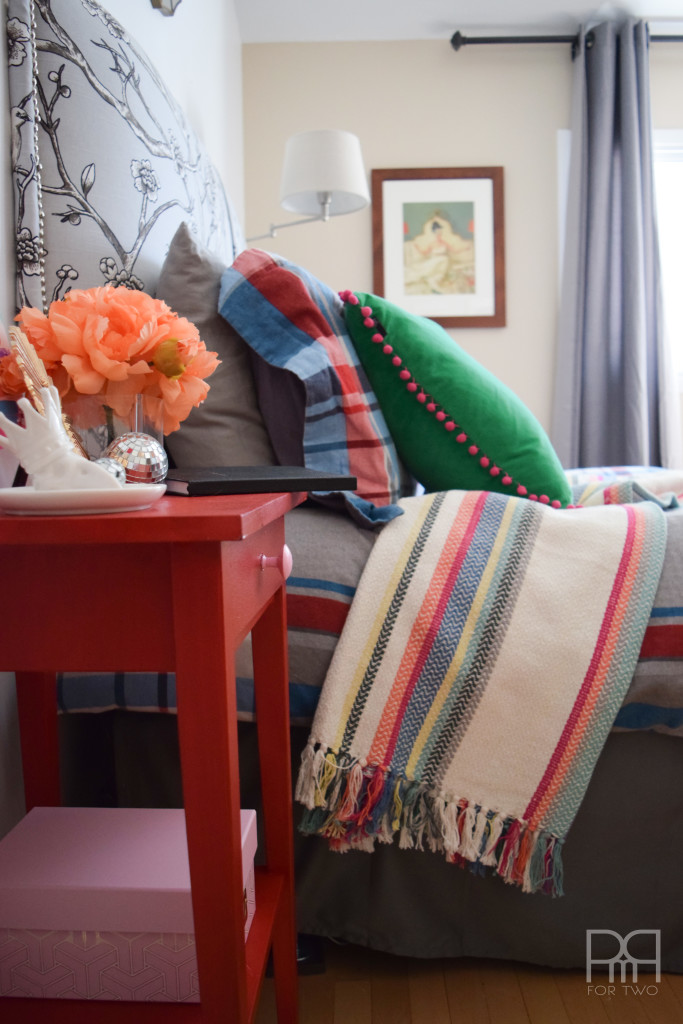
We have flannel sheets and a duvet cover for the winter months, but the plaid colours aren’t appropriate for spring. Instead of buying new bedding for every season, I transition our two bedding sets with accessories like throws and pillows.
This is of course my side of the bed. DH’s side is plain for a reason “I don’t want to have any knick-knacks on my table, so that I can just toss my stuff onto it at night and not worry about breaking anything ” Alright sweetheart, you do you! And that’s it folks – my IKEA bedside tables revamp using Fusion Mineral Paint. Thoughts?

*Fusion Mineral Paint provided the product for review, but all thoughts are my own. Thank you for supporting the brands that make PMQ for two possible.
Now it’s time to see the rest of the DIY fabric project ideas from my Canadian blogging friends.
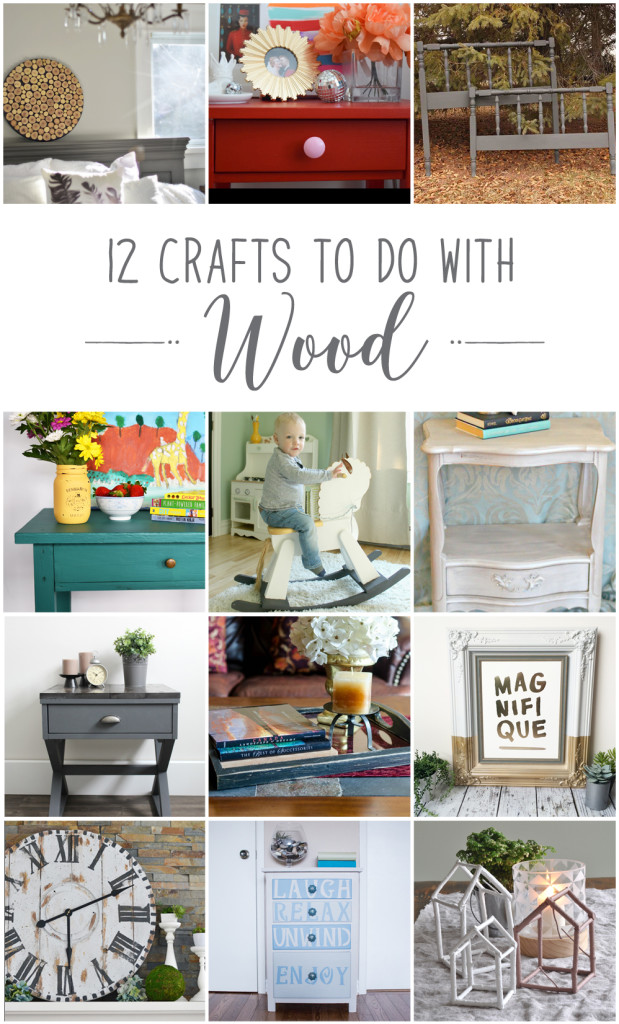
From the top left, they are:
Wood Slice Art from Vin’yet Etc.
Ikea Bedside Table Revamp from PMQ for Two
Painting Wood Furniture from Fresh Crush
Easy Wooden Table Makeover from Woman in Real Life
Wooden Rocking Horse Upcycle from Mommyzoid
Metallic Painted Nightstand from New House New Home
Industrial Side Table from Love Create Celebrate
Wood Coffee Table Tray Gets New Makeover from Time with Thea
Paint Dipped Frame from Brooklyn Berry Designs
Giant Reclaimed Wooden Clock from an Electrical Reel from The DIY Mommy
Beach Inspired Farmhouse Dresser Upcycle from Sustain My Craft Habit
Twig Houses from Life is a Party
Haha, “you do you!” I love that! And I love the rich colour you painted your bedside table, very vibrant, it really is a statement piece! The way you styled it with “knick-knacks” is perfect too! Excellent job, pinning!
It turned out great!!! And the pop of pink just gives it a real modern twist!! Love it, Ariel!
Love the bright side tables!! I’m revamping these same IKEA tables on the blog next week!
I adore that striped throw! Can I ask where it’s from! Thank you!
I got it at Homesense actually! 25$! IT’s a nice weight material too
I love the red Ariel! And the pink on the knobs adds a really lovely touch too. I love all of the colour in your room actually. 🙂
I thoroughly loved everything about your post! I love the narrative, the photographs, your tutorial and how the nightstand turned out! Your bedroom may be small but it has loads of personality with all of the colours and textures! Bravo!
Thank you so much Thea! What kind words 🙂
You did it again! Your styling is simply stunning and very inspiring. Somehow you just make it all work together. You’ve got the gift:)
Aww thanks Sonja <3 I put so much effort into the styling and I'm glad it shows. All the little touches make a big difference.
Great makeover!! Love pink and red together!
Thanks Megan! A very chic combo indeed
Your table turned out great -love the bold red, looks great with all the other bright colours in the room. Great job!
Thank you Dannyelle!
Red is always a good choice, especially when it comes to accent pieces.
Loving the classy red color, Ariel! Looks great!
Thank you Emily 🙂 Red is one of my favourite colours.
It turned out GREAT! I’m glad you stuck to your guns and went with the red. It’s beautiful and so unique. The way you’ve combined all of these colours is super fun!
Thank you Christina 🙂 Red and purple are my go-to colours. I’ll always fall back on them.