The laundry room / mud room made great progress in the past week as part of the One Room Challenge. We’ve got shelving and trim up, the sink installed, flooring etc. But this week I want to talk about how to hang fabric as wallpaper, because let’s be honest – I’m obsessed with wallpaper.
Check out the plans for the combined laundry & mud room
Make sure you go check out the link-up with all the other linking participants in this edition of the ORC, and check out what the official ones are up to. I’ve got more than a few friends participating this time around, and I’m so excited to see what they get up to.

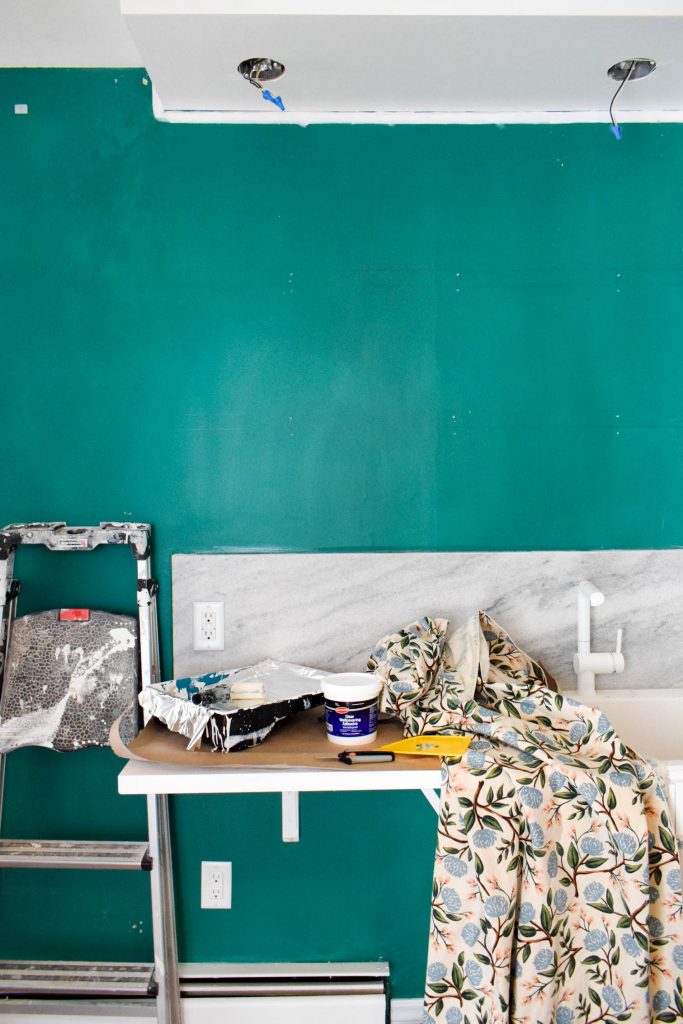
Although I really want to tell you guys about everything we’ve done since the last update where we painted the laundry room using a paint sprayer, I’m breaking this down into manageable chunks, and today I’m showing off the laundry set-up and laundry sink by way of the fabric we applied as wallpaper.
Using Fabric as Wallpaper
So this turned into a rather handy tutorial and blog post topic, but only because I wasn’t as prepared as I should have been. We were not initially going to add wallpaper to the laundry room, but once we got going in the space we realized that a pattern would be a nice way of unifying the powder room and retro kitchen.
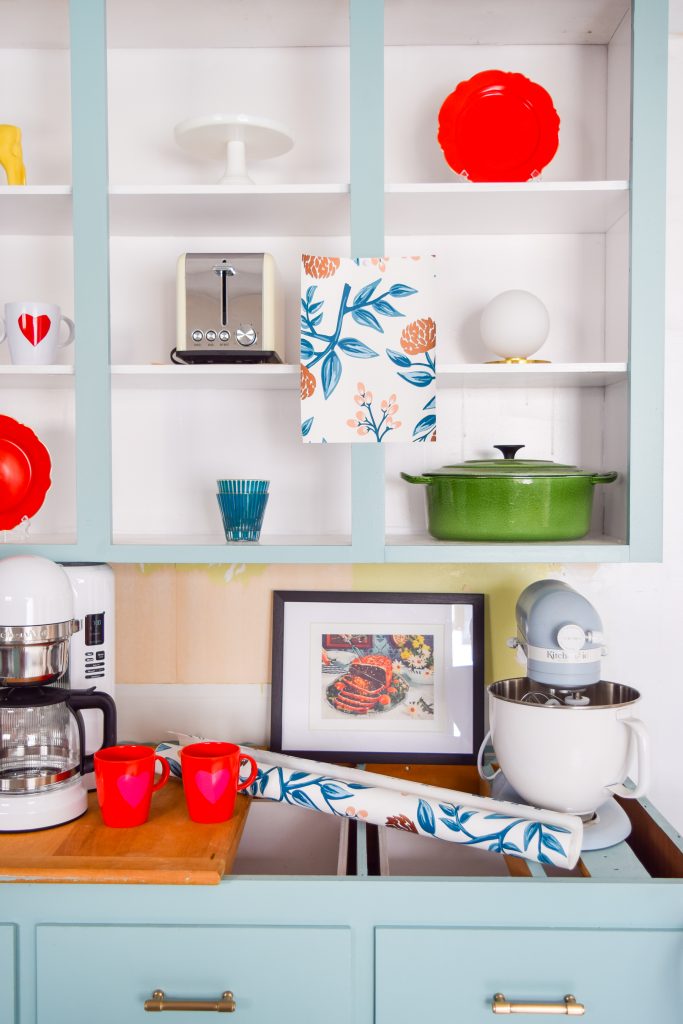
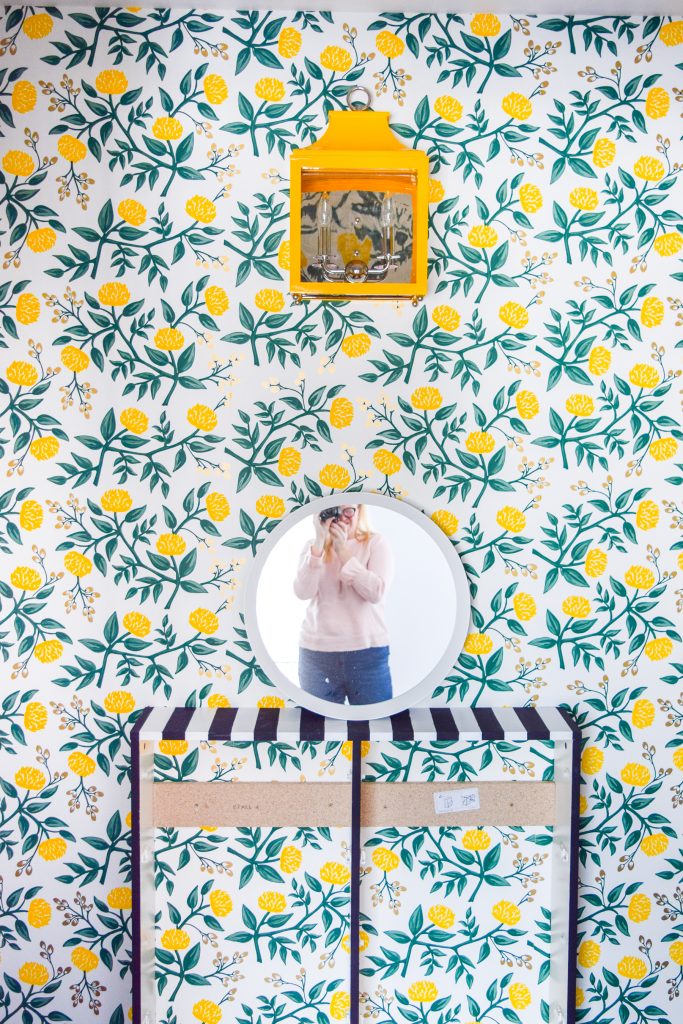
I’ve used the Peony print by Rifle Paper Co. x Hygge & West in the glam kitchen and our floral glam closet, so we had a few pieces left over. I would have ideally used the Peony print in yellow, because of the green in the paper and on the walls, BUT I didn’t have enough left. I did have enough of the Copper Peonies pattern that we used in the kitchen, but it didn’t quite feel right in the space.
Check out my round-up of spaces with Rifle Paper Co. Wallpaper
I did however have the Peony fabric on canvas. I had bought it to make curtains in June’s nursery, but they didn’t feel right, so I scrapped them. I had more than enough to cover the area in the laundry room, so we went with it!
I even got Dan to try something new.
How to Hang Fabric as Wallpaper
This really is a 2 person job, so don’t attempt this on your own.
Check out my removable wallpaper kitchen backsplash tutorial
What you need to hang fabric as wallpaper
There are a few ways to do this, including a renter friendly version using liquid starch, but we couldn’t find any, and we were concerned about water activating it and having it slowly peel away. This IS a laundry room afterall.
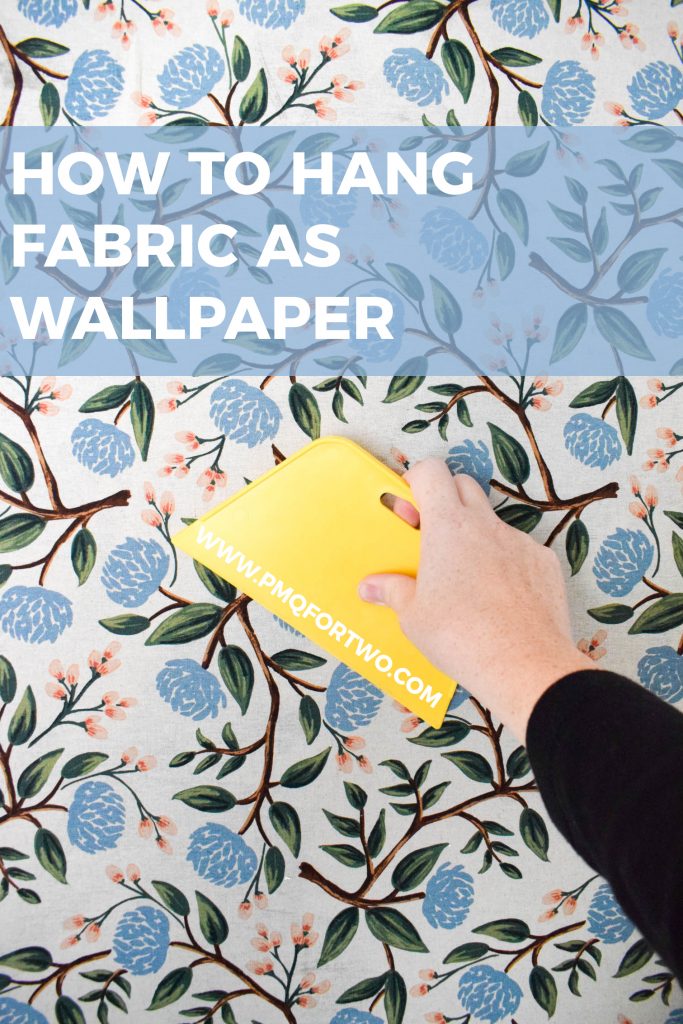
You’ll need wallpaper paste, a paint tray + roller, a paint brush, tacks or painter’s tape, a credit card or wallpaper applicator, and an exacto knife. OH and the fabric you want to use.
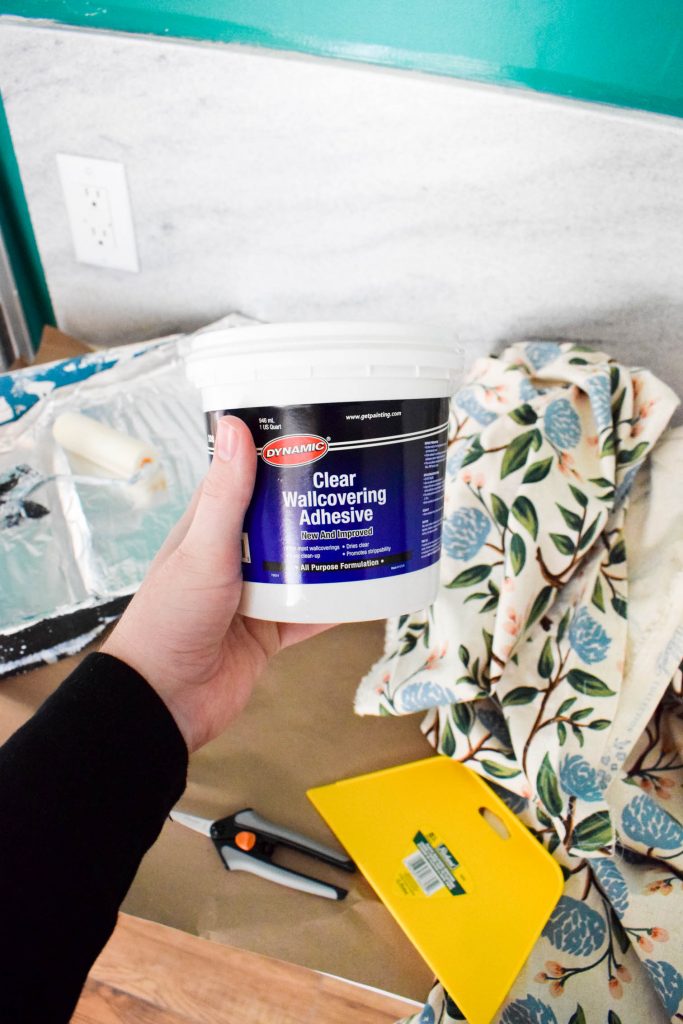
Figure out the pattern repeat
The fabric pattern we chose is omni directional, and the bolt happened to be wide enough for the space if we tilted it sideways.
If it wasn’t though, we’d have to figure out the repeat and where to align the pieces, much like regular wallpaper.
Apply a thin coat of wallpaper paste
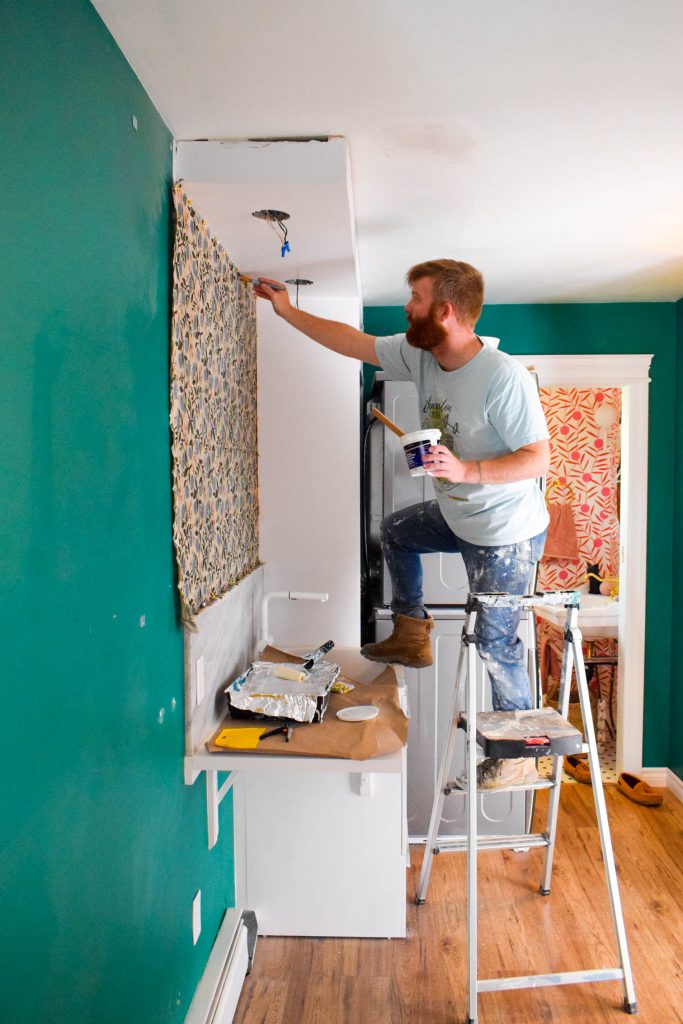
Start in one corner at the top. If you’re hanging the fabric in vertical strips, apply enough to keep the first strip stuck to the wall.

Apply & Secure Fabric to the wall
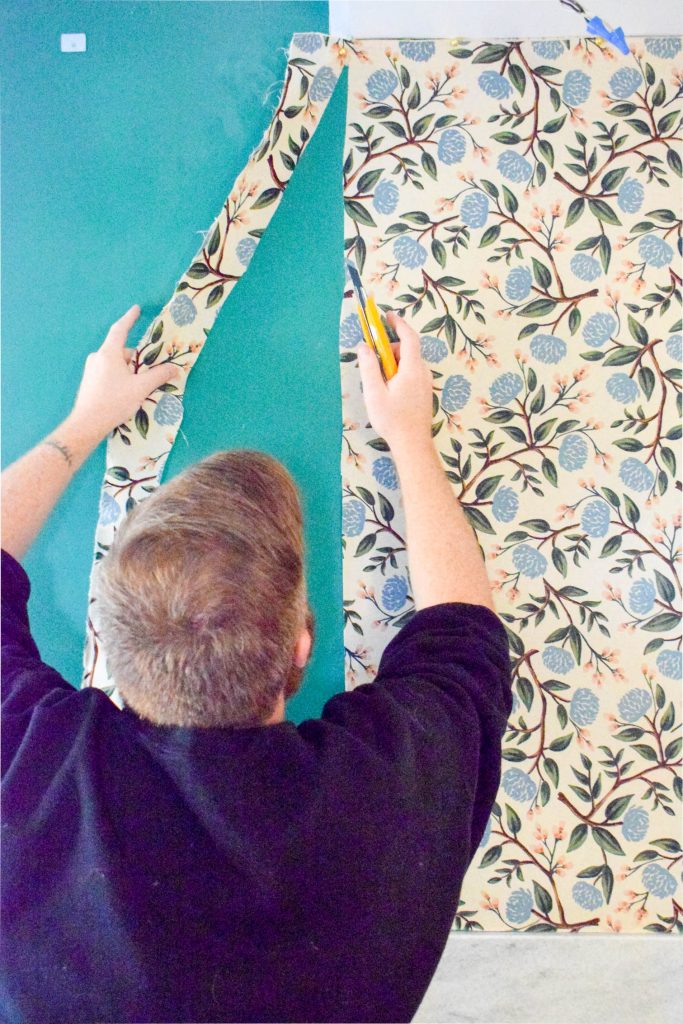
As soon as you have enough on there, apply your fabric and then secure the top of it. We used thumb tacks, but you could use painter’s tape if there’s enough space for it to take purchase on the wall.
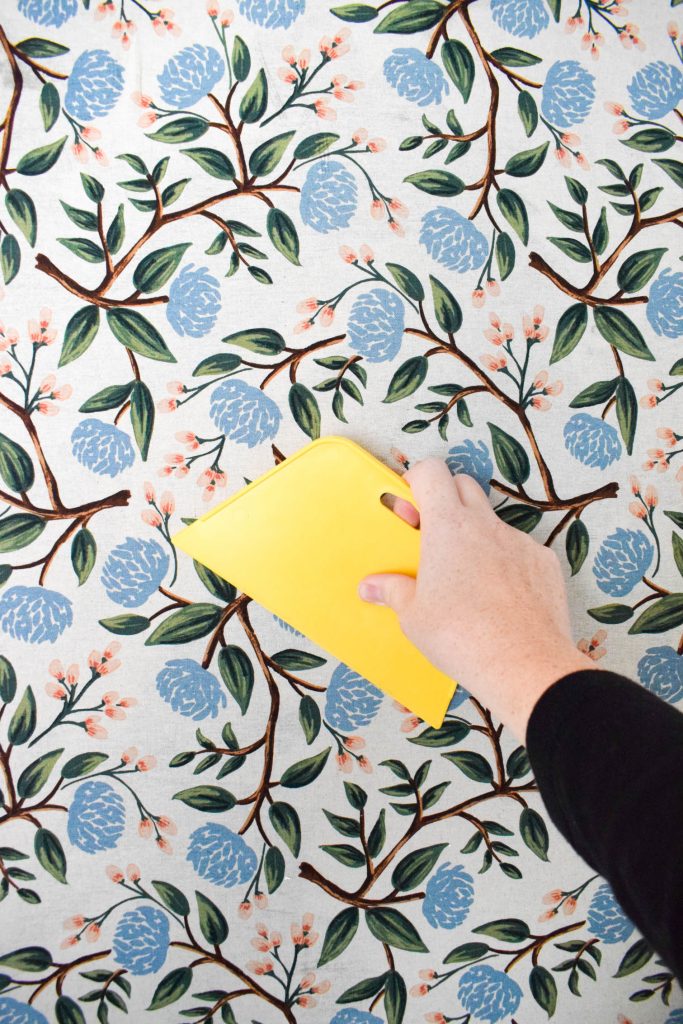
Once you’ve got some on the wall, have the second person apply paste to the rest of the wall for the fabric strip. As they apply it, start smoothing the fabric over it. Use the wallpaper applicator or a credit card to smooth out air bubbles.
I recommend applying it in a diagonal motion.
Repeat Until the Surface is Covered
Work quickly! Depending on what kind of paste you’re using, you may not have long once the paste has been applied before it loses its tackyness.
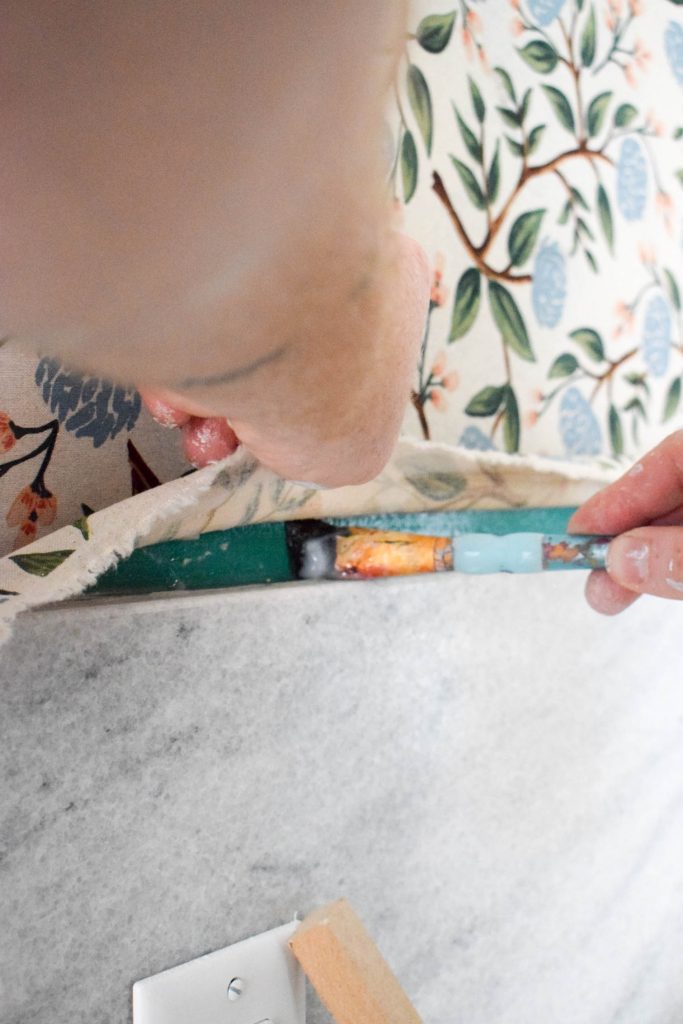
Don’t forget to secure as you go, and use a paint brush to get the detailed edges with enough paste. It can be easy to miss them with a roller.
Apply a top coat of wallpaper paste over the fabric
Once the entire surface is applied and secured, use the paste and a paint roller to apply a top coat. You want to completely cover the fabric.
Then, use the wallpaper applicator to scrape away any remaining air bubbles and excess paste.
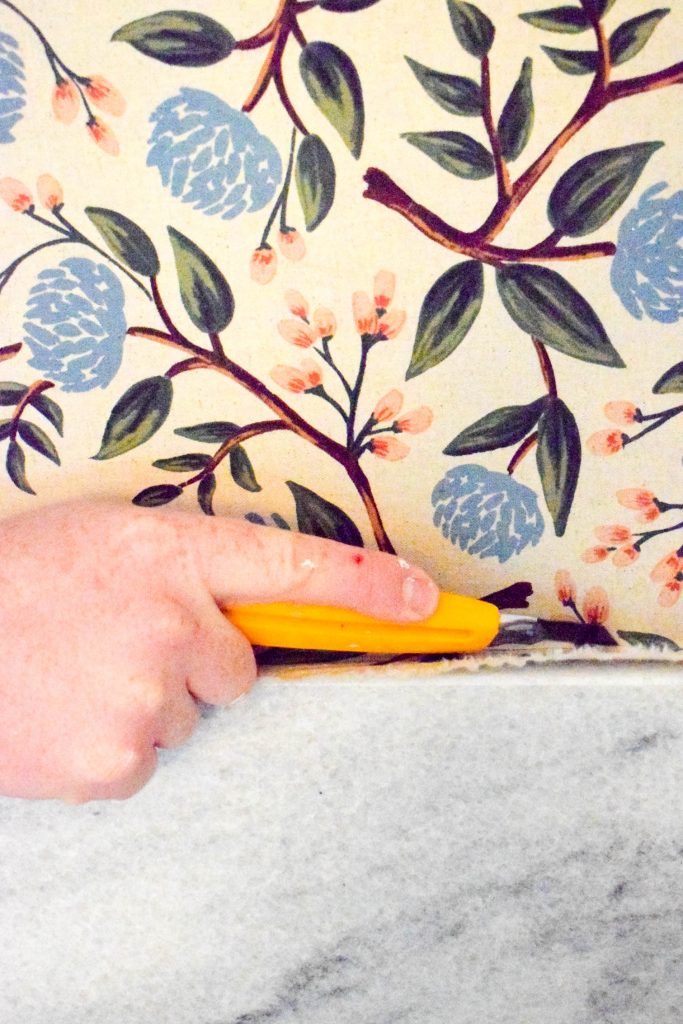
Let the wet fabric dry overnight before trimming away excess
We let ours dry overnight. All the uneven colouring in the fabric – due to wetness from the paste – disappeared once it dried. Just give it time.
The next day we used an exacto knife to trim away the excess fabric.
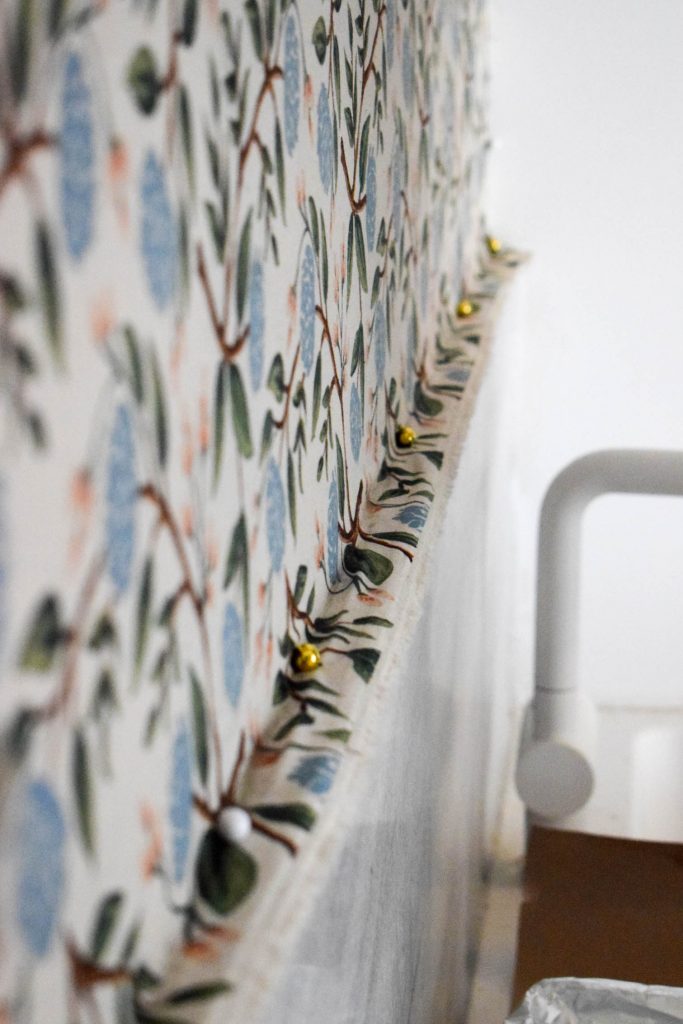
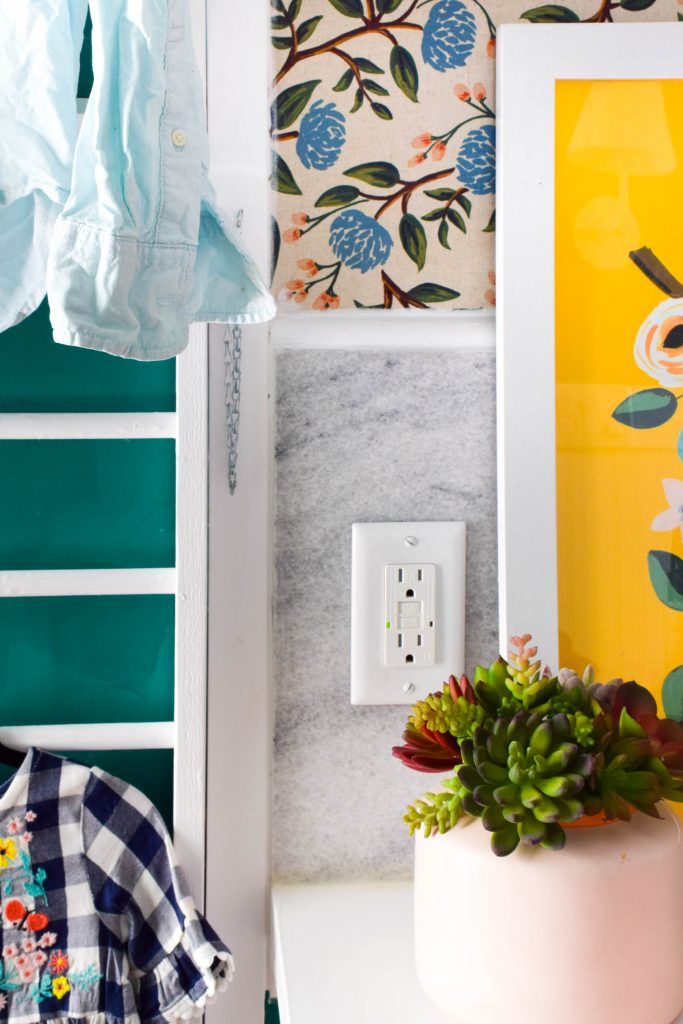
Use Decorative Trim to frame
If you’re not doing an entire wall – with a natural demarcation – I suggest using decorative wood trim or quarter round, to frame the fabric. It will help hide any un-even edges and prevent fraying or peeling-up.
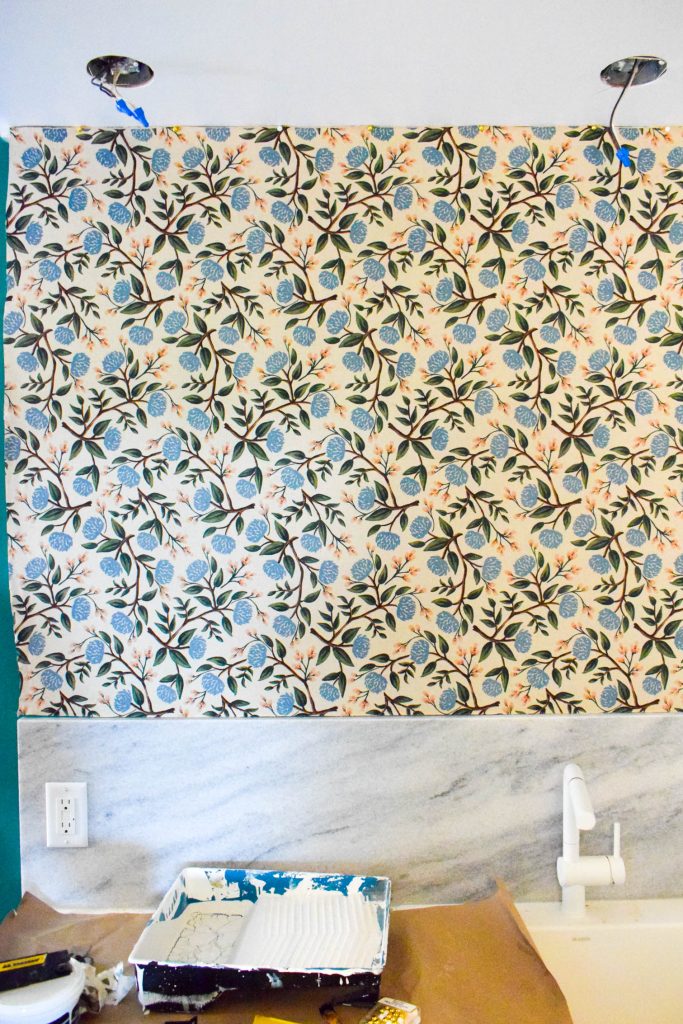
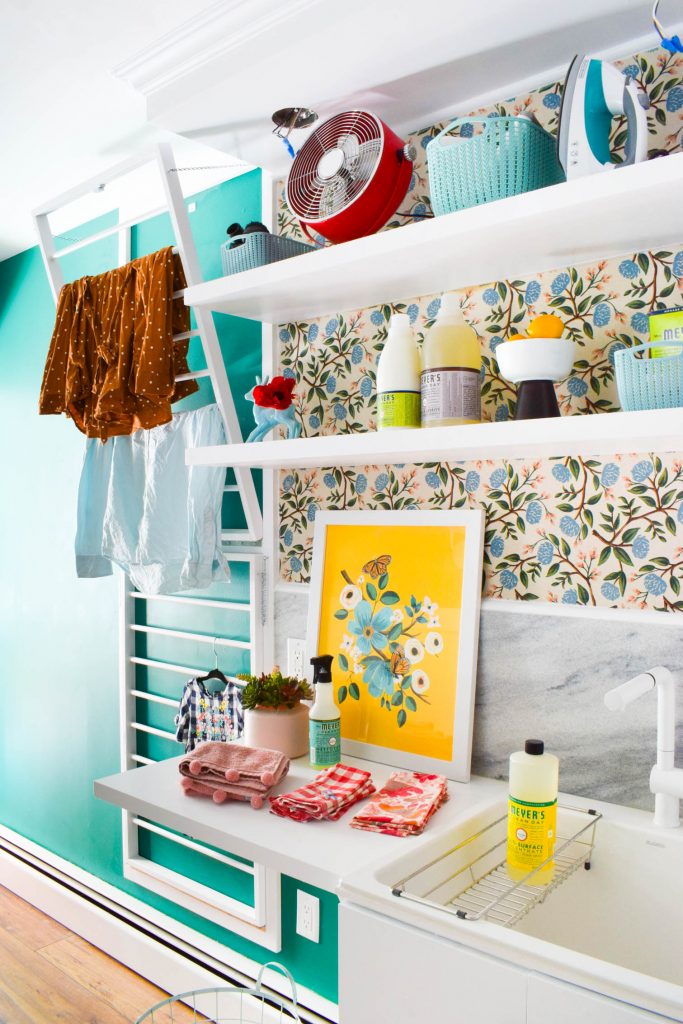
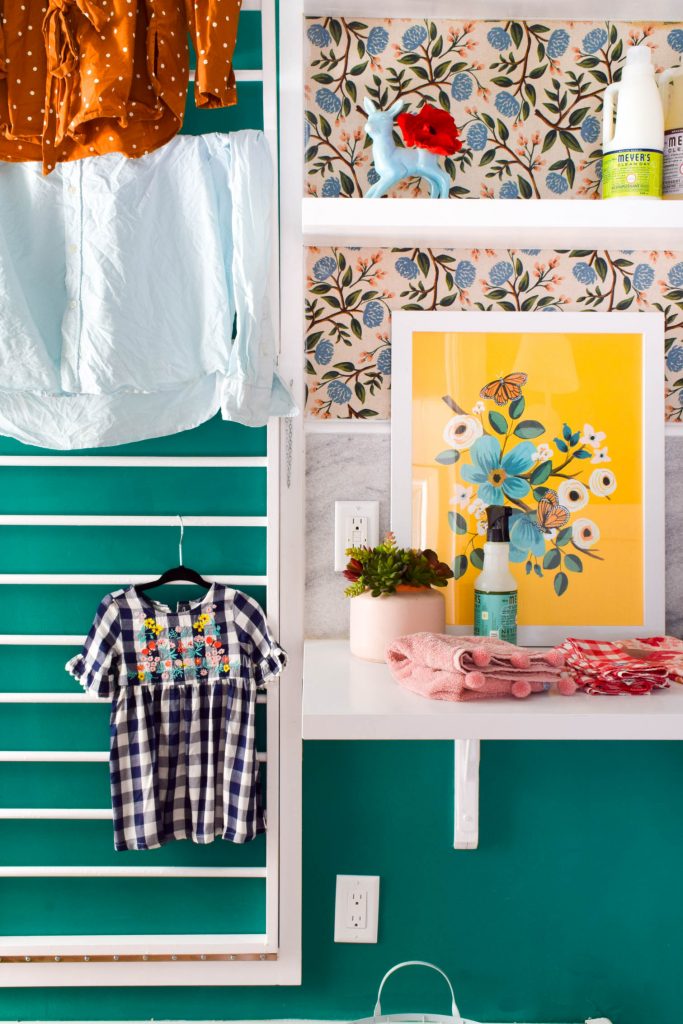
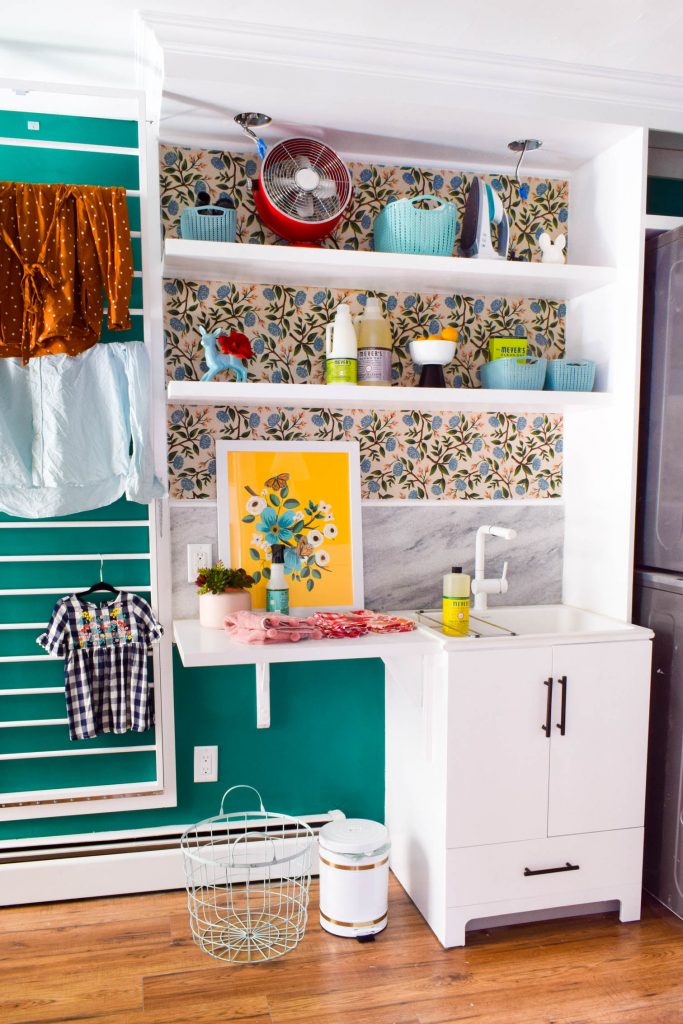
Laundry Room Shelving with Fabric Wallpaper
Next week I’ll have the plans and details on our dry racks, custom shelving, bulkheads etc. but for now I want to show you how the fabric wallpaper looks in the space!
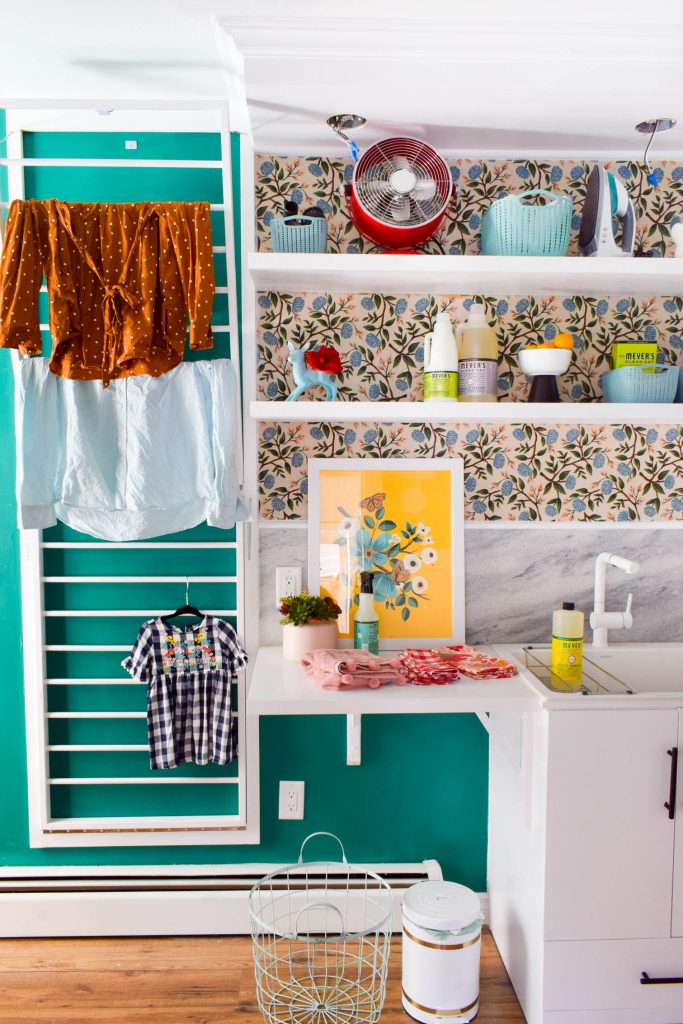
As you can see, we’re still not finished. We’re waiting on lighting and a few other pieces, but for the most part this area is complete! hooray!
You’re also getting a snazzy sneek peak at our fancy laundry sink.
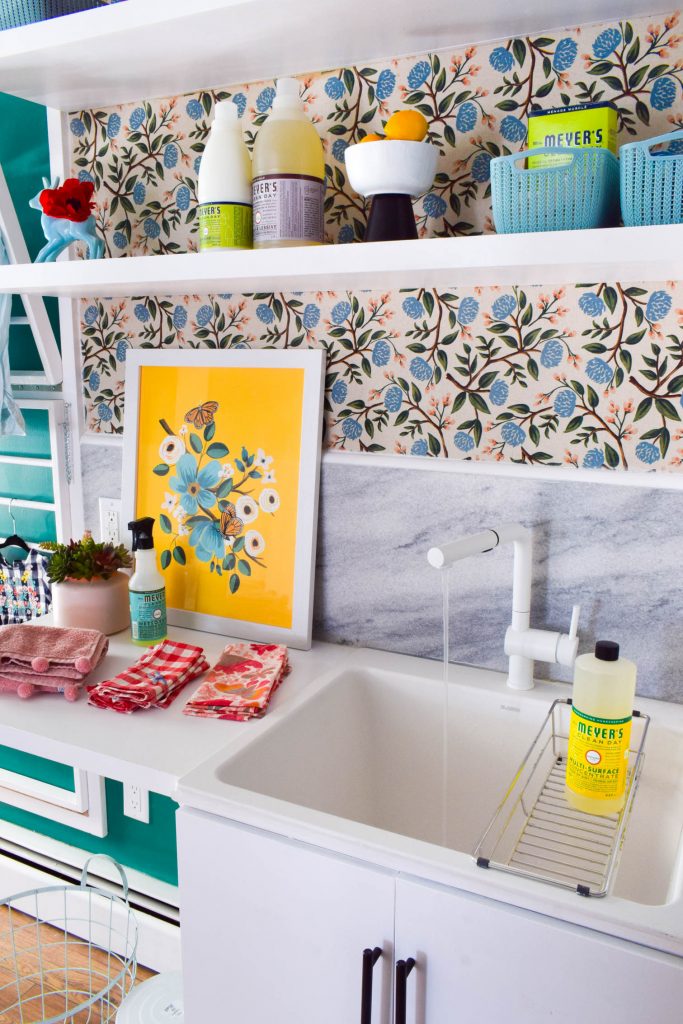
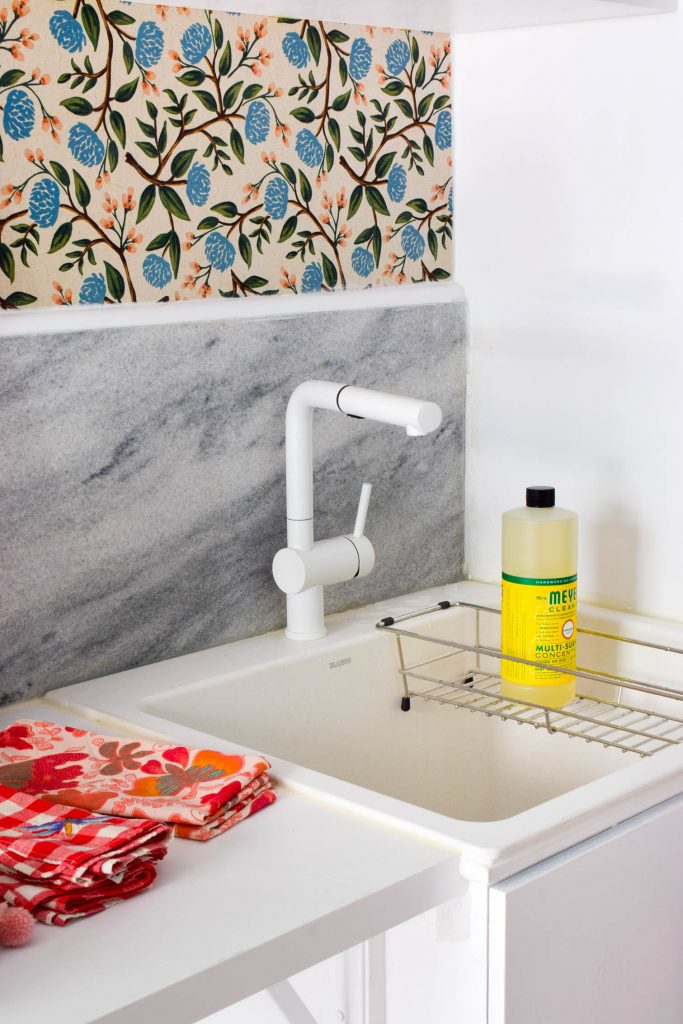
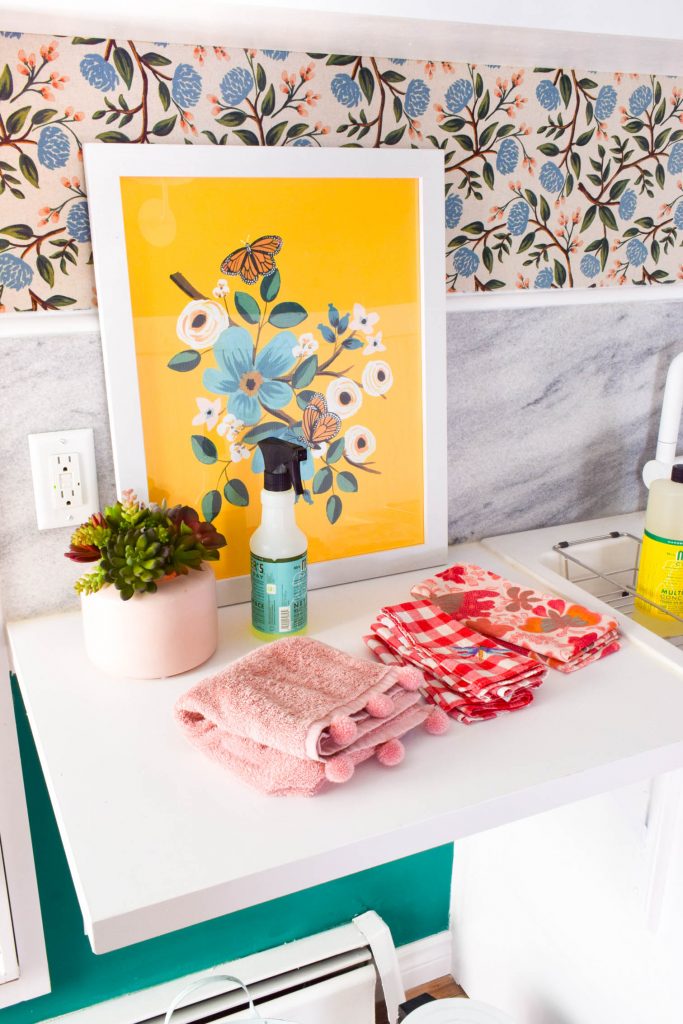
With the marble backsplash and quarter round, the fabric wallpaper is safe from water damage from the sink.
It also looks really good too.
REMODEL TO-DO LIST
- Spray paint the space
- Install flooring
- Hang door to garage
- Add architrave + trim to doors into the space (from garage and powder room)
- Stack & hook-up washer & dryer
- Install laundry sink
- Install countertop
- Create drying racks
- Build bench + shoe storage
- Build coat racks
- Add Lighting
- Install Sun Tunnel