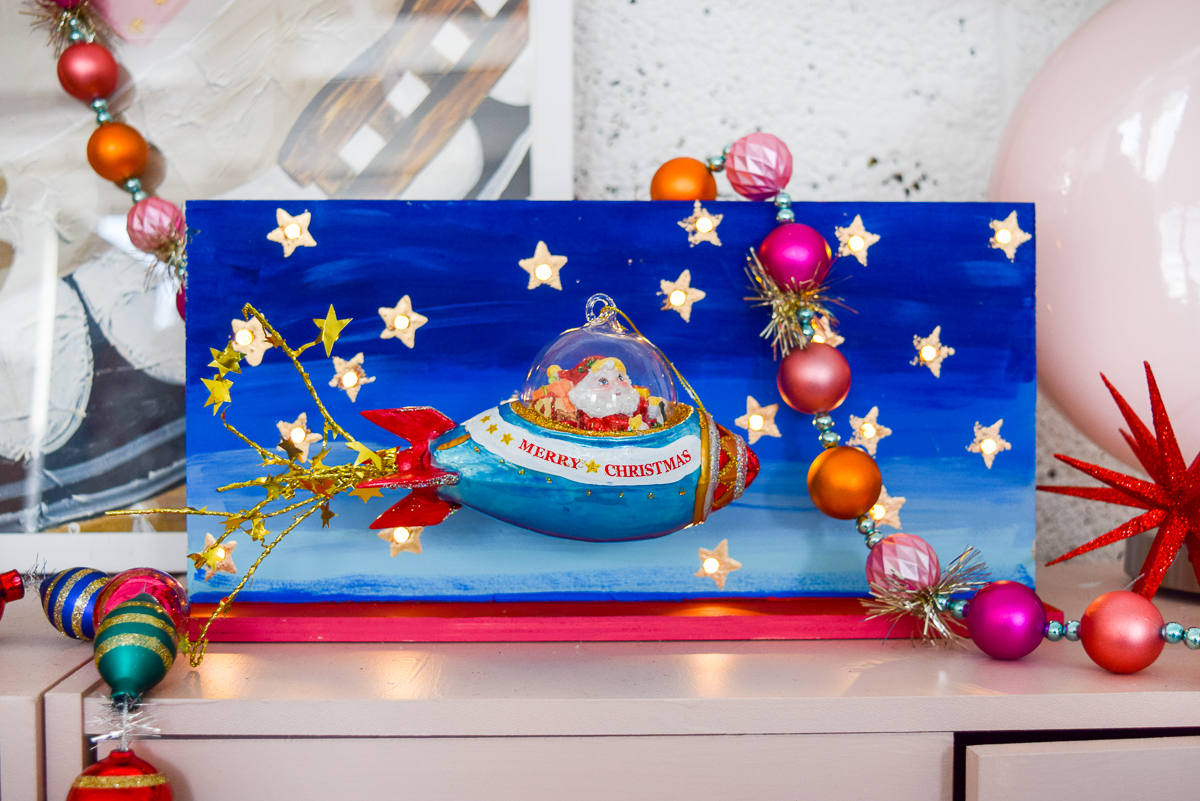
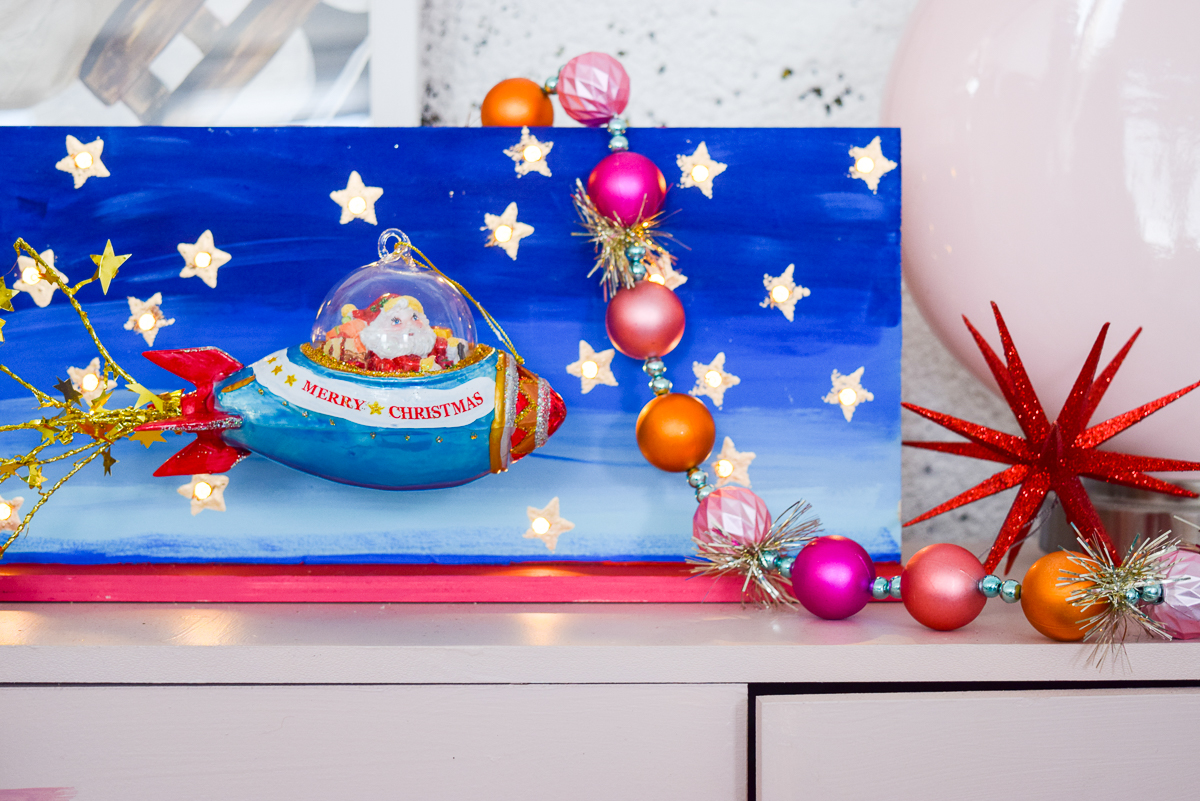
Santa Claus is coming to town! More than that, he’s flying in on his spaceship! Y’all know I’m a sucker for anything colourful and shinny, especially this time of year. So when I spotted this retro santa I knew I had to make something with it. Since I’ve been itching to try my hand at a marquee sign with my new Fiskars Precision Hand Drill, I decided to marry the two and create my very own DIY Retro Santa Marquee Sign. Guess what? You can too.
Check out my other retro Christmas DIYs: my DIY Starburst Ornaments, my DIY Starburst Wreath, my DIY Retro Hot Cocoa Bar, and my Vintage Ornament Wreaths.
*Fiskars sponsored this post, but all thoughts are my own. Thank you for supporting the brands that make PMQ for two possible.
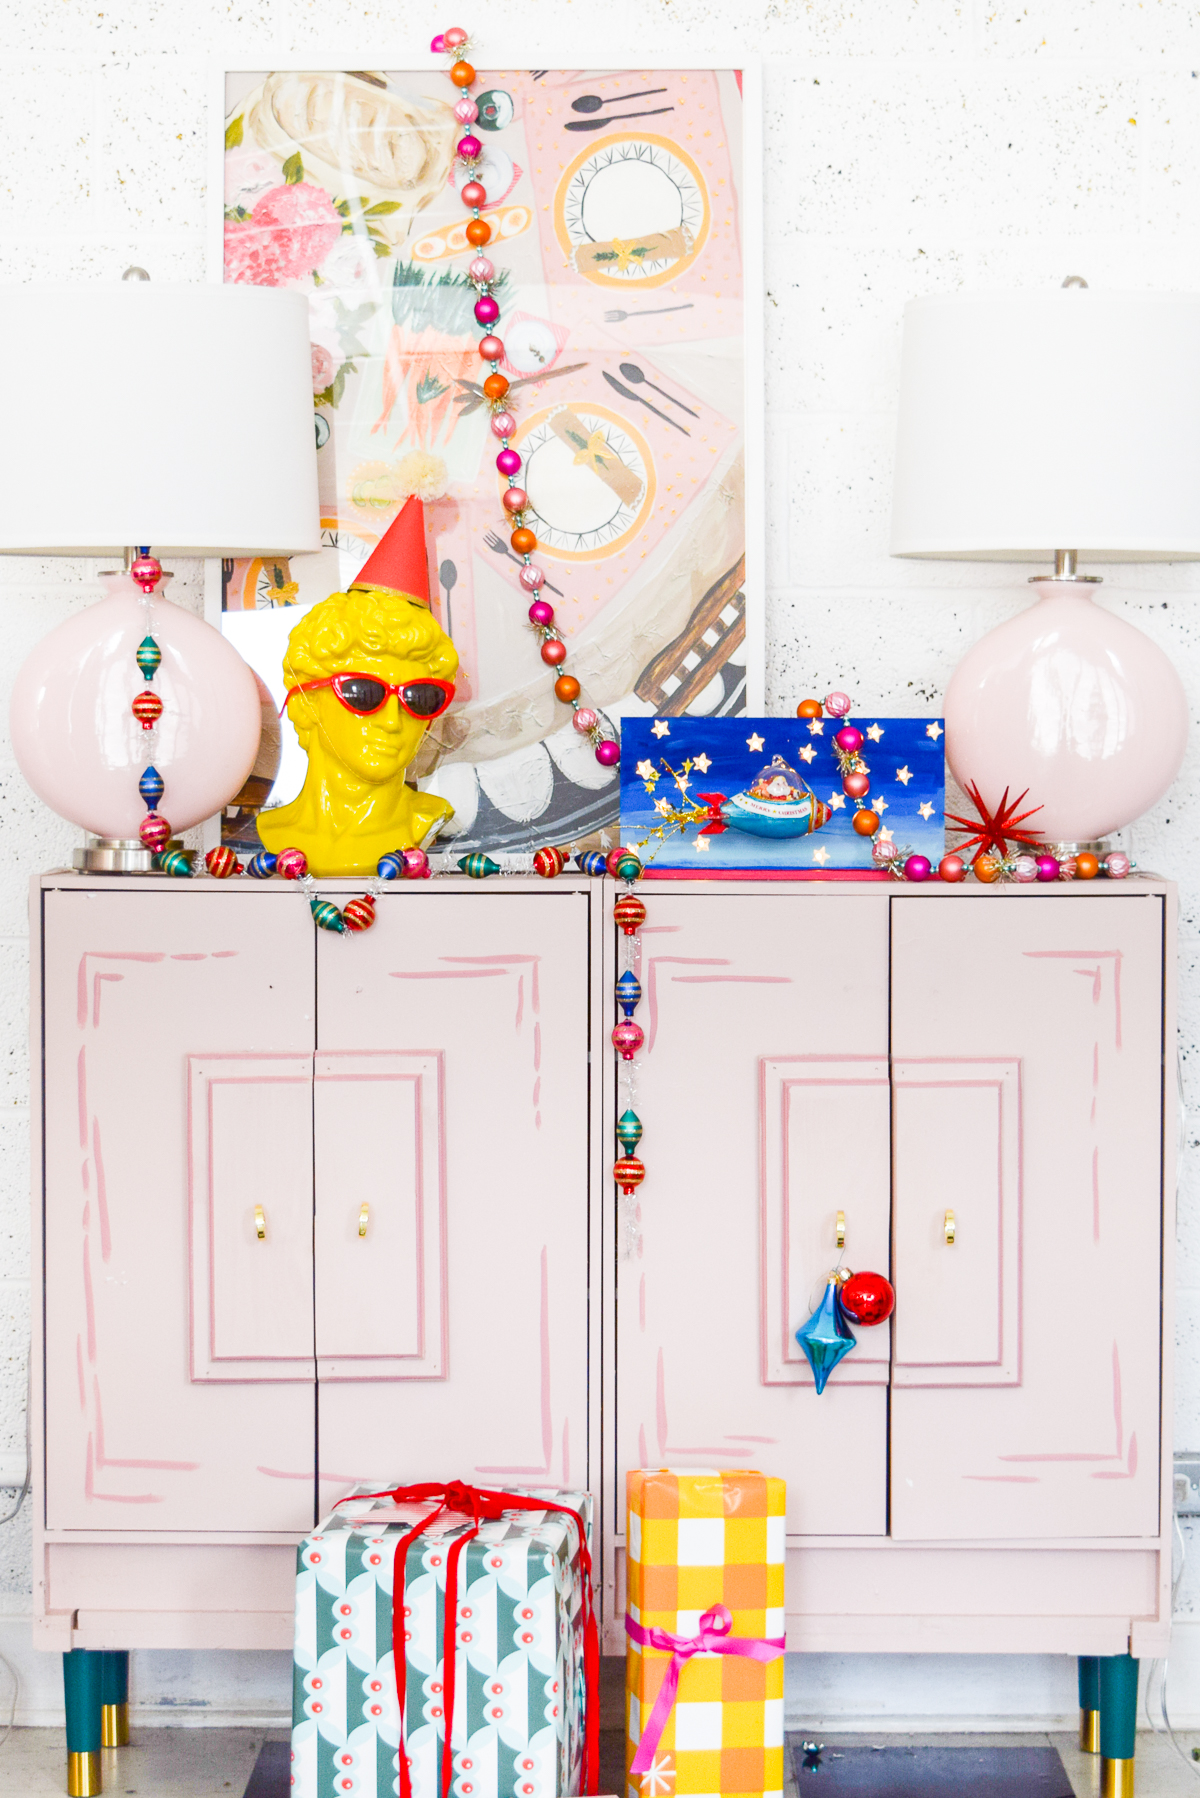
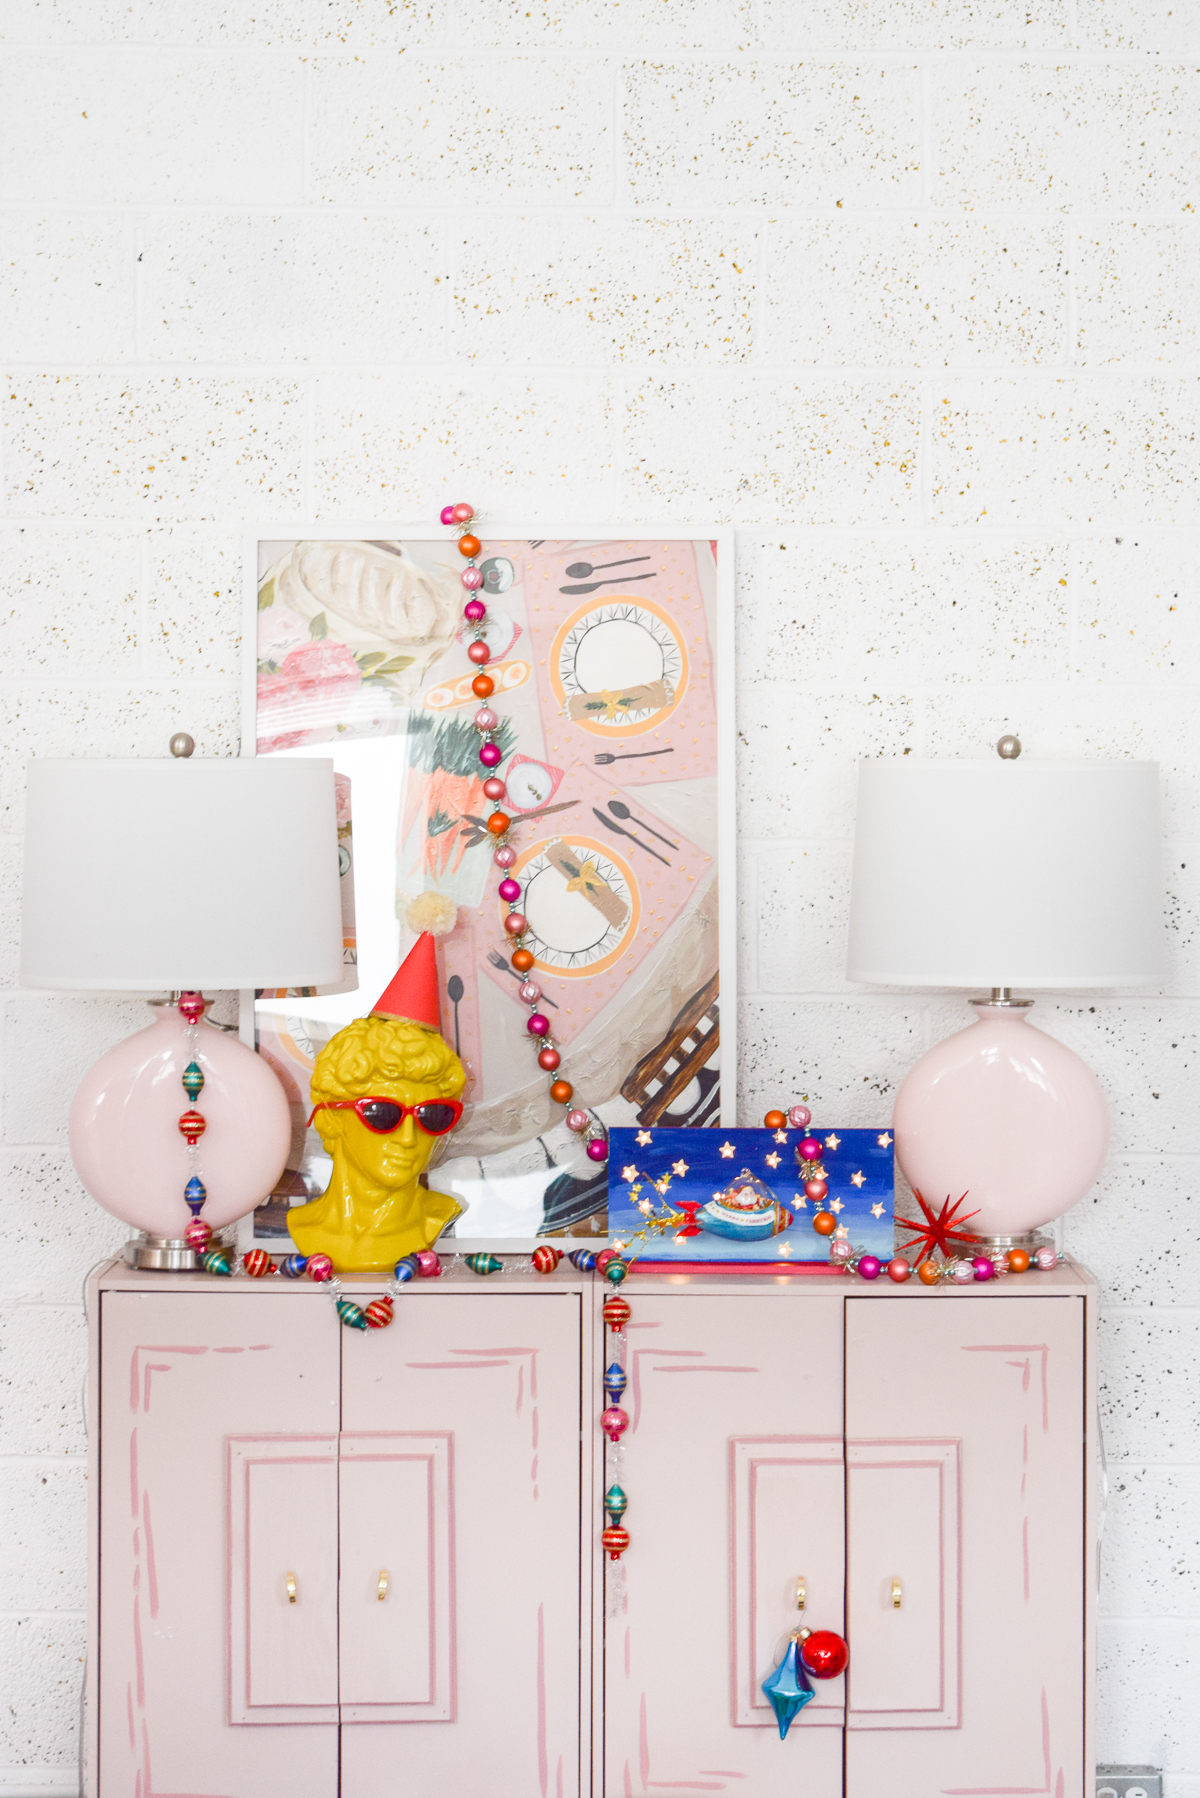
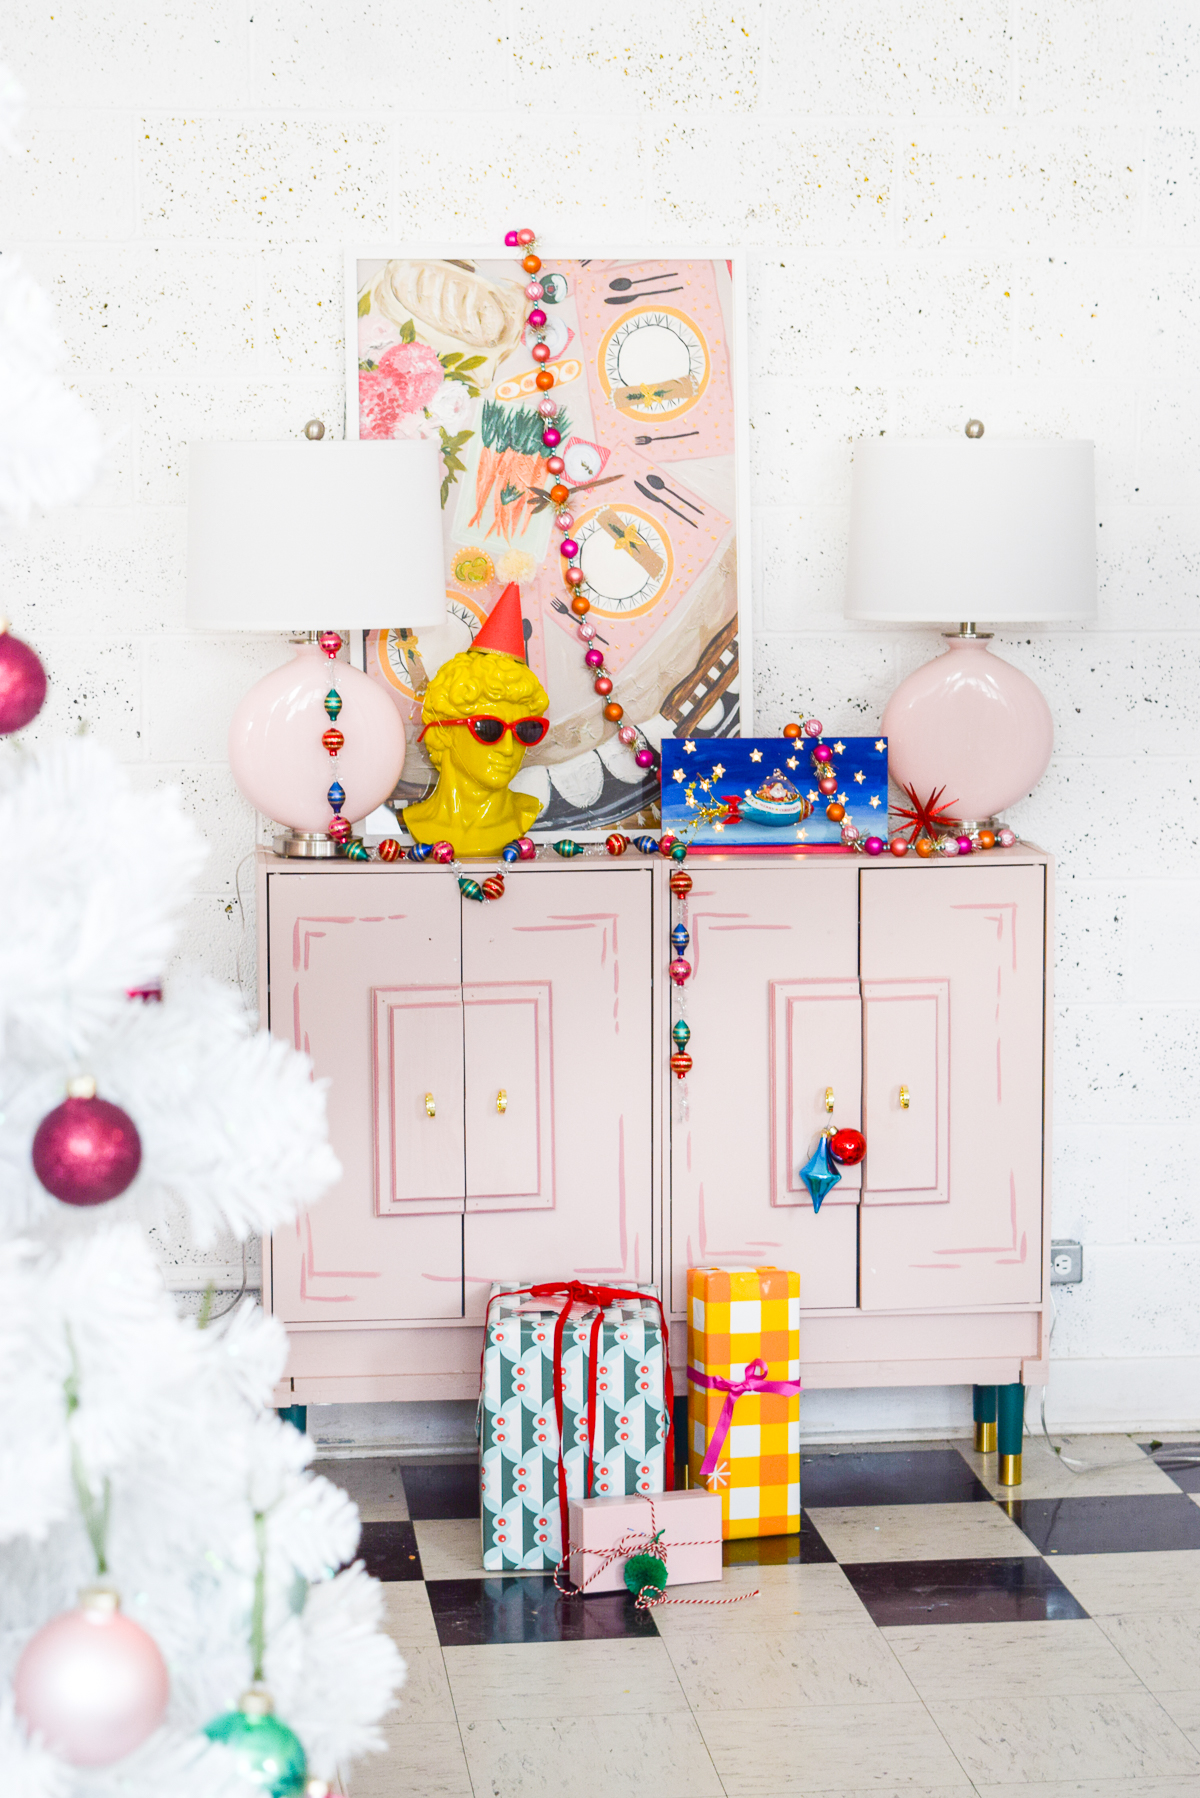
Do you spy what I spy?! A bold pop of blue on my Wes Anderson Inspired Entryway Console, and a sign that things are heating up over here craft-wise. I’ve been pretty busy hosting gift wrap parties, and showing people how to prep for all the last minute social calls they get this time of year.
Using the Fiskars Precision Hand Drill
I’ve had this precision drill for a few weeks now, and have been testing it out here and there, playing around with it, just to see how I liked it. So far, I really like it! I get to be more precise than I could be with the power drill. I think so for a few reasons:
- When I start it off, it’s not going to jump all over the place if I’m not applying enough pressure
- I can control the amount of pressure I apply (which is create for finer materials)
- Because there isn’t a mechanical whirring noise, I can also better hear when it’s gone through the material, so I’m not drilling into the void.
Making a DIY Retro Santa Marquee Sign
You only need a few things to make the sign: a wood board with base (I got this one at Michaels for about 7$), a retro spaceship santa ornament (also from Michaels), shades of blue paint, liquid gold, two sets of mini christmas lights battery operated, and of course — the Fiskars precision hand drill.

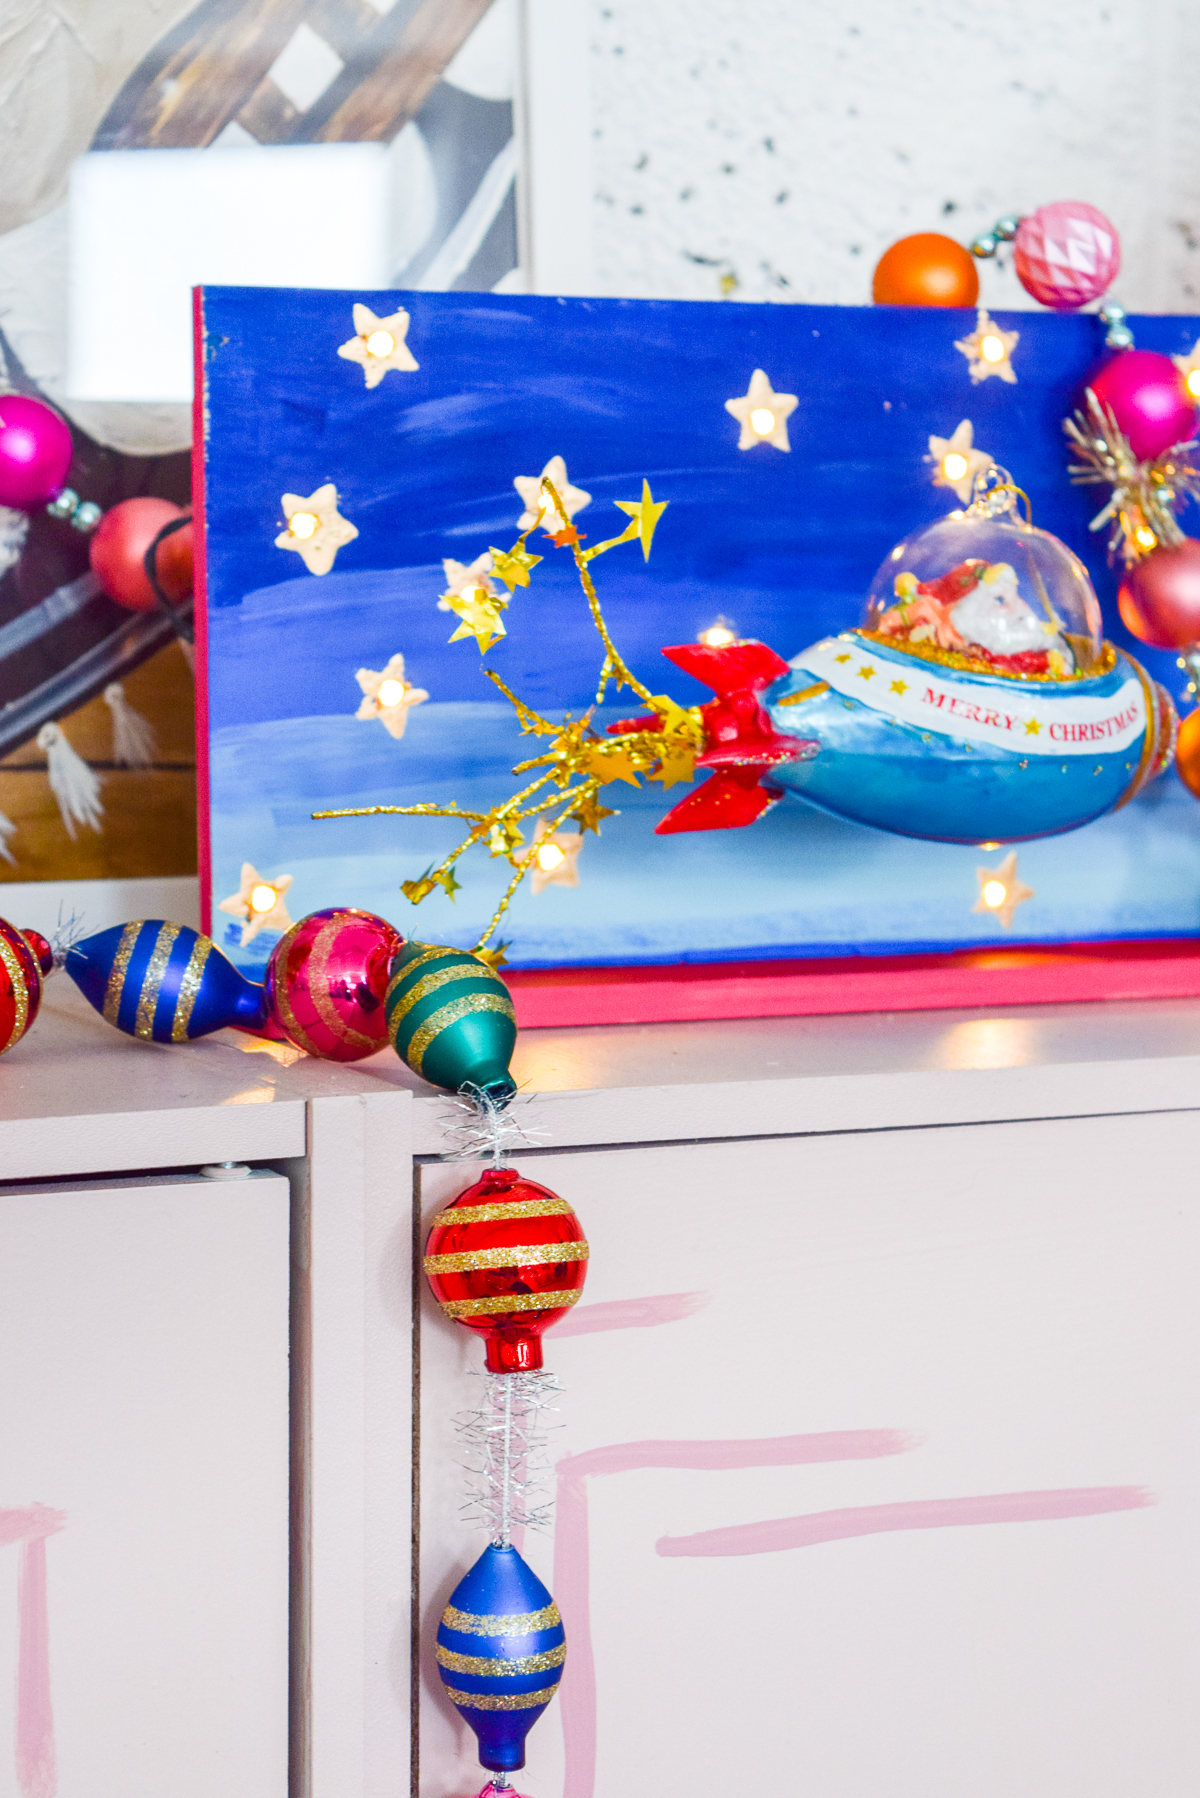
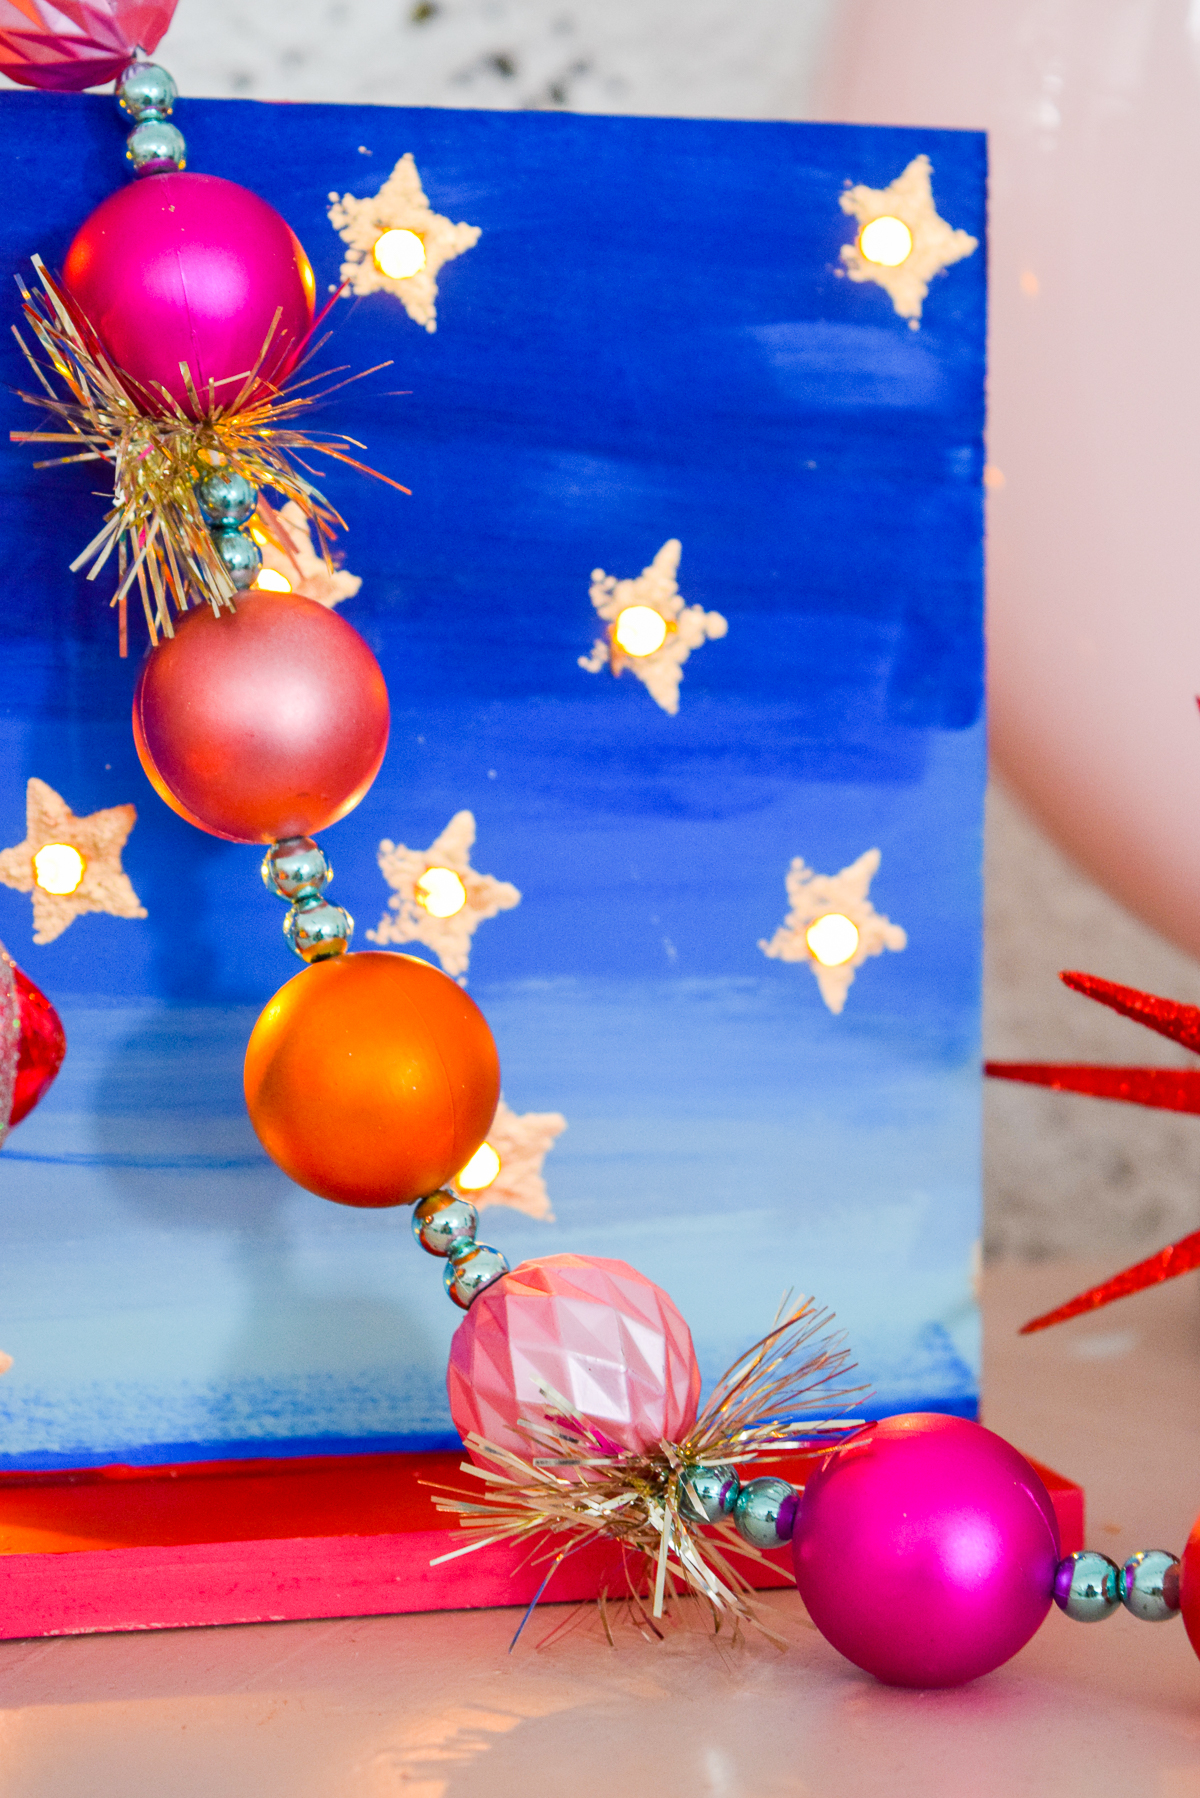
Start by painting gradients of blue on the board. This is meant to look like a setting night sky, with the brightest blue along the horizon (aka the bottom). Take the time to blend them, add a little overlay, and really make it sparkle.
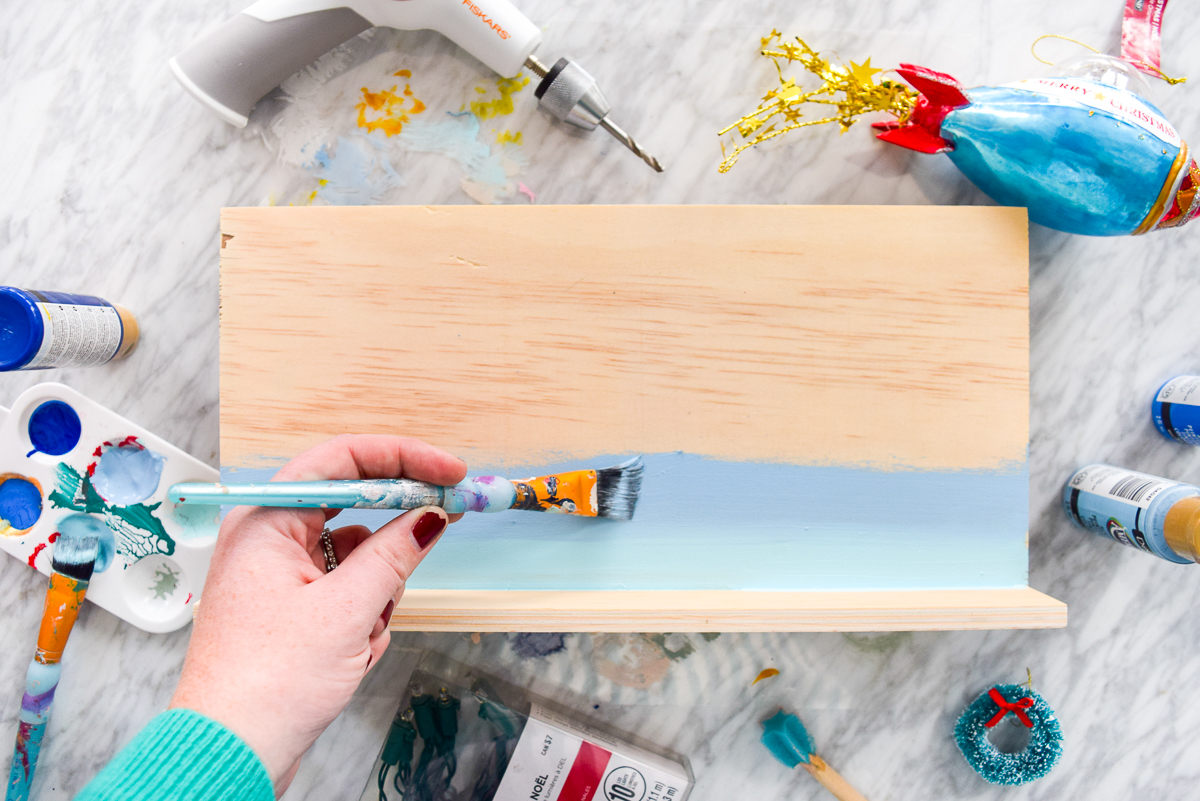

Once it’s dry, use a gold star shaped sponge and the liquid gold, to add the stars to the night sky. Between the two strands of light I bought, there were 20 bulbs, so I needed 20 stars (to eventually drill 20 holes). While the blue dried, I used some red and pink paint to finish the frame and the edges. You know me – I love colour!

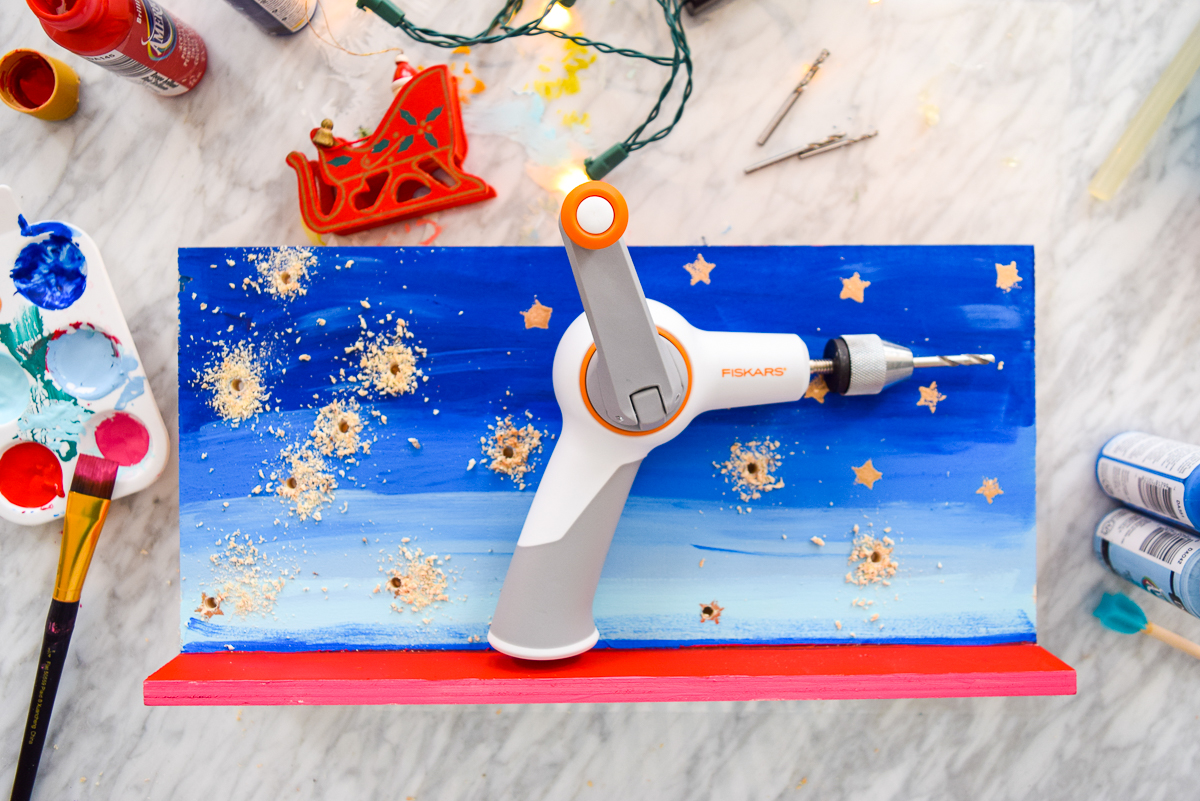
Next up, time for the Fiskars Precision Drill! I used the drill and the biggest bit (I checked before buying the lights) to create 20 holes at the center of each star. It was super easy, all I needed to do was turn the hand crank and watch the wood chips appear.
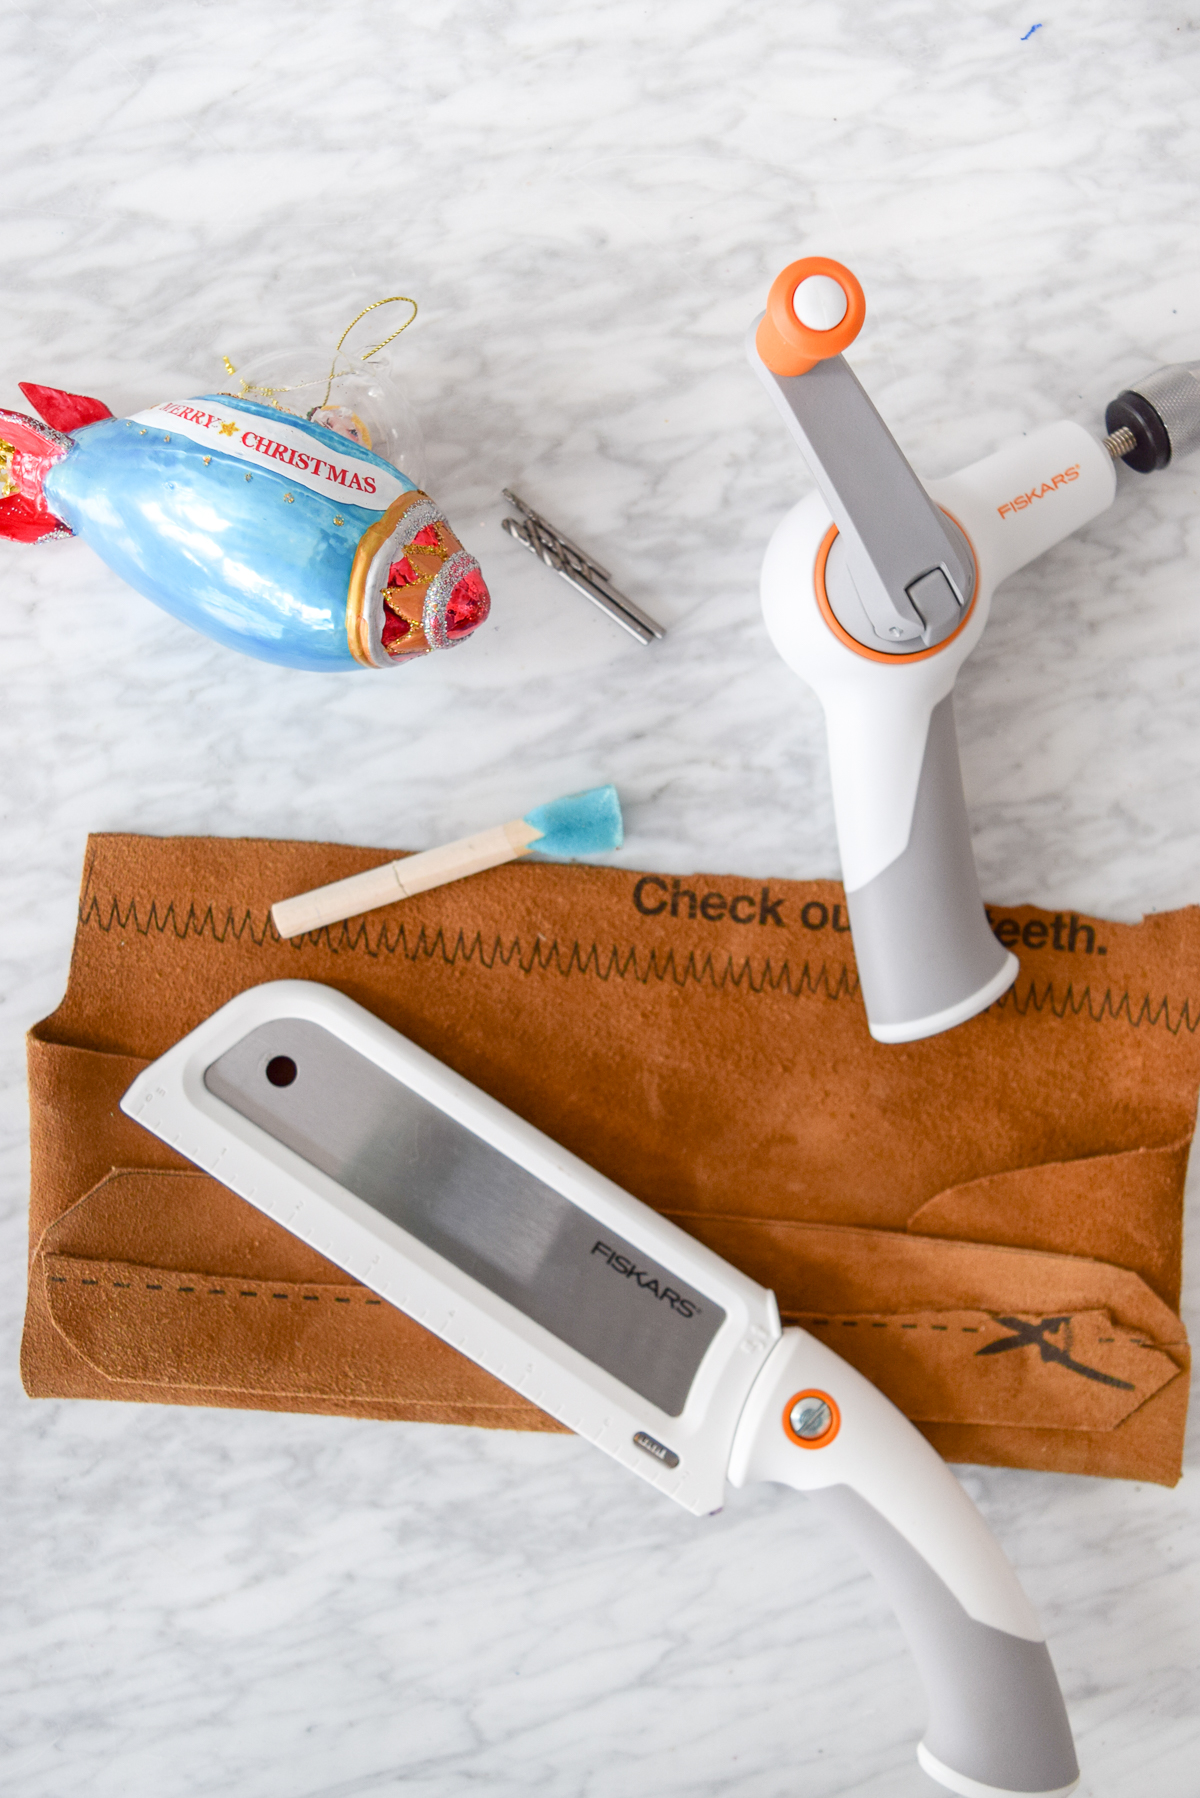
While all this was happening, I used Fiskar’s 7″ Precision Hand Saw to cut a dowel, to then use to affix the santa ornament to the sign. Once again, super simple to use, very clean cuts, and no fuss or noise.
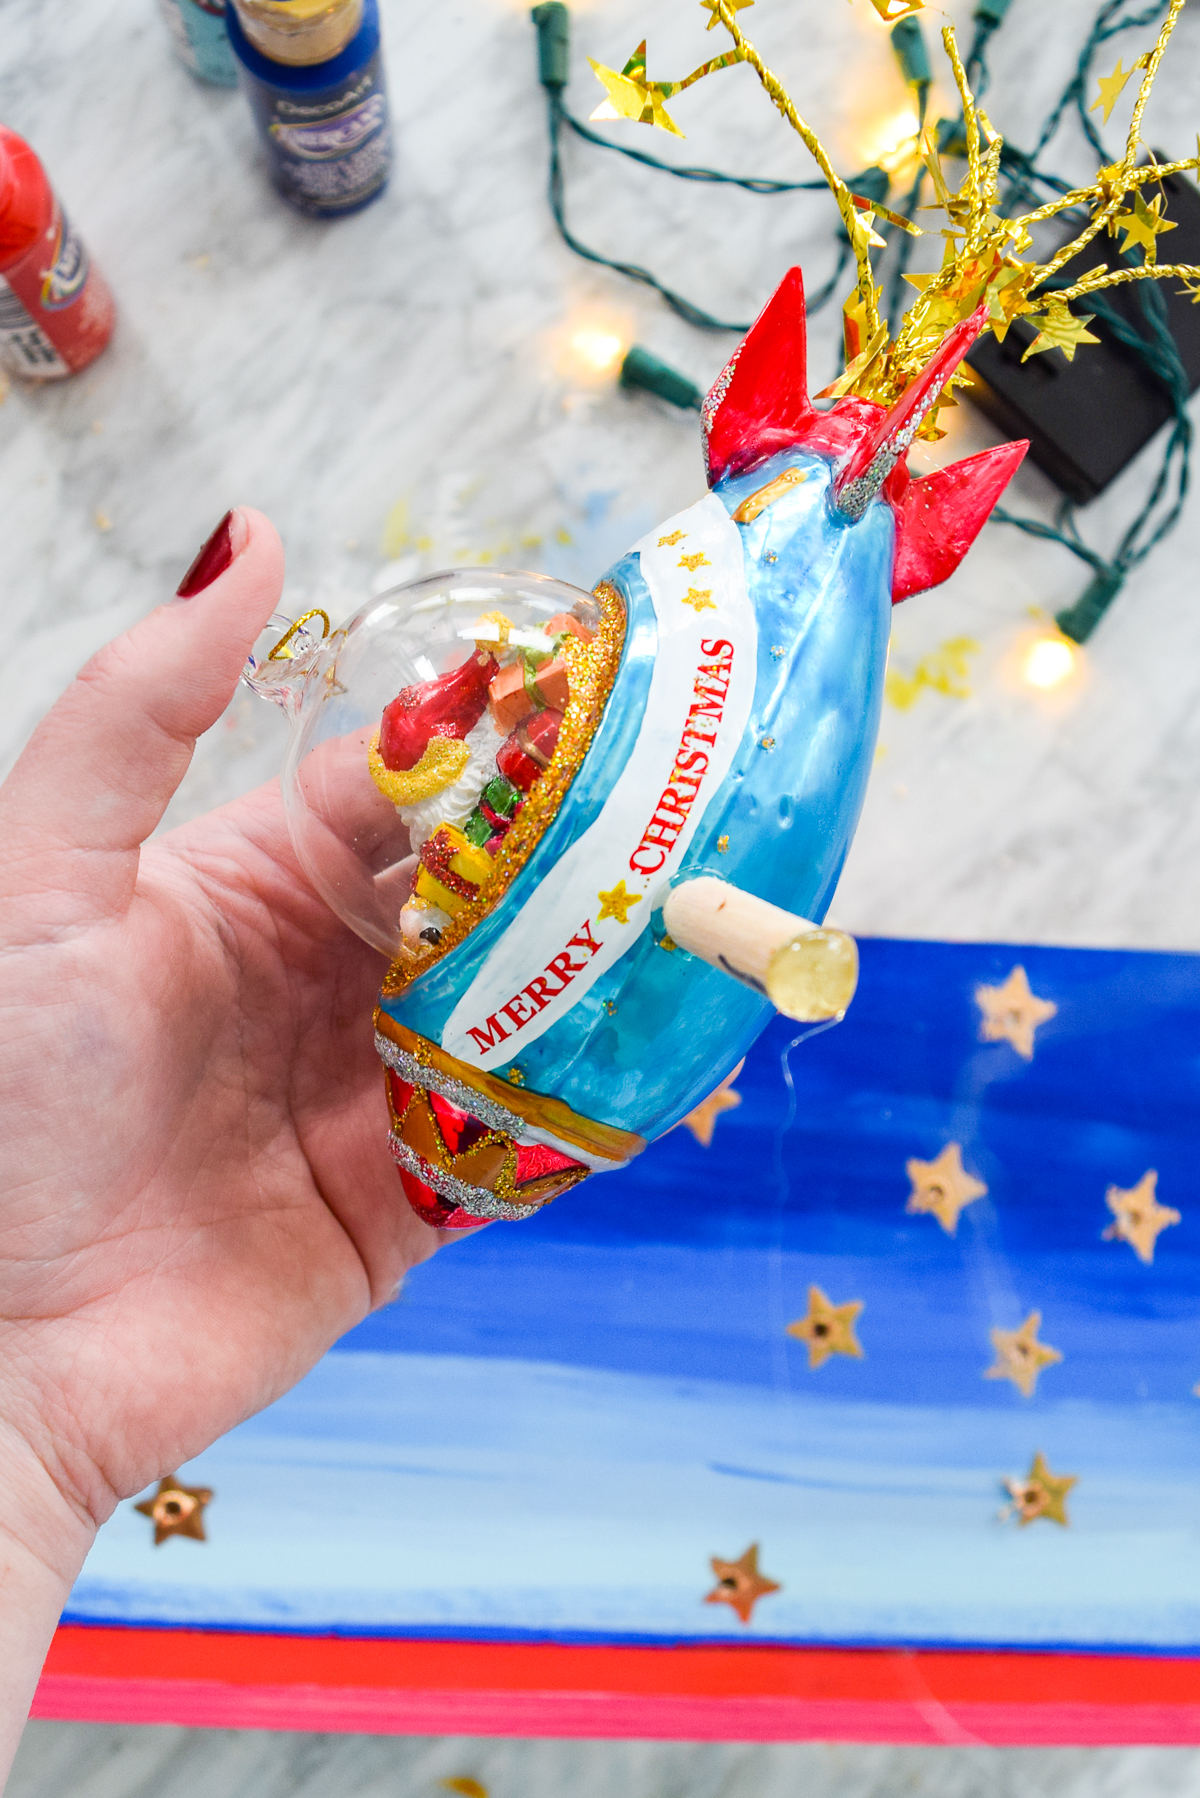

Once that dowel was securely glued to the sign, I flicked on the lights and slowly fed them through the holes I had drilled (from behind), so that I could then hide the little battery packs.
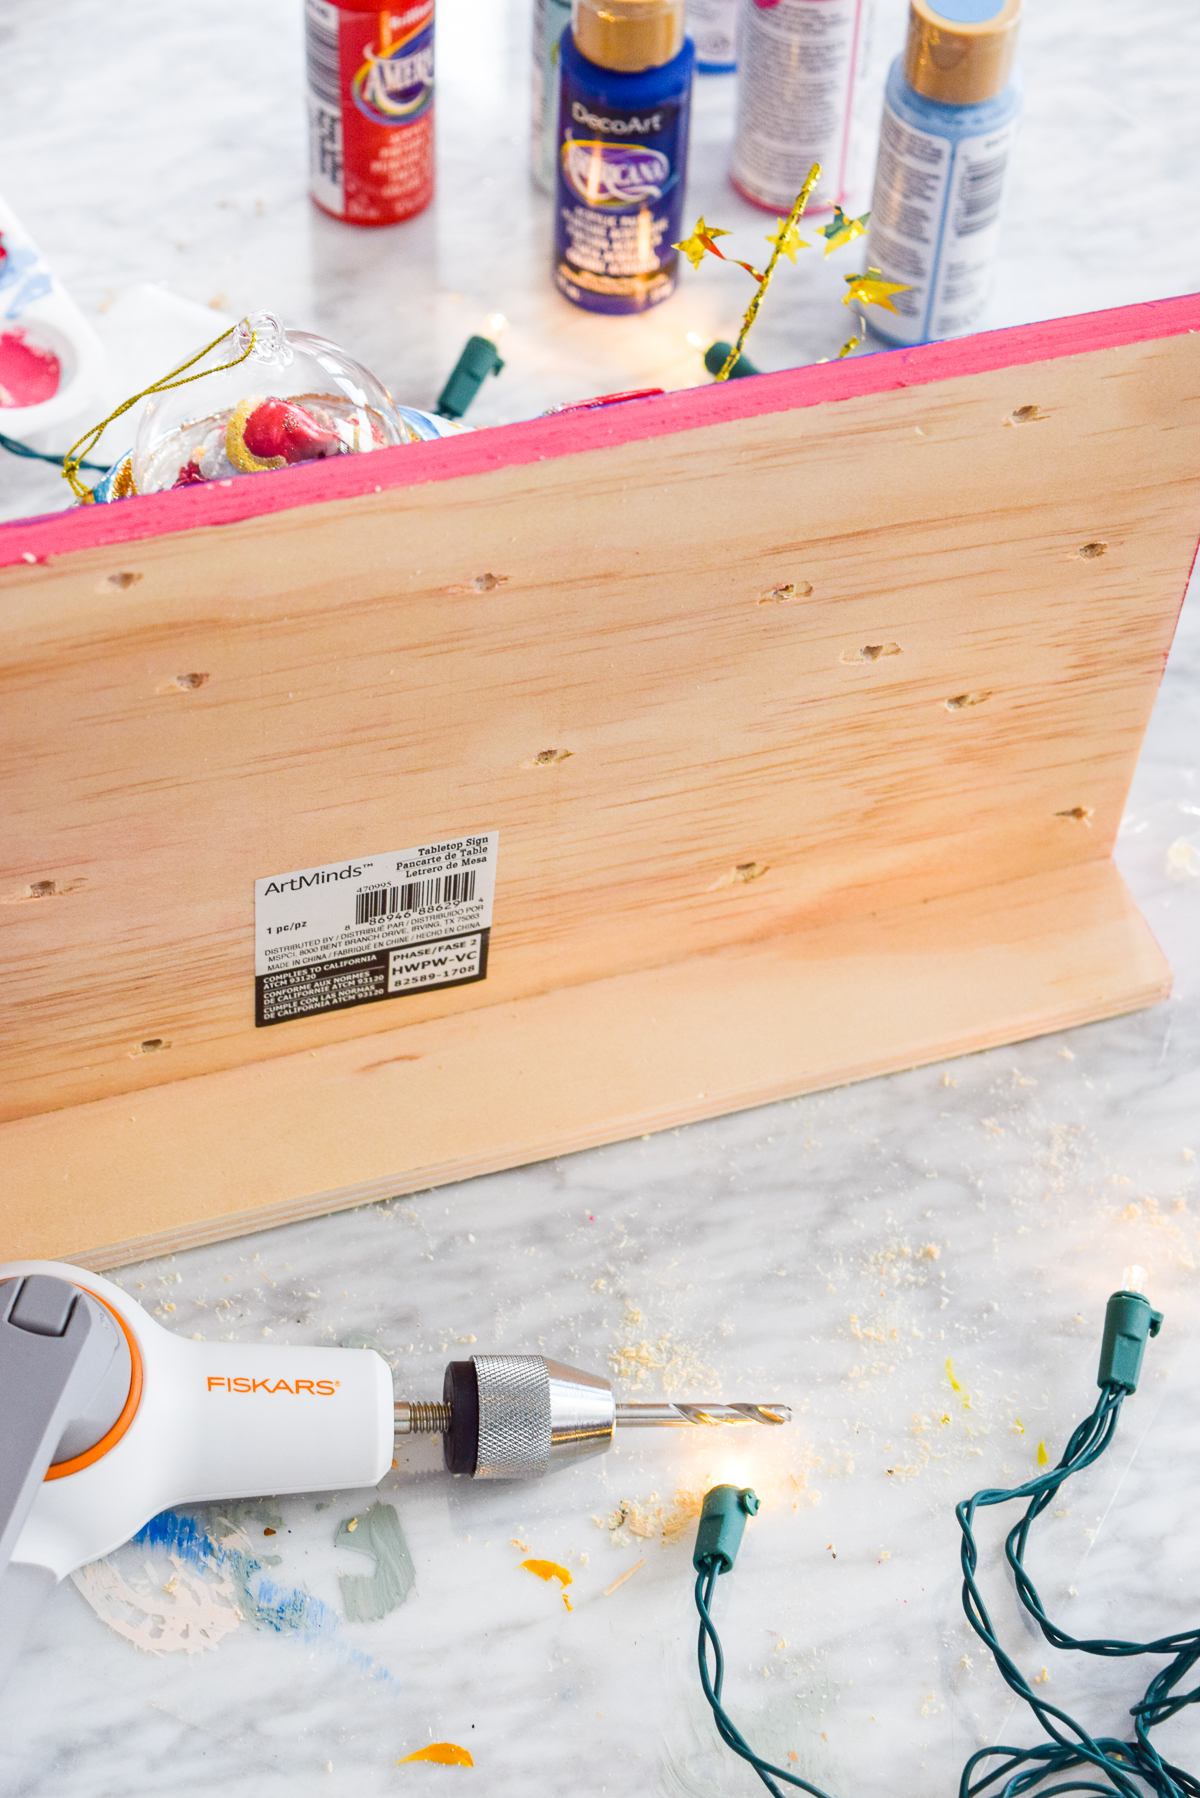
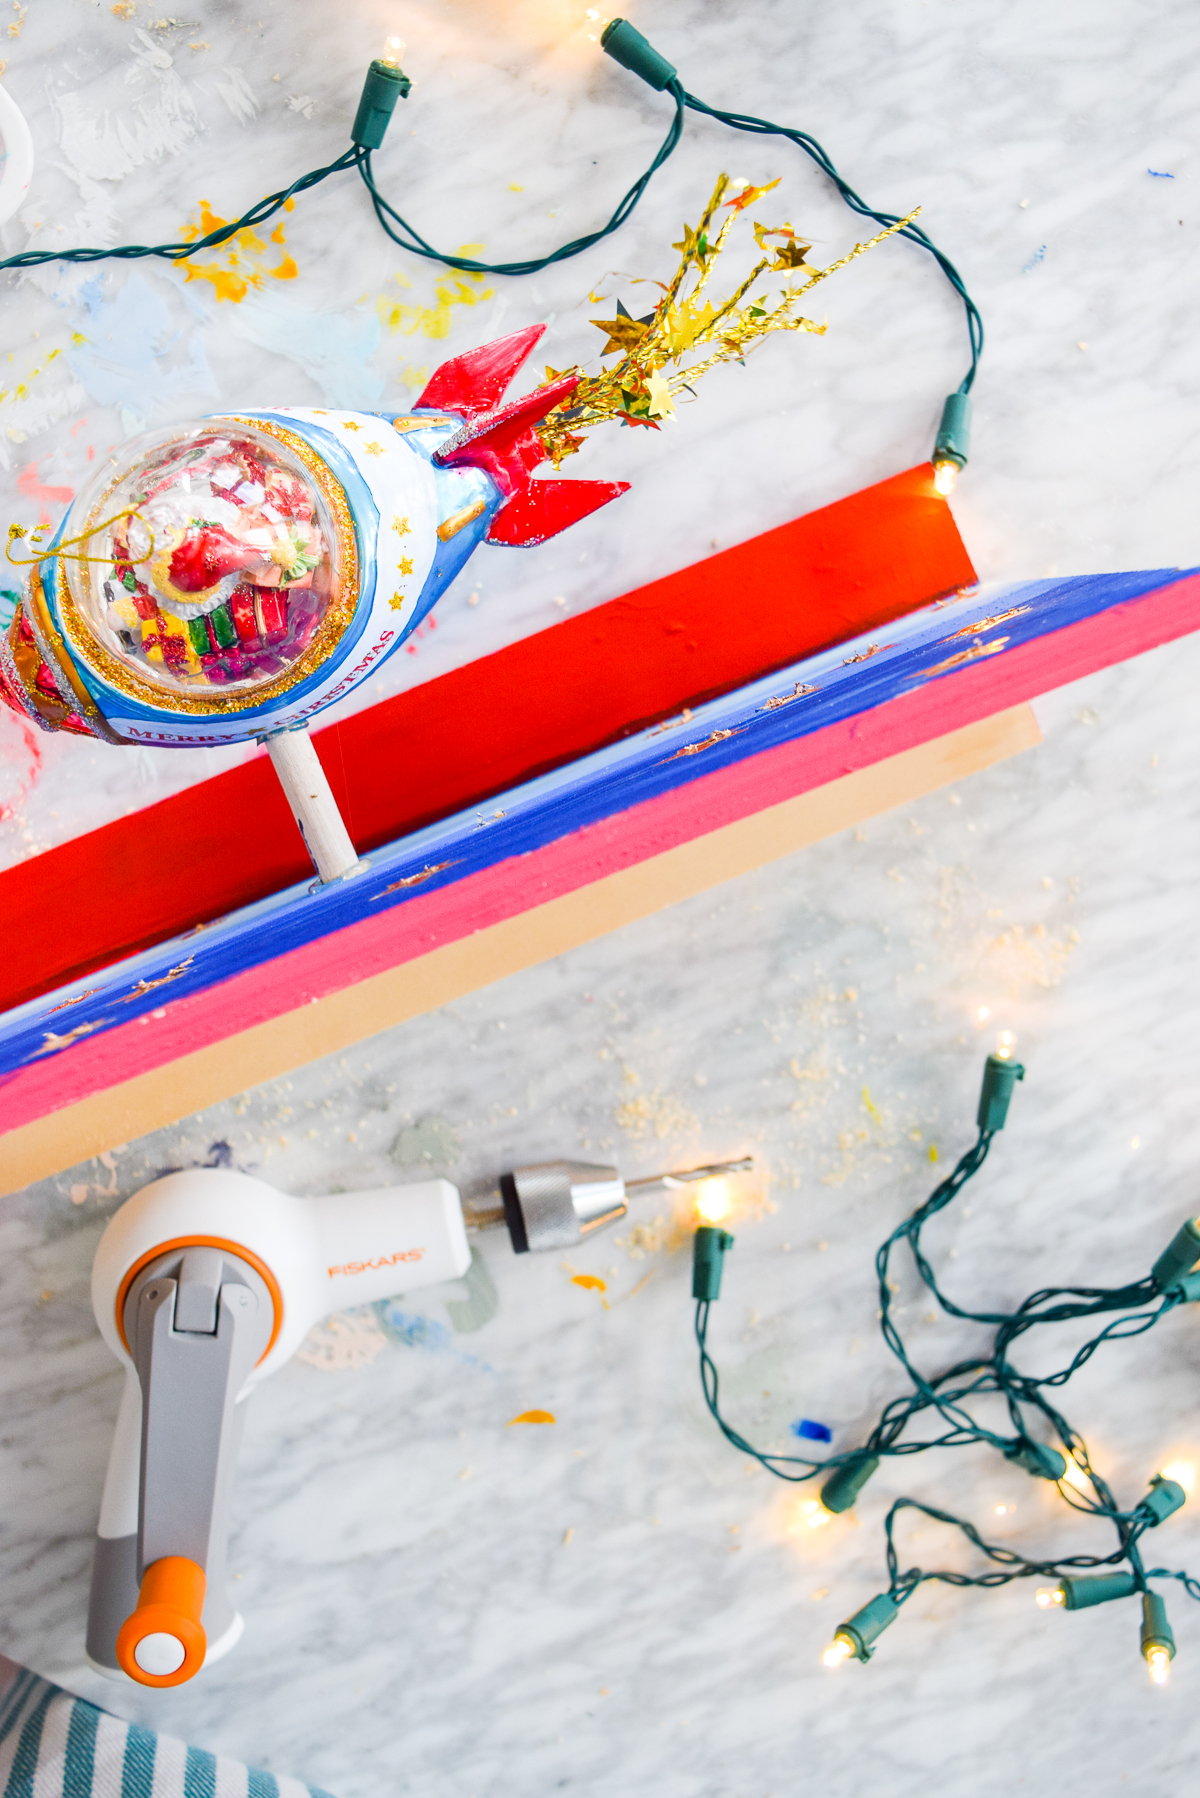
I then secured the battery packs to the back of the wood sign. One of the reasons I chose this footed piece, was because I knew I could add the packs here without worrying about them sliding off.

Decorating with your DIY Retro Santa Marquee Sign
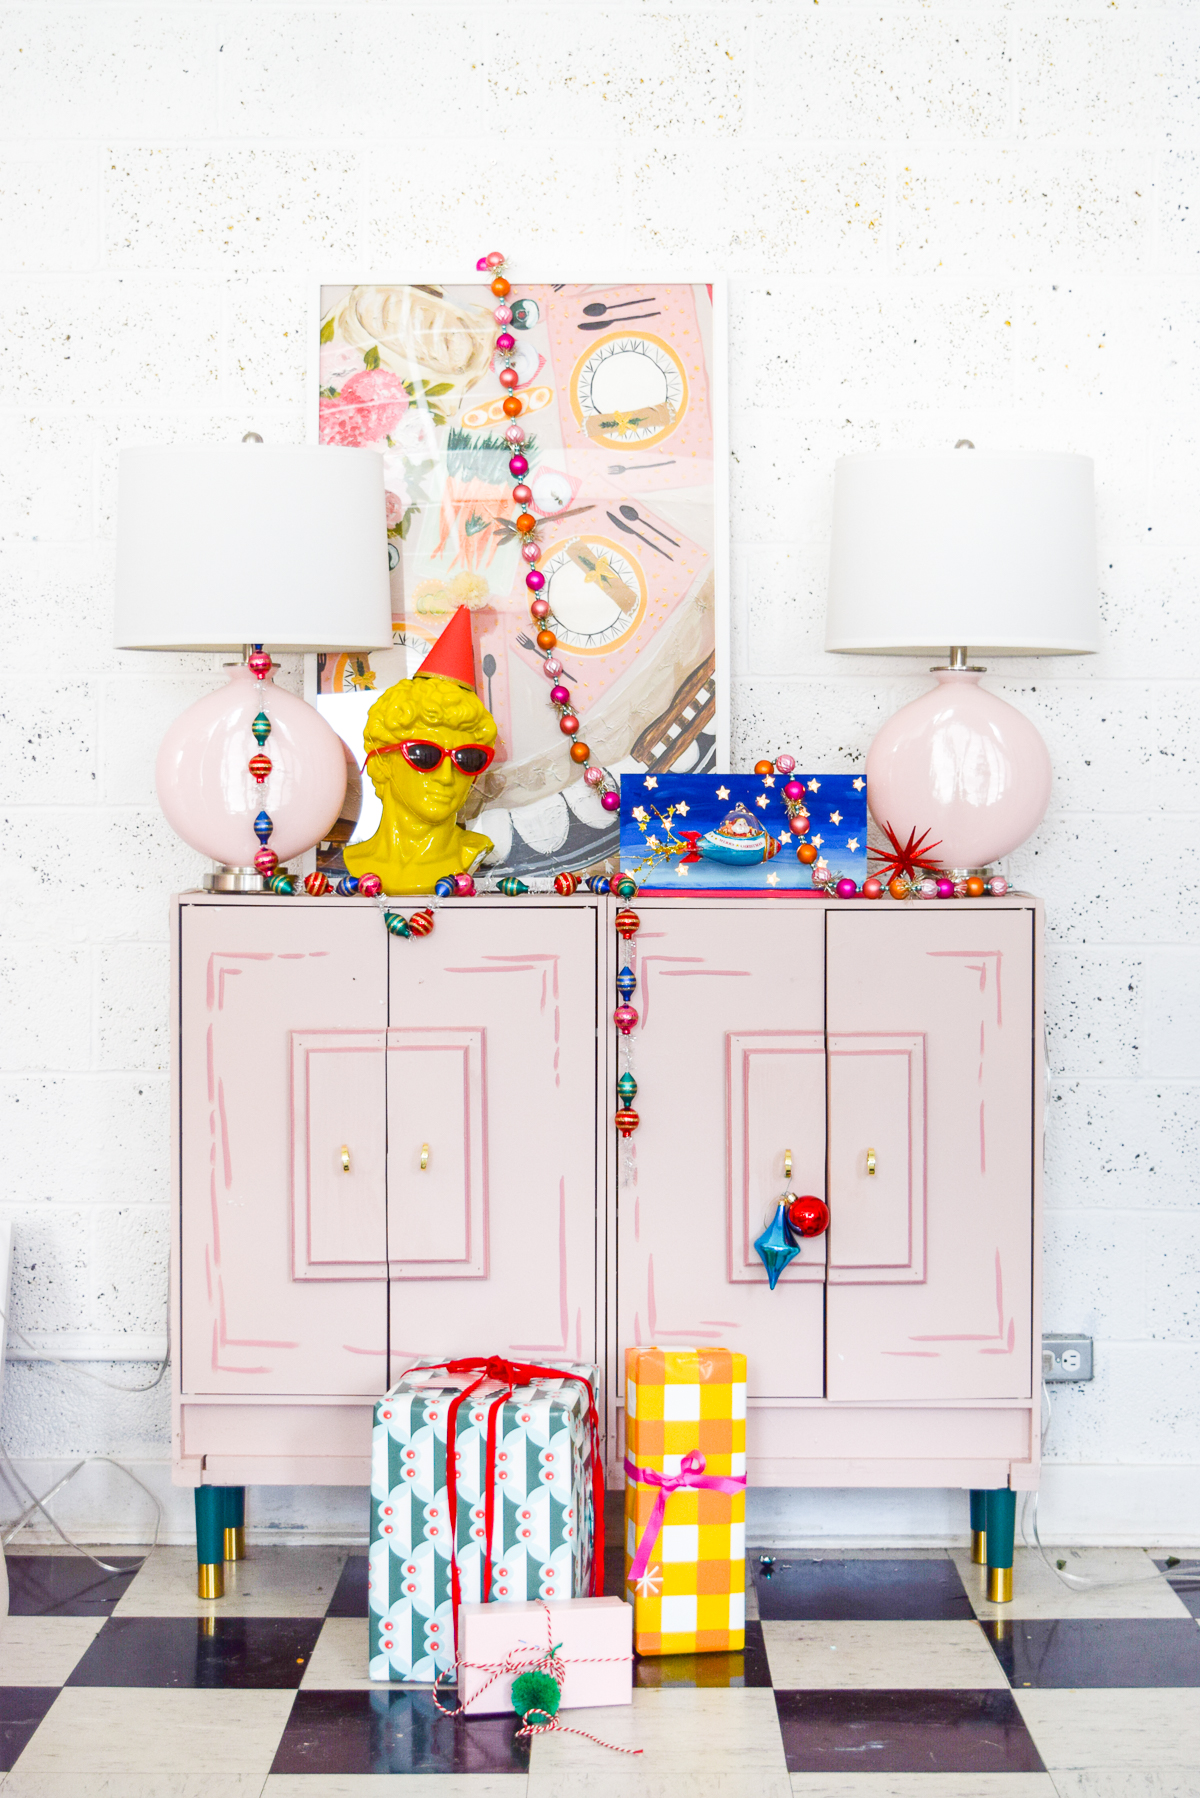
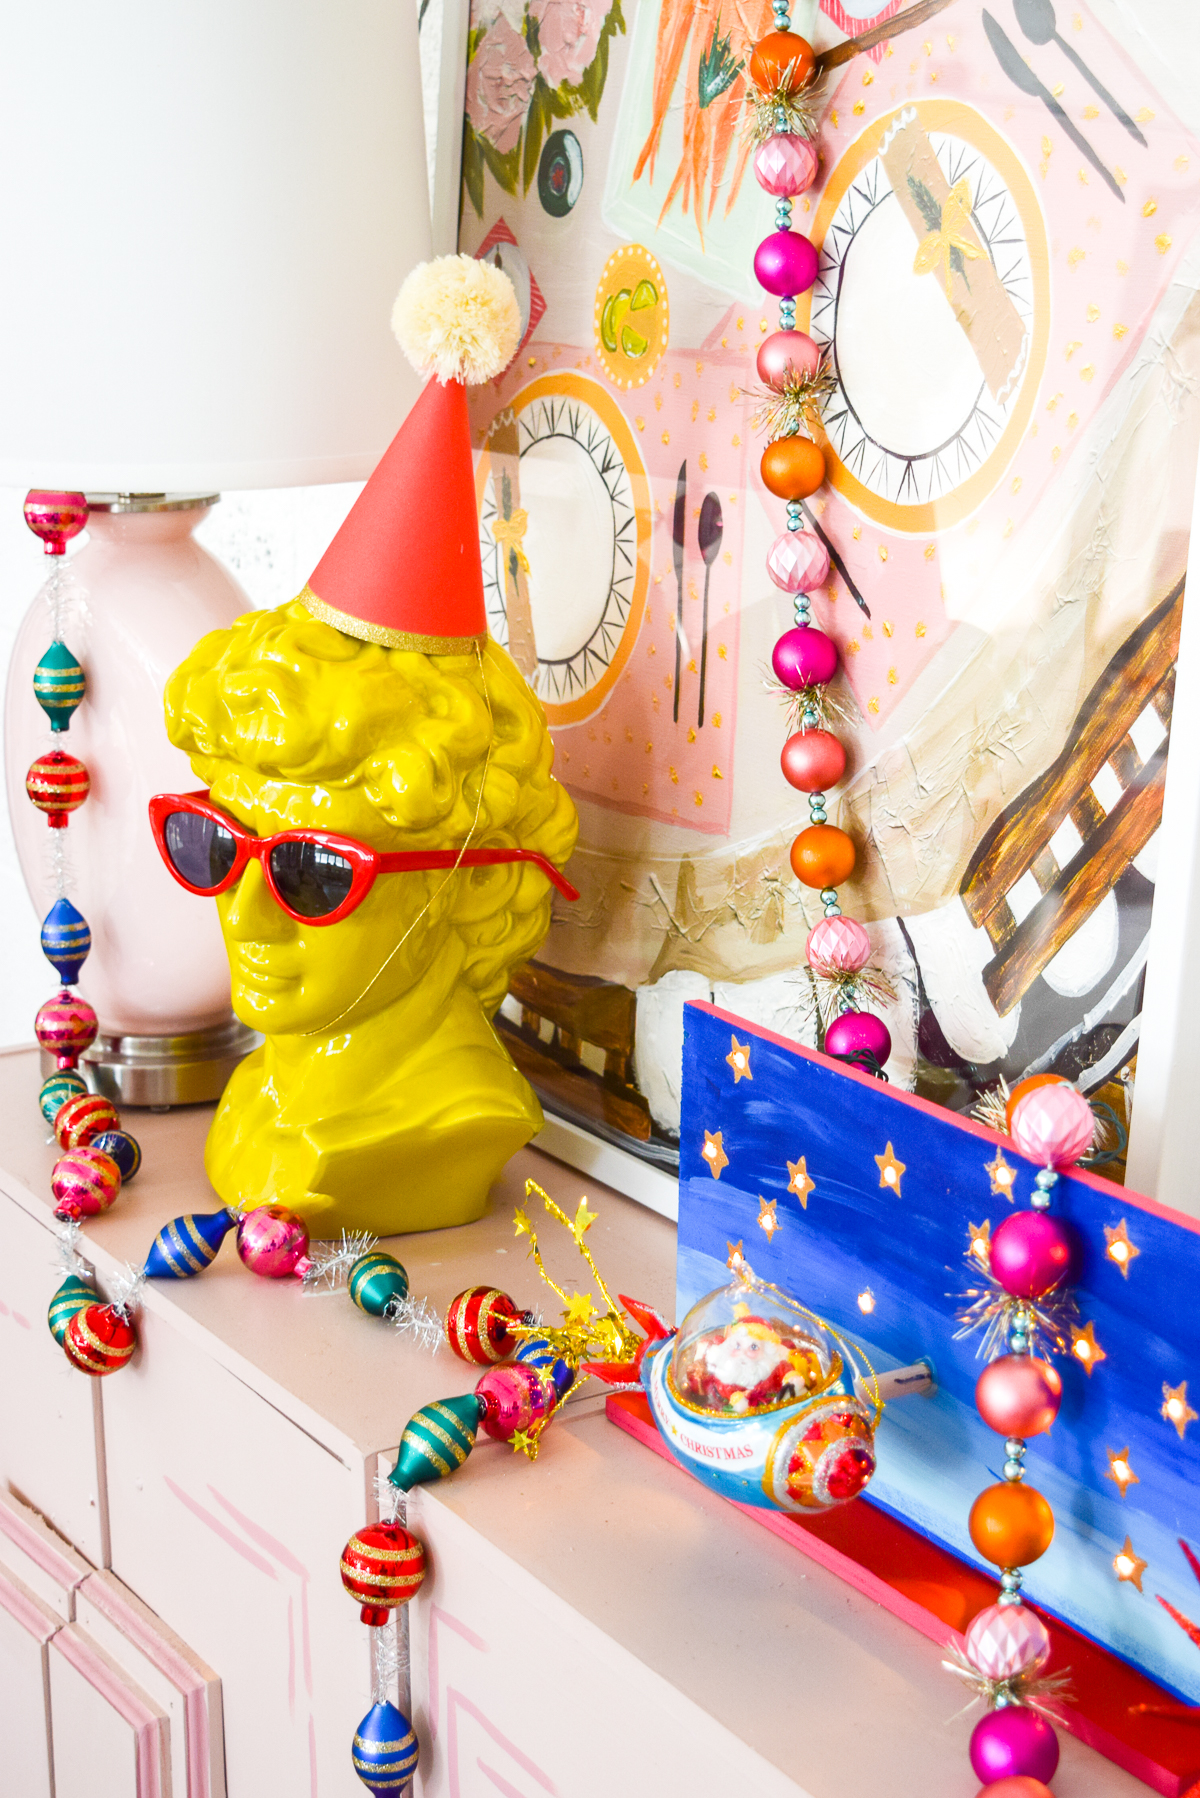
I LIVE for contrasting bold colours, so naturally I put this dark blue sign on my bright pink entryway console. Next to my funky party santa Adonis, I think we’re ready for a party!




[…] DIY Retro Santa Marquee by PMQ For Two […]