PMQ for two

Bold, Bright and Colourful Home Decor & DIYs

  • Home
  • About me
    • Press
    • Policies
  • Download Colour & Pattern Mixing Guide
  • Project Gallery
  • What is a PMQ?
    • The duplex
    • The Row House Tour

DIY Picture Rail Update In The Dining Room

May 10, 2018~ dining room, DIY and craft projects, Furniture DIY, home & living

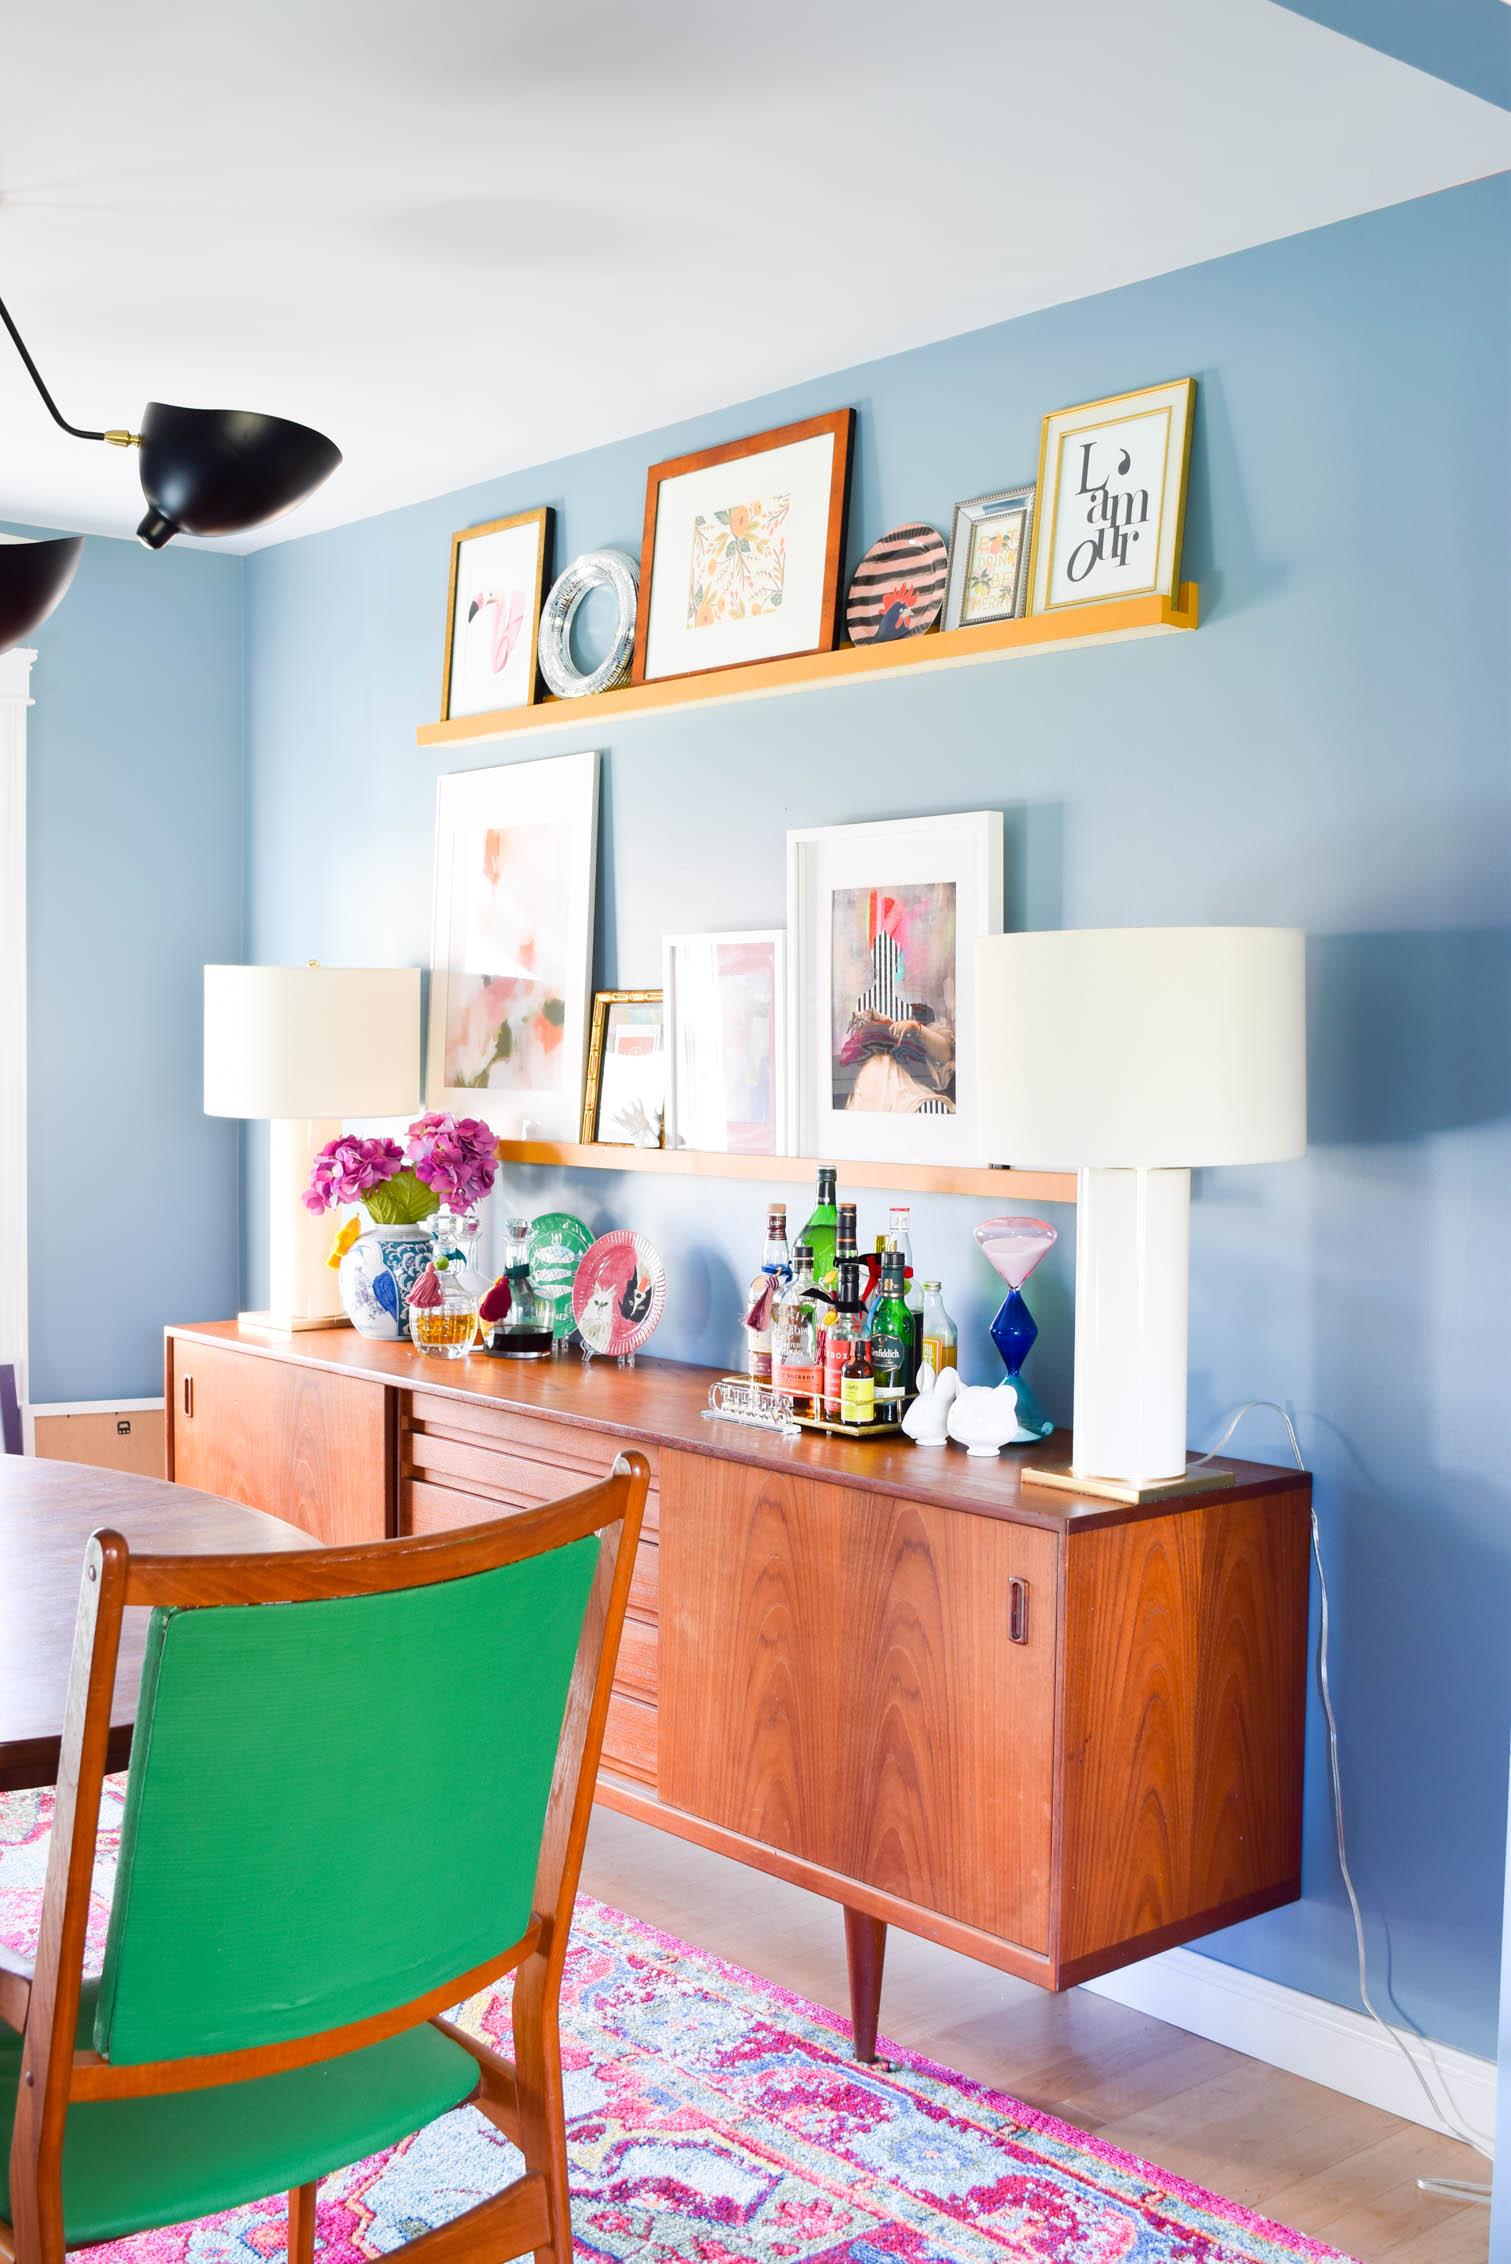
With all the One Room Challenge reveals this week, I decided to revisit the dining room that I completed this fall // here //. When I completed the space I thought that leaning all the art agaisnt the wall, atop the sideboard, would be cool and eclectic. It was, but it made for a very crowded sideboard, which therefore isn’t much use. I had originally planned on doing some picture rails for the space, but I couldn’t wrap my head around the art collection that would go there at the time, so I let it be. I’m trying to be more deliberate with my design (especially now that I have the studio), so I figured I could do them later. Well, this week I decided to try my hand at a DIY Picture Rail this week.

*Diedododa sponsored this post, but all thoughts are my own.  Thank you for supporting the brands that make PMQ for two possible.
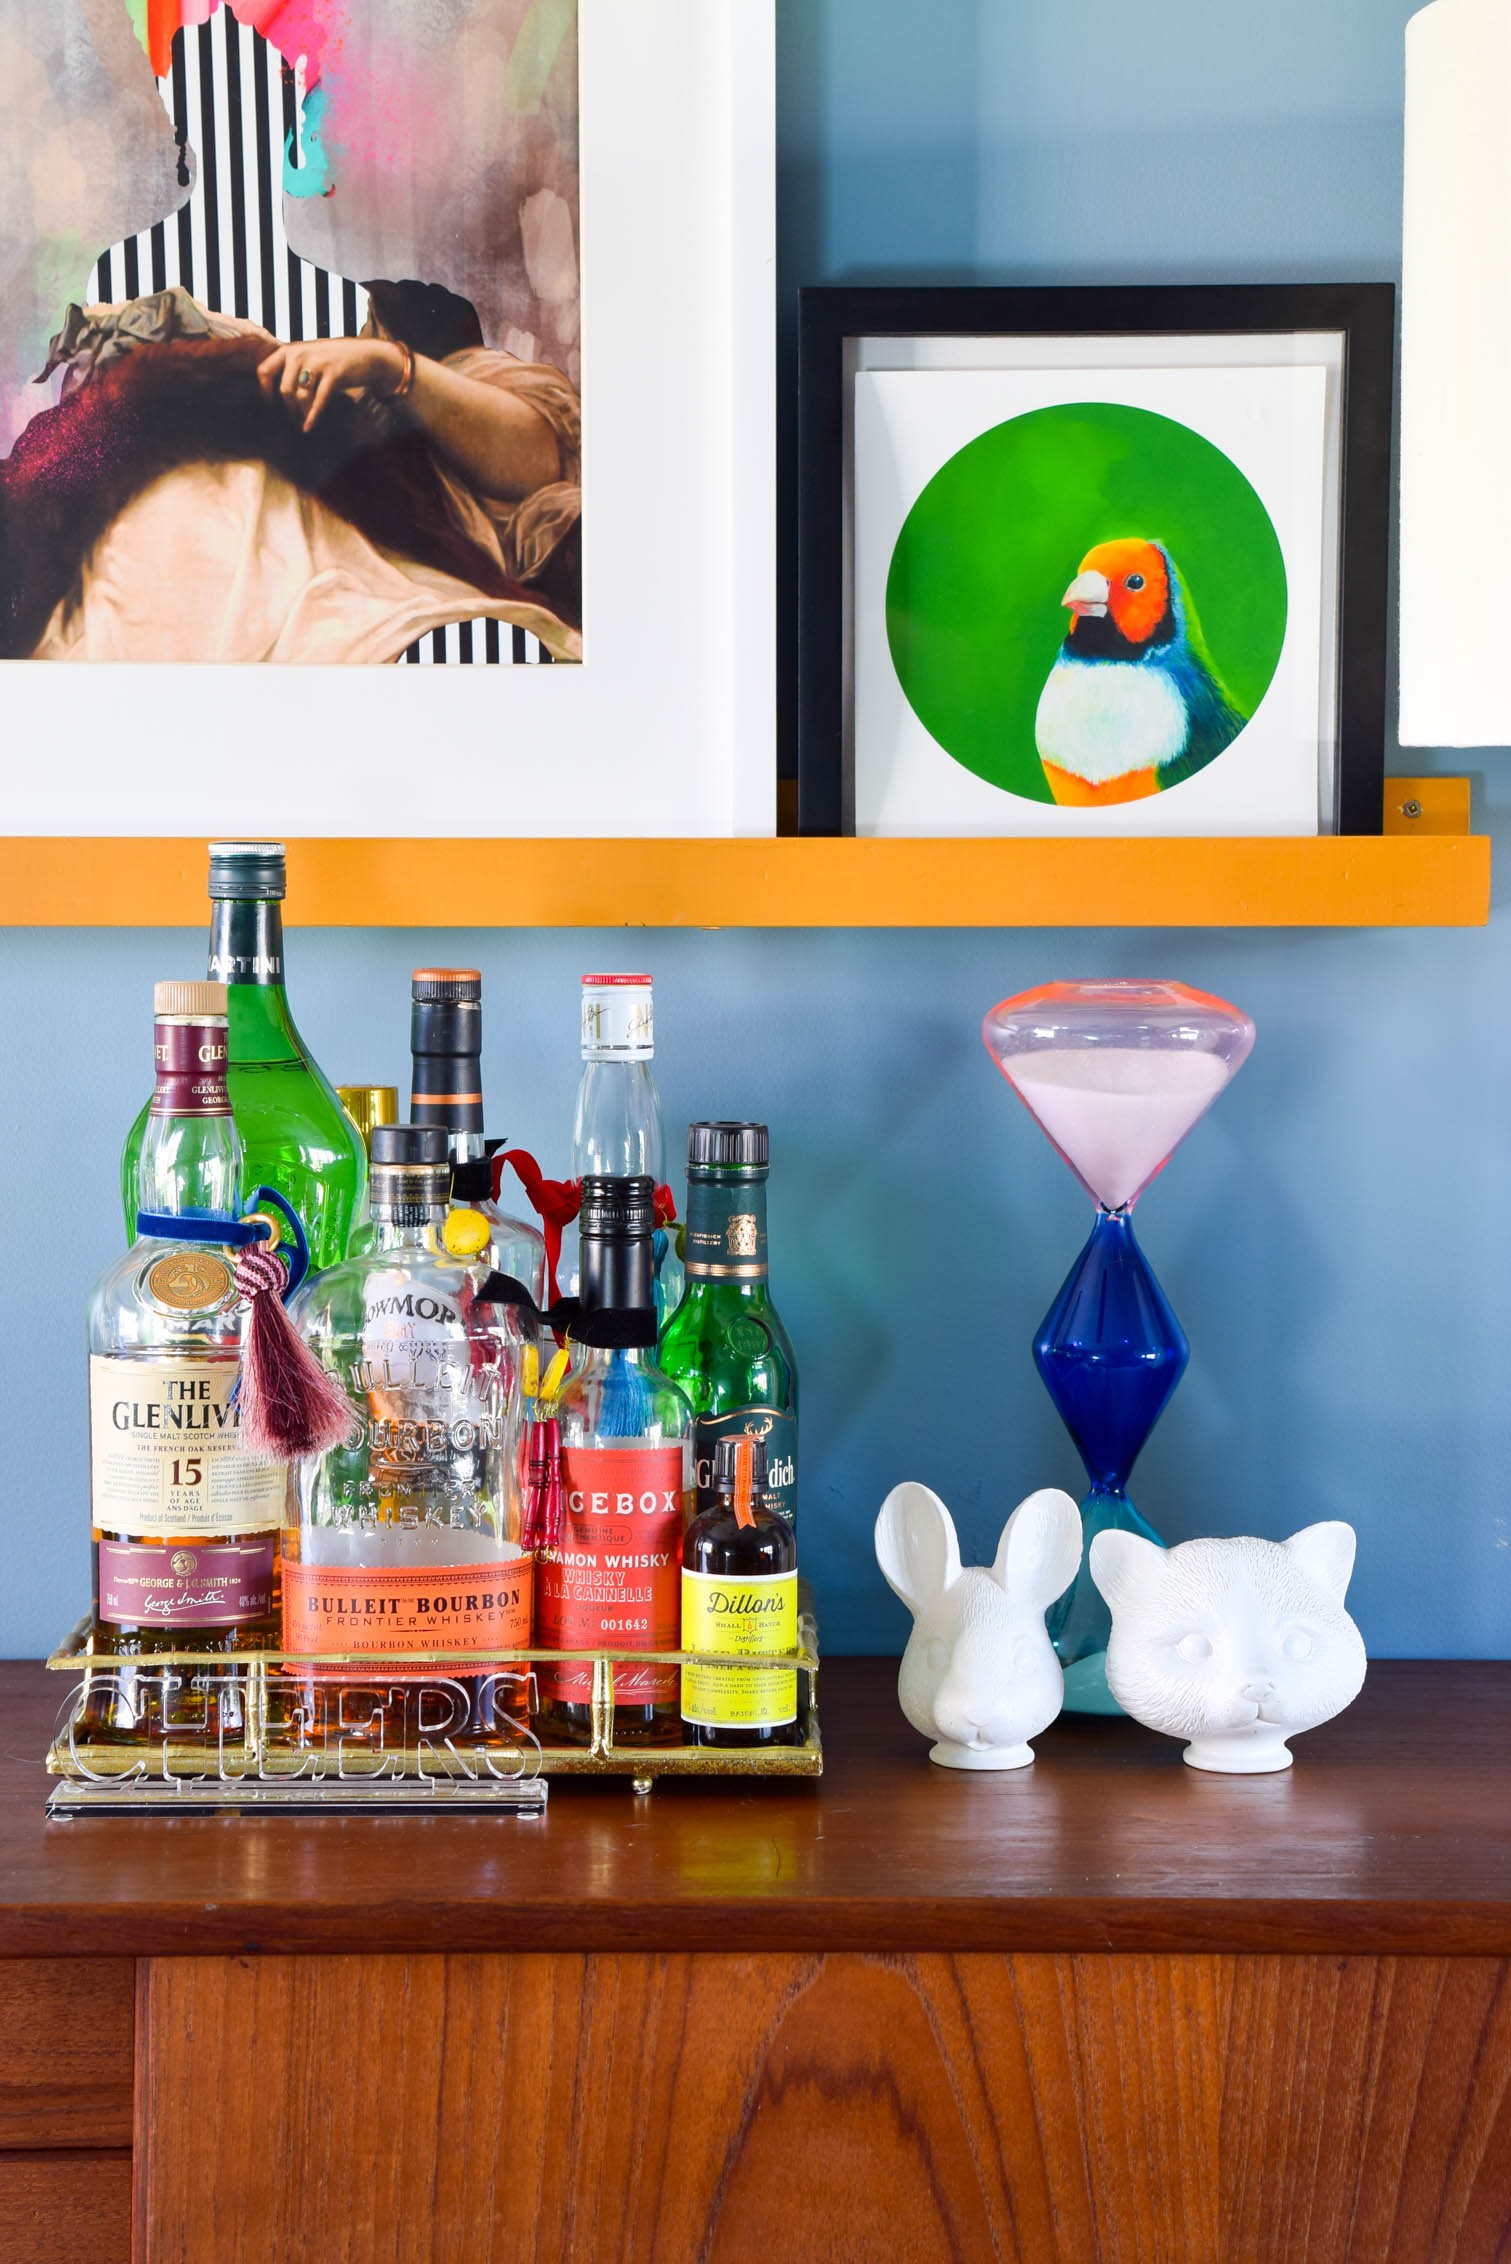
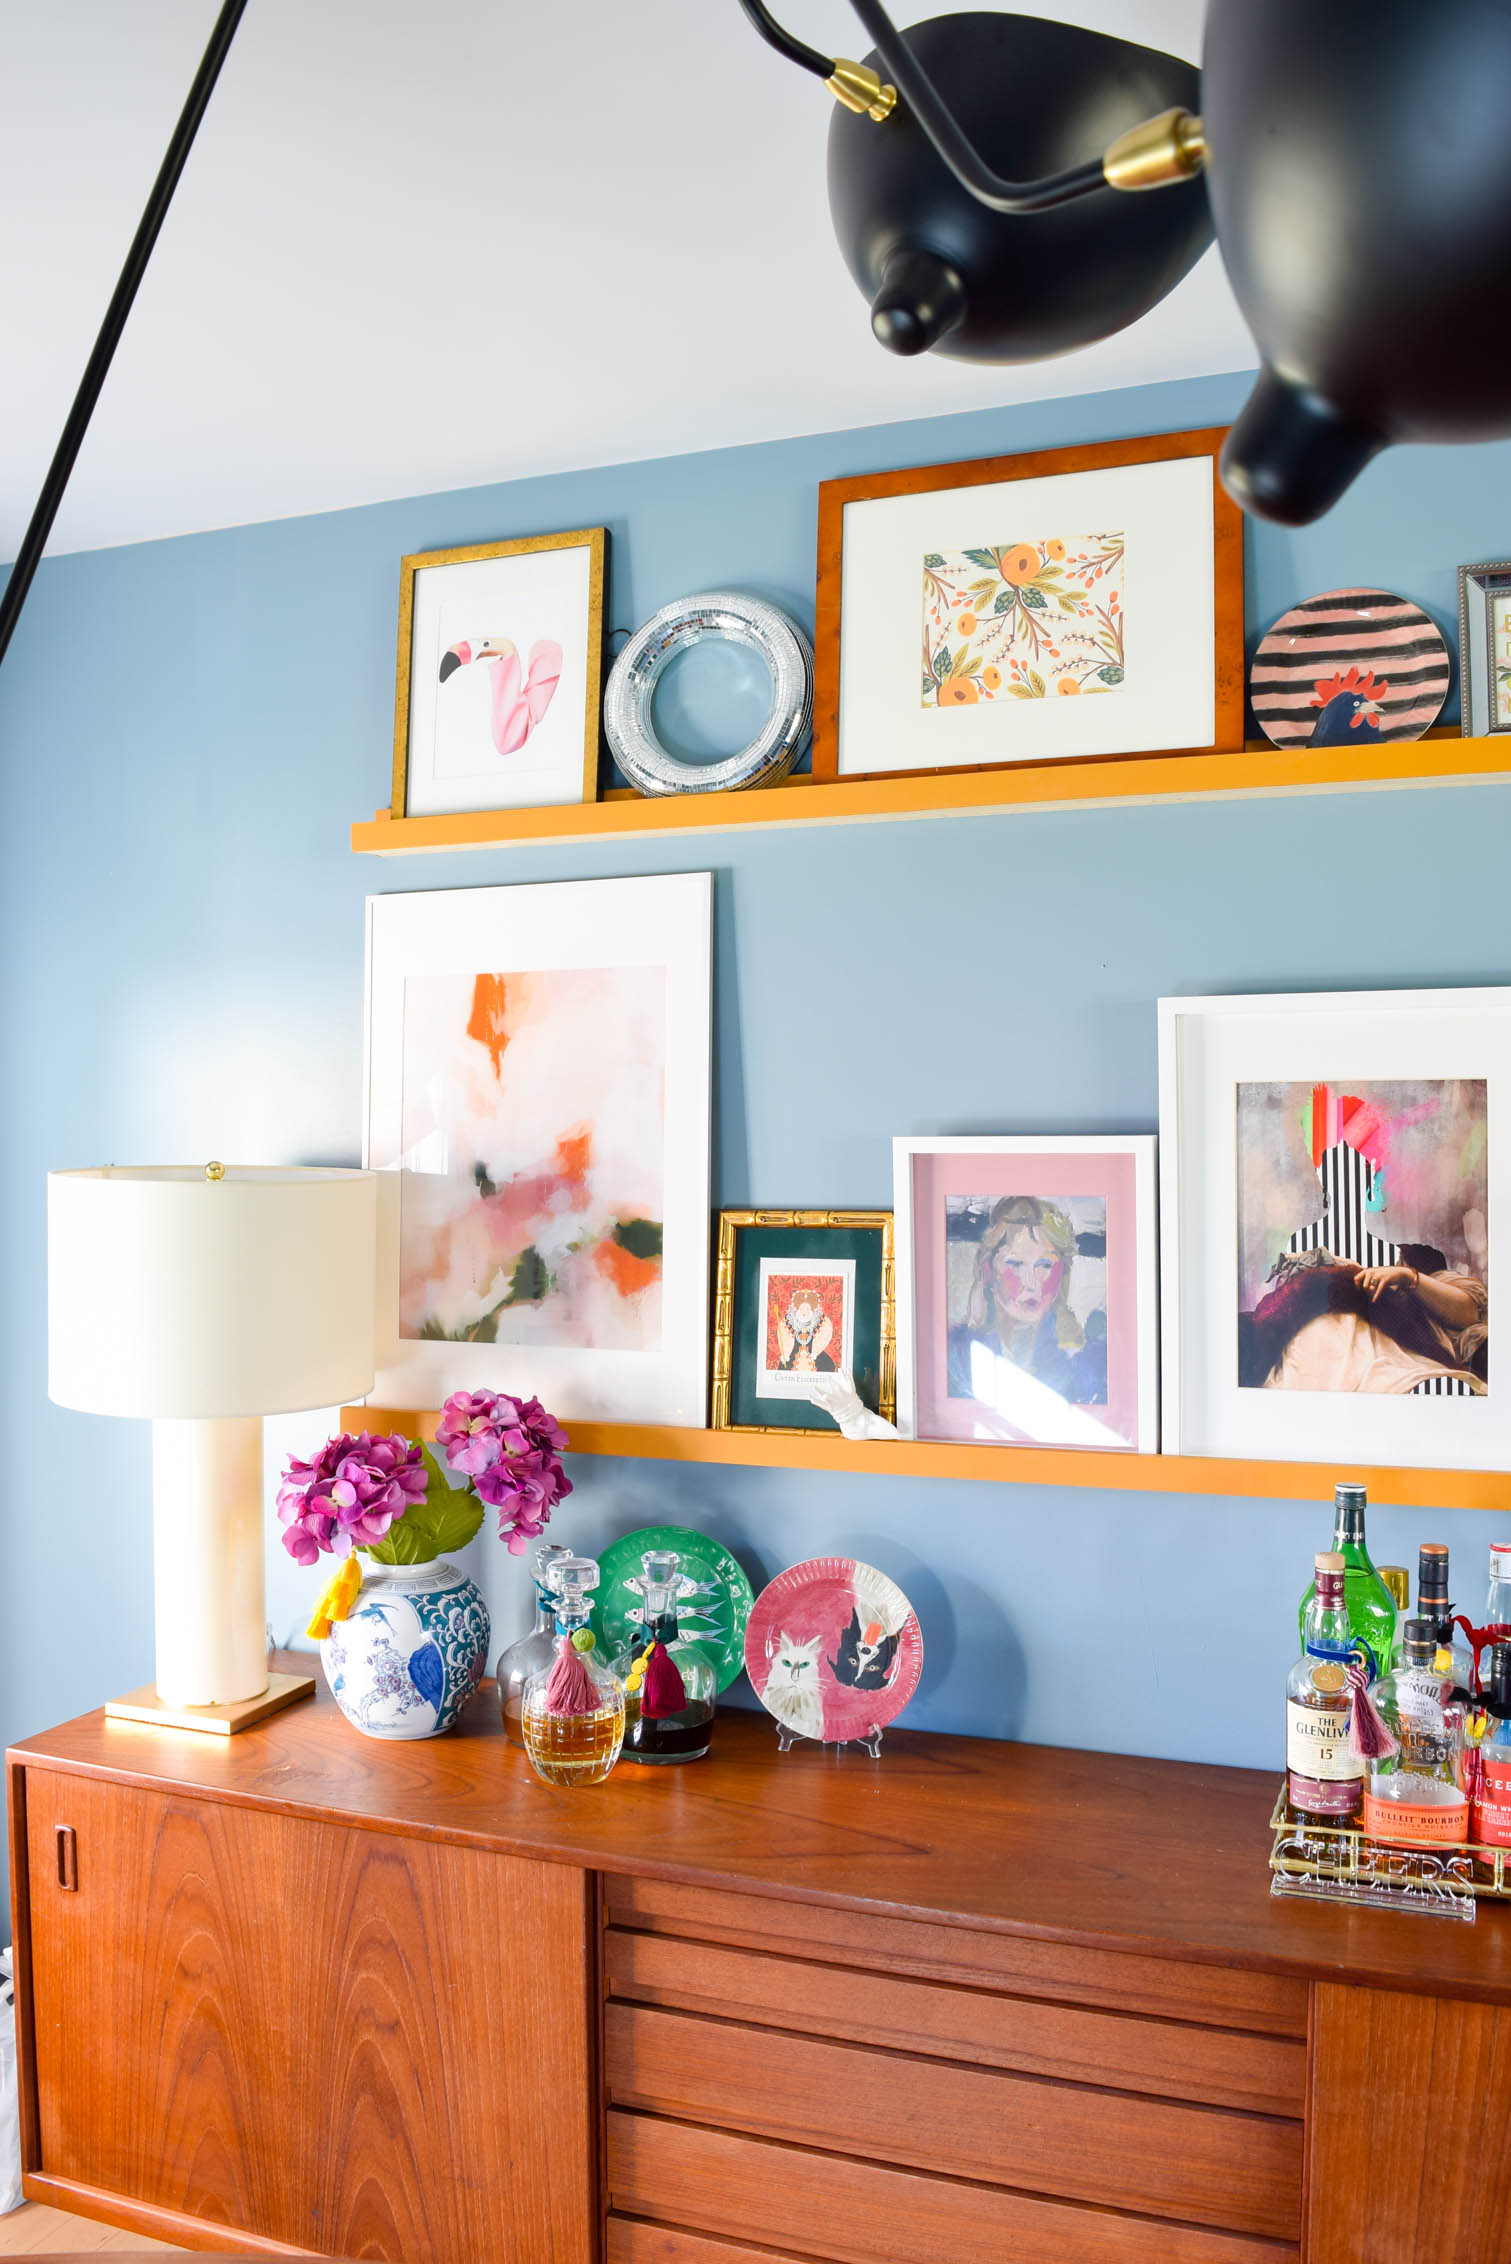
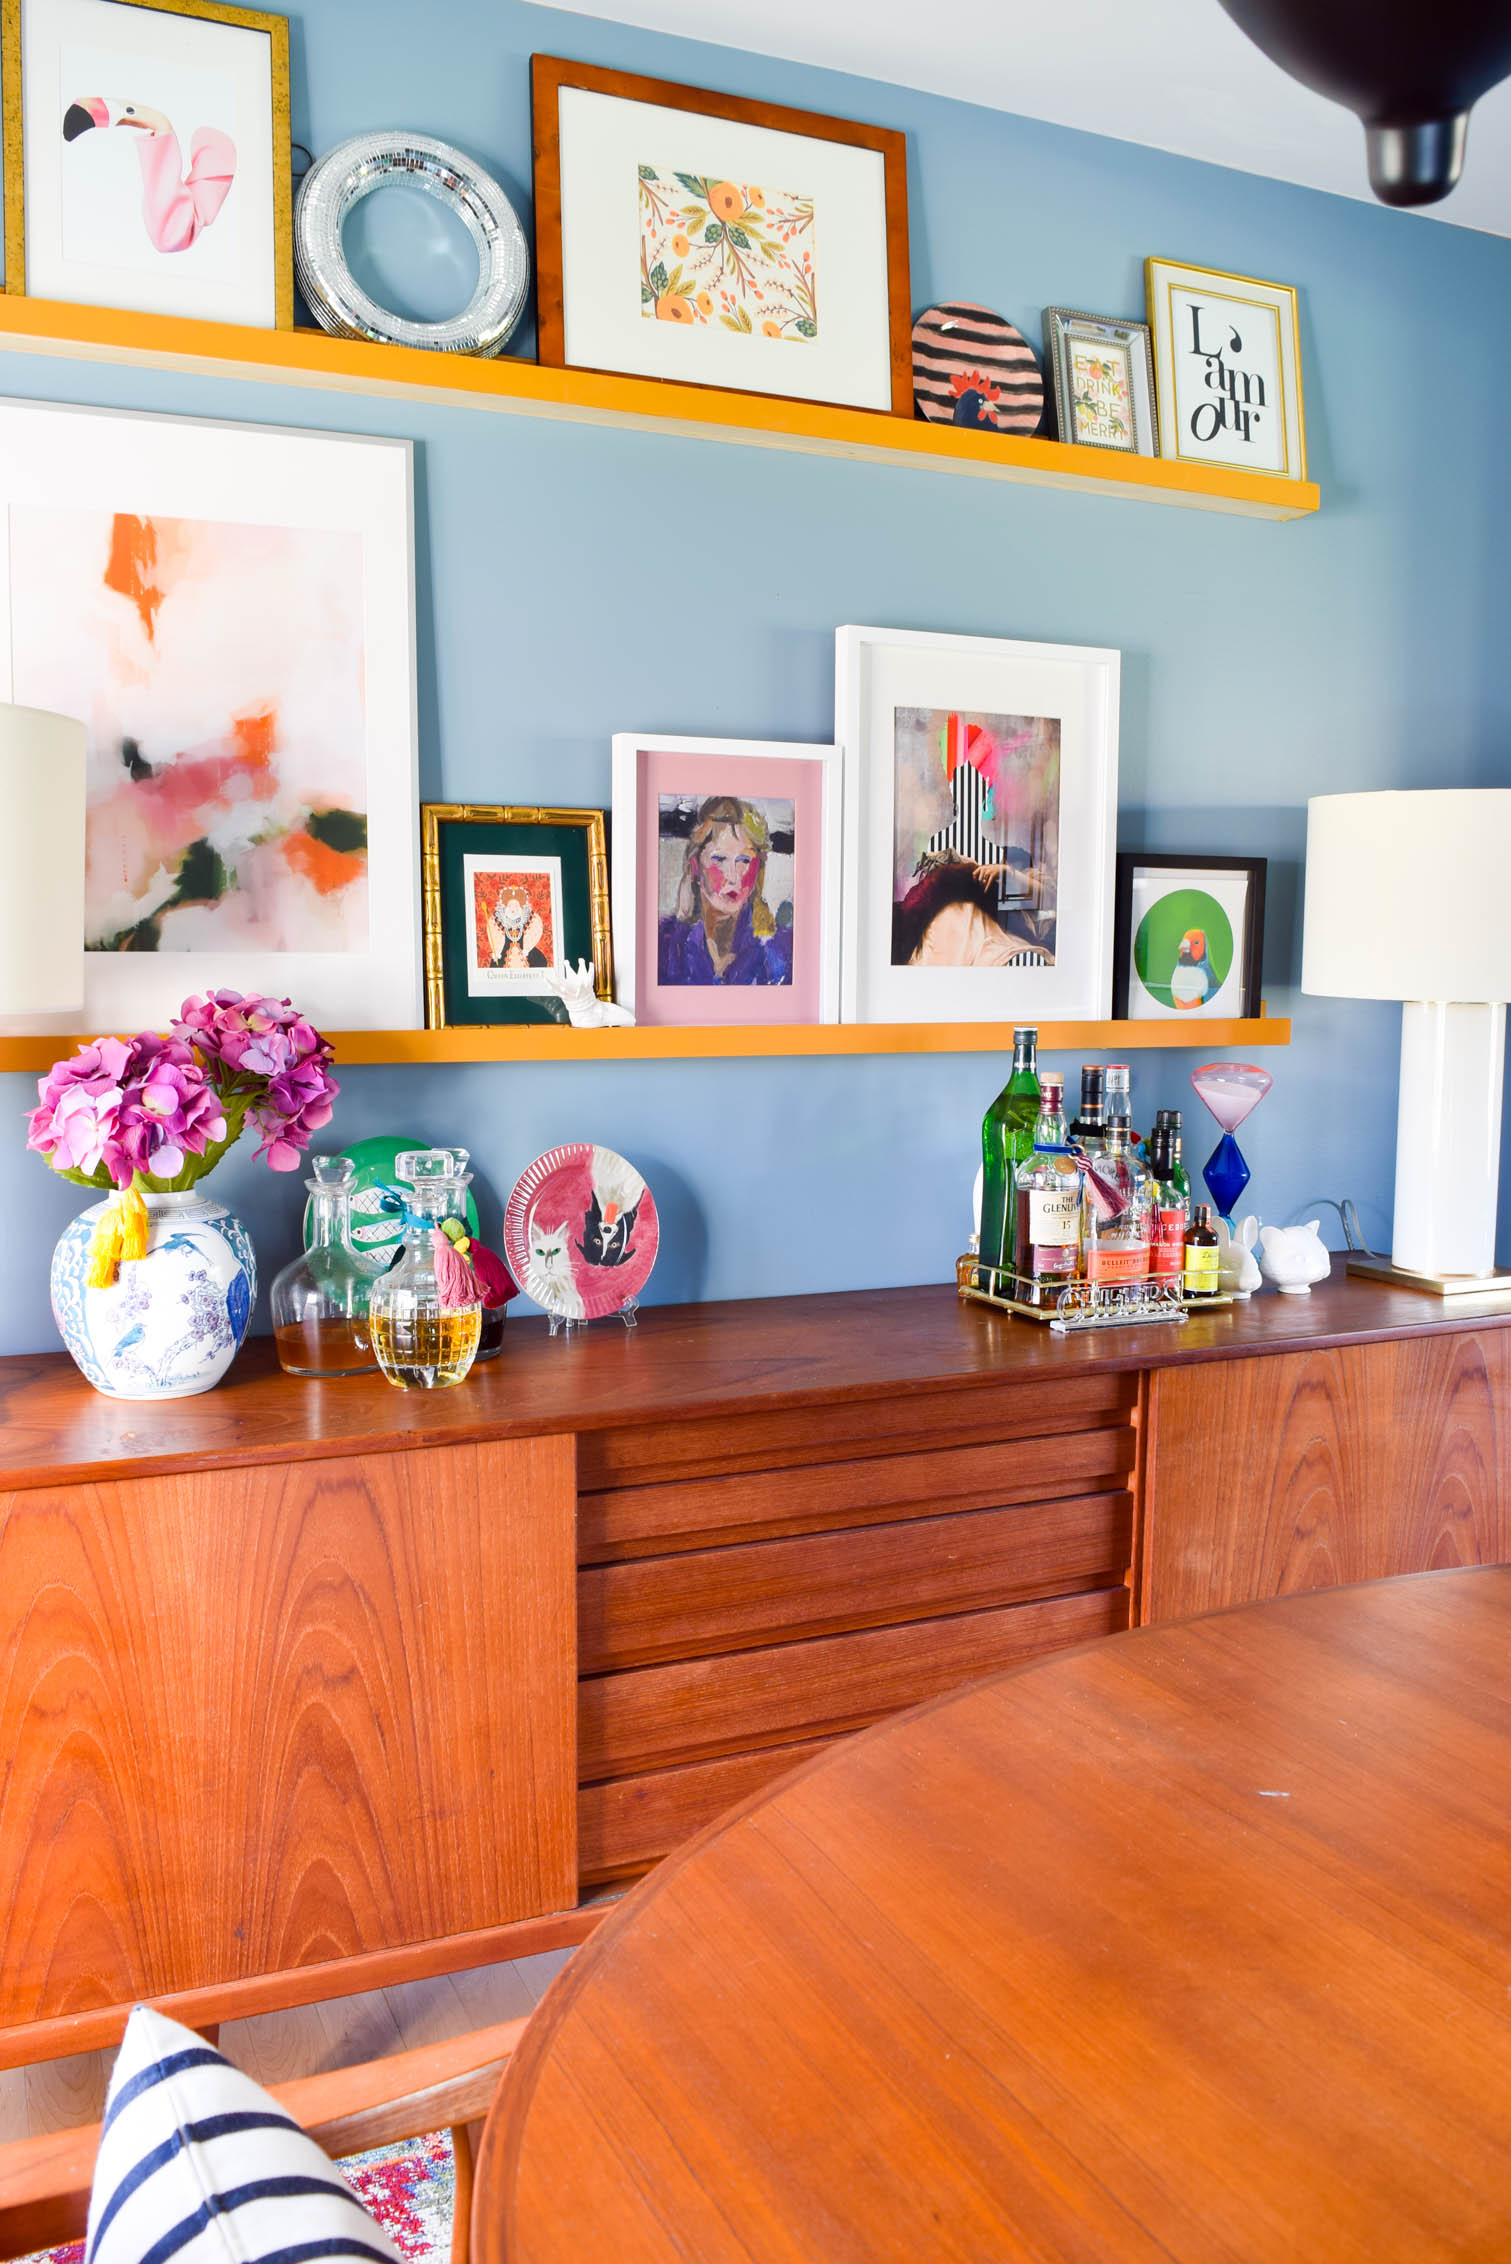
A DIY Picture Rail upgrade in our dining room has proven to be a game changer. Everything is so organized, and the scale feels just right! They only cost about 30$ to build, and it too less than a day!

I also happened to have been offered some prints from this charming print shop in the UK — Diedododa —  so I figured I’d kill two birds with one stone. They initially reached-out to me a few weeks ago about some of their prints, and I fell in love! They’ve got just the kind of funky, cool, patterned stuff I’m into.

I’m sure you guys have seen many DIYs for picture rails, but this one is simple and took me a day!

Materials for a DIY Picture Rail

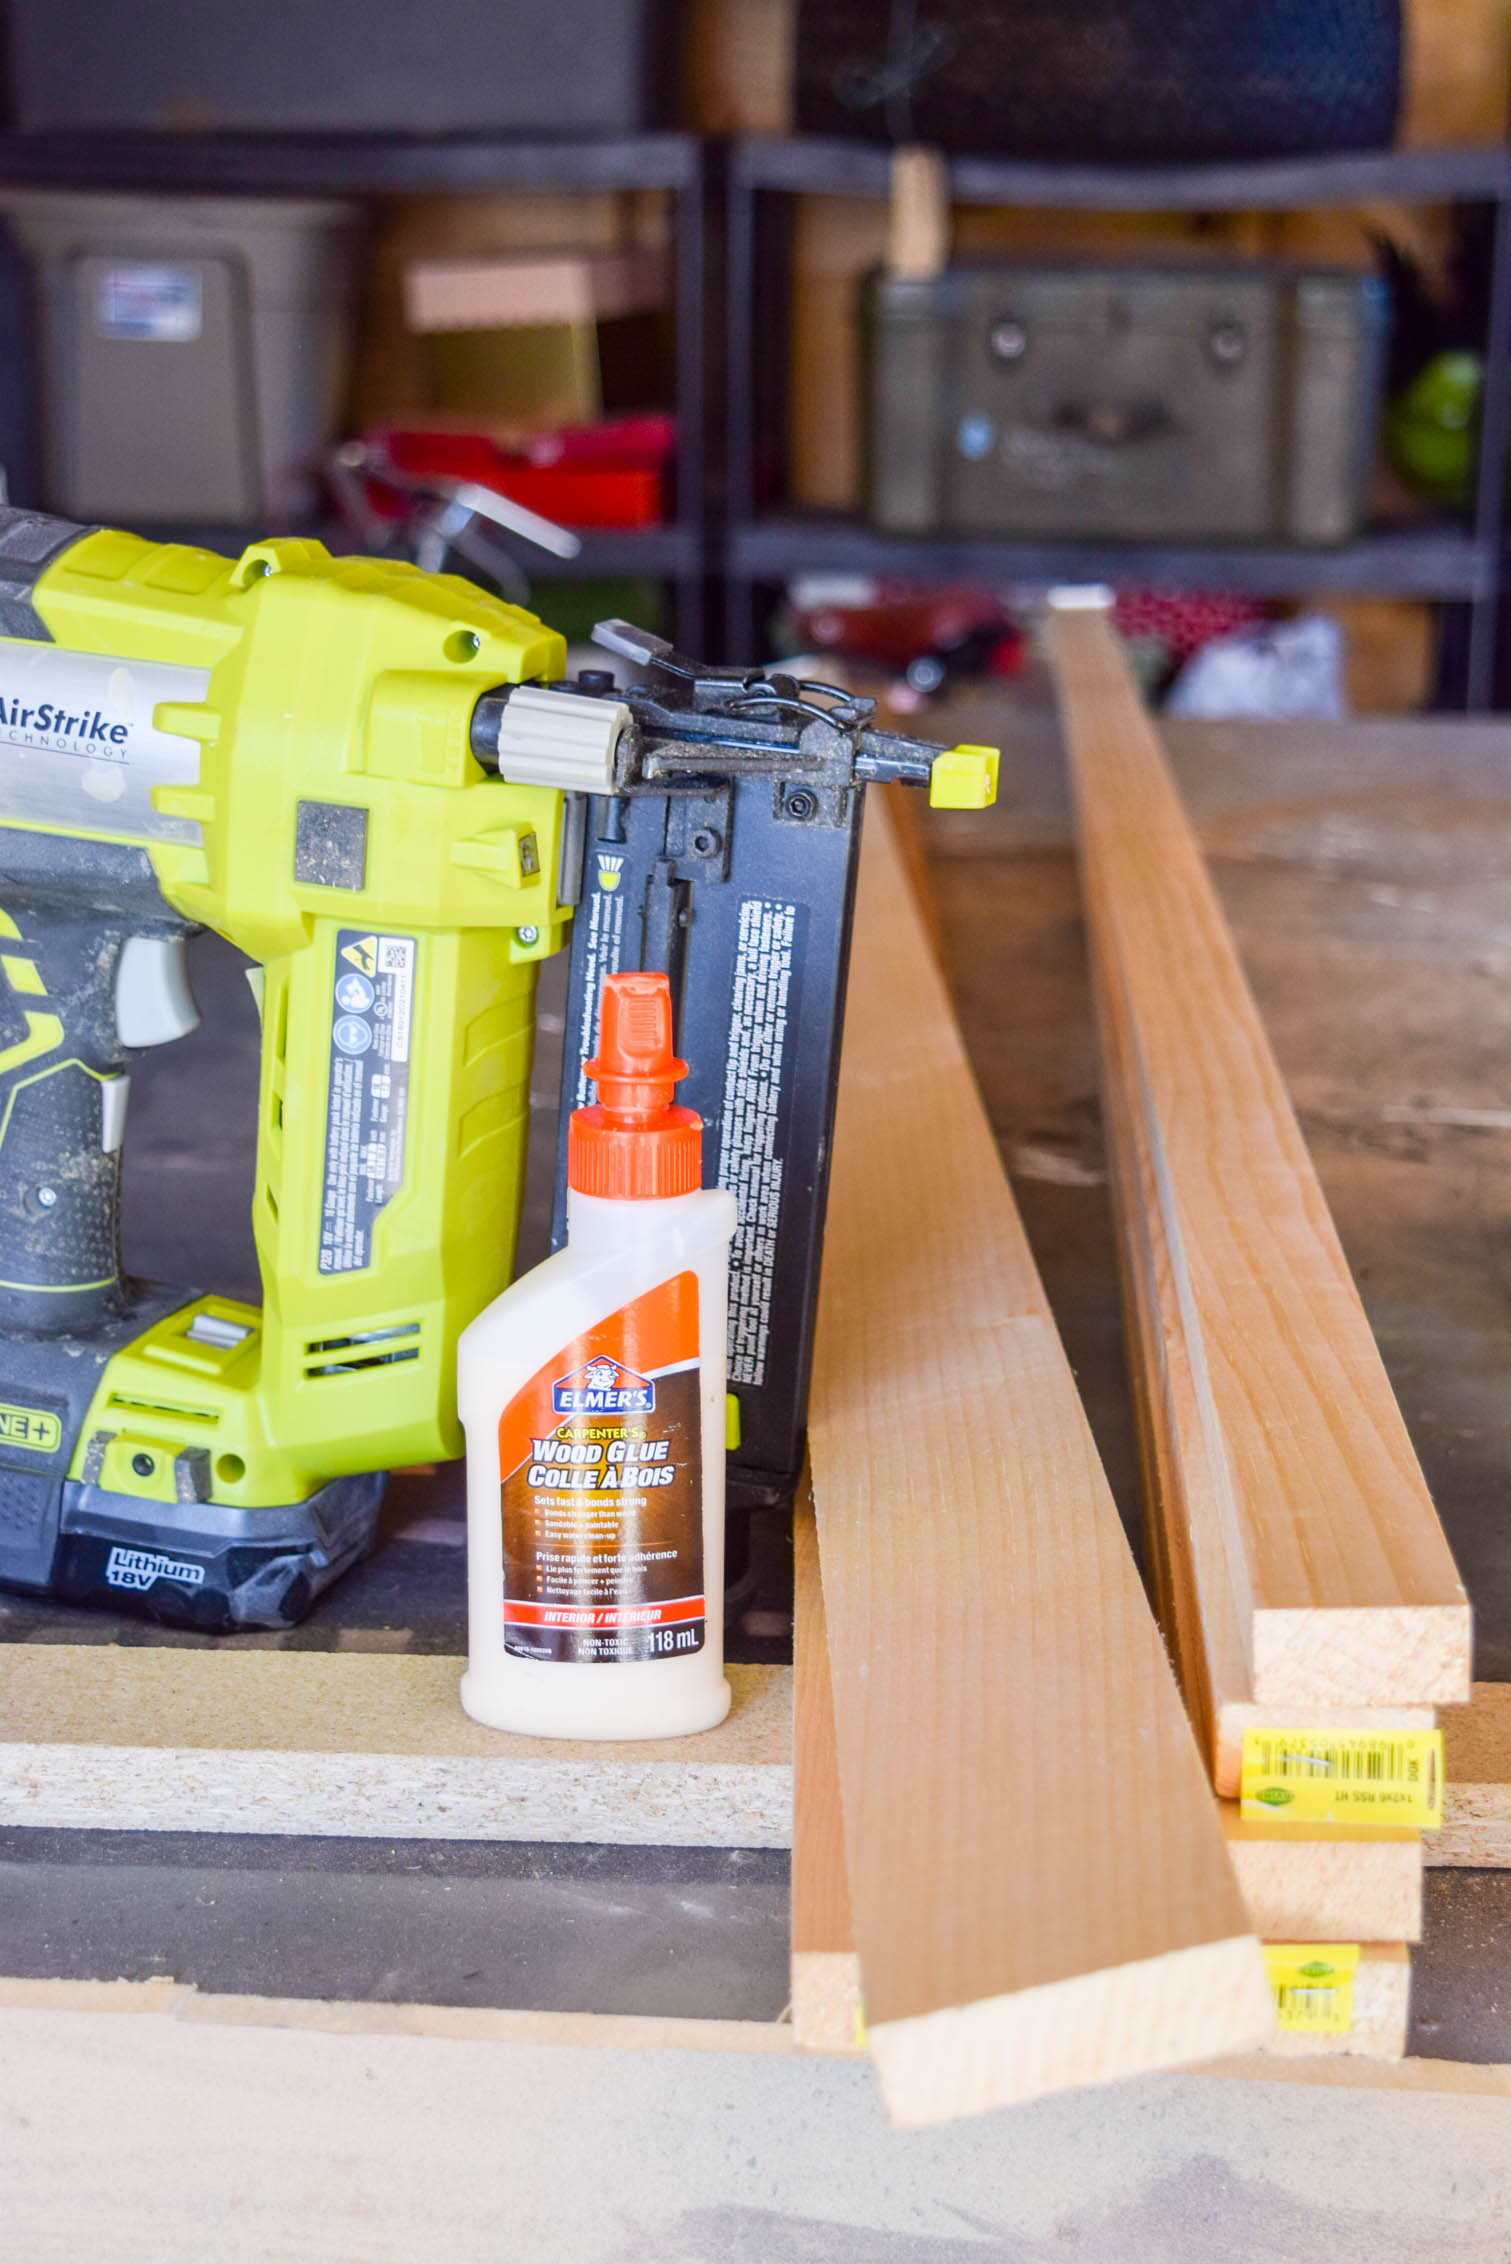
  • 1x 6’x1″x3″ in pine
  • 2x 6’x1″x2″ in pine (it’s better quality stuff, and it’s easier to paint)
  • Wood Glue
  • Ryobi Air Strike
  • Ryobi Orbital Sander
  • Fusion mineral paint in Mustard + paint brush

(p.s don’t you love the inside of our garage?)
A DIY Picture Rail upgrade in our dining room has proven to be a game changer. Everything is so organized, and the scale feels just right! They only cost about 30$ to build, and it too less than a day!

Step 1: Figure out how you’re going to set-up your rail, remove any tags, and make sure everything is the right length.
A DIY Picture Rail upgrade in our dining room has proven to be a game changer. Everything is so organized, and the scale feels just right! They only cost about 30$ to build, and it too less than a day!

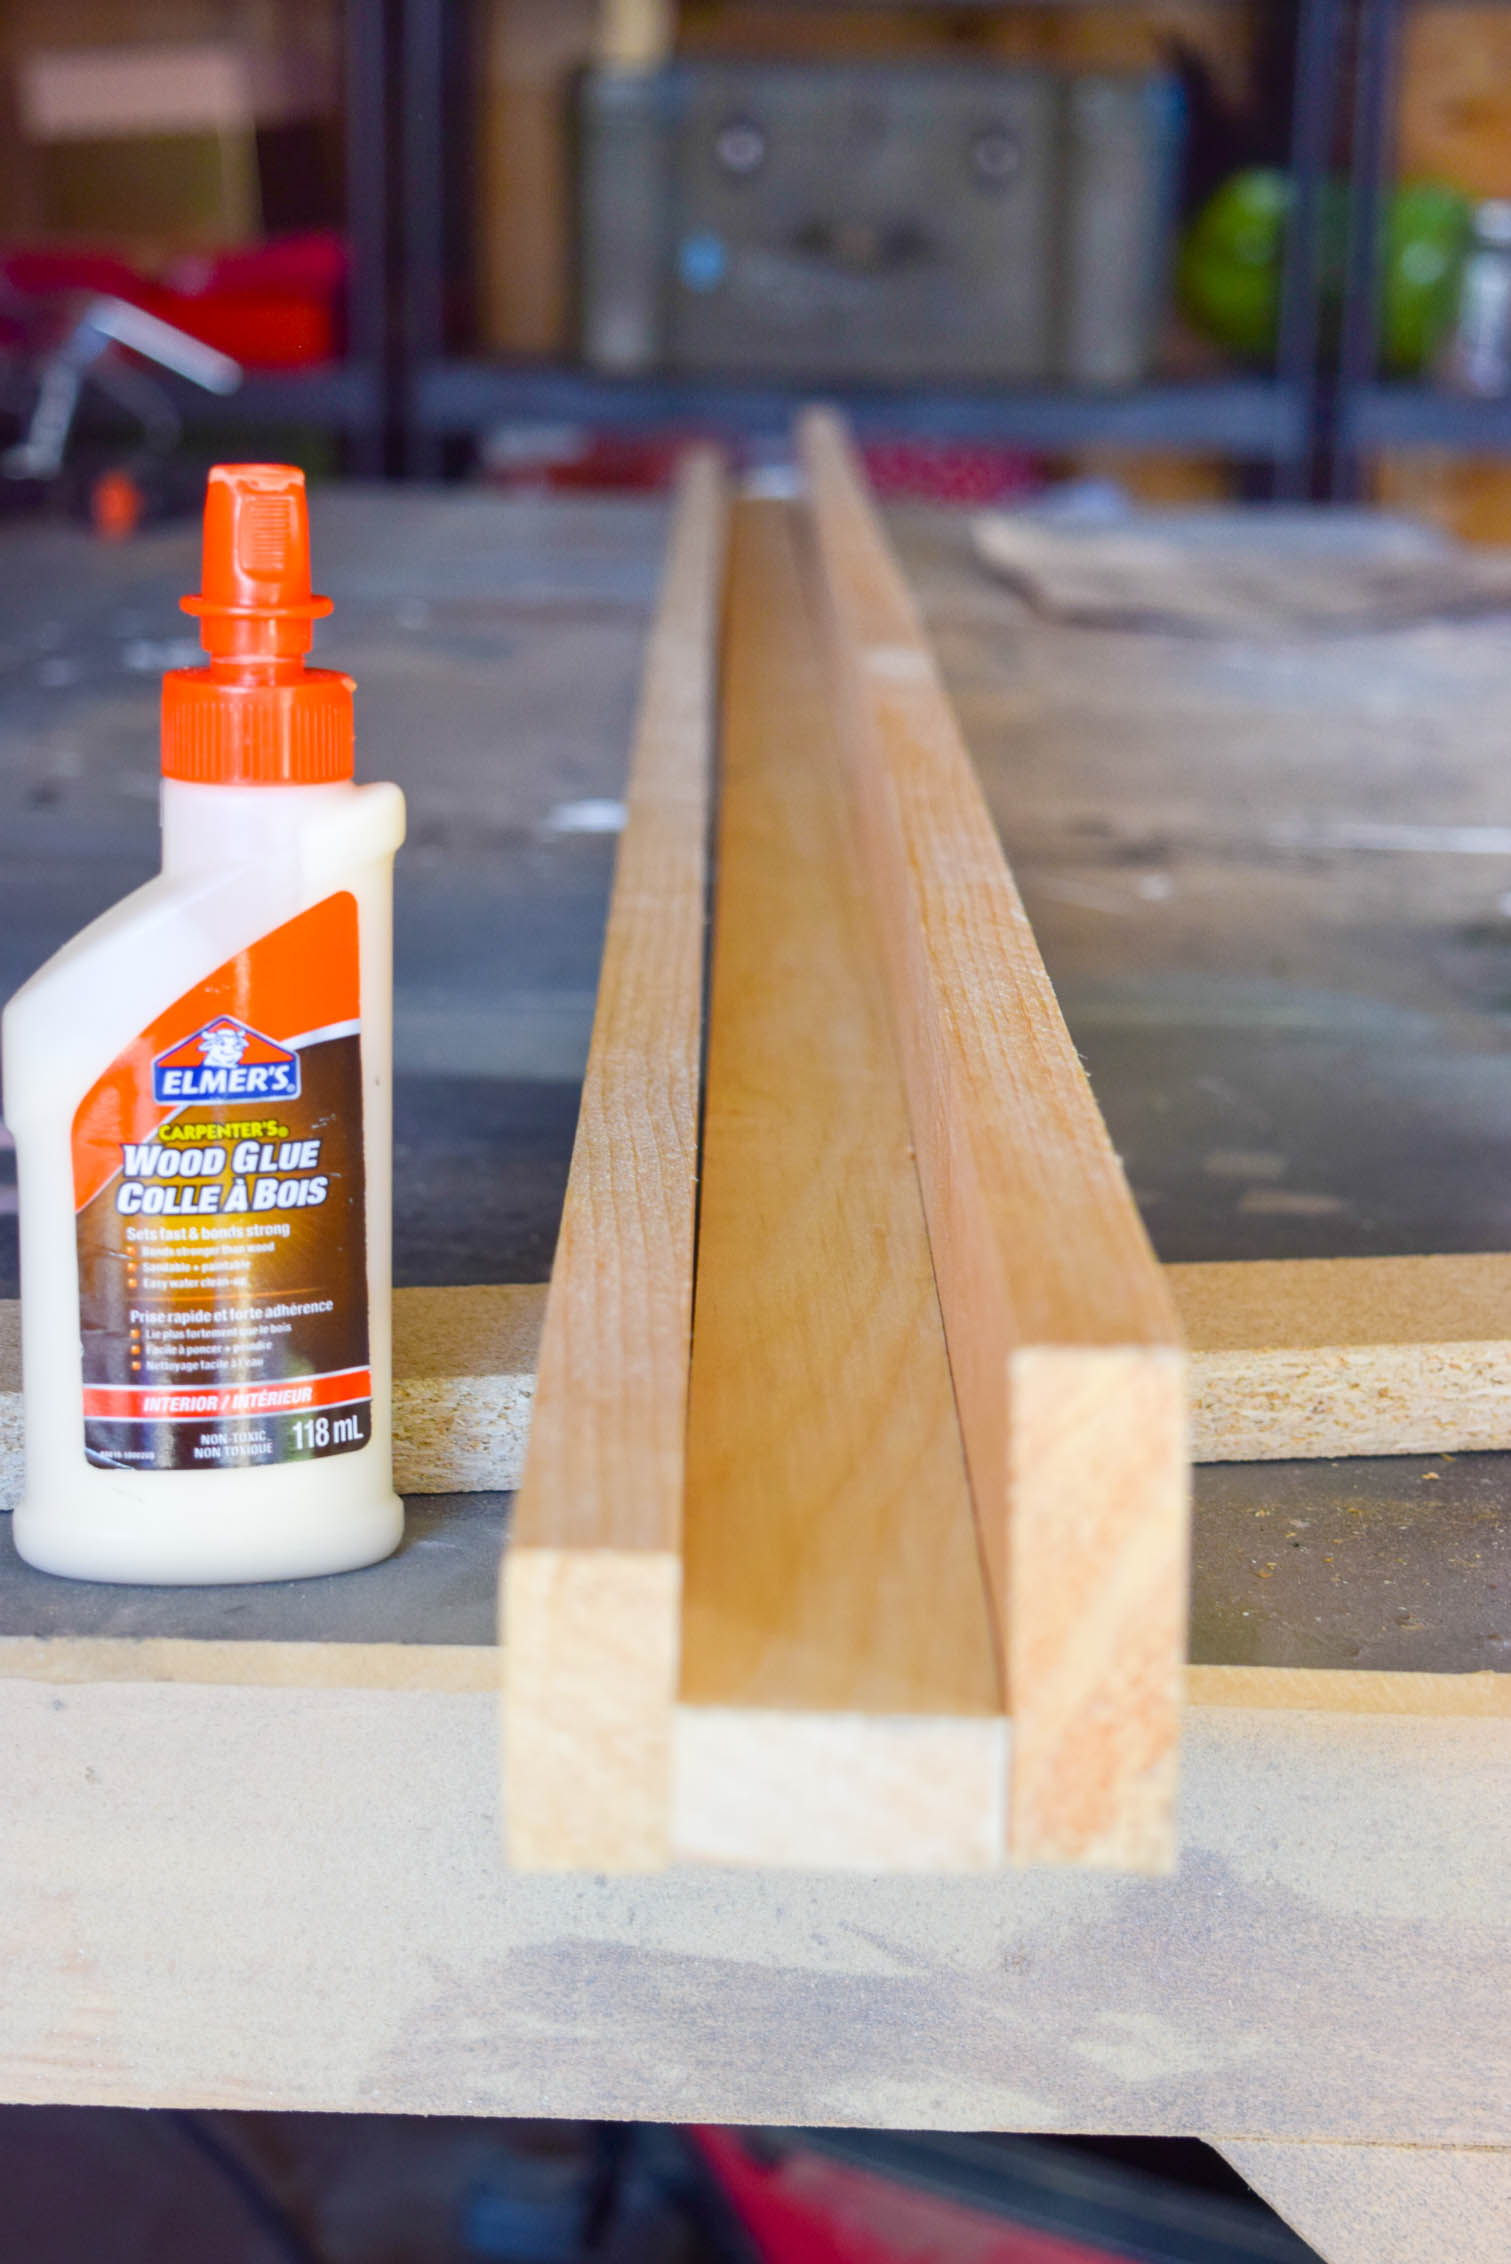
Step 2: Apply a thing bead of glue to a 1″x2″ along narrow ends, and then clamp on the other 1″x2″ and 1″x3″.
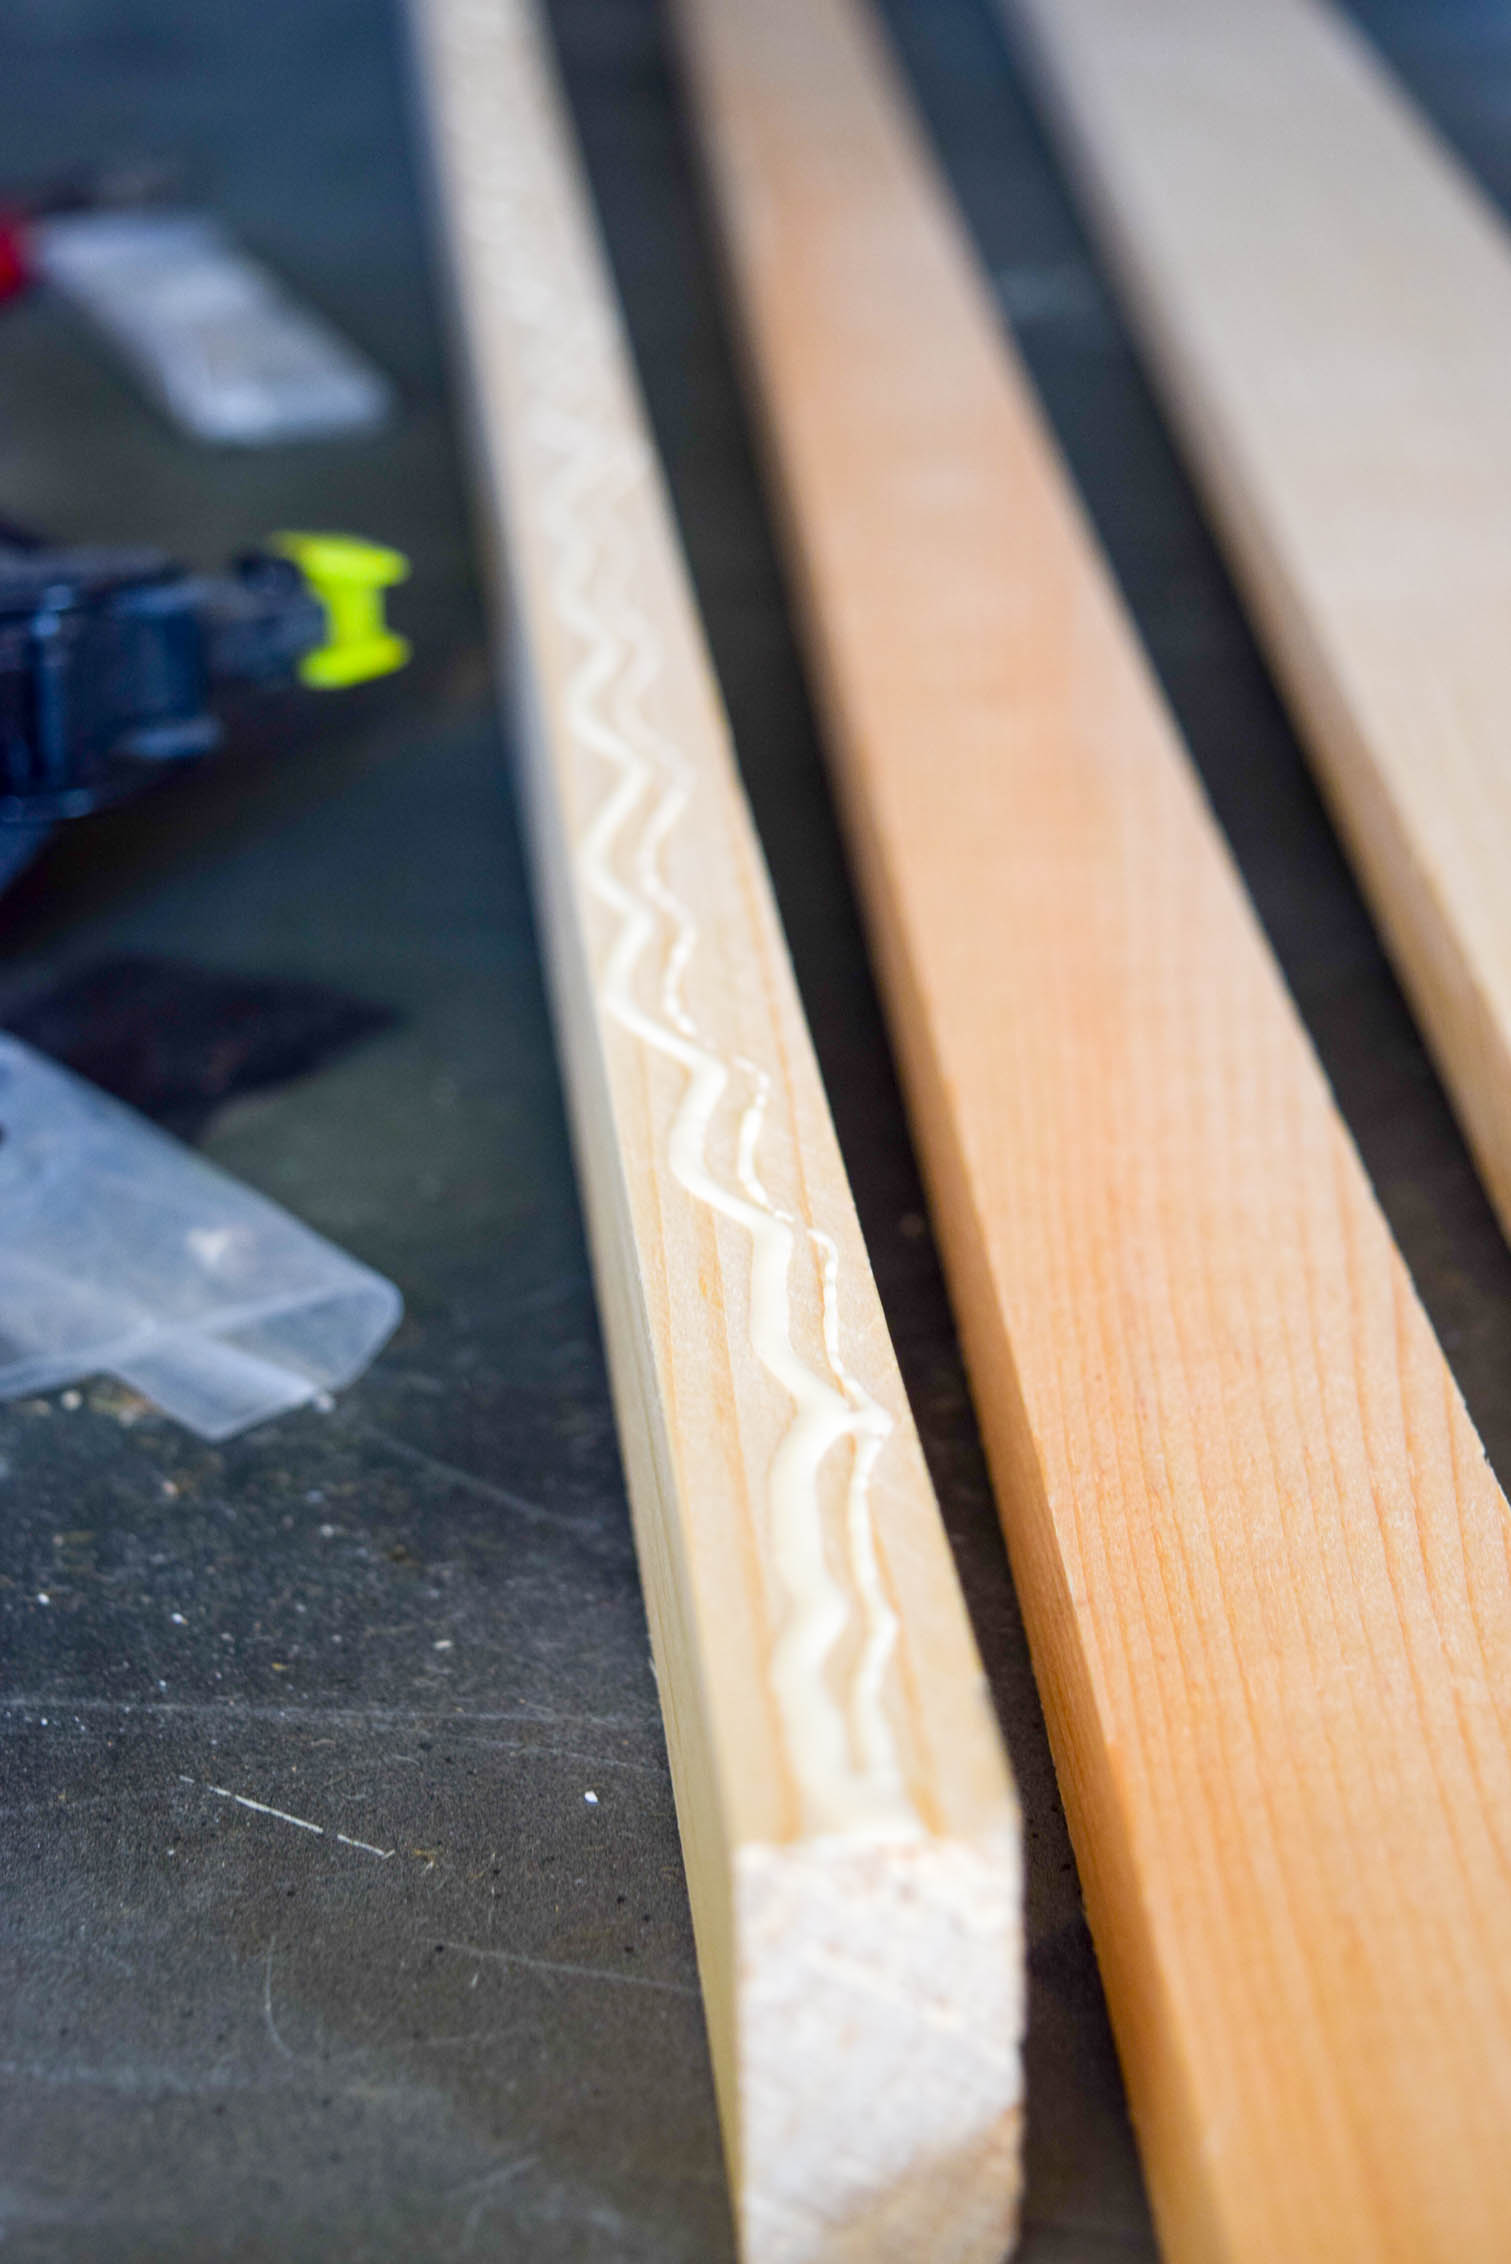
A DIY Picture Rail upgrade in our dining room has proven to be a game changer. Everything is so organized, and the scale feels just right! They only cost about 30$ to build, and it too less than a day!

Using your nail gun, add a few well placed nails to hold the pieces together, before clamping everything until it dries solid.
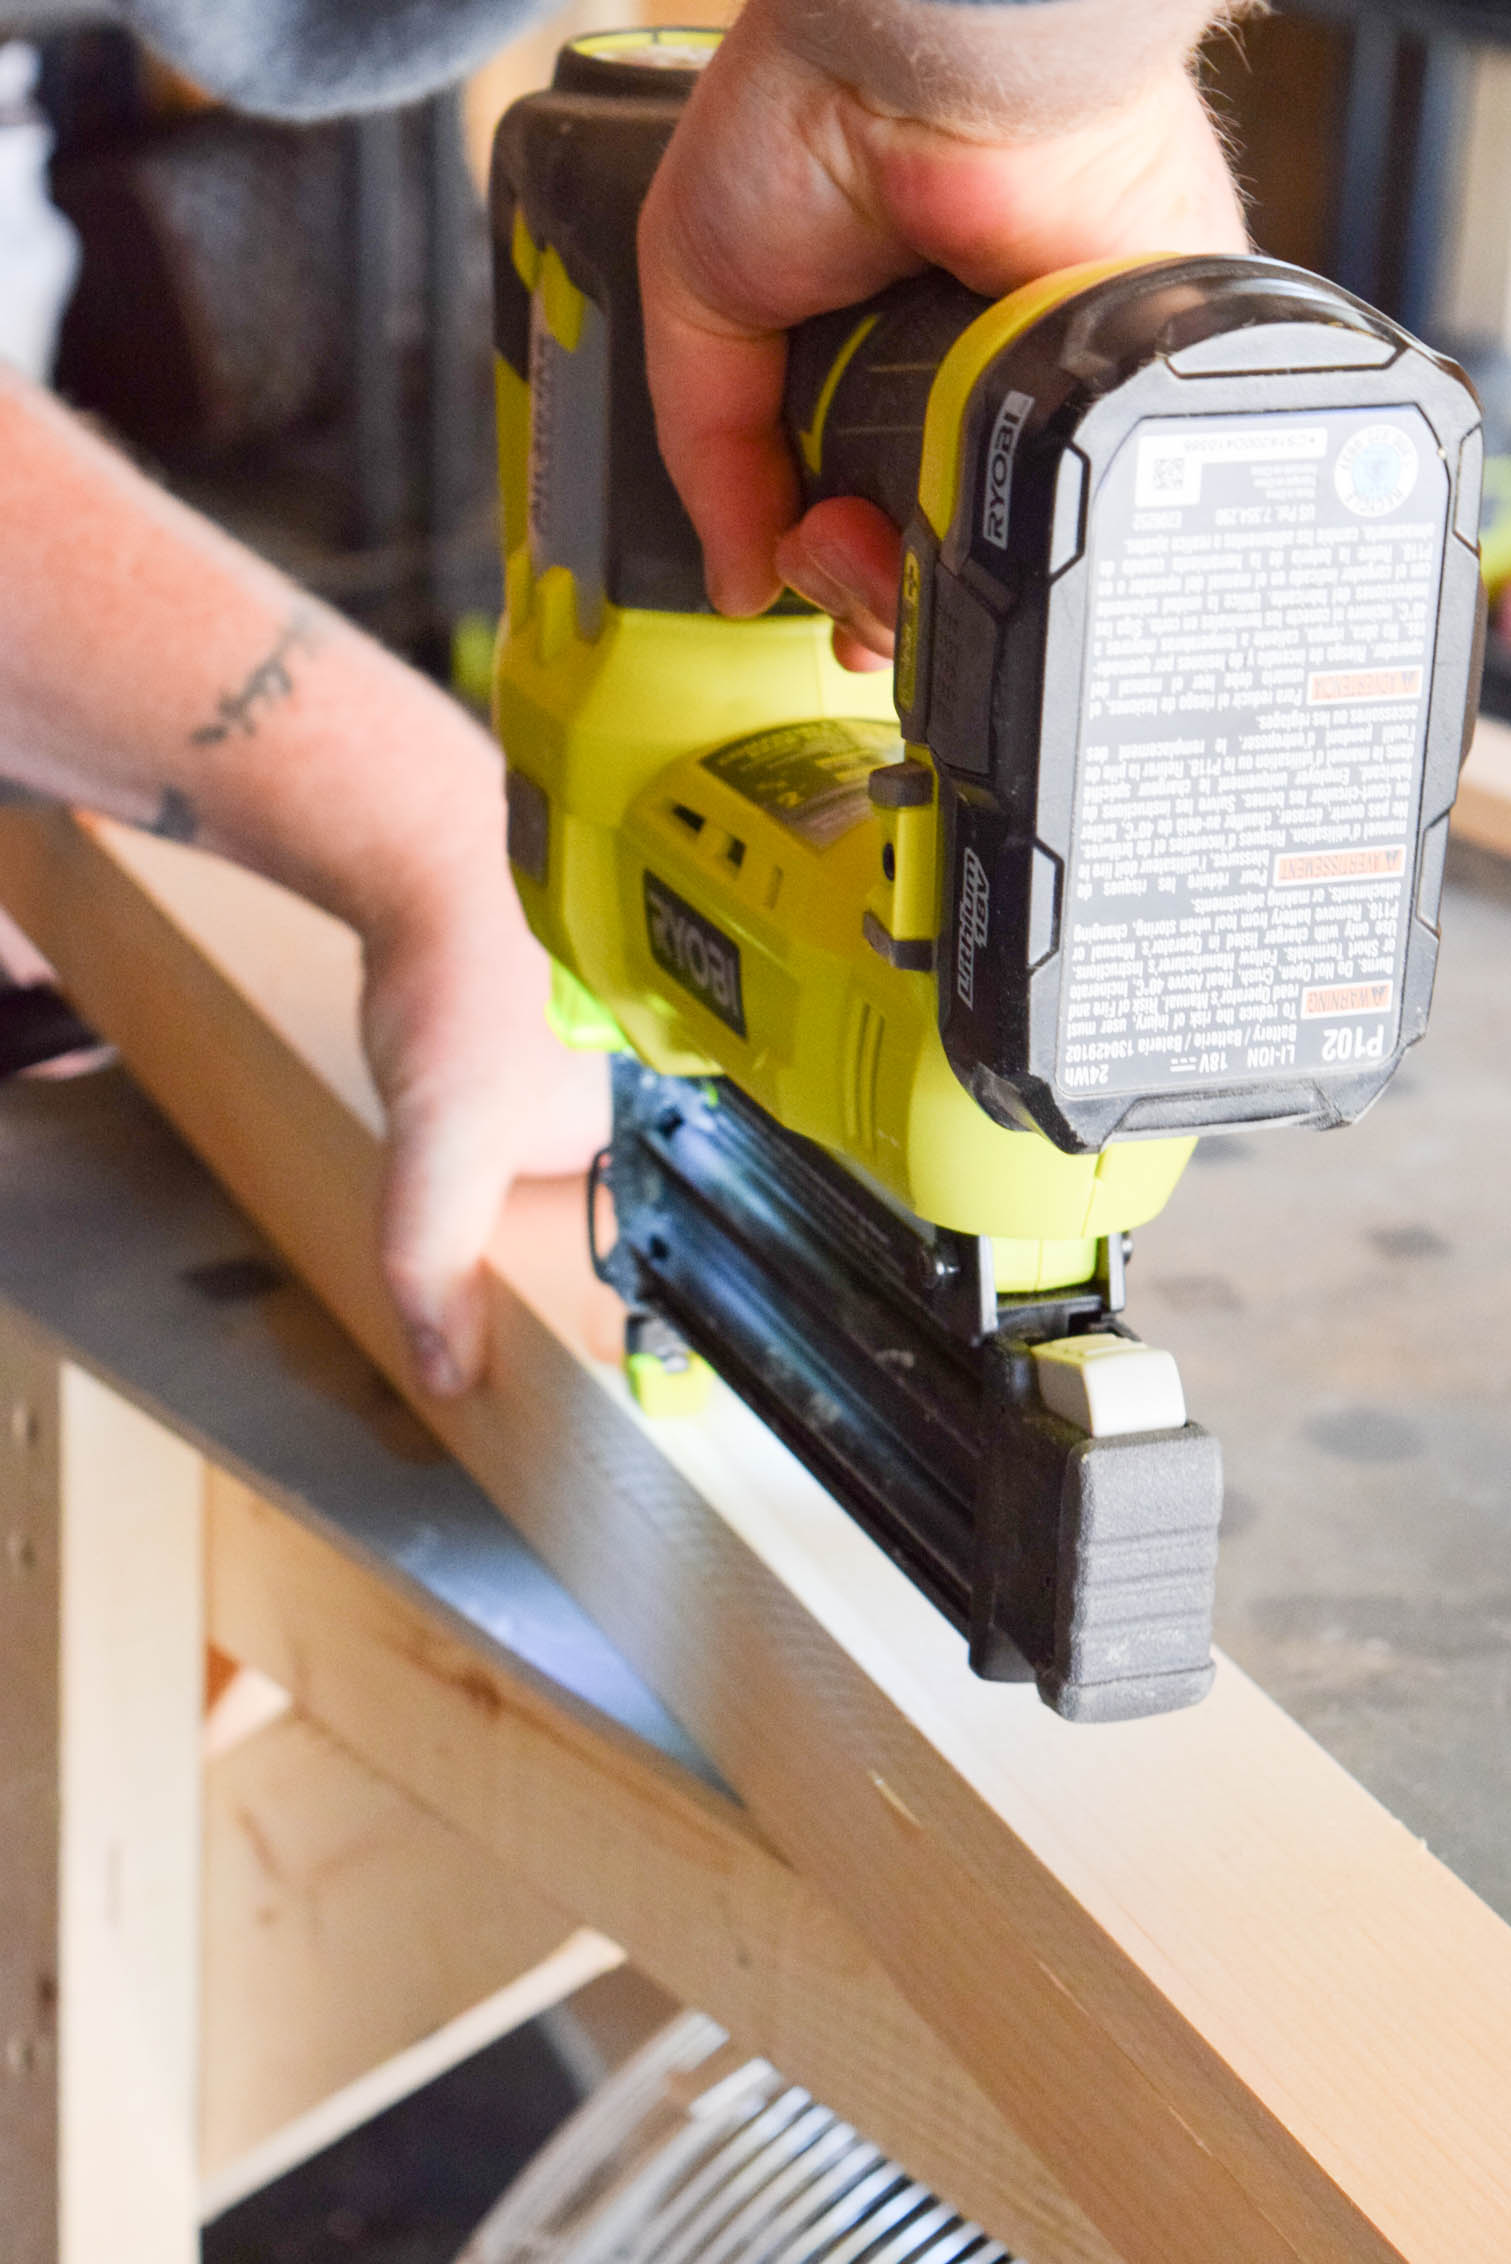
A DIY Picture Rail upgrade in our dining room has proven to be a game changer. Everything is so organized, and the scale feels just right! They only cost about 30$ to build, and it too less than a day!

Step 3: Once everything is dry, lightly sand it all using a high grit (220+) just to remove any glue or snags. If the wood is nice, there shouldn’t be many though.
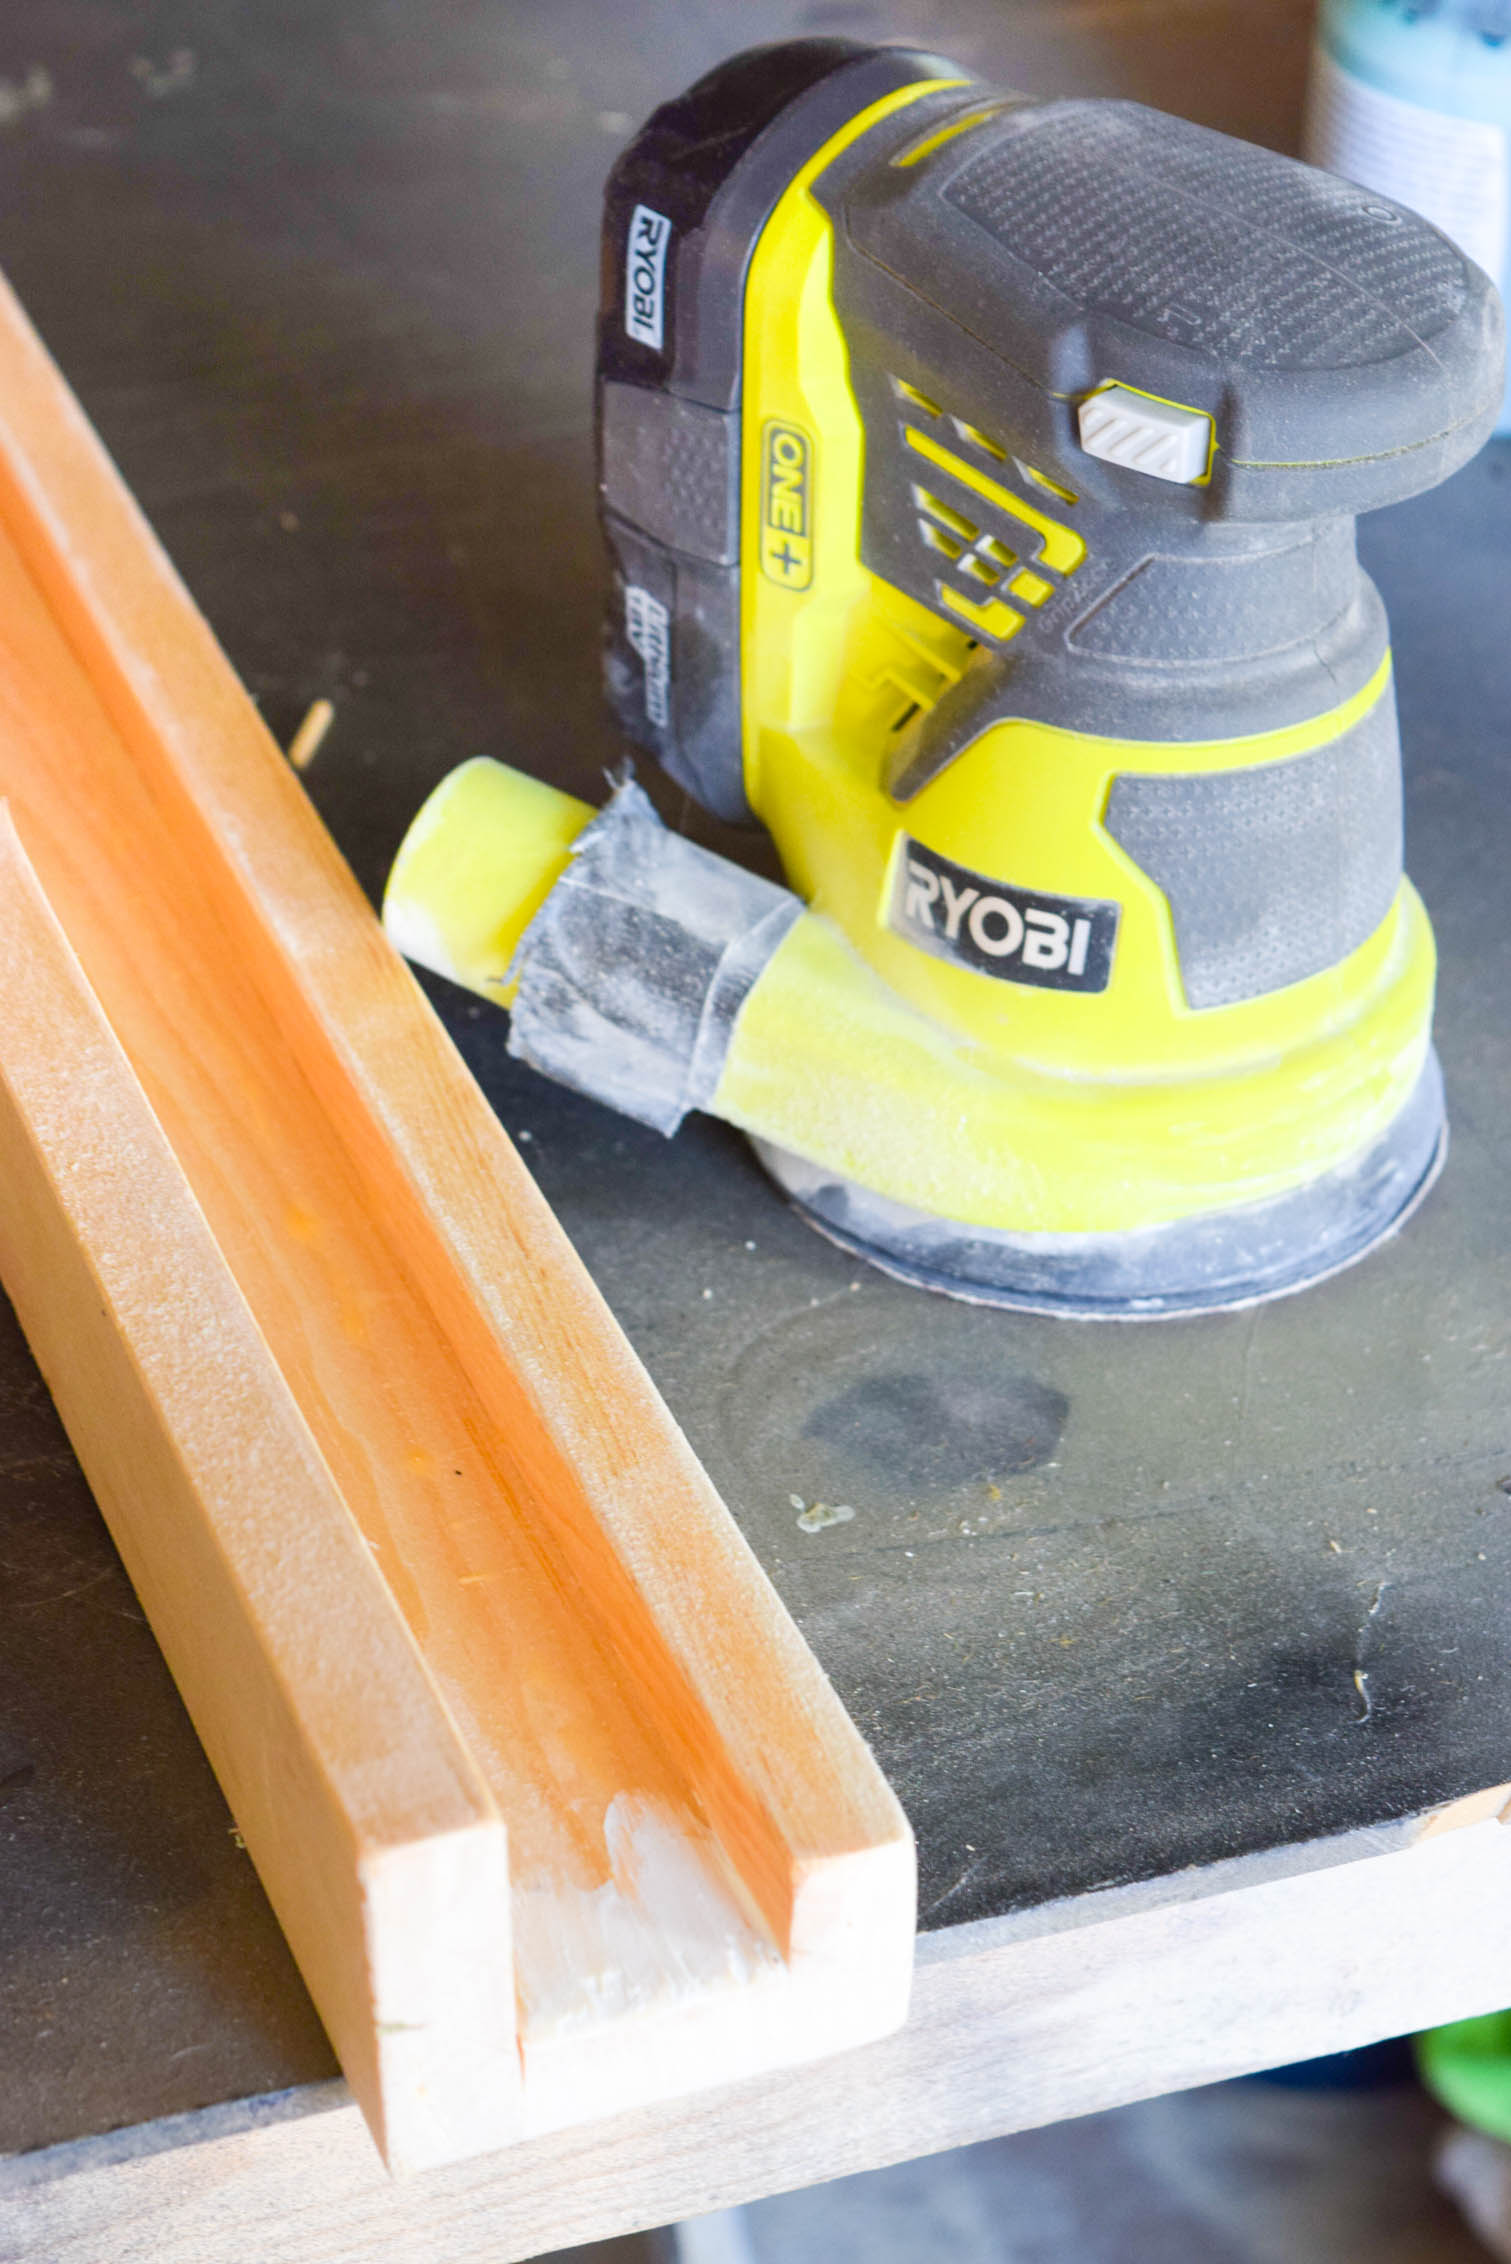
A DIY Picture Rail upgrade in our dining room has proven to be a game changer. Everything is so organized, and the scale feels just right! They only cost about 30$ to build, and it too less than a day!

Step 4: Paint! You could also stain the wood, but I wanted so colour that would pick-up on the already very rich tones in the space. I’ve been working with Fusion’s paints a lot lately, so I thought I’d use Mustard for the rails sine it was close to the teak of the dining room set.
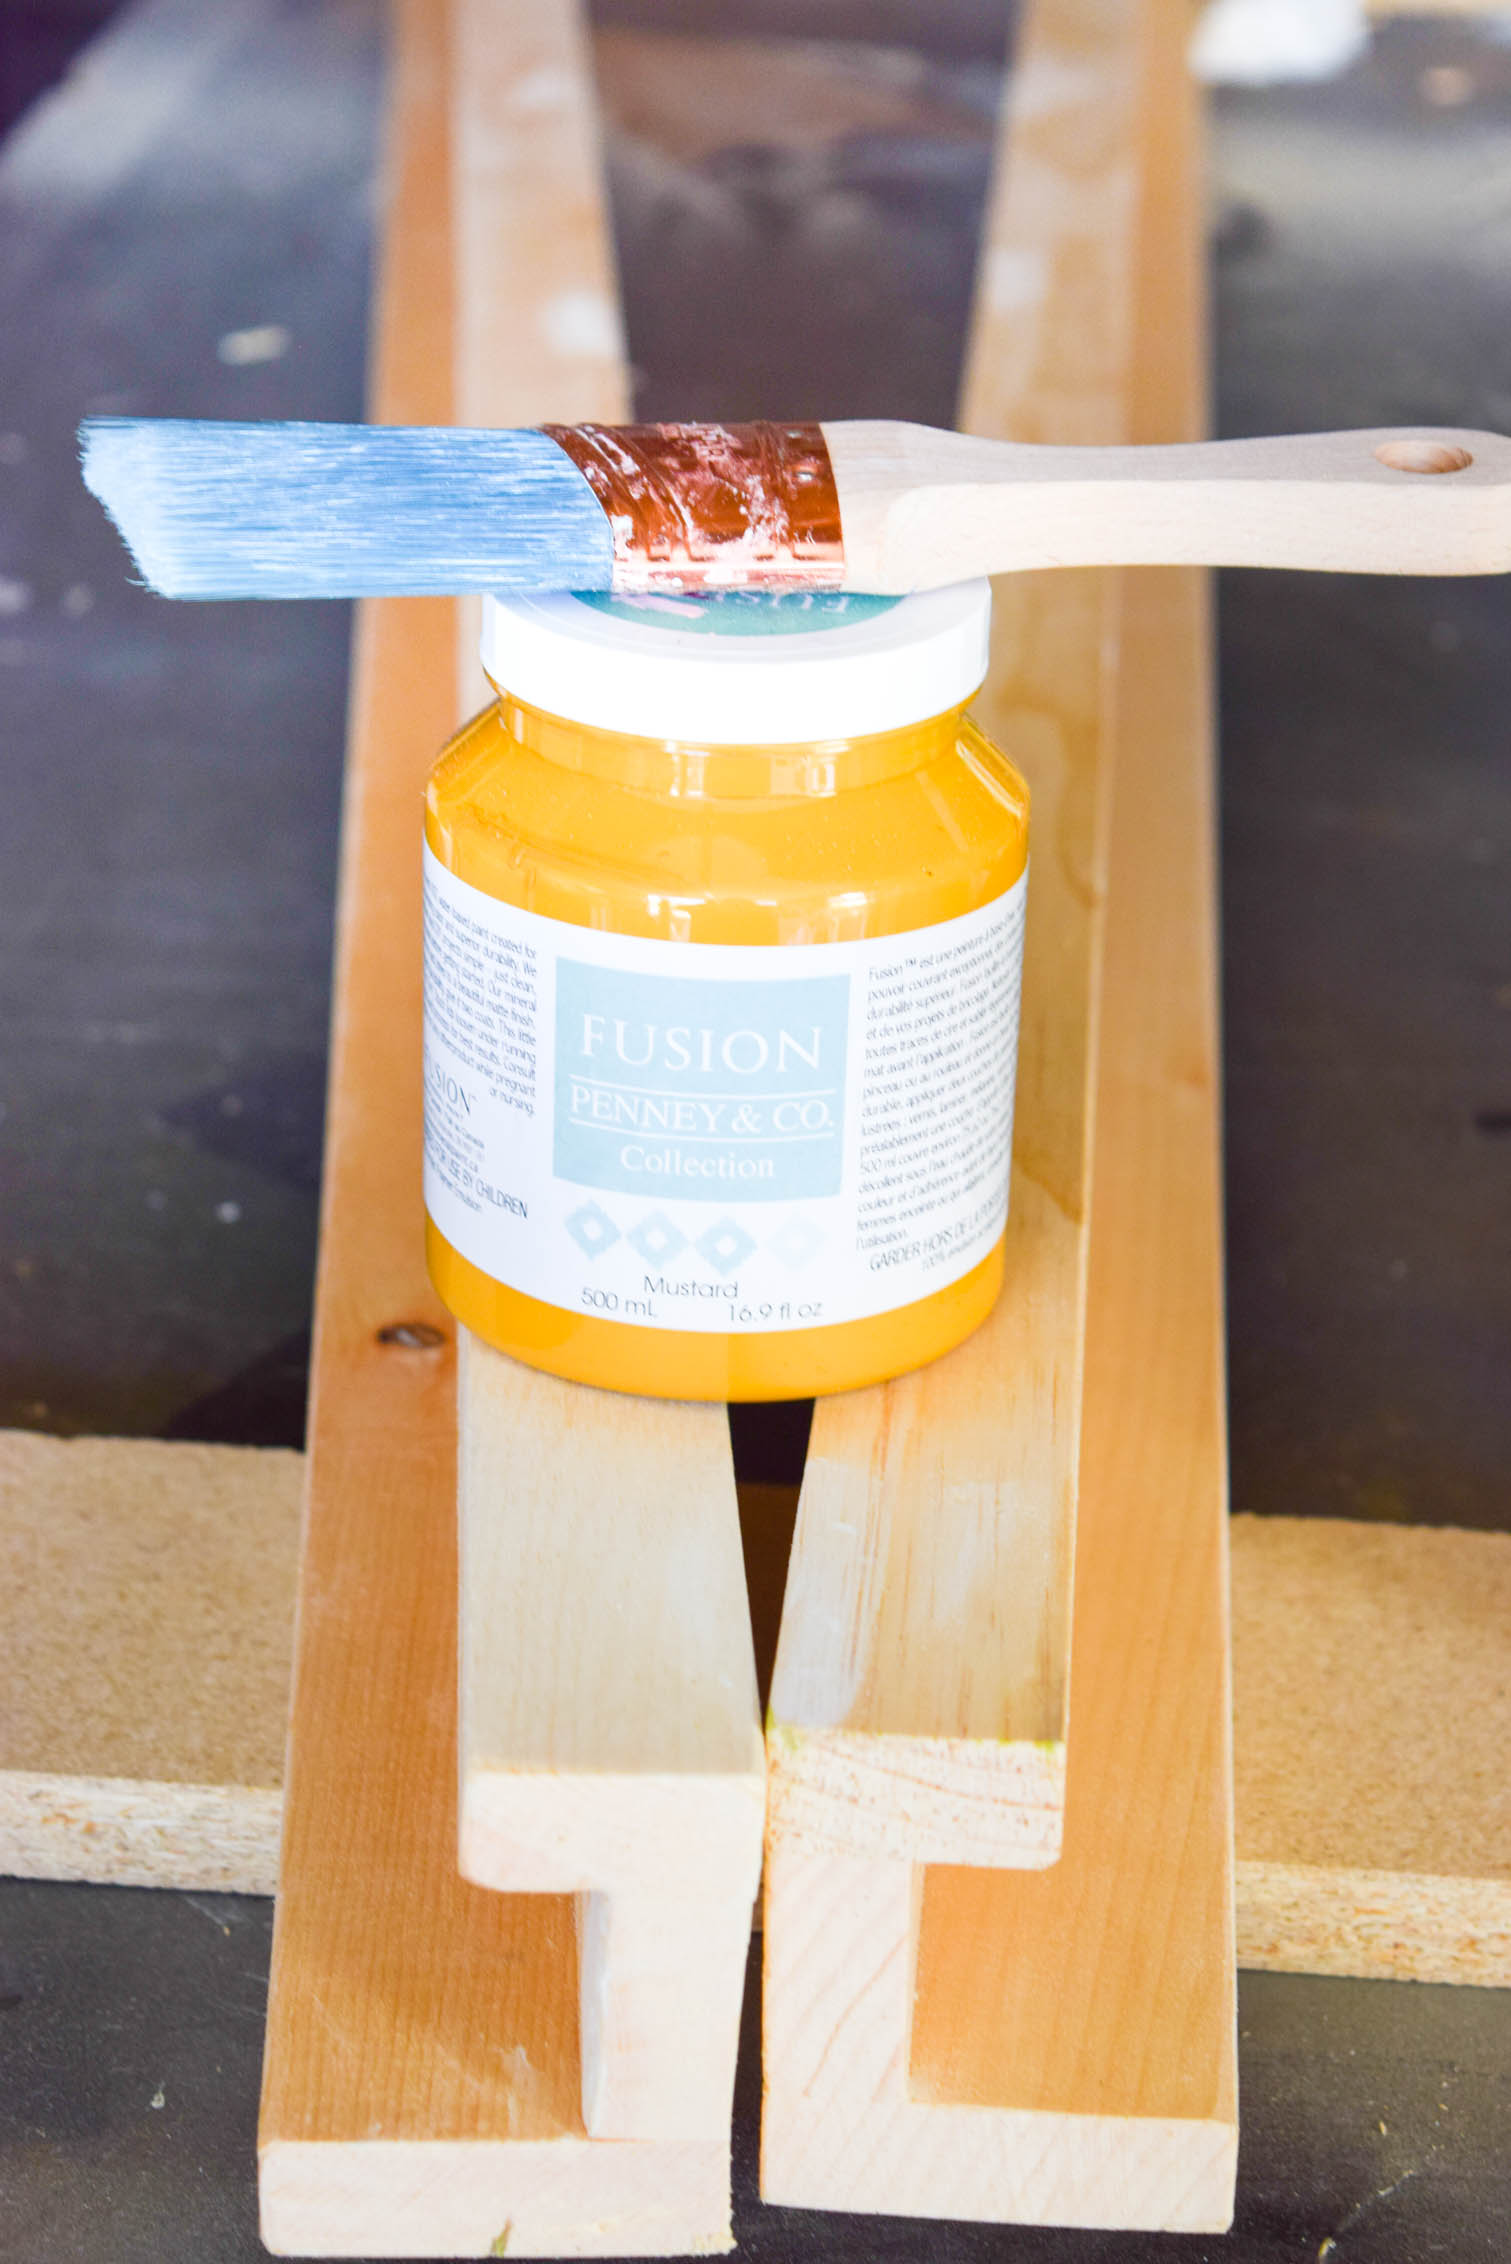
A DIY Picture Rail upgrade in our dining room has proven to be a game changer. Everything is so organized, and the scale feels just right! They only cost about 30$ to build, and it too less than a day!

Step 5: To hang the rails once they were dry, we used a stud finder to make sure that they were safely anchored (and not likely to fall down onto the sideboard). Dan then used screws in 5 different spots to hold the rails. They’re not going anywhere.
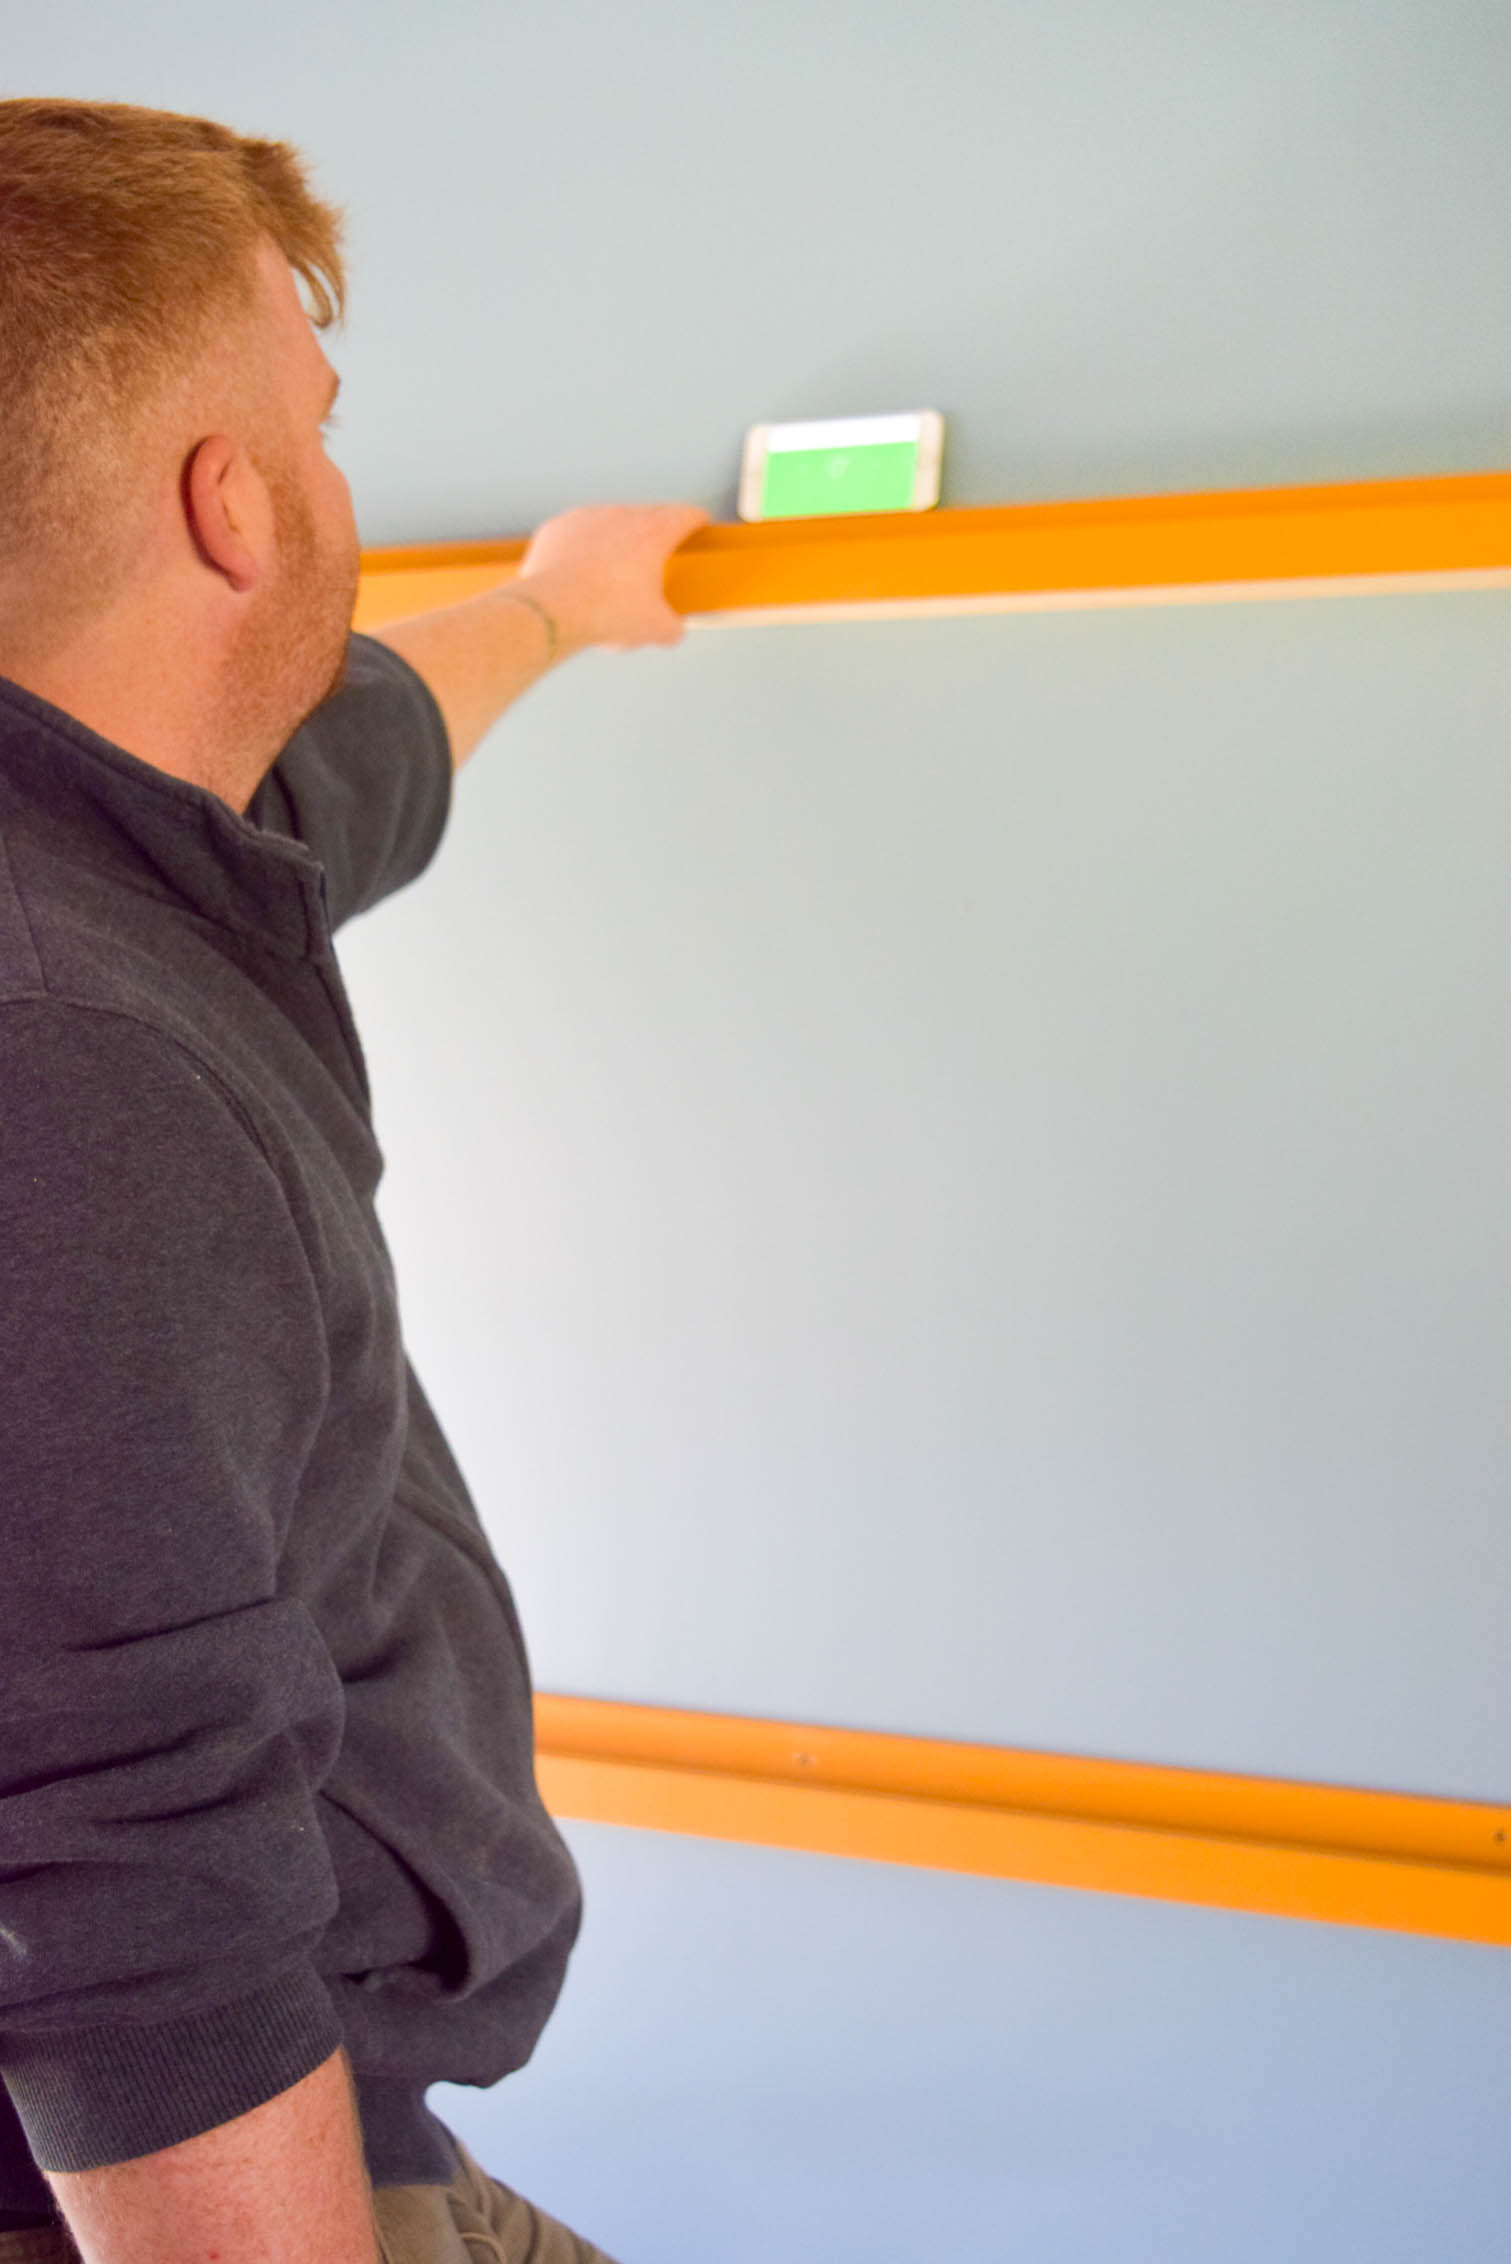
A DIY Picture Rail upgrade in our dining room has proven to be a game changer. Everything is so organized, and the scale feels just right! They only cost about 30$ to build, and it too less than a day!

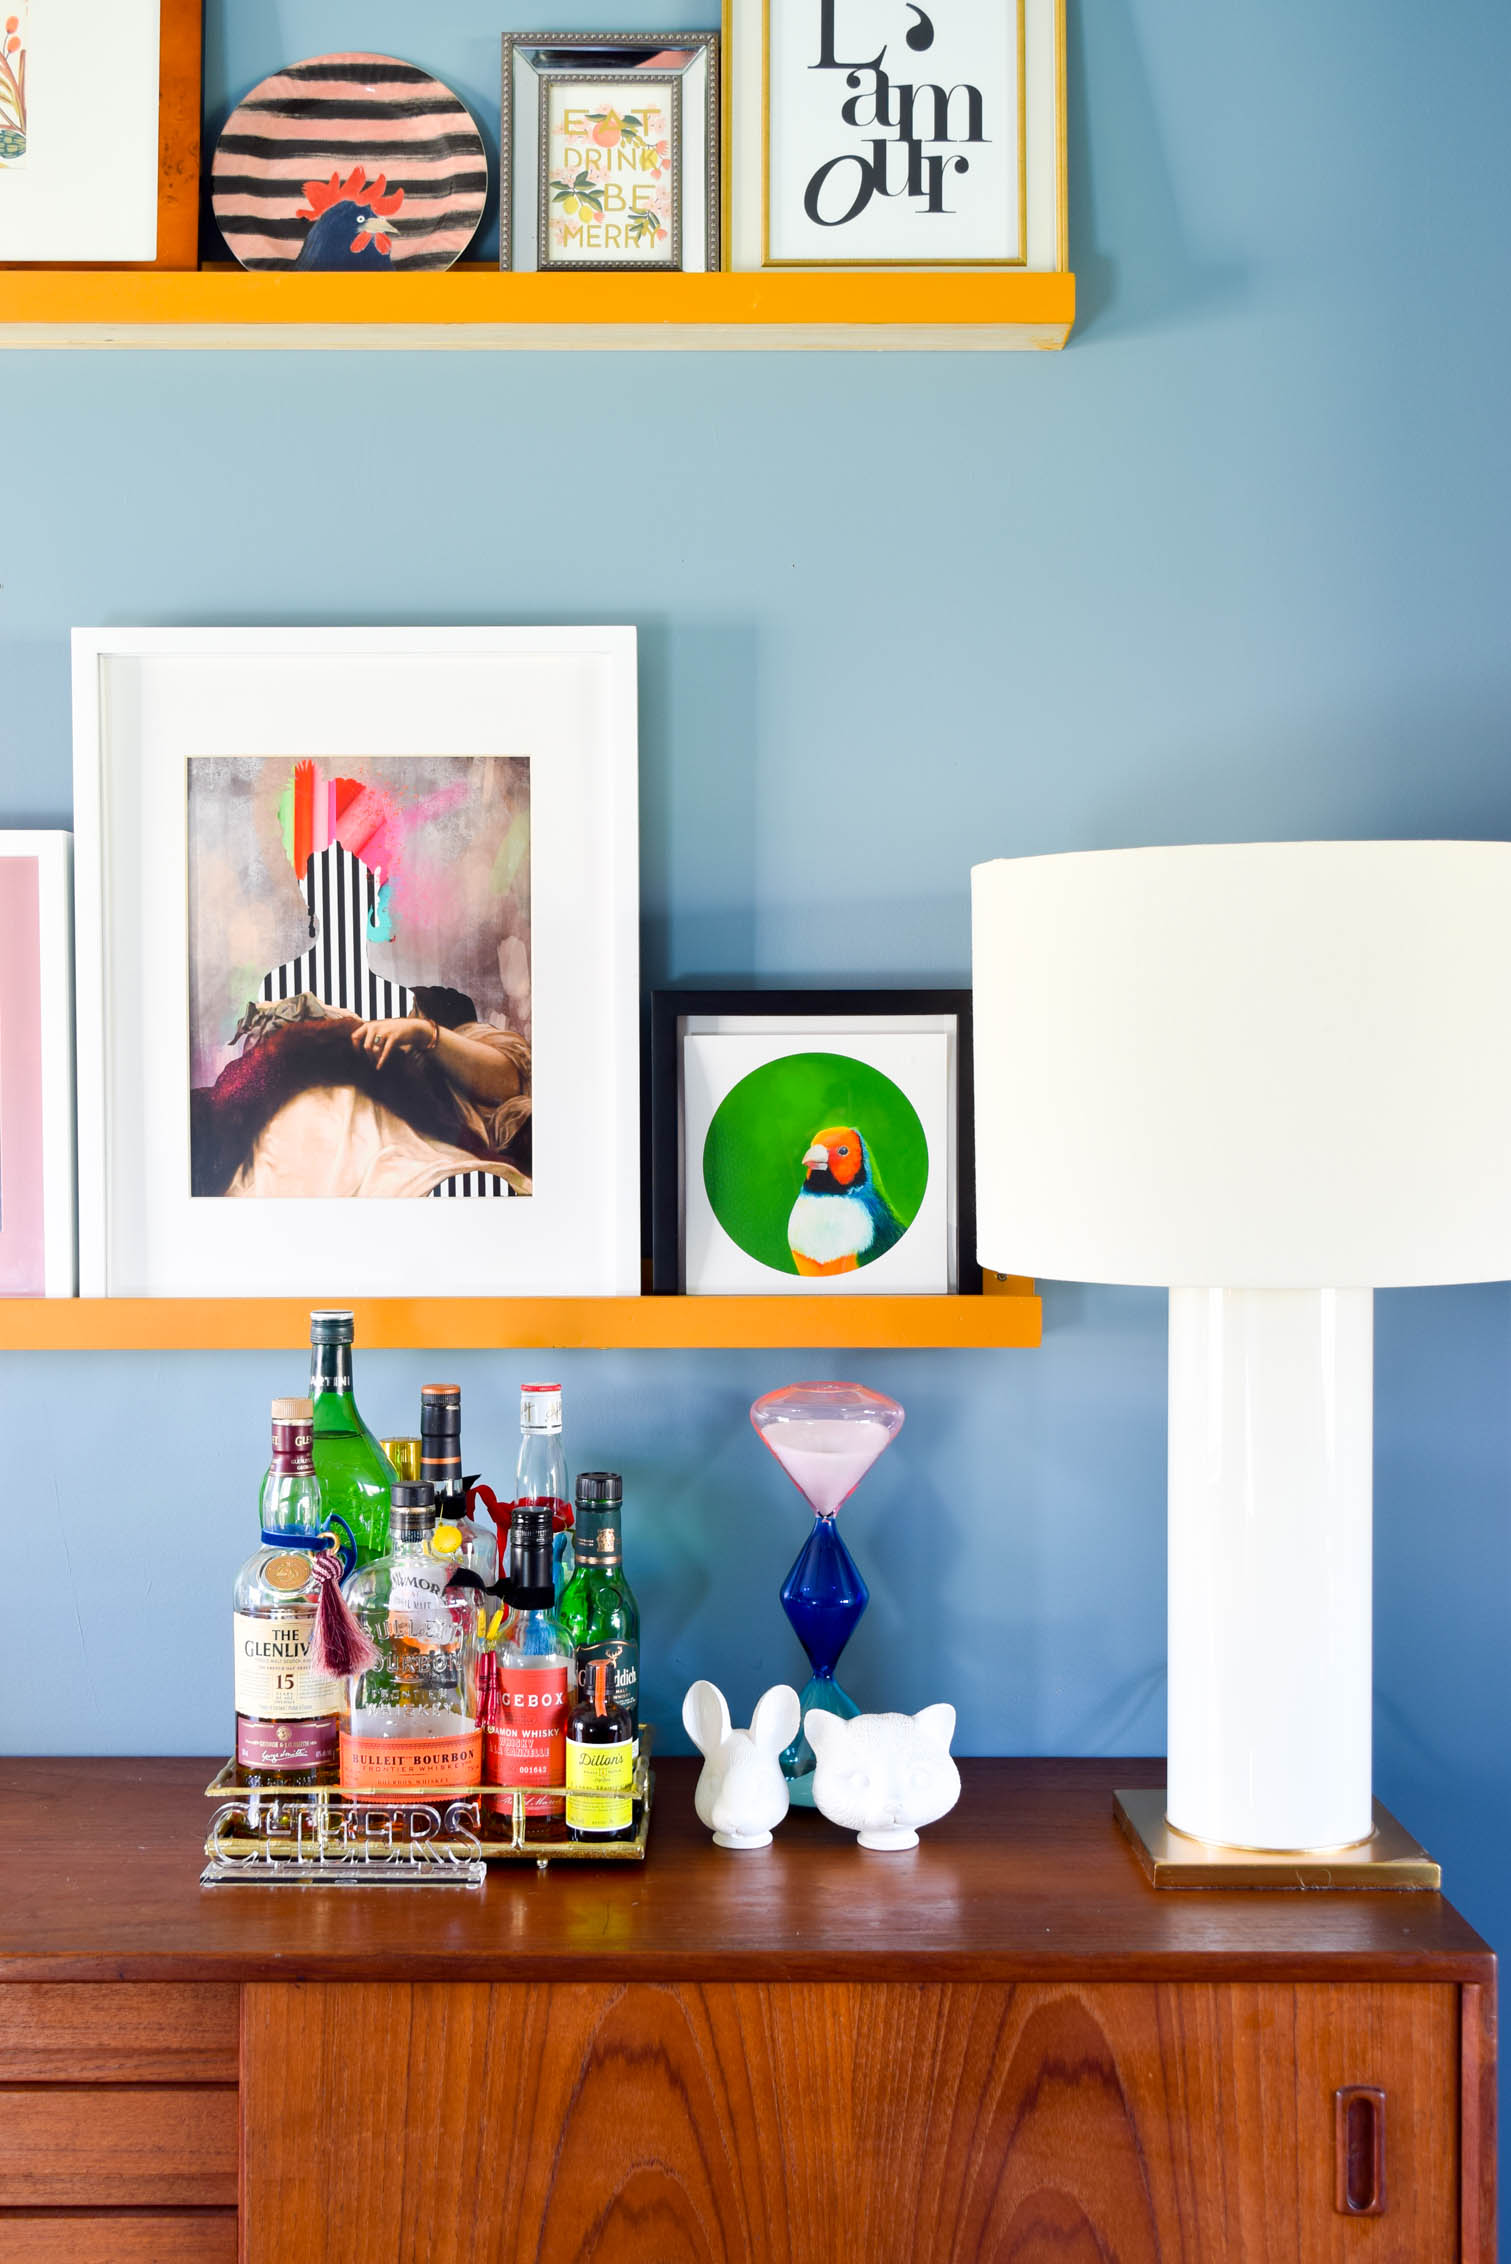
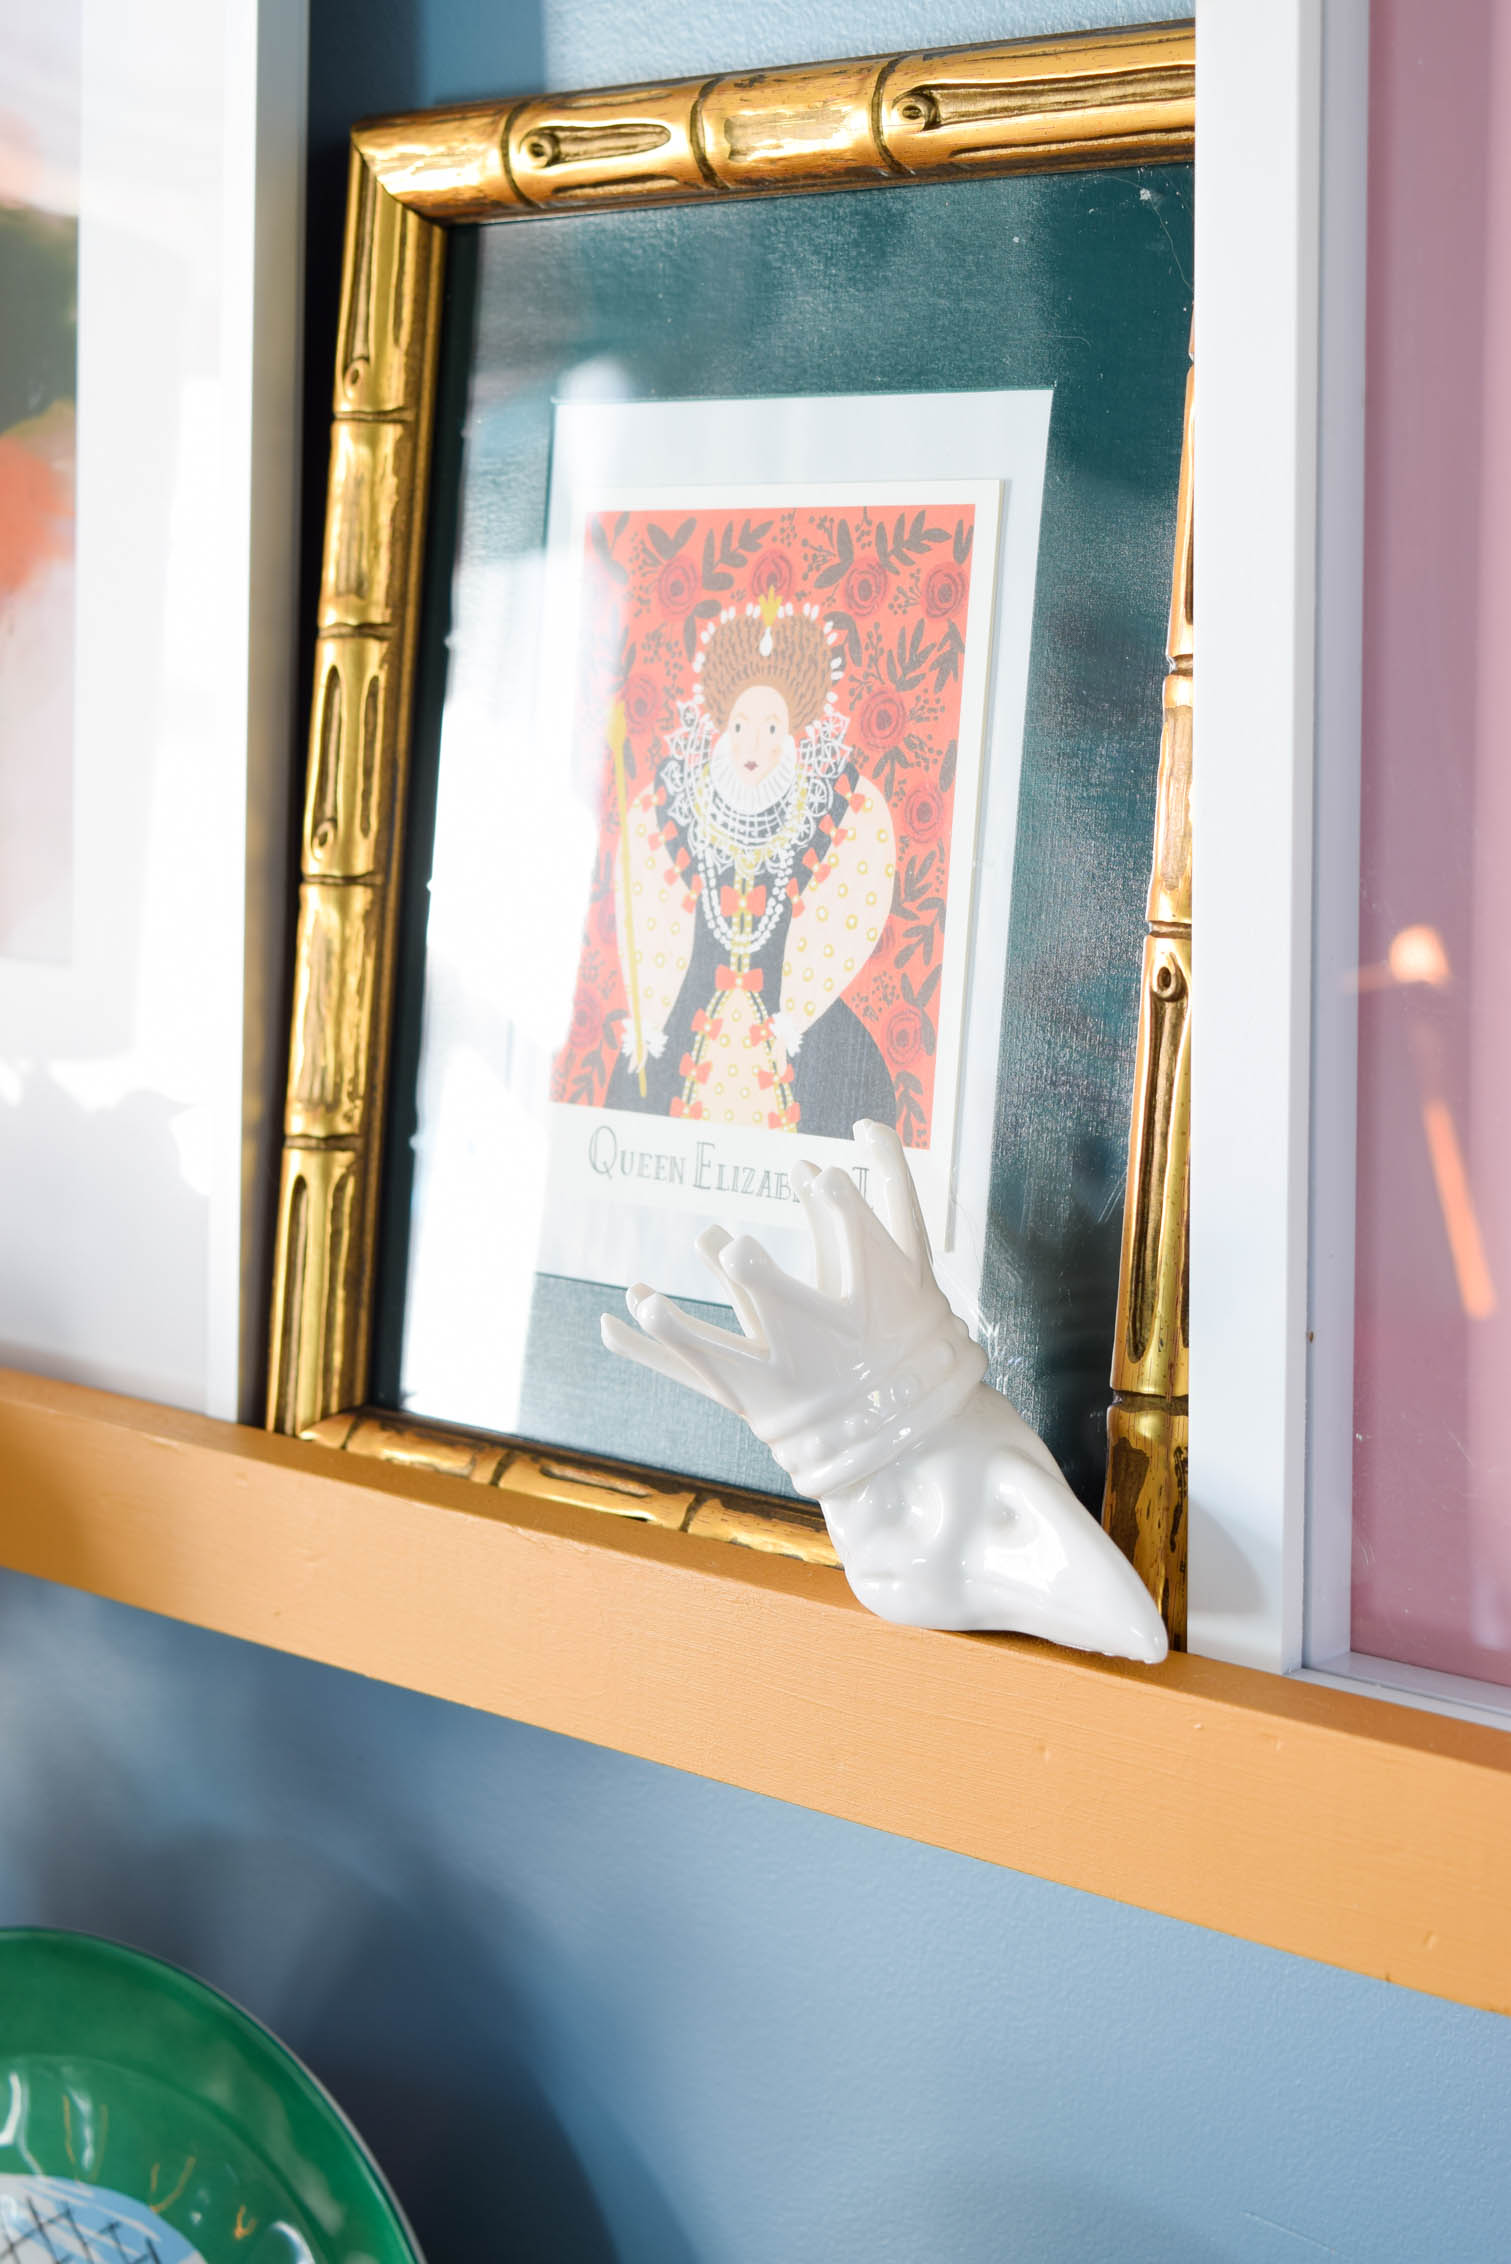
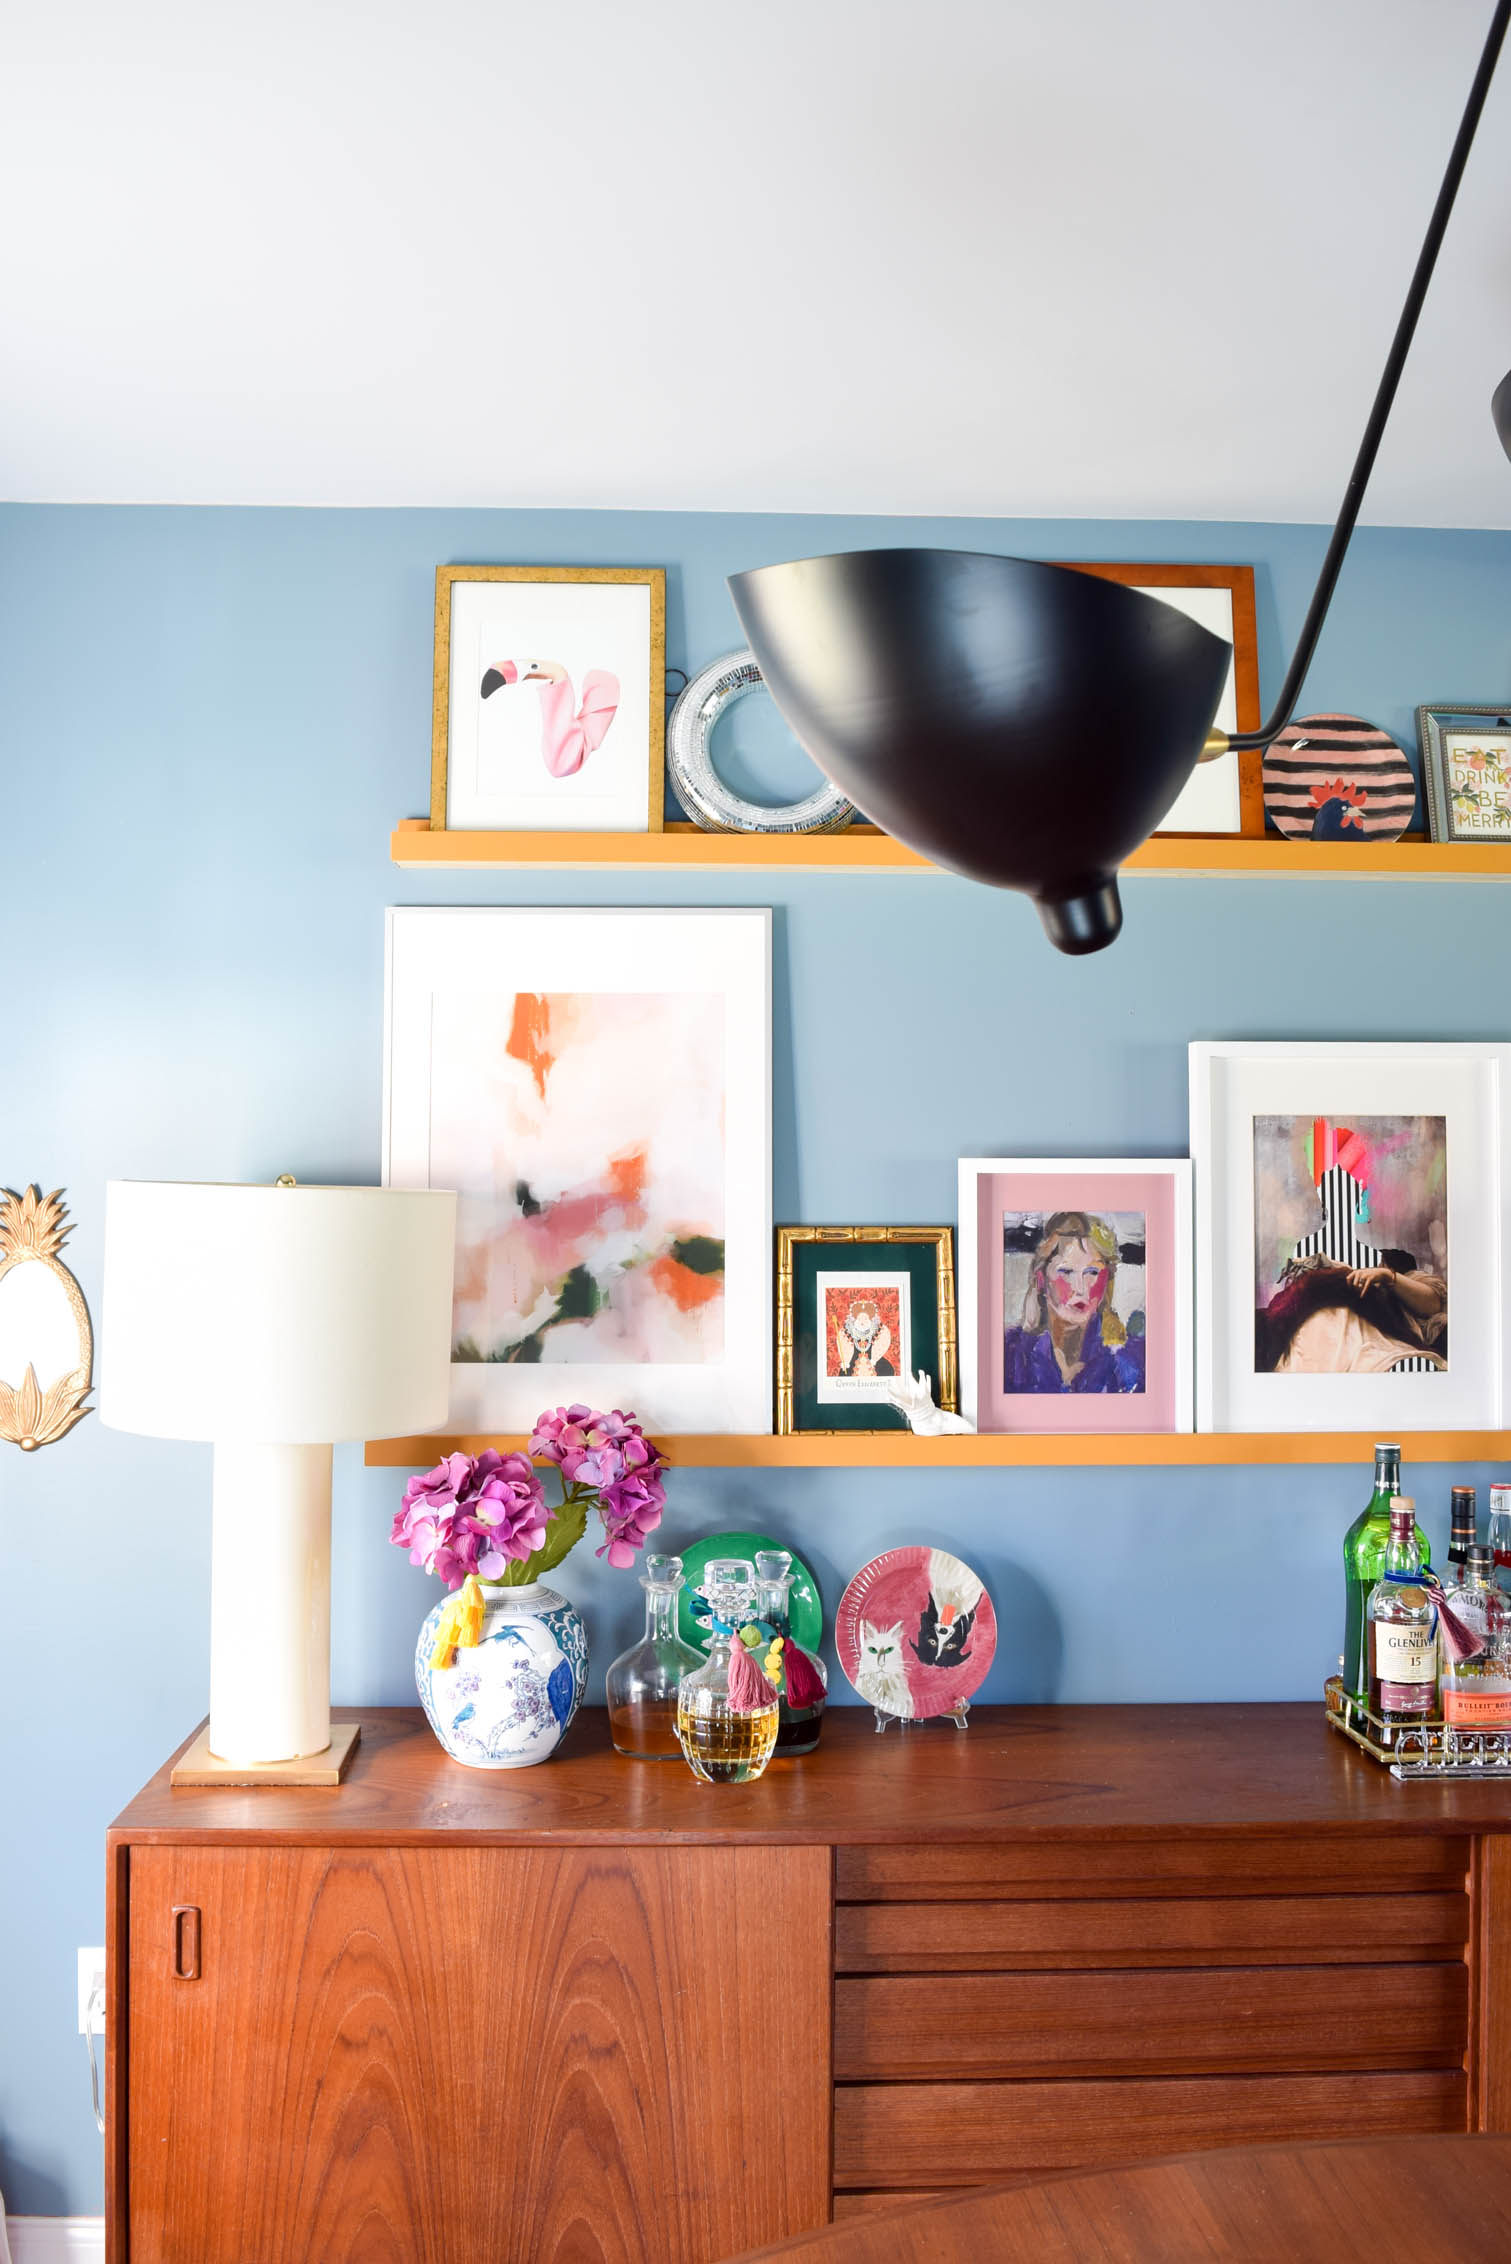
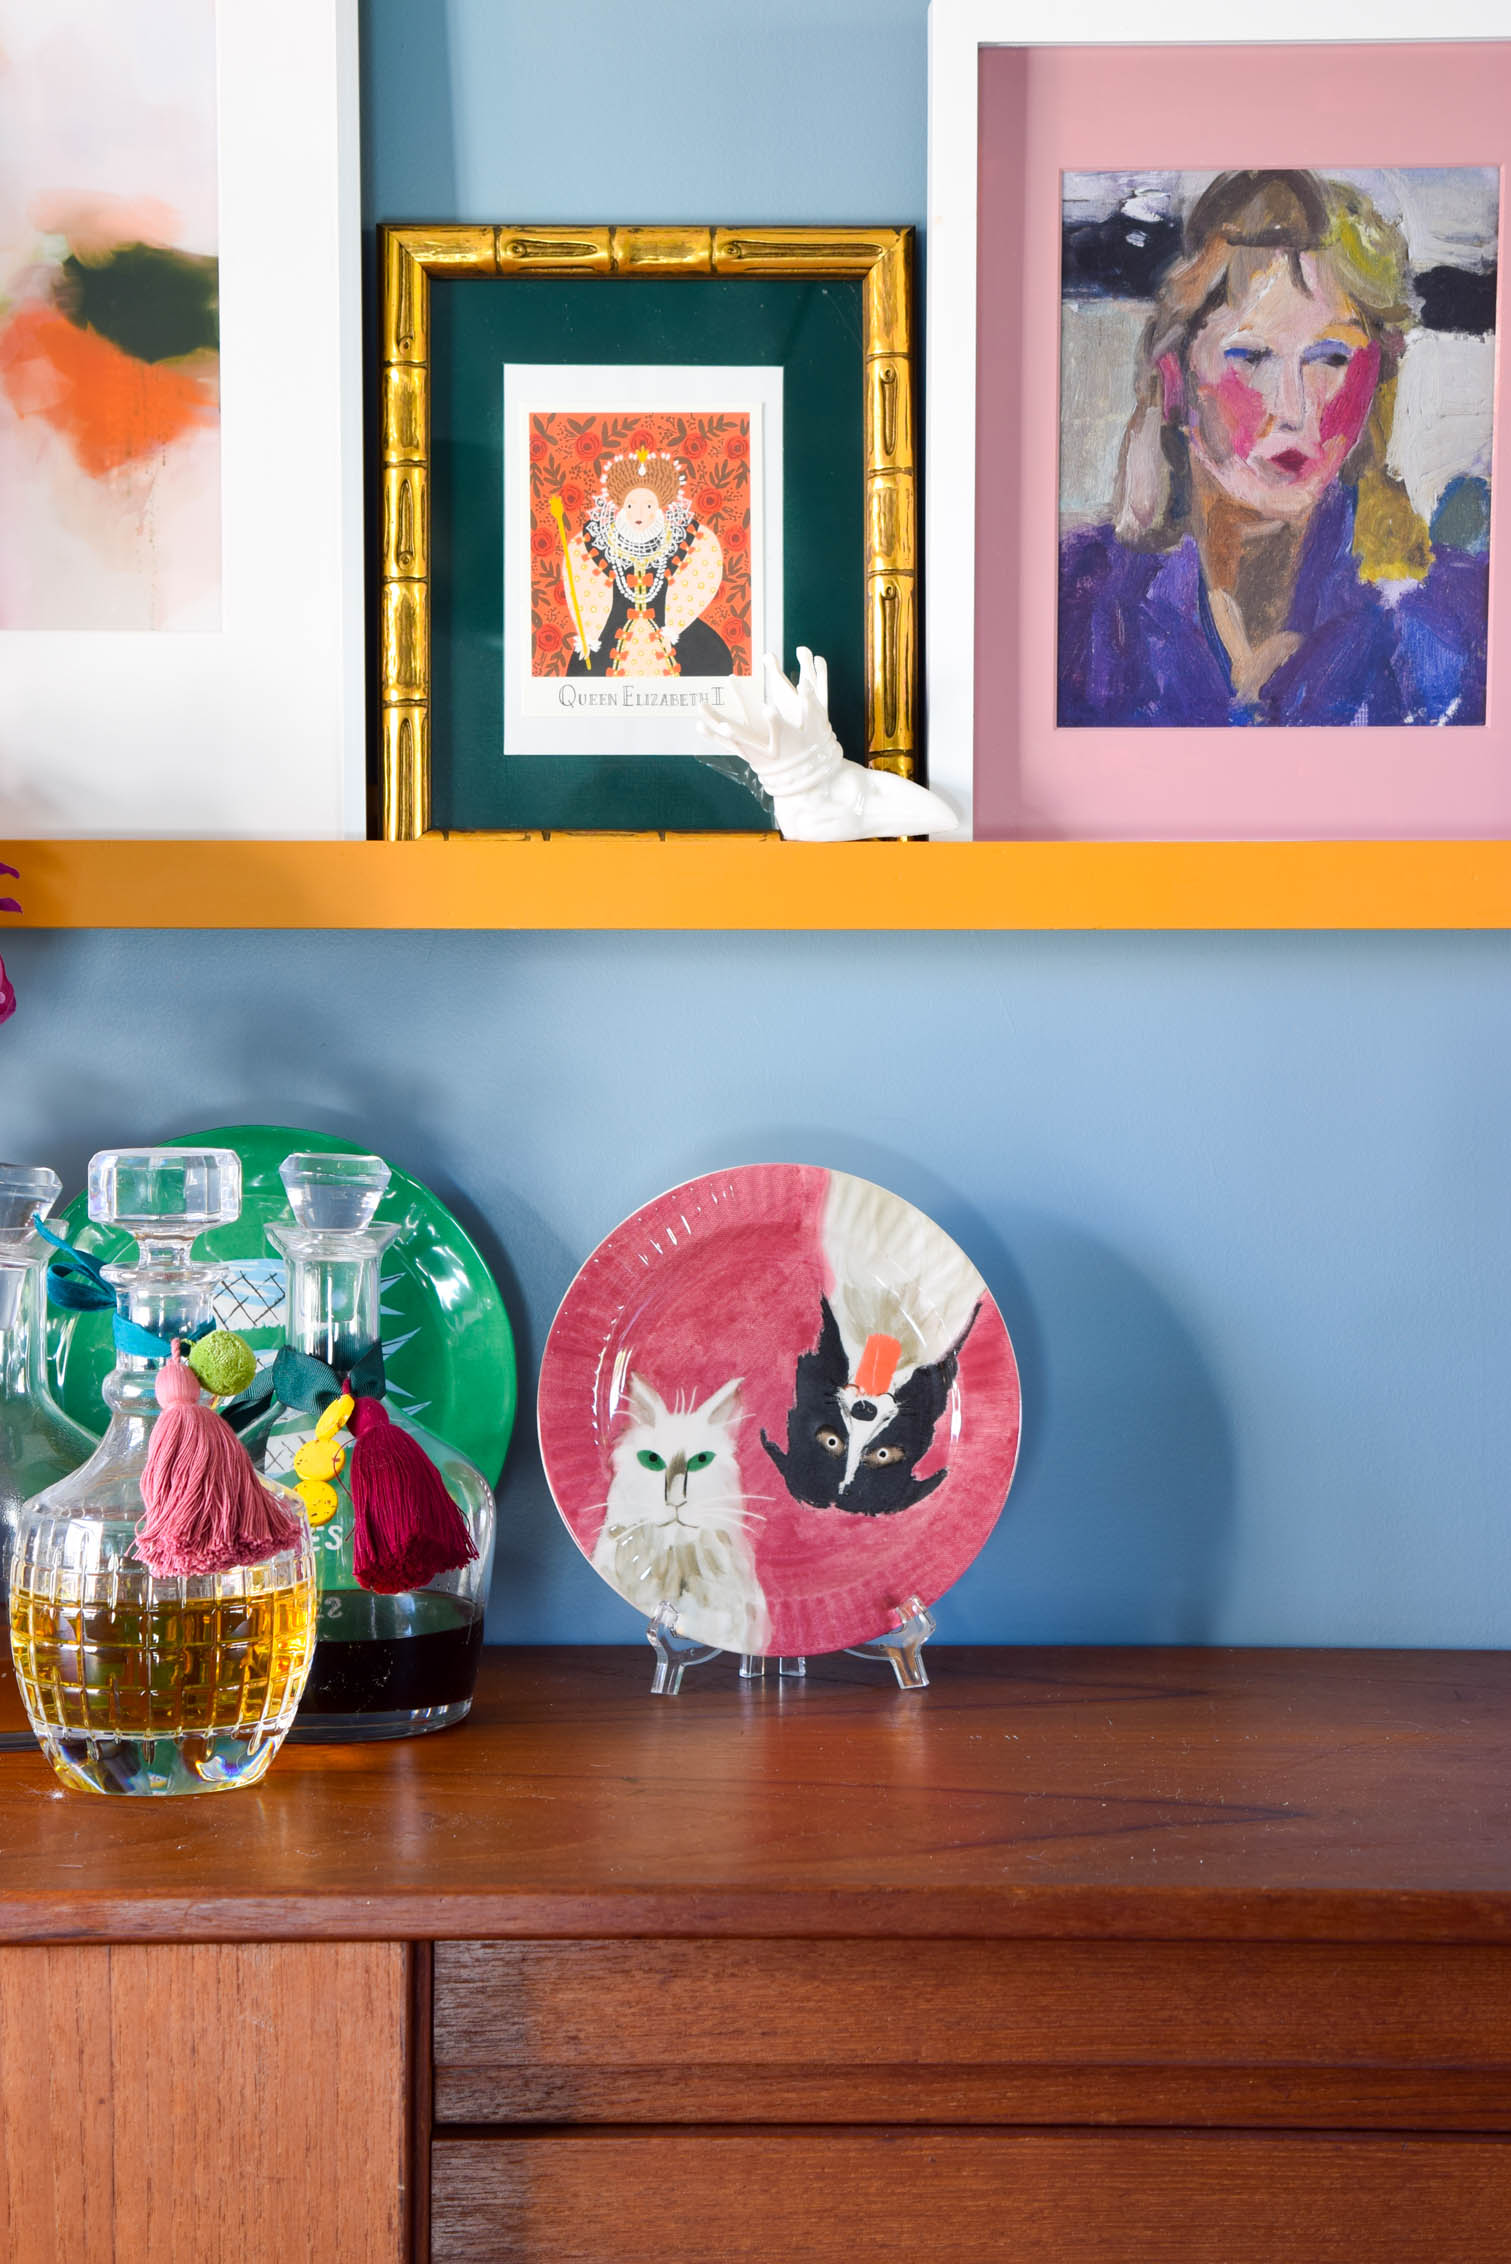
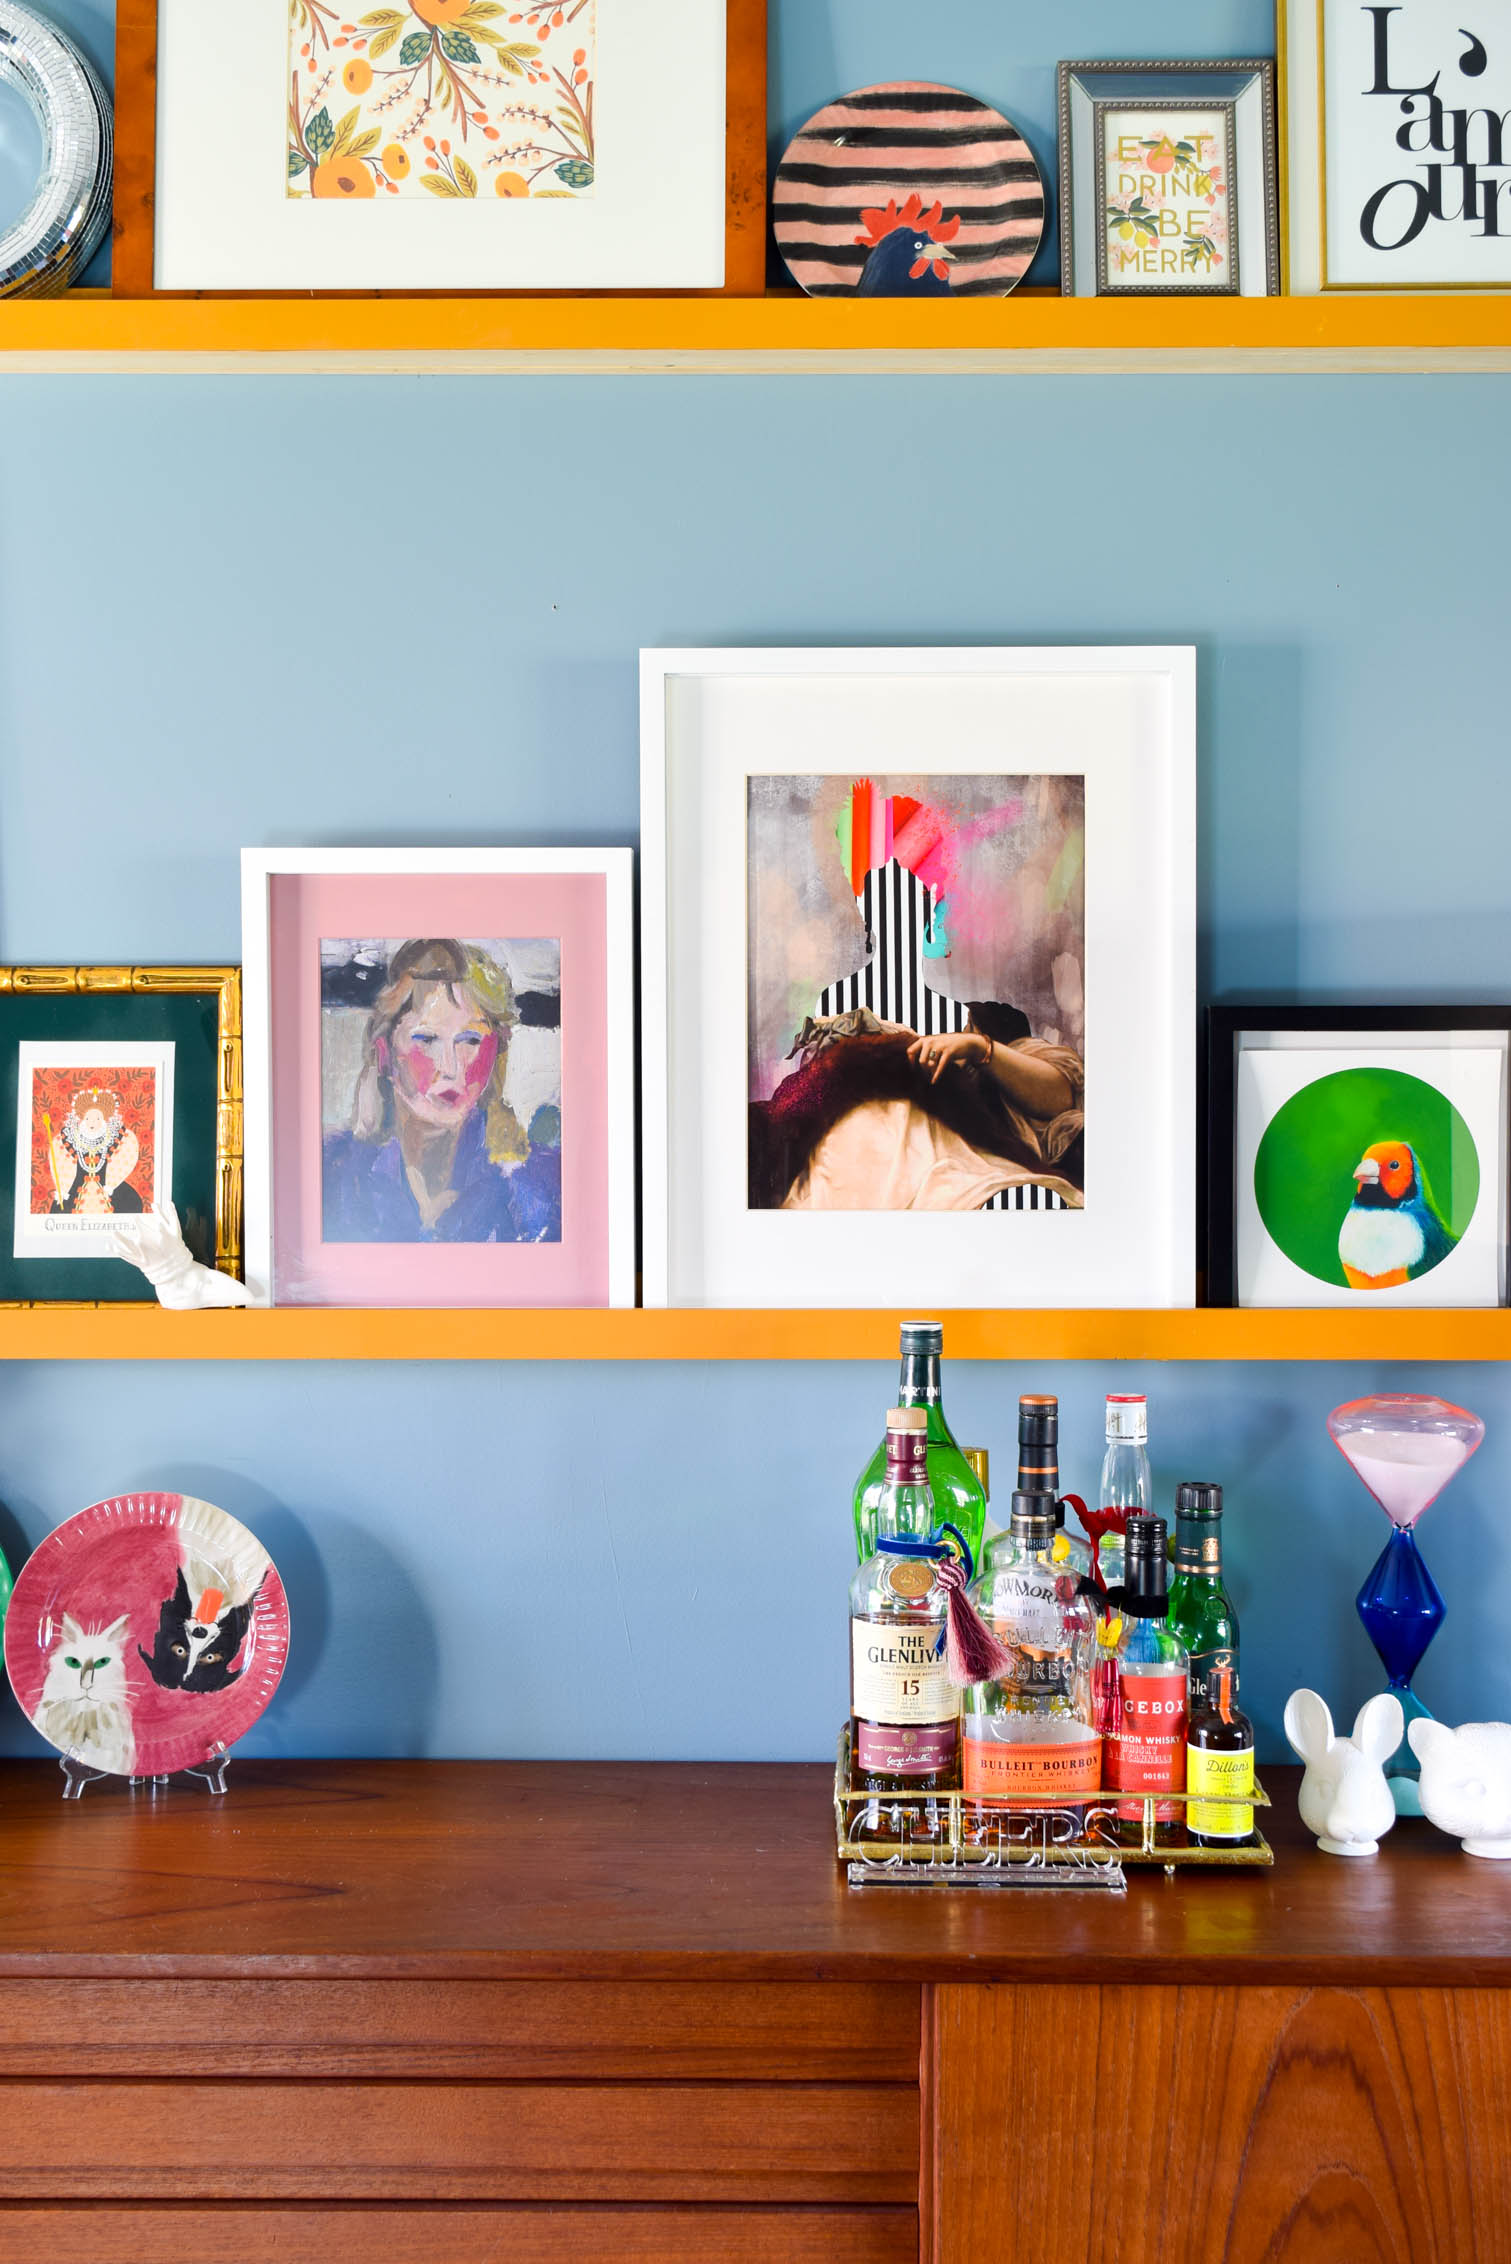
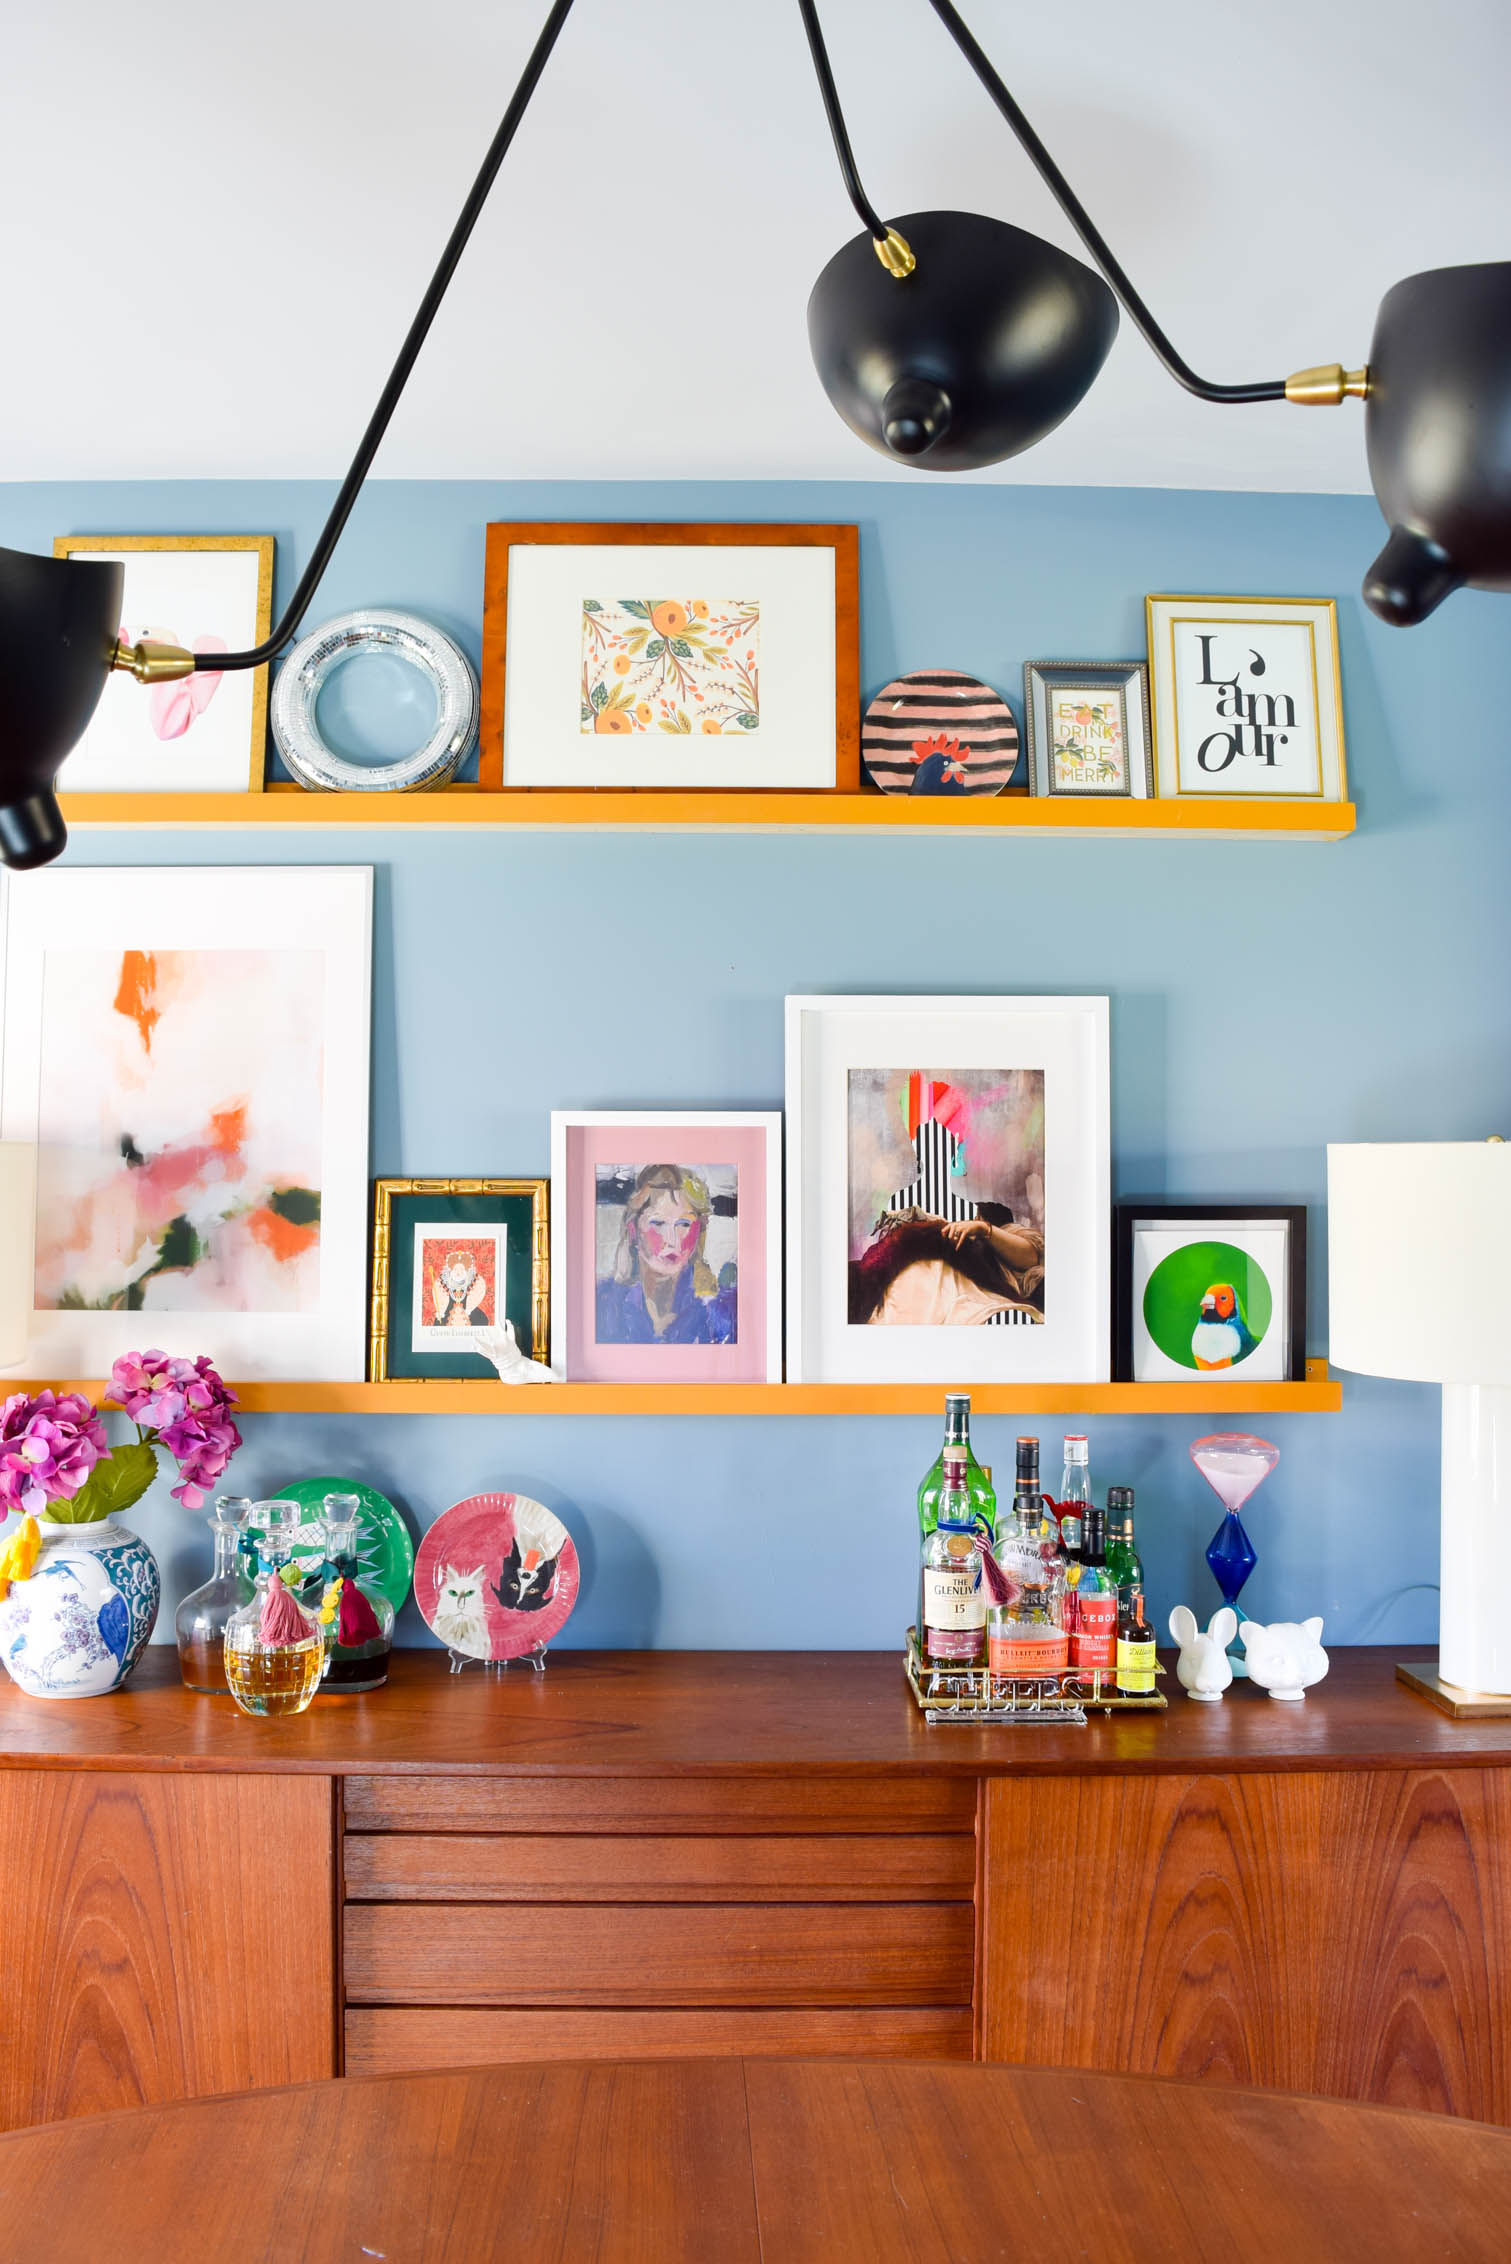
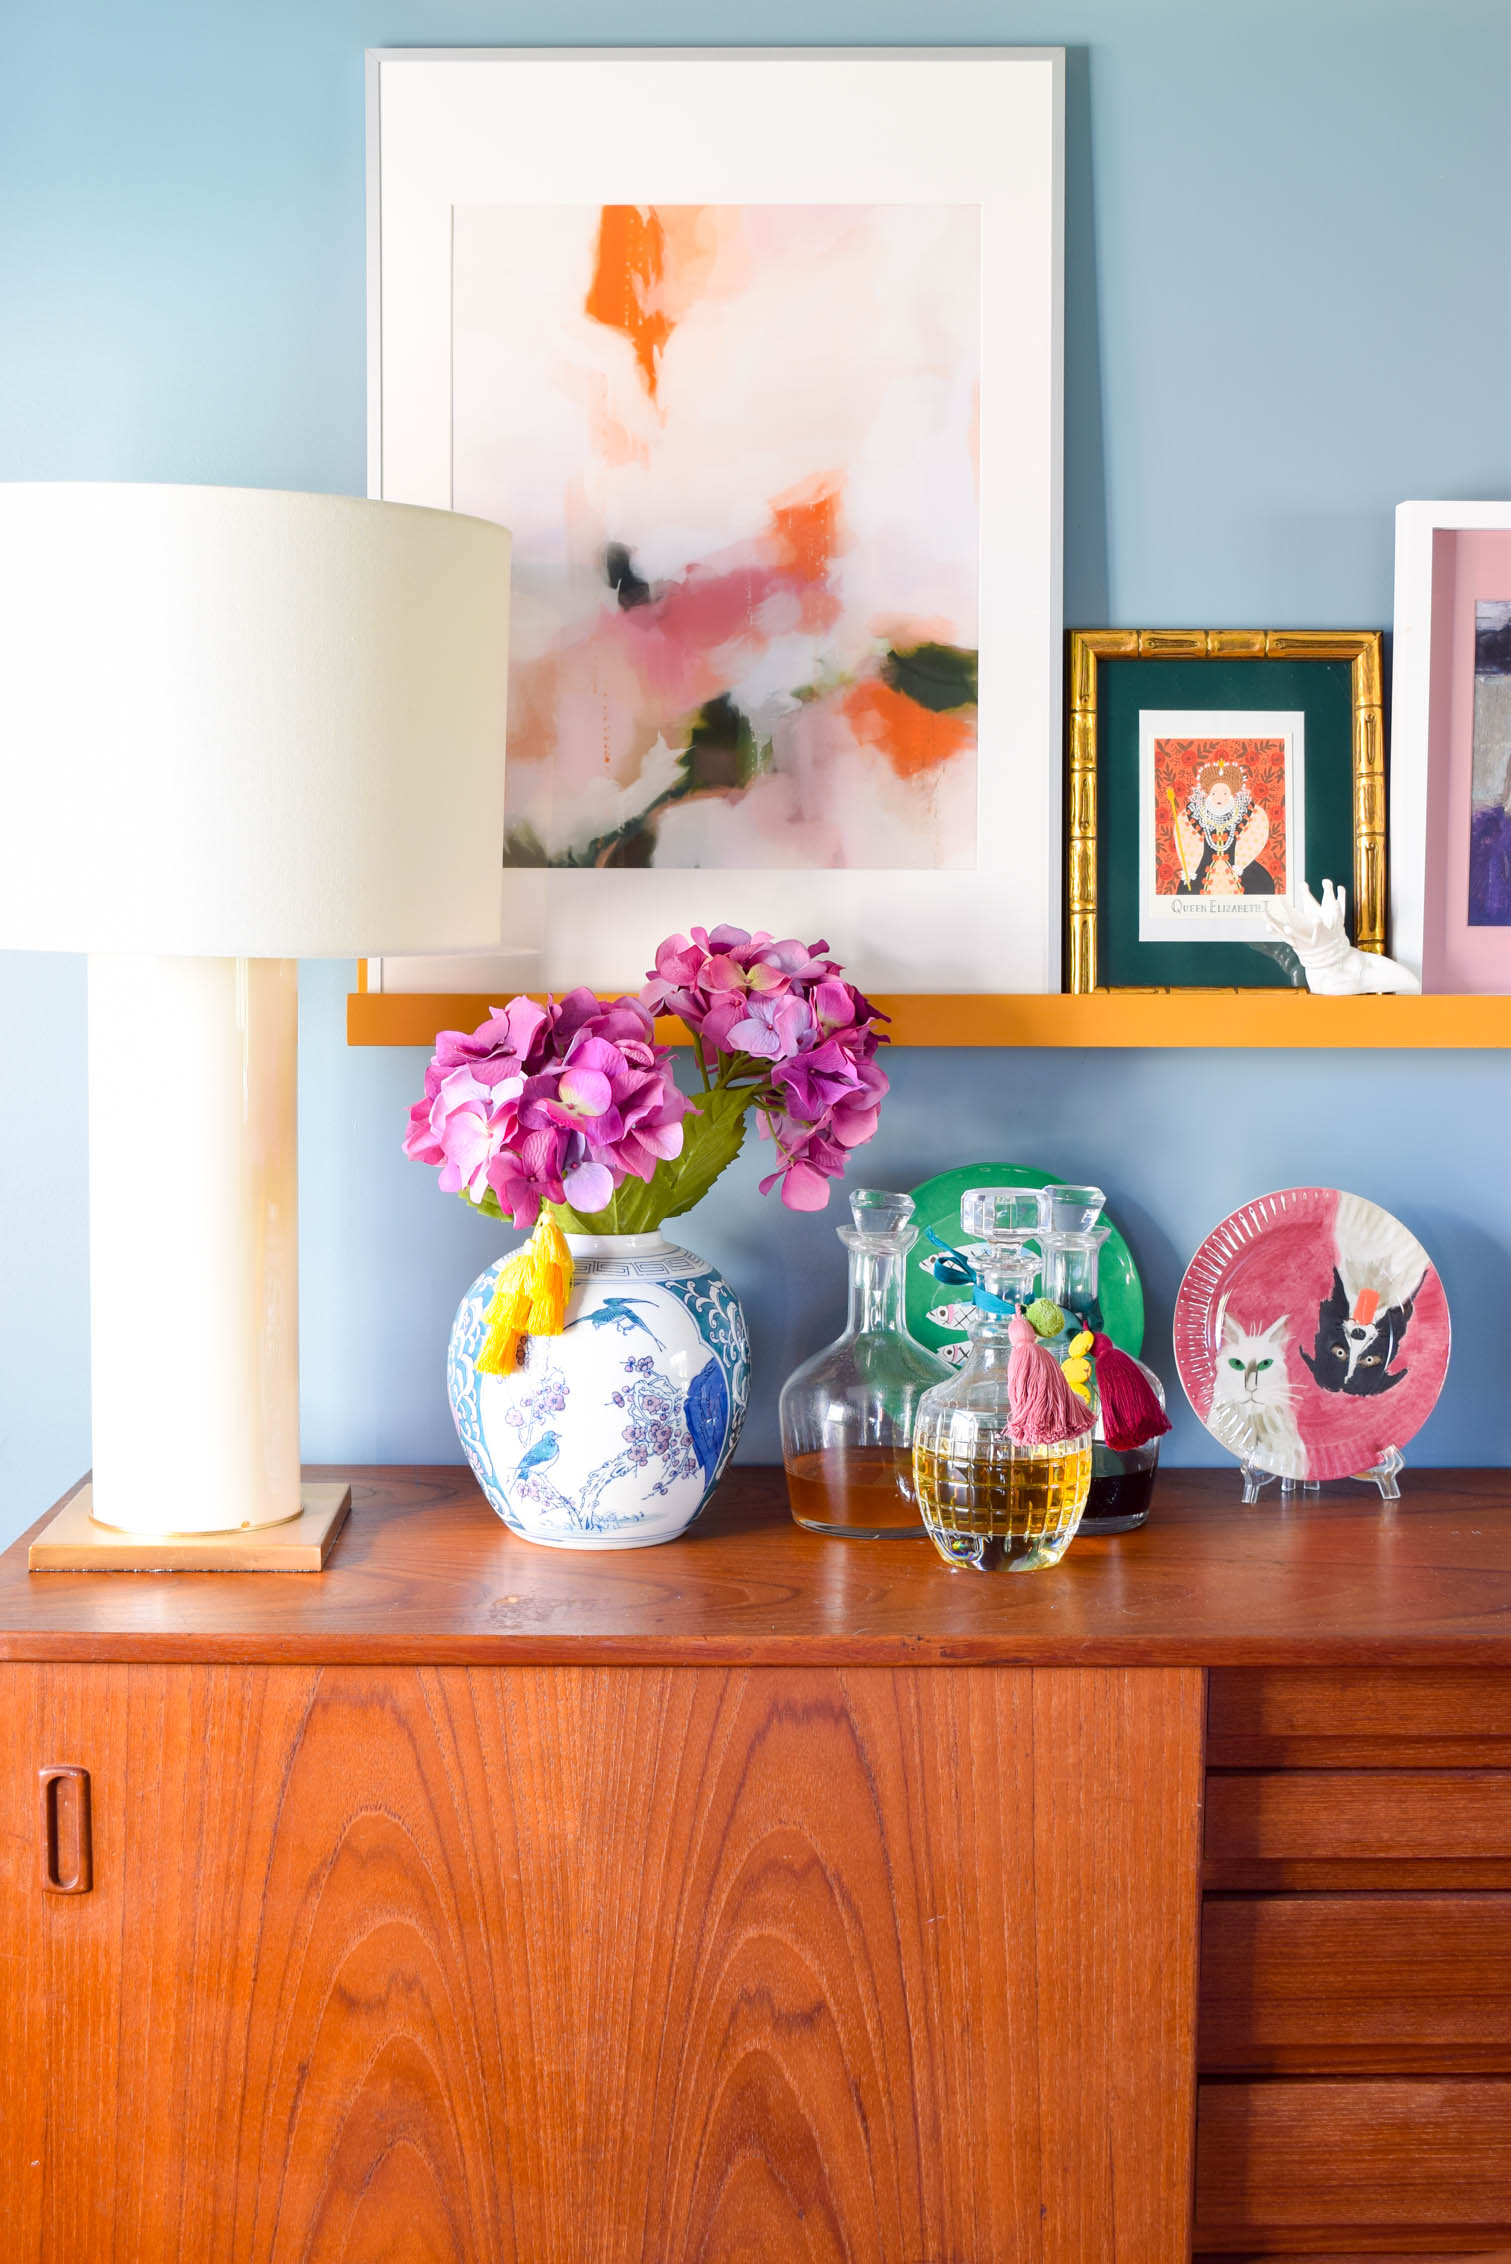
Once I ad my DIY Picture rails up, it was time to decorate! I worked in most of the existing pieces I had on the sideboard, but also a few of the new pieces from Diedododa.

I think our art collection has much more space to breathe now. Like I said before, I really like the layered look we had before, but it was starting to feel a little stuffy.

With all this vertical space though, everything has a place, and everything in its place.

I snagged Princess Leopold, Flarmingo, and the Gouldian Finch. I’ve got a few other treasures saved for later, but these are the ones that made it into the dining room.
A DIY Picture Rail upgrade in our dining room has proven to be a game changer. Everything is so organized, and the scale feels just right! They only cost about 30$ to build, and it too less than a day!

A DIY Picture Rail upgrade in our dining room has proven to be a game changer. Everything is so organized, and the scale feels just right! They only cost about 30$ to build, and it too less than a day!

A DIY Picture Rail upgrade in our dining room has proven to be a game changer. Everything is so organized, and the scale feels just right! They only cost about 30$ to build, and it too less than a day!

A DIY Picture Rail upgrade in our dining room has proven to be a game changer. Everything is so organized, and the scale feels just right! They only cost about 30$ to build, and it too less than a day!

A DIY Picture Rail upgrade in our dining room has proven to be a game changer. Everything is so organized, and the scale feels just right! They only cost about 30$ to build, and it too less than a day!

A DIY Picture Rail upgrade in our dining room has proven to be a game changer. Everything is so organized, and the scale feels just right! They only cost about 30$ to build, and it too less than a day!

A DIY Picture Rail upgrade in our dining room has proven to be a game changer. Everything is so organized, and the scale feels just right! They only cost about 30$ to build, and it too less than a day!

A DIY Picture Rail upgrade in our dining room has proven to be a game changer. Everything is so organized, and the scale feels just right! They only cost about 30$ to build, and it too less than a day!

A DIY Picture Rail upgrade in our dining room has proven to be a game changer. Everything is so organized, and the scale feels just right! They only cost about 30$ to build, and it too less than a day!

A DIY Picture Rail upgrade in our dining room has proven to be a game changer. Everything is so organized, and the scale feels just right! They only cost about 30$ to build, and it too less than a day!

✨Are you signed-up for my new post updates? ✨

* indicates required
Email Format

6 Comments

DIY Spray Painted Striped Planters »
« GIRLS, PCOS & Infertility

Comments

  1. Angie says

    May 10, 2018 at 7:11 am

    Wow! Looks great!

    Reply
  2. Jessica nickerson says

    May 10, 2018 at 7:30 am

    They look so good!

    Reply
  3. Emy says

    May 10, 2018 at 7:32 am

    Love this DIY! I’ve never made a picture rail. *adds to my to-do list*

    Reply
  4. Cindy from CFB Esquimalt says

    May 10, 2018 at 7:48 pm

    Bright, colorful and attractive. Awesome!

    Reply
  5. jENNIFER says

    May 11, 2018 at 6:56 am

    THESE WILL BE GREAT FOR MY DAUGHTER’S ROOM – THANK YOU FOR SHARING!

    Reply

Trackbacks

  1. Organization & storage projects • Fusion™ Mineral Paint says:
    January 7, 2020 at 11:53 am

    […] DIY Picture Rails […]

    Reply

Leave a Reply Cancel reply

Your email address will not be published. Required fields are marked *

woman in red dress on counter

Hi! My name is Ariel and I'm the voice behind PMQ for two. I'm an internet rubbernecker, creative soul, and mom

  • Bloglovin
  • Facebook
  • Instagram
  • Pinterest
  • Twitter

PMQ for three

Time For A Cocktail

pmqfortwo

Ariel - PMQ for two
Someone asked if Bruce and Boots were still around Someone asked if Bruce and Boots were still around - yes they are! They’re just getting old, they’re tired of my antics, and honestly spend a good chunk of time sleeping. To be honest, who isn’t 😅 
Happy Friday? 

#wallpaperwednesday #wallpaperdirect #irishsettersofinstagram #lapofluxury #bhgstylemaker #bhghome
Excuse me, have you seen these floors?! AD: The Ch Excuse me, have you seen these floors?! AD: The Champagne Oak flooring from @goldenselect is the one element (other than paint) that runs throughout our house! It’s a unifying element, and brings depth to each space, especially the ones built around neutrals. It’s waterproof, exceptionally durable (to pets and kids!) and easy to clean. It’s also the flooring we installed in our last home, so you know we love it! 

#vinylflooring #goldenselectflooring #costcofinds #kitchenflooring #bhgstylemaker #springflowers #sodomino #kitchendecor #kitchendesign
Would like to further immortalize Dan’s epic pre Would like to further immortalize Dan’s epic pre-baby beard and moustache combo on the grid 👨🏻‍🦰 and remind you that I have a healthy offering of cocktail recipes on the blog. This Lemon 🍋 & Gin Champagne cocktail is a delightful spring recipe! 

#mancrusheveryday #gingerbeard #bhgfood #cocktailoftheday #cocktailrecipes #champagnecocktail
Because you can’t do just do photos or just do a Because you can’t do just do photos or just do a reel, you gotta do both! Anything you’re curious about price wise? Happy to do a reel and explain costs for this space in the context of the build! Here are the details - AD - @villalagoontile Zellige tiles in Iceberg for the shower walls, @officialmetrie casing and architrave on window and door, and baseboard. And the entire space is ultra pure white from @behrpaint. ✨ We purchased the following: mirrors through @homesensecanada, lights from @wayfaircanada, faucets from @kraususa through @homedepotcanada, sinks/toilet/bathtub/shower doors through our plumbing supplier, vanity is a custom build, floor tiles were from a local supplier, and plumbing fixtures in matte black are @deltafaucetcan, and the bath mats are from @urbanoutfitters 

#architecturaldigest #bathroomdesign #bathroomdecor #bathroominspiration #modernbathroom #midcenturymoderndesign
Spring is on the horizon, I swear! Only 5 more sno Spring is on the horizon, I swear! Only 5 more snow storms to get through. AD: in the meantime, I’ve got @mrsmeyerscleandaycanada’s NEW Rain Water detergent to bridge the gap between snow storms and rain storms. 🧺 I use the liquid detergent to keep our clothes clean, smelling fresh, and in ship shape for all that life with a toddler throws our way. Head to my stories for more details! 

#mrsmeyerscleanday #laundryroommakeover #laundryroomdecor #laundryroomgoals #bhgstylemaker #hgtvmagazine #potterybarn
Today is a weird one. So here’s a fun throwback Today is a weird one. So here’s a fun throwback to my Nancy Drew cover fun back in spring 2020. Funny how two years has gone by eh? 

#nancydrew #closetorganization #closetgoals #walkincloset #eclectichomemix #eclectichome #bhgstylemaker #wallpaperwednesday
June met Rupert, and immediately wanted to read to June met Rupert, and immediately wanted to read to him. These two have got a friendship based in love, snuggles, reading, and causing absolute chaos - they’ll get along just fine. 🐅 

#kittensarelikethat #welcometothefamily #kidsroomdecor #kidsroominspiration #houseofcats #kidsplayroom #eclectichome #collectedhome
Follow on Instagram

- THEME BY ECLAIR DESIGNS -