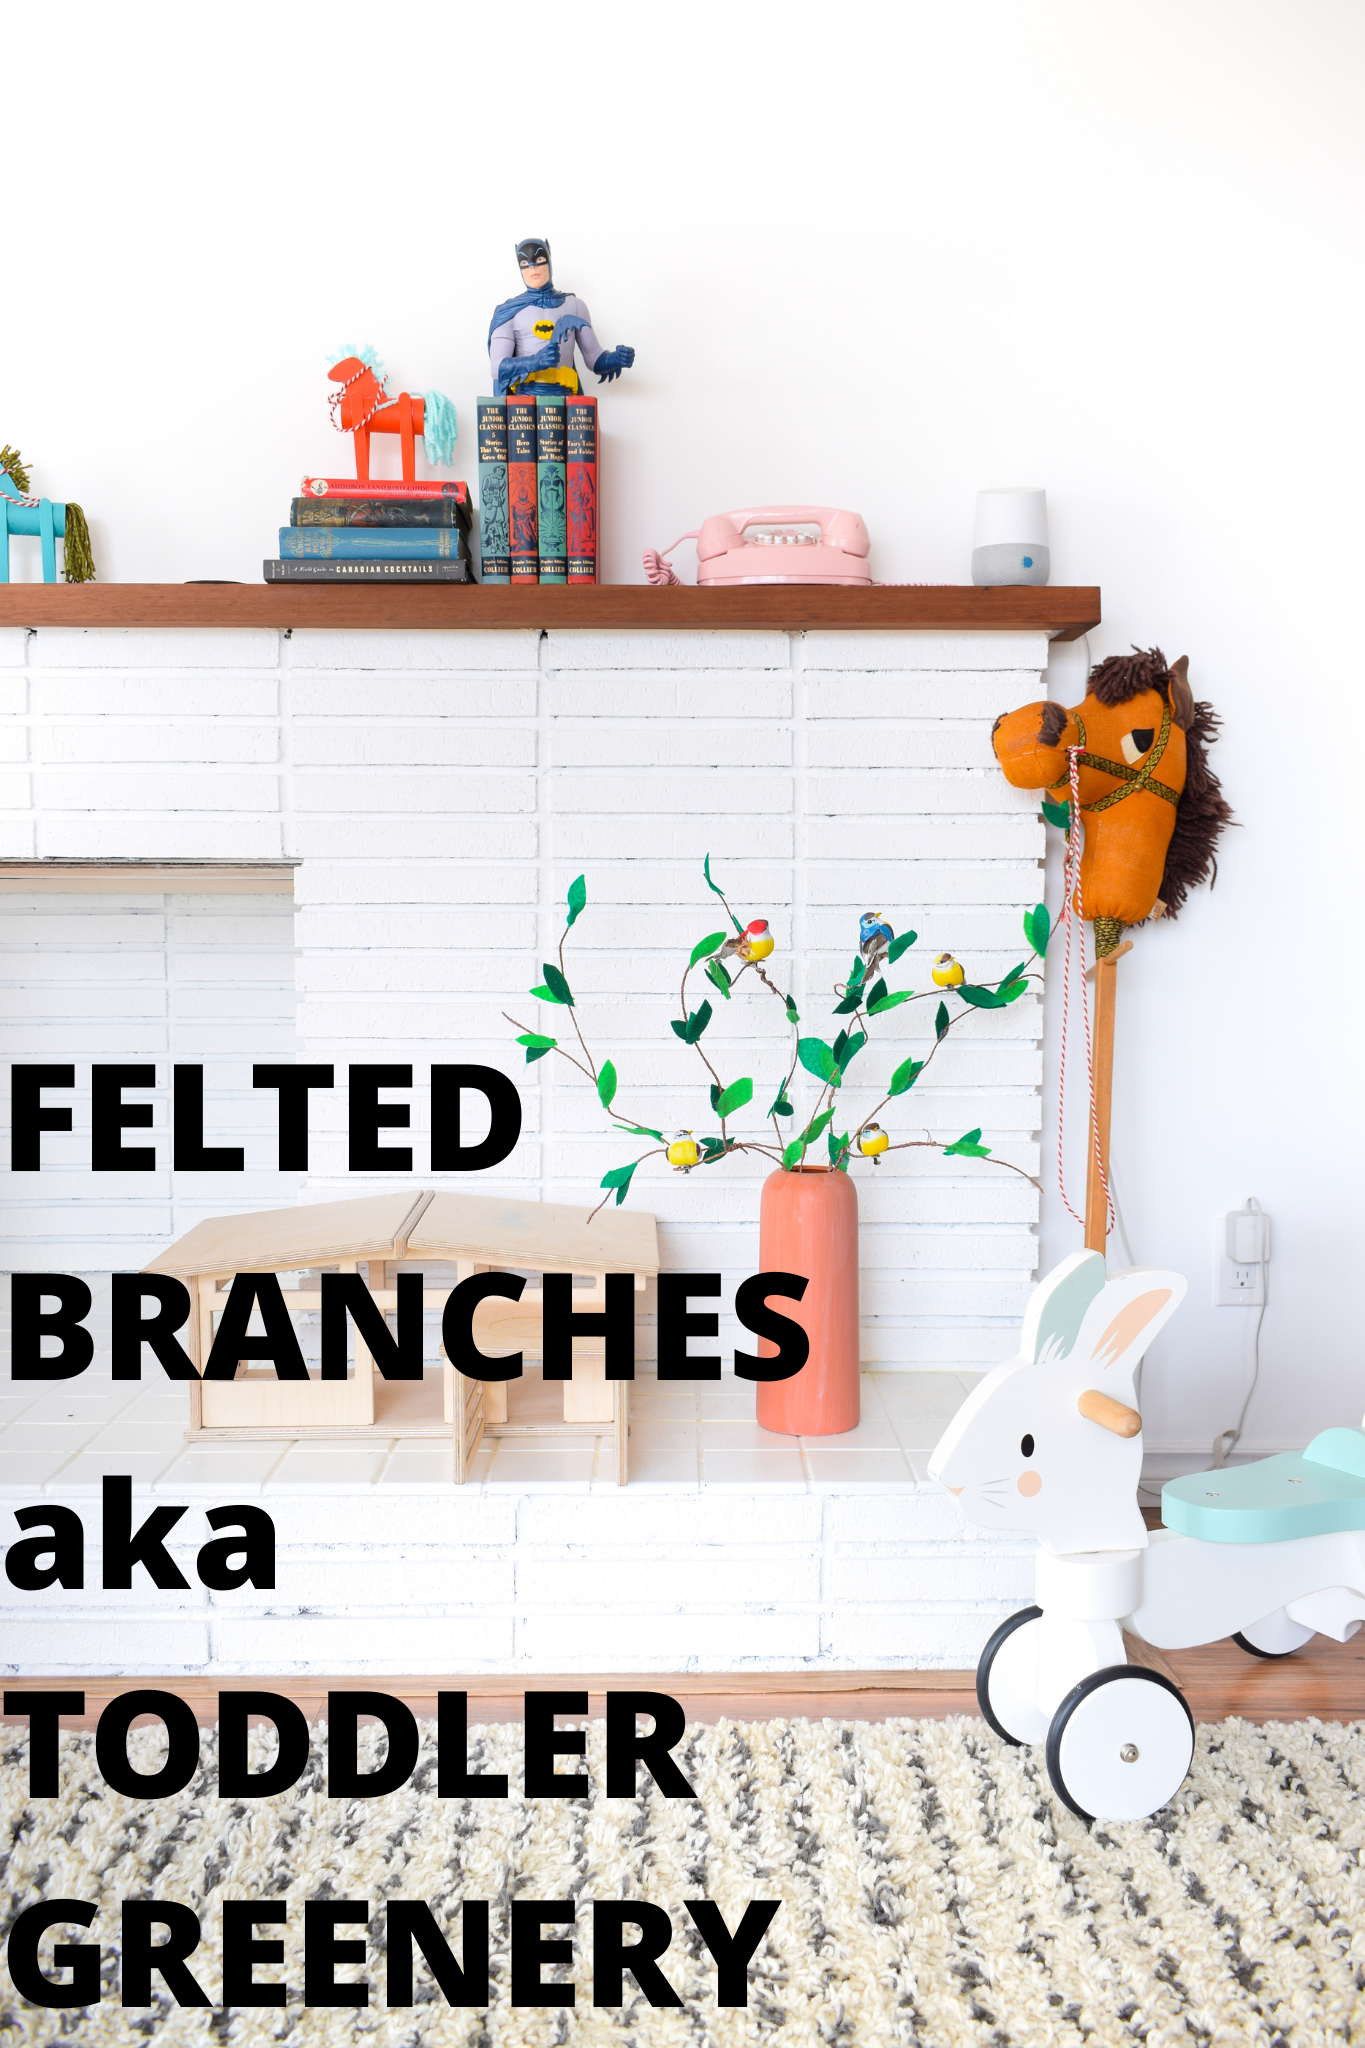
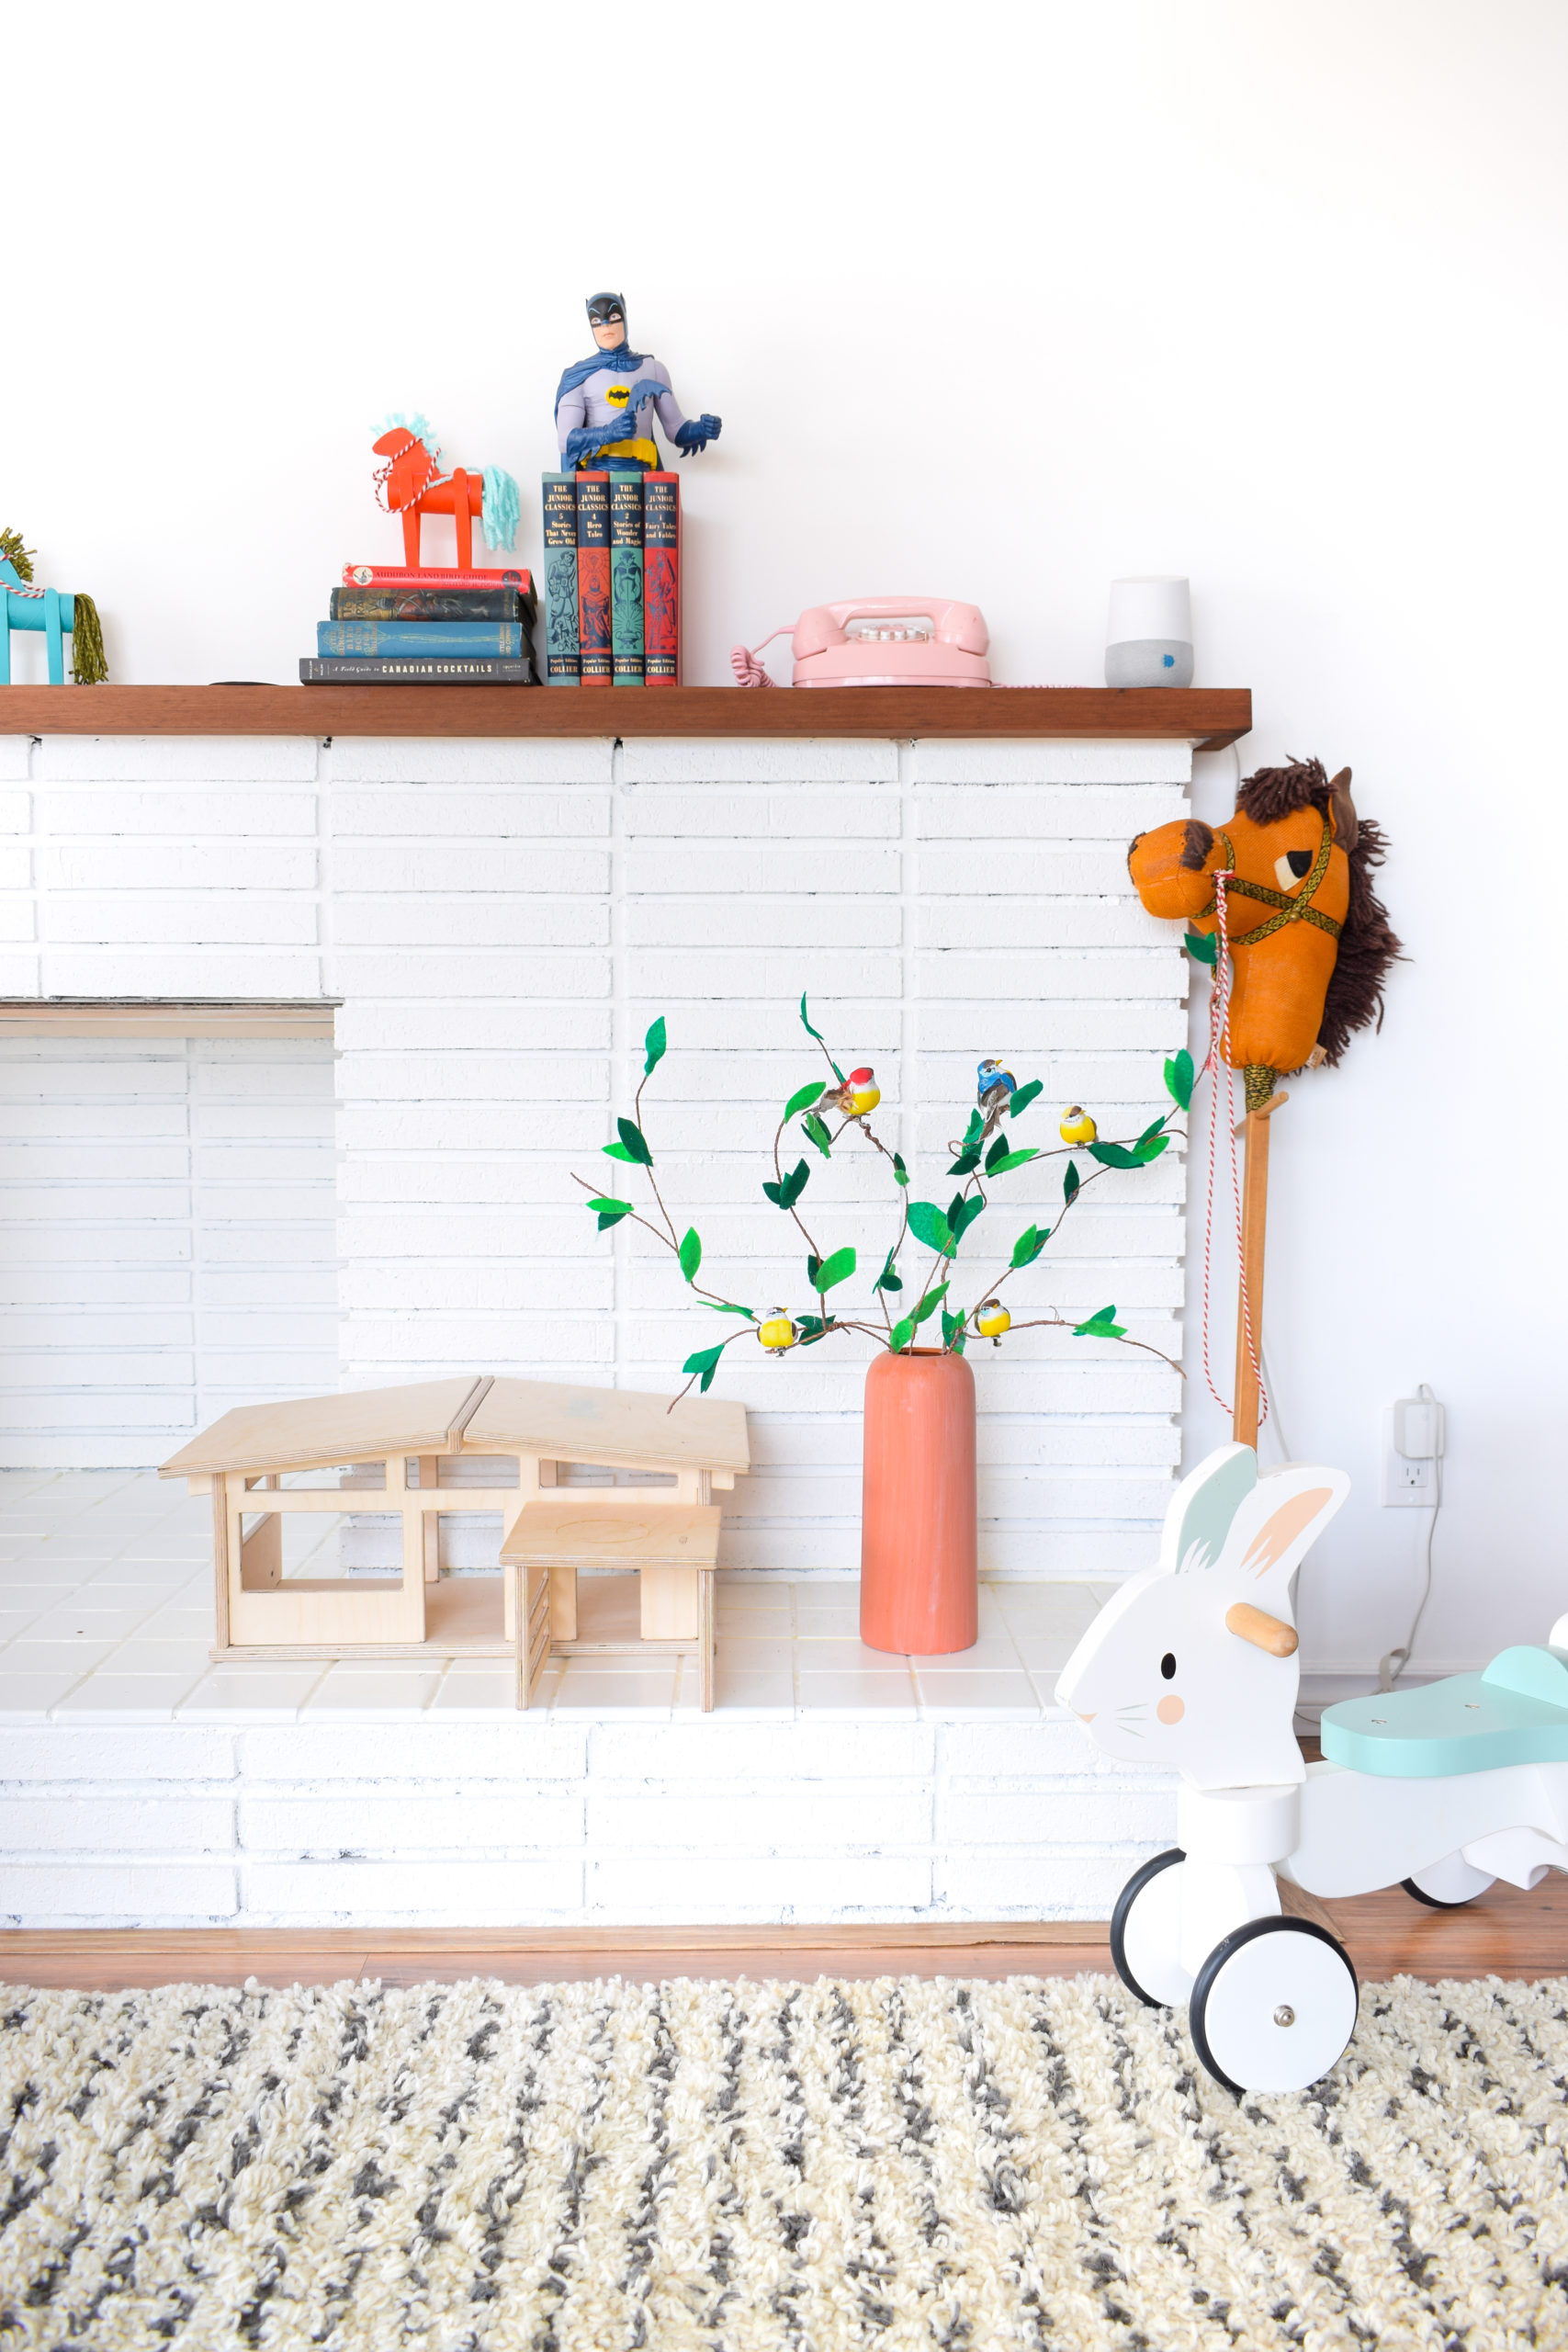
I love nothing more than a touch of greenery in a space. You know what’s green and doesn’t wilt or require water? Felt greenery. So when I was trying to find a way to add some plant life to June’s Montessori play area, DIY Felt Branches felt like the way to go!
*Michaels & Fiskars sponsored this post, but all thoughts are my own. Thank you for supporting the brands that make PMQ for Two possible.
I love a good pair of scissors, and Fiskars has the best in the game. Whether you want dedicated fabric scissors that you lock away so that your husband can’t cut random things with, or you want an efficient set of multi purpose snips, you know that Fiskars is the way to go.
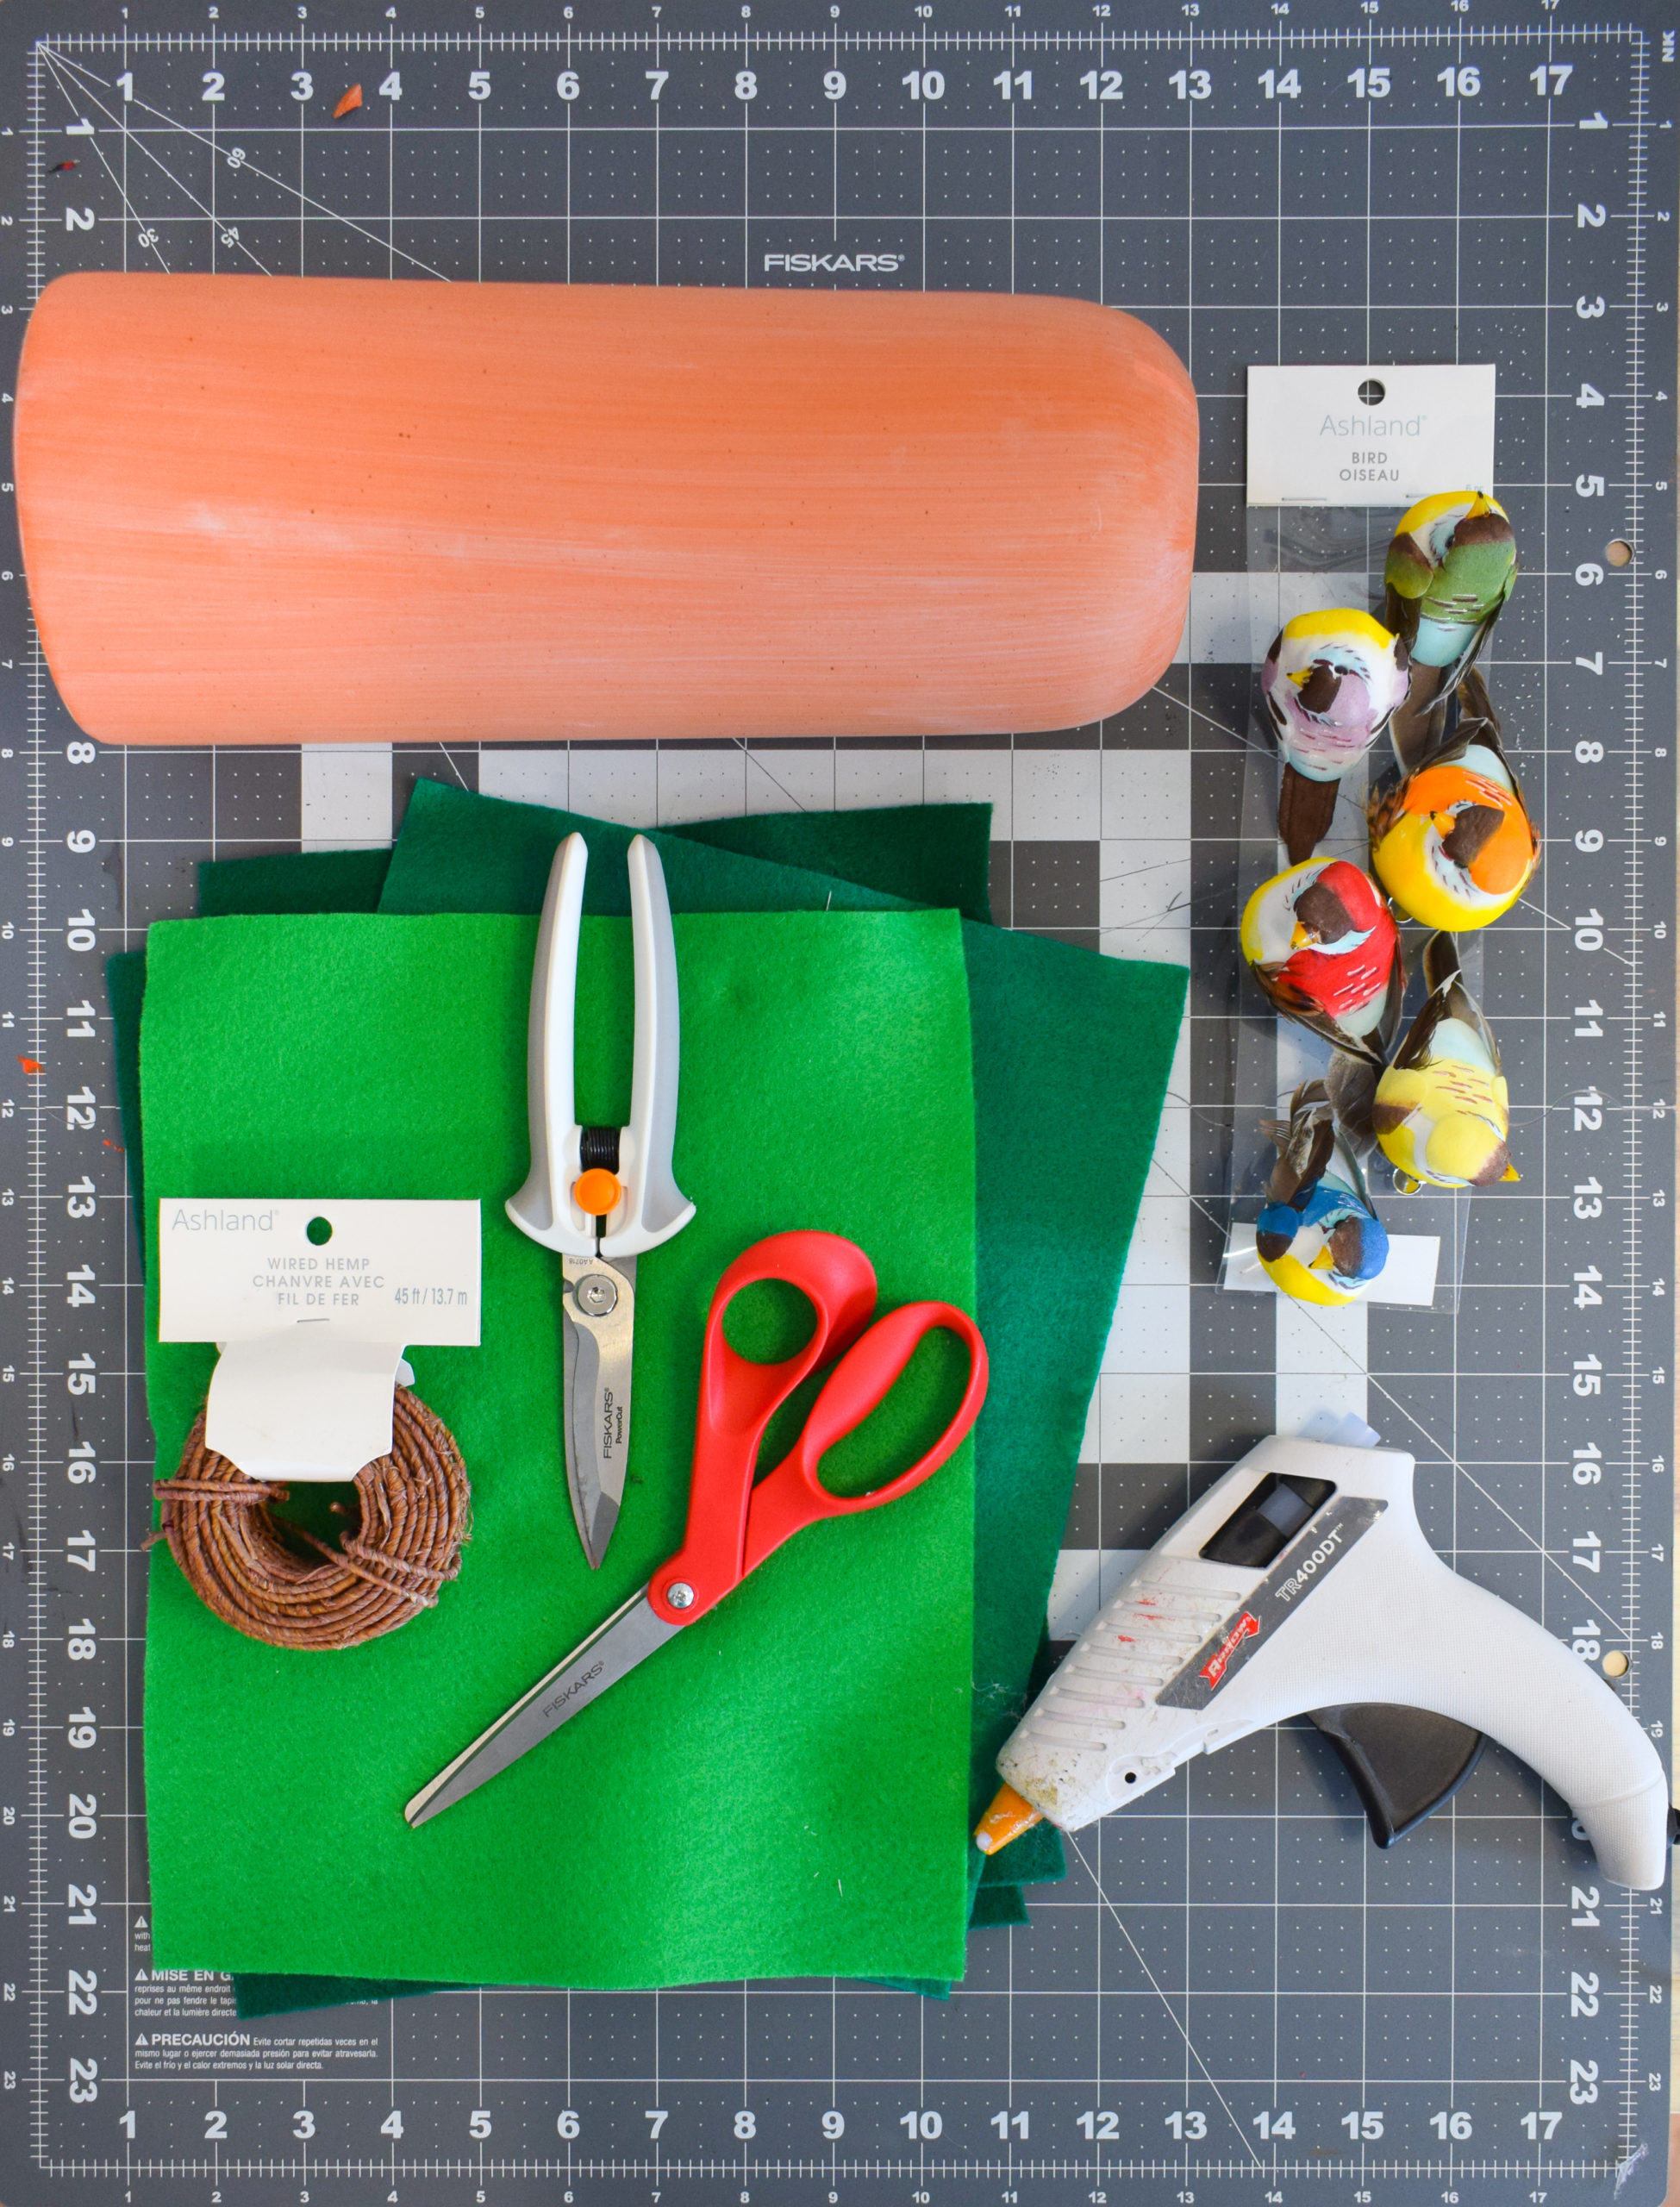
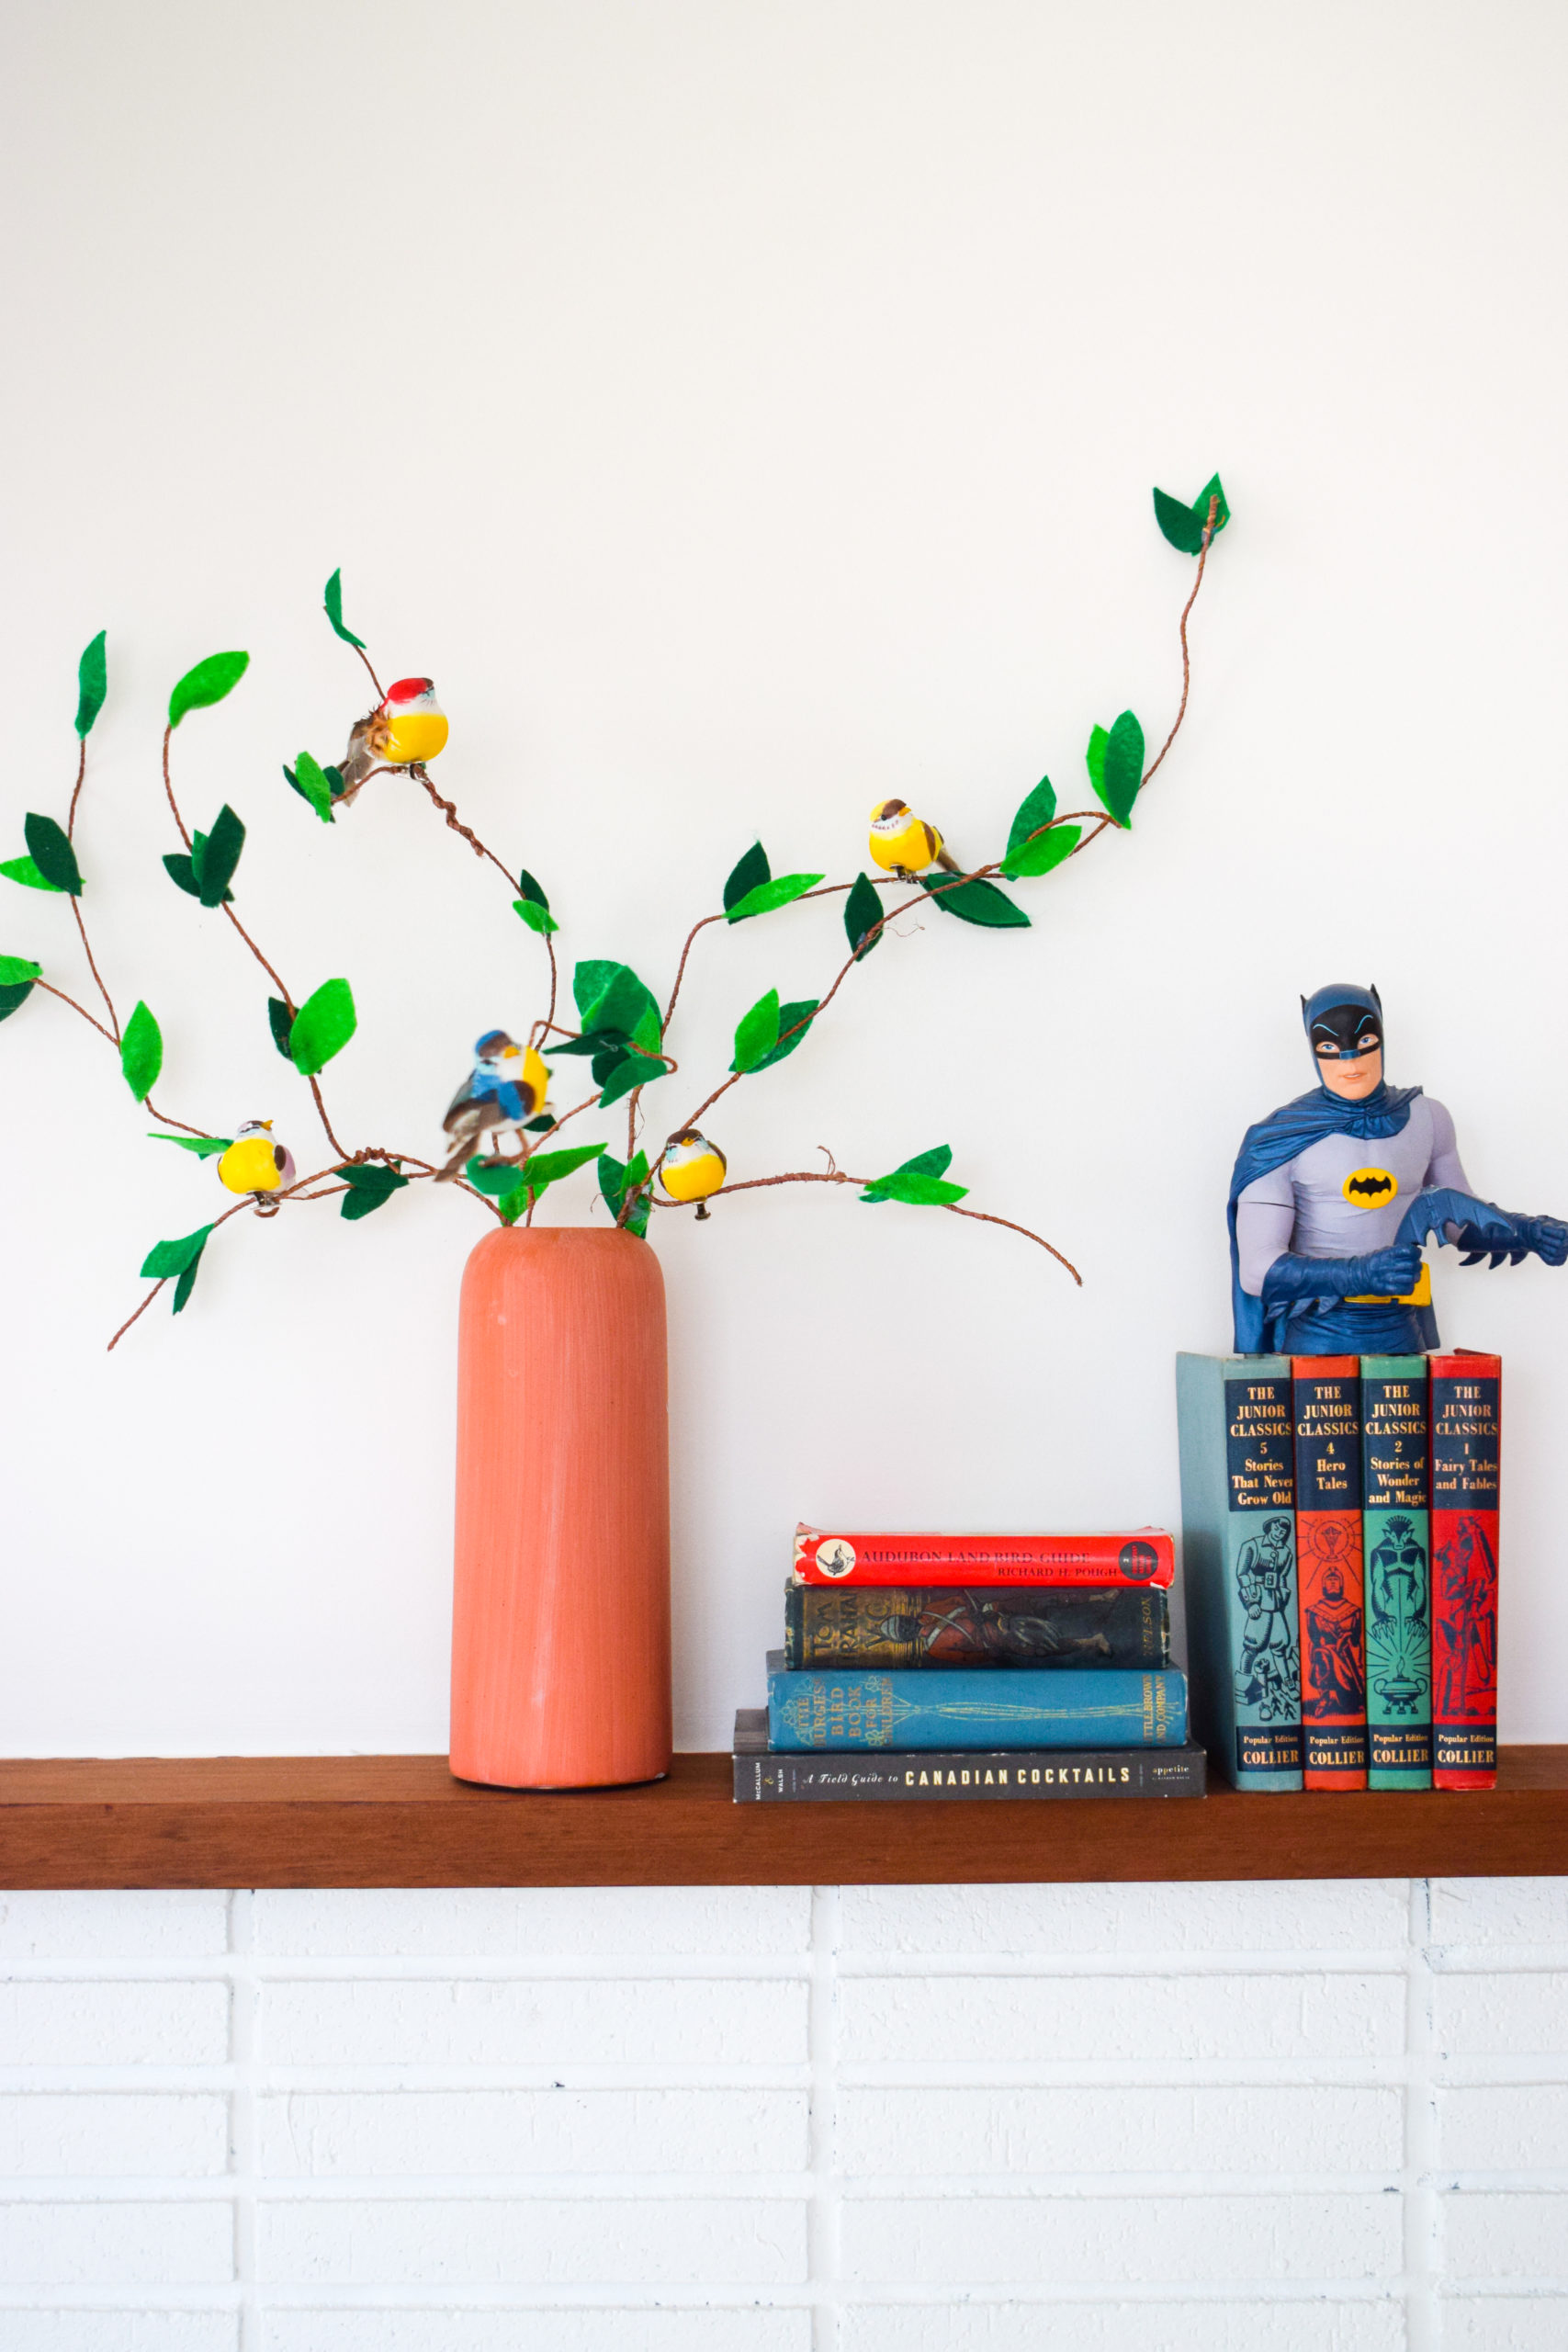
So with my Original Orange-handled scissors, crafting felt, floral crafting wire, and a terracotta vase from the Michael’s Spring Collection, I got to work. Oh and don’t forget the little clip-on birds.
Check out my other Felt based crafts
How to make a felt branch arrangement
To start, you’ll need all of these things, all available at Michael’s online or in store.
Once you’ve got all those, you’re ready to start!
I used our regular Fiskars scissors (which happen to be red because they were a fancy holiday edition) to cut leaves out of a variety of shades of green felt. I wanted the depth and variety that several colours would provide, but if you wanted you could easily go with just one.
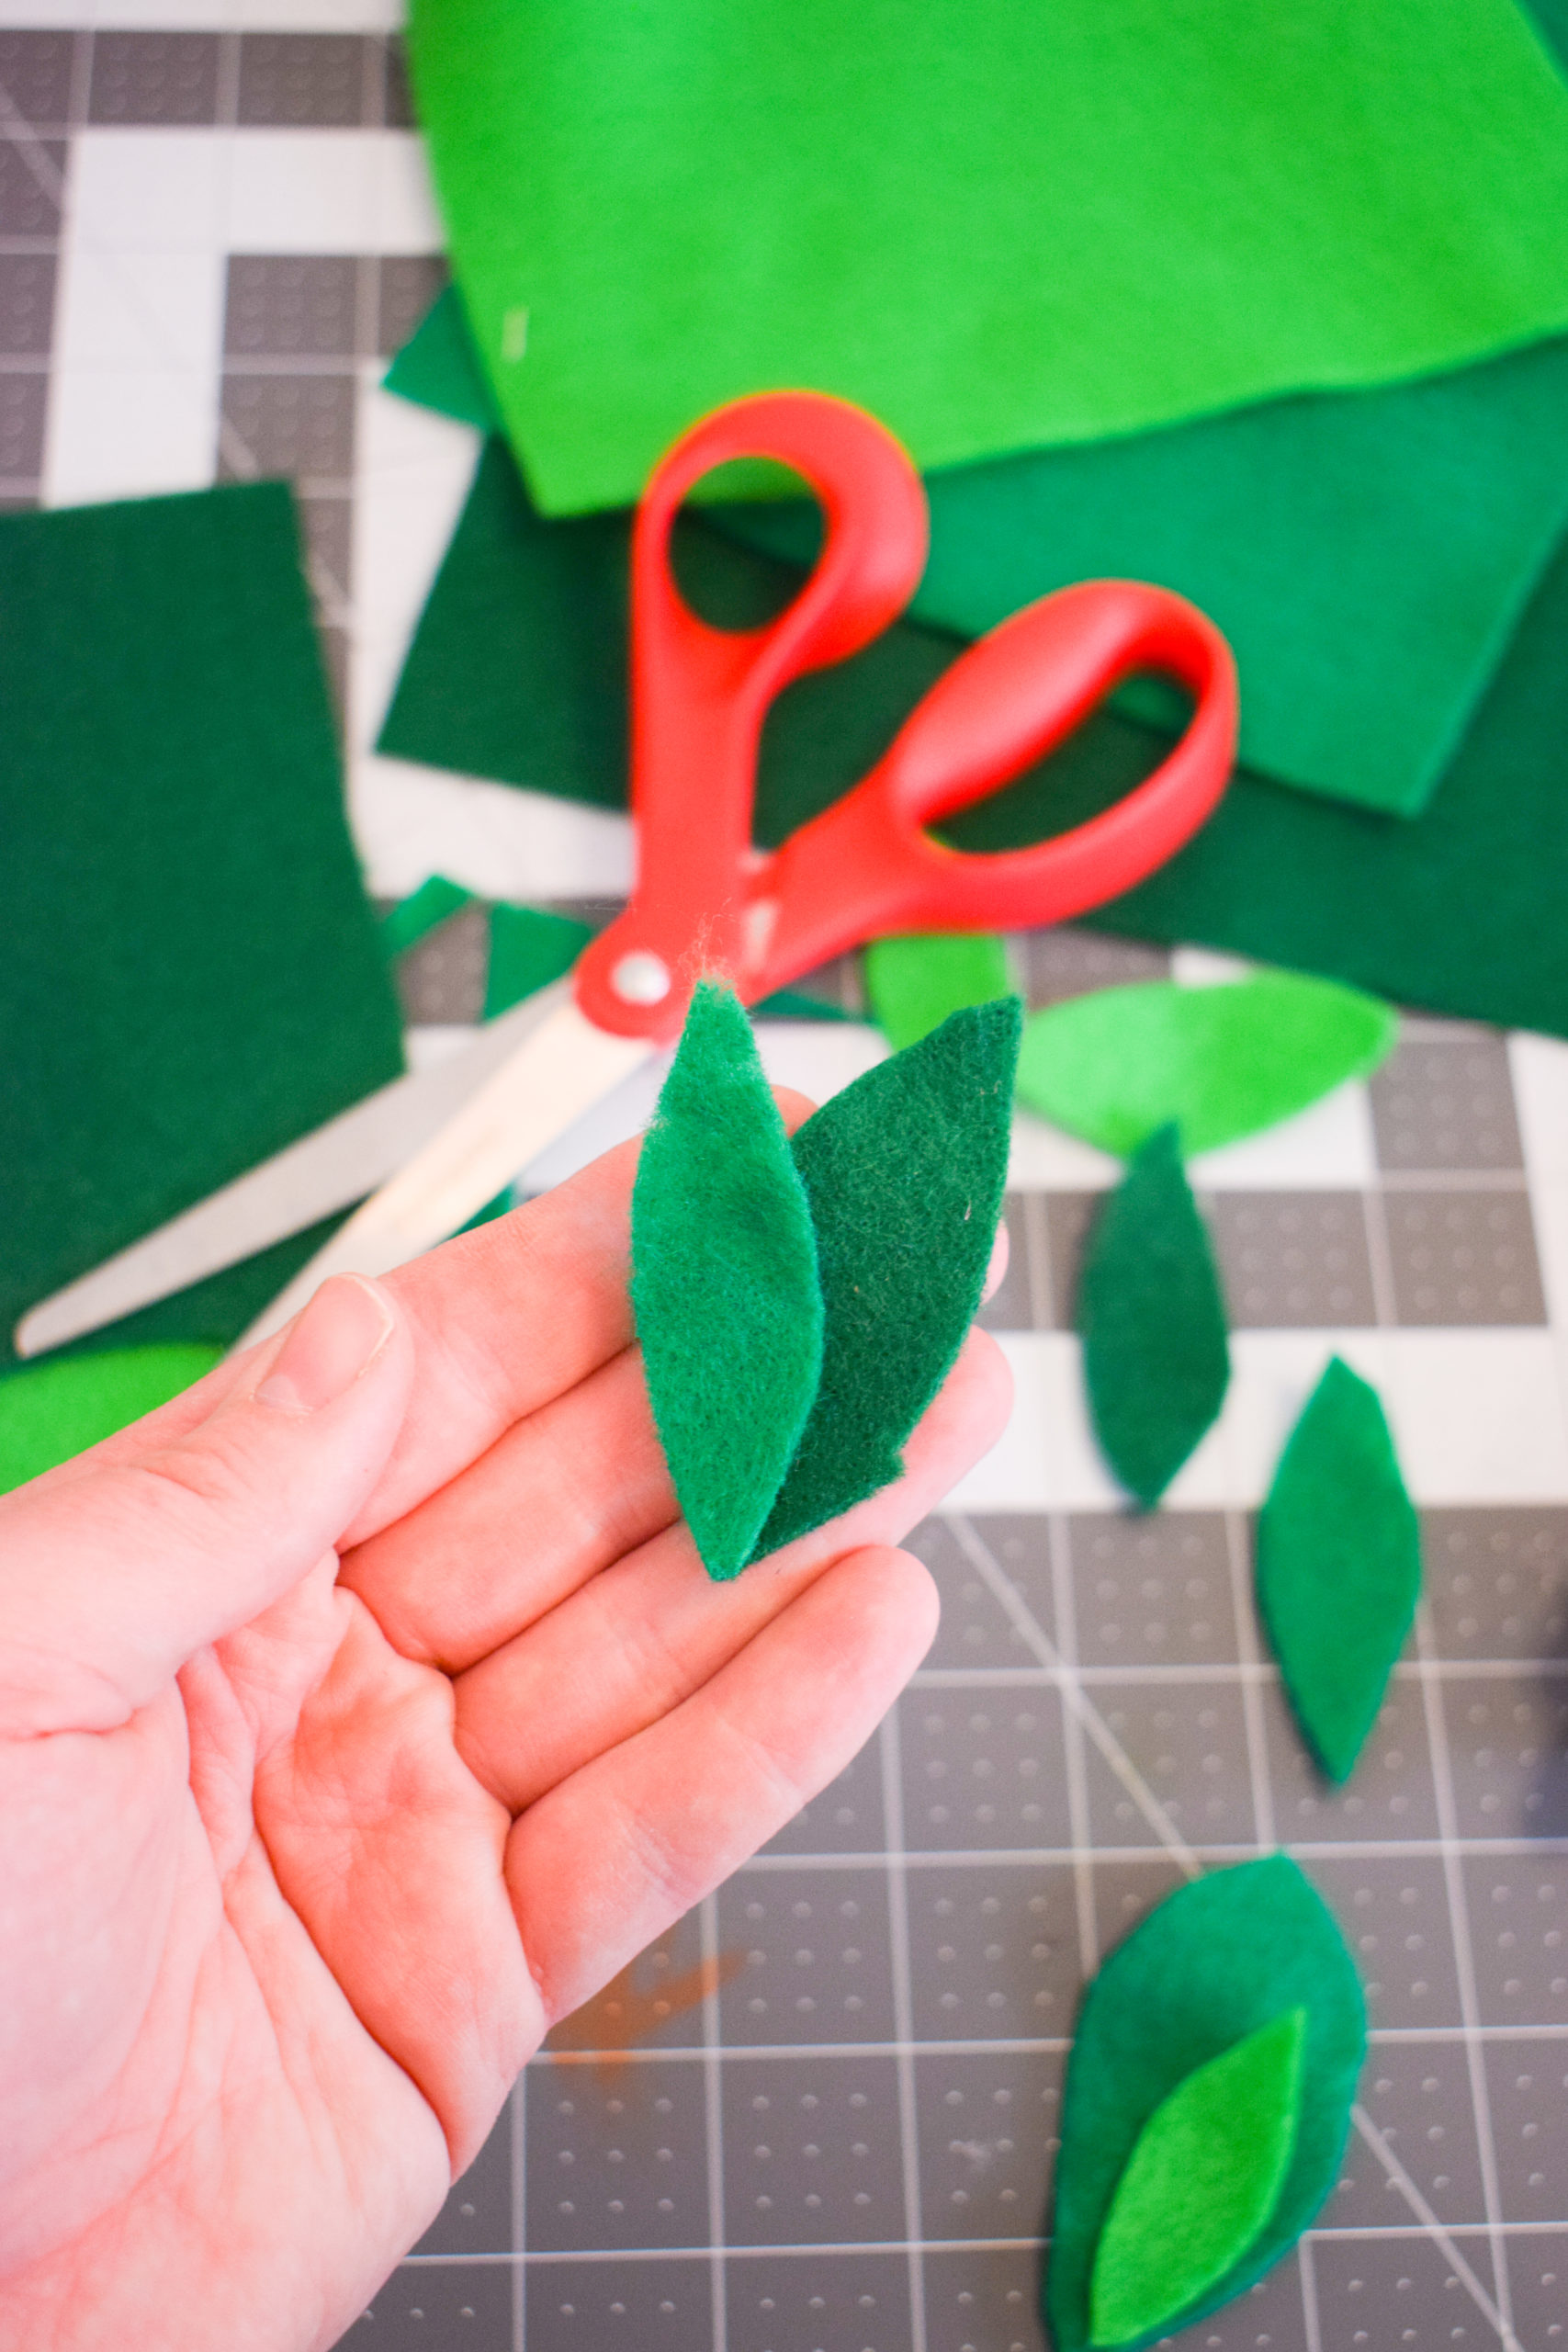
Once our wire branches are assembled, we’ll be hot gluing these onto them in sets of two.
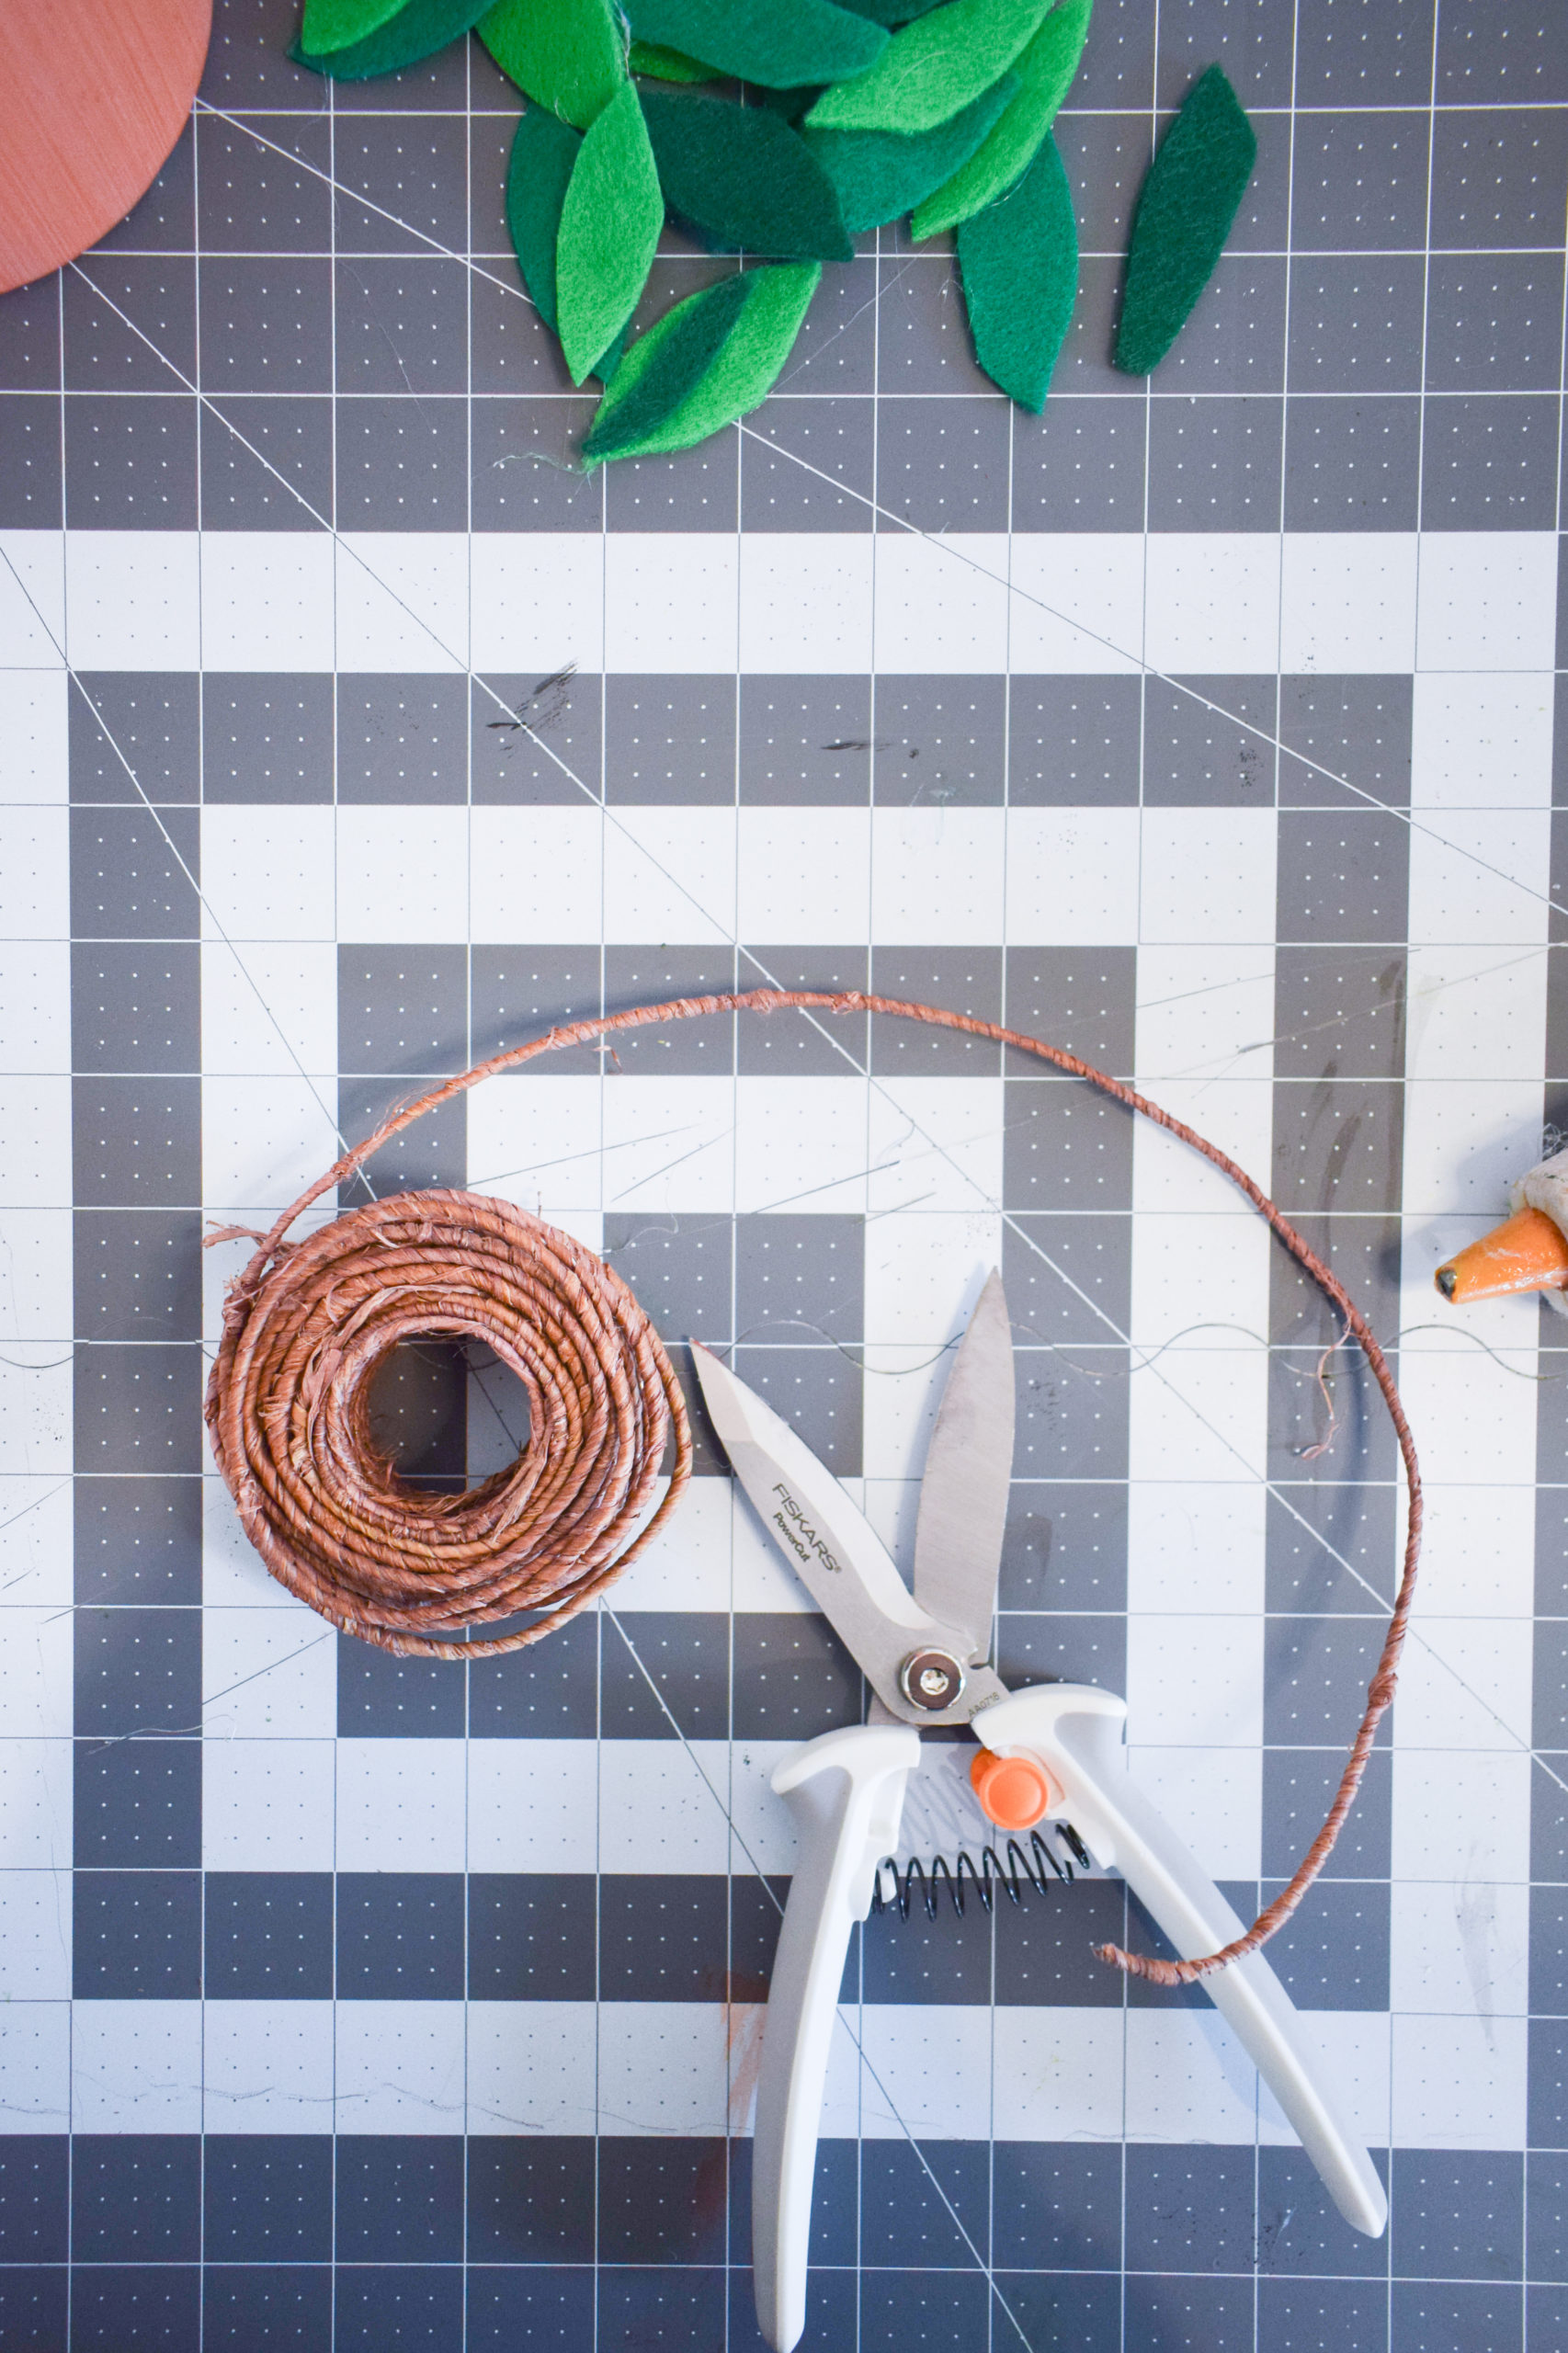
Using your Fiskars® PowerCut Easy Action Snips, snip the naturally coiled wire into lengths that will serve as your branches. You’ll want them to be long enough to sit on the bottom of the vase you choose, but also not too long that they’ll droop and sag under the weight of mushroom birds.
A branch isn’t a branch unless there are offshoots! Otherwise it’s just a twig, so once you have your main branches, you’ll cut smaller ones to wind around the principal piece.
Because it’s craft wire, you can easily wind the pieces together, but you can chose to secure them with hot glue if you’d like. In the process, I placed felt leaves around them to better hide the joint.
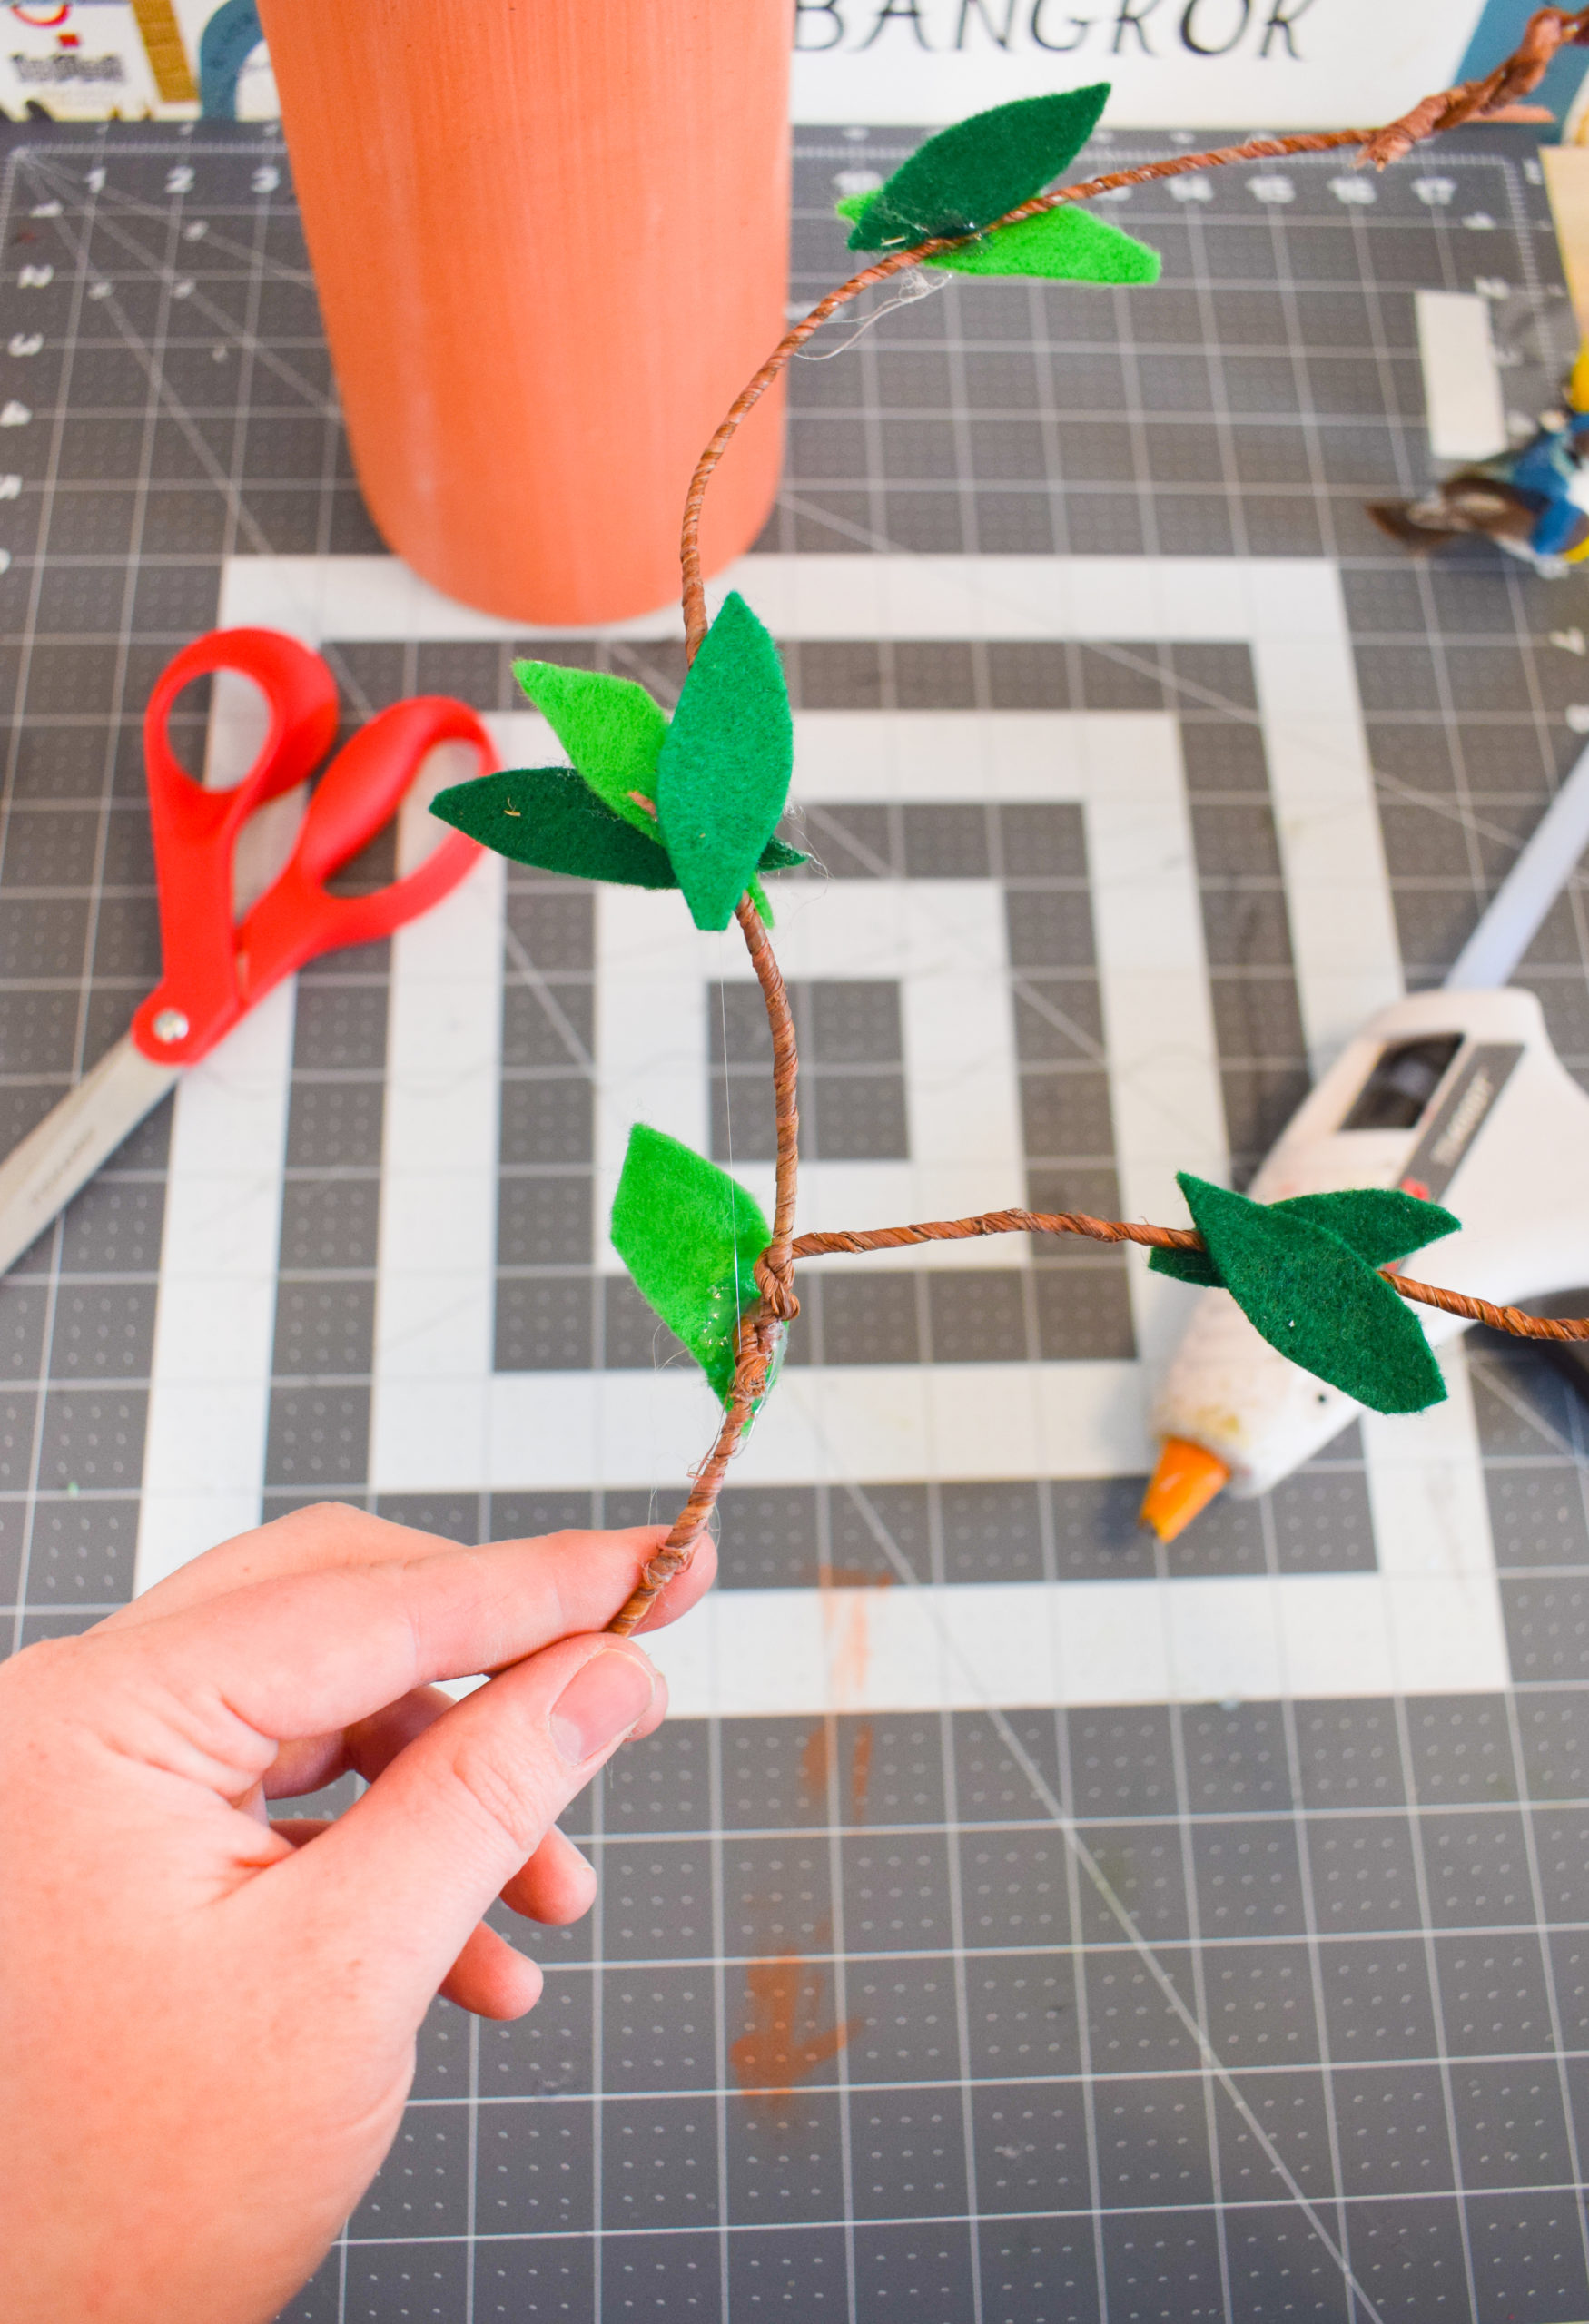
Once your branches have taken shape, it’s time to add leaves! You can glue them one at a time, but as I mentioned above, gluing them in sets of two gives a more realistic look.
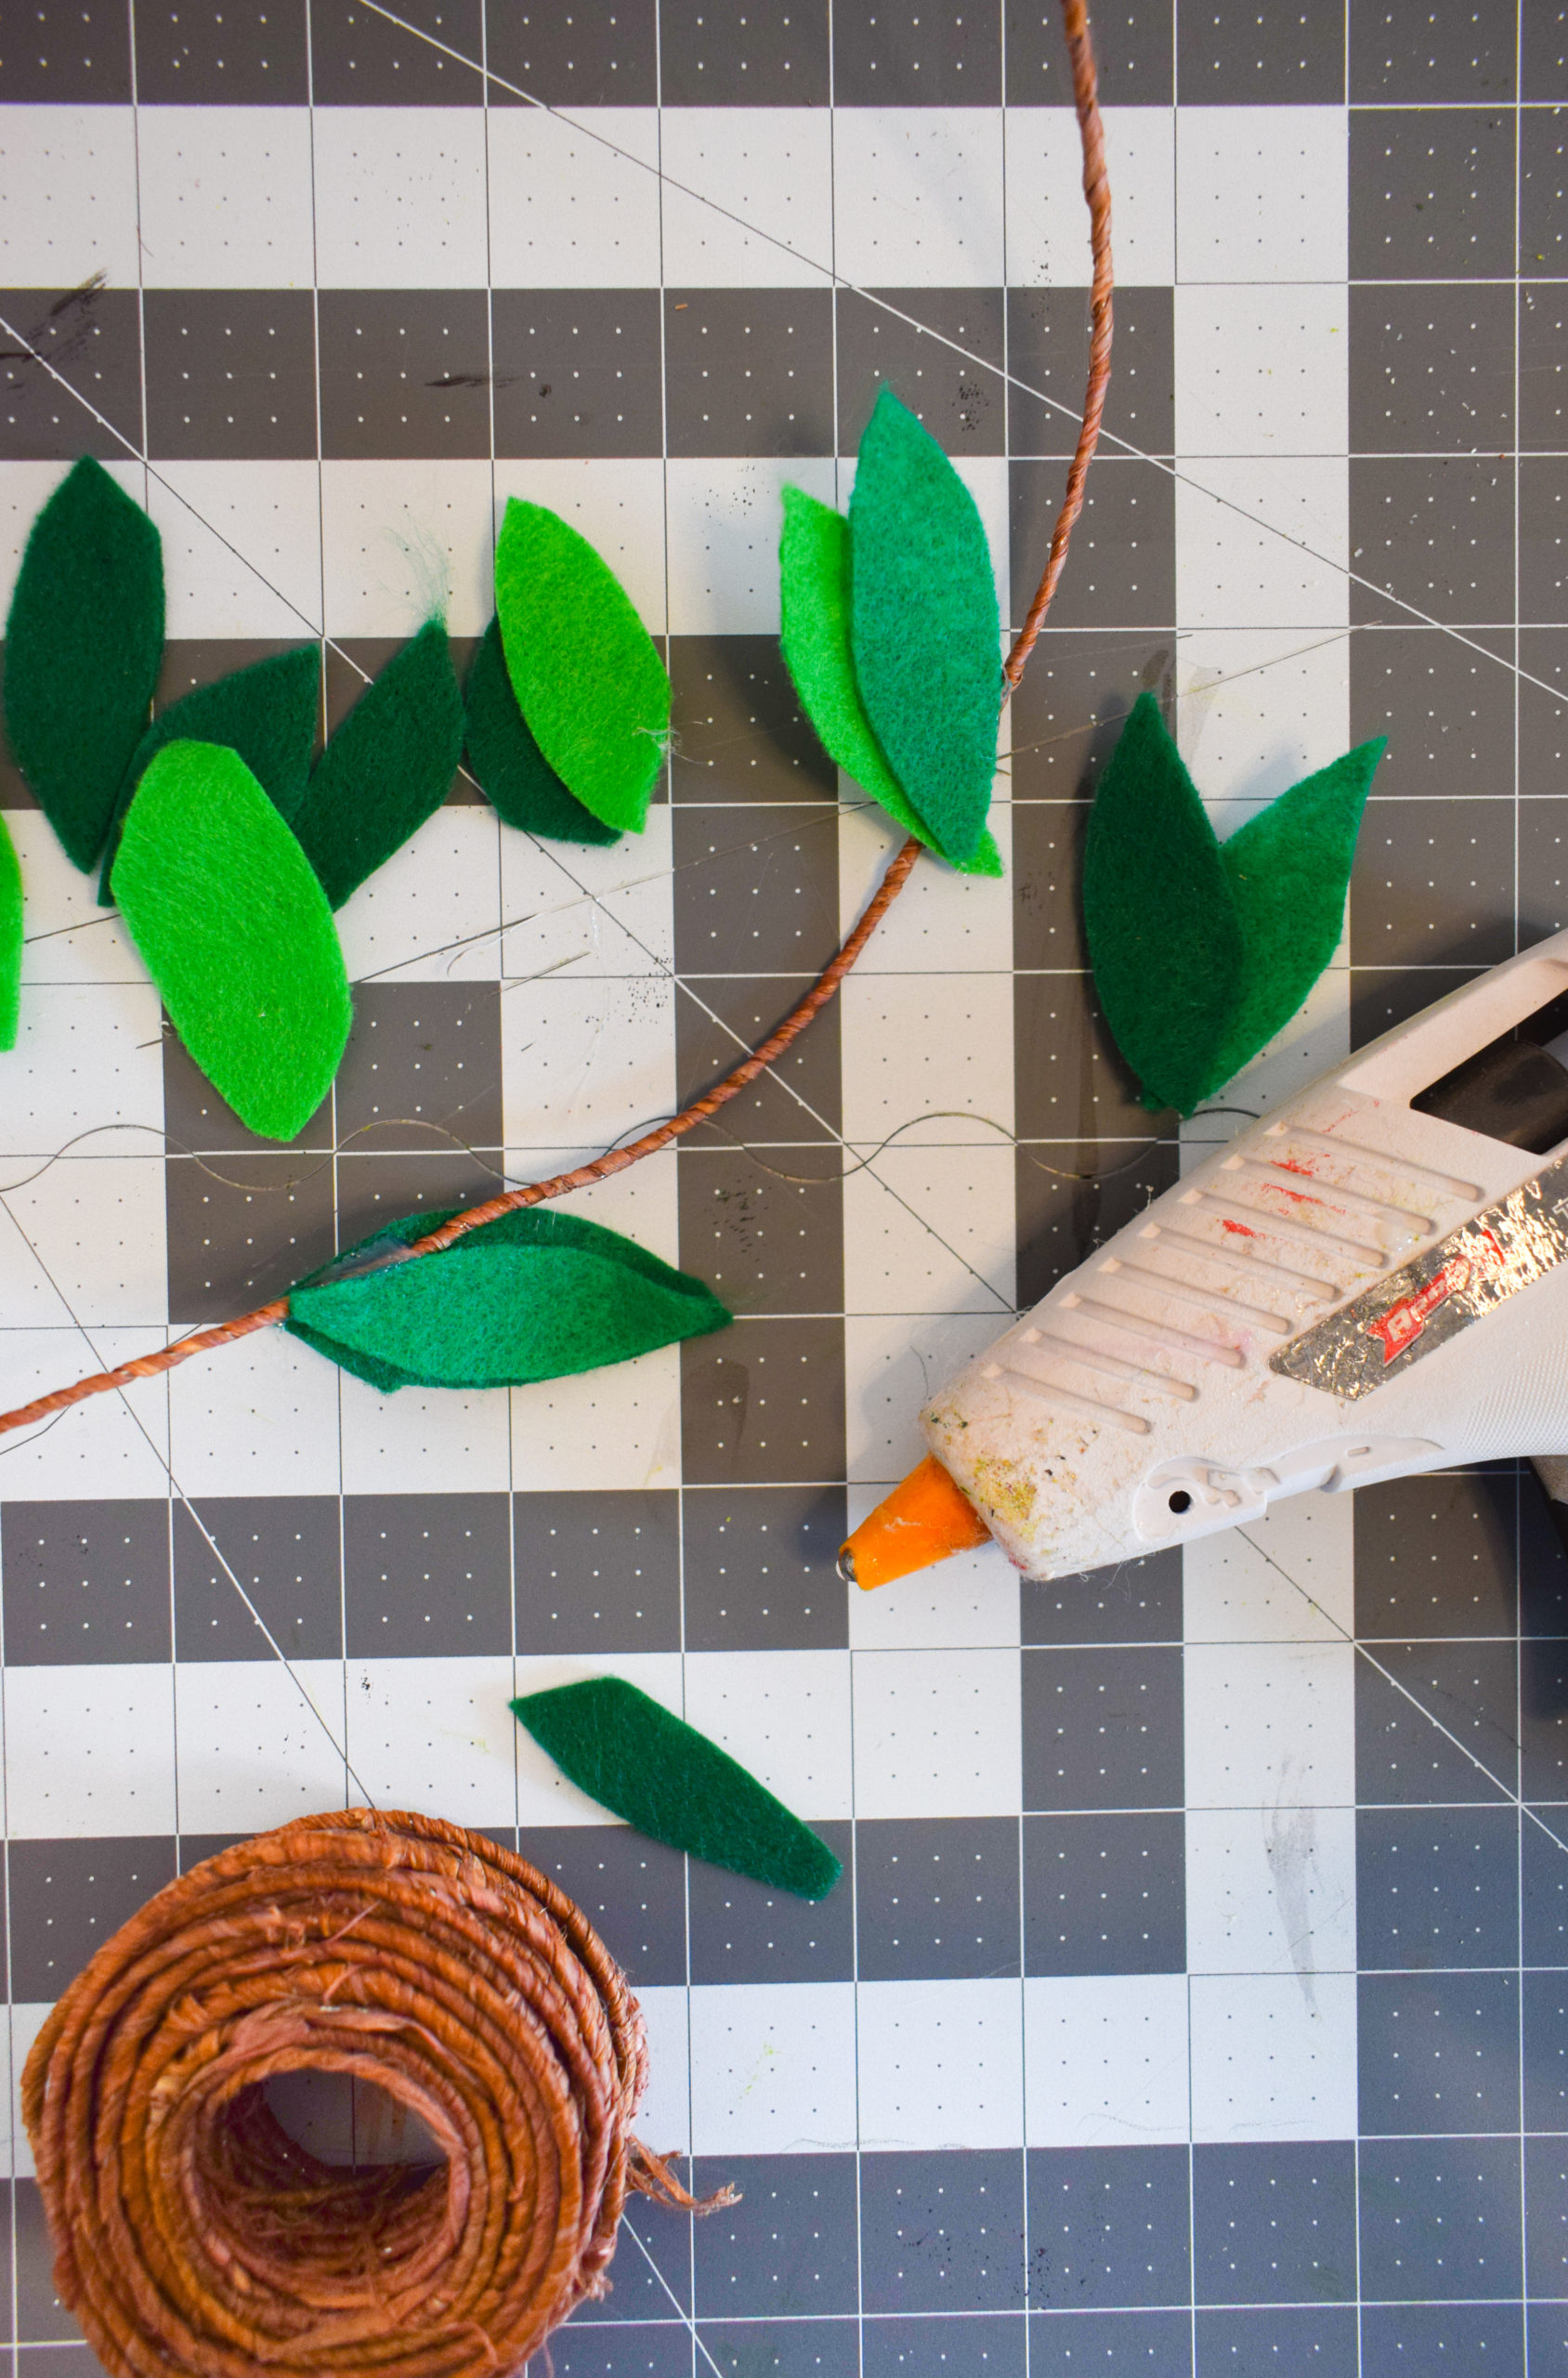
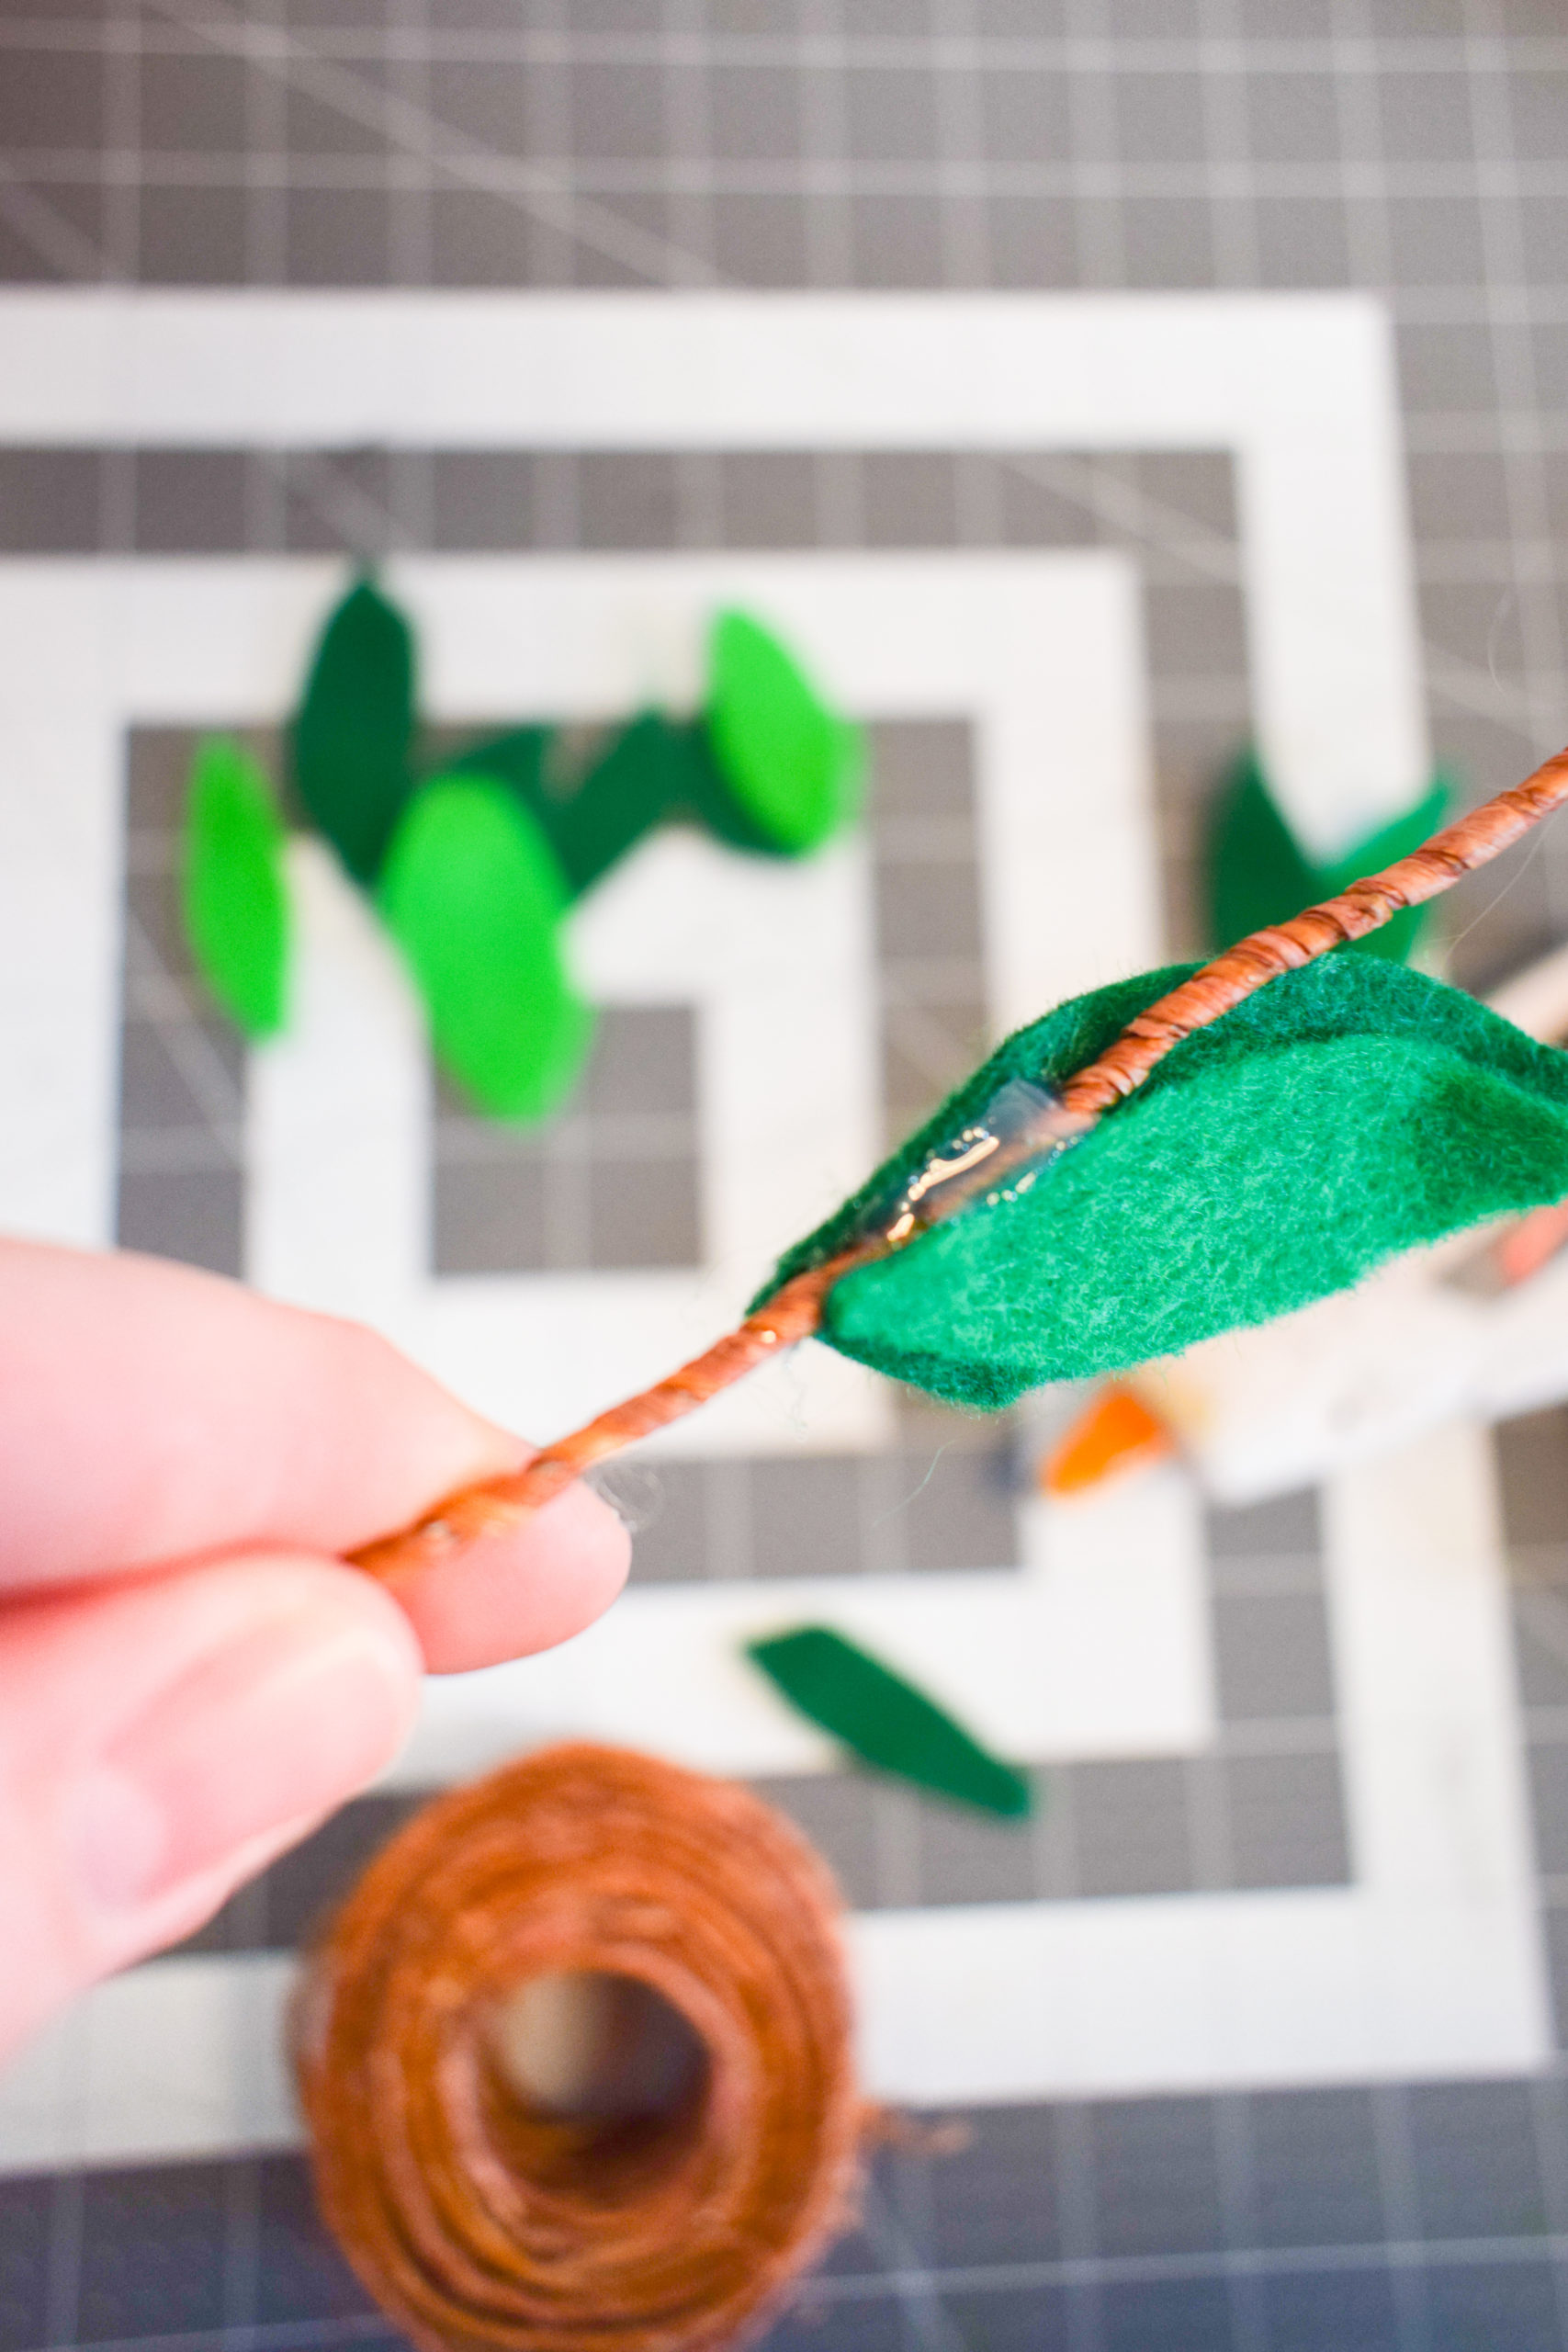
The great thing about hot glue is that it dries clear, and felt is a very forgiving material. Arrange all the leaves to your liking, and then let things set before adding your little clip-on birds.
DIY Felted Branches can be complicated or they can be simple, and these are definitely simple.
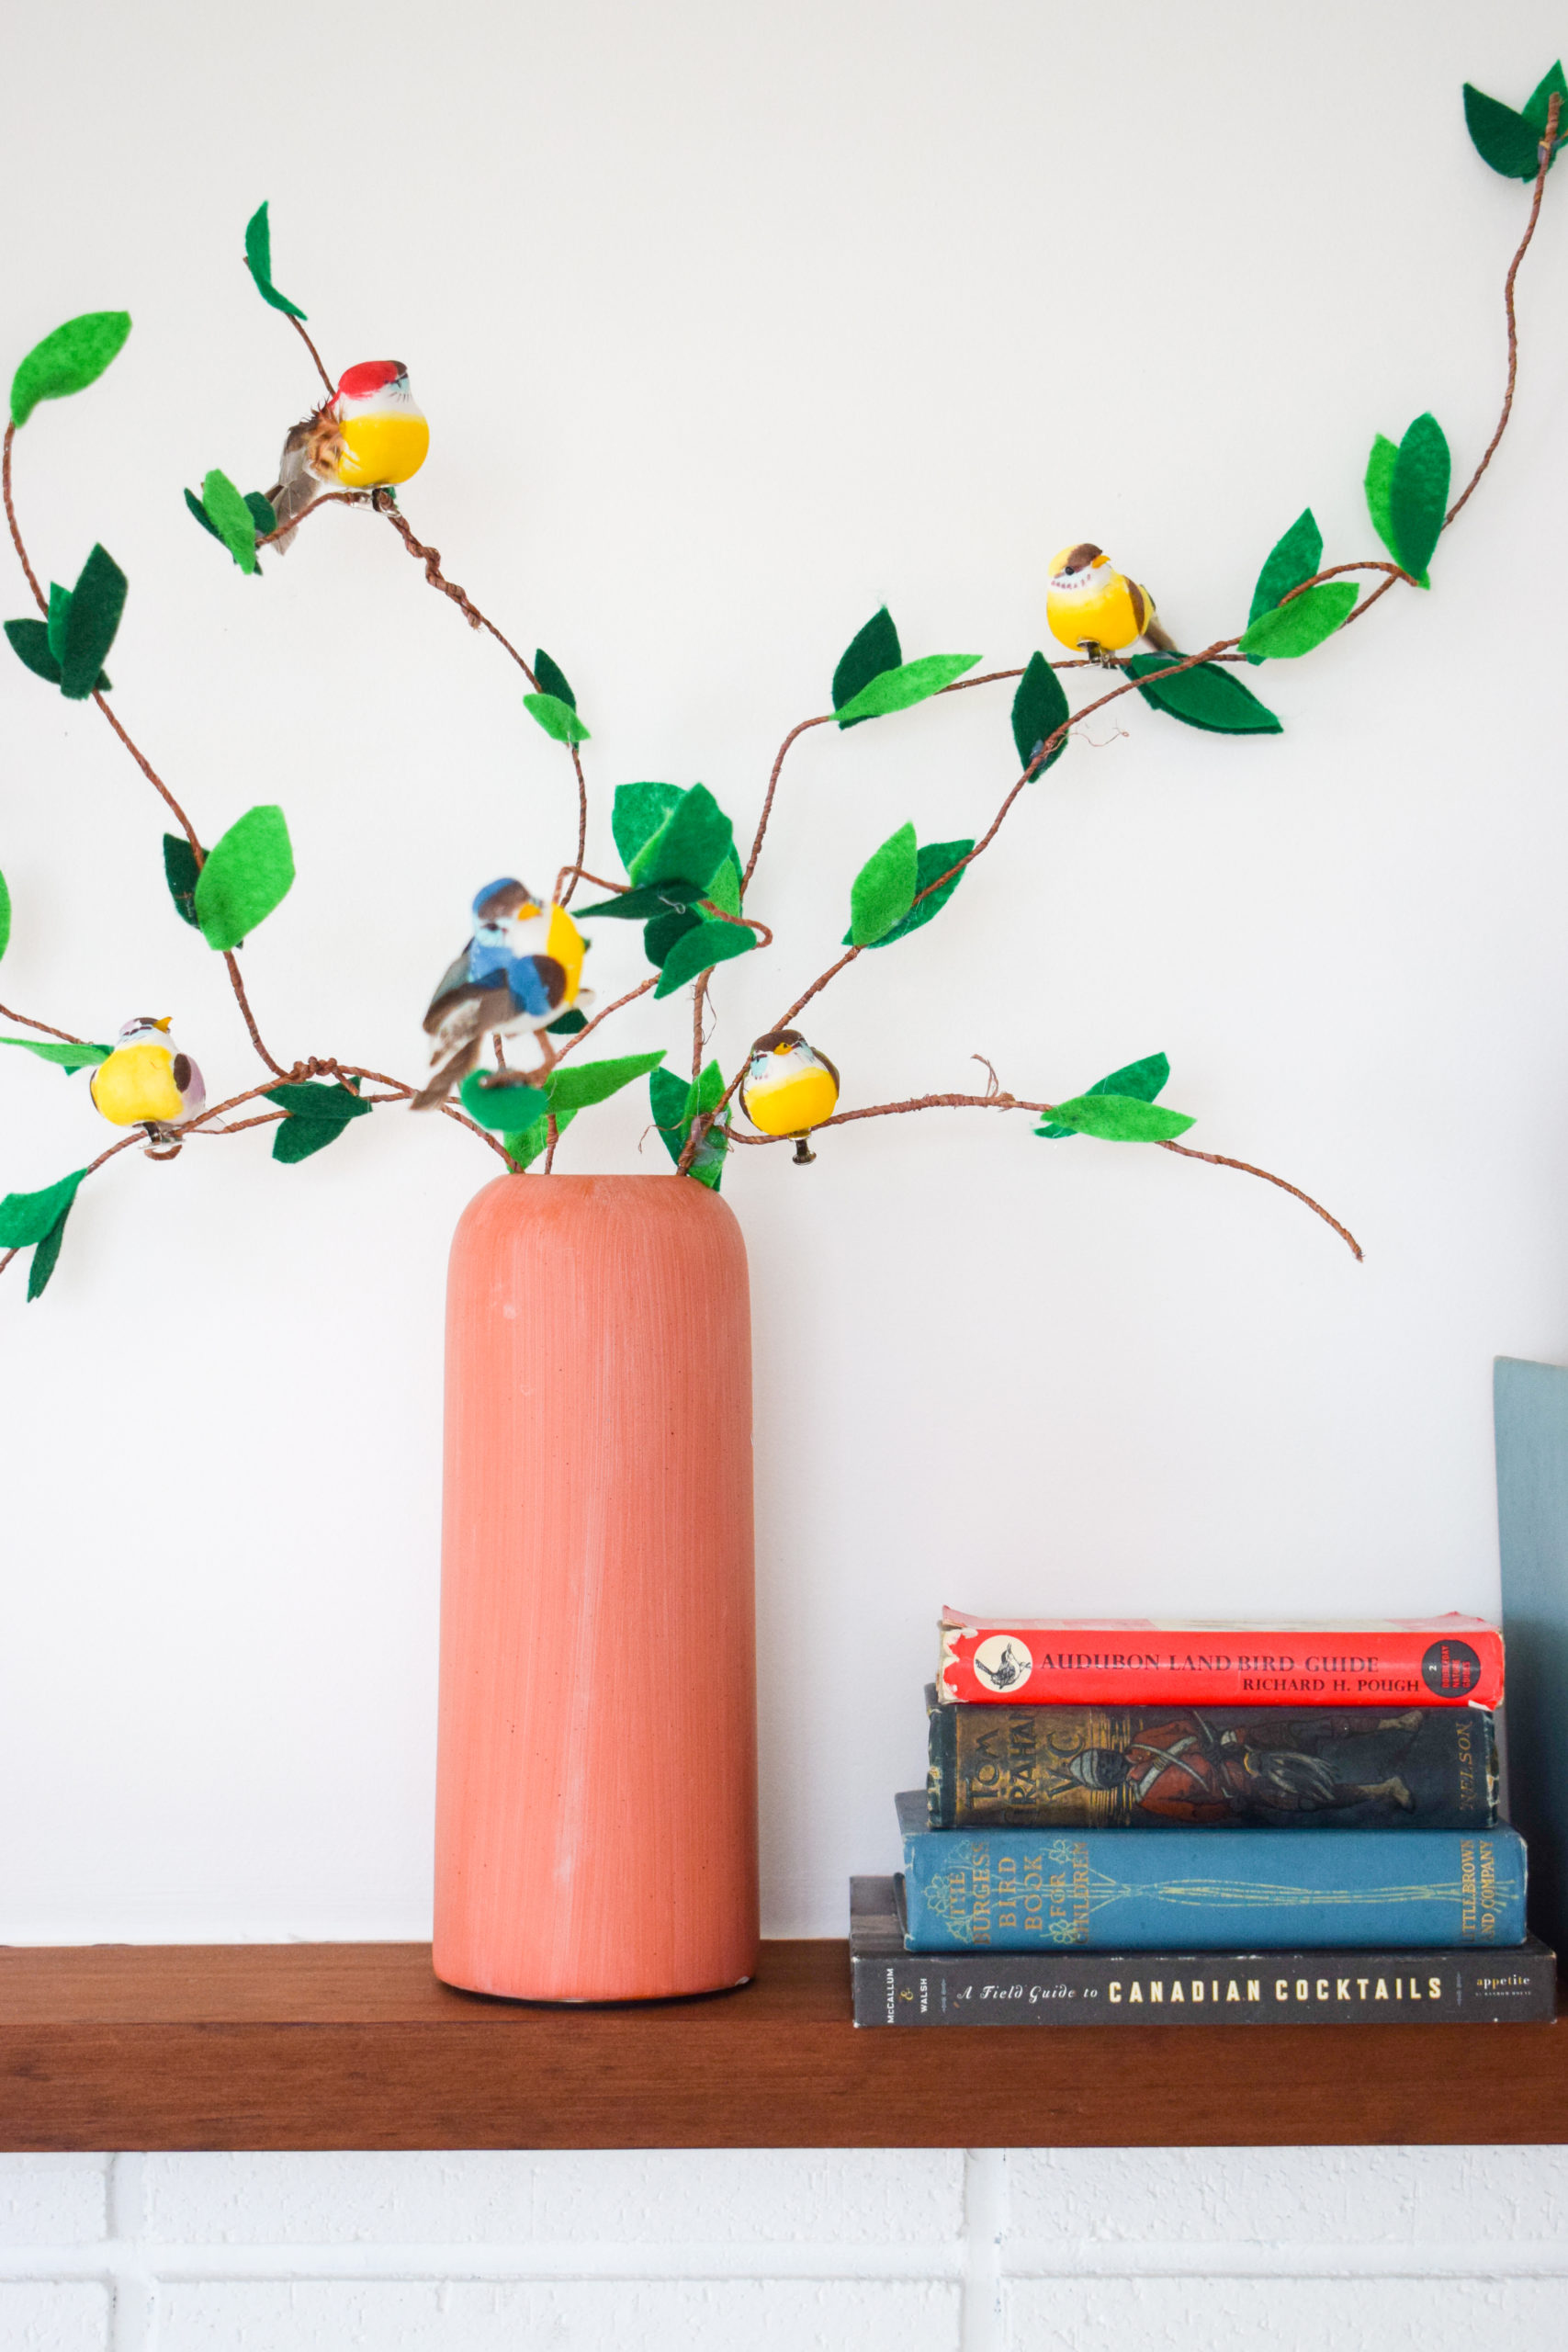
I wanted the birds because I knew June would be curious about them, and I want to spark curiosity in all things we expose her to. You can always add little butterflies, bees, and any other cute piece of the outdoors that will spark creativity and curiosity.
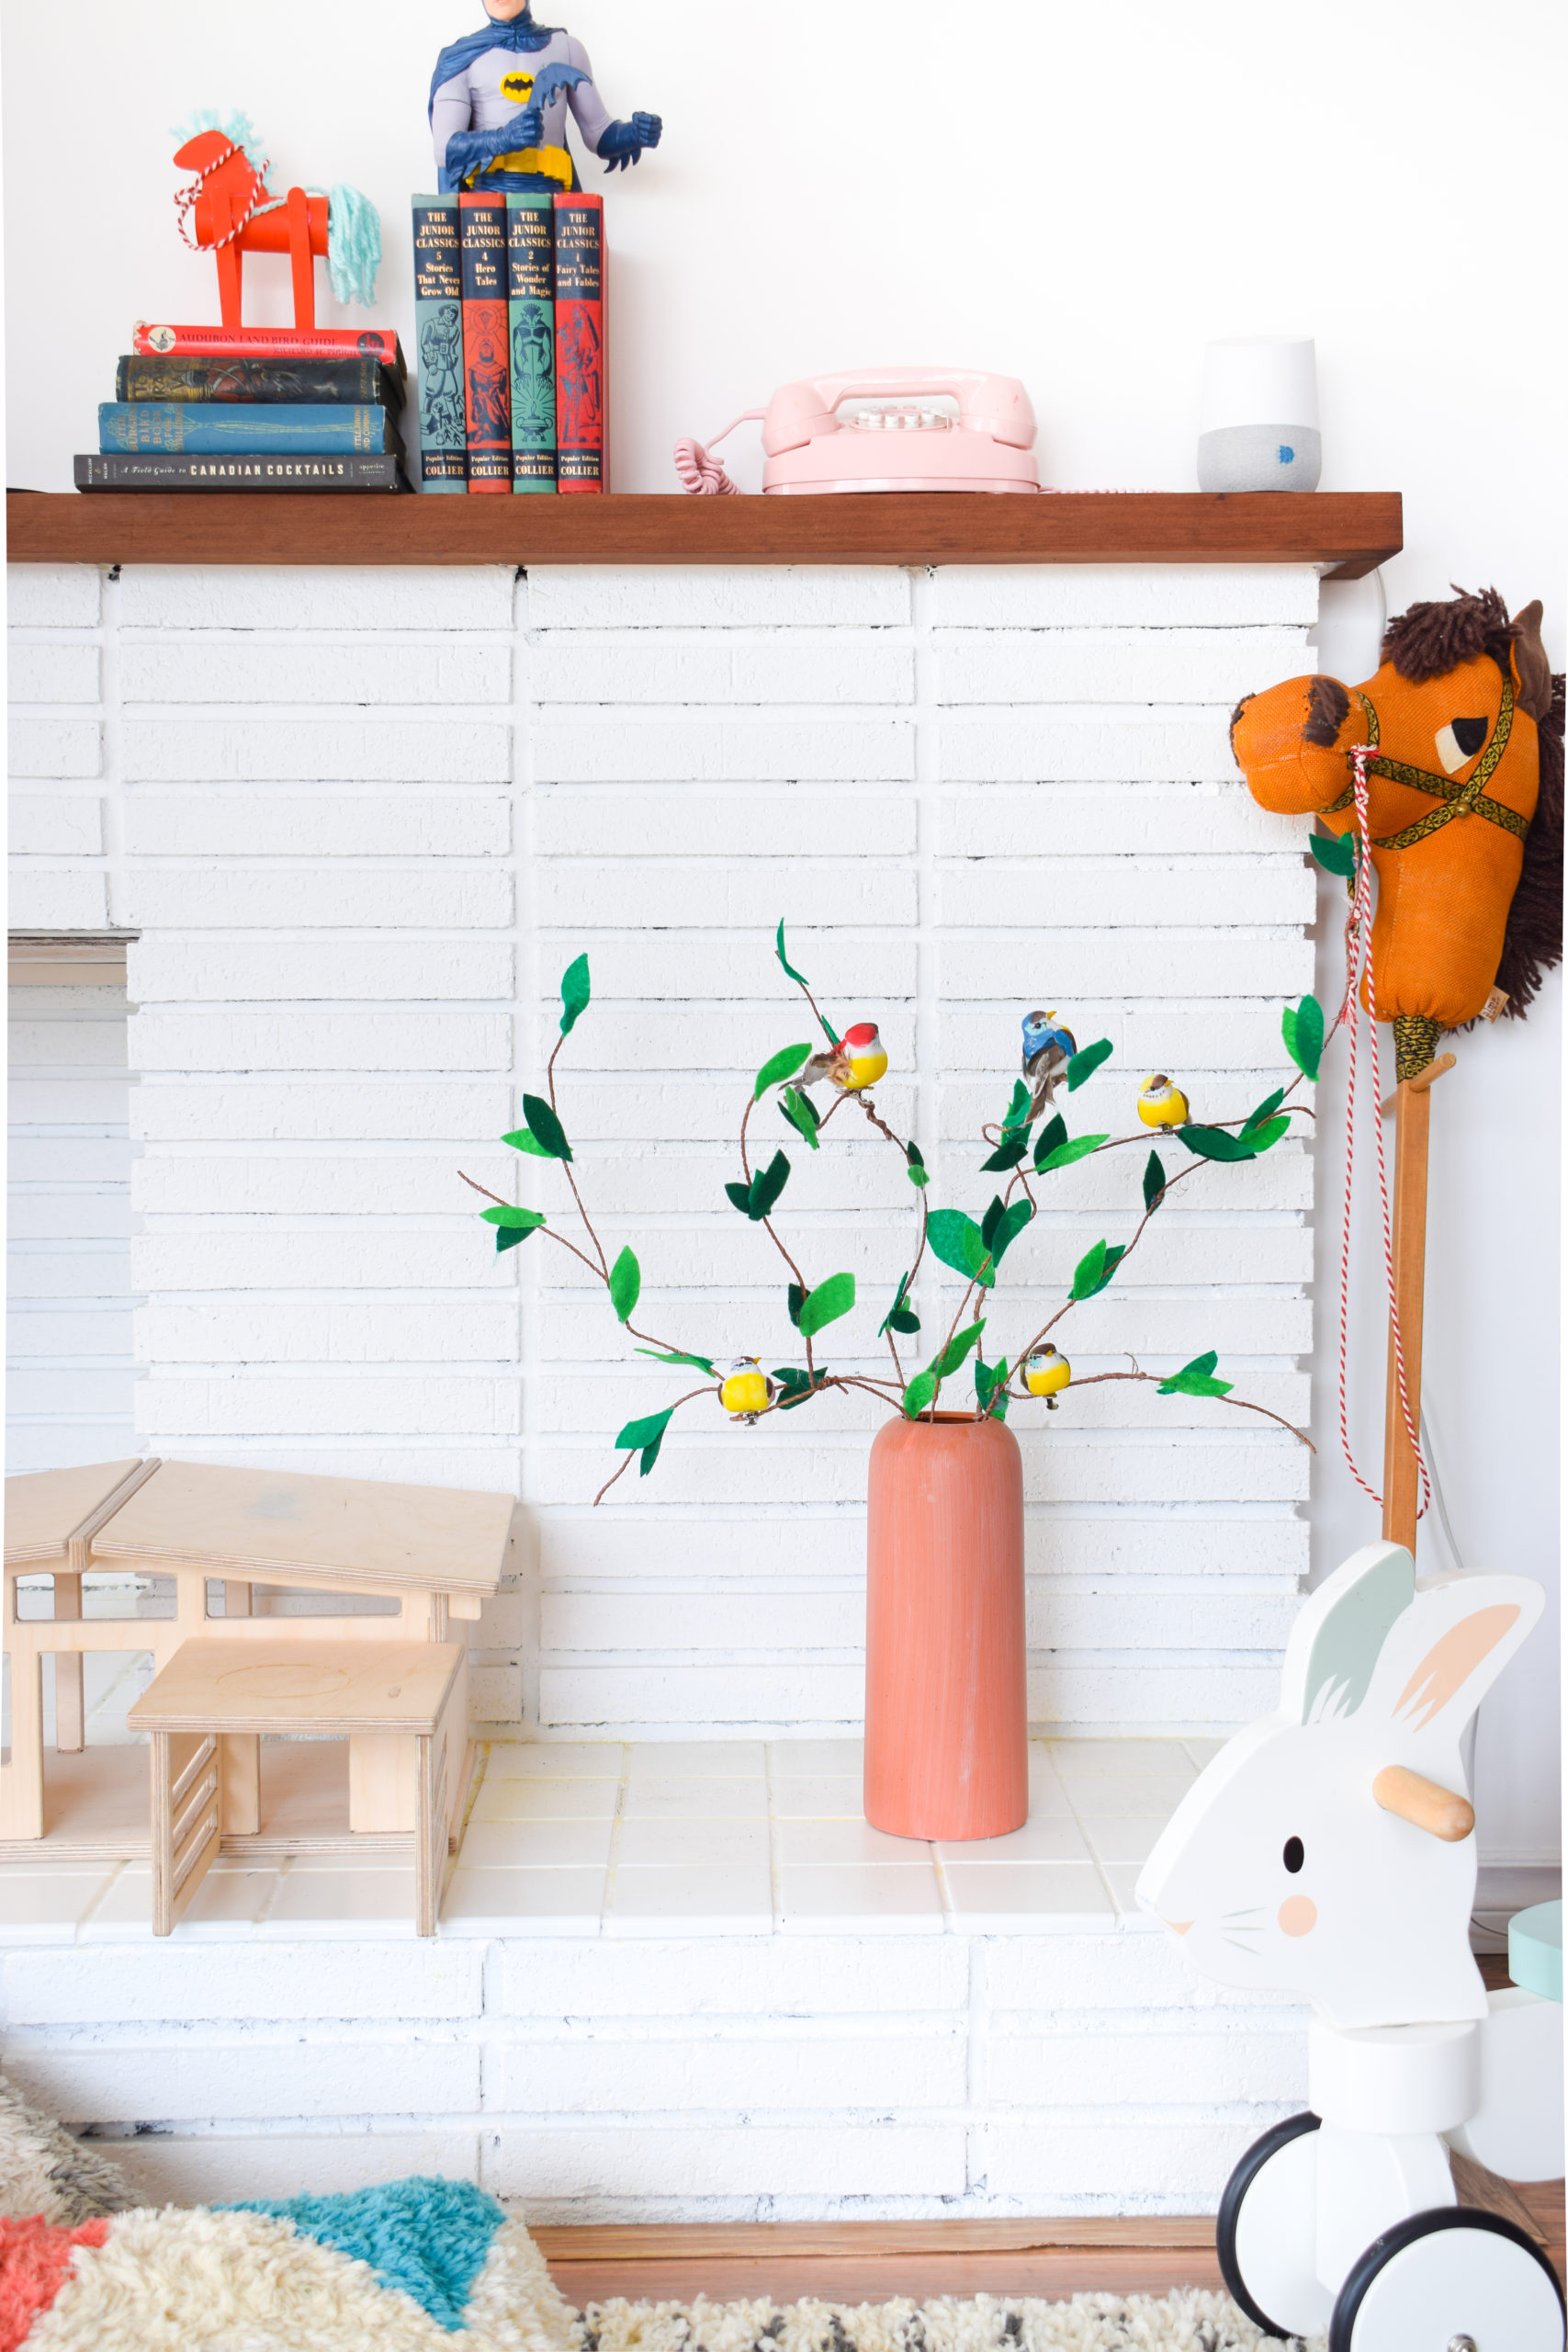
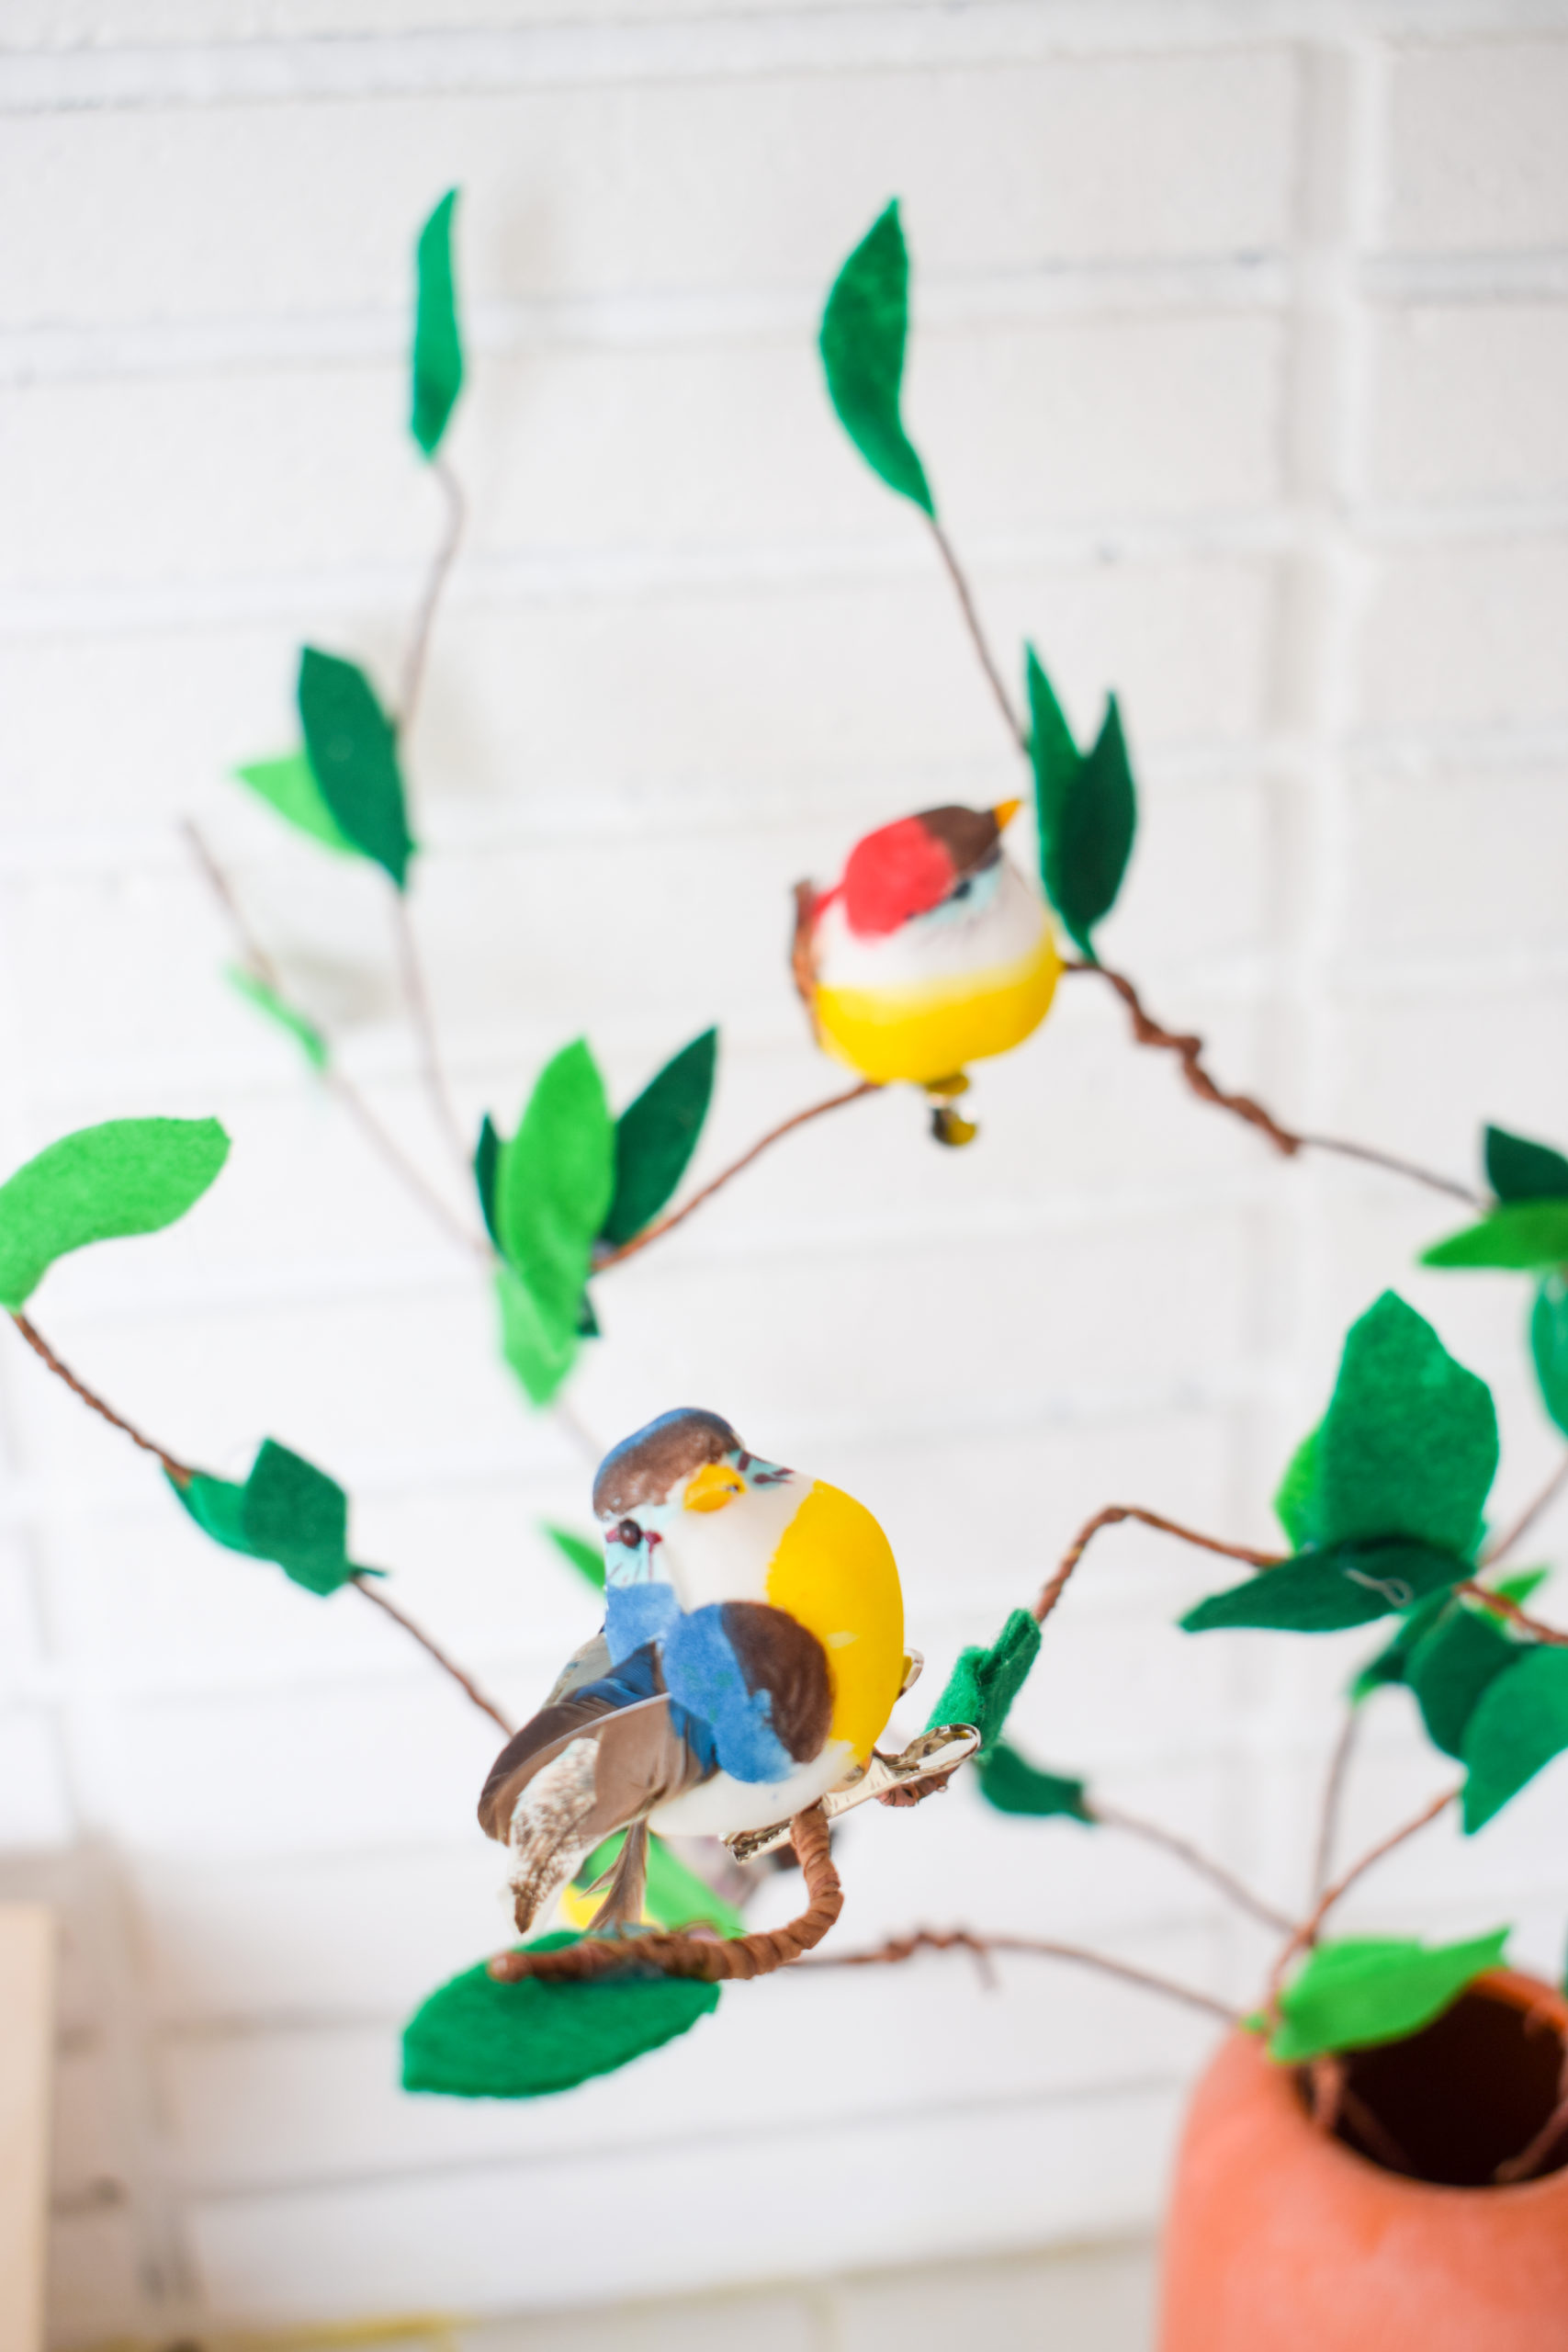
Sure enough, once she saw them she ran right up to them making chirping noises. Maybe she’s a bird?
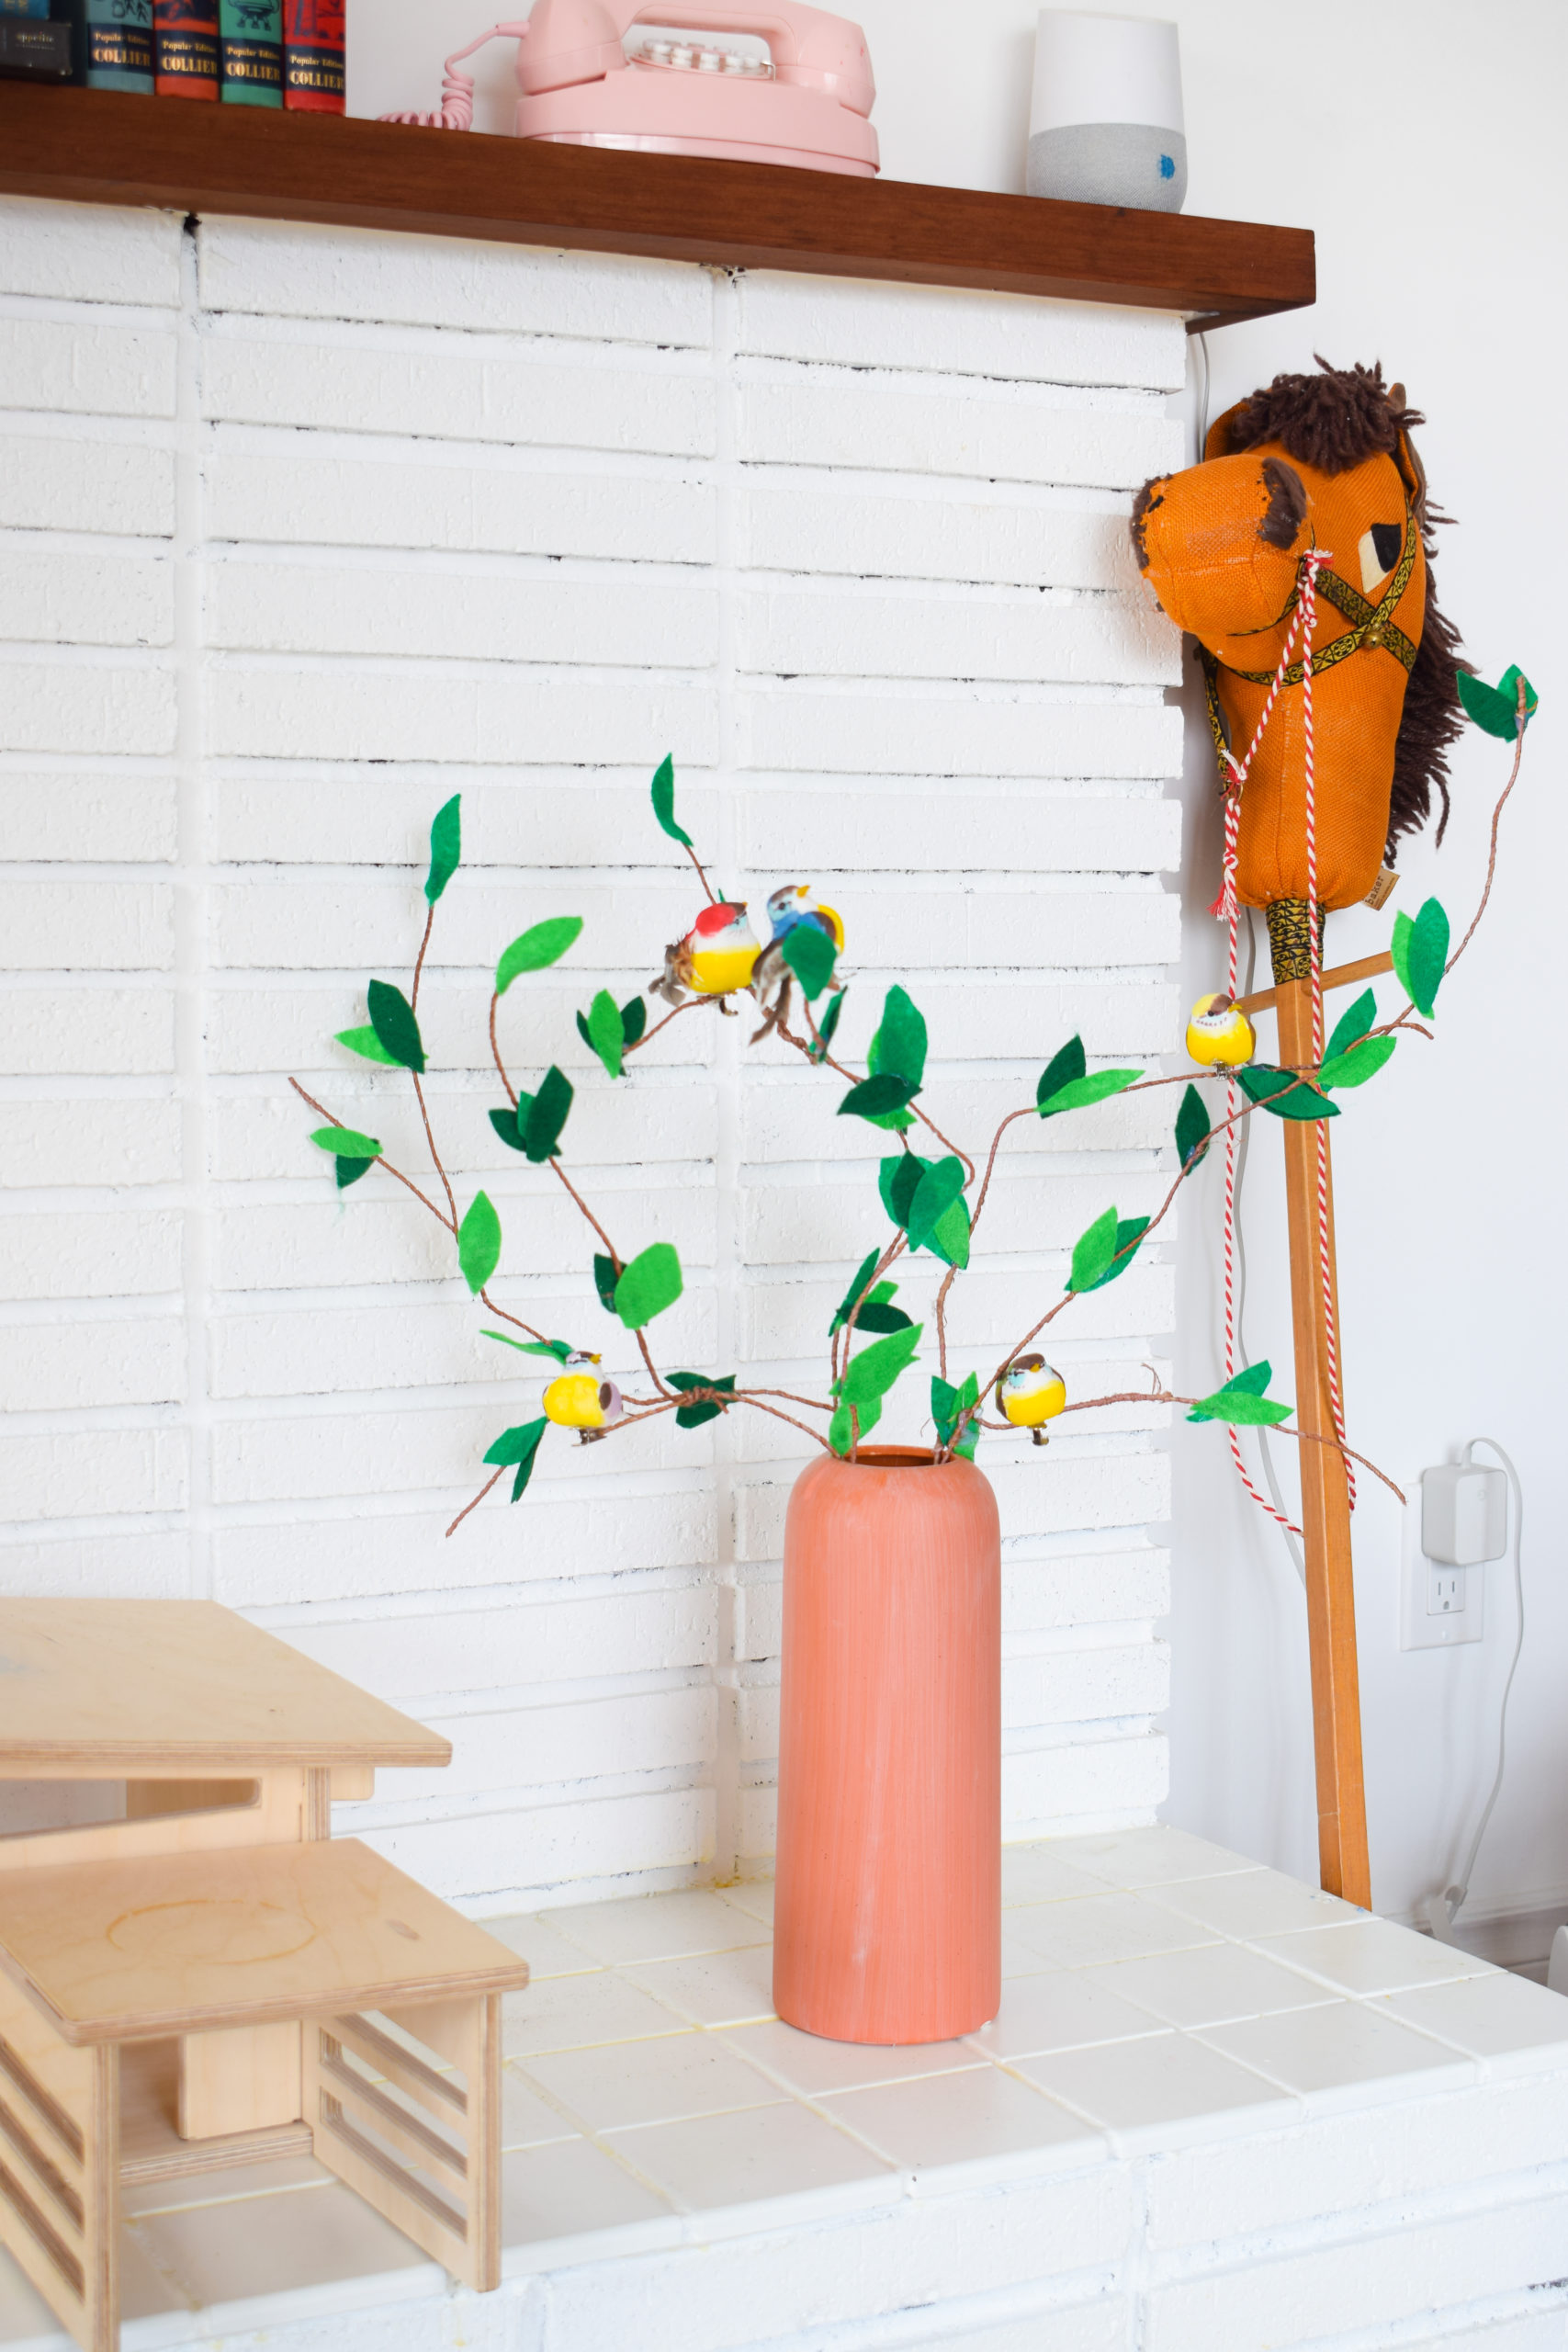
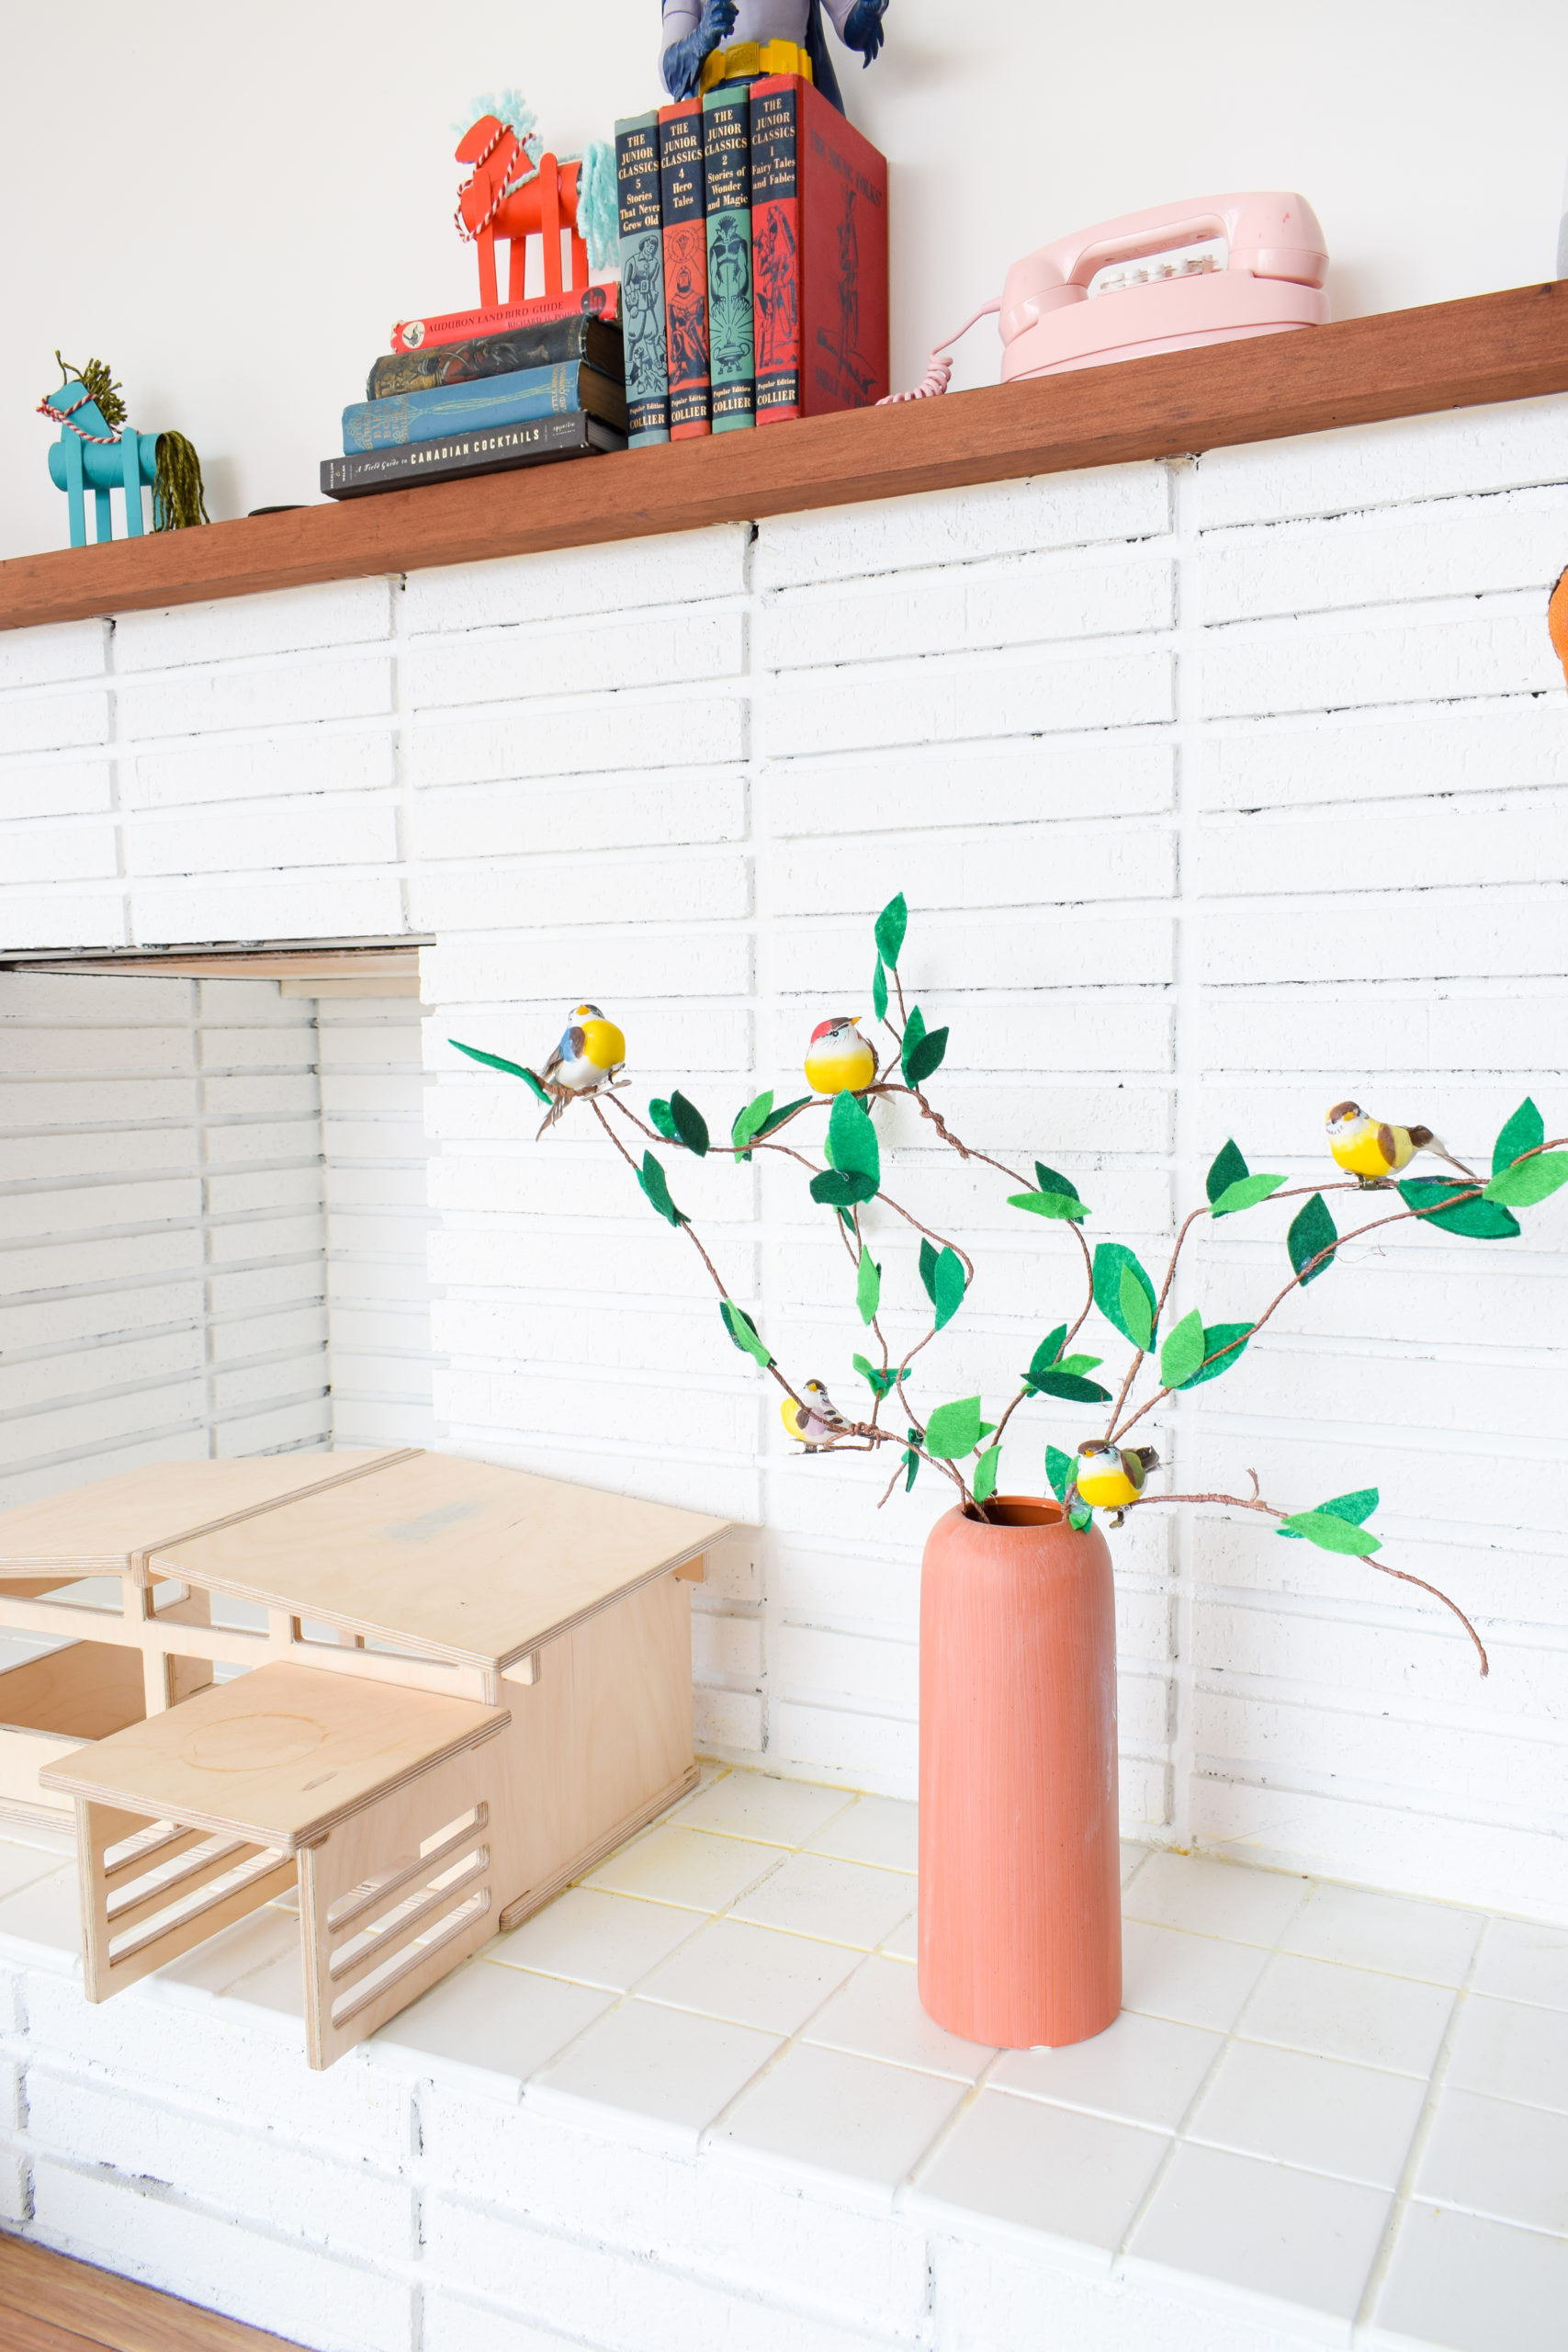
I think the natural terracotta look of the vase is the perfect compliment to the greens and colours of the birds and DIY felted branches. Don’t you agree?



Leave a Reply