I am WILLING warmer weather into existence with this DIY felt flower print. I could have done this with my Cricut Maker, but I didn’t want to do 3D assembled flowers, so this was a “cut by hand’ kinda project. Grab the source and tutorial for my DIY Felt Flower Print, and blow away stormy spring skies.
Originally published March 14th 2018
Check out my other spring projects & decor in my project gallery
Like the felt DIYs? Have you seen my DIY Hand Puppets? DIY Oven Mitts? or my Felt Flamingo Tote?

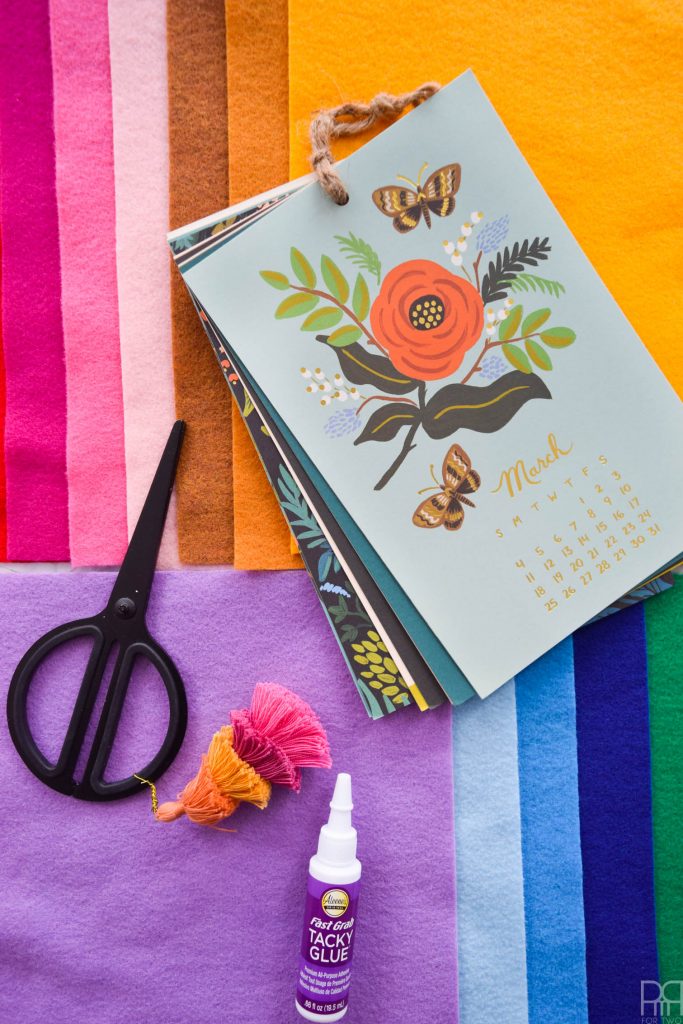
I took a page out of Sitting In Our Tree‘s book, and decided to recreate a Rifle Paper Co. print in felt. I chose a print which is no longer on the site (?) but this one // here // is close enough. You can of course be inspired by anything, but I just love the way Anna Bond mixes colours, prints, and sizes to create her pieces, so they’re a great way to start things off.
Check out my Rifle Paper Co. inspired projects: Painted Christmas Ornaments, Painted Pumpkins, Painted Cake Stands,
*The following product links contain affiliate links. Thank you for supporting the brands that make PMQ for two possible. For my full policies click // here //
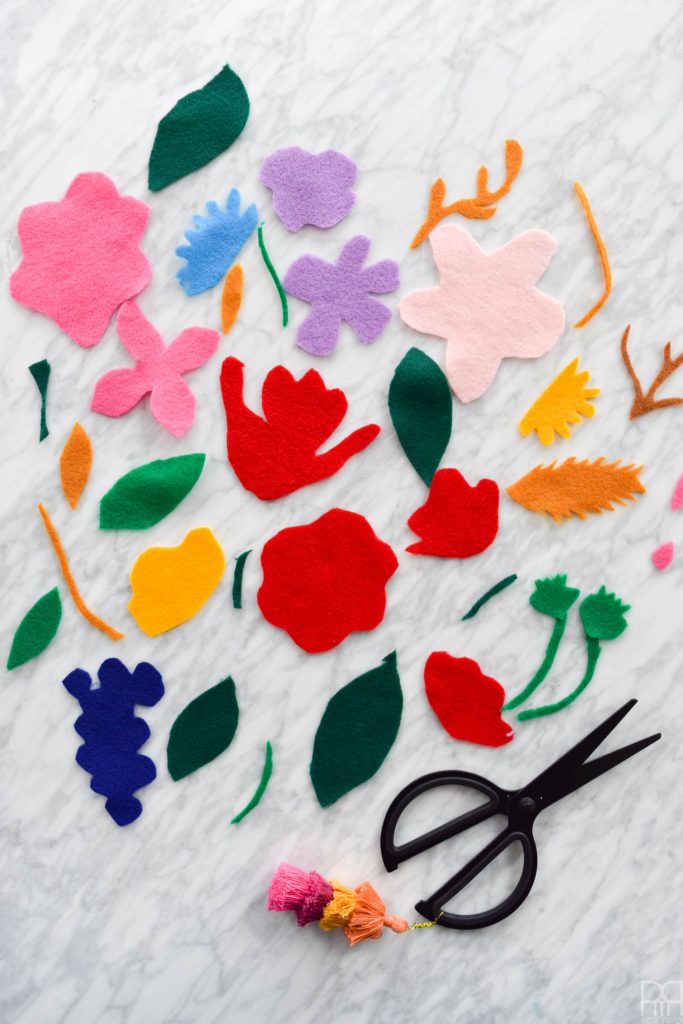
Materials for DIY Felt Flower Print
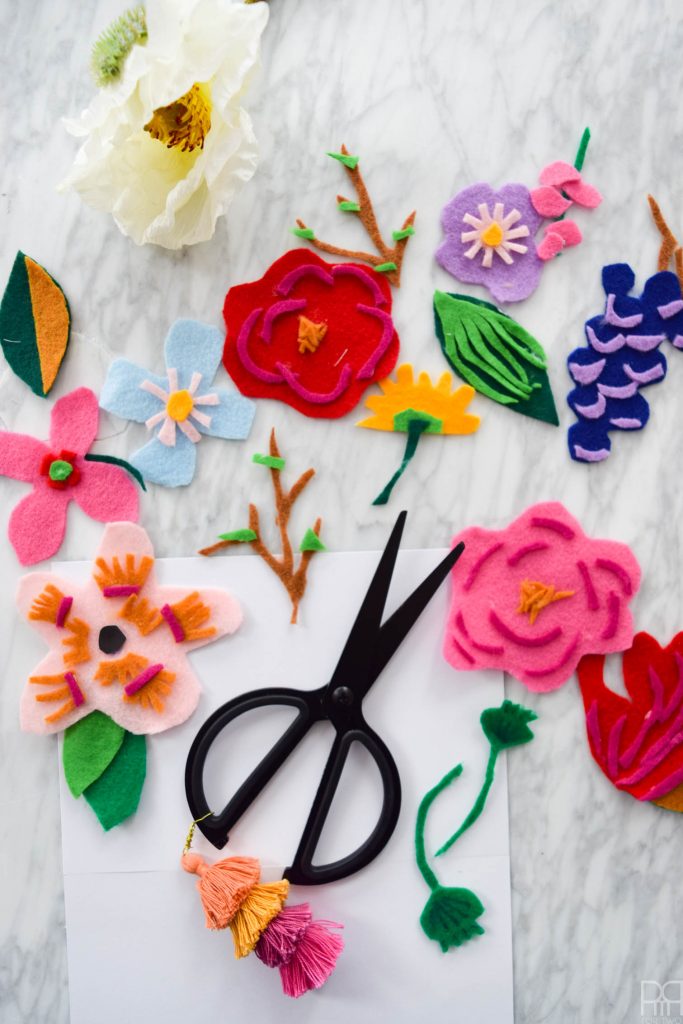
- Crafting felt in as many colours as there are in your inspiration print
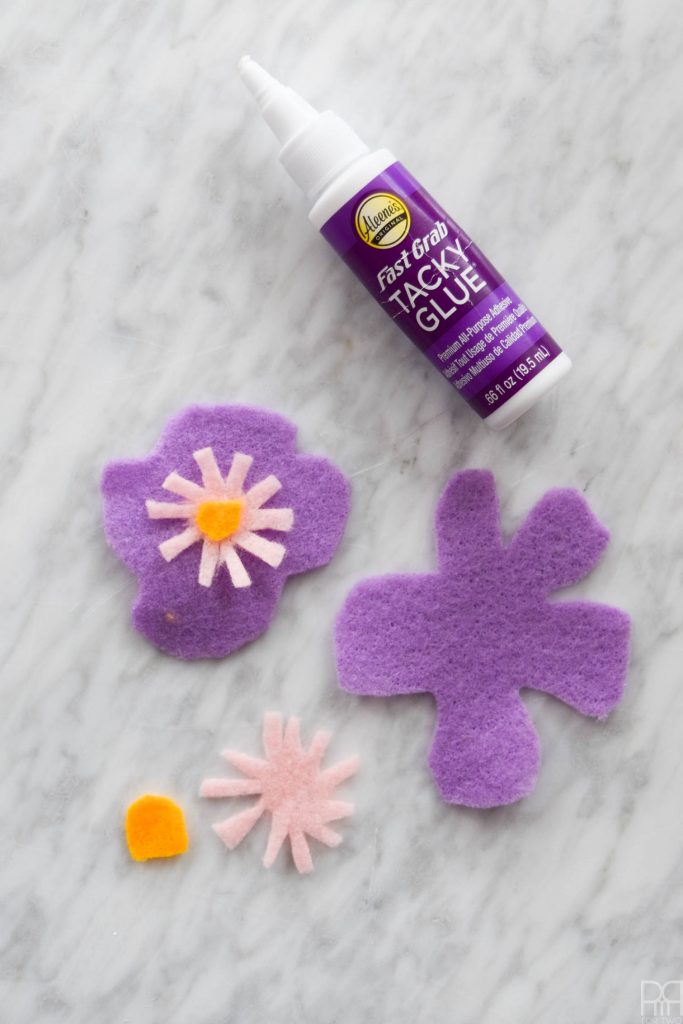
- Fabric glue – but you could use a hot glue gun if you wanted
- Hot glue gun
- Scrapbooking paper for the backing
- Shadow box picture frame
Step 1: Start by cutting the outline of all the big pieces in your felt of choice. Don’t worry about details since all that will be added later with contrasting colours.
Step 2: Using contrasting colours – darker or lighter shades of the same colour – start creating shadowing and highlights on the base shapes.
The reason I love Rifle Paper Co. pieces is because the shadows and highlights are clearly indicated, so it’s easier to recreate them.

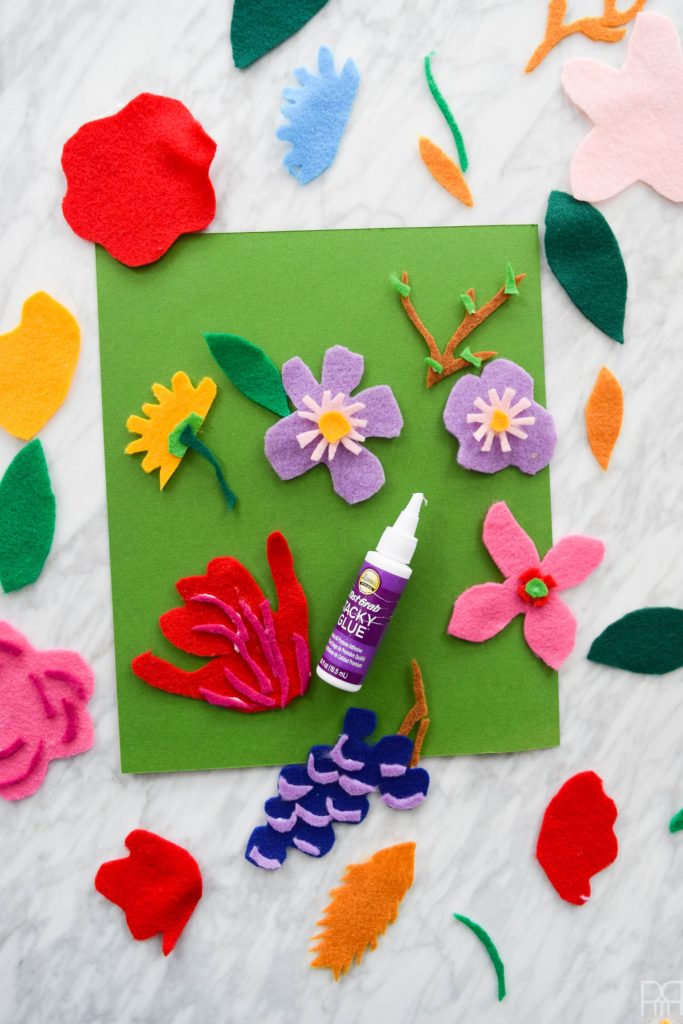
Step 3: Keep going! This will take a while, especially for some of the more complicated pieces. Just keep going. The fun thing here is that you can take as much liberty as you want in creating the details, so if something doesn’t feel right, switch it up!
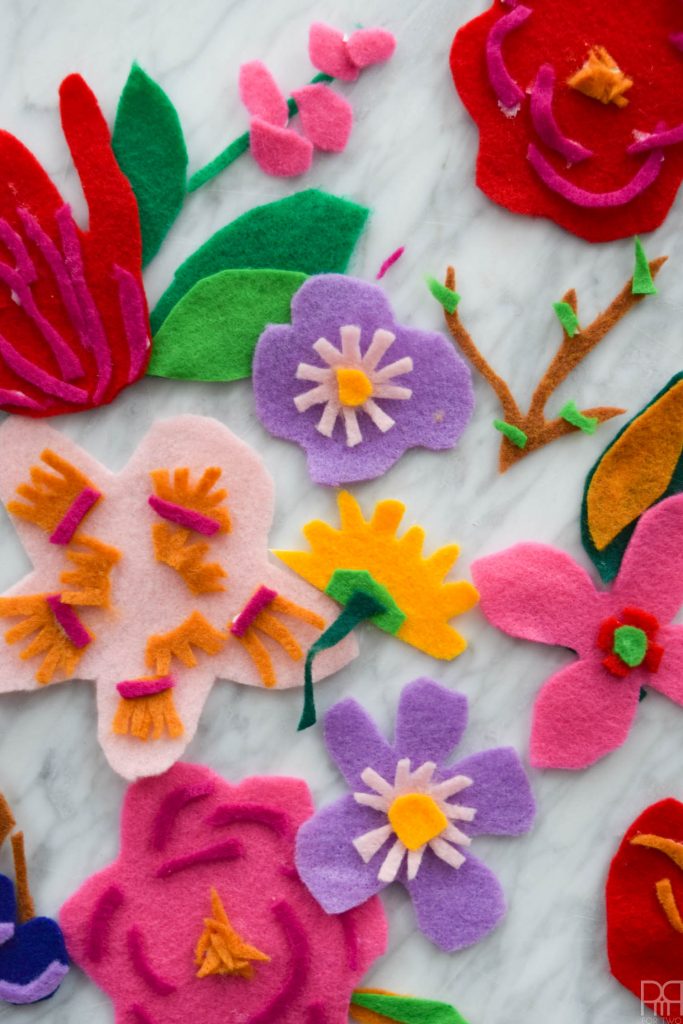
you can ignore the gobs of glue in these pics – they’re all gone once they dry.
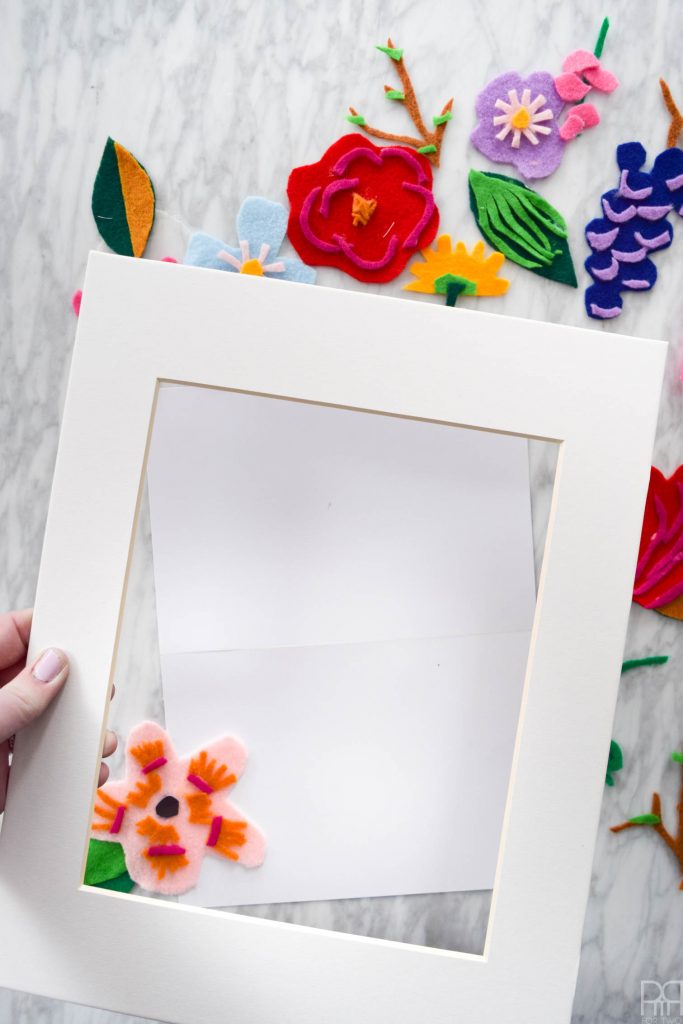
Step 4: Once your flowers and leaves are done, grab the mat to your frame and the cardstock you’ll be mounting everything on. I needed the mat to help give me boundaries in placing the pieces.
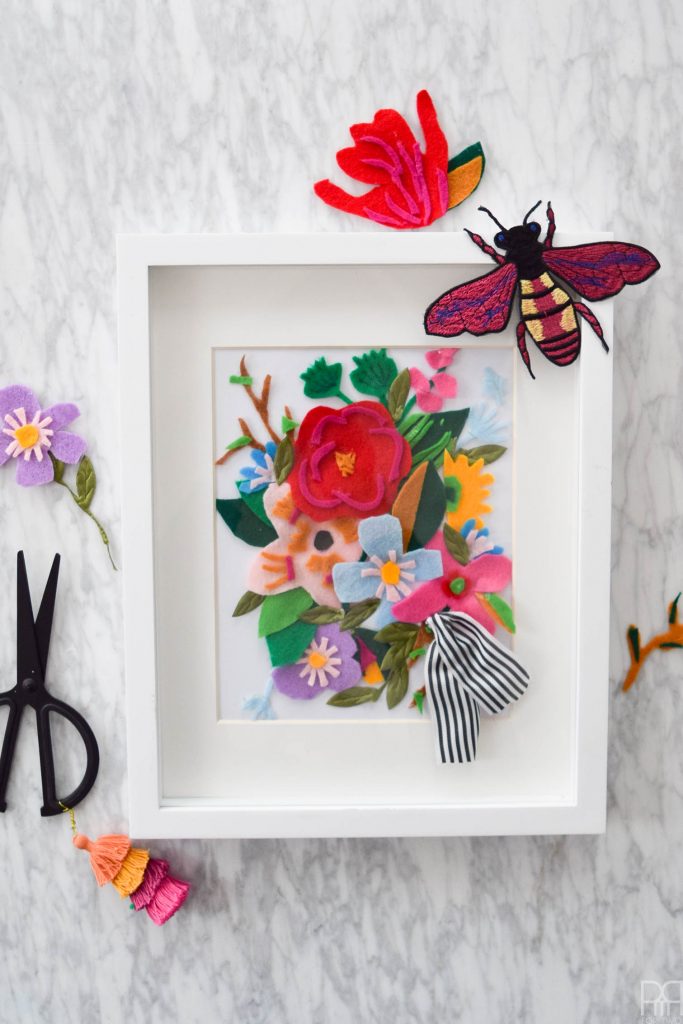
Step 5: Using your hot glue gun (because sometimes heft is required), start gluing your pieces down. Keep in mind that you need to layer things in order for them to fit, so doing a dry run before the glue is a good idea.
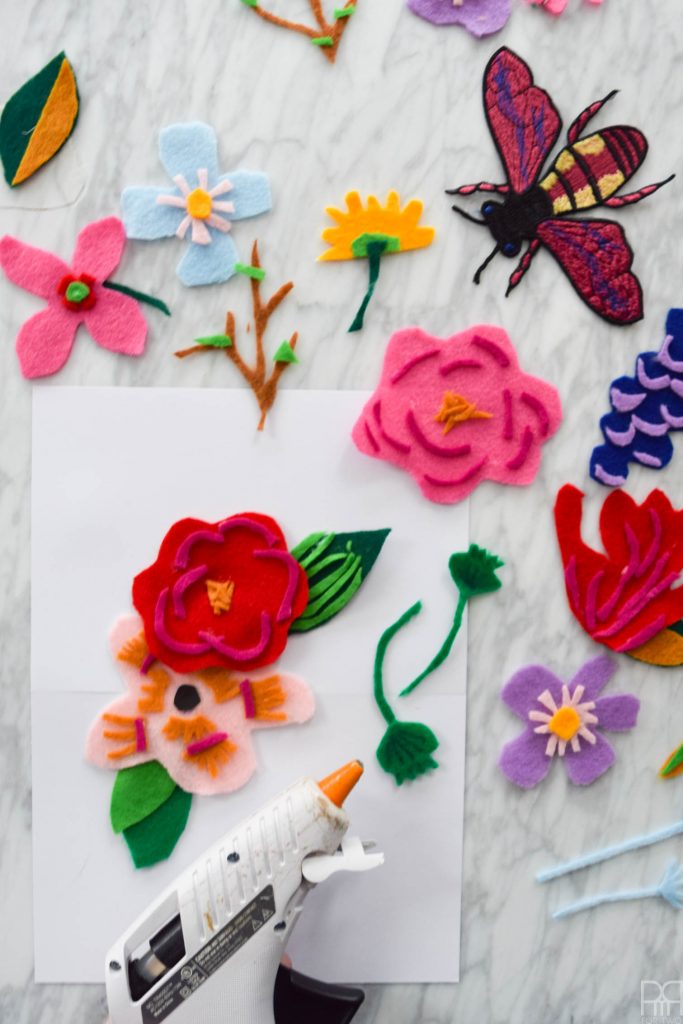
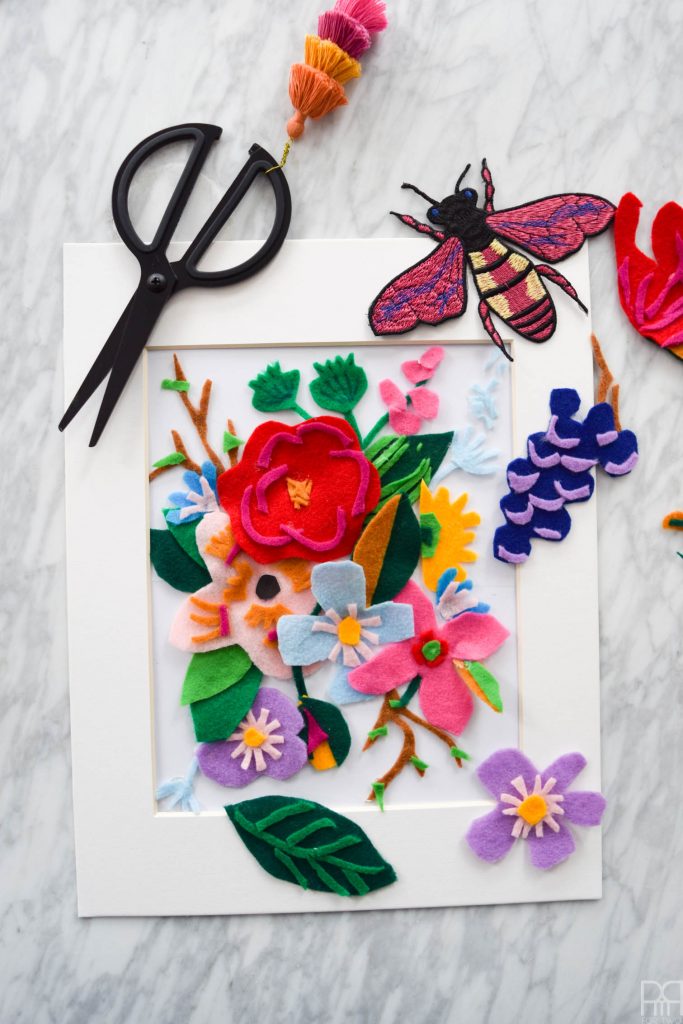
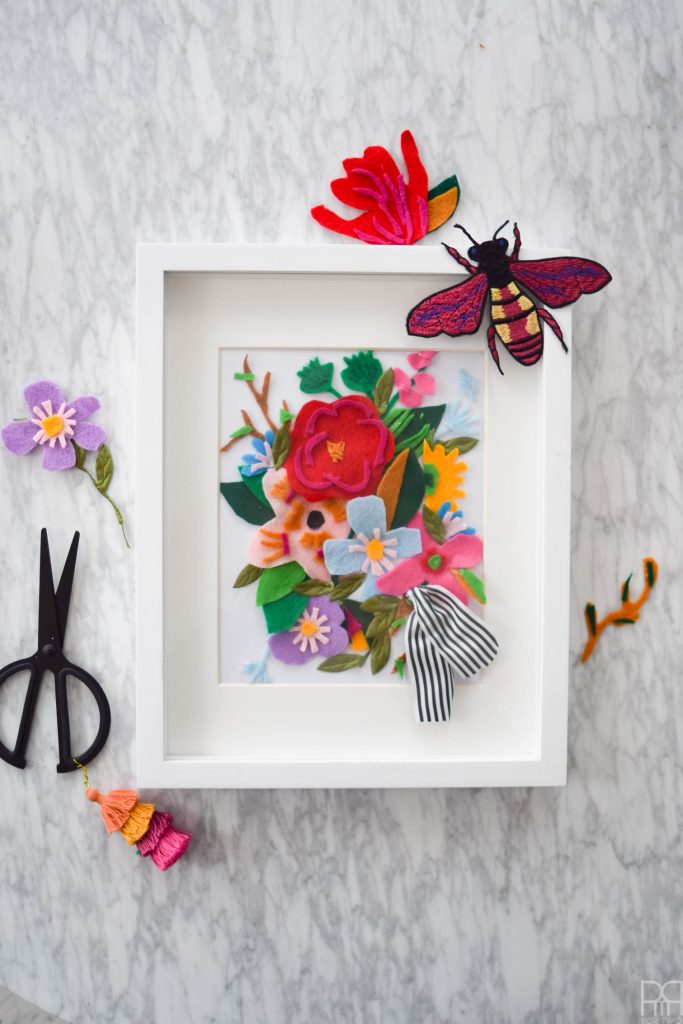
Step 6: Once everything is in place, insert it into the frame, and display! P.S That bee is hanging around because I desperately wanted to fit him into the frame and print, but it didn’t work out in the end.


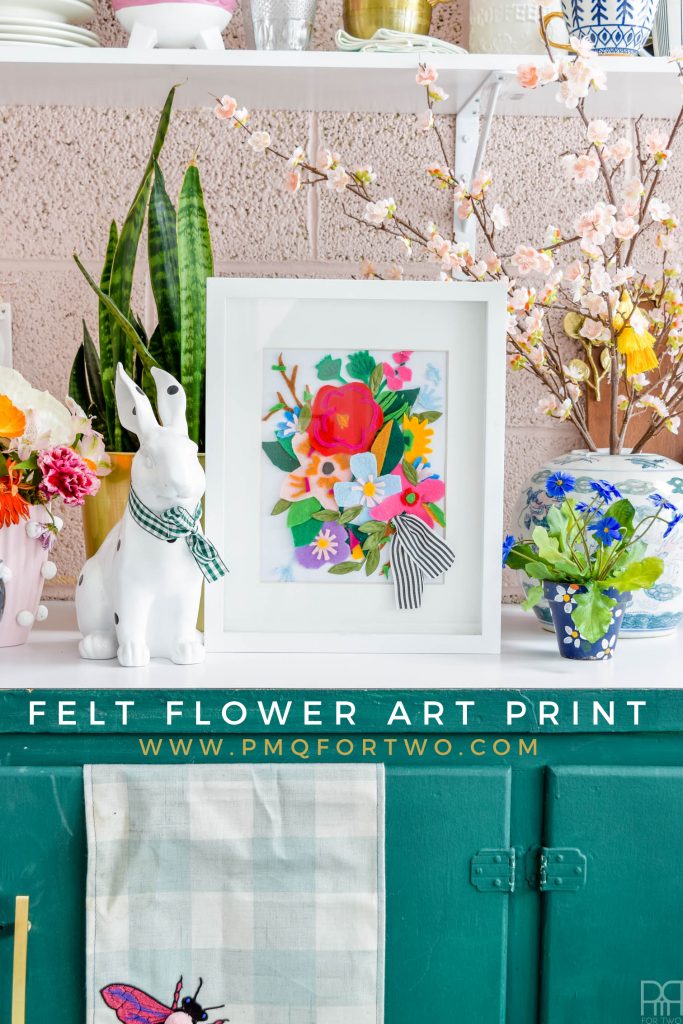
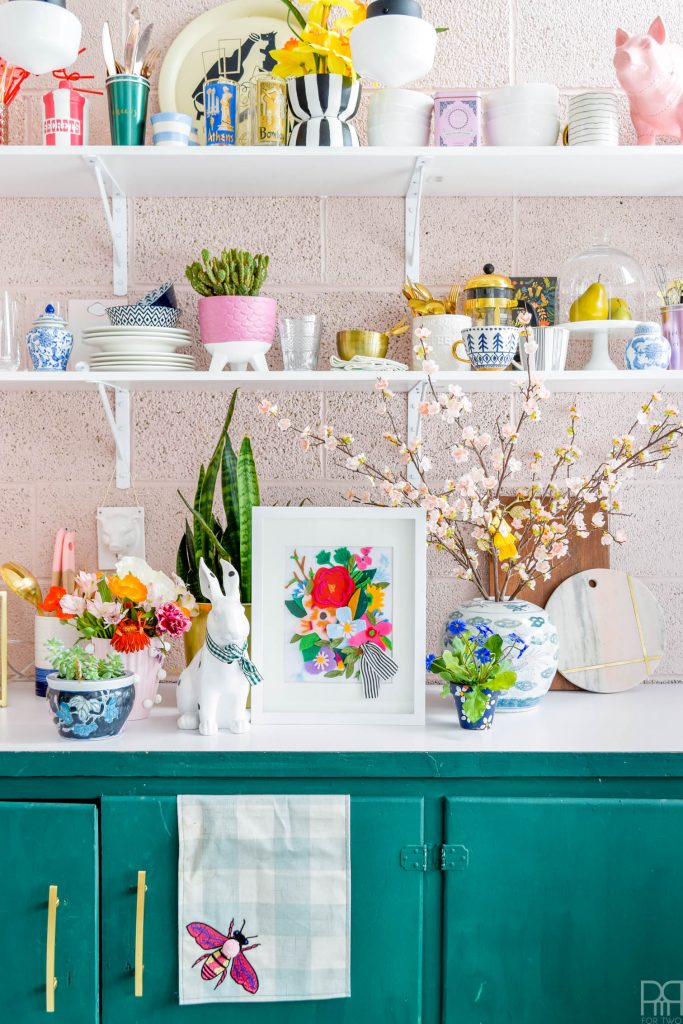
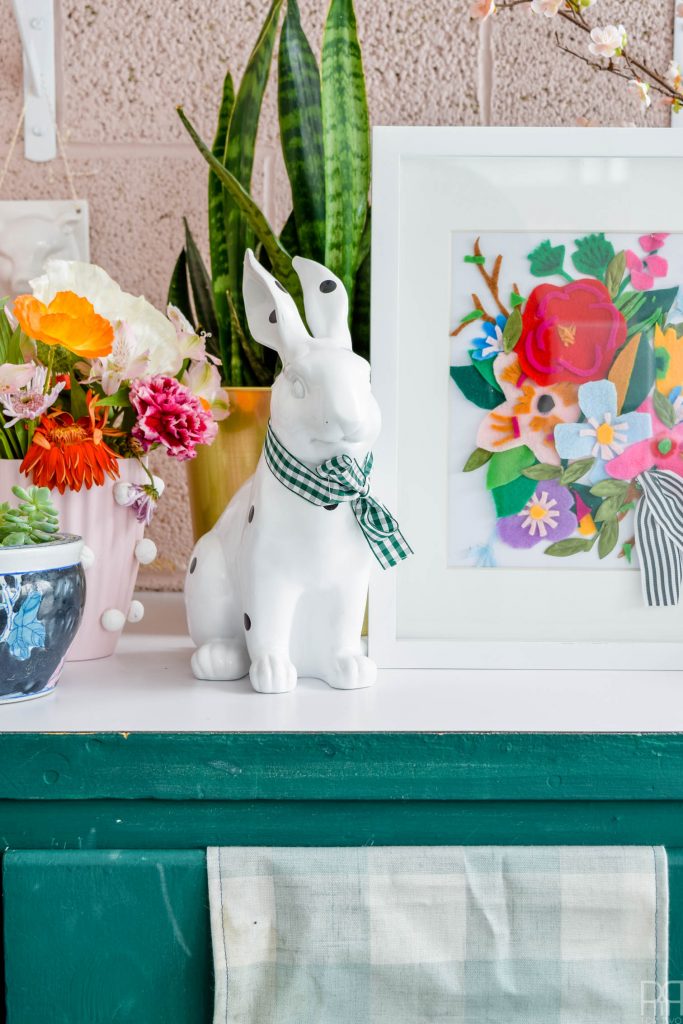
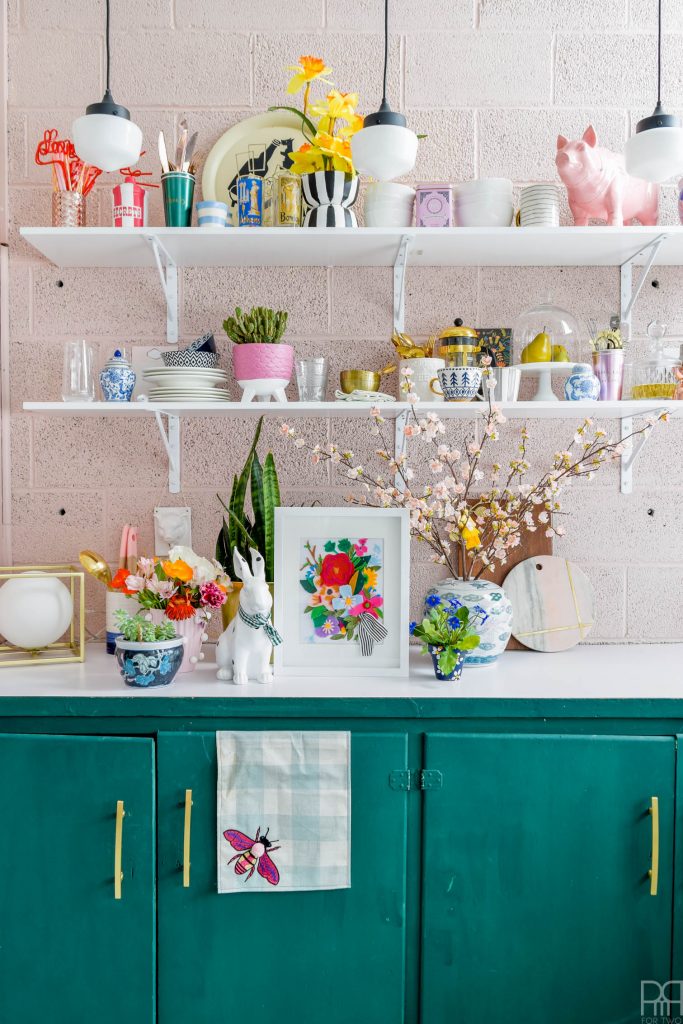
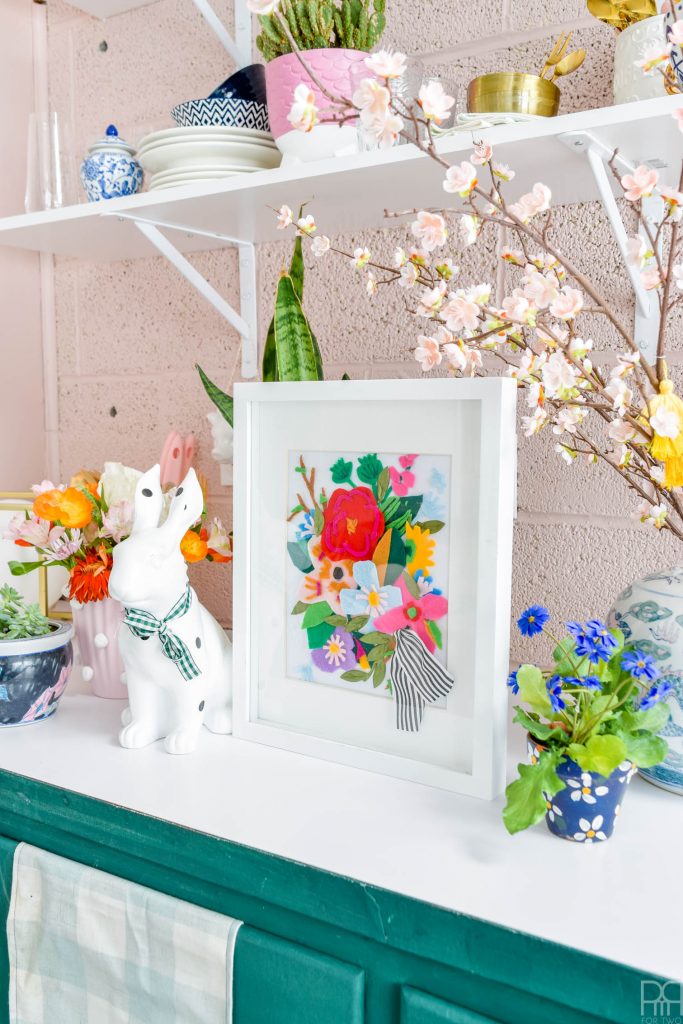
You better bet I pulled ALL the flowers I had in the studio into the shots. Flower prints = ALL THE FLOWERS!
I’ve got a beautiful mix of fresh, planted, and faux blooms in this shot and you wouldn’t even know it next to my DIY Felt Flower Art Print.
Check out my other spring floral DIYs: DIY Floral Easter Basket, DIY Daisy Ball Wreath, DIY Floral Crown,