

“Press for Champagne” if only it was the easy! We all need a DIY Champagne Buzzer, especially if it actually summons Champagne when pressed.
Looking for some other cocktail crafts? Check out my Cocktail Napkins, (I’ve got a summer version too) Summer Cocktail Napkins, DIY Pineapple Wine Glass Charms, my DIY Neon Bar Sign.


DIY Champagne Buzzer
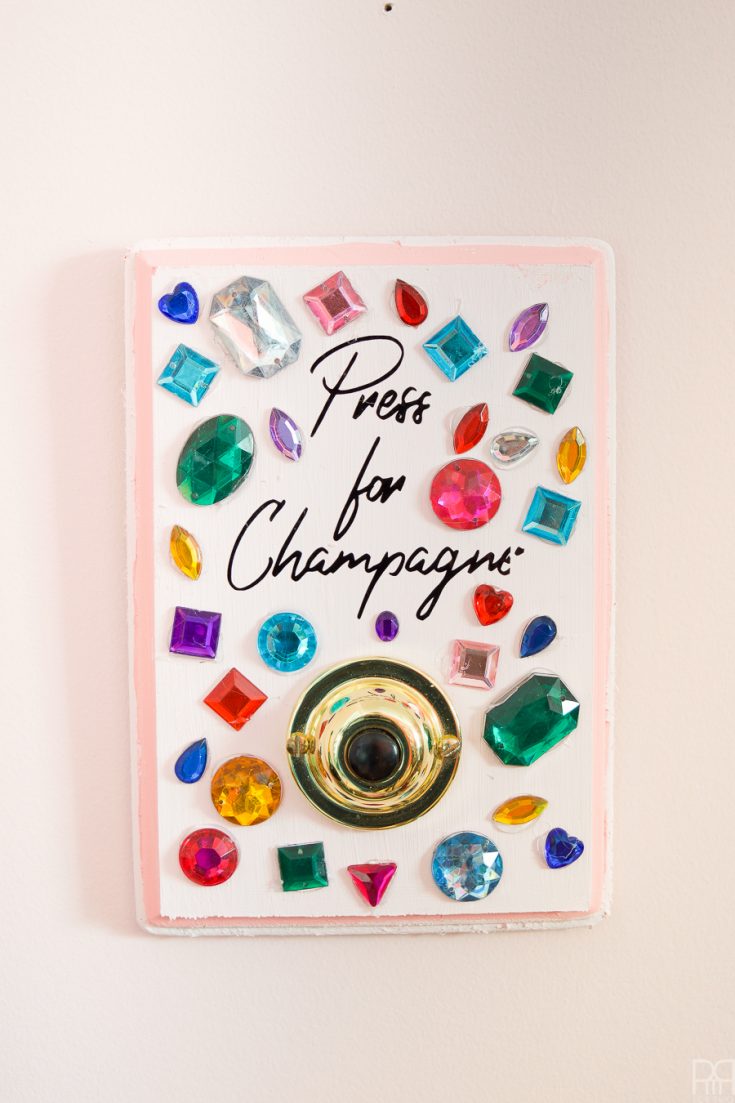
I actually found a version of this exact craft at Value Village earlier this week which is what prompted me to repurpose the pieces for my own taste. I’ve seem lots of these with ornate frames, pink stripes and fancy buttons, but I think my gemstone version is actually the best.
What do you need to make a Champagne Buzzer
The following product links contain affiliate links. Thank you for supporting the brands that make PMQ for two possible. For my full policies click // here //
- Wood plaque
- DecoArt Paint in Chiffon & Cotton Candy
- Plastic Gemstones
- Doorbell Buzzer
- Cricut® Midnight Vinyl
- Cricut Explore Air 2
- Cricut Tools Basic Set
- Cricut Cutting Mat Variety pack
- Transfer Tape
- Hot Glue Gun
- Drill + Drill Bits
How to make a “Press for Champagne” button
Paint your wood plaque in the colour of your choice. I had all kinds of ideas of contrasting with red and shades of green, but in the end a simple pink on pink was what worked best. I’ve got the buzzer on there to see how it would look next to the various colours I was thinking of.

You’ll likely need two coats to get a decent coverage, so make sure you leave plenty of dry time in between coats to avoid ruining the first coat.
Once the two coats are down it’s time to add your contrast line. I’m using cotton candy for mine, and all I needed was a fine tipped craft brush.

Vinyl lettering on your sign
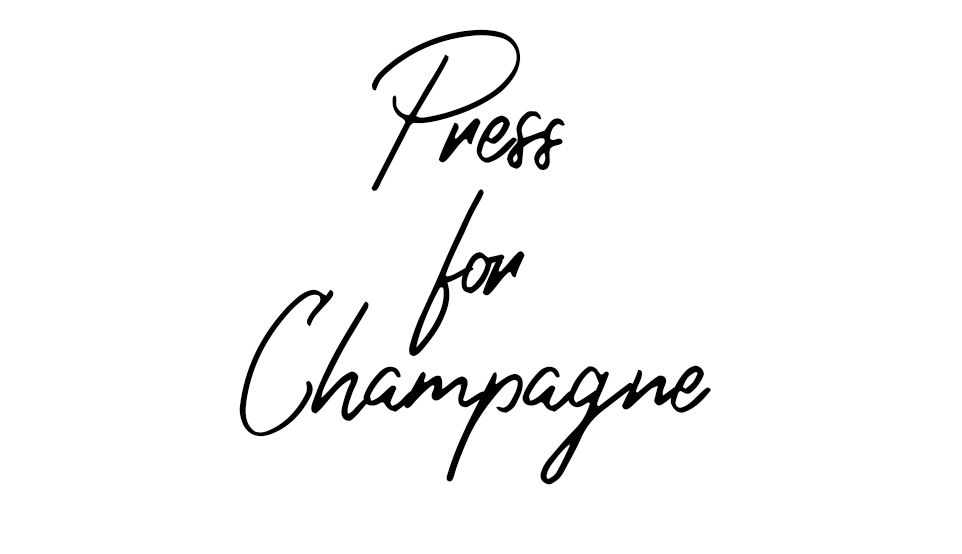
While everything dries you can prep the vinyl lettering. I used my Cricut Explore Air 2 to upload the text I created in photoshop. Feel free to use this image below for yours! Just drag and drop. I wasn’t sure if it was going to be “Press for Champagne” or “Buzz for Champagne,” and then a million other variations, but I’m happy with this version.


Apply the vinyl lettering like you would with any other Cricut project.

Drill for the buzzer
Determine where you’d like your buzzer to sit in relation to the text and the plaque in general. You’ll then drill pilot holes for your buzzer, and then fasten the buzzer to the board.

Adding Gemstones to your sign
Apply your gemstones! Once the buzzer was on there it all felt kind of empty and unoriginal. Because I have an un-ending supply of plastic gemstones on hand, I started laying them out to see if they looked good. Sure enough, they do, so I got the glue gun out.

How to hang your sign
To make it easier to hang, I drilled a shallow hole into the back of the plaque so that it would sit over a nail head nicely.
Press the buzzer! Get yourself some champagne! Cheers!


DIY Champagne Buzzer - TGIF

Make life a little easier and fun, with a DIY champagne buzzer complete with pretty gemstones. Everyone needs a champagne buzzer!
Materials
- Wood plaque
- DecoArt Paint in Chiffon & Cotton Candy
- Plastic Gemstones
- Doorbell Buzzer
- Cricut® Midnight Vinyl
- Cricut Cutting Mat Variety pack
- Transfer Tape
Tools
- Cricut Explore Air 2
- Hot Glue Gun
- Drill + Drill Bits
- Cricut Tools Basic Set
Instructions
- Paint your wood plaque in the colour of your choice.
- You will need two coats.
- Allow to dry in between coats.
- Once the two coats are dry, add your contrast line with a fine tipped craft brush.
- Use the Cricut Explore Air 2 to make the text.
- Apply the vinyl lettering to the wood plaque.
- Drill pilot holes for your buzzer, and attach the buzzer to the board.
- Apply your gemstones with the hot glue gun.
- Drill a shallow hole on the back of the plaque for hanging.

