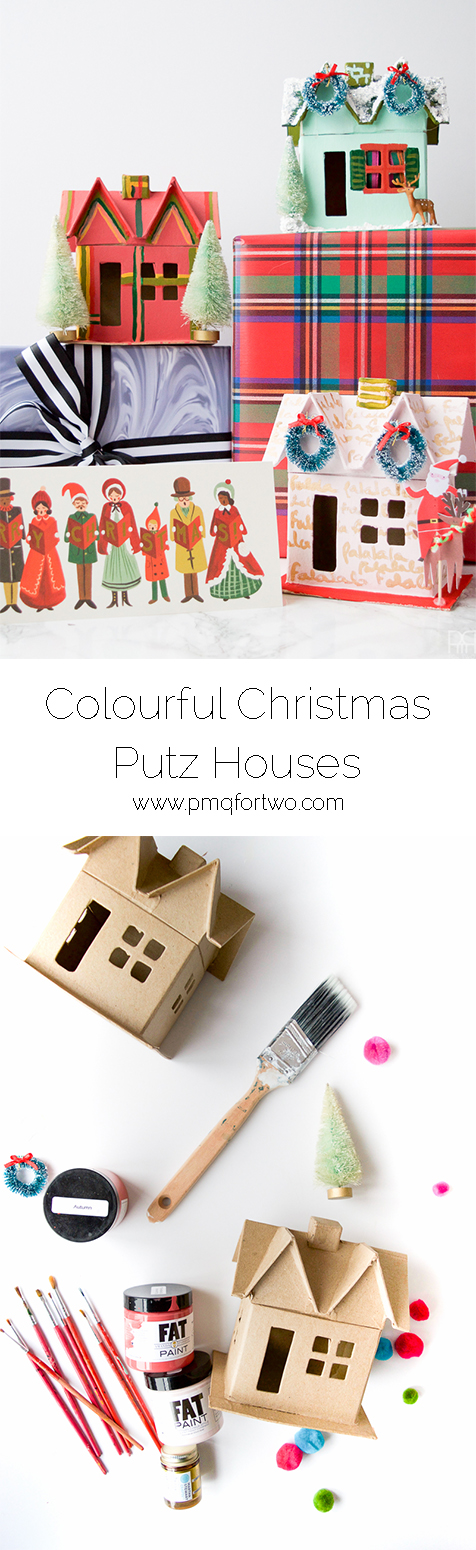
Today I’m guest posting over at A Blissful Nest // here // with my Chinoiserie Christmas Putz House, so today I wanted to share the other 3 that I painted – the colourful Christmas putz houses of your dreams! All in all I’ve done four different versions, so you’re bound to find one you like.
[clickToTweet tweet=”Colourful Christmas Putz Houses 4 ways – come see which ones suits you best! ” quote=”Colourful Christmas Putz Houses 4 ways – come see which ones suits you best! “]
I’ve always loved the idea of a Christmas village, but I’ve never loved the ceramic ones. They’re just not in line with my style. Last year I thrifted a set of plastic homes, but they were too small and some of the colours weren’t quite right. I haven’t put them up this year due to a lack of space, but I’ve got an idea for them next year.
https://www.instagram.com/p/-b-McssbrJ/?taken-by=pmqfortwo
I’ve never laid-out a tutorial like this, so instead of doing a step-by-step for each house, i’ve broken everything down into general steps and will feature key elements from each house in the various steps.
*The following product links contain affiliate links. Thank you for supporting the brands that make PMQ for two possible. For my full policies click // here //
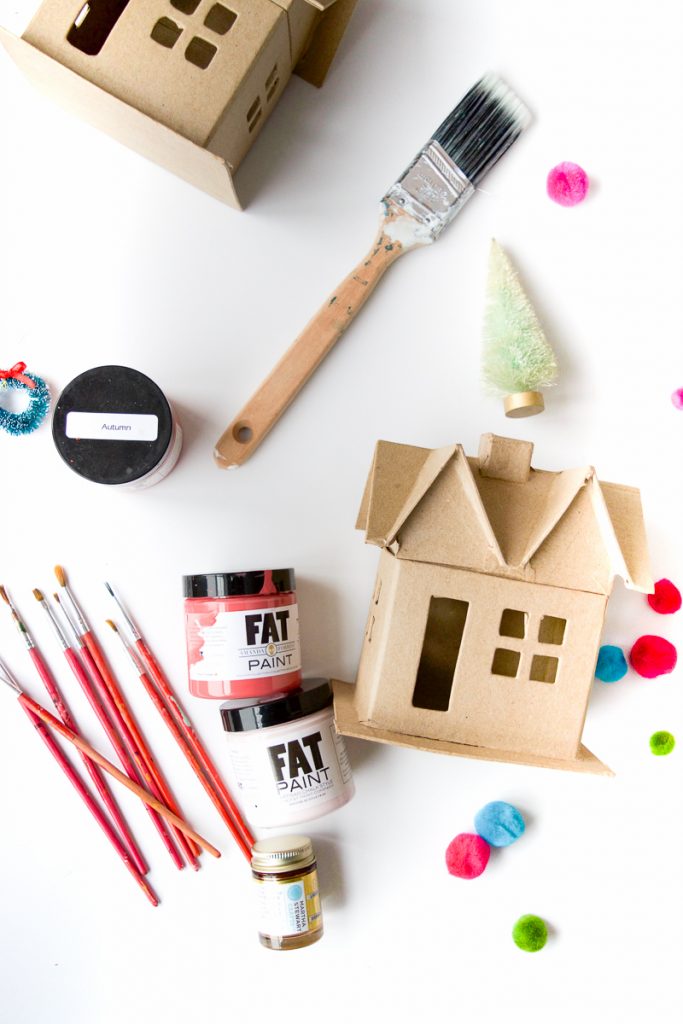
Materials
- 3 Paper Mache Houses: I used this version // here // but these would also be cute // here // or // here //
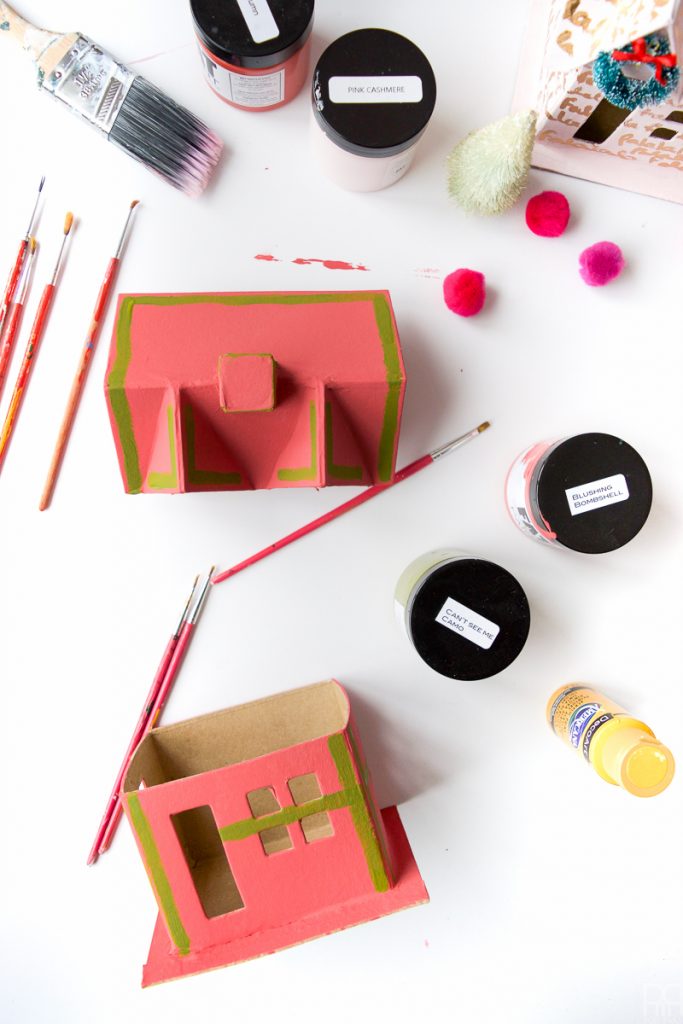
- Paints: I used the Fat Paint Co. (Pistachio, Blushing Bomshell, Coral Reef, Autumn, Can’t See Me Camo) and Deco Art Americana paints (Brilliant Red
, Mustard Seed
, Poblano Pepper
) to get the colour schemes I wanted.
- Fine Detail Paint Brush Set
- Hot Glue Gun
- DecoArt Snow-Tex
- Bottle Brush Trees
- Mini Bottle Brush wreaths
- Mini plastic deer
- Silver Glitter
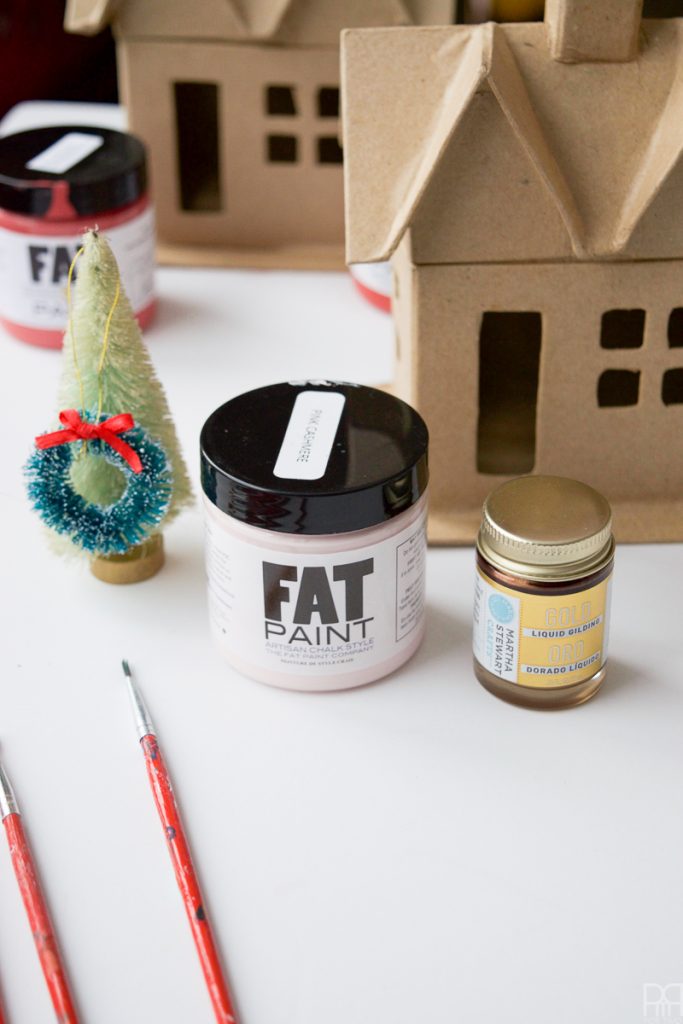
- Martha Stewart Crafts Liquid Gilding
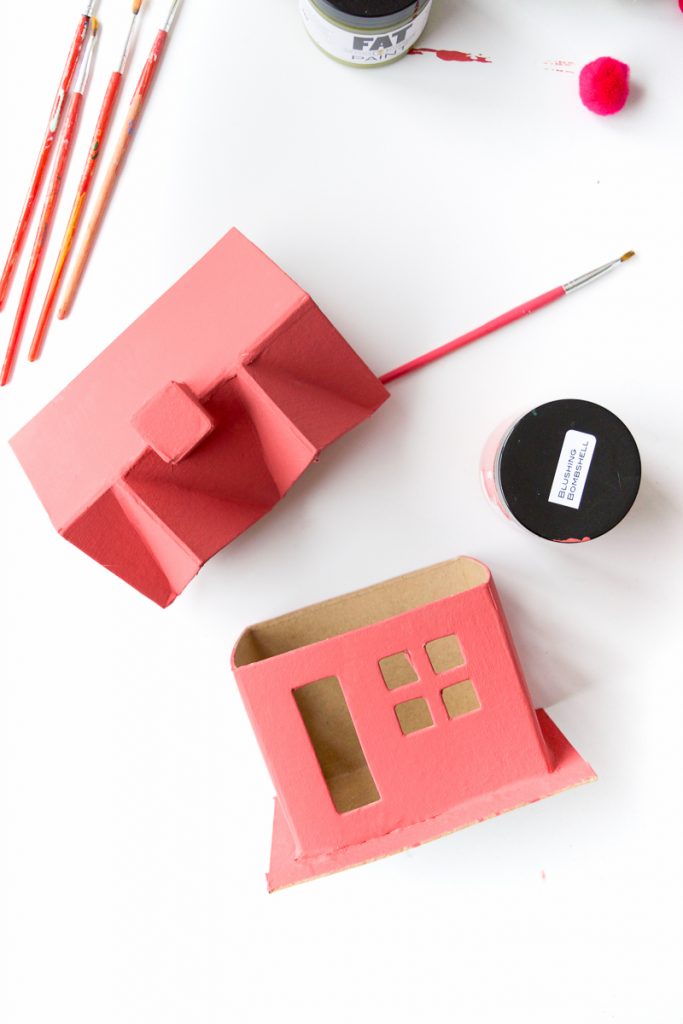
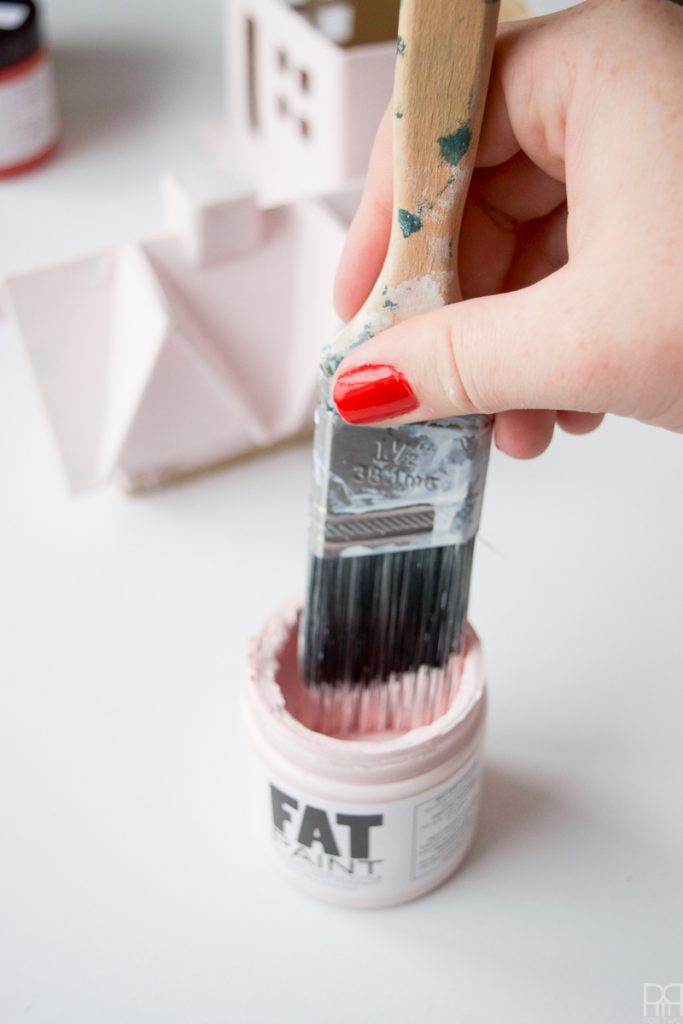
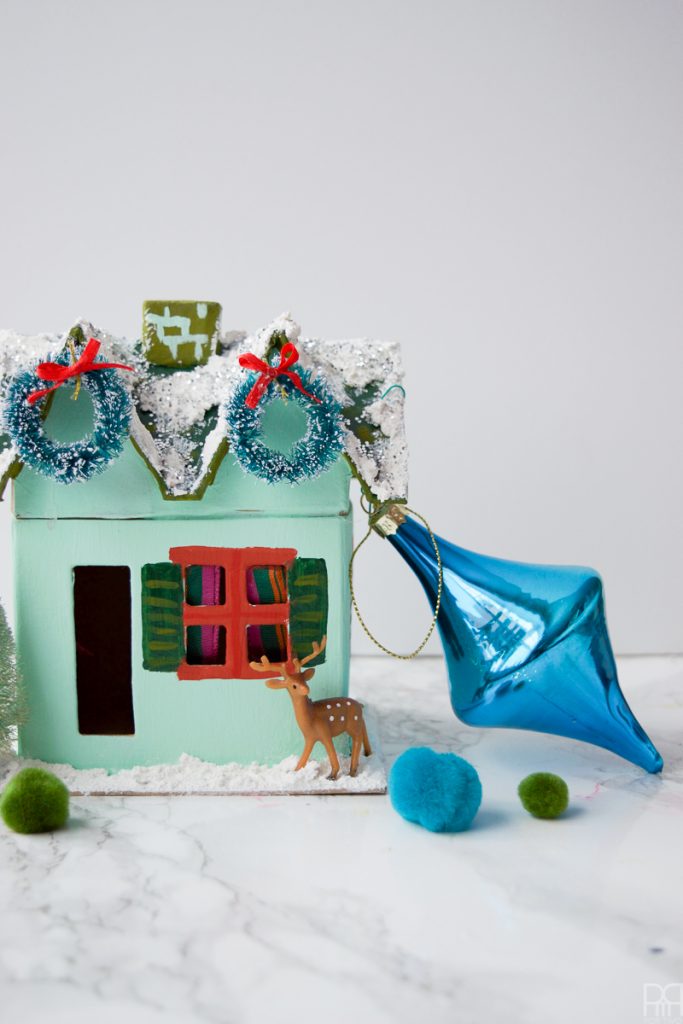
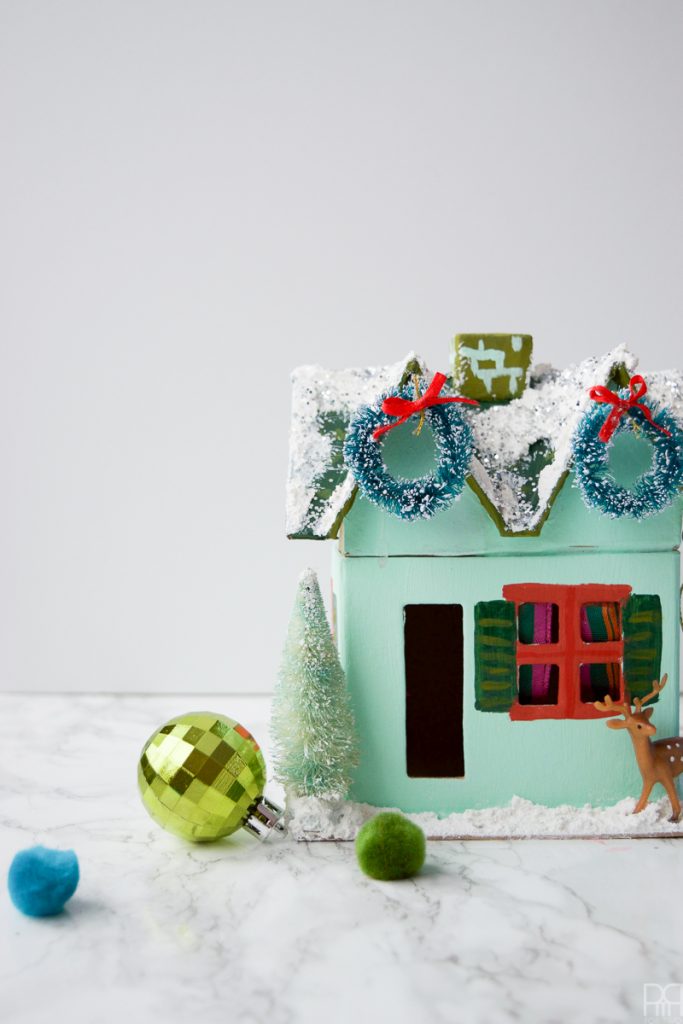
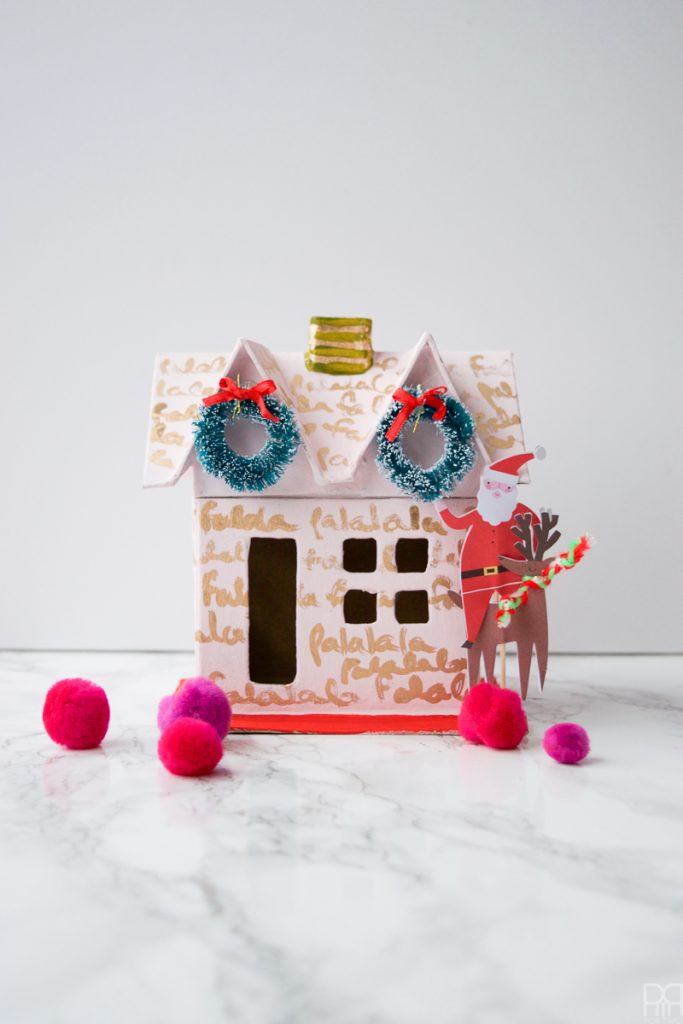
Step 1: Start by painting your house in a base colour. I’ve used The Fat Paint’s Pink Cashmere, Pistachio and Blushing Bombshell for my various houses.
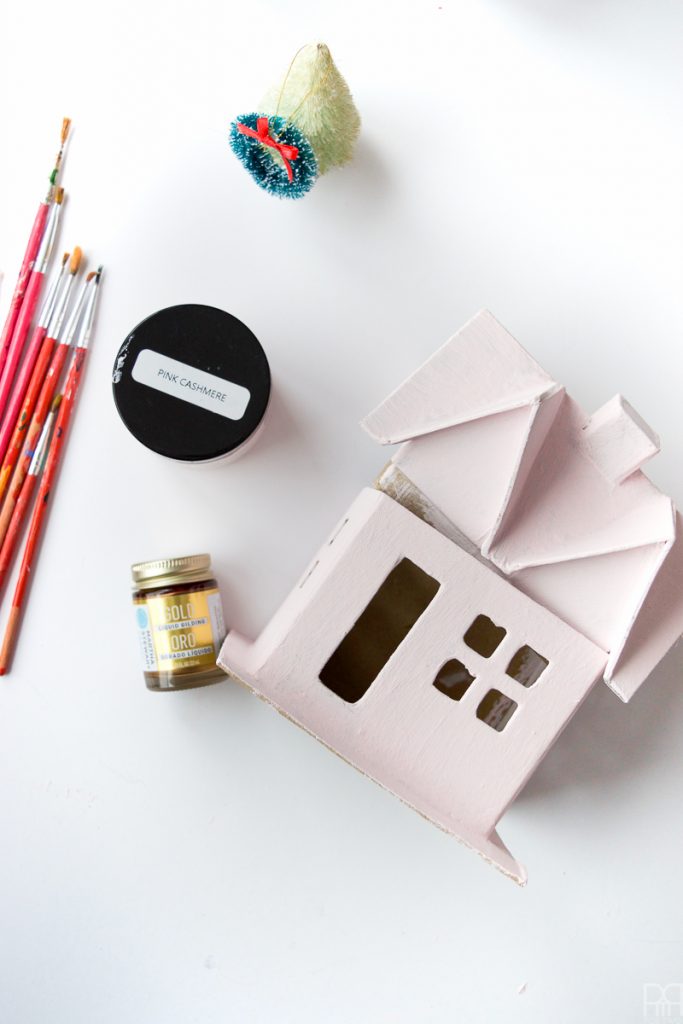
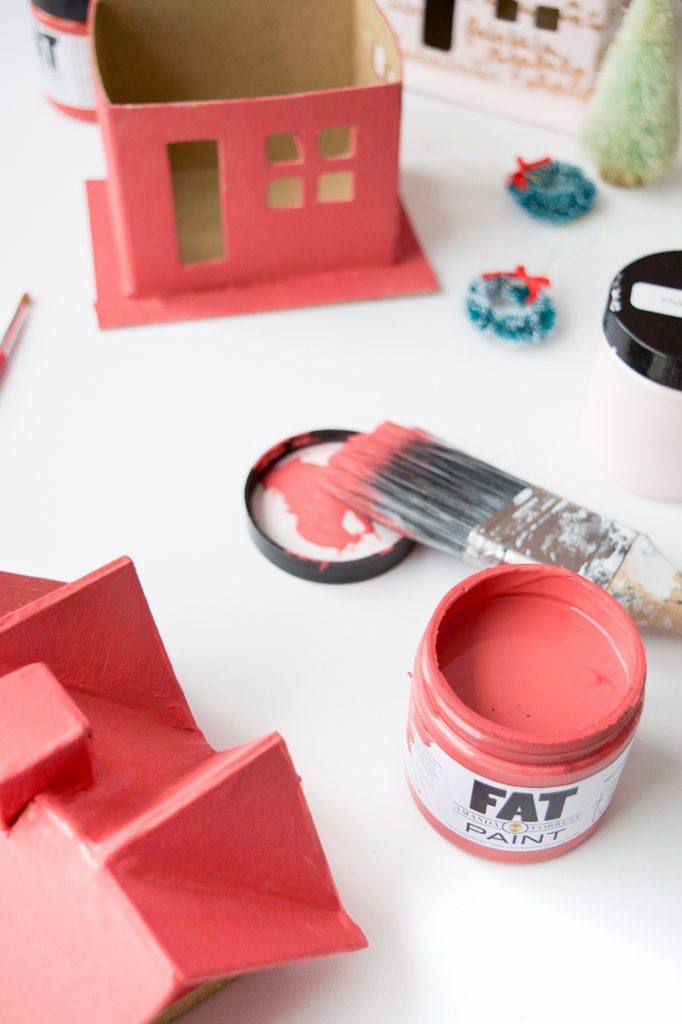
You’ll notice a little bit of bubbling from the moisture, but it won’t last and isn’t usually a big problem. Don’t forget to add a second coat!
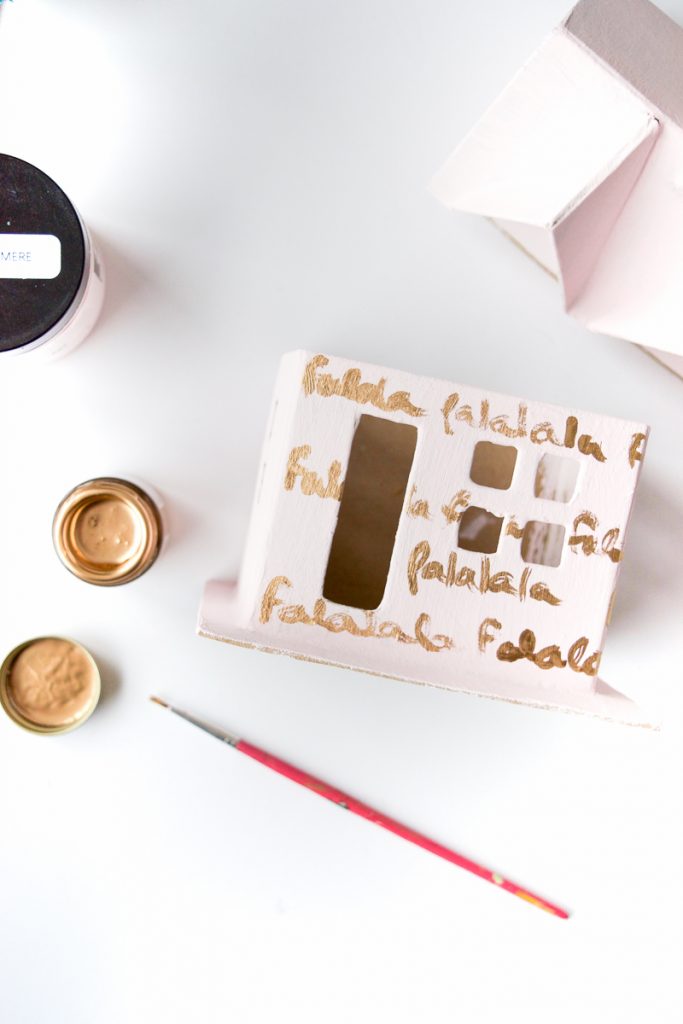
Step 2: Decide on your design! I told myself I’d plan each one out, but I always found myself figuring it out while the paint dried.
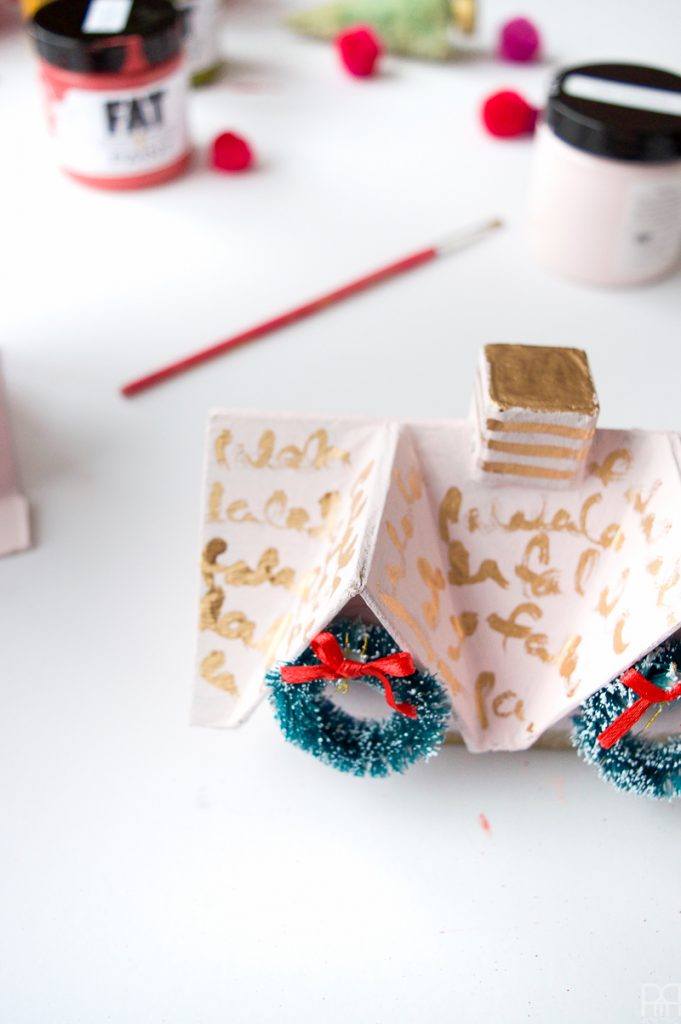
I did the pink one with Falalalala written in sloppy brush strokes using the liquid gold.
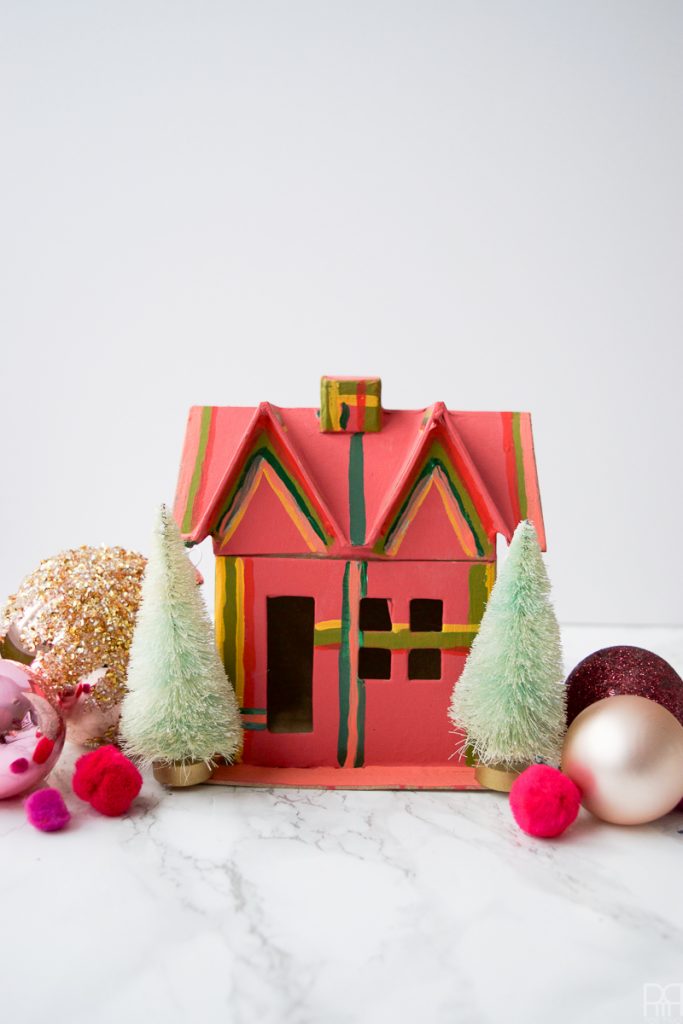
I did the orangey-red version with lines, as a sort of plaid motif.
Step 3: After deciding how you’ll be doing each house, and then doing it, go back for a second pass with detail strokes.
I added a red base on the pink house.
I added more colours to the orangey-red house.
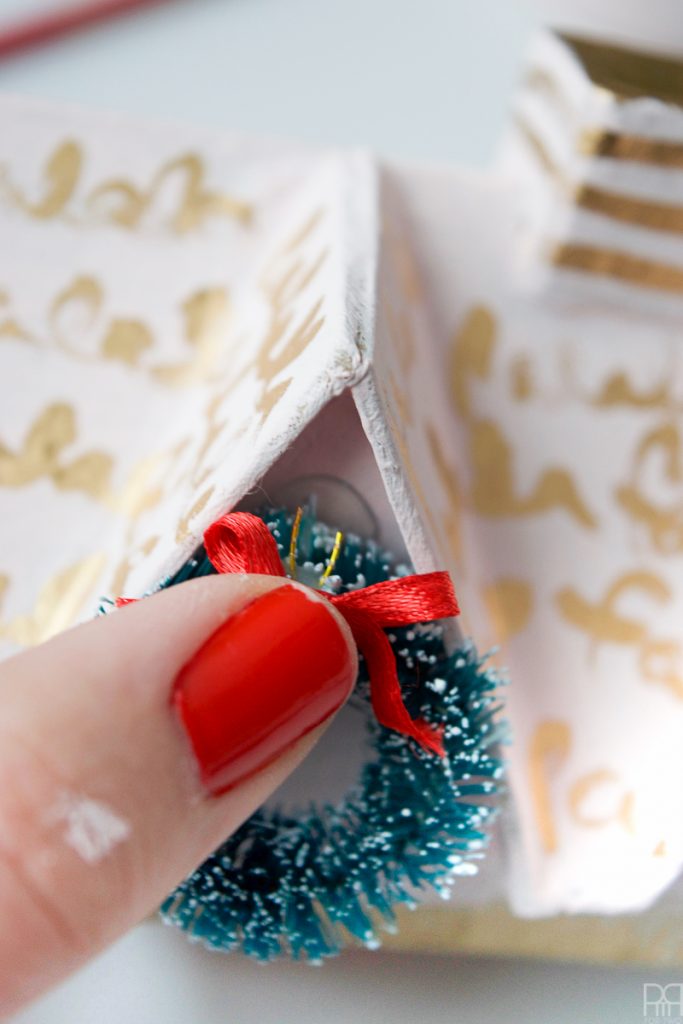
Step 4: Add the 3D elements! This s where you glue-on the wreaths, trees, deer, and use the Snow-Tex to create snow.
Step 5: You can add a flameless tea-light inside the house for light, or you can just lay-out your scene accordingly. I’ve got mine sitting in the windowsill of my office – a space that somehow escaped Christmas decor.
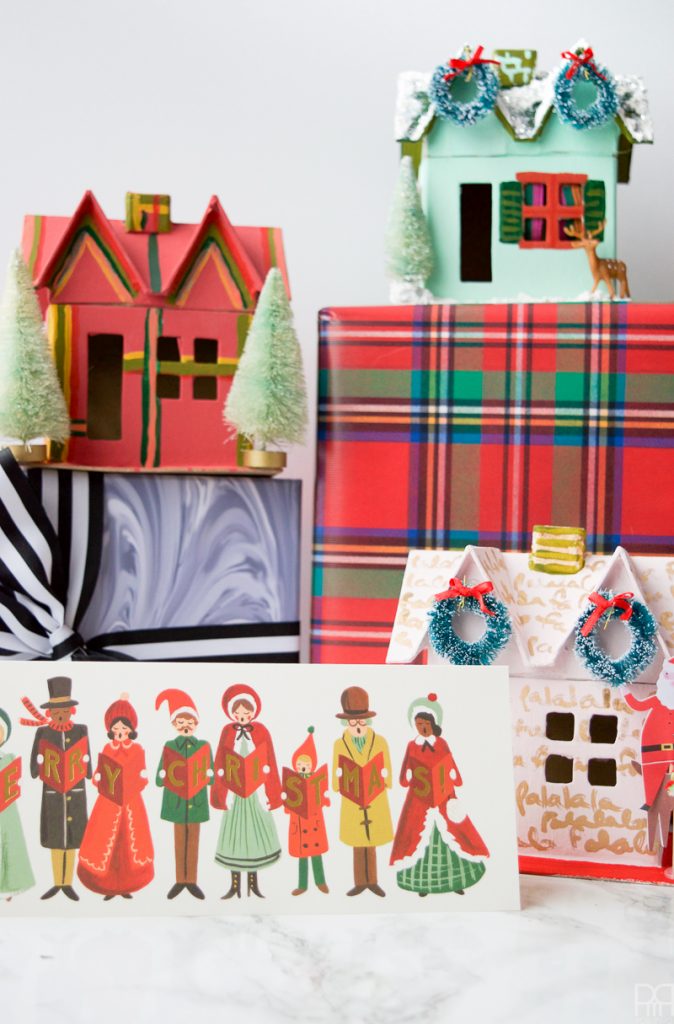
Style accordingly, and most importantly – Merry Christmas!


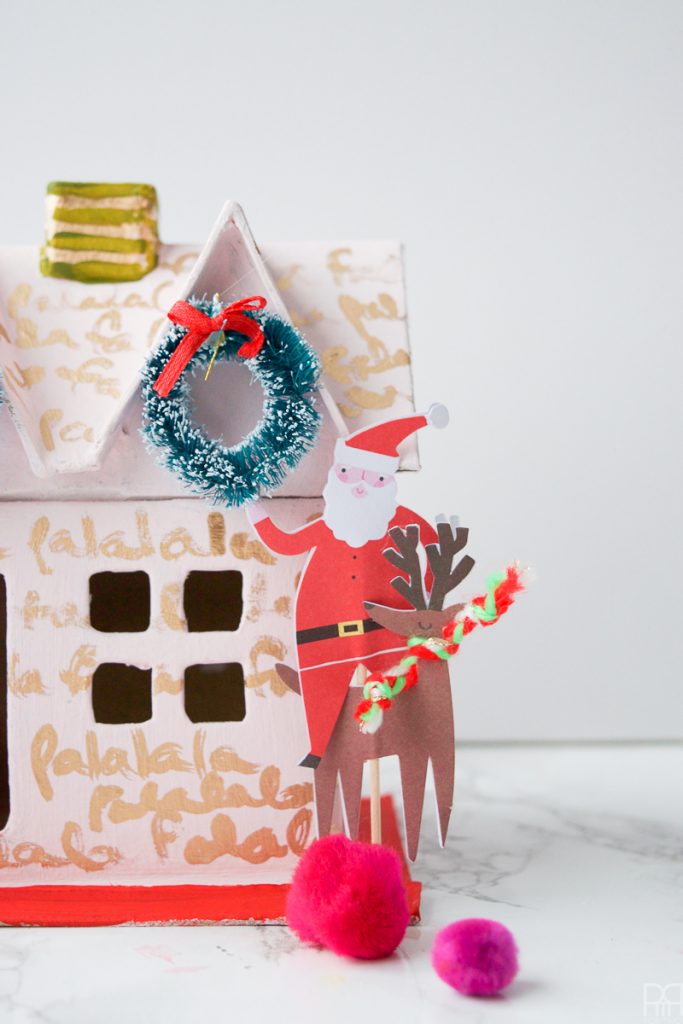
I added some Meri Meri food picks to the base.
Here’s the Chinoiserie version that’s over on A Blissful Nest // here //
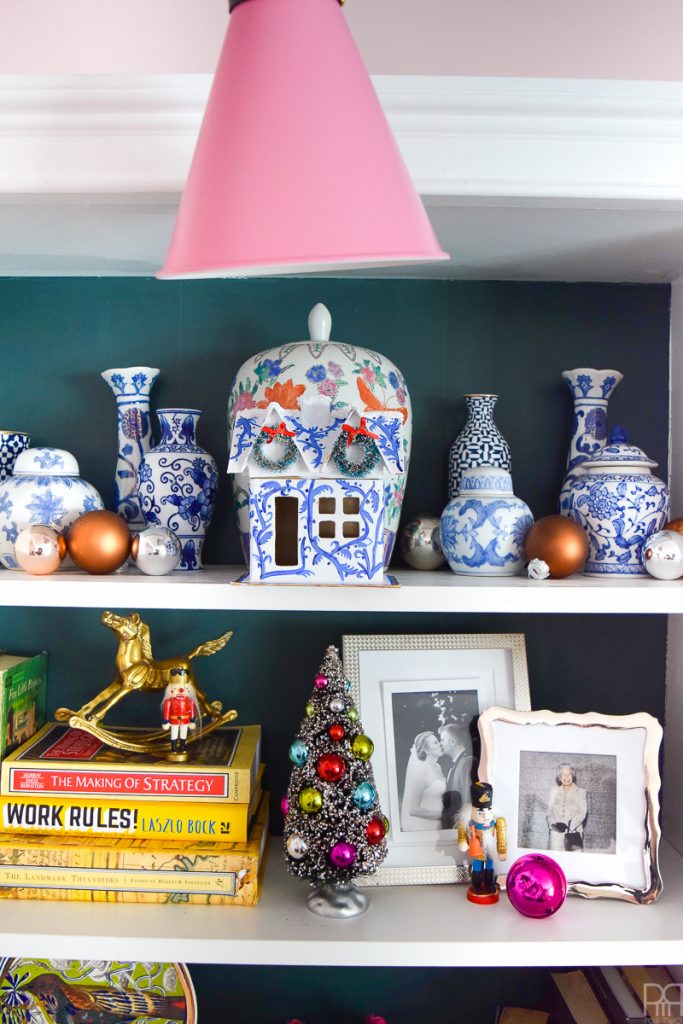
They also look really nice staged. I matched my houses to this beautiful Christmas card from Rifle Paper co. // here //


I love your use of colour!!! So adorable!
<3 <3 <3
Totally adorable!!! I need to make some of these next year!