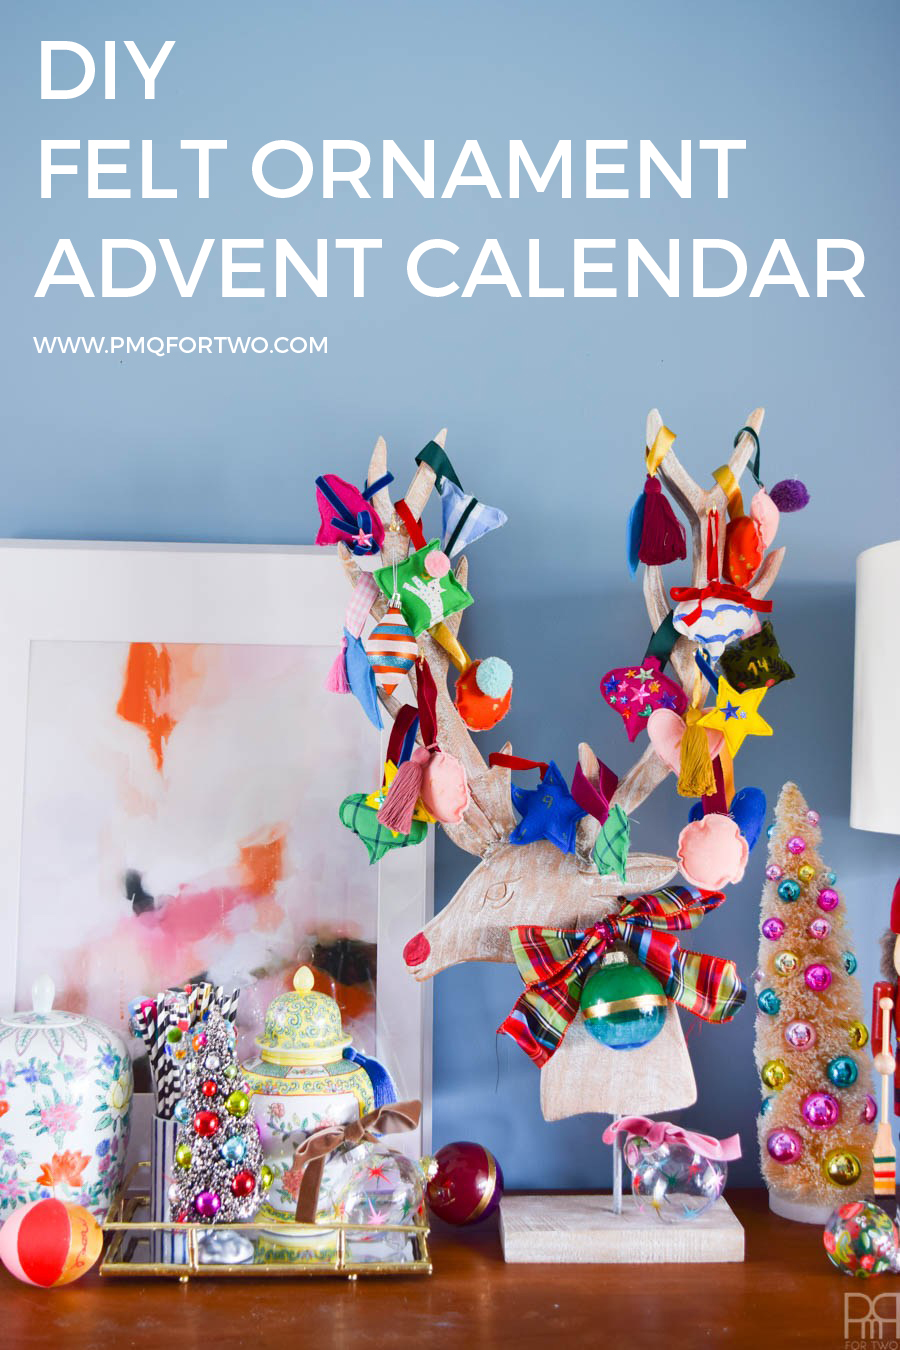
November 1st = the beginning of the mad dash to Christmas! Halloween was legit yesterday, but I’ve had visions of sugar plums and Christmas lights dancing in my head for a week or so now. I decided to make a Christmas advent calendar using the brand new Cricut Maker, and my Americana Acrylics.
Don’t forget my other Cricut projects
*DecoArt & Cricut sponsored this post, but all thoughts are my own. Thank you for supporting the brands that make PMQ for two possible.

While you do not technically need the Cricut Maker for this project, you’re gonna have a heck of a time doing this without it. I attempted a version of this post last year with a magnetic advent calendar DIY, but this iteration is what I really wanted to do all along.
*The following product links contain affiliate links. Thank you for supporting the brands that make PMQ for two possible. For my full policies click // here //
What do you need to make a felt ornament advent calendar?
- Cricut Maker
- Extreme Grip Cutting Mat
- Design Space Account
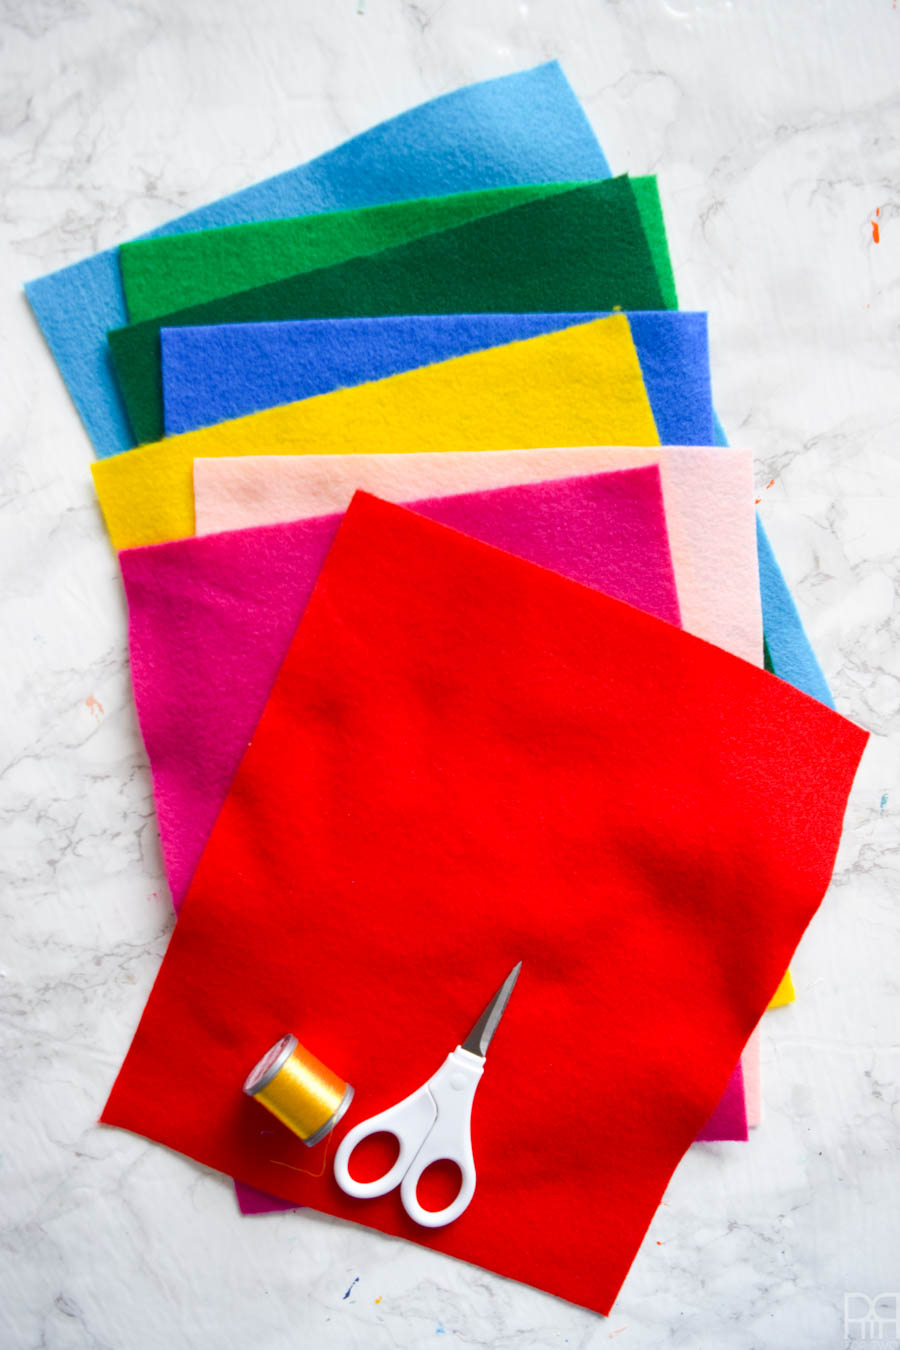
- Crafting Felt
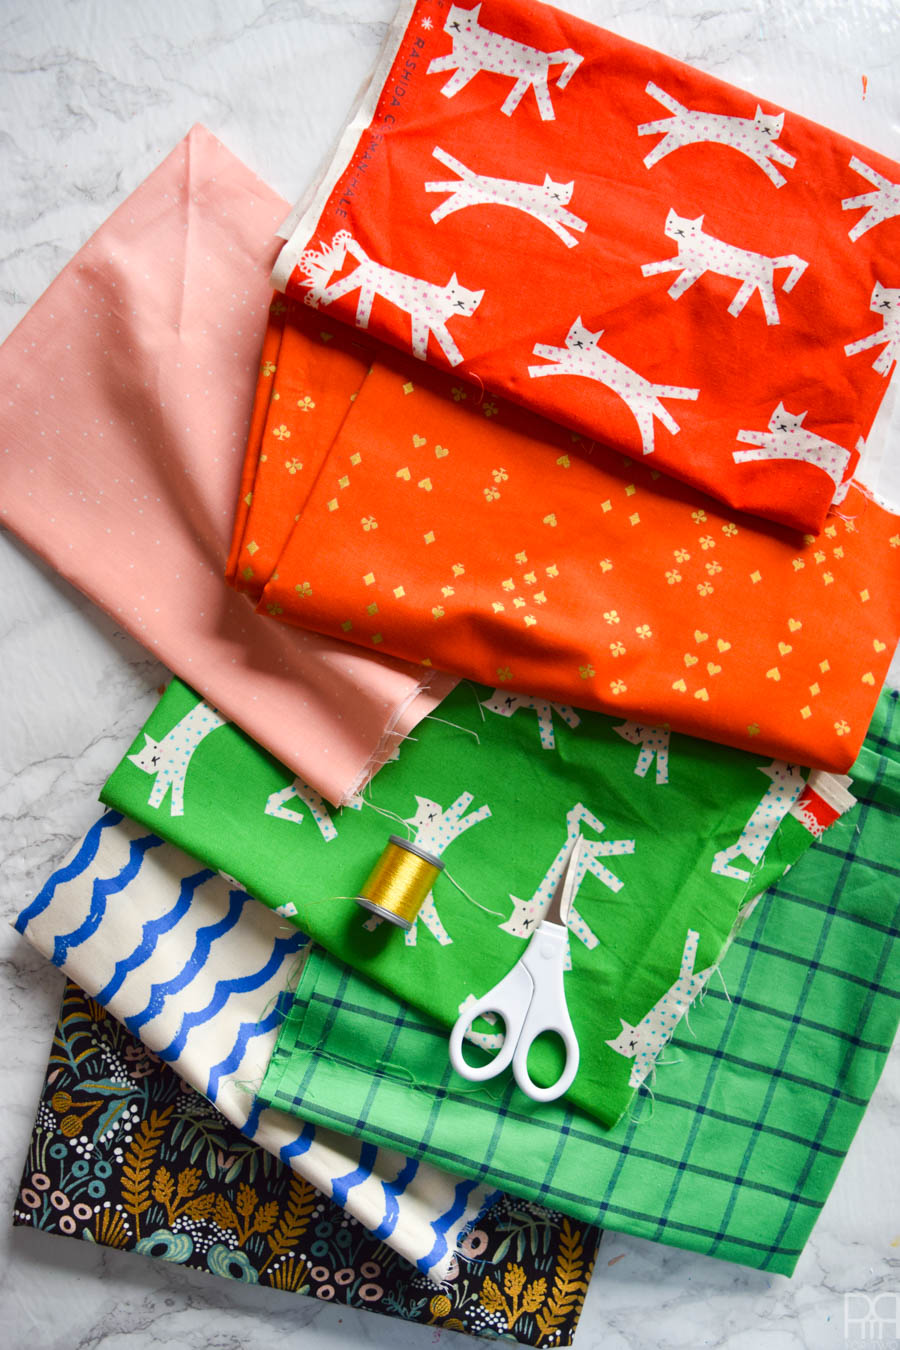
- Fabric scraps ( you don’t need much to make an ornament)
- Fibre batting
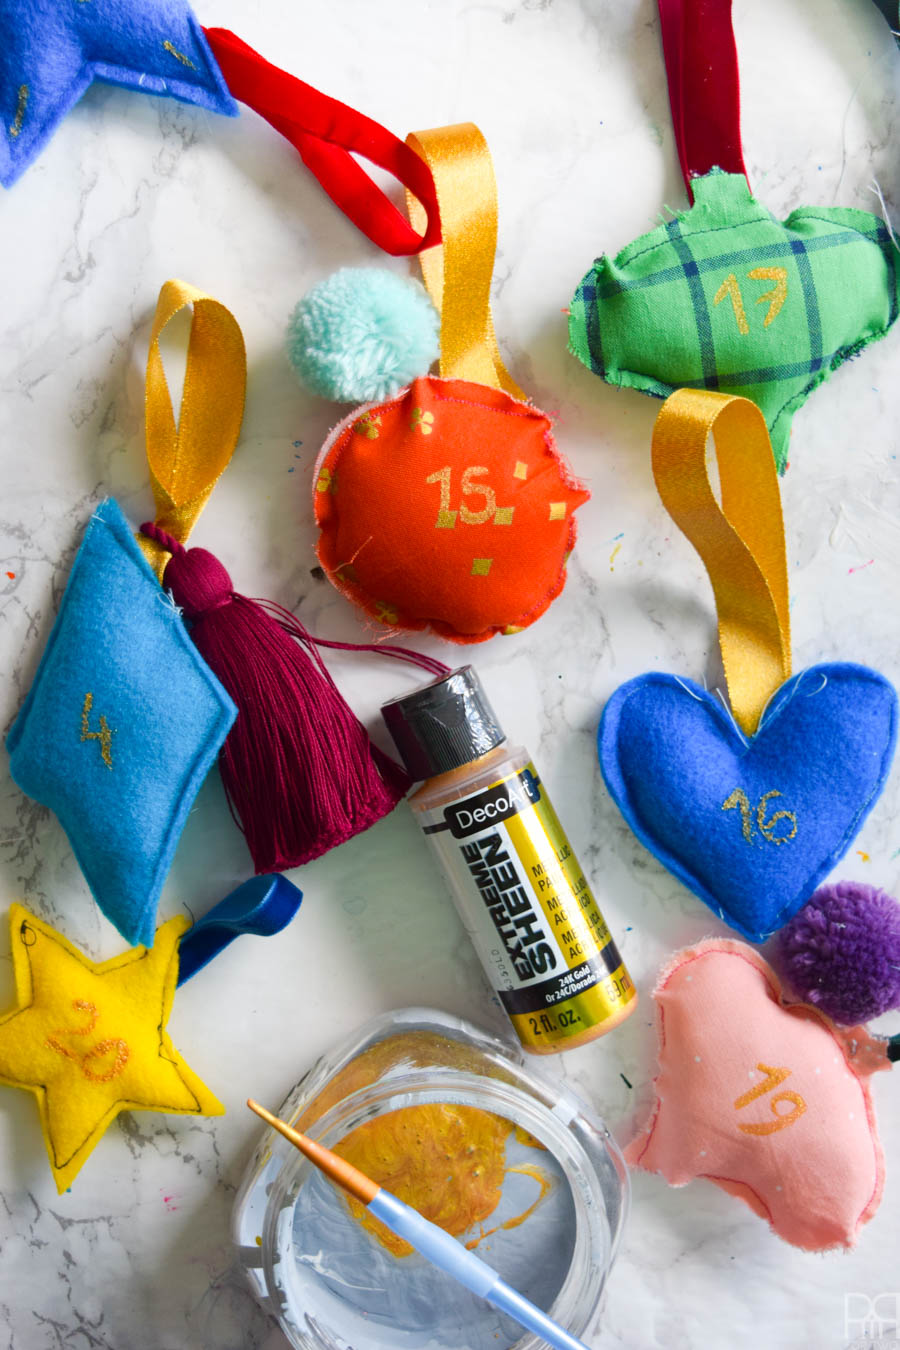
- Americana Extreme Sheen in 24K Gold
- DecoArt Fabric Medium
- Americana Acrylics in any shade you want
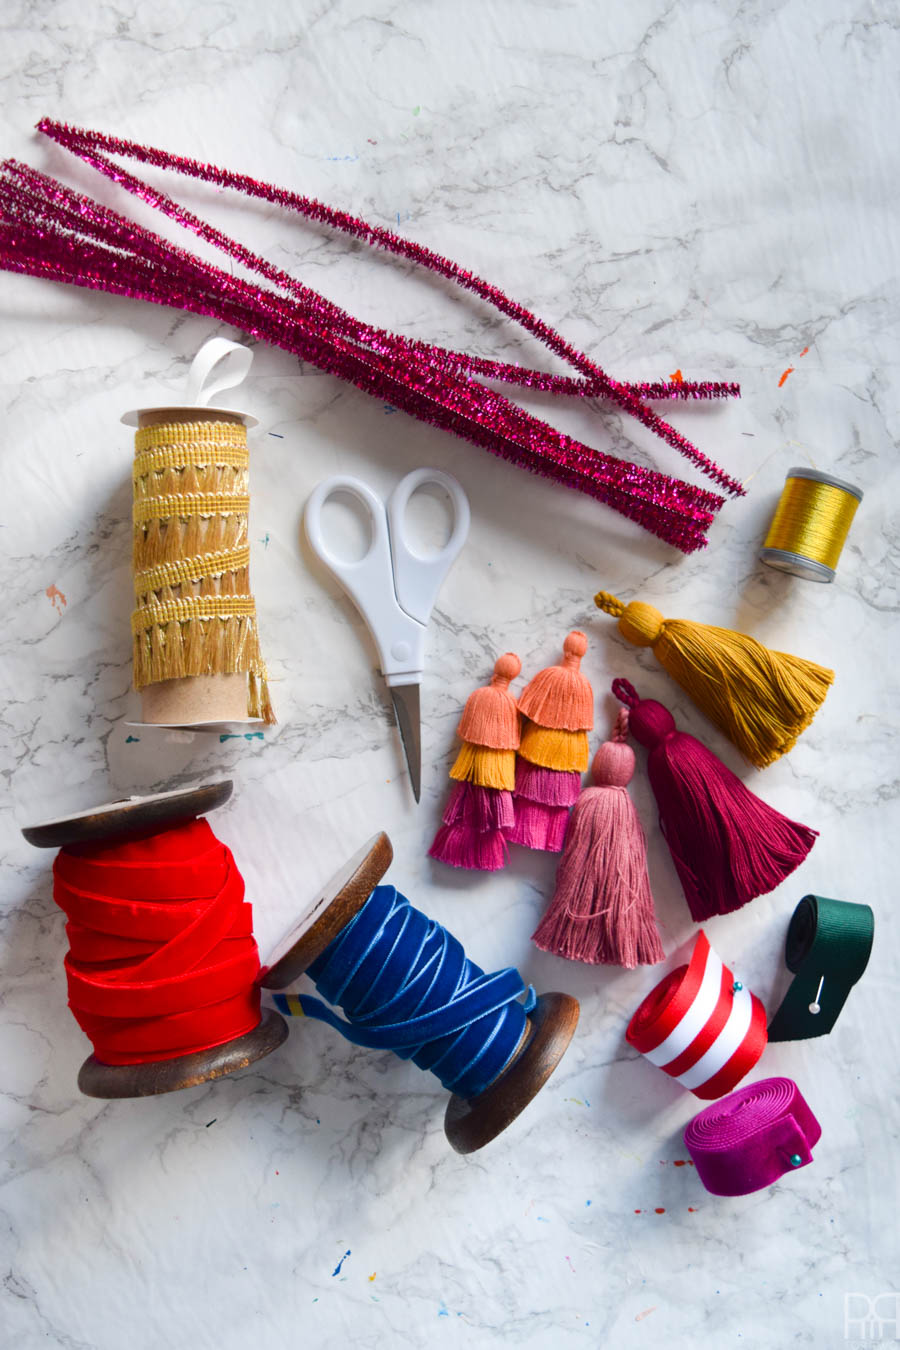
- Tassels, ribbons, plastic gemstones
- Sewing Machine
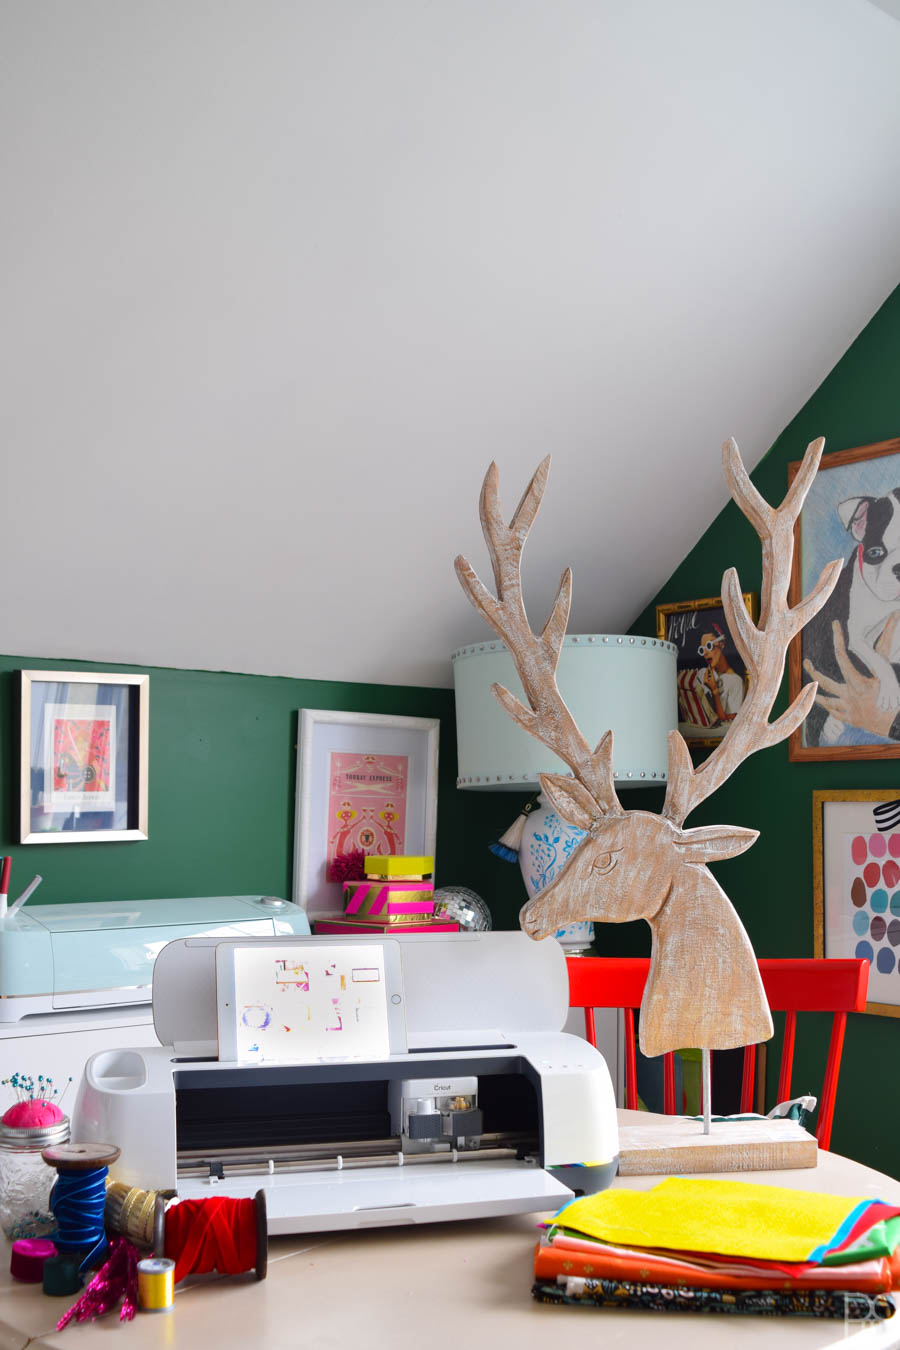
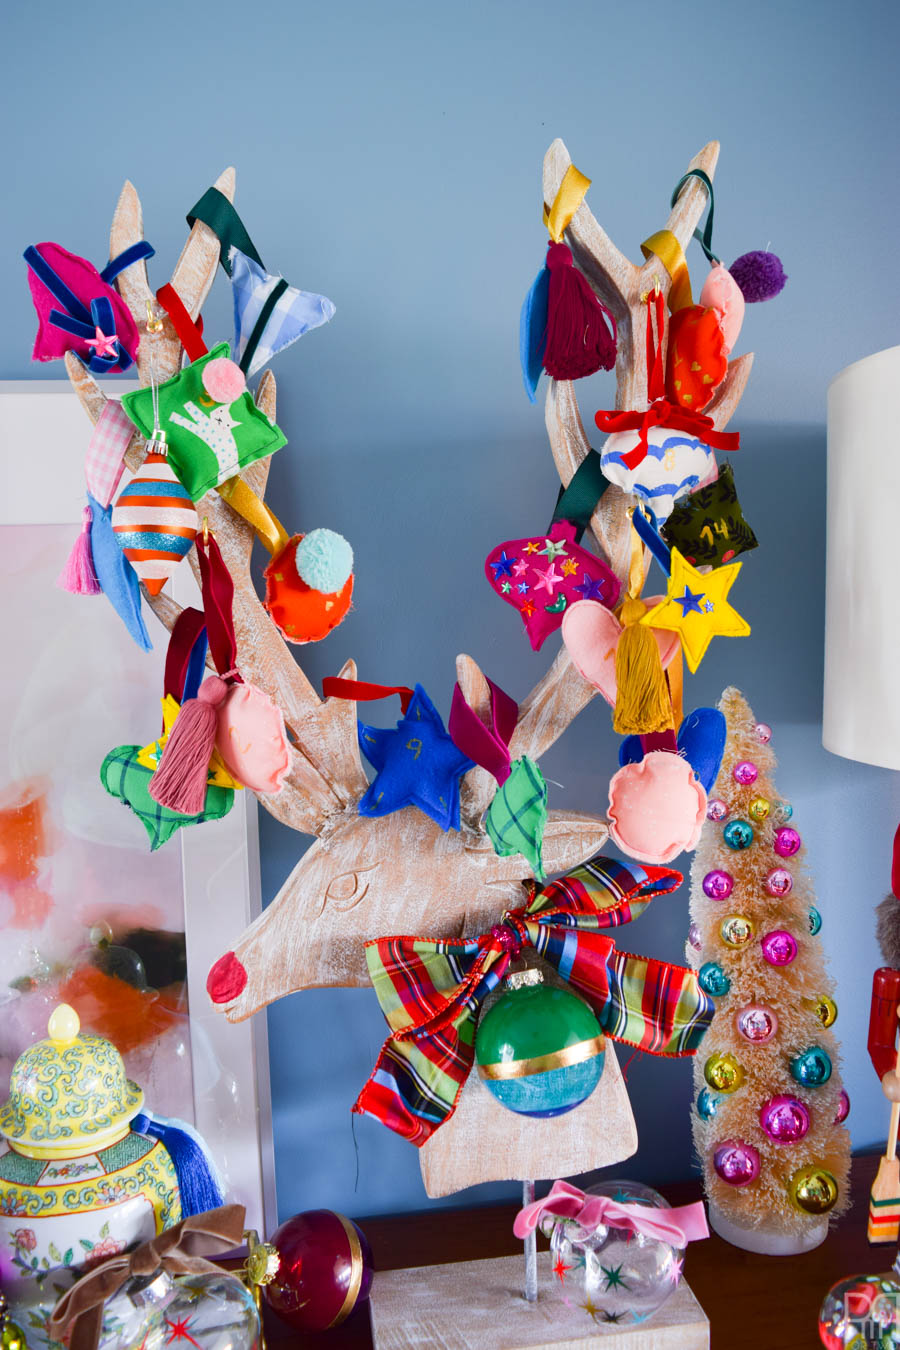
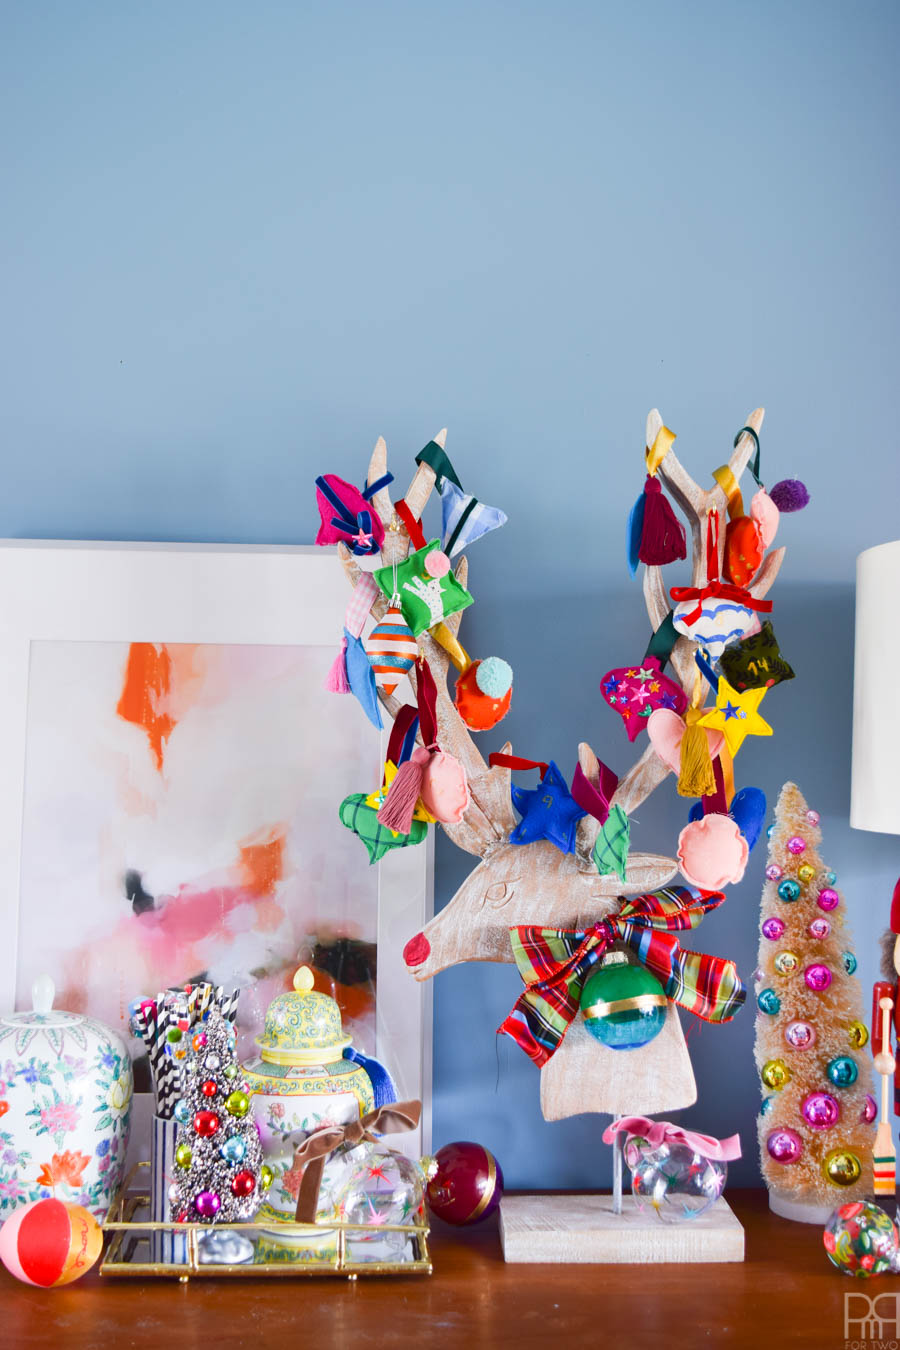
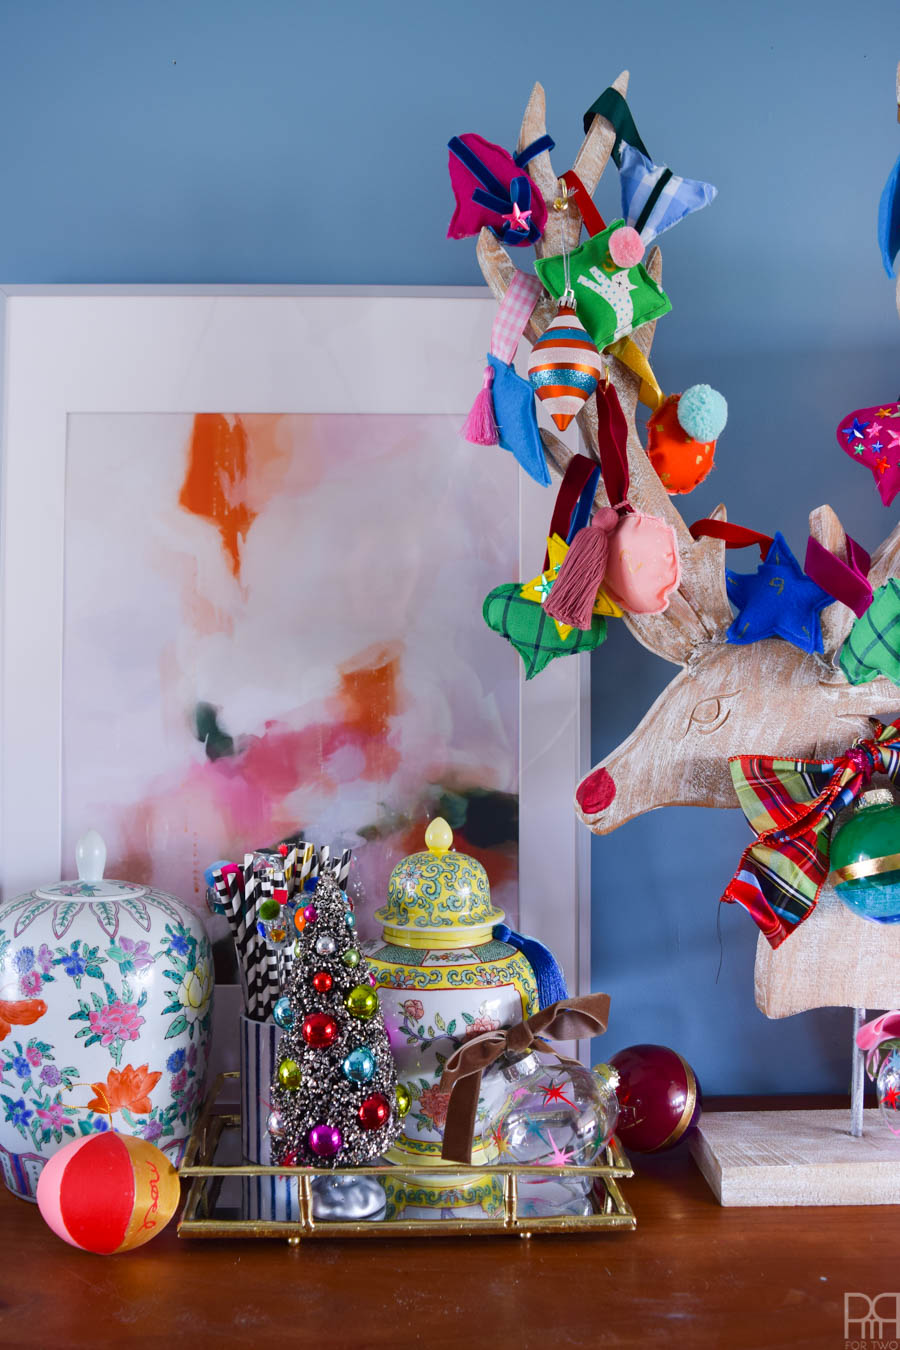
- Large Stag Head with antlers (so that you can hang the ornaments off them)
- Brass Hooks
This whole thing took me an afternoon to do from start to finish. It’s not for the faint of heart, but it’s not impossible, just a little time consuming.
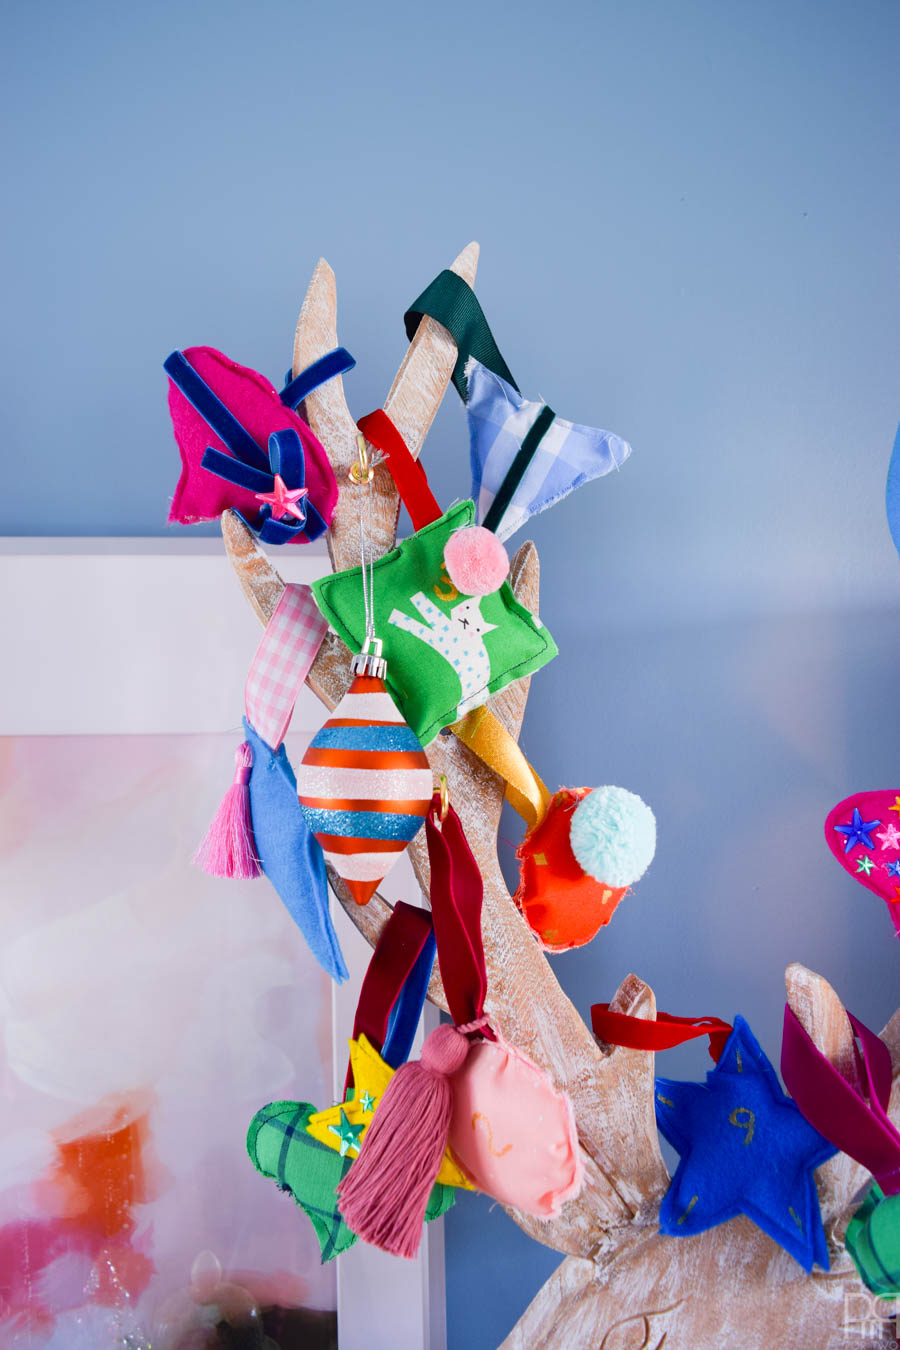
Also, since we’re making a Christmas advent calendar don’t forget to cut 25 ornaments out of your fabric or felt.
How to make an advent calendar using a Cricut Maker
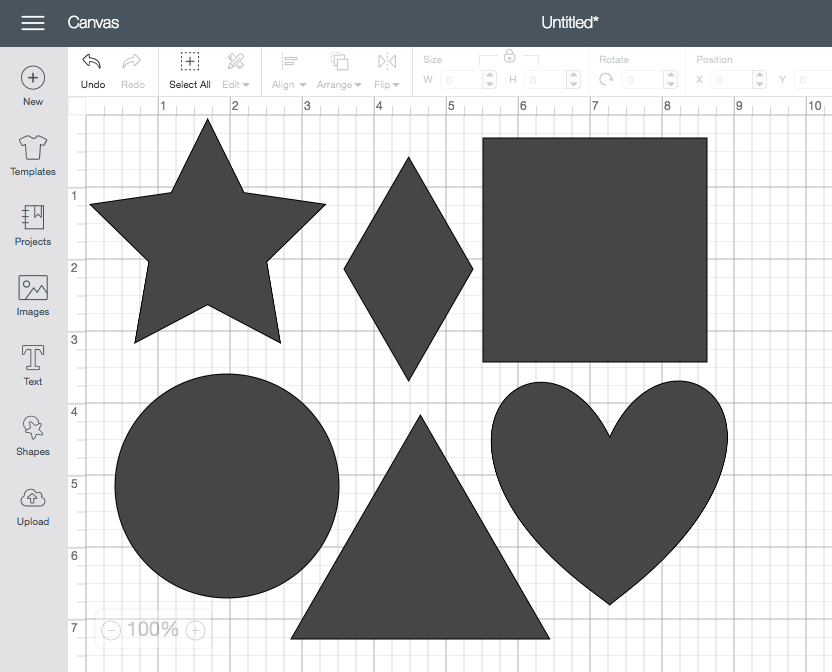
Start by picking the designs you want for your ornaments in the Design Space. For the sake of things being easy, I used the existing shapes (stars, hearts, circles, diamonds, squares etc.)
Much like with any Cricut, stick your fabric to the mat and load into the machine to cut. One of the amazing things about the Cricut Maker is the ease with which it cuts fabrics and things like felt, so don’t be afraid of using something different!
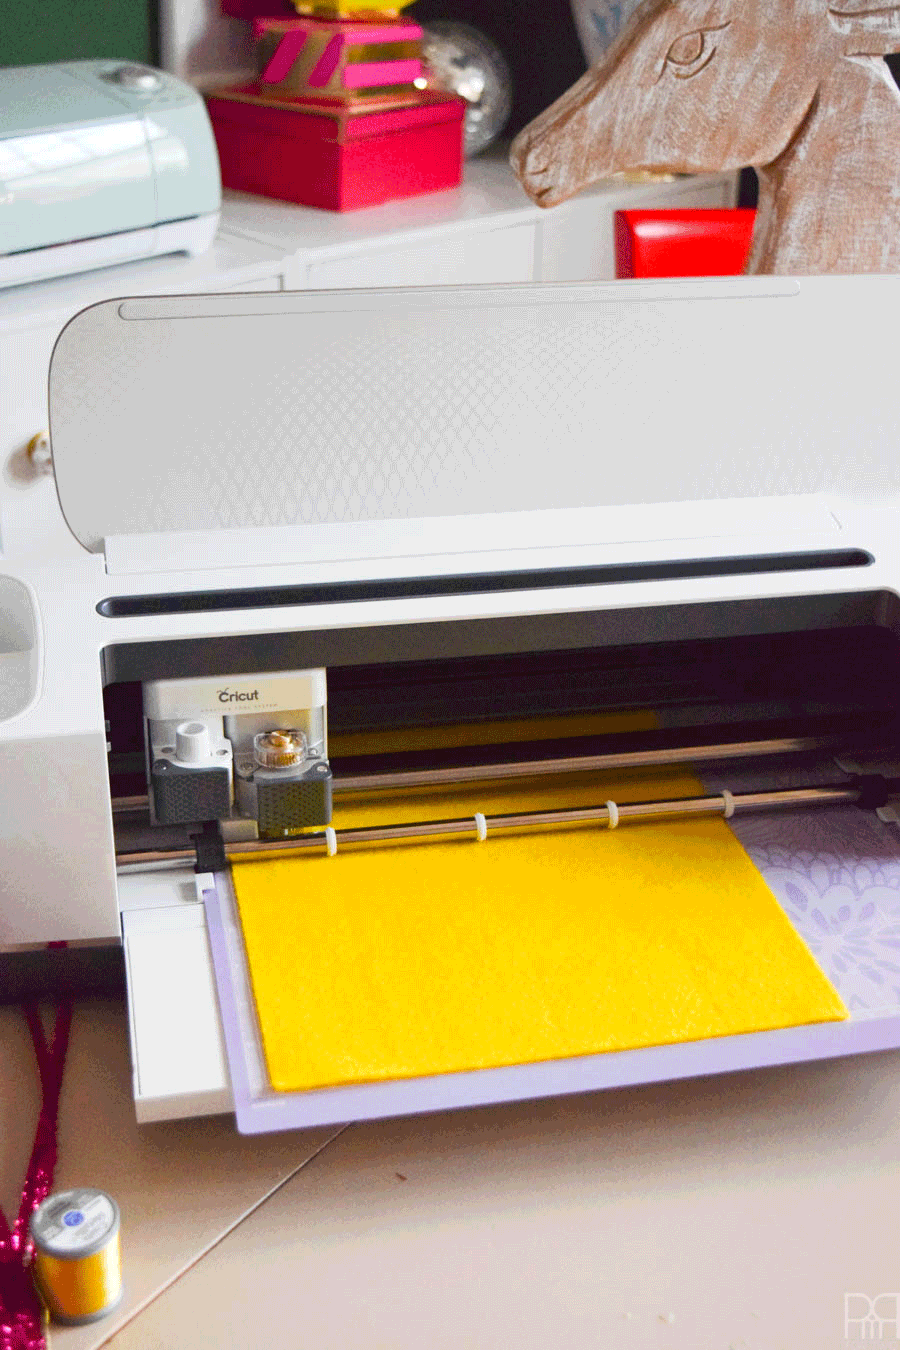
How to cut fabric ornaments with the Cricut Maker
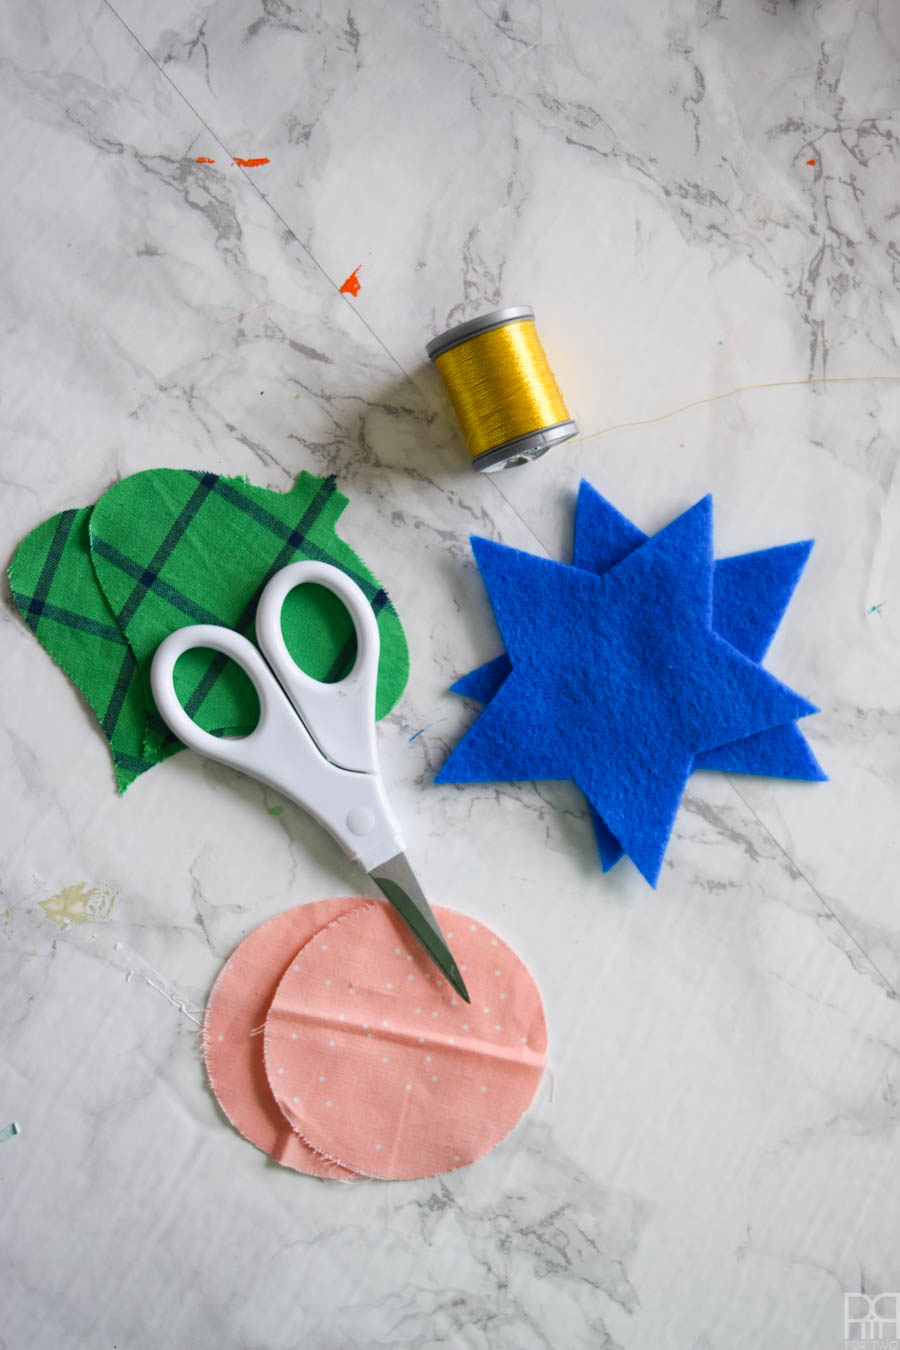
Since you’re making ornaments, cut 2 of every image (since you’ll then sew them together later)

Before stuffing and sewing the ornaments (unless you want to hot glue them on later) add little plastic gemstones and ribbon to the little pieces of material.
Once you’ve cut through all the shapes and paired them off, start sewing them together. With the felt it’s easy, just put two together and go! But with patterned fabric you can’t forget to turn one of them out so that both sides show the print.
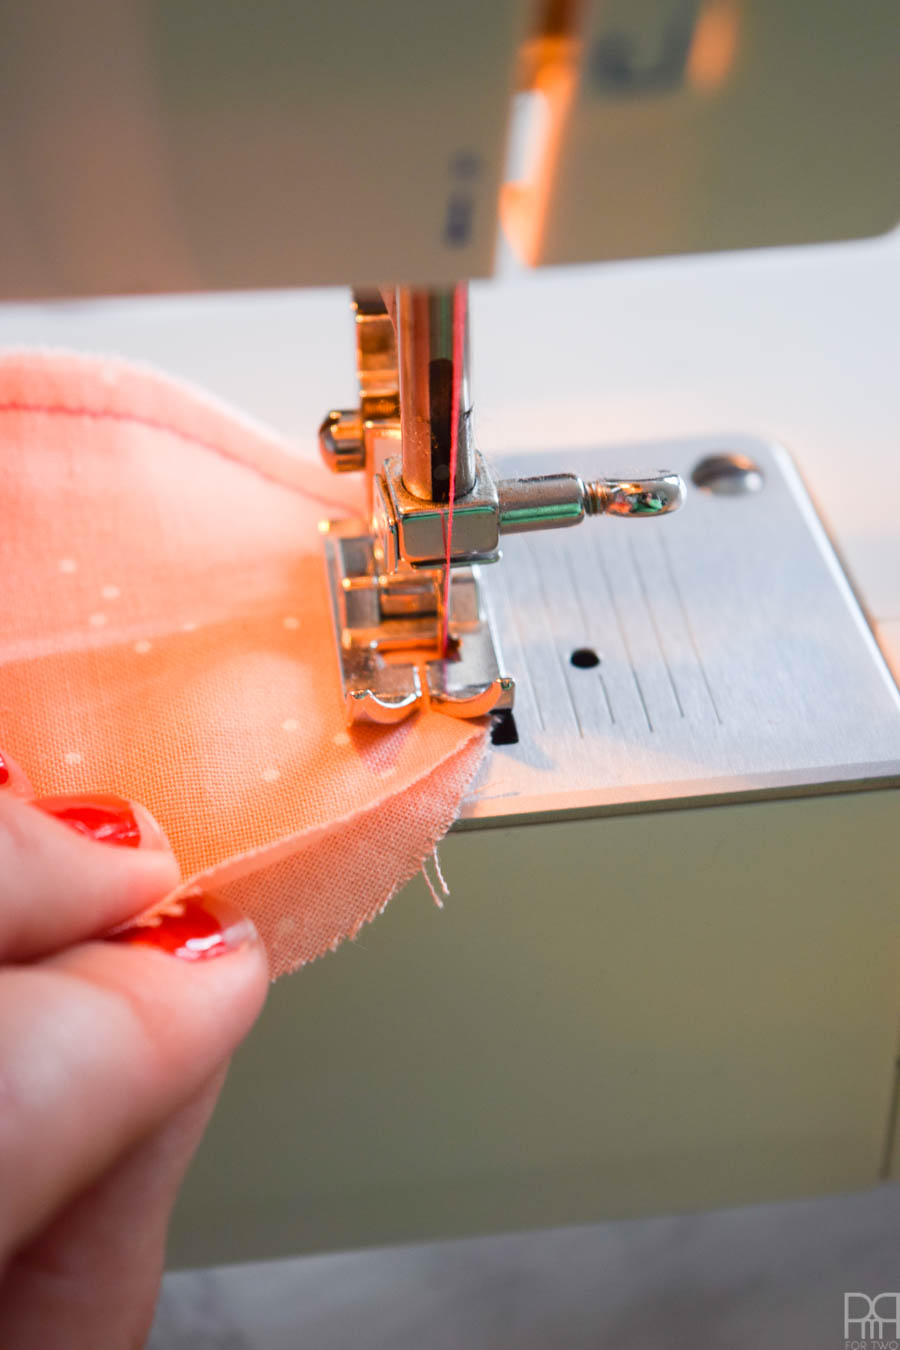
Don’t sew all the way around the shape, leave about an inch opening so that you can stuff it with fibre batting later.
Stuffing your felt and fabric ornaments
Once all the shapes have been “almost sewn” stuff each shape. I found it easy to wrap the fibre around the end of a paintbrush and then push it through the hole. Stuff the shape to whatever degree of “fullness” that you want
Once all the ornaments are stuffed, it’s time to sew the last little seem. Depending on the shape of the ornament and where you’ve left the opening, you’ll also want to add a ribbon loop to the seem before closing it.
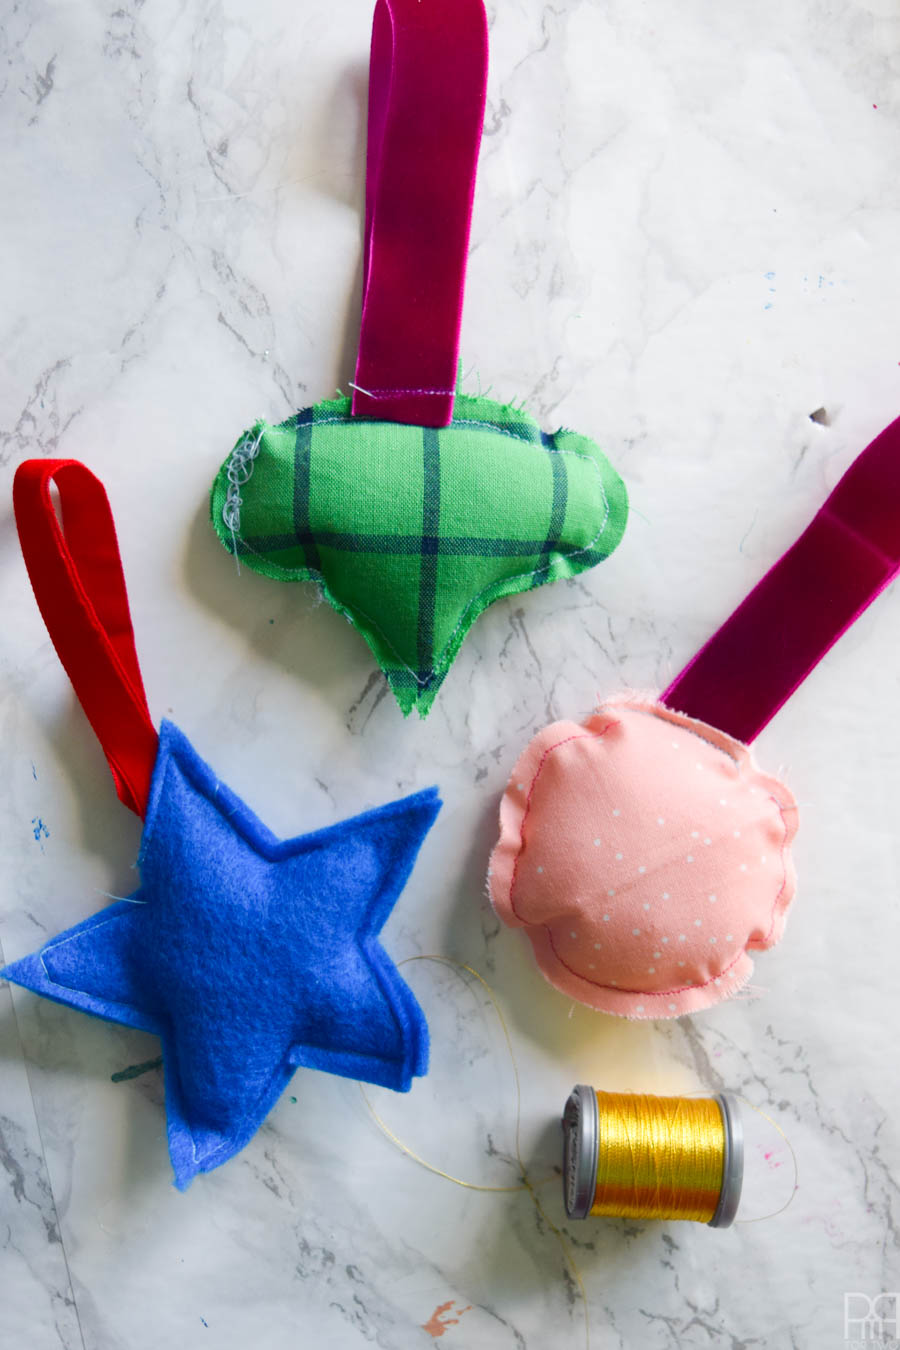
If you haven’t already added the loop, you can add one now based on the shape of the ornament. I did my best to centre them on each design, and somethings all it took was a few extra stitches to add the loop.
How to paint on fabric
By now your ornaments should be looking pretty good. It’s time to add the umbers and any little painted flourishes that you want. I used DecoArt’s Extreme Sheen in gold, and mixed that with the fabric medium (because I find it adheres better). I painted the numbers on the back of the ornaments, and added little dashes and florals as I went.
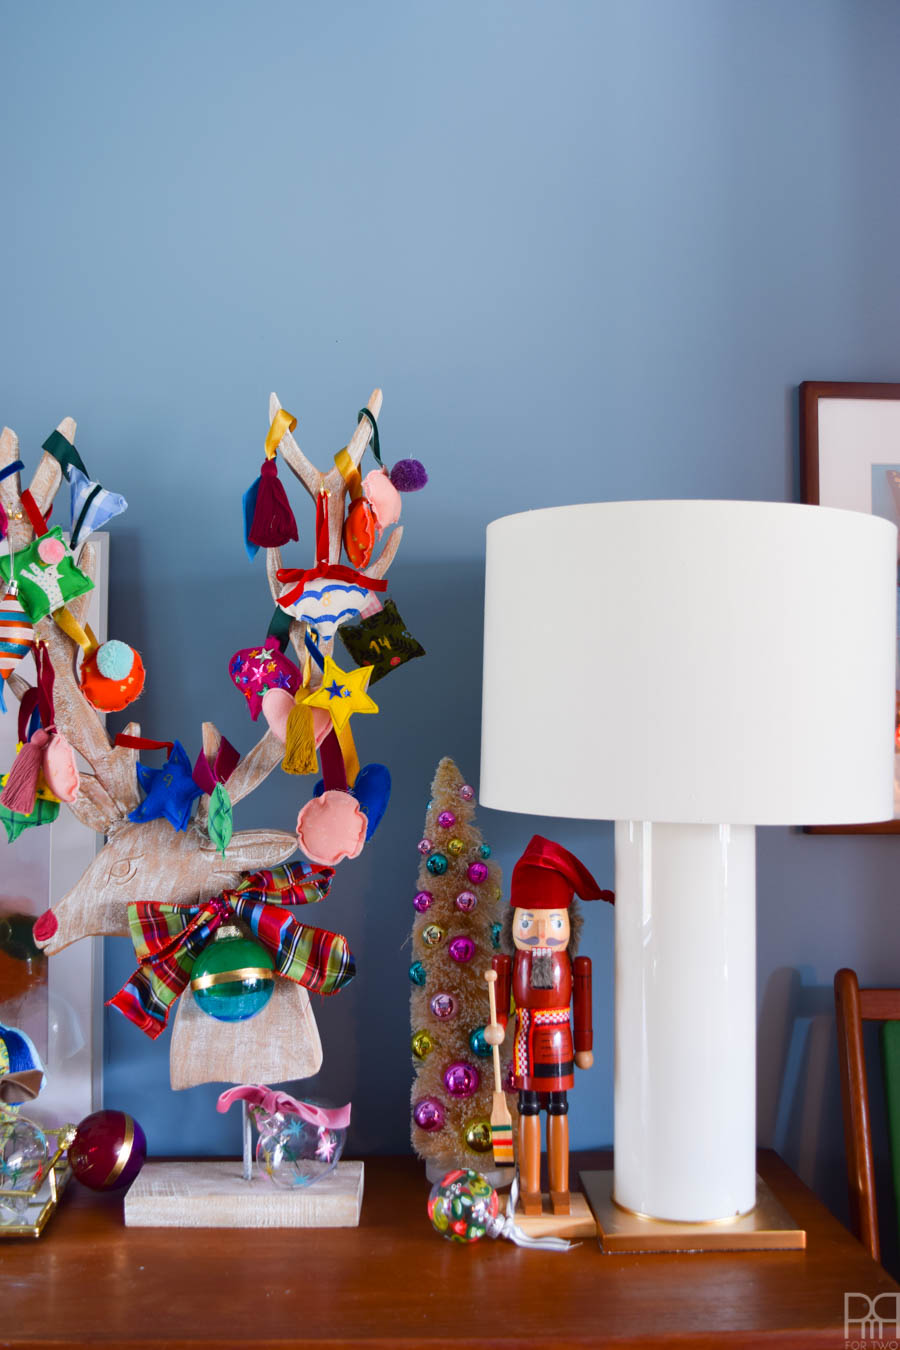
Time to address the elephant in the room i.e the stag. This wooden version is beautiful, but it lacks colour. I added a big plaid bow and an ornament before painting a big ole’ red nose (Americana Burgundy Wine)
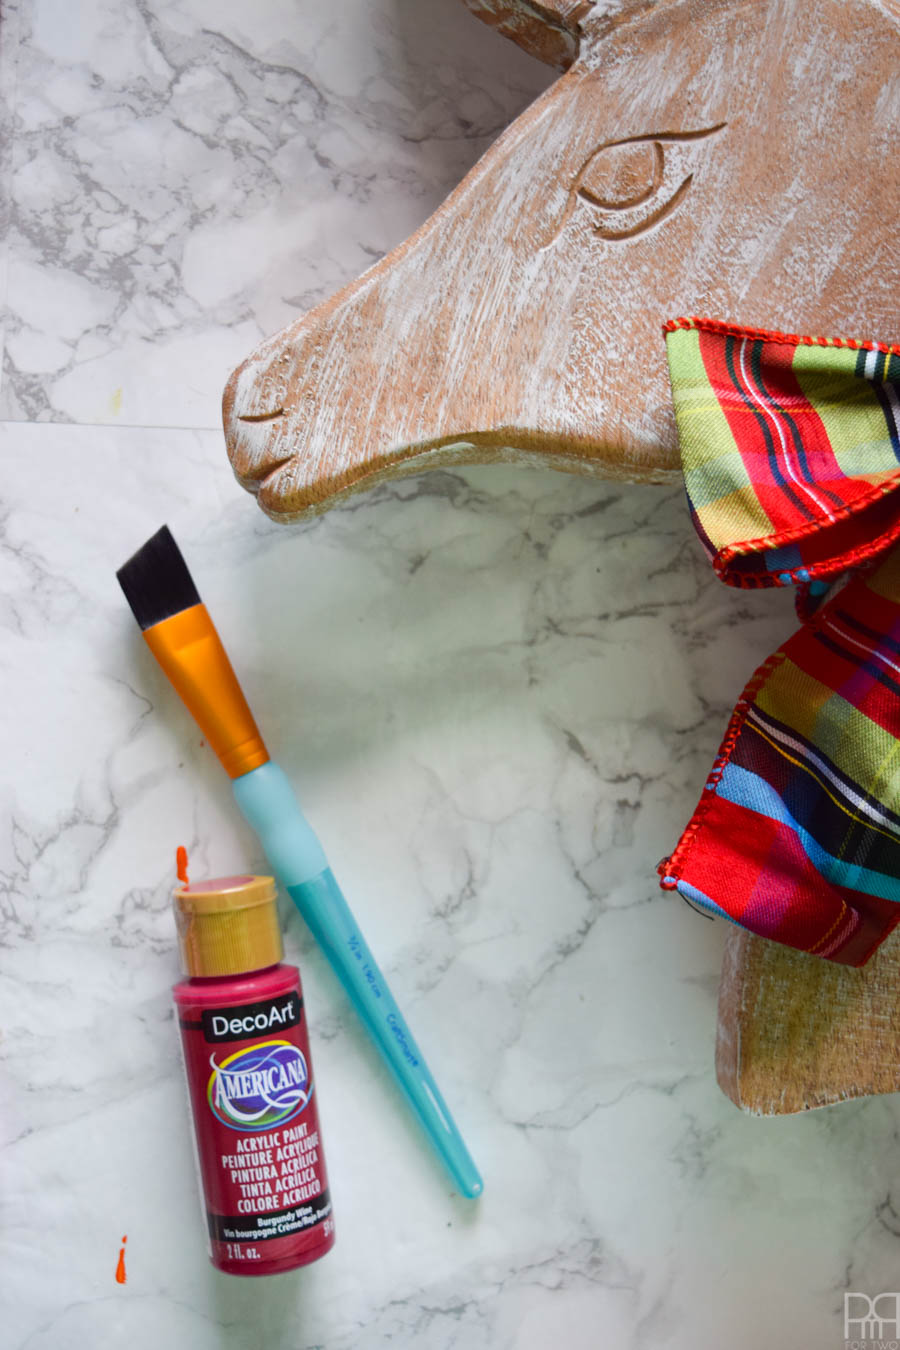
I added some small brass hooks to the wood antlers so that I could properly hang all 25 ornaments without overwhelming the antlers.
And there you have it! You just made a Christmas advent calendar using a Cricut Maker and DecoArt paints.

By the way, you can catch my painted floral ornaments, my atomic starburst vinyl ornaments, and all my other Christmas crafts (including another Christmas advent calendar) in my project gallery.


these are adorable! i wish i was craftier!
thanks boo! I totally wish I had the Maker last year, it would have made this project a million times easier the first time around. ha!
This is so cute! I just love handmade ornaments!