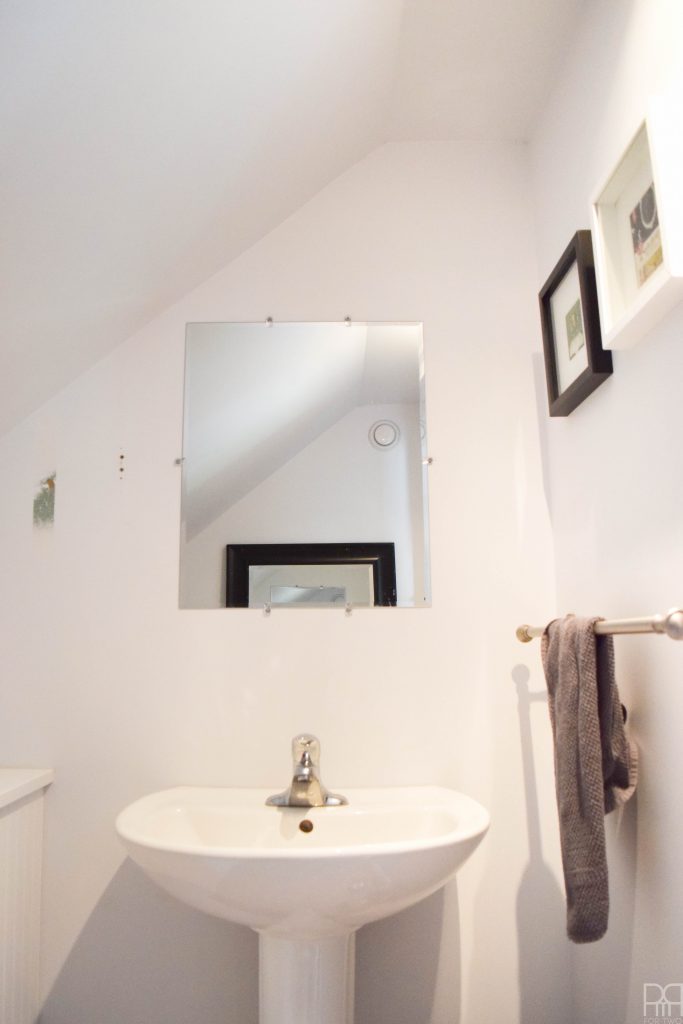
A while back I fell in love with Aspect Tiles’ peel & stick glass subway tiles. As a renter, I loved the idea of something I could quite literally peel and stick. However, as a renter, I did not love the idea of having to put fresh drywall in after removing them for our march-out. No thank you. So what did I do then? Read on to find out.
*Aspect Tiles provided the product for review, but all thoughts are my own. Thank you for supporting the brands that make PMQ for two possible.
*originally published Sep 22 2016
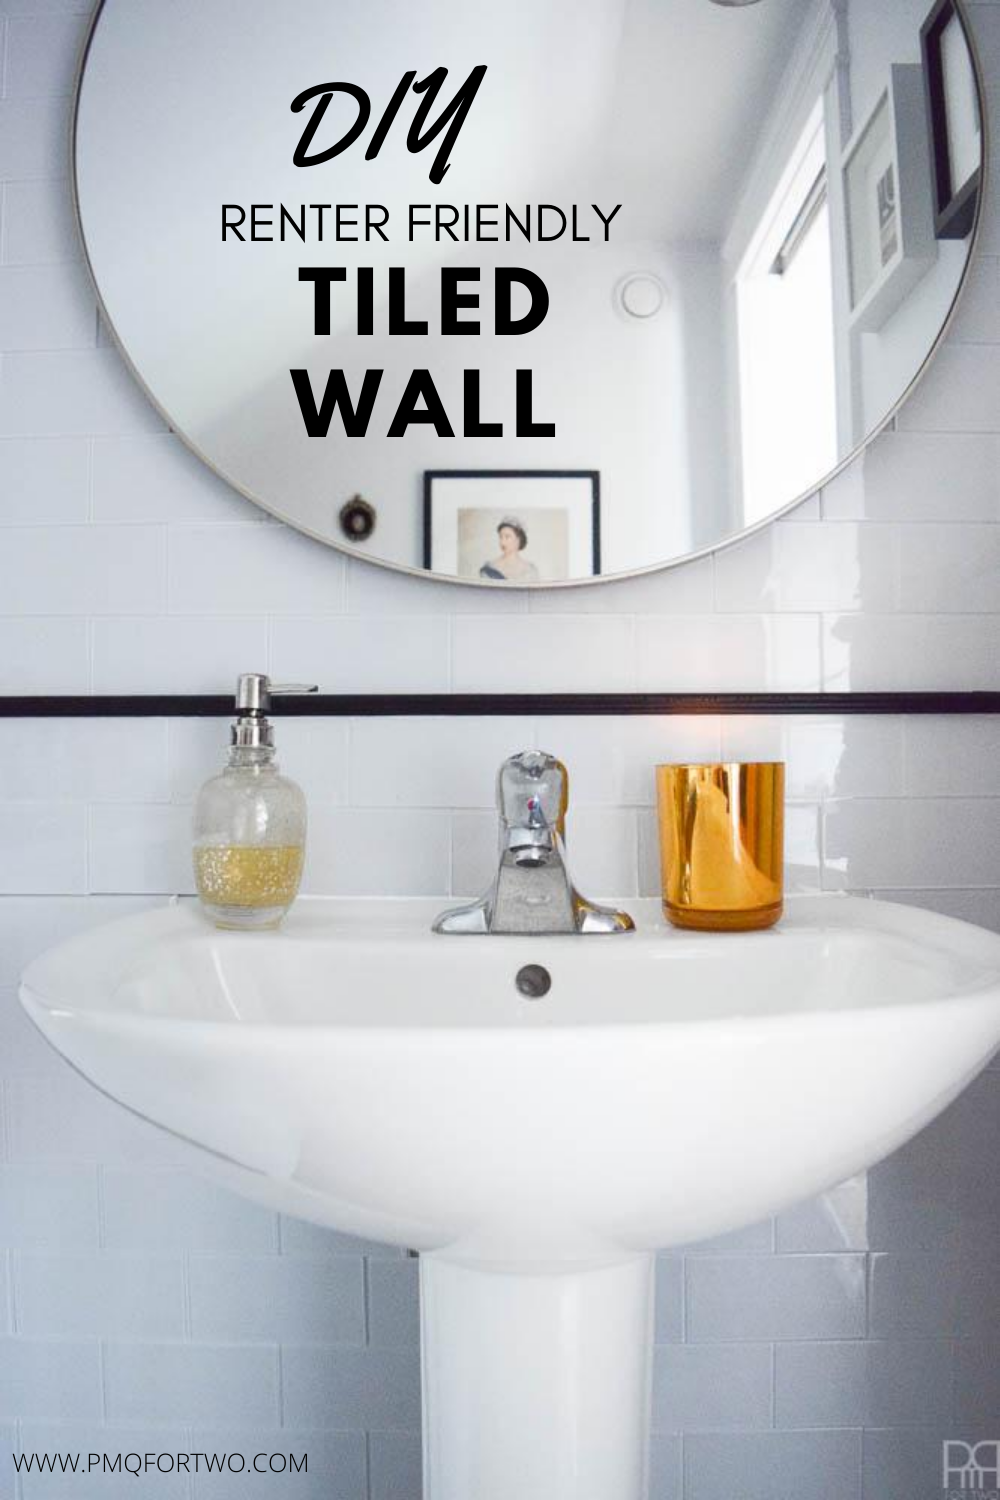
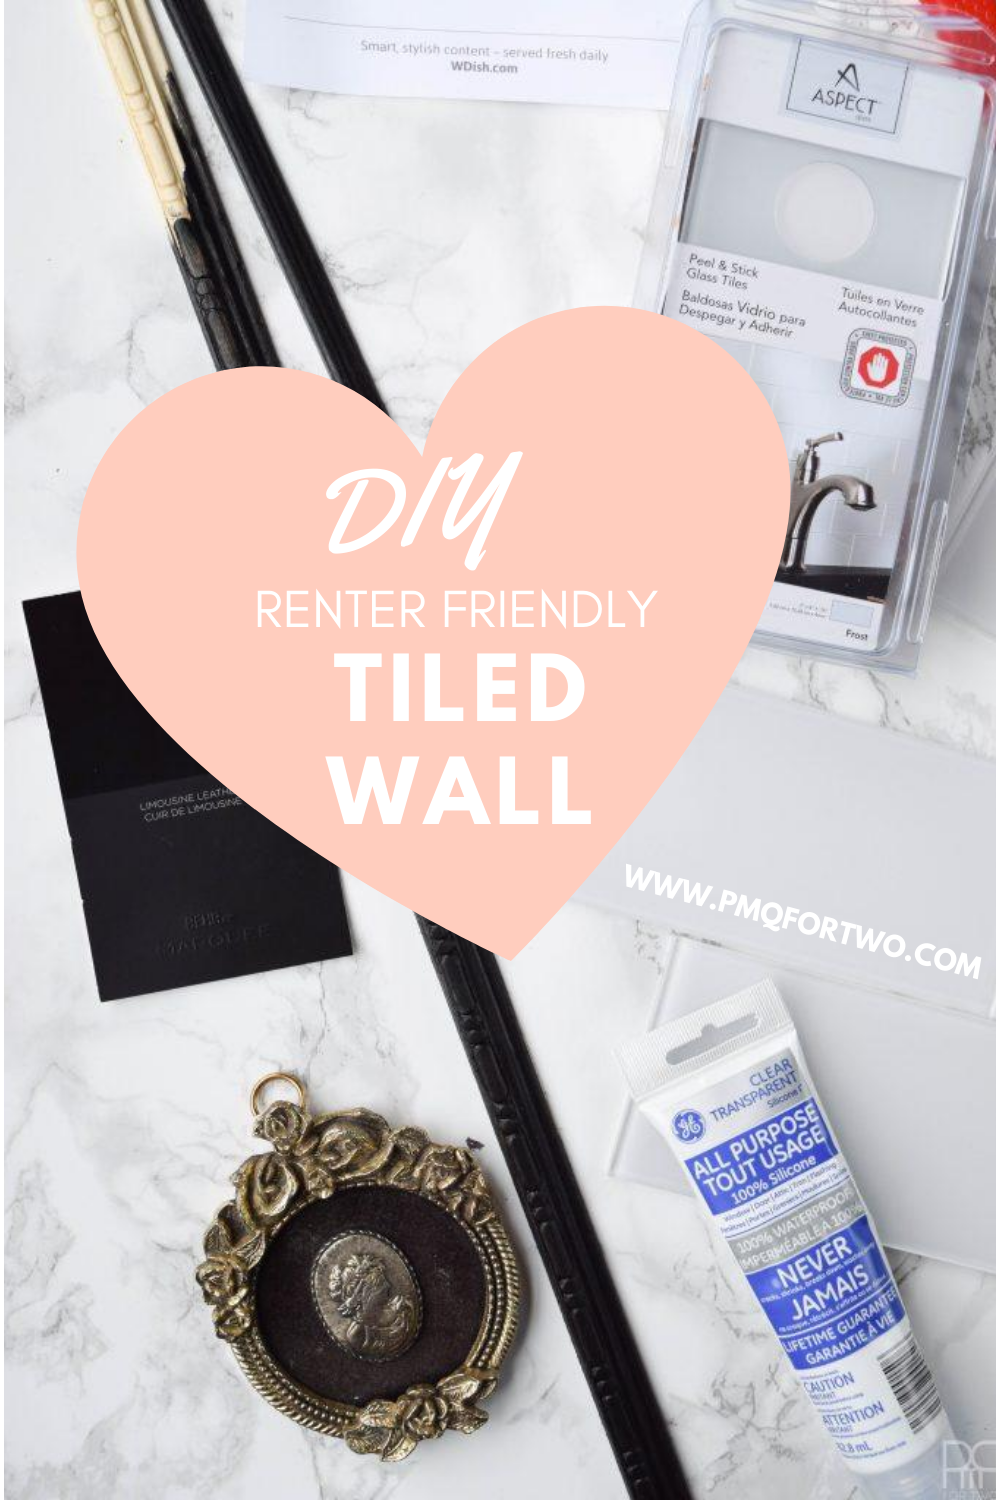
How to create a renter friendly peel and stick tile wall
- Foam core boards – I needed four (20″ x 30″)
- Hammer and finishing nails (1″)
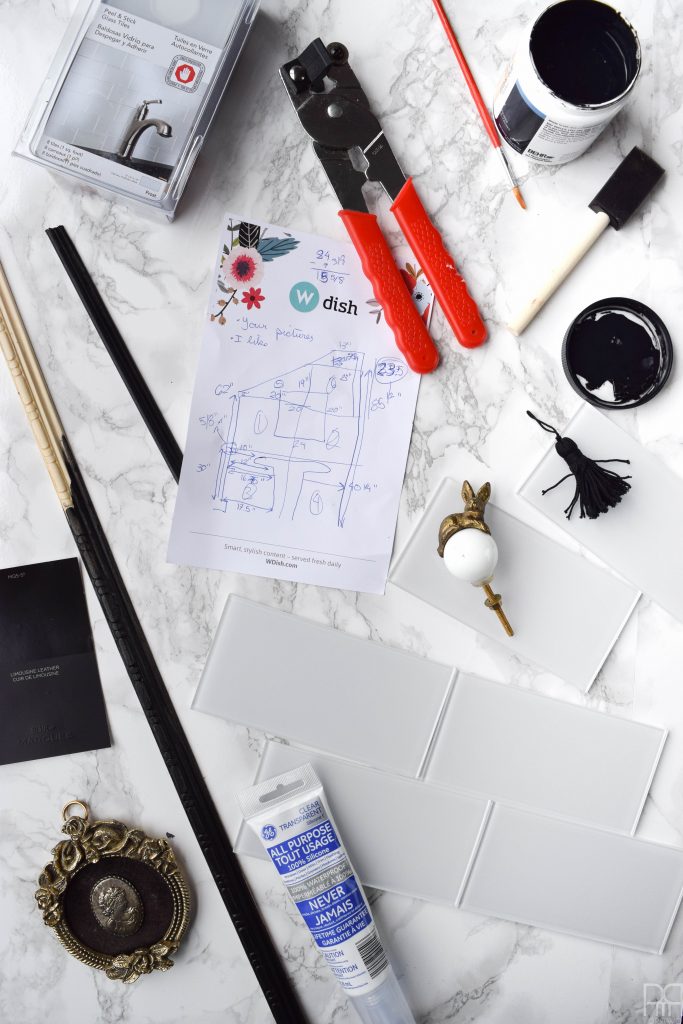
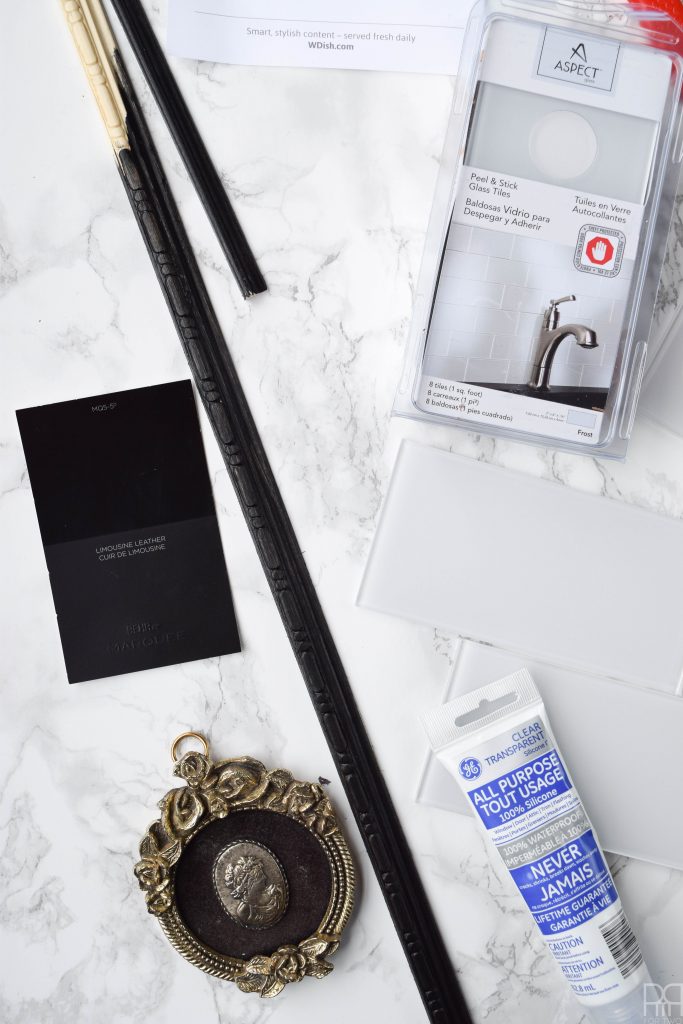
- 20 square feet of Aspect Tiles – or any other peel and stick tiles
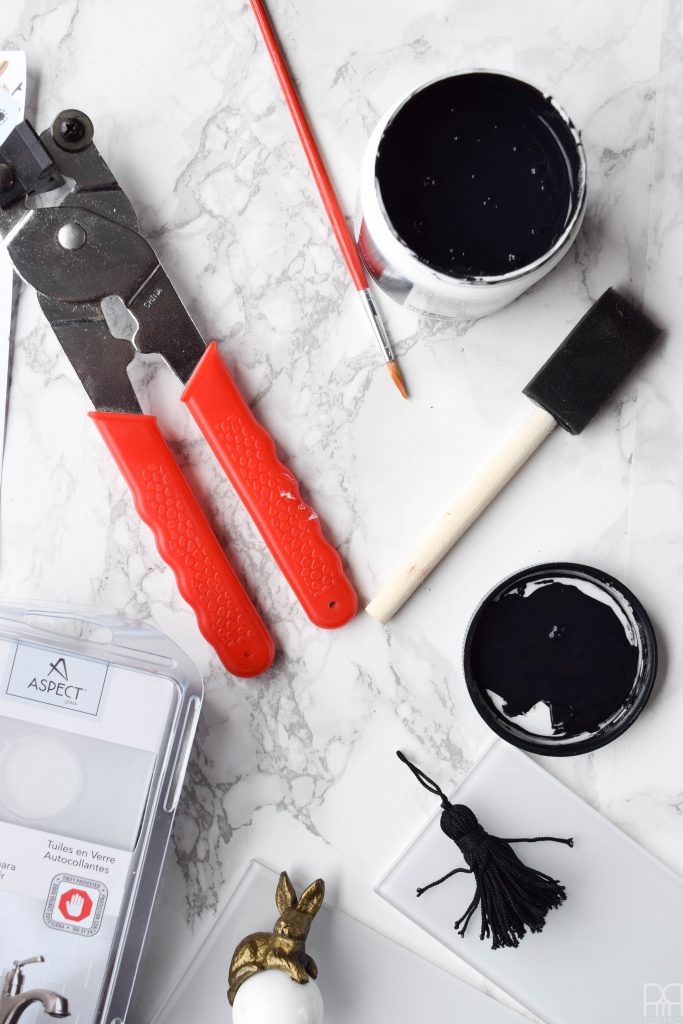
- Glass tile cutter
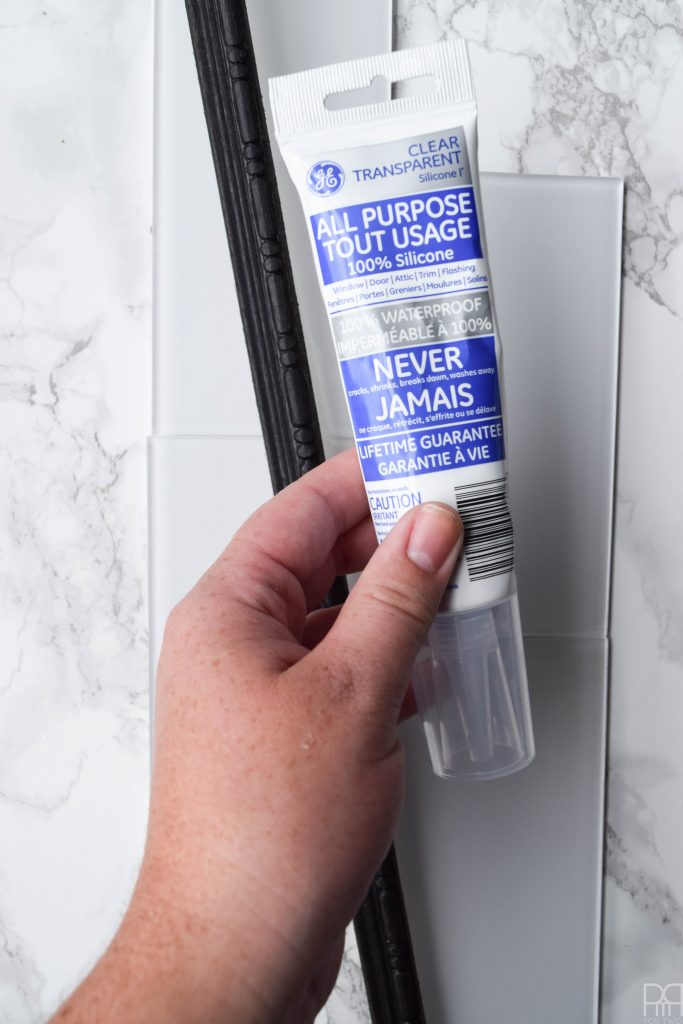
- GE Silicone 1
- GE Silicone caulking in white
- Wall trim – I had a colonial design, and then one they call the “sausage.” I got ’em all at Home Depot.
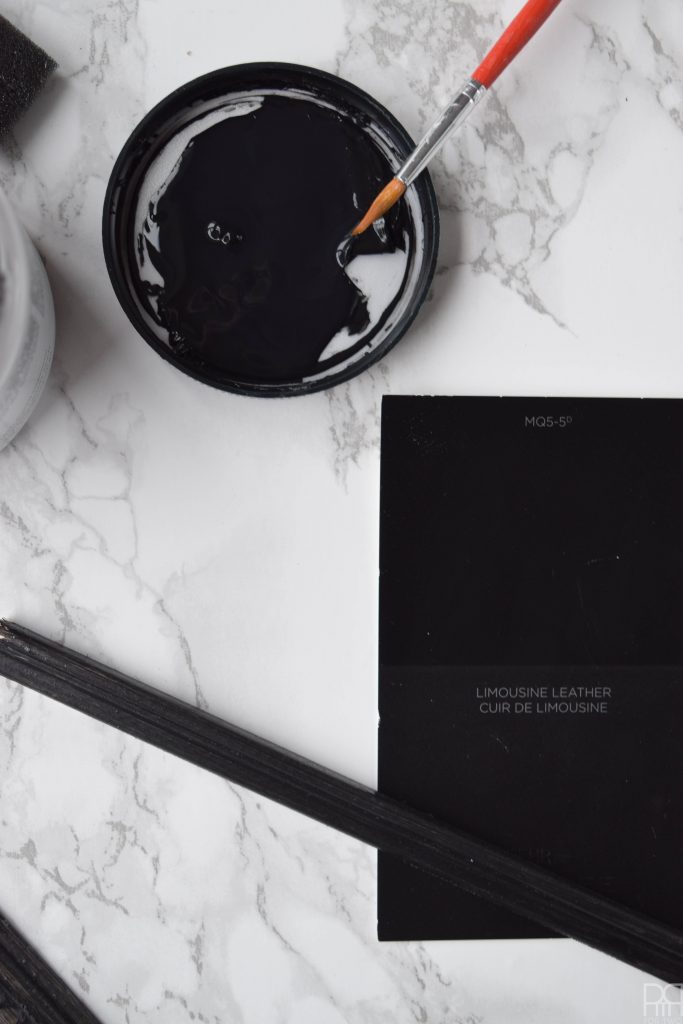
- Black paint – I used Behr Limousine Leather MQ5-5o
- Paint Brush
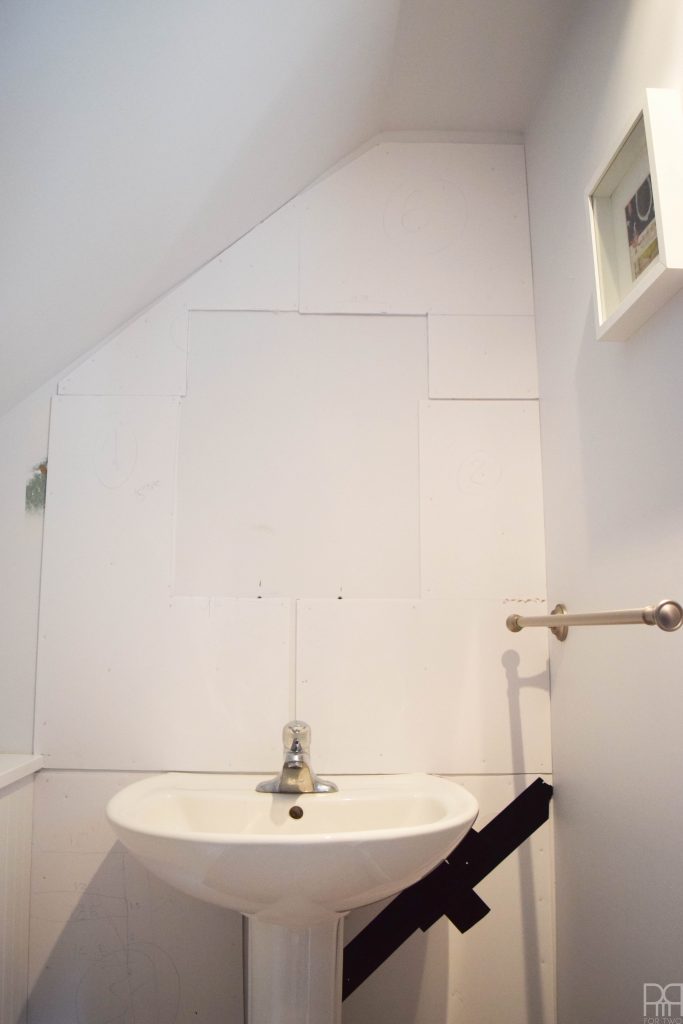
Preparing the wall for peel and stick tiles
Measure the wall you want to cover. Your measurements are for the foam core that will be covering the wall, so make sure you include and counter tops that jut into the space, awkward angles and light fixtures.
Cut your foam core to specification. I used four panels, and numbered them before cutting them so that I knew which ones went where. Getting the cuts right was important at the edges of the wall, but no so much for where the mirror used to be since I would be covering it with a large circular mirror.
Using a hammer and nails, nail the foam core to the wall. This will be a life-saver when you have to take them off to move. It will be as simple as pulling up the boards, not the tile.
Using Peel and Stick Tiles
Start laying tile! This will be most complicated part because you’ll have to make sure everything is plum and even, and that your spacing is on point.
Start by laying a blocking piece at the bottom if your floor trim isn’t even. If it is – you’re in luck! Use that. You always lay tile from the bottom-up.
For my subway tile pattern I off set each row by half, so every other row I had to cut the tiles in half.
When you’re cutting glass tiles, you score the top part using the blade, and then insert the tile into the mouth of the cutter, and press down. I found youtube videos super useful for this. DO NOT SCORE more than once! It will cause the tile to shatter when you press down on it, since the break occurs where the tile was scored.
The angled cuts for the ceiling were the hardest thing I’ve had to do. I thought nailing my primer for my // Vice Jars // was tough, but no, this was tough.
I did not photograph this process because it was insanely time consuming, and once I got started I wasn’t in a mood to stop and take photos.
Finishing your Peel & Stick Tile Wall
I used white caulking to fill any gaps between tiles that might have occurred due to error. I had a few, so I filled them with caulking to ensure that no water from the sink would get into the foam core or wall, and rot, unseen, until we took it down.
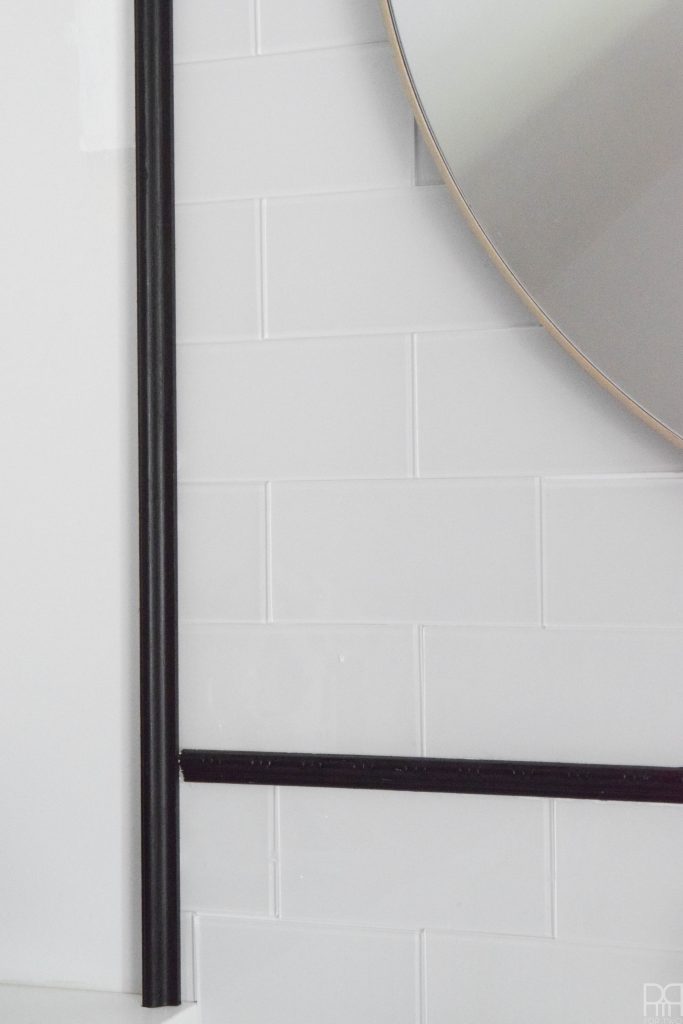
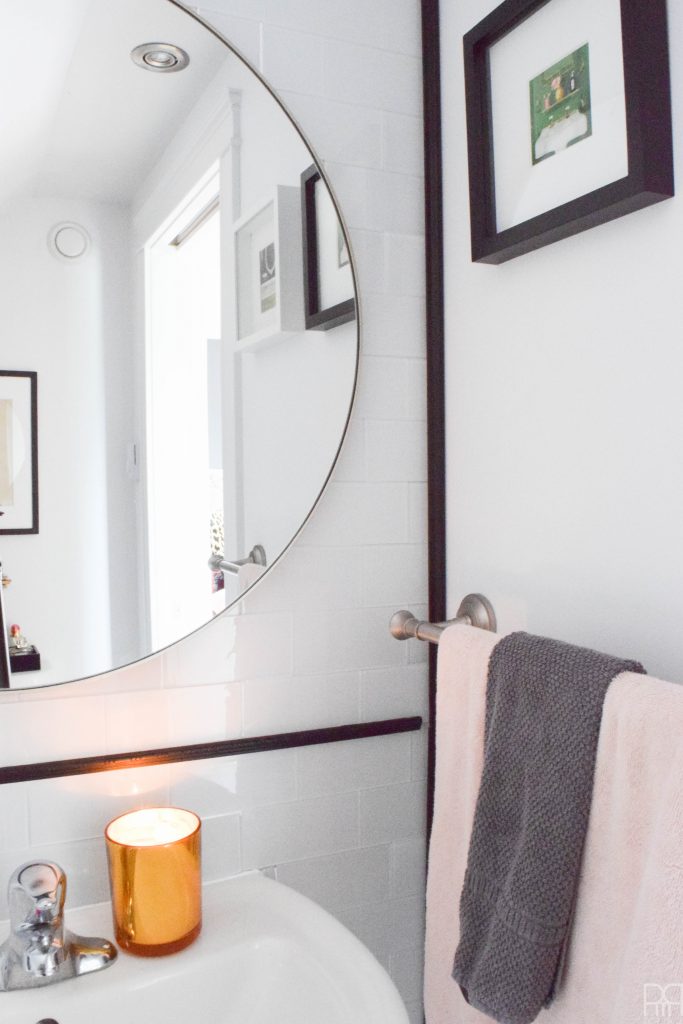
Cut your trim to go around the exterior of the wall, much like you would an edge tile. In my case, a few of my tile cuts weren’t completely straight, or particularly pretty, so the trim helped cover those up nicely.
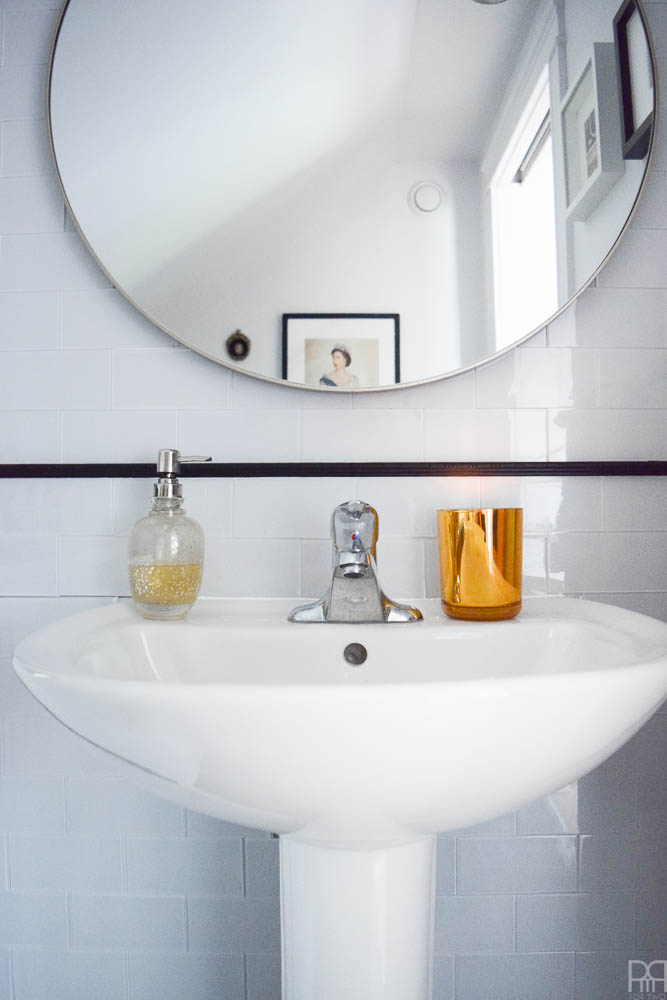
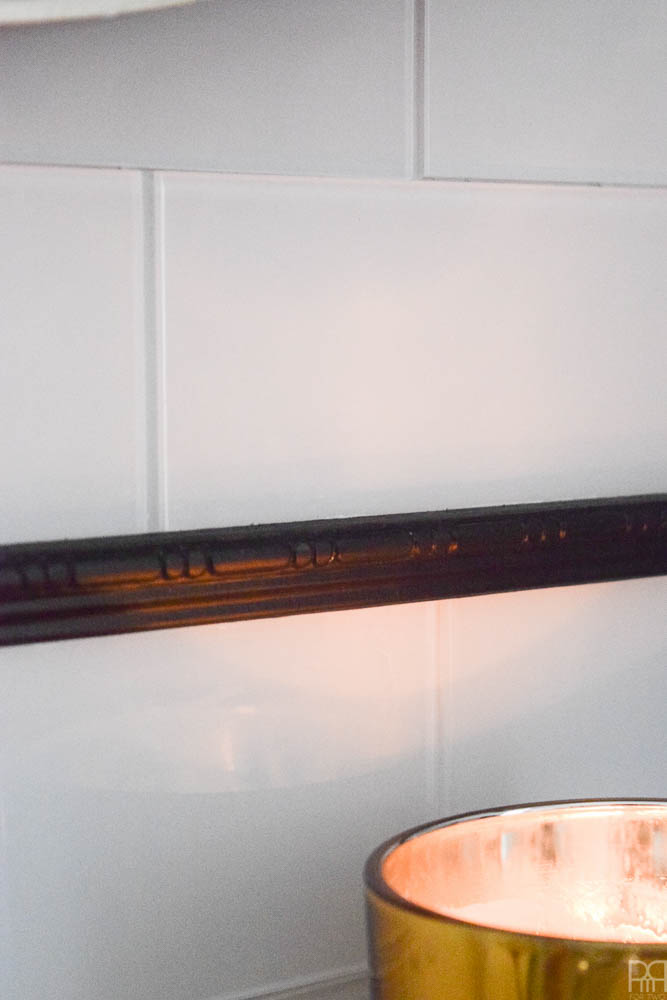
I added a more decorative piece across the middle, just above the sink, for a decorate touch to help break-up the white.
Paint your trim dark glossy black. The contrast is classic, and looks really polished. I used a paint sample that I got at the Home Depot, and then sealed them with a tough coat.
Using GE Silicone 1 (because there’s a Silicone II ) I applied the trim to the tile not the wall. Run a bead of caulking down the back of the trim, and then press firmly, holding for 30 seconds before moving onto the next piece.
Caulking takes up to 12hrs to dry, so I let is sit overnight.
Hanging a mirror on the removable tile wall
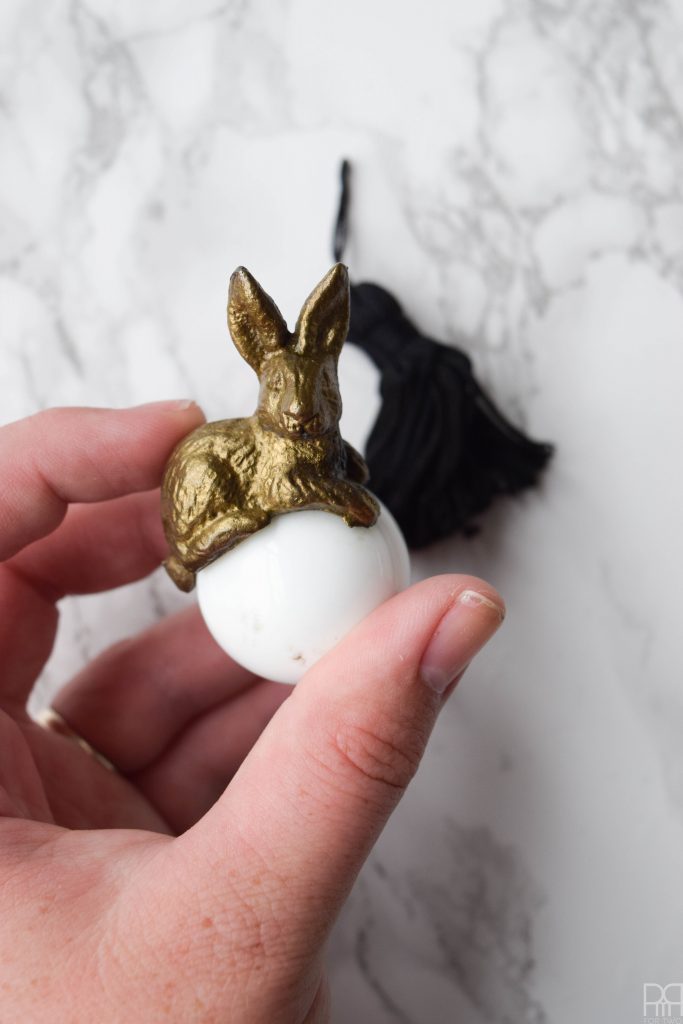
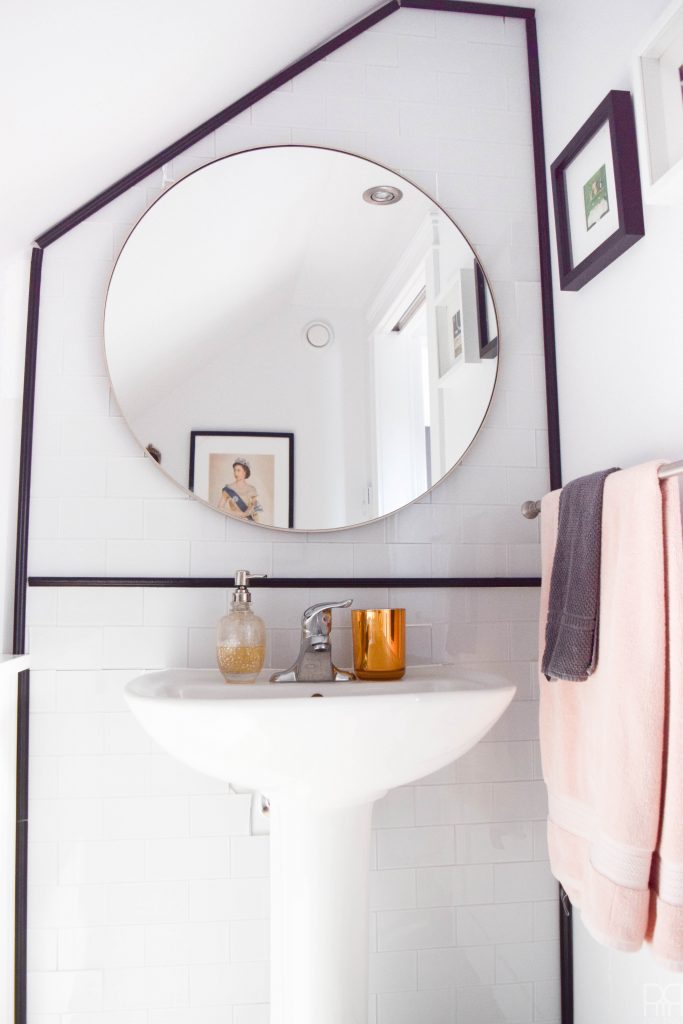
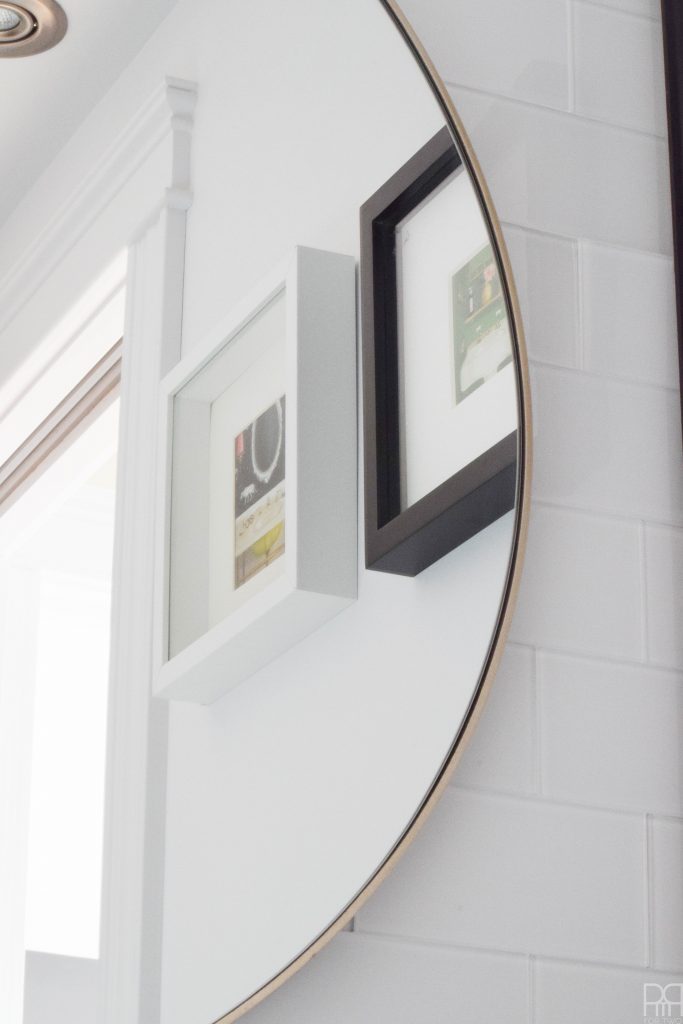
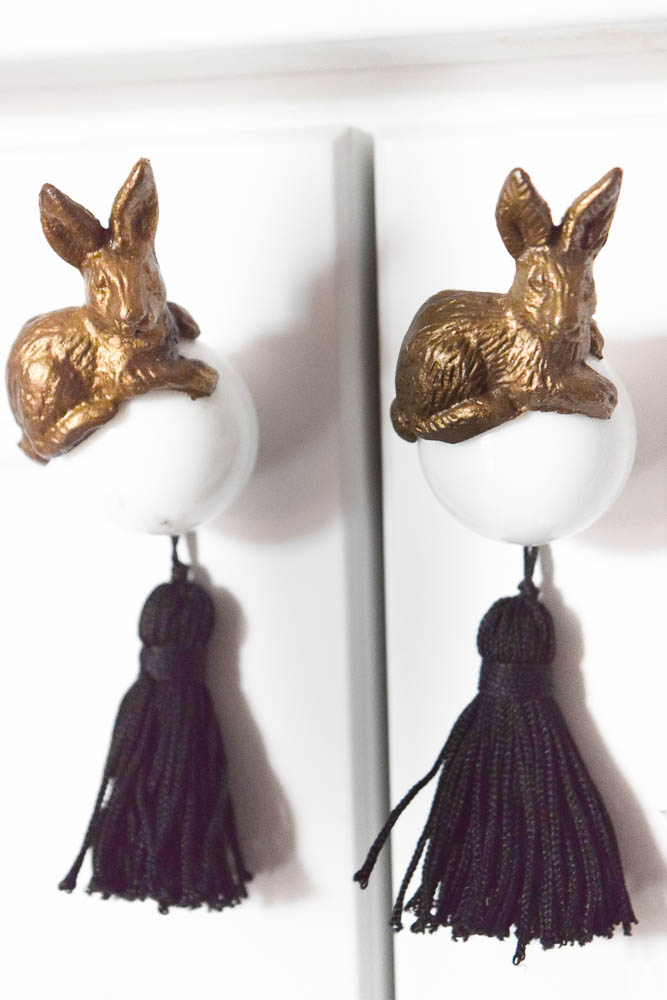
This is where I would say “hang your mirror” but I did it before applying the trim because I was tired of looking at the wall in the middle of the tiles. Because the mirror is large and heavy I didn’t tile over where I would attaching it, because I had to drill into the wall for anchors. I also added my cute little bunny knobs from Anthropology.
Enjoy! You now have a beautiful bathroom accent wall that is 100% renter friendly can be taken down with 1/10 the effort it took to put it up.


This is fricking brilliant! Looks so classy, and I’d never know the tile wasn’t right on the wall. I love the whole bathroom, and as usual, your photos are gorgeous!
You were so quick on the draw this morning! Thanks lovely 🙂 This project was so so so time consuming, but absolutely worth it. The ease and simplicity with which I’ll be able to take it down, patch over and move is priceless!
This tile wall took this bathroom up a few notches! I love it! The tile you chose is perfect!
Right? I was not a fan of the space beforehand, and the tiles gave me an excuse to bring into my style fold! Thanks for organizing the blog hop 🙂
Ariel your bathroom looks fantastic! Those tiles are the perfect accent. Am going to check them out for our cottage that we rent out and don’t have a lot of time to get in there for updates. Thanks for the idea!
So glad to hear! Happy to pass along the contact, they were great!
I LOVE how you accented this beautiful tile with black, it looks amazing!
Thanks Roxanne 🙂
It looks awesome! I have some Aspect tiles at home just waiting to go in my kitchen, so I was really excited to see this post! 🙂
sweet! They were a dream to apply. if only I was better at cutting them!
beware, once they’re stuck, they’re really on there.
LOVE!!! Fabulous idea and brilliant execution!!!
Thank you! I’ll even accept the “brilliant execution” 😉
This is a great idea! And after taking the tiled foam boards off the wall when moving, they can be re-used in the next place! It’s too bad Aspect doesn’t have marble-looking tiles, I would totally do this as my kitchen backsplash. Love the gif!
I don’t know if I could reuse them fully, I had to make a lot of specialized cuts for this wall. Either way, I’ve got a few good years use out of them, ahead of me! I’ll take it!
But thank you 🙂
love the black, white, and gold! the bunny knobs are awesome and i love the tile! we have a bathroom upstairs i am considering this for. who knows!
You should totally! 20 sq ft is enough for a smallish wall like this. It was time consuming, but actually fairly easy to do.
It only does a small wall, so you’d have to pick the right one, or add bead board all over and do two walls from the waist up?
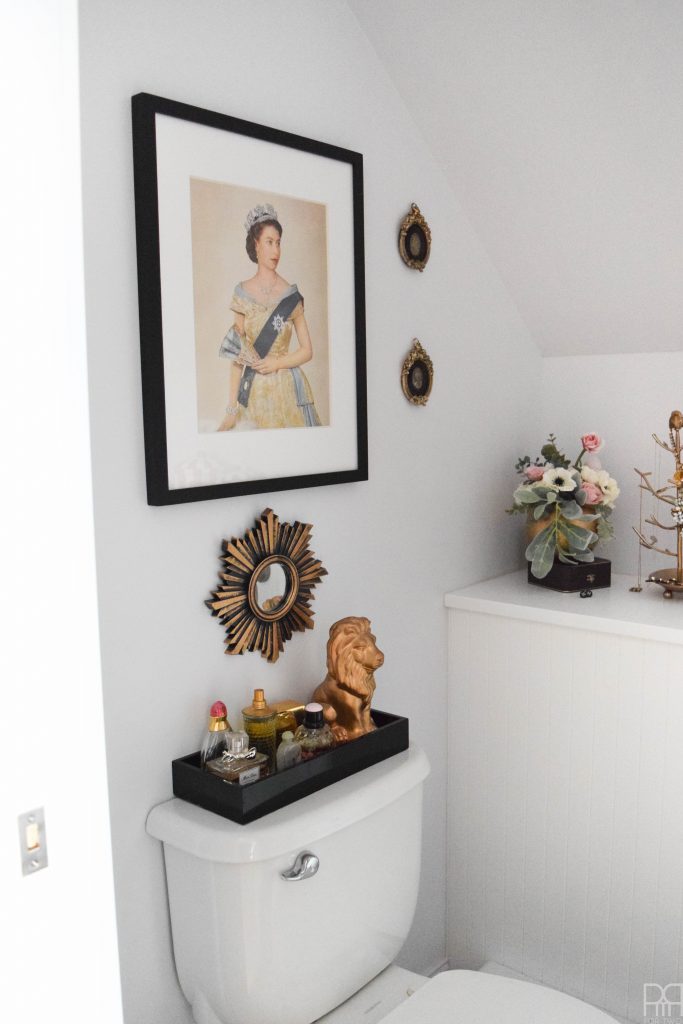
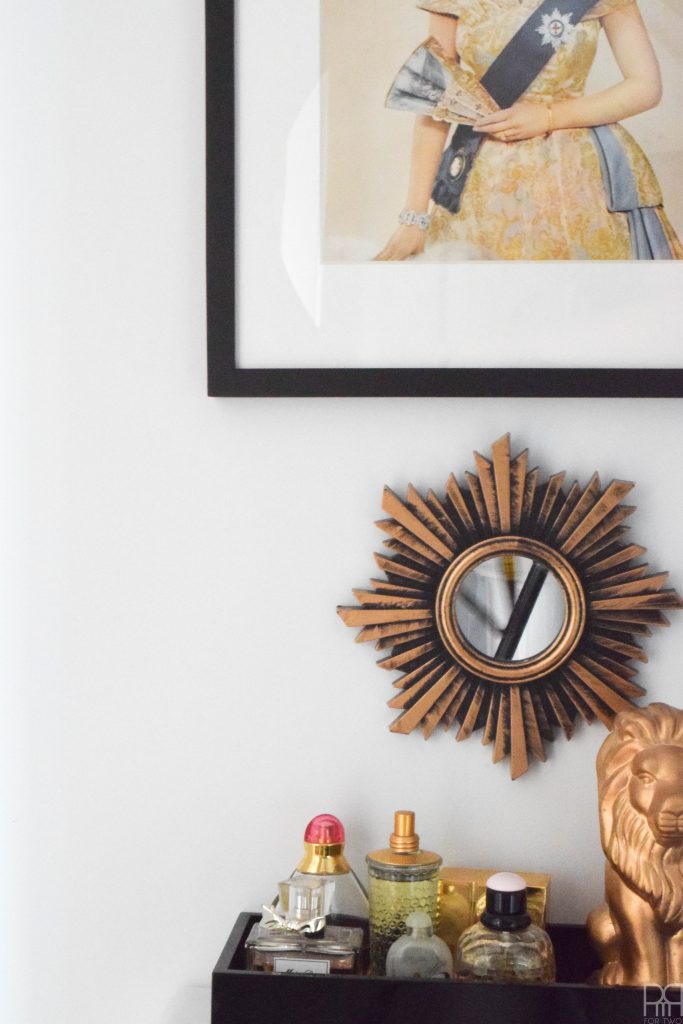
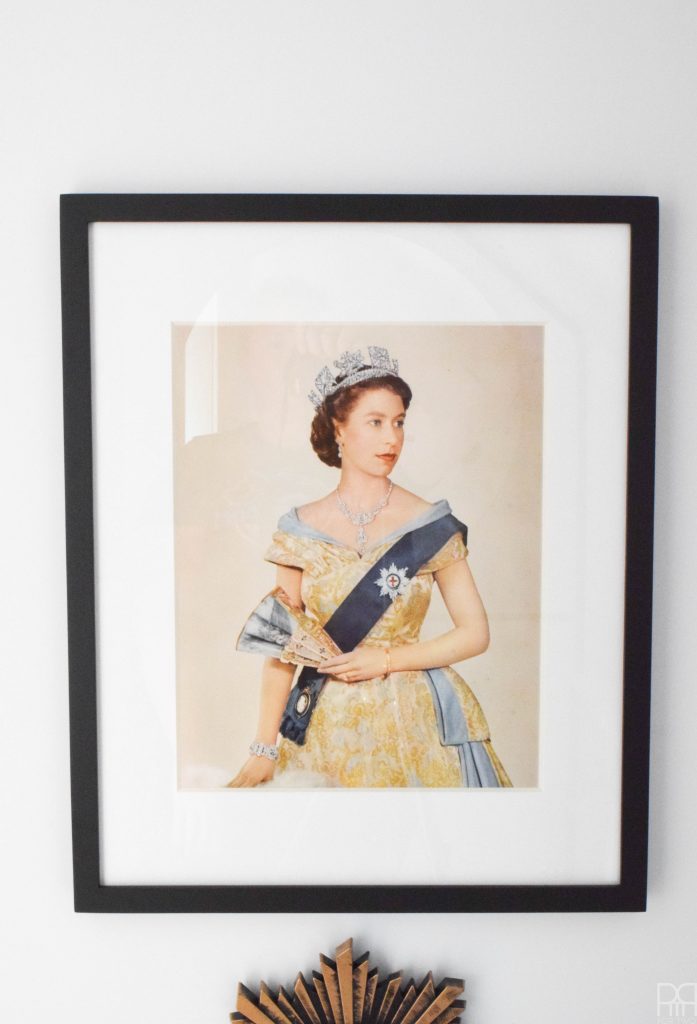
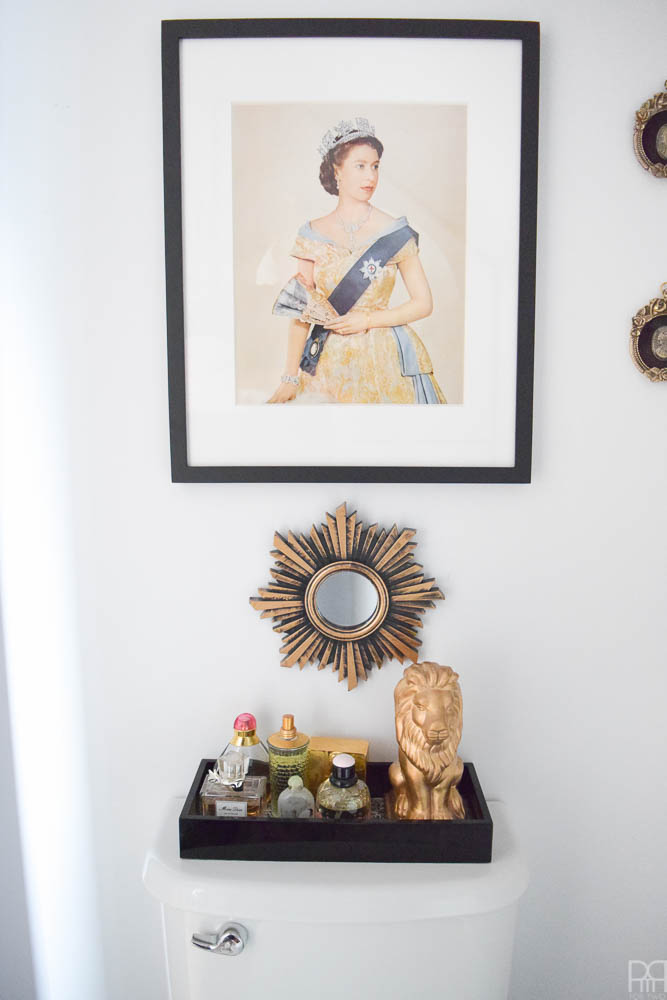
You are a genius. What a great project, renting or not! Also, that queen picture is amazing. I love your style.
Wow – using the foam board was genius!
Thanks! I think so too 😉
How fun! I’m getting ready to order some Aspect tile myself! Pinning!
OOH! Send me your project link when you’re done! I’d love to see what you do!
This turned out amazing! I love the addition of the black trim, it really allows the tile and color scheme to pop. Also, that tile is crazy, peel and stick, so easy!
right? Peel and stick all the way! That trim was the best thing I did in there. Seriously!
No way! Looks great. What an genius idea.
I think so too 😉 Thanks!
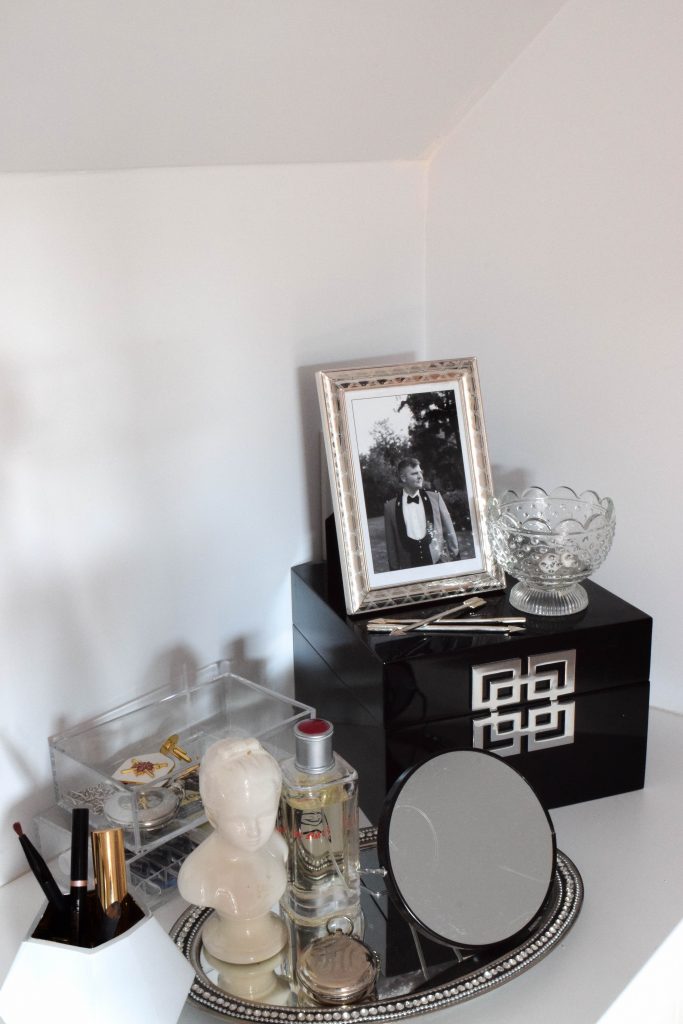
This is the prettiest renter friendly bathroom makeover ever!! Love what you did with the tiles and all of the decor details. gorgeous!
Thanks girl! Share it as a hot tip with any other renters you know!
That peel and stick tile is amazing!! What a beautiful, eclectic bathroom you created – it adds so much more then the plain white wall!
I’ve never used peel and stick tiles before, but I definitely like how they turned out, and agree – the contrast with the black trim is great looking!
Thank you so much! I had never used them before this challenge actually! I’d seen them in other peoples’ spaces, but this was my first real hands-on with them. The trim was a stroke of genius at the last minute too!
Thank you Krista! I put a lot of hours into that tiny space. It feels like a chic little oasis each time I’m in there.
Your bathroom looks amazing and the tiles really finished it off. Feels very sophisticated, plus I love how you can take it down easily for your situation. Brilliant!
Thank you 🙂 And that’s a first! People rarely use the words “sophisticated” to describe my style hahaha
Using the foam core boards is brilliant. We own our home so we can do whatever we want, but sometimes I don’t want it to be permanent so this is awesome. Pinned!
Exactly! It’s a great solution for some updates that may not sell well down the road, or that don’t need to be permanent.
What a great solution and it looks fabulous! Those bunny knobs rock along with your photography!
Thank you 🙂 I’m pretty pleased with how it turned out too!