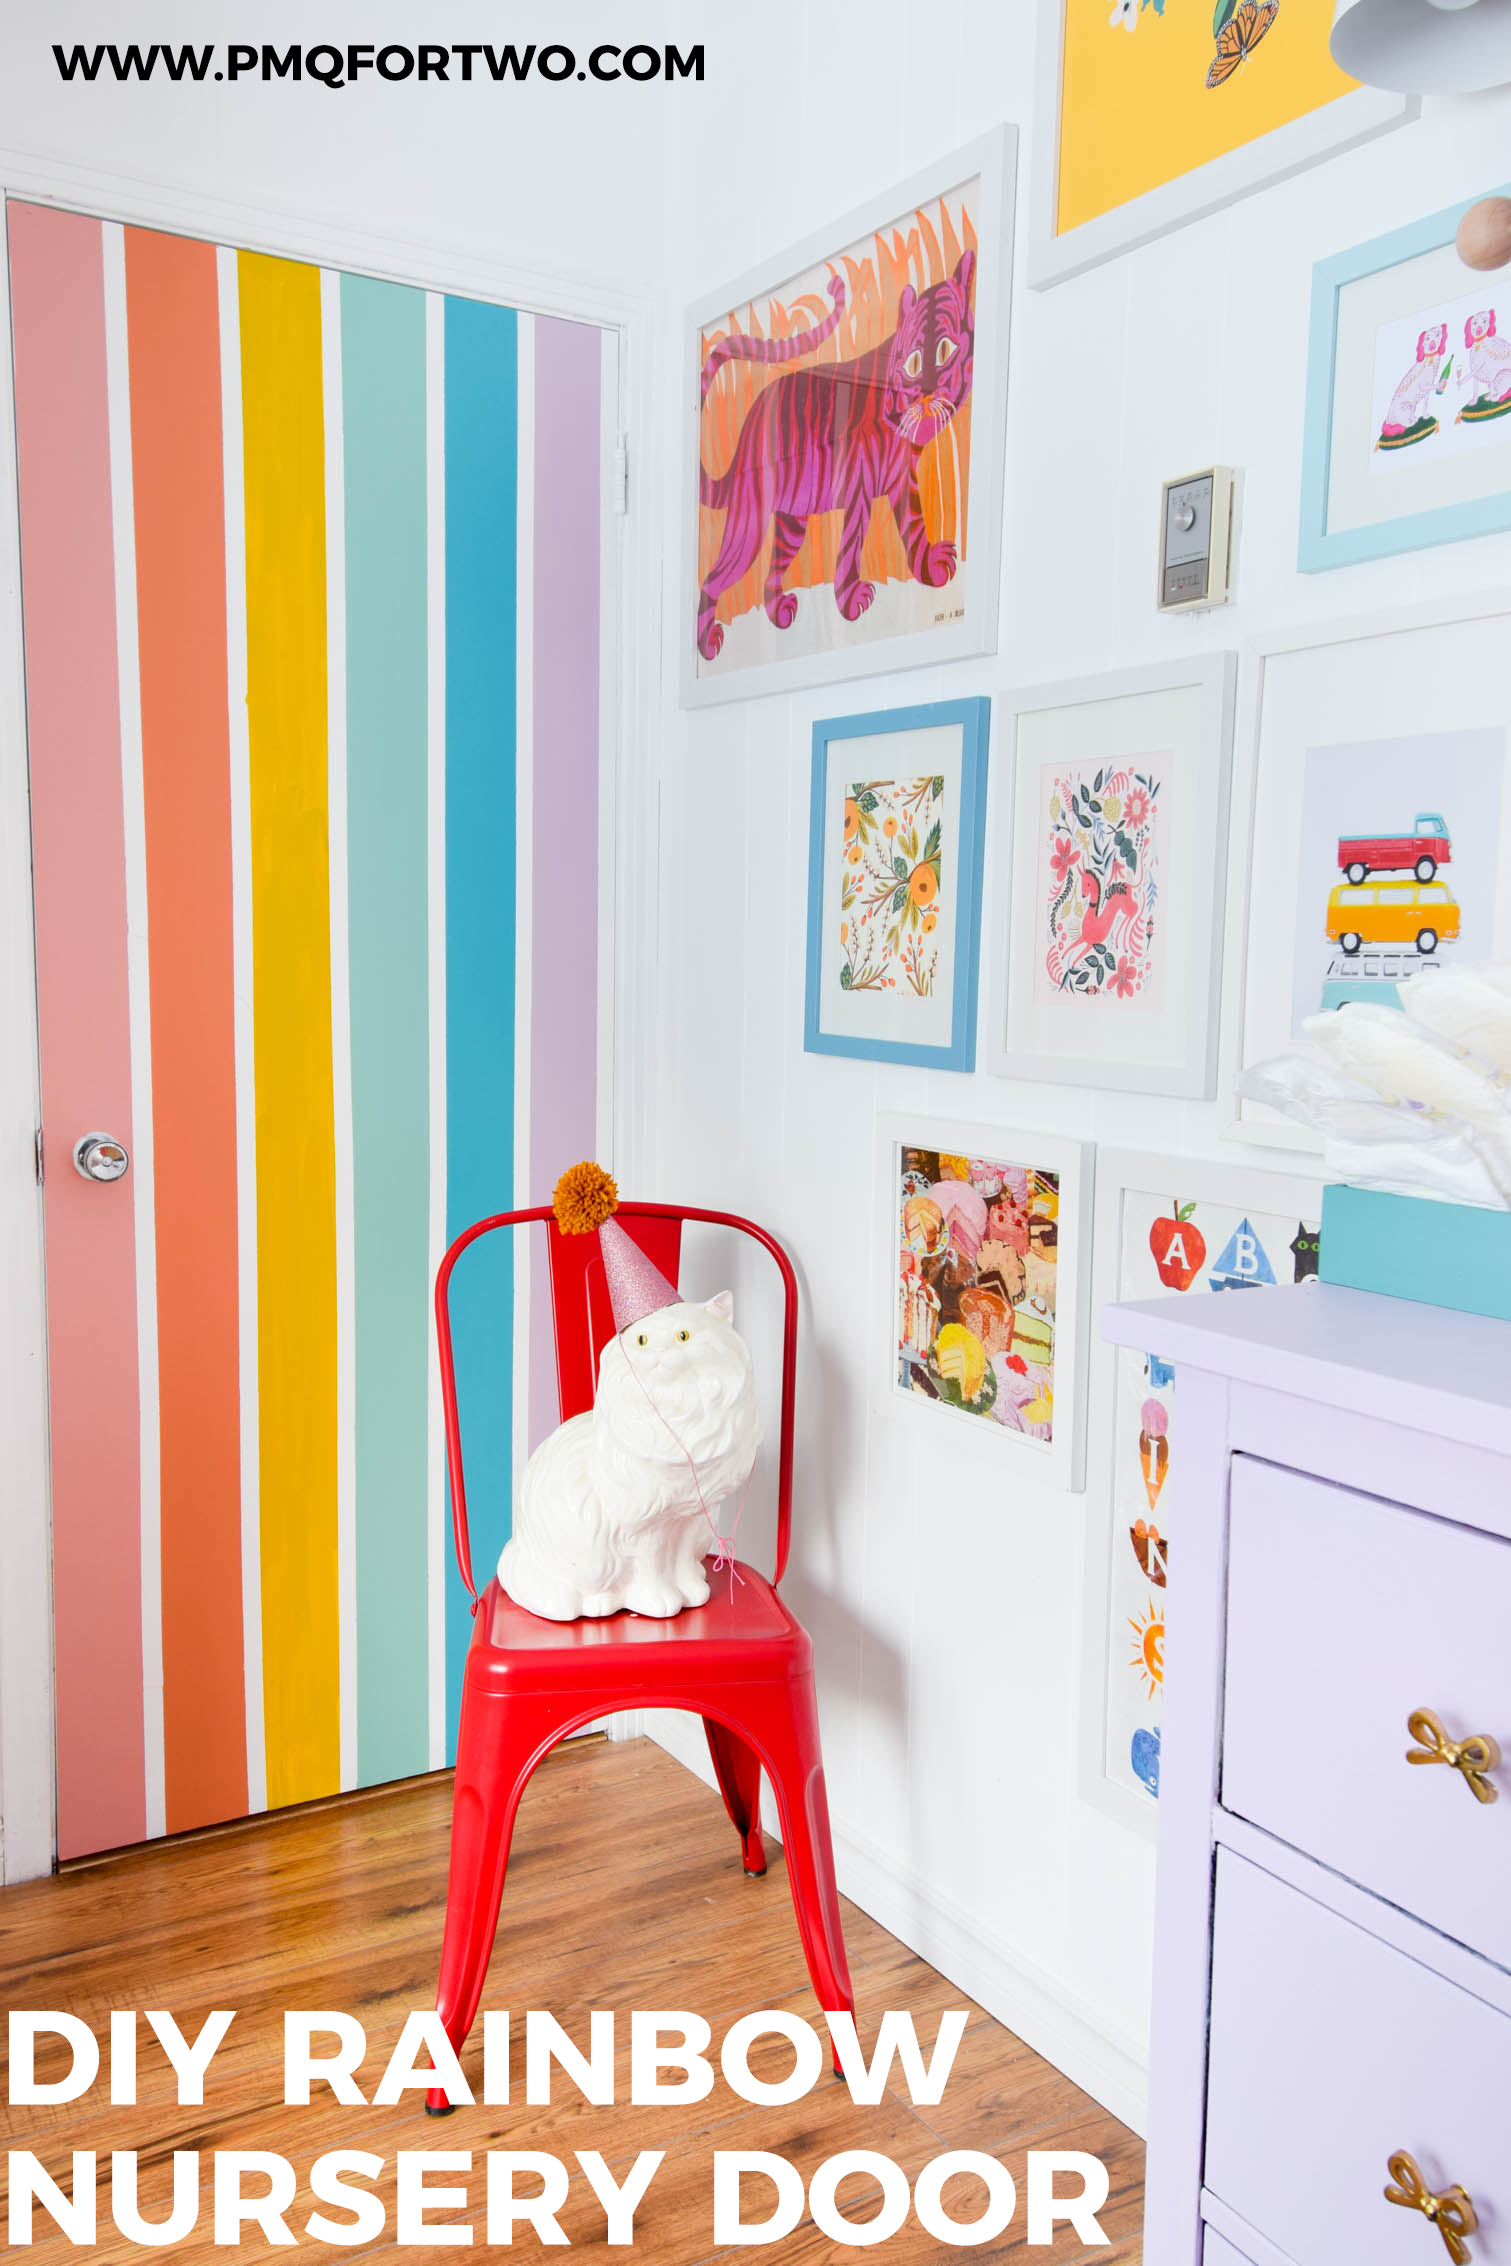
Only a few more weeks to go to finish June’s rainbow nursery revamp as part of the New Year New Room challenge, hosted by Steph from Casa Watkins Living. This week I made great progress painting the built-ins back to pink, but I also painted the back of her door. Here’s my DIY Rainbow Nursery Door tutorial!
*BEHR sponsored this post, but all thoughts are my own. Thank you for supporting the brands that make PMQ for two possible.


How to paint a rainbow mural
Murals are #sohotrightnow, and while they’re not exactly my style, I wanted to at least try one. I figured the back of the door in June’s nursery was the perfect place. Not because it will be hidden, but because when her door is closed she can enjoy it. The process is quite simple and only requires a few items.What do you need to paint a rainbow mural?
If you’re going for a more structured rainbow (as opposed to something done free-hand) you’ll need painter’s tape, a measuring tape, and a pencil.Check out my post about How to Use The Color Reader
Taping the rainbow stripes
I used painter’s tape here, to create 6 identical vertical stripes on the door. I wanted a 1″ gap between shades, so this worked-out perfectly with the taping.Painting rainbow stripes
Once your stripes are straight and to your liking, start painting! instead of using one brush for each colour, I just kept washing the one I had. If the stripes were wider I would have used a roller.Check out my guide to painting interiors
Rainbow Door
It adds so much colour to the space – not that the space was lacking. Between the painted rainbow nursery door, the refreshed dresser, and the freshly painted built-ins, we’re entering the home stretch for the makeover. Just a few more things to do!Casa Watkins Living // The Boho Abode // Delineate Your Dwelling // Haneen’s Haven // The Happy Housie // Homemade by Carmona // House by Hoff // Jeweled Interiors // Kaleidoscope Living // Our Fifth House // PMQ for 2 // Rain on a Tin Roof // Southern State of Mind // Taryn Whiteaker // This is Our Bliss // Thou Swell // Up To Date Interiors
