I think Summer has finally arrived!!! (I would add another exclamation mark there, but DH already thinks it’s ridiculous enough when I add a second one, so for his sake I won’t add a fourth). This past weekend we had damn near tropical weather with a balmy 30c+ all weekend, and it was humid the entire time too. I’m not complaining though, I need the heat and humidity to slowly recharge my batteries before the next winter. With the weather the way it was and our lovely backyard starting to feel downright lush, I thought it might be fun to put together my version of a tropical party and use some paper finishes with the help of my Cricut Explore Air 2.
View my guide to all things Cricut Explore Air 2 // here //
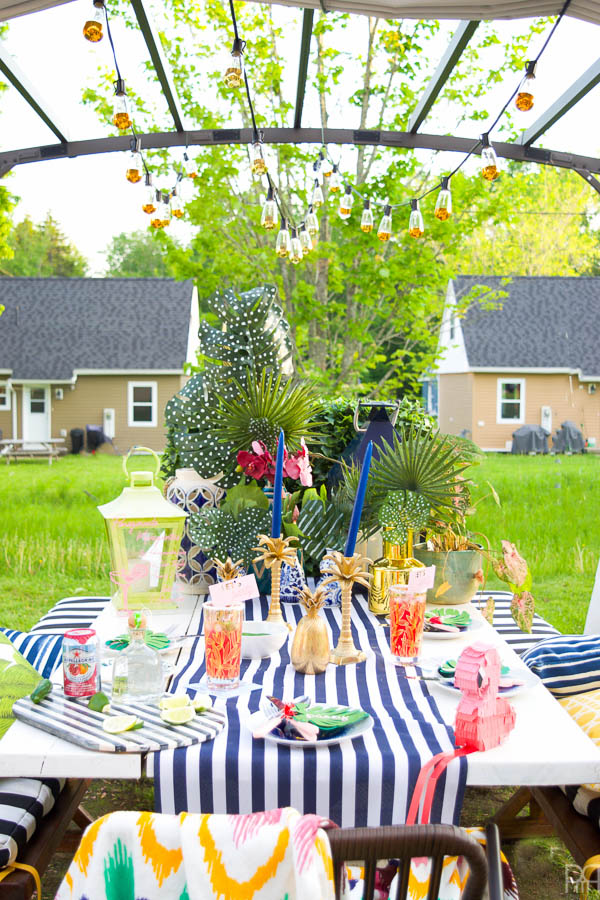
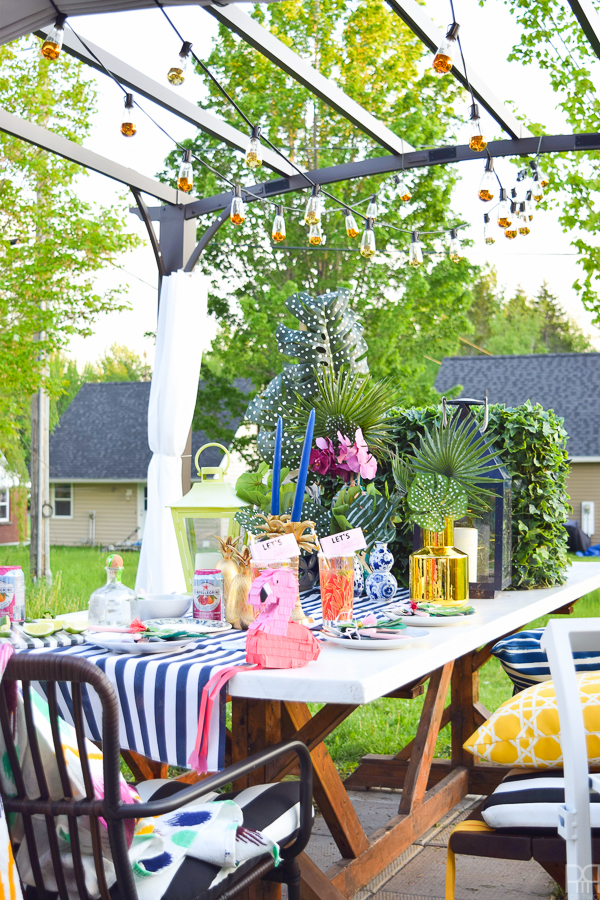
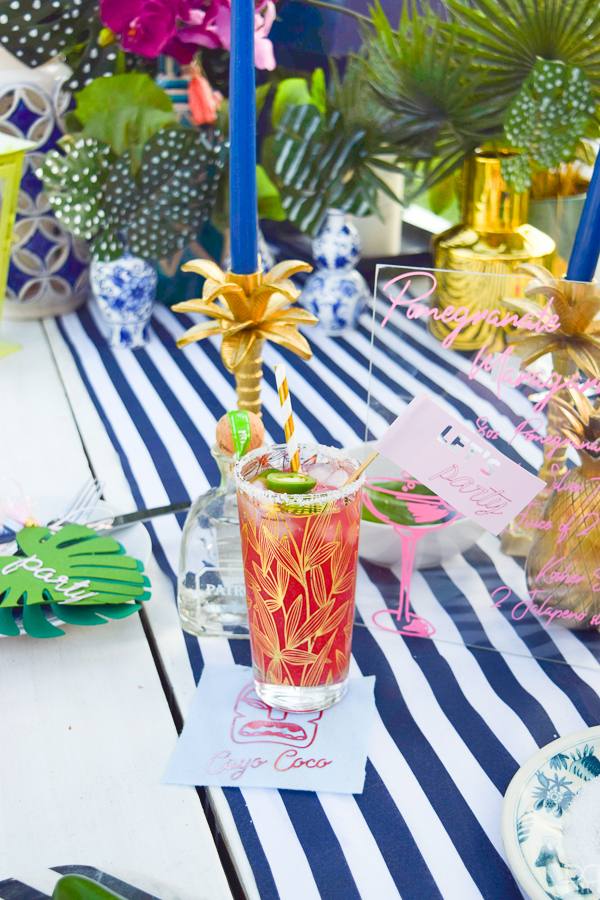
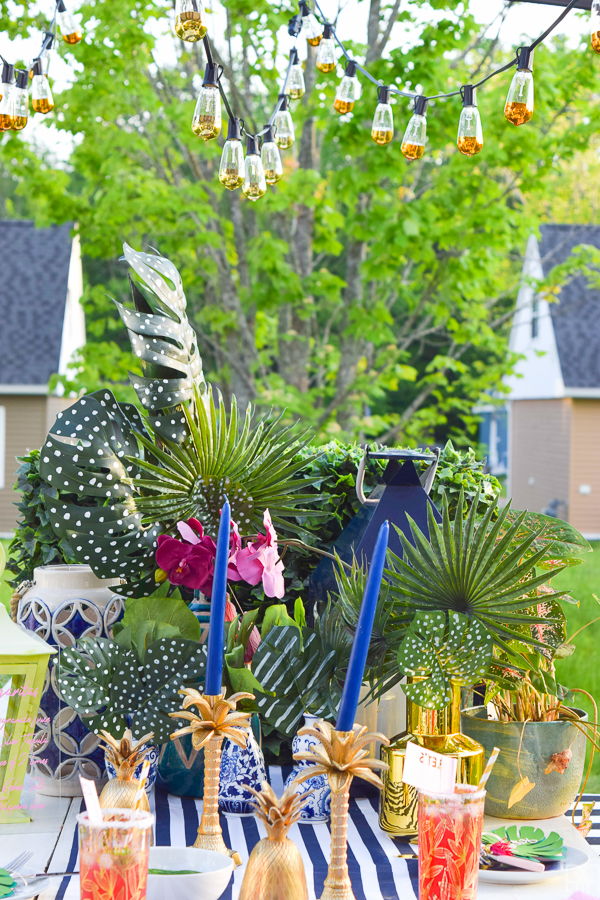
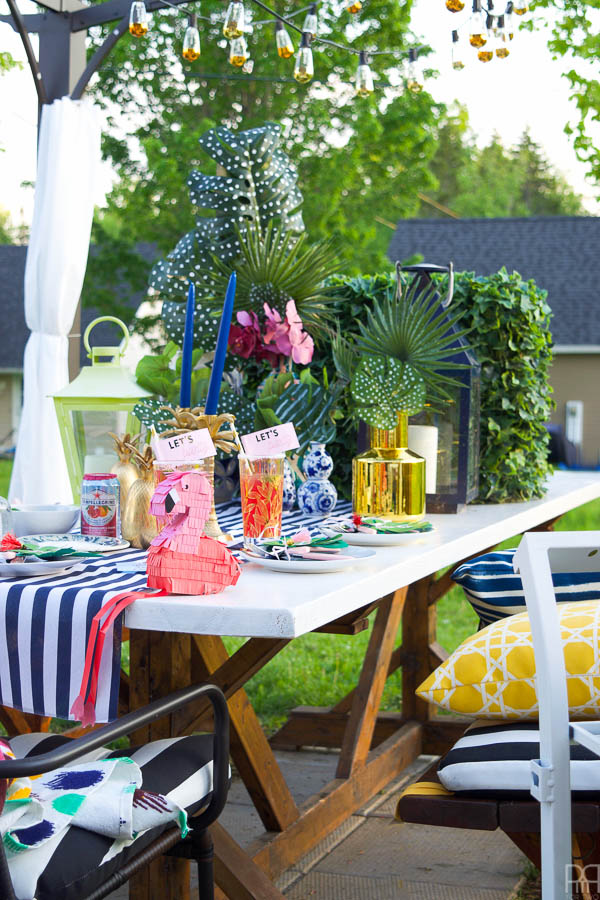
See, two summers ago I would have been all over a tropical party with flamingos and pineapples. I would have run to the stores and purchased everything I could find to make it work. But that’s not current me. Current me shops the house, maybe the thrift store, definitely HomeSense and then makes the rest. So instead of going all-out with what you’d expect, I went for a more glam setup. I definitely took a page from Swoonworthy‘s book.
*Cricut sponsored this post, but all thoughts are my own. Thank you for supporting the brands that make PMQ for two possible.
*The following product links contain affiliate links. Thank you for supporting the brands that make PMQ for two possible. For my full policies click // here //
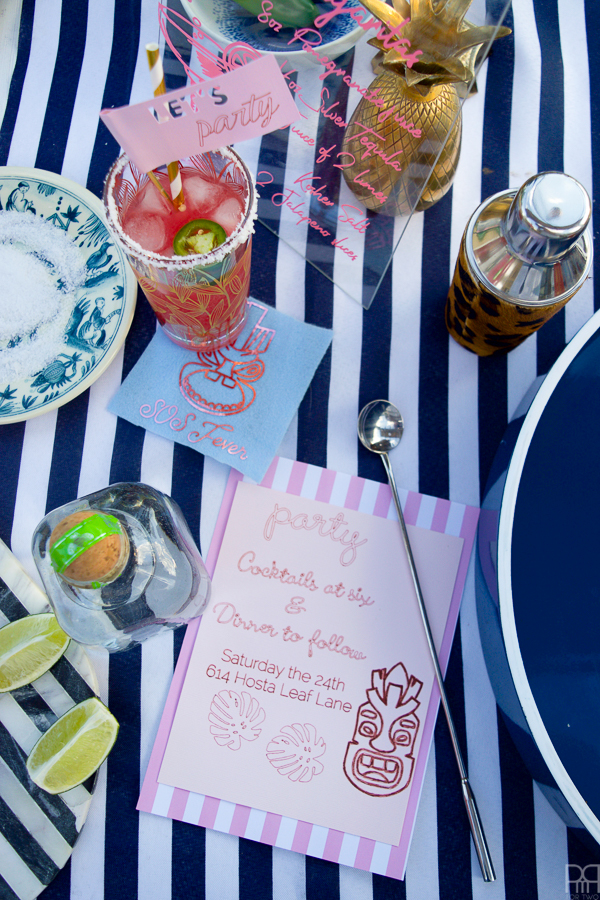
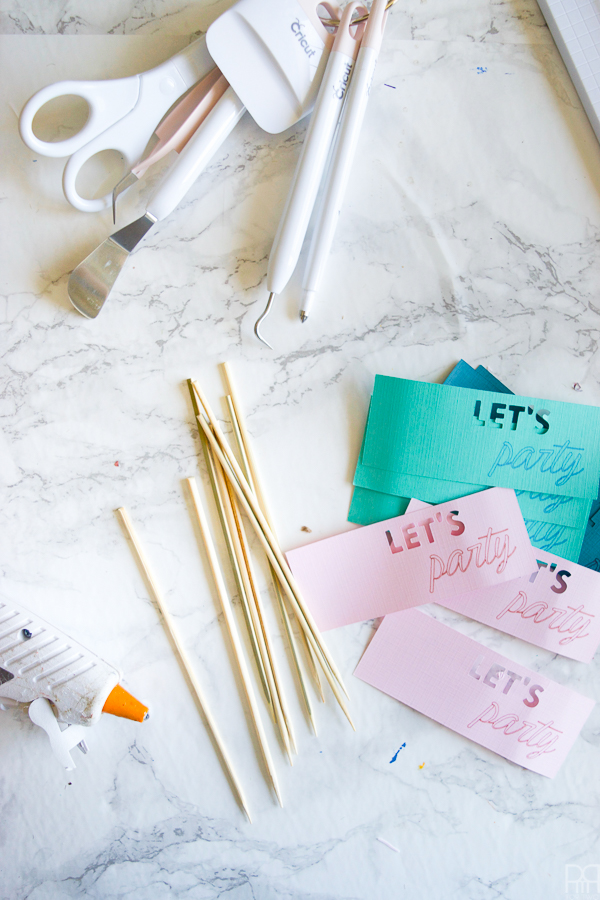
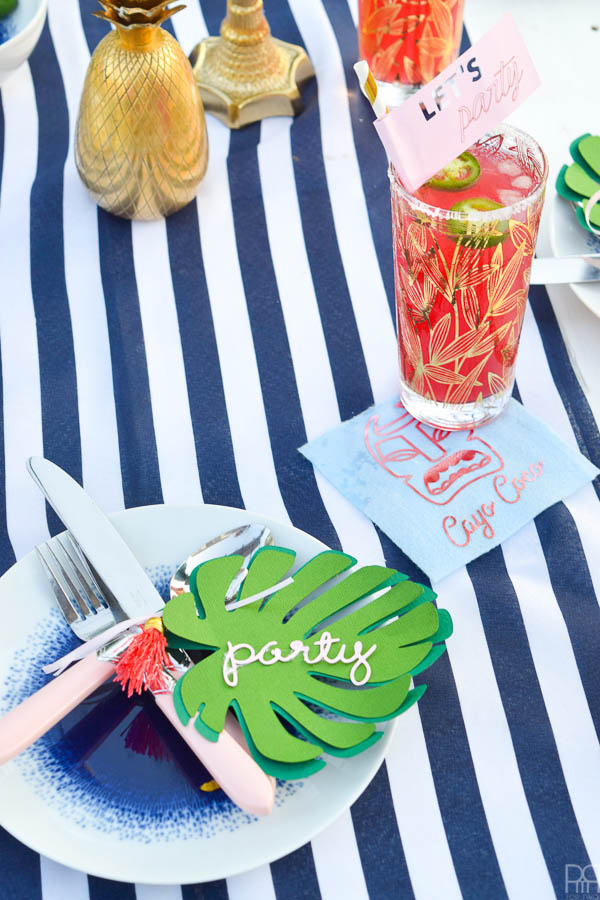
In terms of paper finishes, I made 3 quick projects: “Let’s Party” drink stirrers, an invitation for dinner & drinks, and cute monstera leaf place-card holders.
Materials required (for all projects)


Let’s Party Drink Stirrers
- 3 sheets of card stock (I chose 3 different colours)
- 6 bamboo skewers cut short enough to be drink stirrers
- Cricut Antiquity Pen Set
Invitation
- Card stock
- Patterned scrapbook paper
- Cricut Antiquity Pen Set
Monstera Leaf Place-Card Holders
- 3 types of card stock (3 standard sheets make 4 place-card holders)
Let’s Party Drink Stirrers
Step 1: Find the cut in the “Make It Now” projects in the “parties and events” categories
Step 2: Select the sizing you want (if different than the pre-loaded measurements)
Step 3: Apply your card stock to the cutting mat, and load your pen of choice into housing A following the prompts from Design Space.
(I used different coloured pens depending on which colour card stock I was cutting)
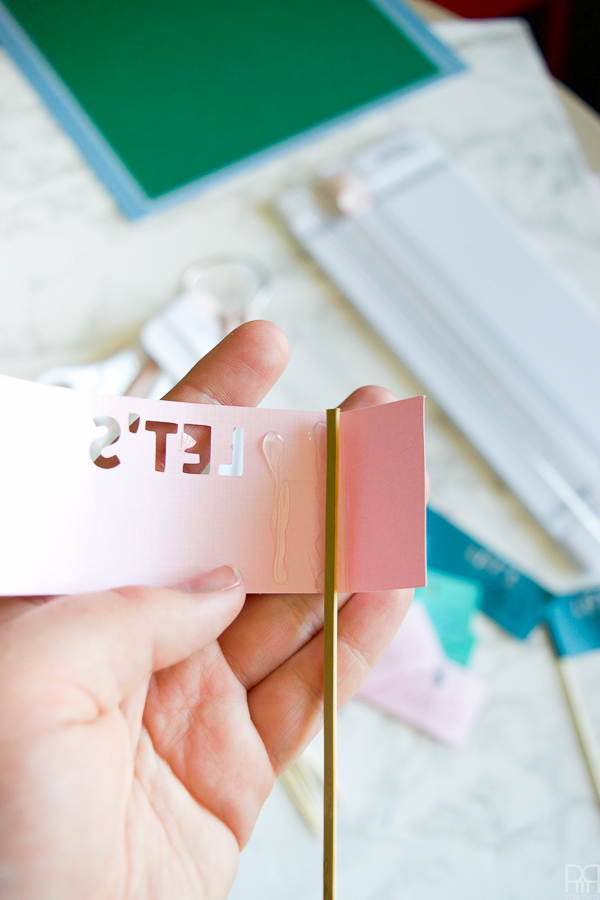
Step 4: Weed the card stock, and then fold the long flap in half so that it reaches the inside of the “L” from “Let’s party”
Step 5: Apply two beads of glue on the inside of the flap: one in the crease and the other closer to the “L,” before inserting the bamboo skewer onto the glue in the crease. Fold over and let dry.
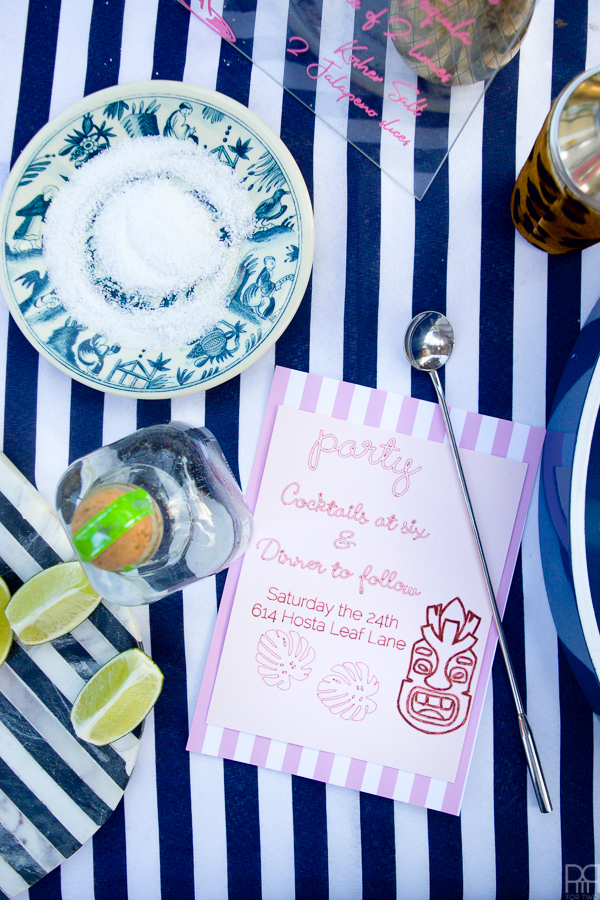
Invitations
Step 1: I created my design in Photoshop before uploading it to the design space. I used a variety of vectors I already purchased from the Tiki linens // here // and the Lucemita font (free) // here //
Step 2: Upload the image to the design space and save it as a write file (not a print or cut file). You can read my tutorial about how to do that // here //.
Step 3: Load the card stock onto the matt and the pen of your choice into housing A following the prompts.
Step 4: Cut a piece of patterned card stock that is a few centimetres wider than the card stock you’re using for the invitation, and affix it to the back of the invite.
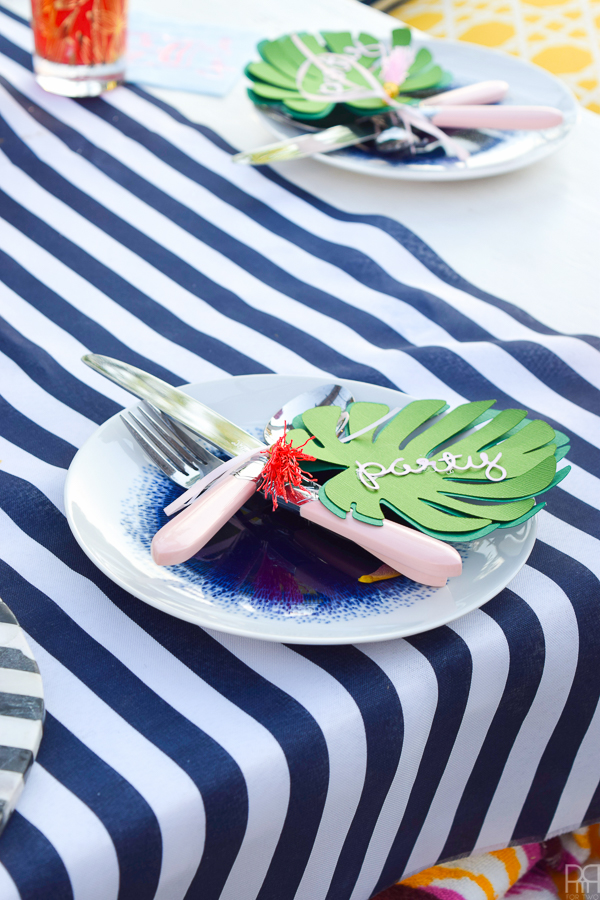
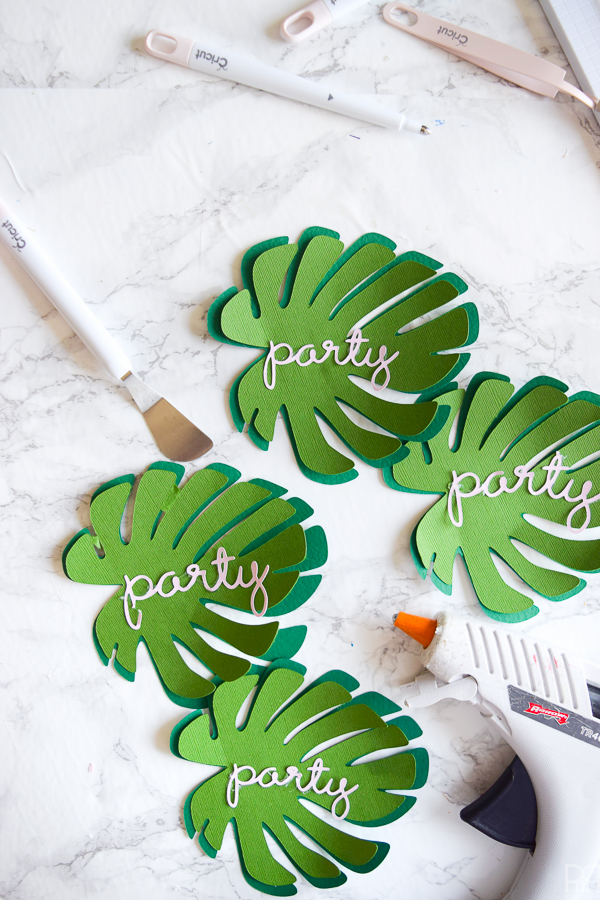
Monstera Leaf Place-Card Holders
Step 1: Load the monstera leaf vector into the design space. If you’re unsure how, you can use my tutorial // here //
I used this vector here:


Step 2: Depending on how many place-card holders you need, the next few steps may change a bit, but:
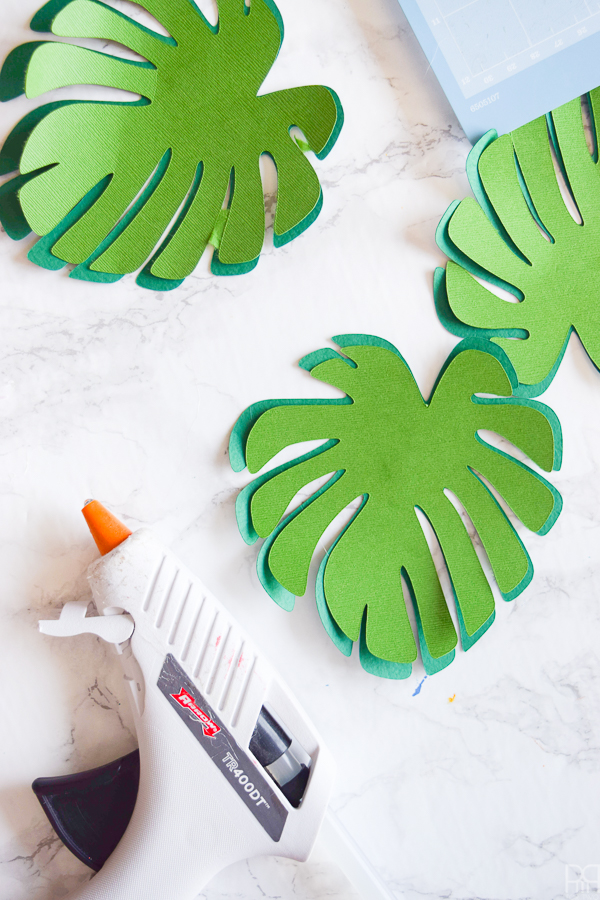
Cut a larger monstera leaf in the darker of the two card-stocks. Then cut a slightly smaller version using a lighter green card stock. Repeat for however many place-card holders you need.
Step 3: Glue the two sizes of monstera leaves together. I used a small amount of hot glue at a few key junctures.
Step 4: I used the Lucemita font // here // to write-out the word “party” (like below) but you could easily write the names of your guests. Upload those images to the design space and cut them out using a different coloured card stock. I went with pink but you could do any colour really.
Step 5: Glue the names to the leaves, and then cut a small circle on the bigger of the leaves so that you can thread a ribbon through it later.
From there you can infer what exactly I did once you see everything set-up. This is not me being lazy, rather me not boring you with simplistic details. You guys are a bunch of smart cookies, so I trust in your abilities to copy. If you have any more questions about specifics I am happy to answer them though 🙂
The cocktail you’ll see pictures will be unveiled later this week, so if it interests you make sure you pop back in!

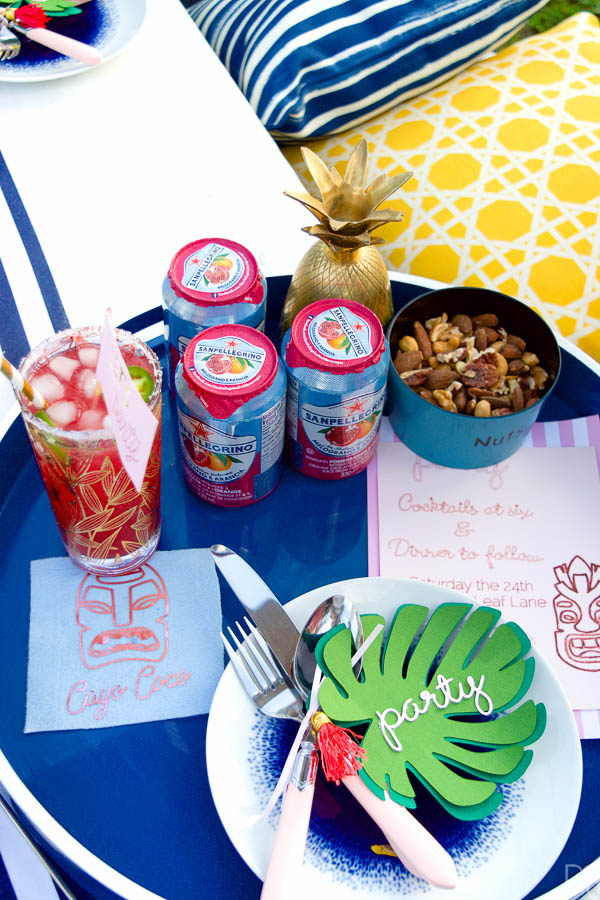
By the way, if you’re loving the tiki coasters you need to check-out my post about Tiki Bar Cart Linens // here //. I have definitely chosen to cary this theme forward for the summer, so I hope you enjoy the kitsch!
If you love the harvest table you can read about how we made it // here // and how we refinished it a few weeks ago // here //
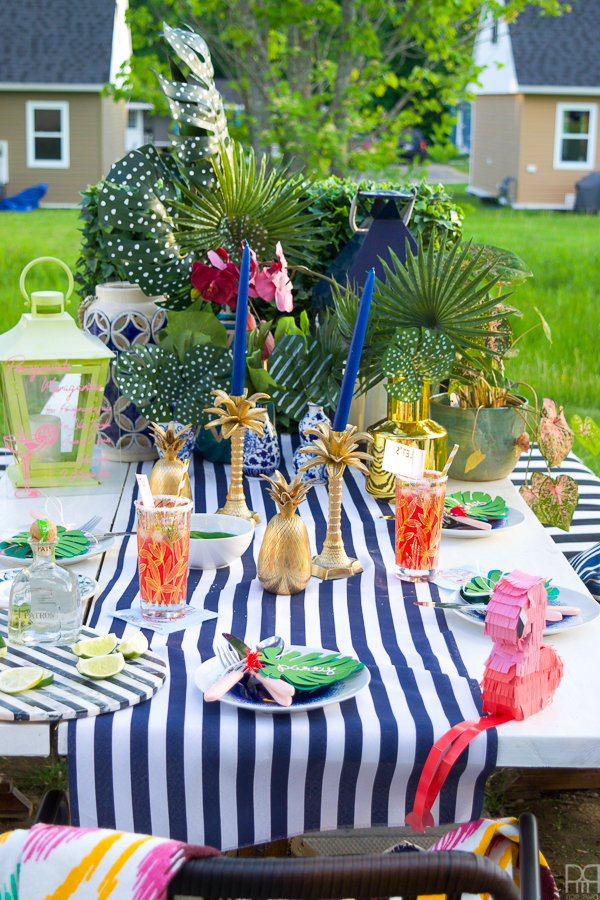
Don’t you just love how my candles are wonky? I couldn’t get the to stand straight for the life of me! If you’ve got a secret for getting them to stand straight – spill!