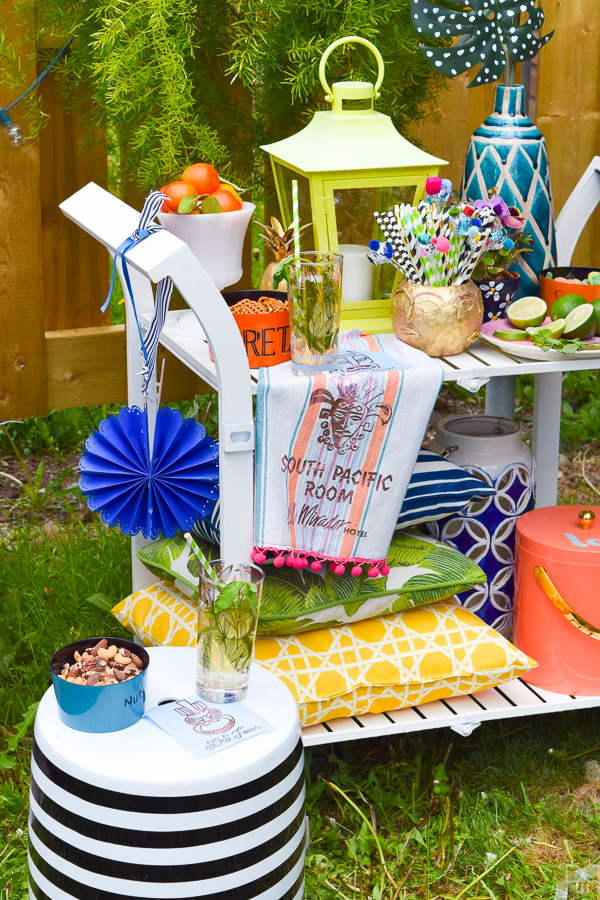
Friday! In case it hasn’t become obvious yet, I can never seem to get a Friday post out in the AM but it’s OK because Friday PM posts do just as well. So here we go – Tiki Bar Cart Linens just in time for the weekend and any tiki themed parties, luaus, cook-outs you may be attending this weekend. I could try and make paper toppers for straws that look like tiki heads, or cut-out banners, but that’s just not me.
Check-out my guide to everything you need to know about the Cricut Explore Air 2 // here //
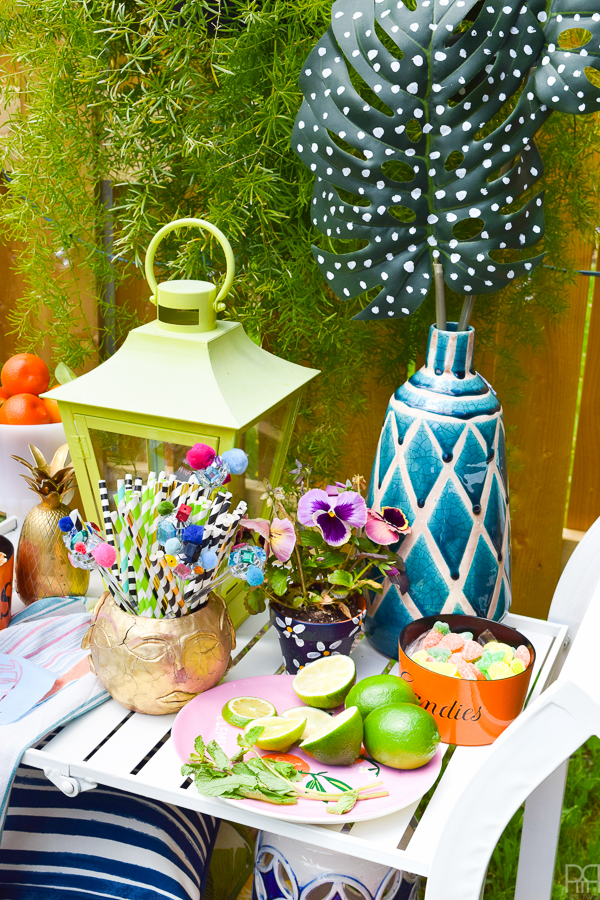
I use my Cricut Explore Air 2 discerningly, and much like everything else I’ve acquired I work new pieces into existing collections, I don’t create a whole look from scratch. So if you’re coming here for the whole kitsch-tactic luau look, you won’t get it from me. Sorry :/
I will however give you projects and ideas that I would totally use in my day-to-day. It’s easier to incorporate a tea towel for the bar cart and some felt coasters. It’s less easy to re-use a paper tiki banner and straw toppers. Ya know?
*Cricut sponsored this post, but all thoughts are my own. Thank you for supporting the brands that make PMQ for two possible.

*The following product links contain affiliate links. Thank you for supporting the brands that make PMQ for two possible. For my full policies click // here //
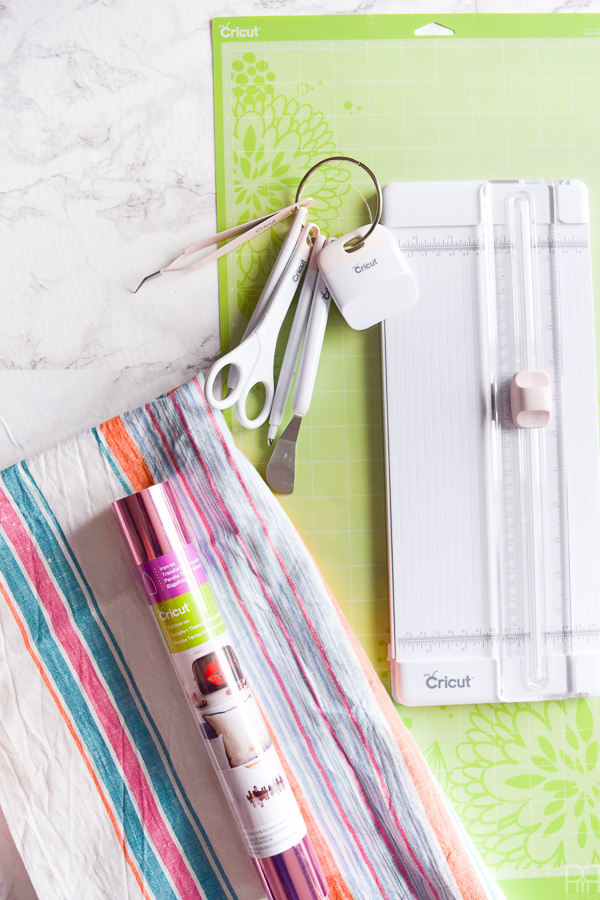
Materials
- Cricut Explore Air

- Cricut Pink tool set
- Cricut cutting mat
- Cricut Pink iron-on foil
- Linen fabric
- Felt
- Pink pom pom trim

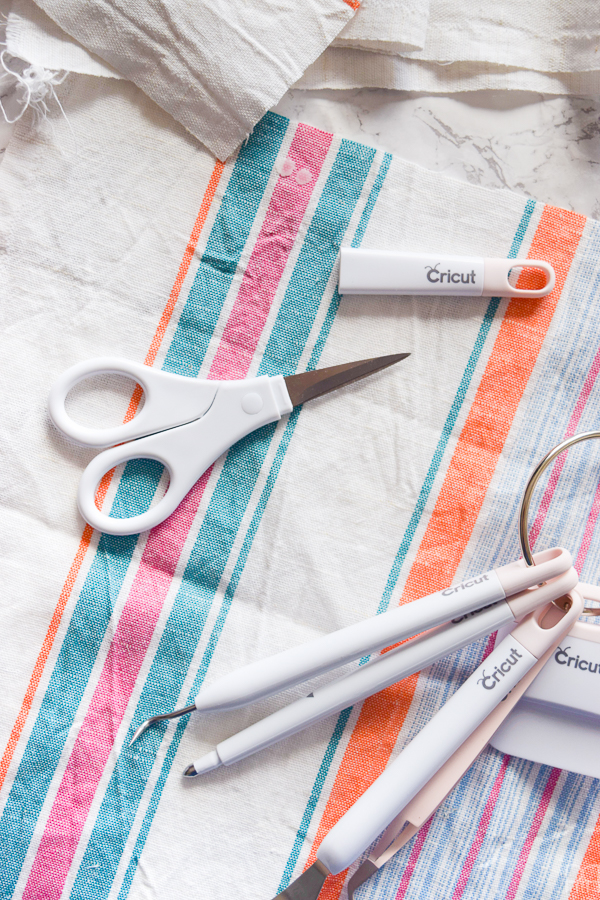
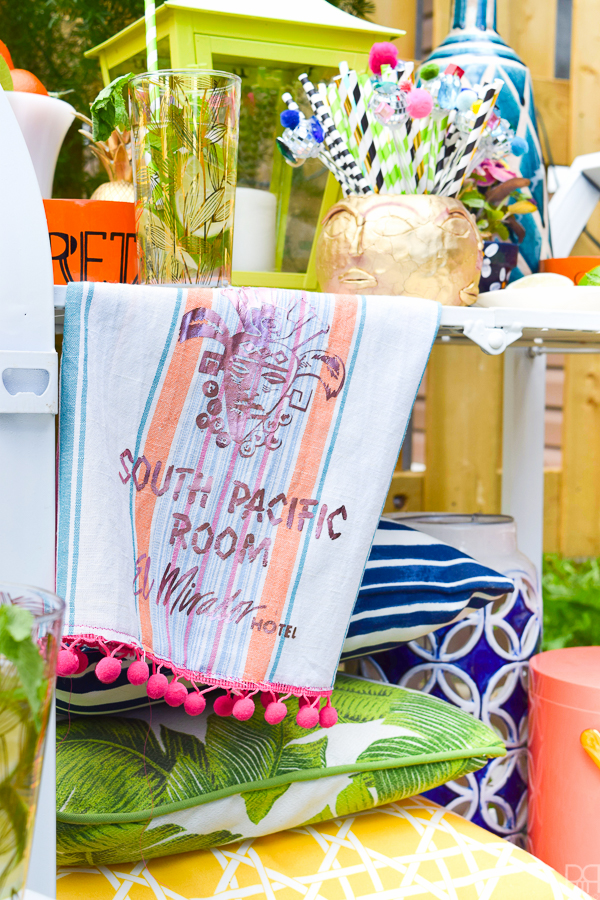
Step 1: Determine the size of your tea towel. I just laid out an existing one over my material and then cut it to size using my scissors.
Step 2: Determine how big you want the image to be on your tea towel. Do you want it to be the entire length of the towel? Just on one half? in a corner? Figure that out, because it will determine a) how much foil to cut b) which cutting mat to use.
Step 3: I knew I wanted my little logo to hang on one side of the towel and be centred without overtaking the towel. Once I measured everything I used the trimmer // here // that comes in the Cricut tool set to measure the length off the roll and cut a clean line.
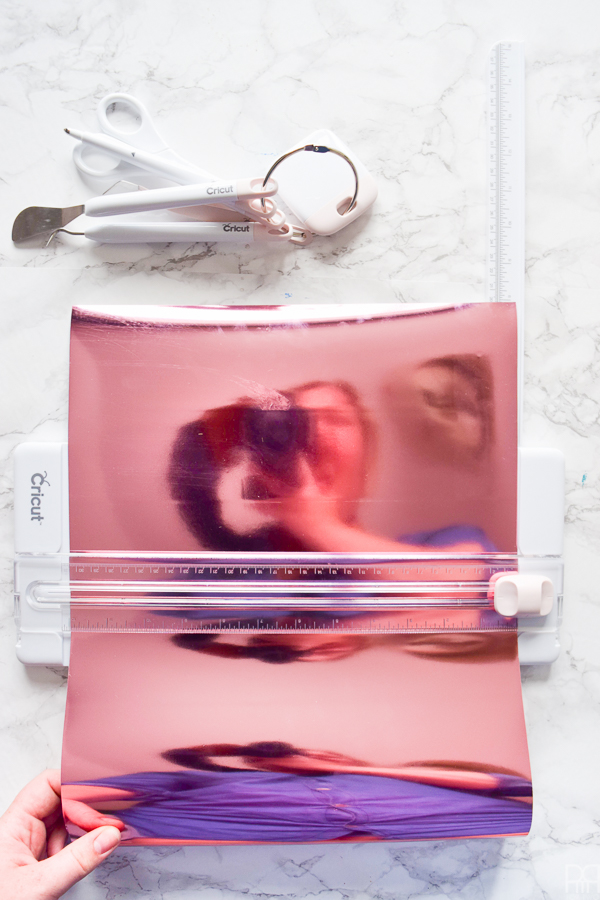
If you’ve never used one of these cutters you are missing-out! They’re amazing – they cut clean & straight lines every time. There’s also an extendable ruler that pops-out from underneath, so you can pull the vinyl through the flap and get the desired length, instead of making a complicated notch and trying to line it up with the line for the cut. No bueno.
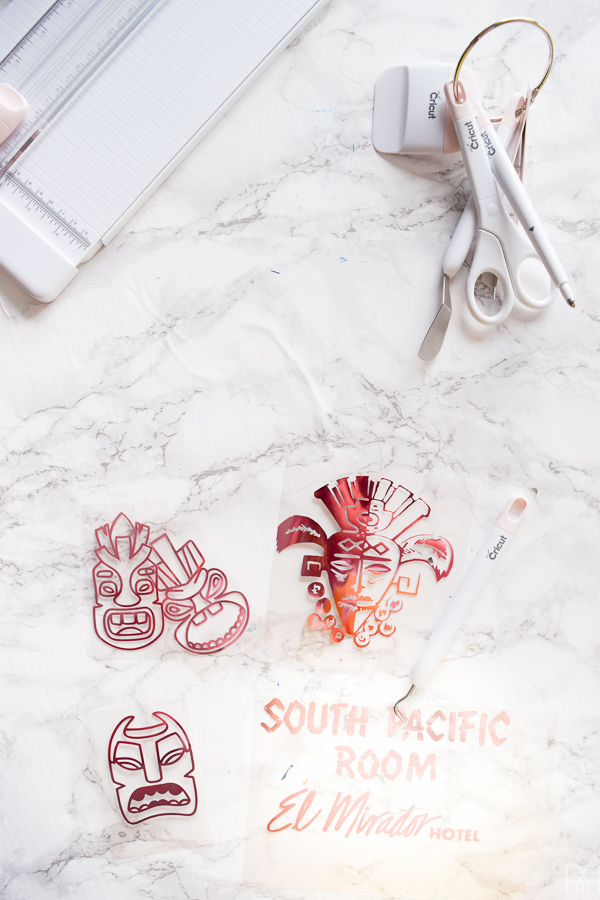
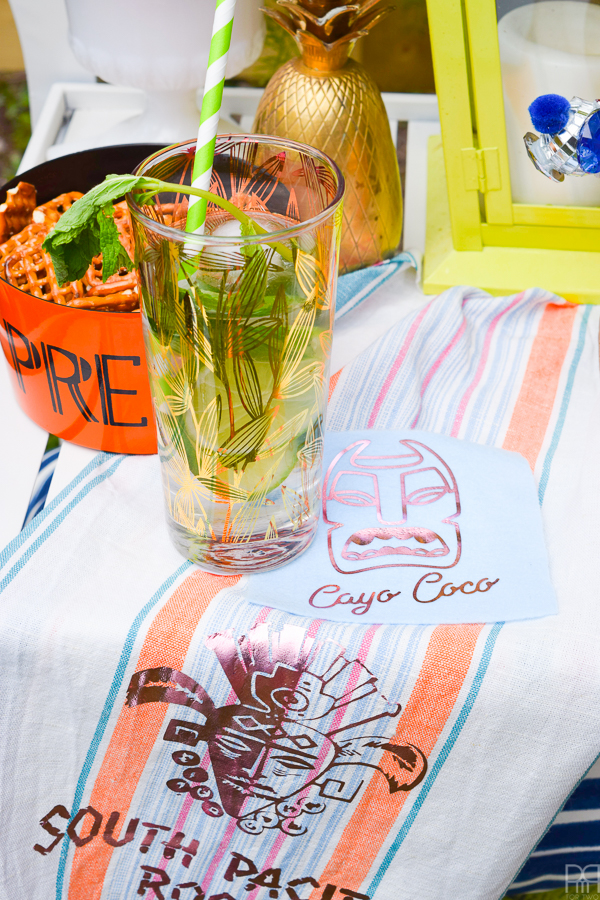
Step 4: In the Cricut design space, upload the image you want to use. I’ve written a handy-dandy tutorial on that // here //. I found this old logo for the South Pacific Room and knew it would look perfect on the towel. This is the one I used:
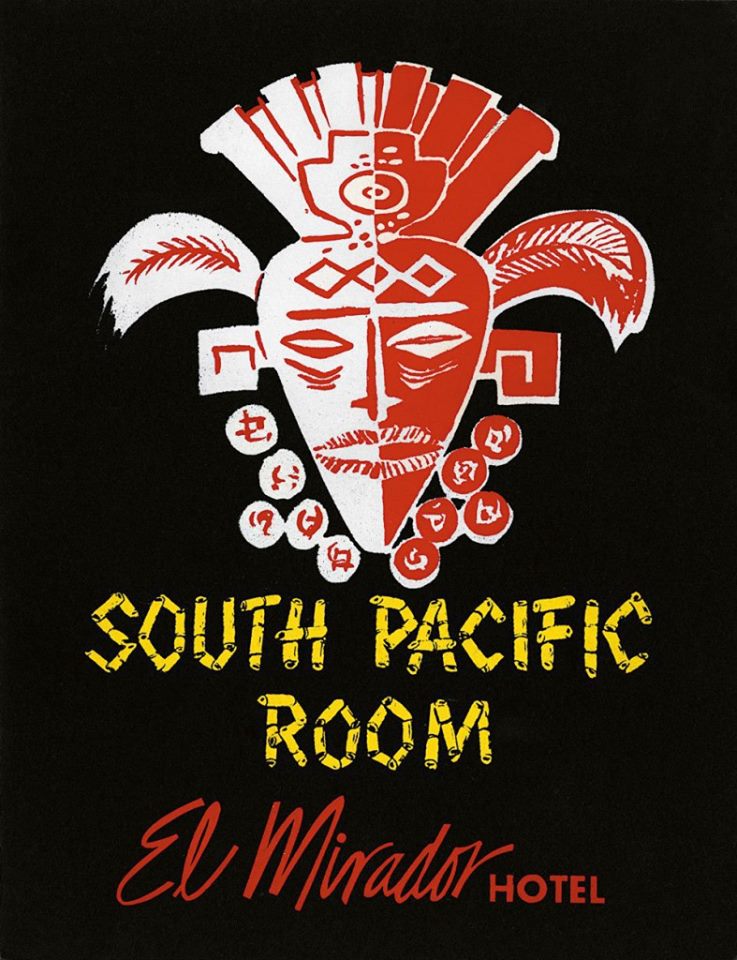

NB: on a complex image like this, I sometimes cut the image in two and will have the machine cut just the text, and then just the illustration. I find it produces cleaner results and comes out flawless.
Step 5: When applying iron-on vinyl, remember to lay the colourful side down on the mat. I use my scrapper tool // here // to flatten the vinyl all the time. It’s a great way of ensuring that there are no air bubbles caught in there, and that the blade doesn’t snag on anything.
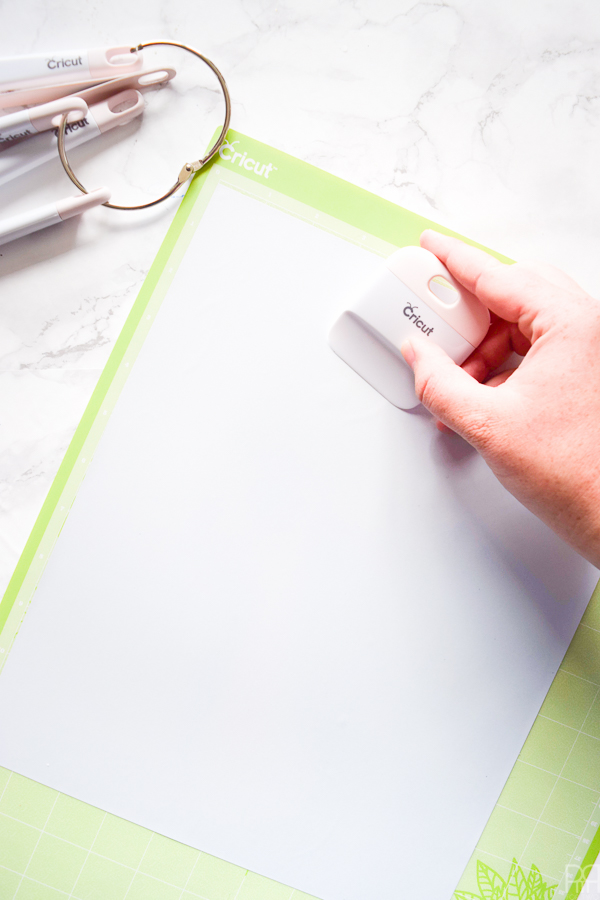
Step 6: Betting hitting “GO” don’t forget to select “mirror image (for iron-on)” so that you don’t waste all the vinyl you’ve just laid-out.


Step 7: Once the machine is done cutting, it’s now time to weed. Using your weeding tool // here // (the one that looks like the scrapper/ hook the dentist uses) you can peel back the negative space and all the little pop-outs. To do this, flip the vinyl on it’s back so that you’re weeding the non-colourful side since there’s a layer of protective film on the front (for the ironing later).
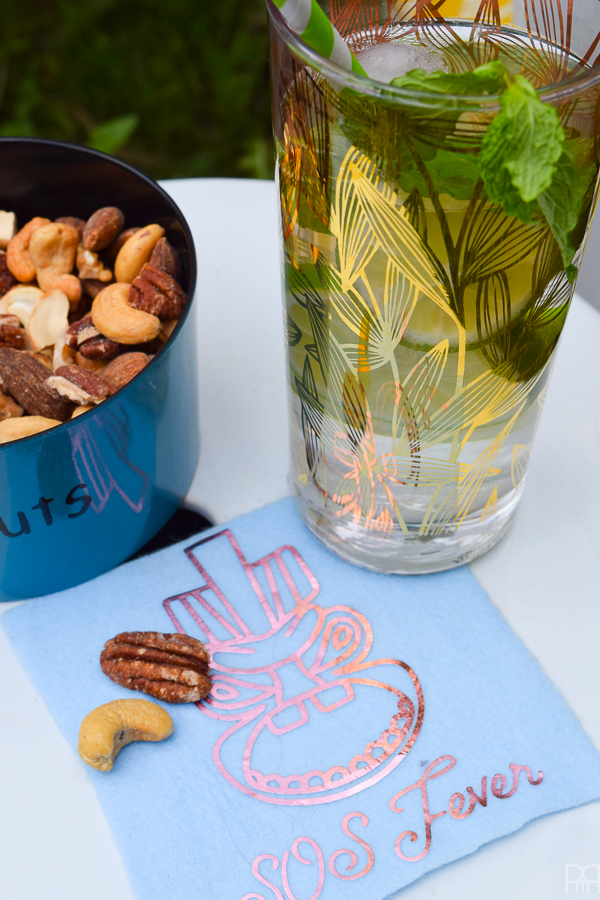
Step 8: Now onto the coasters! Cut your felt into squares (you can use the cutter, but it may take a few swipes) or use the lovely scissors that come with the tool set.
Much the same as the previous steps, chose a design, import it as a cut file, and cut it with the mirror image setting.
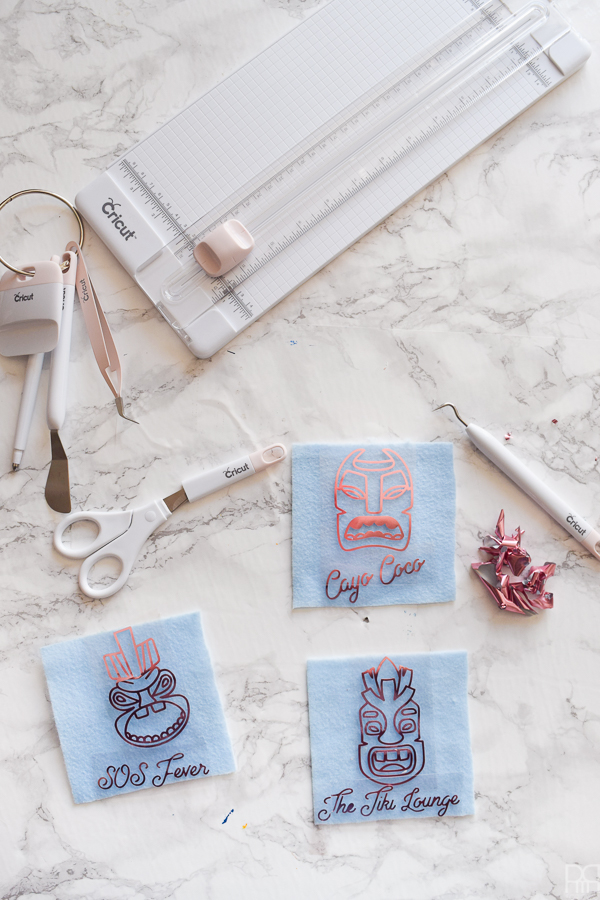
I purchased a series of tiki heads for real cheap on Creative Market // here // and then used an existing font (but you can purchase access to a Cricut Font // here //) to write the names of tiki bars.
Step 9: Follow the ironing instructions that came with the pack of iron-on vinyl you’re using. I won’t repeat them here since they’re different depending on which brand you use.
Step 10: I purchased some pink pom pom trim and then sewed it along the bottom of my tea towel. I don’t always sew, but when I do it’s for super easy projects that often involve a straight line *insert tears of laughter*
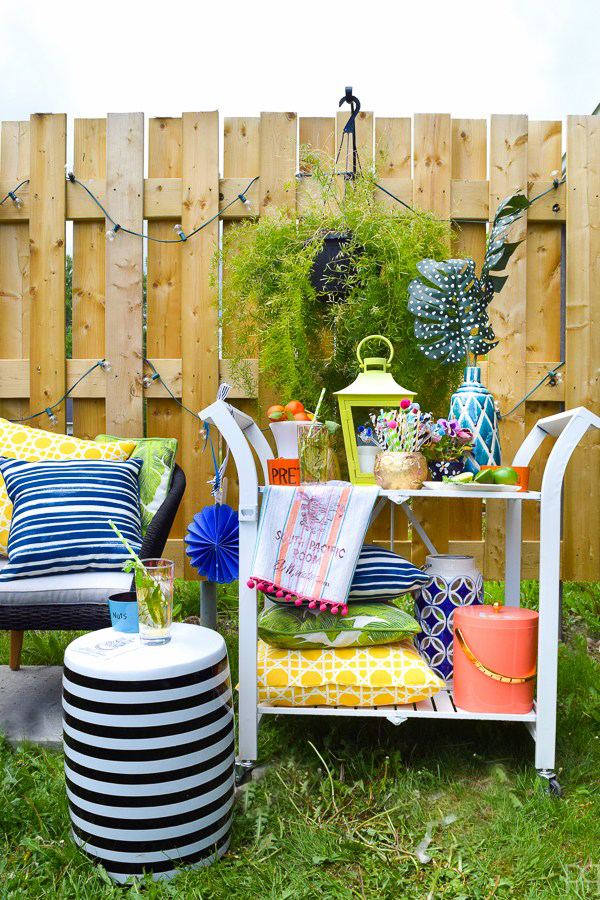
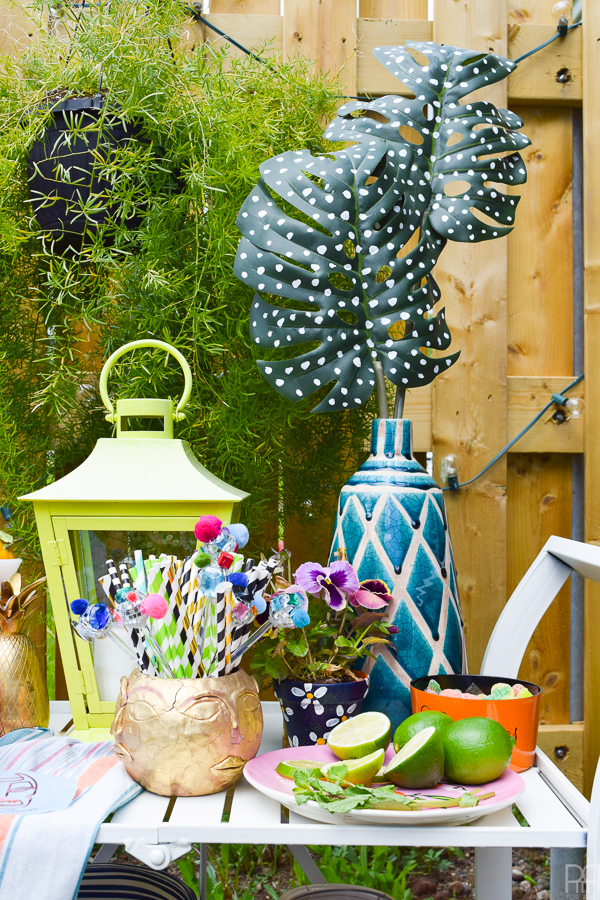
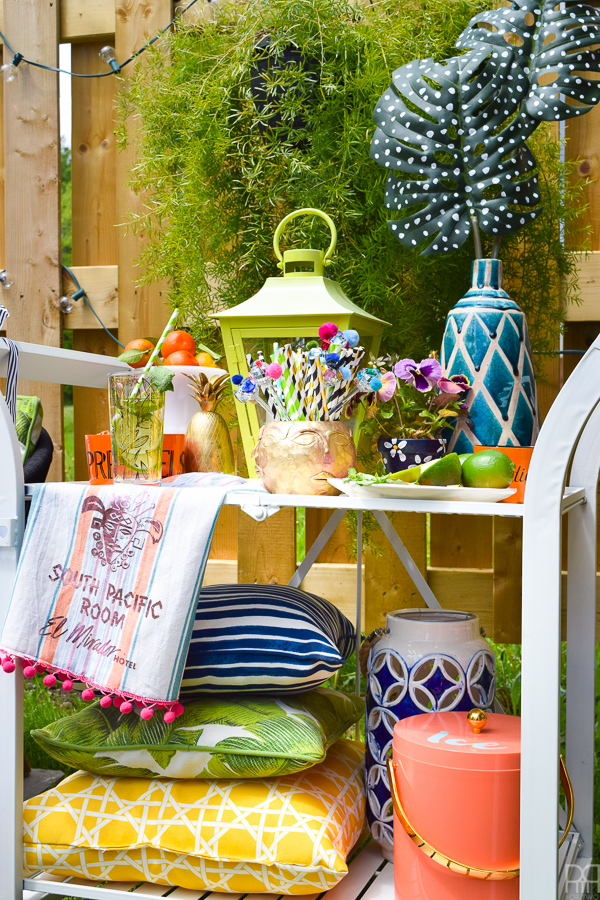
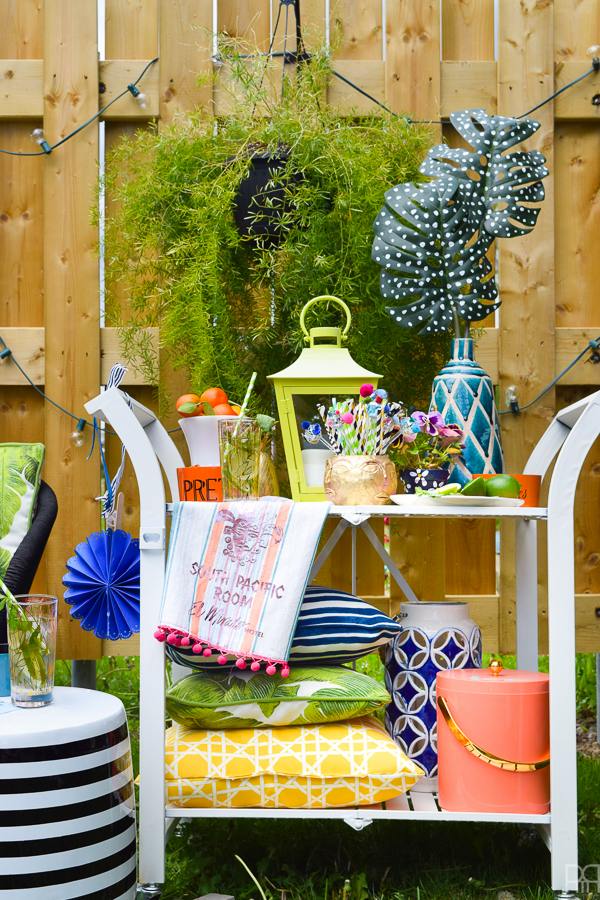
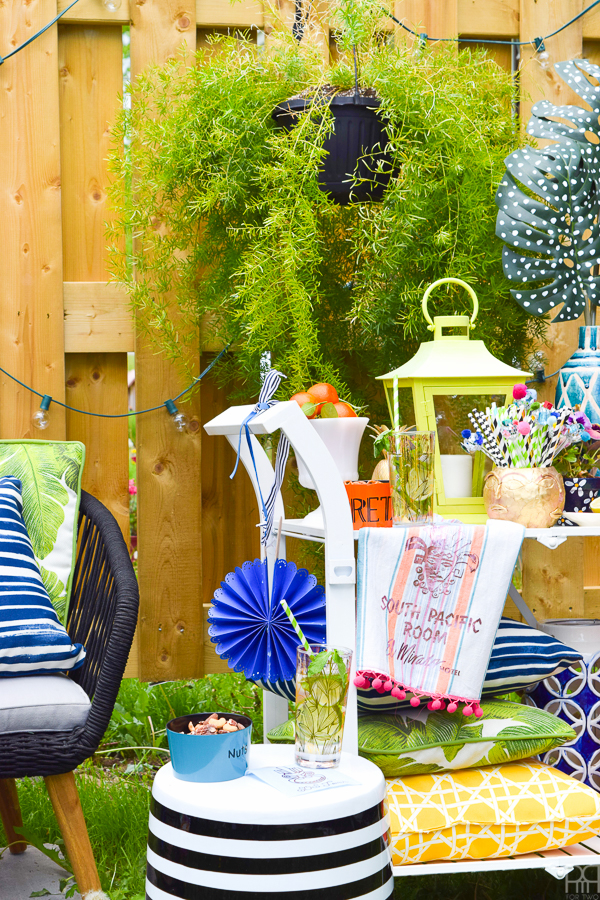
And there you have it! Sorta but not too much tiki linens for a bar cart. I’ve chosen to style mine outside with all my sweet One Room Challenge items // here //.


This is a sponsored conversation written by me on behalf of Cricut. The opinions and text are all mine.