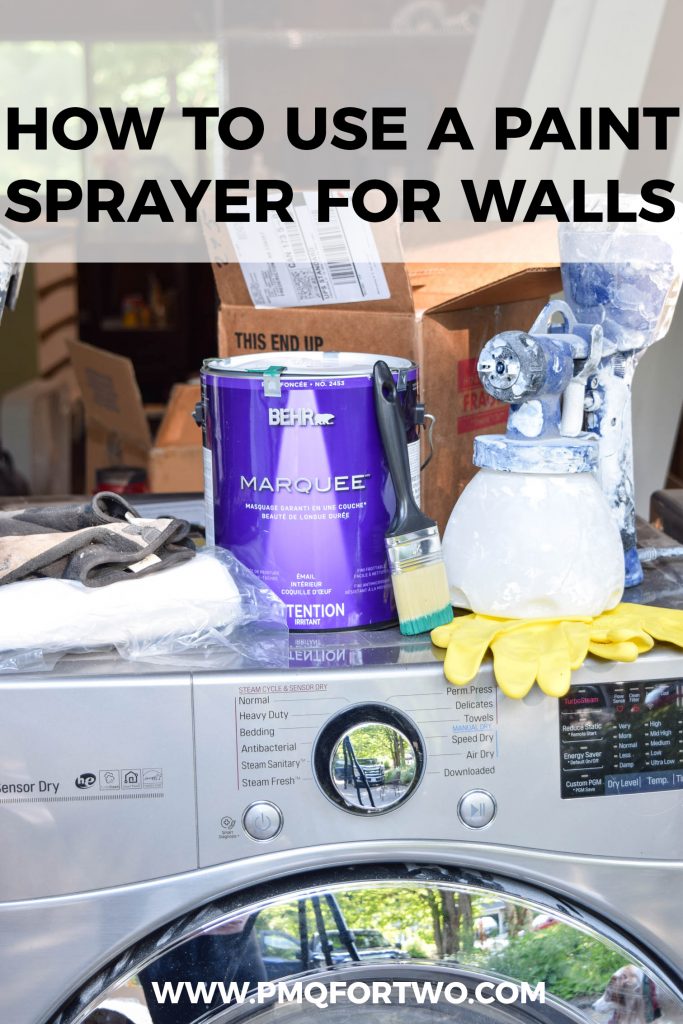
The laundry room / mud room is chugging right along as part of the One Room Challenge. We’ve used the paint sprayer on smaller pieces this summer, but we were tempted to try the paint sprayer on walls, in the scale of a room. So using my trusty BEHR paint, we got to work!
Check out the plans for the combined laundry & mud room
Make sure you go check out the link-up with all the other linking participants in this edition of the ORC, and check out what the official ones are up to. I’ve got more than a few friends participating this time around, and I’m so excited to see what they get up to.
* BEHR Paint sponsored this post, but all thoughts are my own. Thank you for supporting the brands that make PMQ for two possible.

Choosing A Shade of Green
With the blue kitchen, and the pink powder room, I needed to find a colour for the space in between. I opted for green because it’s not a controversial choice, Dan really doesn’t like mustard yellow, we’ll never do more than one white space, and we have too much blue in this house already. So green it is!
Check out my paint palette for our mid century modern house
I sampled 3 greens, and ended-up going with Soapstone MQ4-14 by Behr, the same shade we used in the nursery.
Like with all paint selections, it’s important to see the hues on the wall. And not just in one spot either, put a swatch on all the walls where light will hit differently. You’ll get a better appreciation of the colour if you can truly see it throughout the space.
Emmerald Forest MQ4-49 is on the left, Soapstone MQ4-14 is in the middle, and Hummingbird Green MQ6-48 is on the right.
Wanna pull paint colours from inspiration pieces to find the right shade? Check out my guide to the ColorReader
We went with Soapstone MQ4-14 for a few reasons: the blue undertones won’t be too harsh a transition with the blue in the kitchen, we have it in the nursery and the master bath, and it’s not too much like army green.
Preparing to spray paint your room
In order to understand how to prepare your room, you need to understand how the paint sprayer works. It works much like a can of spray paint in that it turns the paint into a fine mist, which means that it’s airborne.
This means a few things: it will land on any surface that is not protected, it will dry faster.
In order to properly prepare your room for the paint sprayer you need to tarp and tape windows (including trim), any doors, the ceiling (if it’s not being painted after), and the floor.
Don’t forget to read my tips and tricks for painting a house
As you can see here, we’ve just got the subfloor, and the ceiling will get painted over after, so we tarped and taped the doors, the baseboard heaters and the ceiling light.
Using the paint sprayer
In the past we’ve just loaded the paint into the reservoir and gone at it, but with the walls we watered it down a bit. Before we get to that though, we gotta talk about what you need to wear for painting.
Just like the room gets prepped, so do you!
Protective Gear
I recommend rubber gloves, goggles, a mask, and a jump suit… and a sense of humour.
Cord vs. Air Compressor
We use the HomeRight paint sprayer because it doesn’t require an air compressor. It functions with a power cord, and that’s mighty handy.
If we were tackling larger spaces consistently we would probably upgrade to a Wagner paint sprayer, and if we were ever going to paint the exterior of the house we might get an air compressor one.
*The following product links contain affiliate links. Thank you for supporting the brands that make PMQ for two possible. For my full policies click // here //
Preparing the Paint Sprayer
Like I mentioned above, with the paint sprayer with the BEHR Marquee formula (the only one I use) you have to thin the wall paint. If you don’t, it will go on too heavy and will take forever to dry.
I recommend 2/3 thirds paint and 1/3 water.
Spraying the walls
Like with spray paint, you want to stand about 25cm away from the walls, and use broad sweeping motions to get your coverage.
This means you’ll need several coats to get complete coverage, but since the paint is going on lightly it will dry quickly.
Tips for Using a Paint Sprayer for Walls
It’s really not a complicated process, but it requires quite a bit of prep work to make sure the job is done right.
- spray corners and trim first because in the process of the doing sweeping motions, you’ll end up putting more in the corners, which will eventually pool and run. No bueno
- Clean the sprayer nozzles immediately after use.
- If your nozzle is clogged, upped the flow and thin the paint a bit more after cleaning it.
Laundry Room Next Steps
Now that everything is painted (you’ll have to wait for next week to see how it turned out), we can move ahead in a major way. Flooring will go down quickly, appliances can be moved back in, and we can get around to installing a lot of what is sitting in the garage.
REMODEL TO-DO LIST
- Spray paint the space
- Install flooring
- Hang door to garage
- Add architrave + trim to doors into the space (from garage and powder room)
- Stack & hook-up washer & dryer
- Install laundry sink
- Install countertop
- Create drying racks
- Build bench + shoe storage
- Build coat racks
- Add Lighting
- Install Sun Tunnel
