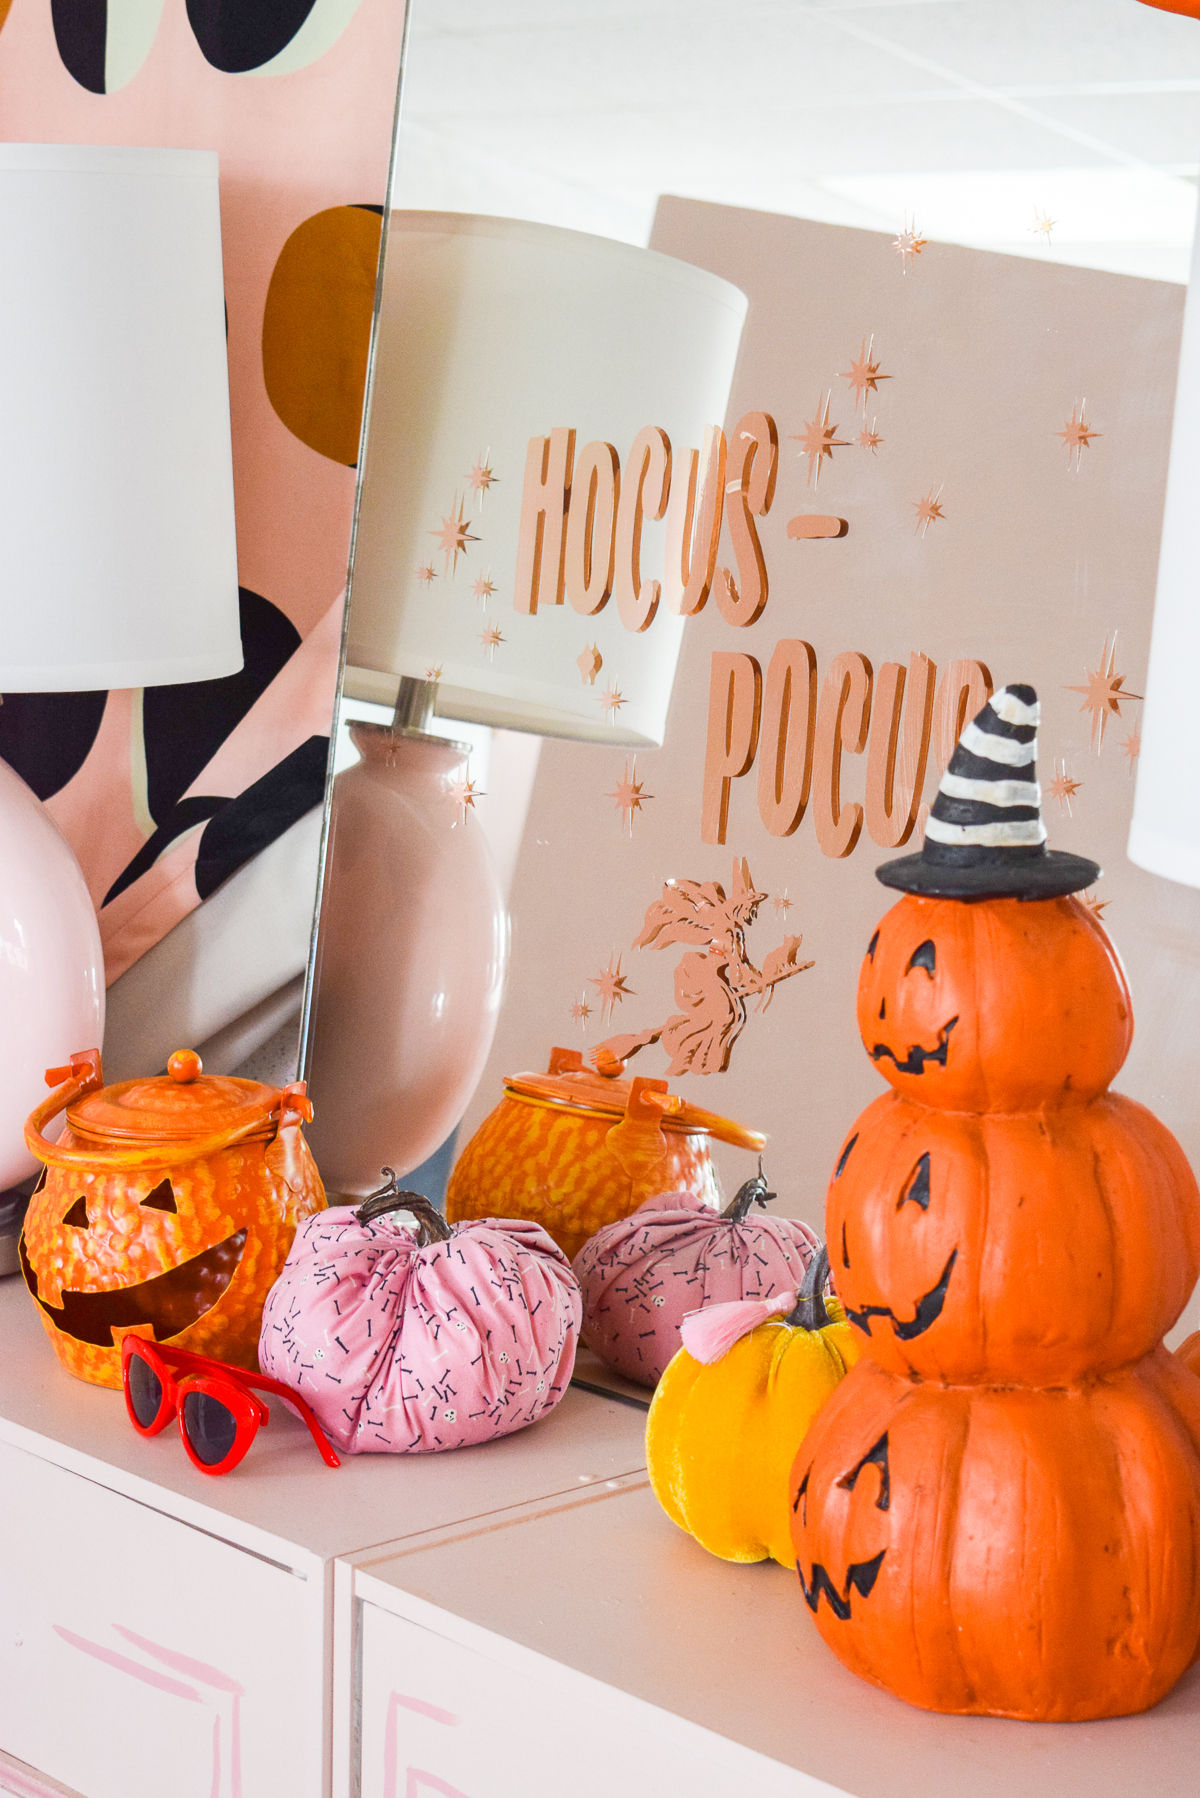
It’s just a bunch of hocus pocus! It’s also time to get your witching Halloween essentials in order, and since fall is one big prelude to the spookiest night of the year, I thought I’d start introducing some witching content a bit earlier this year. You saw my DIY Hocus Pocus Mirror in my magical fall dining room , but here’s the DIY for it!
Black Flame Candle Doormat // All Hallows’ Eve Tablescape // DIY Witch Silhouettes
*Cricut & Roostery sponsored this post, but all thoughts are my own. Thank you for supporting the brands that make PMQ for two possible.

Hocus Pocus has always been near the top of my childhood Halloween movie list. I say it every year, but fall & halloween are my fave time of the year, so anything that puts me in the mood for those is good in my books.
Movies, knick knacks, excuses to wear a witch hat – I’m here for all of them. What about you?
How to DIY a Hocus Pocus Mirror
You could use any old mirror lying around, in fact, you can just make the vinyl decal to apply to something you’ve got up. In my case, when I swapped the mirrors in the bathroom at our new home, this big one came down. I didn’t want to get rid of it just yet, and I’m glad I didn’t because it found its way to this project!
What do you need to DIY a mirror decal?
*The following product links contain affiliate links. Thank you for supporting the brands that make PMQ for two possible. For my full policies click // here //
Surprisingly, not much! Just a Cricut Explore Air
You can check out the rest of my Cricut projects, my guide to the Explore Air 2, and check out last year’s Bitchin Witchin Cape.
How to DIY the Hocus Pocus decal
Normally I make my own cut files, but this time I found the entirety of my files for this cut list within the Design Space because I have Cricut Access! You can see the entire project // here //.
You’ll start by re-sizing the images for your mirror within the Cricut Design Space
Feed your vinyl into the machine, hit “go” and watch it cut. Once the cuts are done, weed your designs and prepare to apply them.
Applying your DIY Hocus Pocus decal to the mirror
You can apply the hocus pocus decal to the mirror any way you’d like, but I wanted mine to be sort of centered. I used masking tape to mark the centre of the mirror.
Using transfer tape, I transferred over the text, then the witch, then the stars.
Once you’ve got everything on the mirror, don’t forget to wipe it clean from all your fingerprints! My mirror was covered in them, so I gave it a good clean.
Displaying your DIY Hocus Pocus Mirror
You can put yours anywhere. You could even incorporate it into a DIY Witch Silhouette gallery wall, add it to your dining room for a magical space, or add it to your Wes Anderson inspired entryway console.
I added mine to the later, and incorporated a giant velvet curtain from Roostery. Did you know that you can buy curtains from them now? I chose this darling moon phase print (the Plymouth)by Nadia Hassan, and it shipped within a few days! I wanted more of an impact in my studio entryway for fall/halloween, and the curtain + mirror combo definitely does that.
You can see two things in this detail shot below: that no matter how hard we tried to cover all the yellow when we painted, some still came through. And two, my super cool cat wreath from Michaels! I love the cat’s grin, his colouring and styling. He has officially joined my Halloween decor posse.
