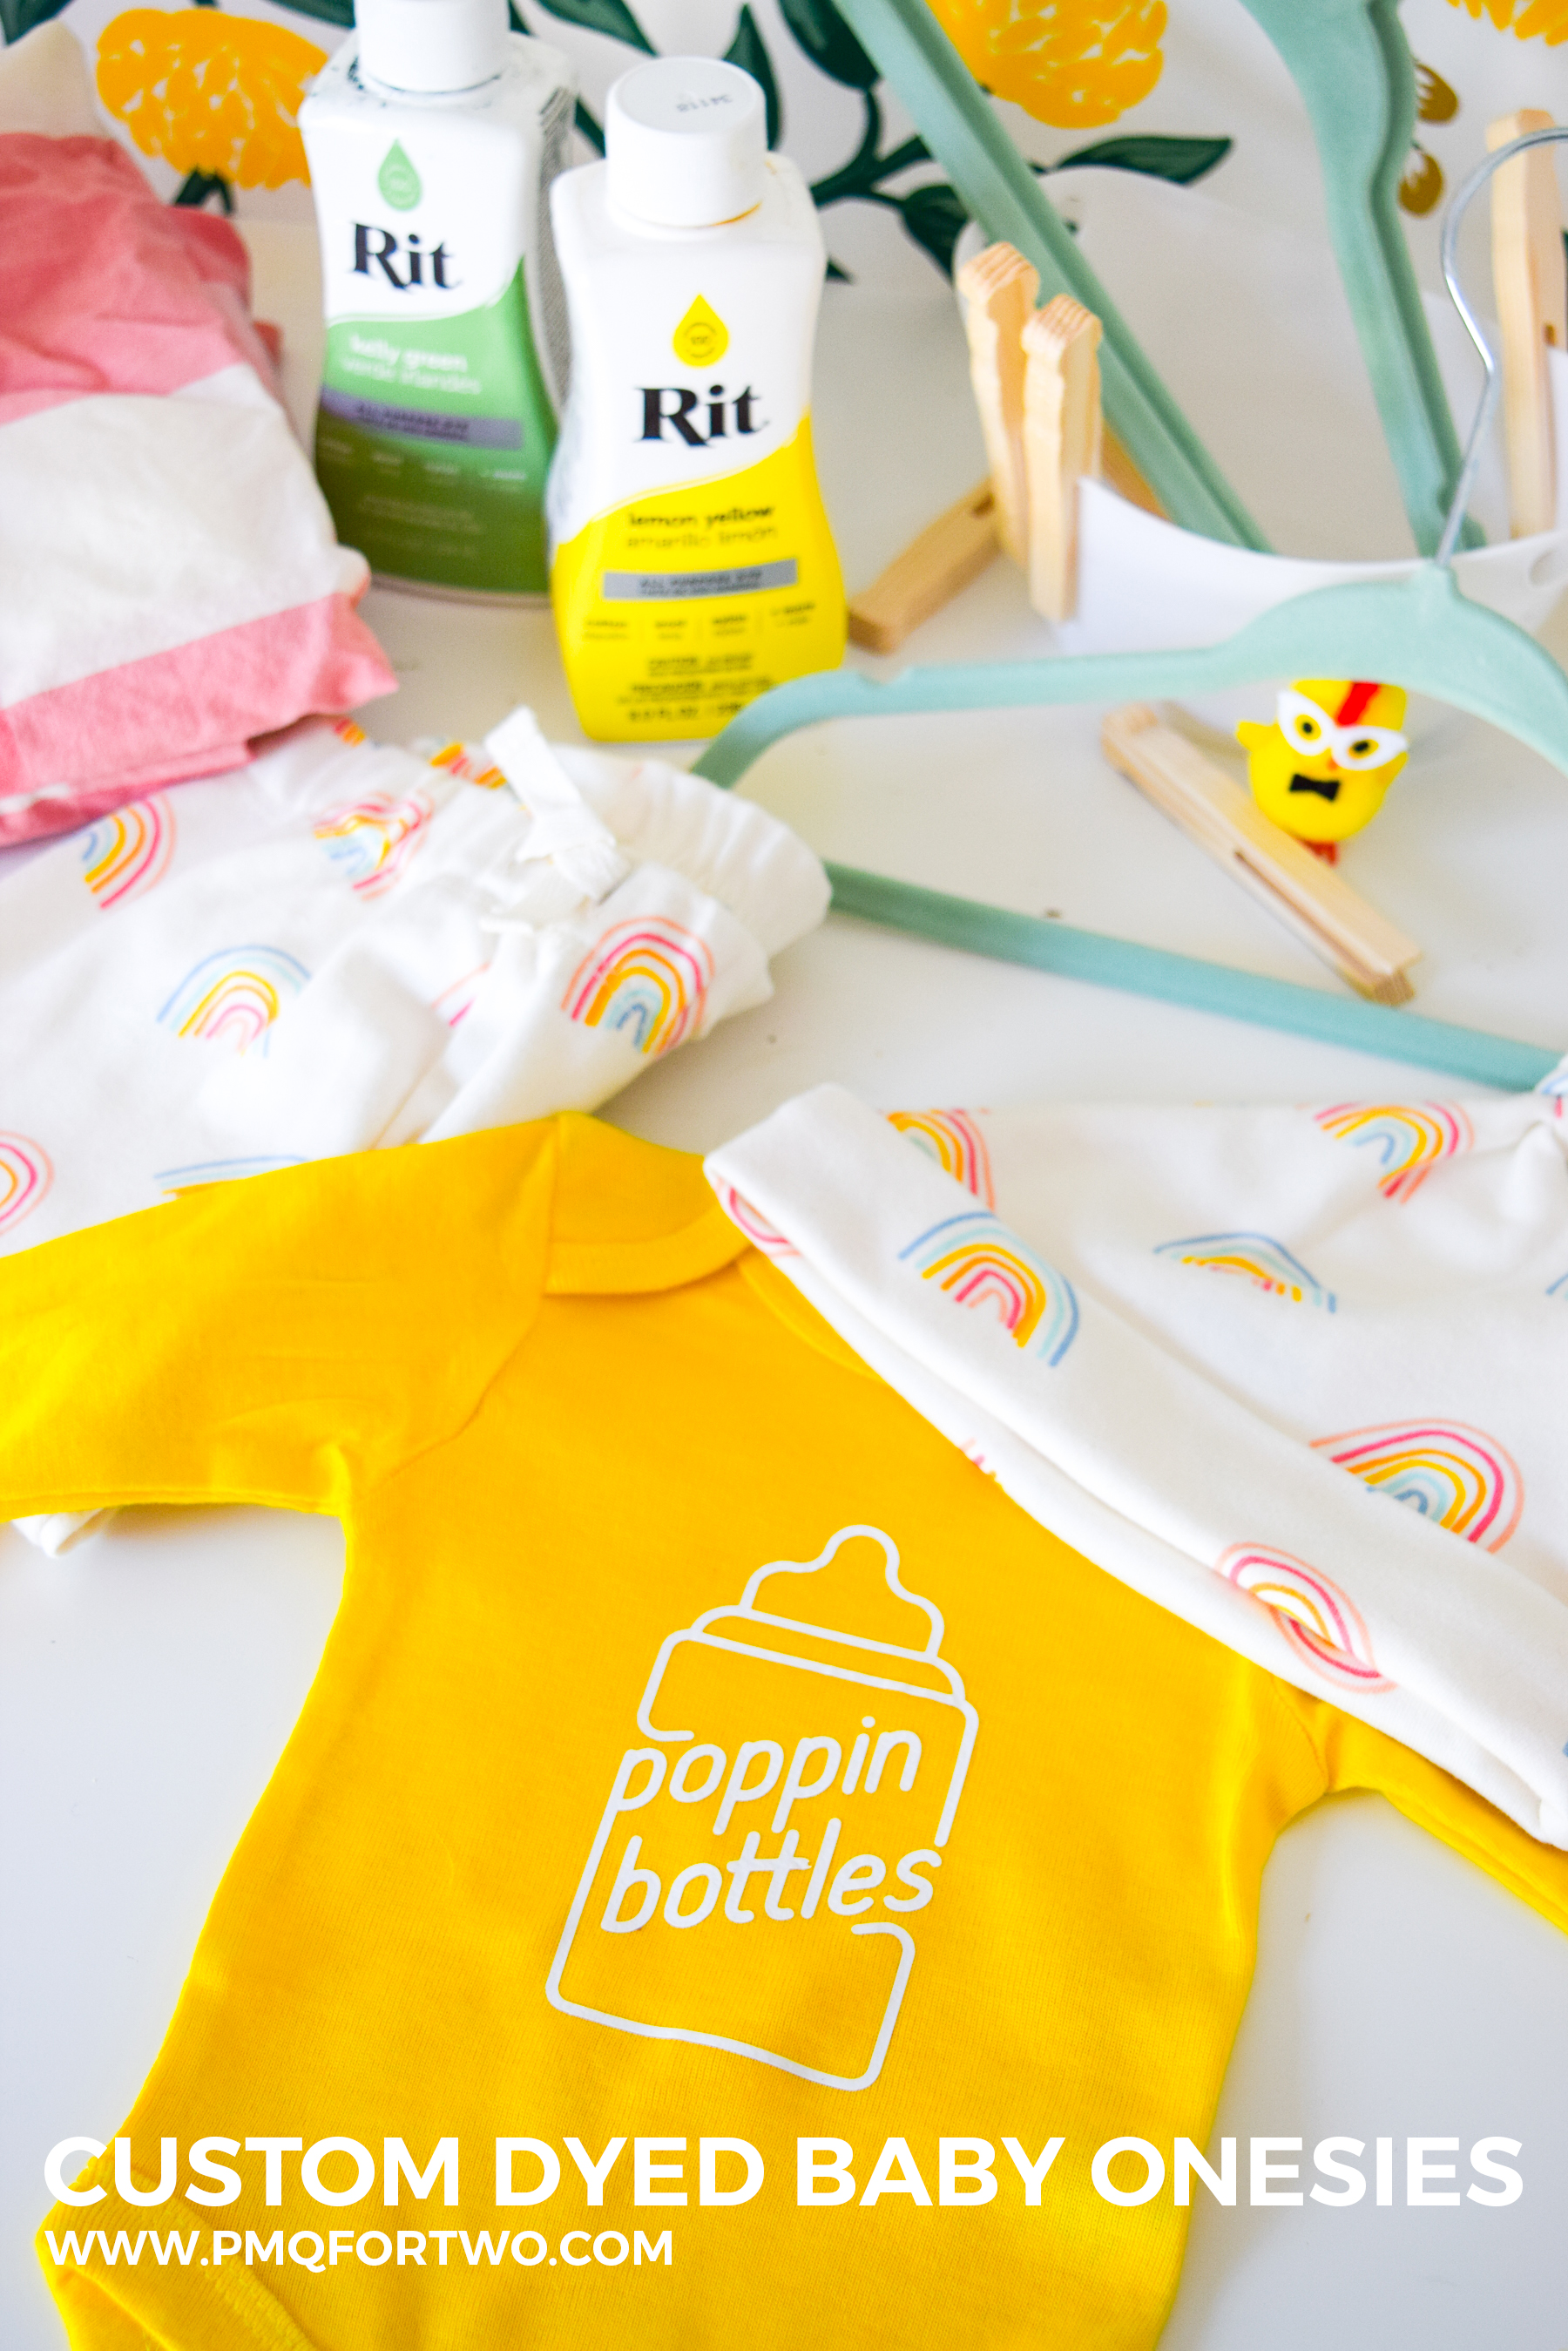
I am in baby prep mode over here. It’s a nice distraction from all the other important stuff going on. That being said, I tried my hand at some custom dyed baby onesies using Rit Dye‘s line of fabric dyes, and my Cricut. Fun was had by all, least of which the cats who I tried the onesies on after.
Check out my Dyed Wood Baby Toys
*Rit Dye sponsored this post, but all thoughts are my own. Thank you for supporting the brands that make PMQ for two possible.

After dying all those fun food toys for this kid, I had enough dye left to try my hand at some onesies. I’m not seeing the type of variety I want in stores, and without knowing the gender its kind of tricky to make what I need, until now that is.
I chose some gender neutral shades with fun text, and got to work.
How to Dye A Onesie
Ok so this may be super obvious, but in case it’s not we’re gonna go through it here! Basically, to dye clothing you need a few things: fabric dye, colour fixative, boiling water, a giant bucket, rubber gloves, and a measuring spoon (I used the Tablespoon)
I chose Kelly Green, Aquamarine, Lemon Yellow for these spring time onesies, but the process holds for any item of clothing.
*Adorable chicks with glasses and bowties not included.
You’ll start by boiling an entire tea kettle of water. You need enough water to completely submerge the fabric, so that no parts are rubbing together, and no parts are sitting above the water. The more space it has to move around, the more evenly the dye can attach itself.
For each colour, I used a full kettle + 5 tablespoons of dye. Give it a good stir before you add the fabric, since you want the dye to be evenly distributed throughout the bath.
While the item is submerged, use something to swish it around so that the water is flowing around it evenly.
Once you’re happy with the colour, take your bucket to the sink and turn on the cold water tap. Fill the bucket until it overflows, and leave the water running until the overflow is clear.
Wring out the onesie, and let it dry. Repeat the process with the others!
Using the Colour Stay Fixative on your Dyed Onesies
I highly encourage you to use the colour stay fixative, especially since you’ll likely be washing these a few times. Follow the instructions on the back of the label, but you basically repeat the process using the fixative solution, instead of the dye.
Works every time! You can also check out the guide on their site if this seemed too vague for you.
Customizing your Dyed Onesies
I knew I wanted more than just dyed onesies, so I pulled out my Cricut to add some fun text and graphics to the front of them. I went with white iron-on so that it would really make the dyed onesies pop.
Check out my guide to the Cricut, including how to upload your own images files
You can grab the files I used on my design space account. The “poppin bottles” graphic is part of the Cricut Access, but the other text is written by me. You can also use the pre-cut letters you find in the craft store, it’s really up to you.
Since I’m using the iron-on vinyl, I also pulled-out my Cricut Easy Press, because it really is that much easier to use than the iron, plus I wanted to get a good press on these tiny onesies without ruining them.
You can see the designs I chose below.
Pretty sure Bruce, Boots and Toby + baby makes the coolest gang out there, but what do I know? I’m just the chump that has to care for them.
The Boobs, Bottles, Burps is because lists are so hot right now #mugatu
My Custom Dyed Baby Onesies
Between the Rit Dye colours, and my Cricut machine, I think I can make just about anything under the sun, including a line of limited edition Drake quote onesies. You into it? lmk
Also, do you dig my Suzie homemaker look? I thought it would go with the whole “doing laundry” schtick. Who are we kidding, I don’t wear an apron unless I baking.
