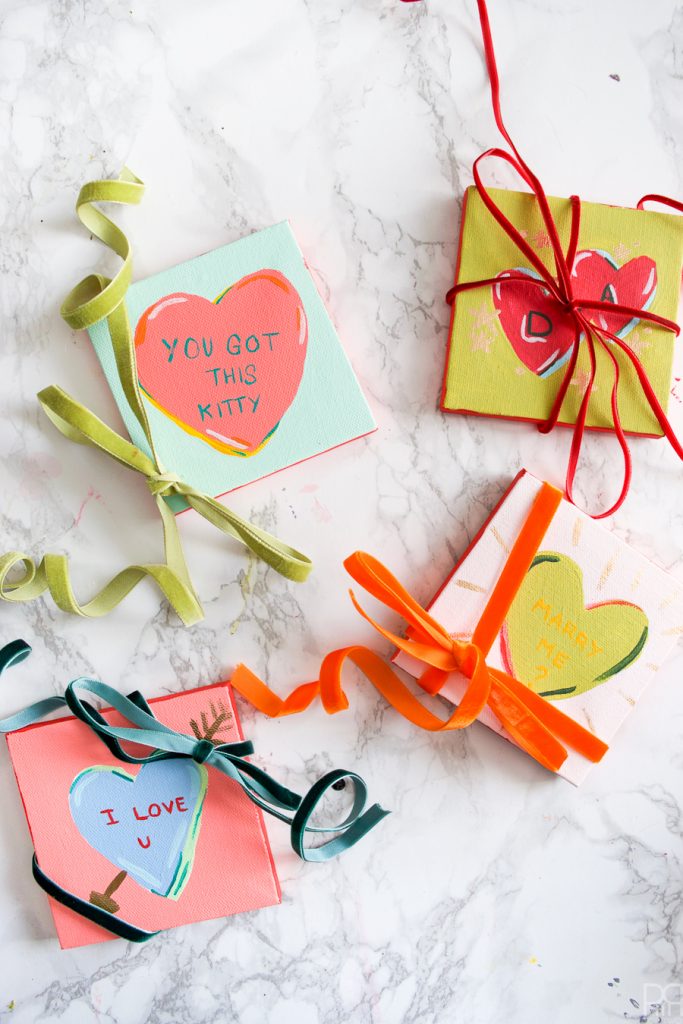
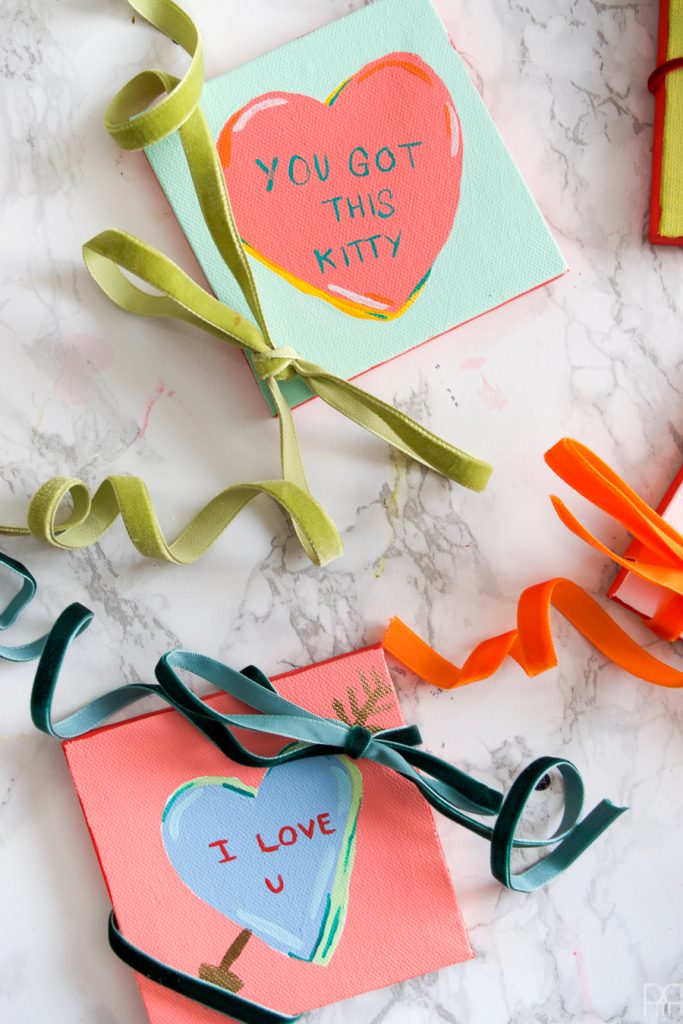
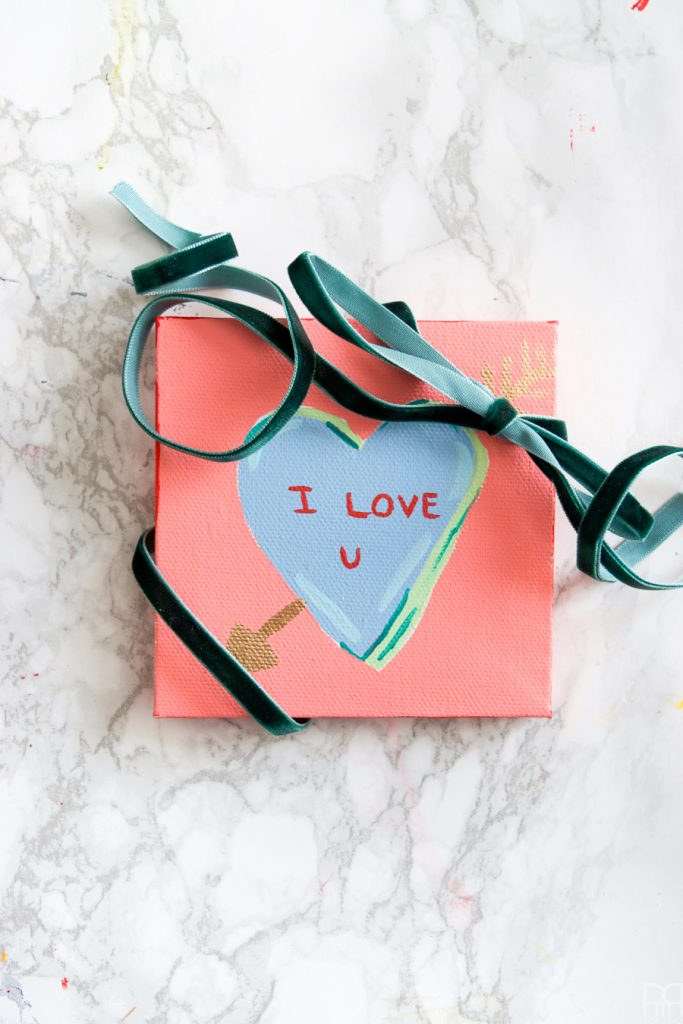
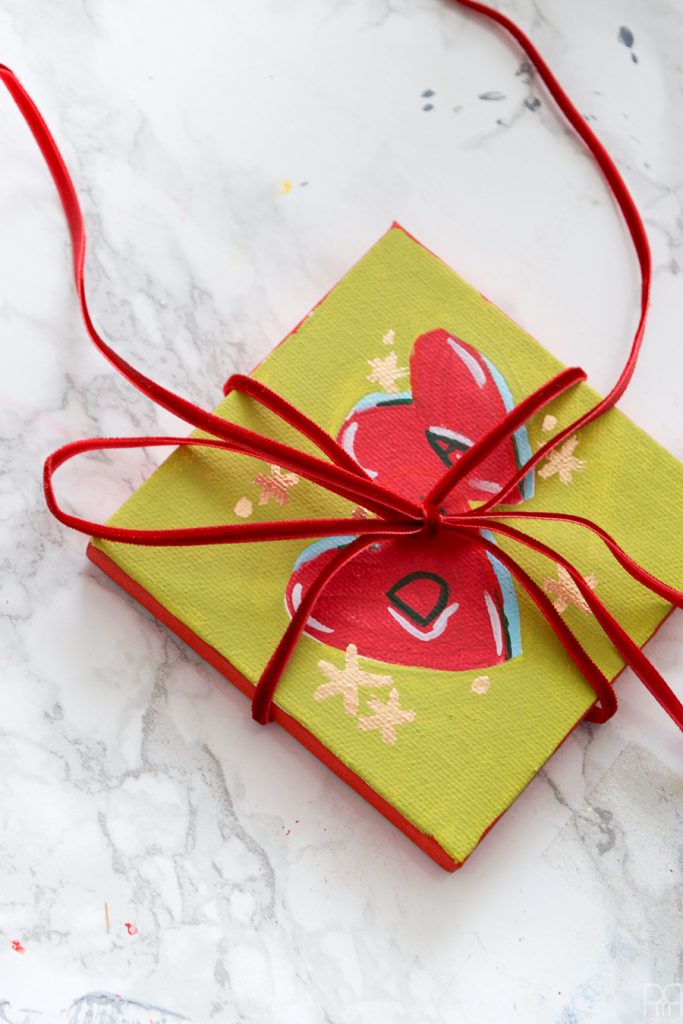
Shh! Don’t tell DH, but I’ve made him a little set of 4 canvases as a mini anniversary gift. Which anniversary? All of them! If you want the back story on all our romance and what February means to us flip over to my DIY Candy Box post // here // for the low-down.

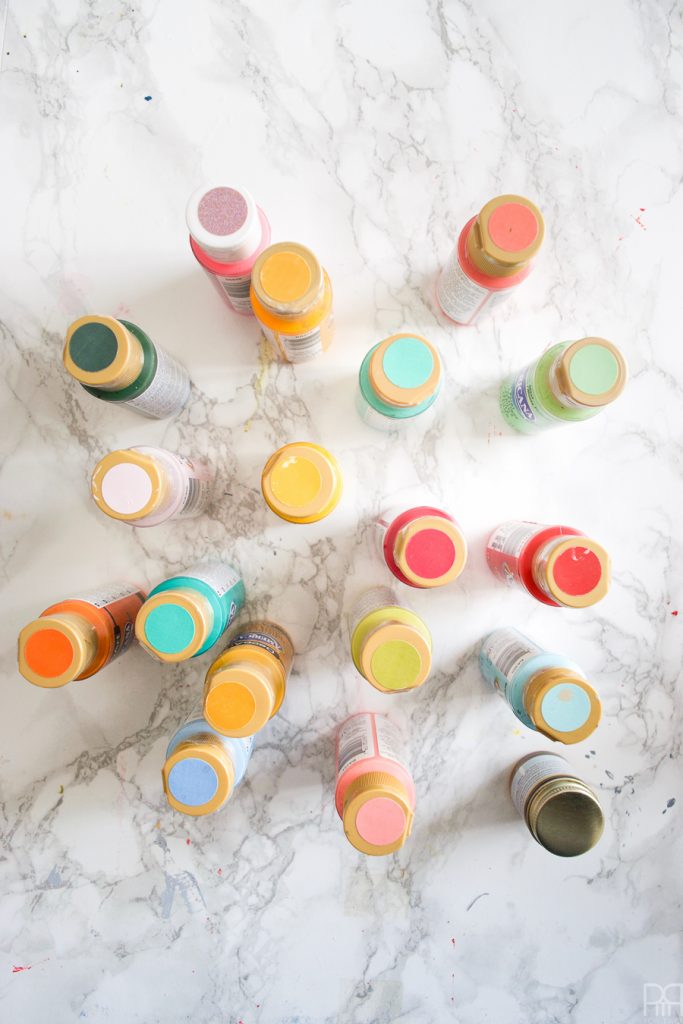
If you’ve ever thought “gee, she sure uses a lot of colours in projects” this one is going to blow your socks off, because you pretty much taste the rainbow with this one. Wait till you see my paint list!
I wanted to continue with my candy heart theme for this month – I’ve done candy boxes // here // and cards // here // – I wanted to try one more iteration by painting them. I decided to use bold colour pairings and contrasting flecks for details. I even added some gold at the end for a finishing touch. I’m sure DH // here // will be pleased to receive them, and then completely baffled as to where to put them.
The following product links contain affiliate links. Thank you for supporting the brands that make PMQ for two possible. For my full policies click // here //
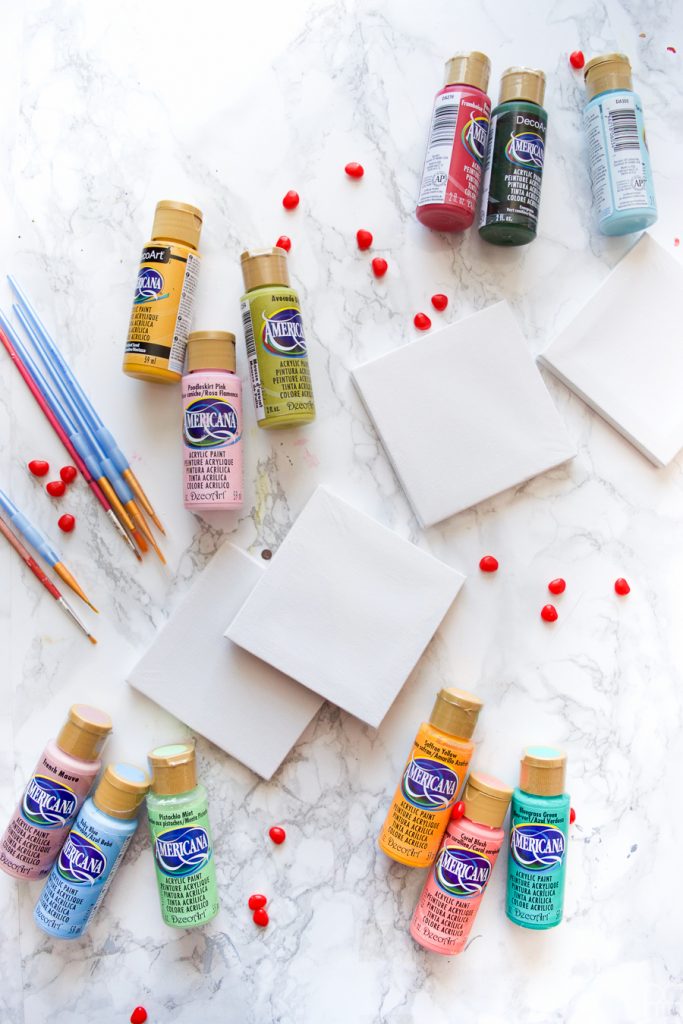
Materials
- Mini Stretched Canvas 4″X4″
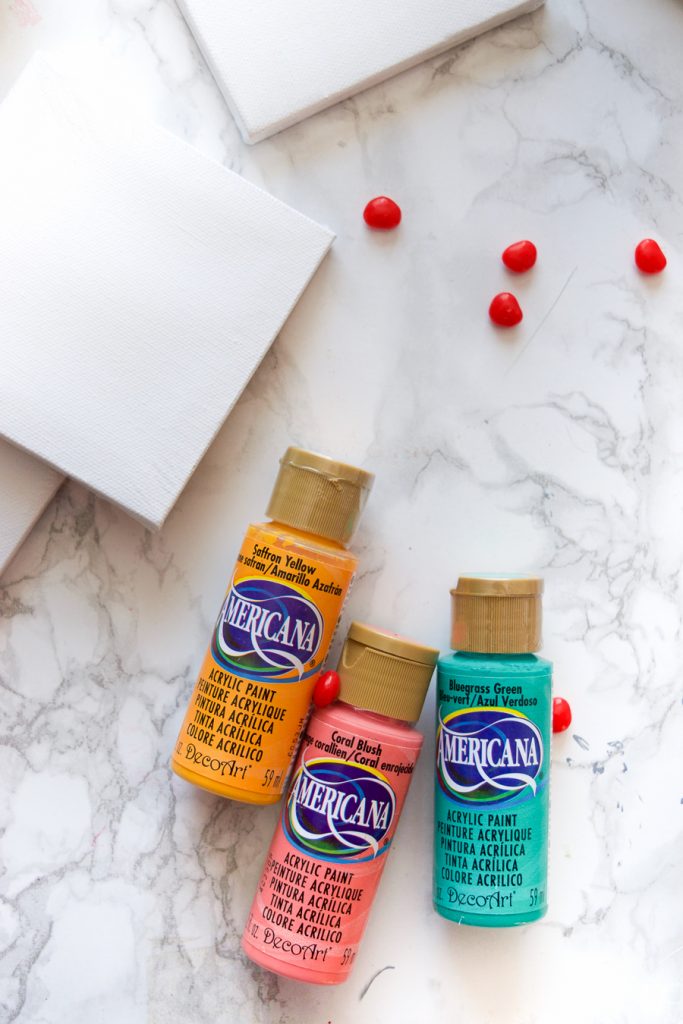
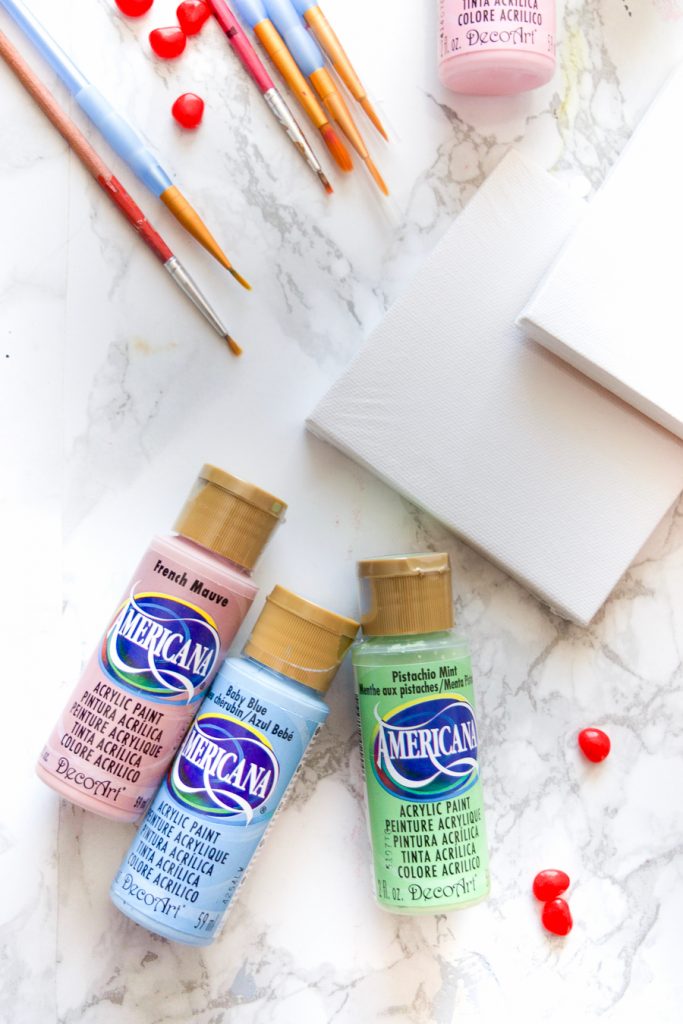
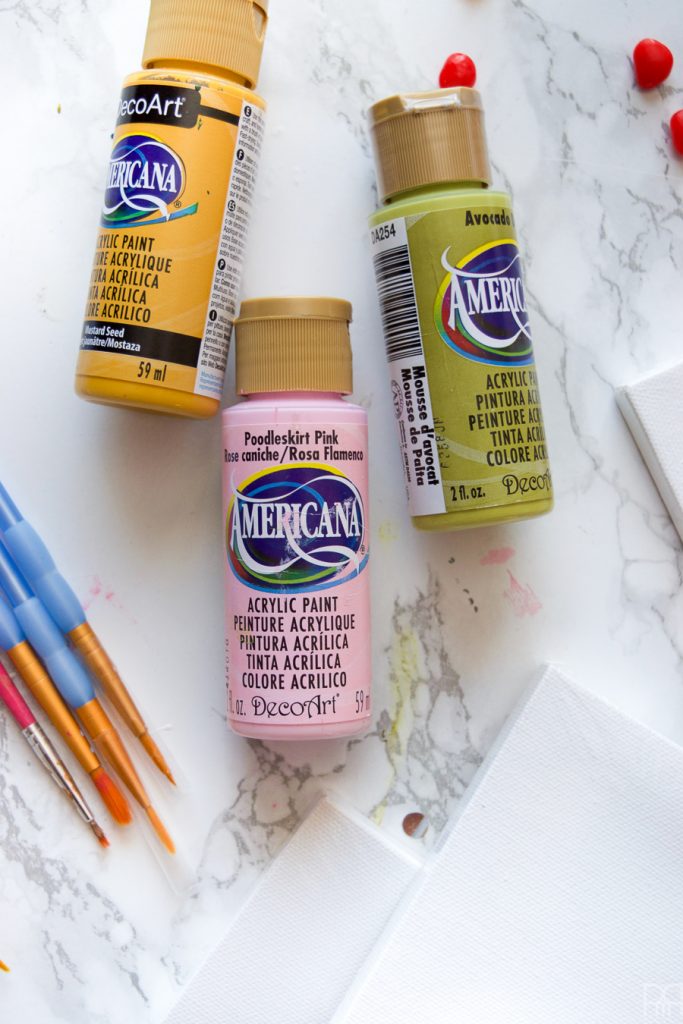
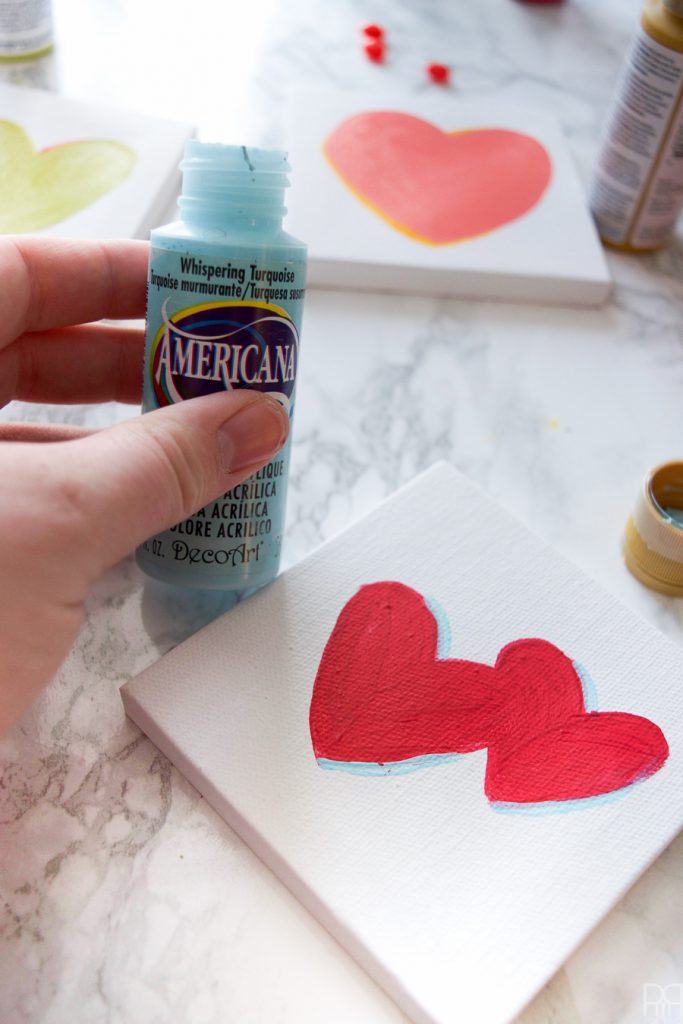
- American paints in almost every colour. I used these colours:Coral Blush
- Paint Brush Set
- Martha Stewart Crafts Liquid Gilding

** NB, I wasn’t sure I was going to paint the rest of canvas i.e around the hearts, until I was done with them and decided the white contrast with the colours was a little too sharp. You can proceed like I did, or start by painting the canvases one colour and then add the hearts. If you do that, you also run the risk of some colours not sitting well on top of each other. Proceed with caution or after testing.
Step 1: Decided on your colour pairings. I went for a nice mix of bold and contrasting colours in each case.
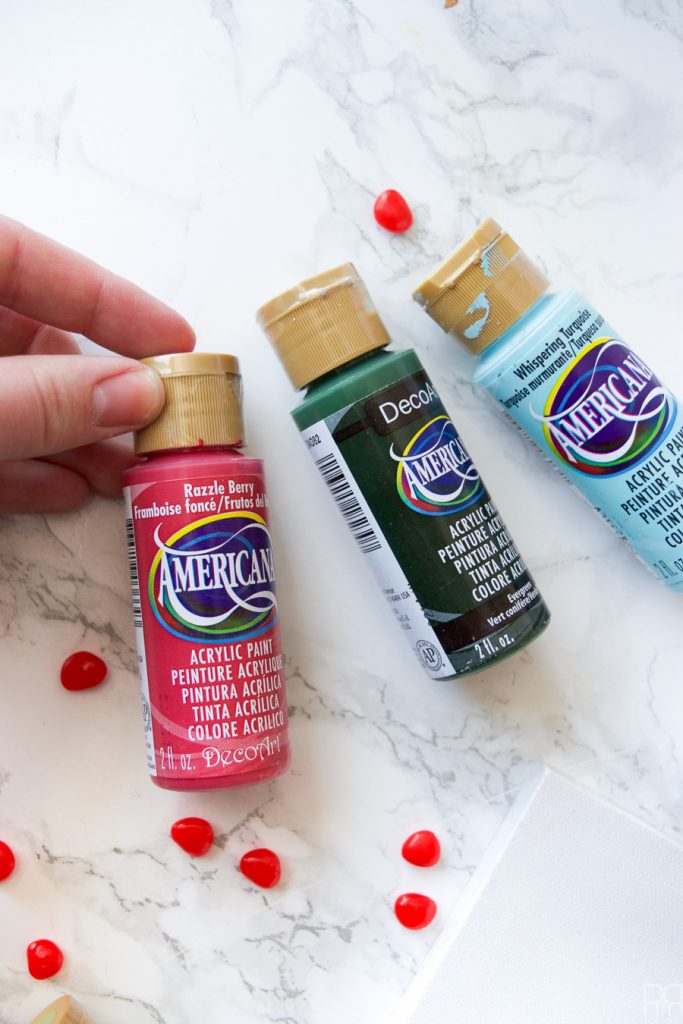
Gotta love a colour called Razzle Berry!
Step 2: Paint your hearts on the canvases. I centered mine and rotated some for different perspectives.

You’ll need at least two coats to ensure proper coverage and that no white canvas shows through. It will also help ensure that your colours are super strong, no matter the shade.
Step 3: Add contrasting shadows for perspective. If this was photoshop you’d be adding a drop shadow. Imagine a spot of light shinning on the hearts from one side and then draw where those shadows would fall.

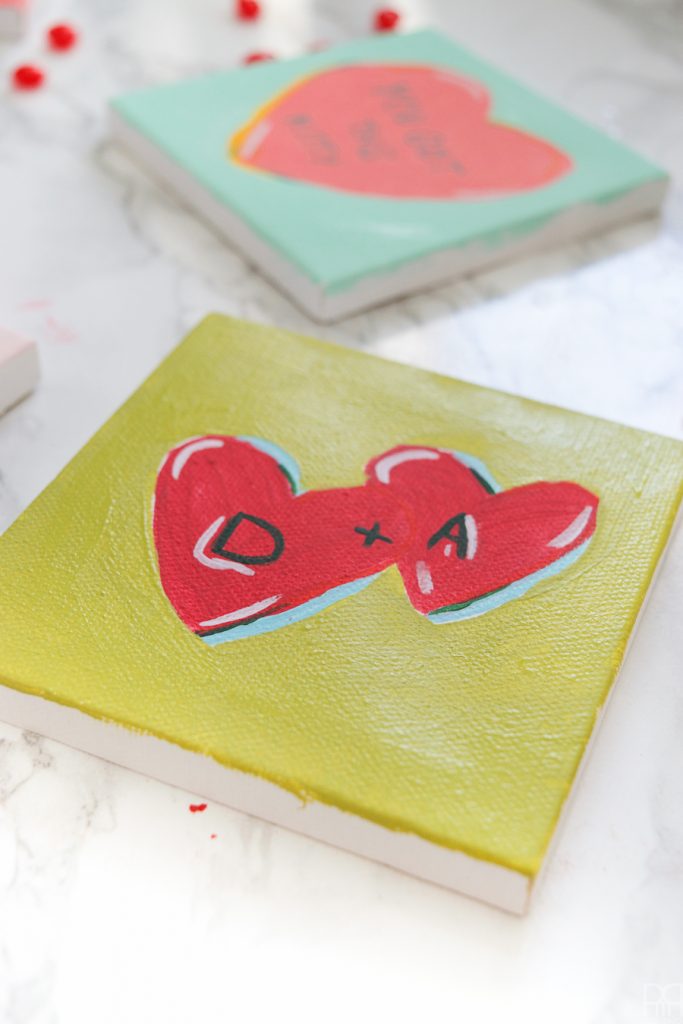
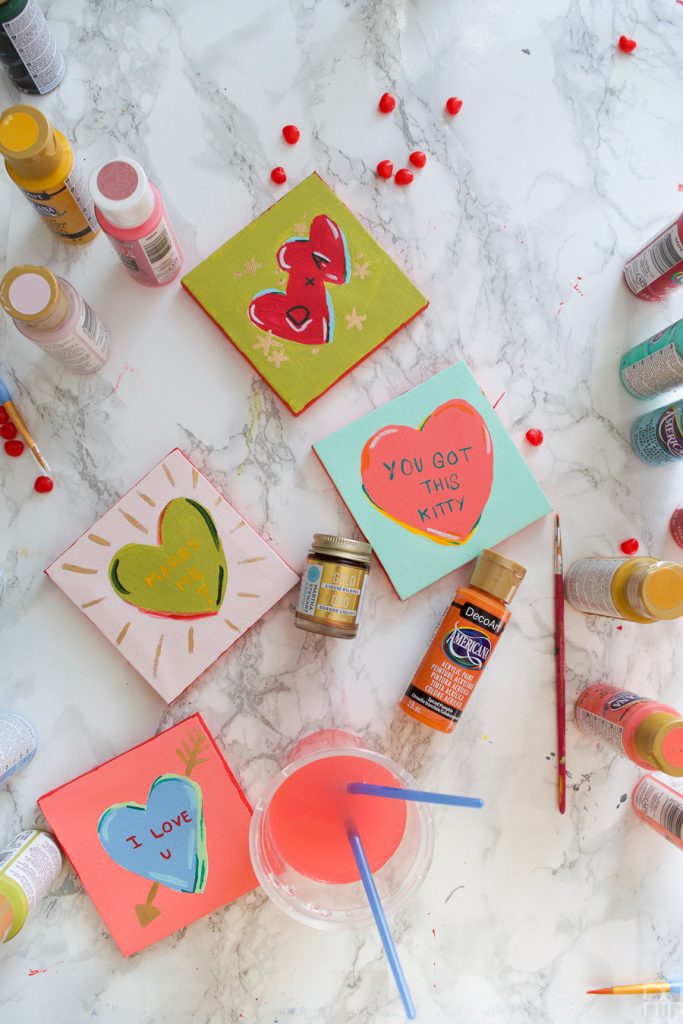
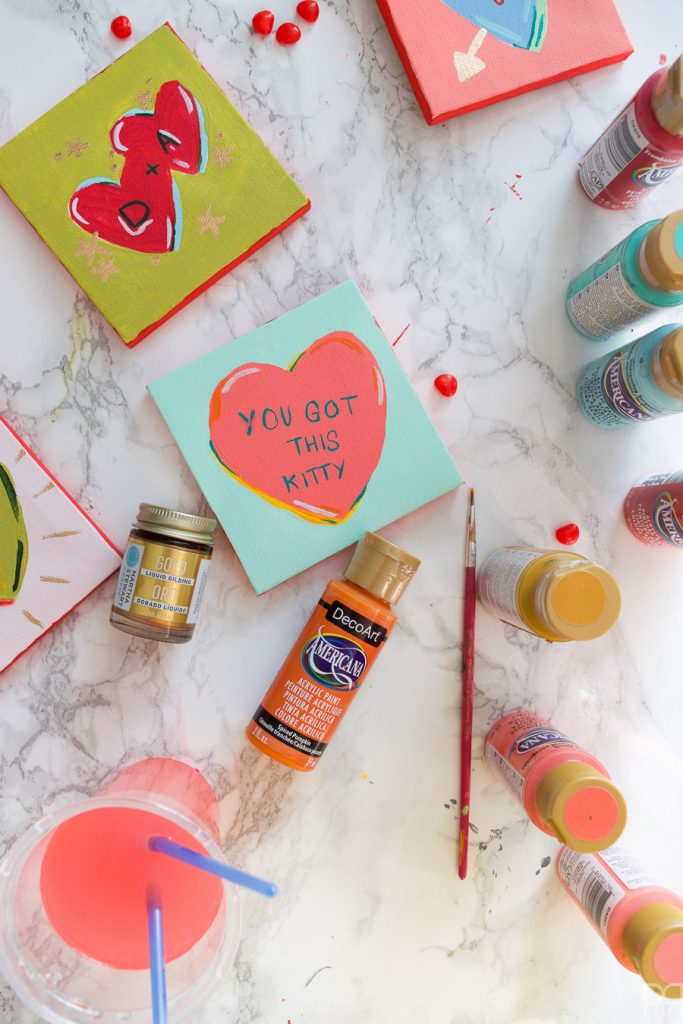
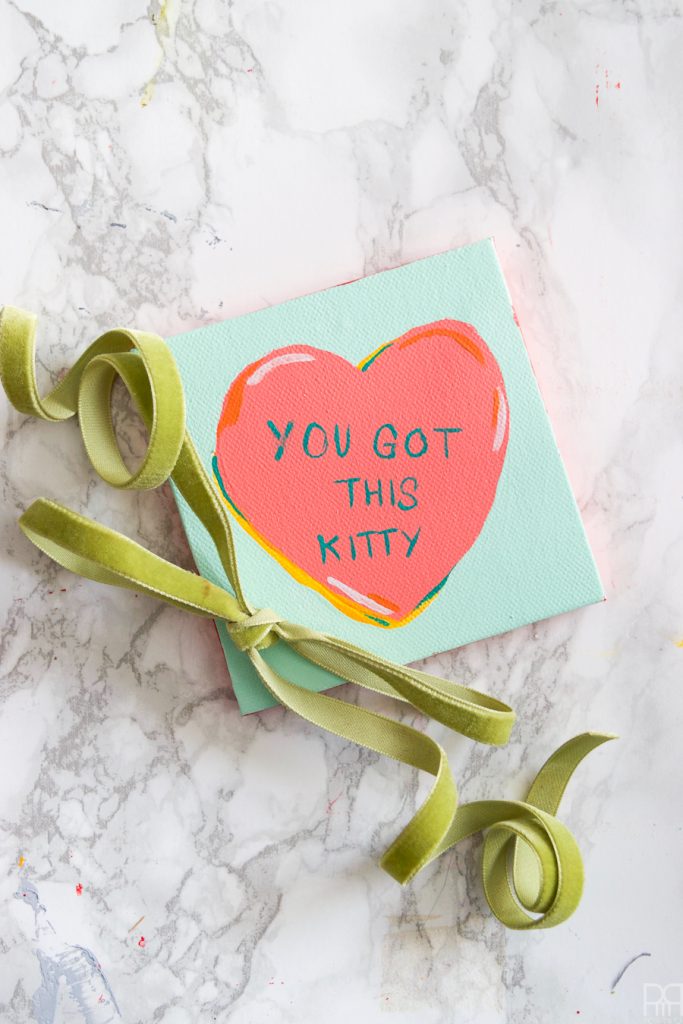
Step 4: Once your shadows are complete, add your lettering! I used the classic “Will You Mary Me?”, “I love U,” initials, and then added “You Got This Kitty” which is what we say to each other when we’re showing our unconditional support. It stems from Sheldon’s Soft Kitty song // here // which I once overheard DH singing to Boots (our cat) during a wind storm when he was particularly agitated, 5 years ago during our courtship.

Step 5: The is where I decided to add a background colour to the canvases. I found the contrast a little too stark and was worried about them getting dirty. You’ll likely need 2 coats to ensure complete coverage.
Step 6: I then painted the edges of the canvases. Basically, I had a really solid concept and then spent an extra step or two covering-up my sloppy painting 😉
Step 7: Add any extra embellishments and contrasts. I added the liquid gold here for an arrow, a shadow and some radiant bursts.
I used more contrasting colours, usually the lightest and darkest shades of the same colour used for the hearts, and drew extra dimensions. The end result is layered and vibrant. I love them!
Step 8: Wrap and give.


What would you paint on yours?