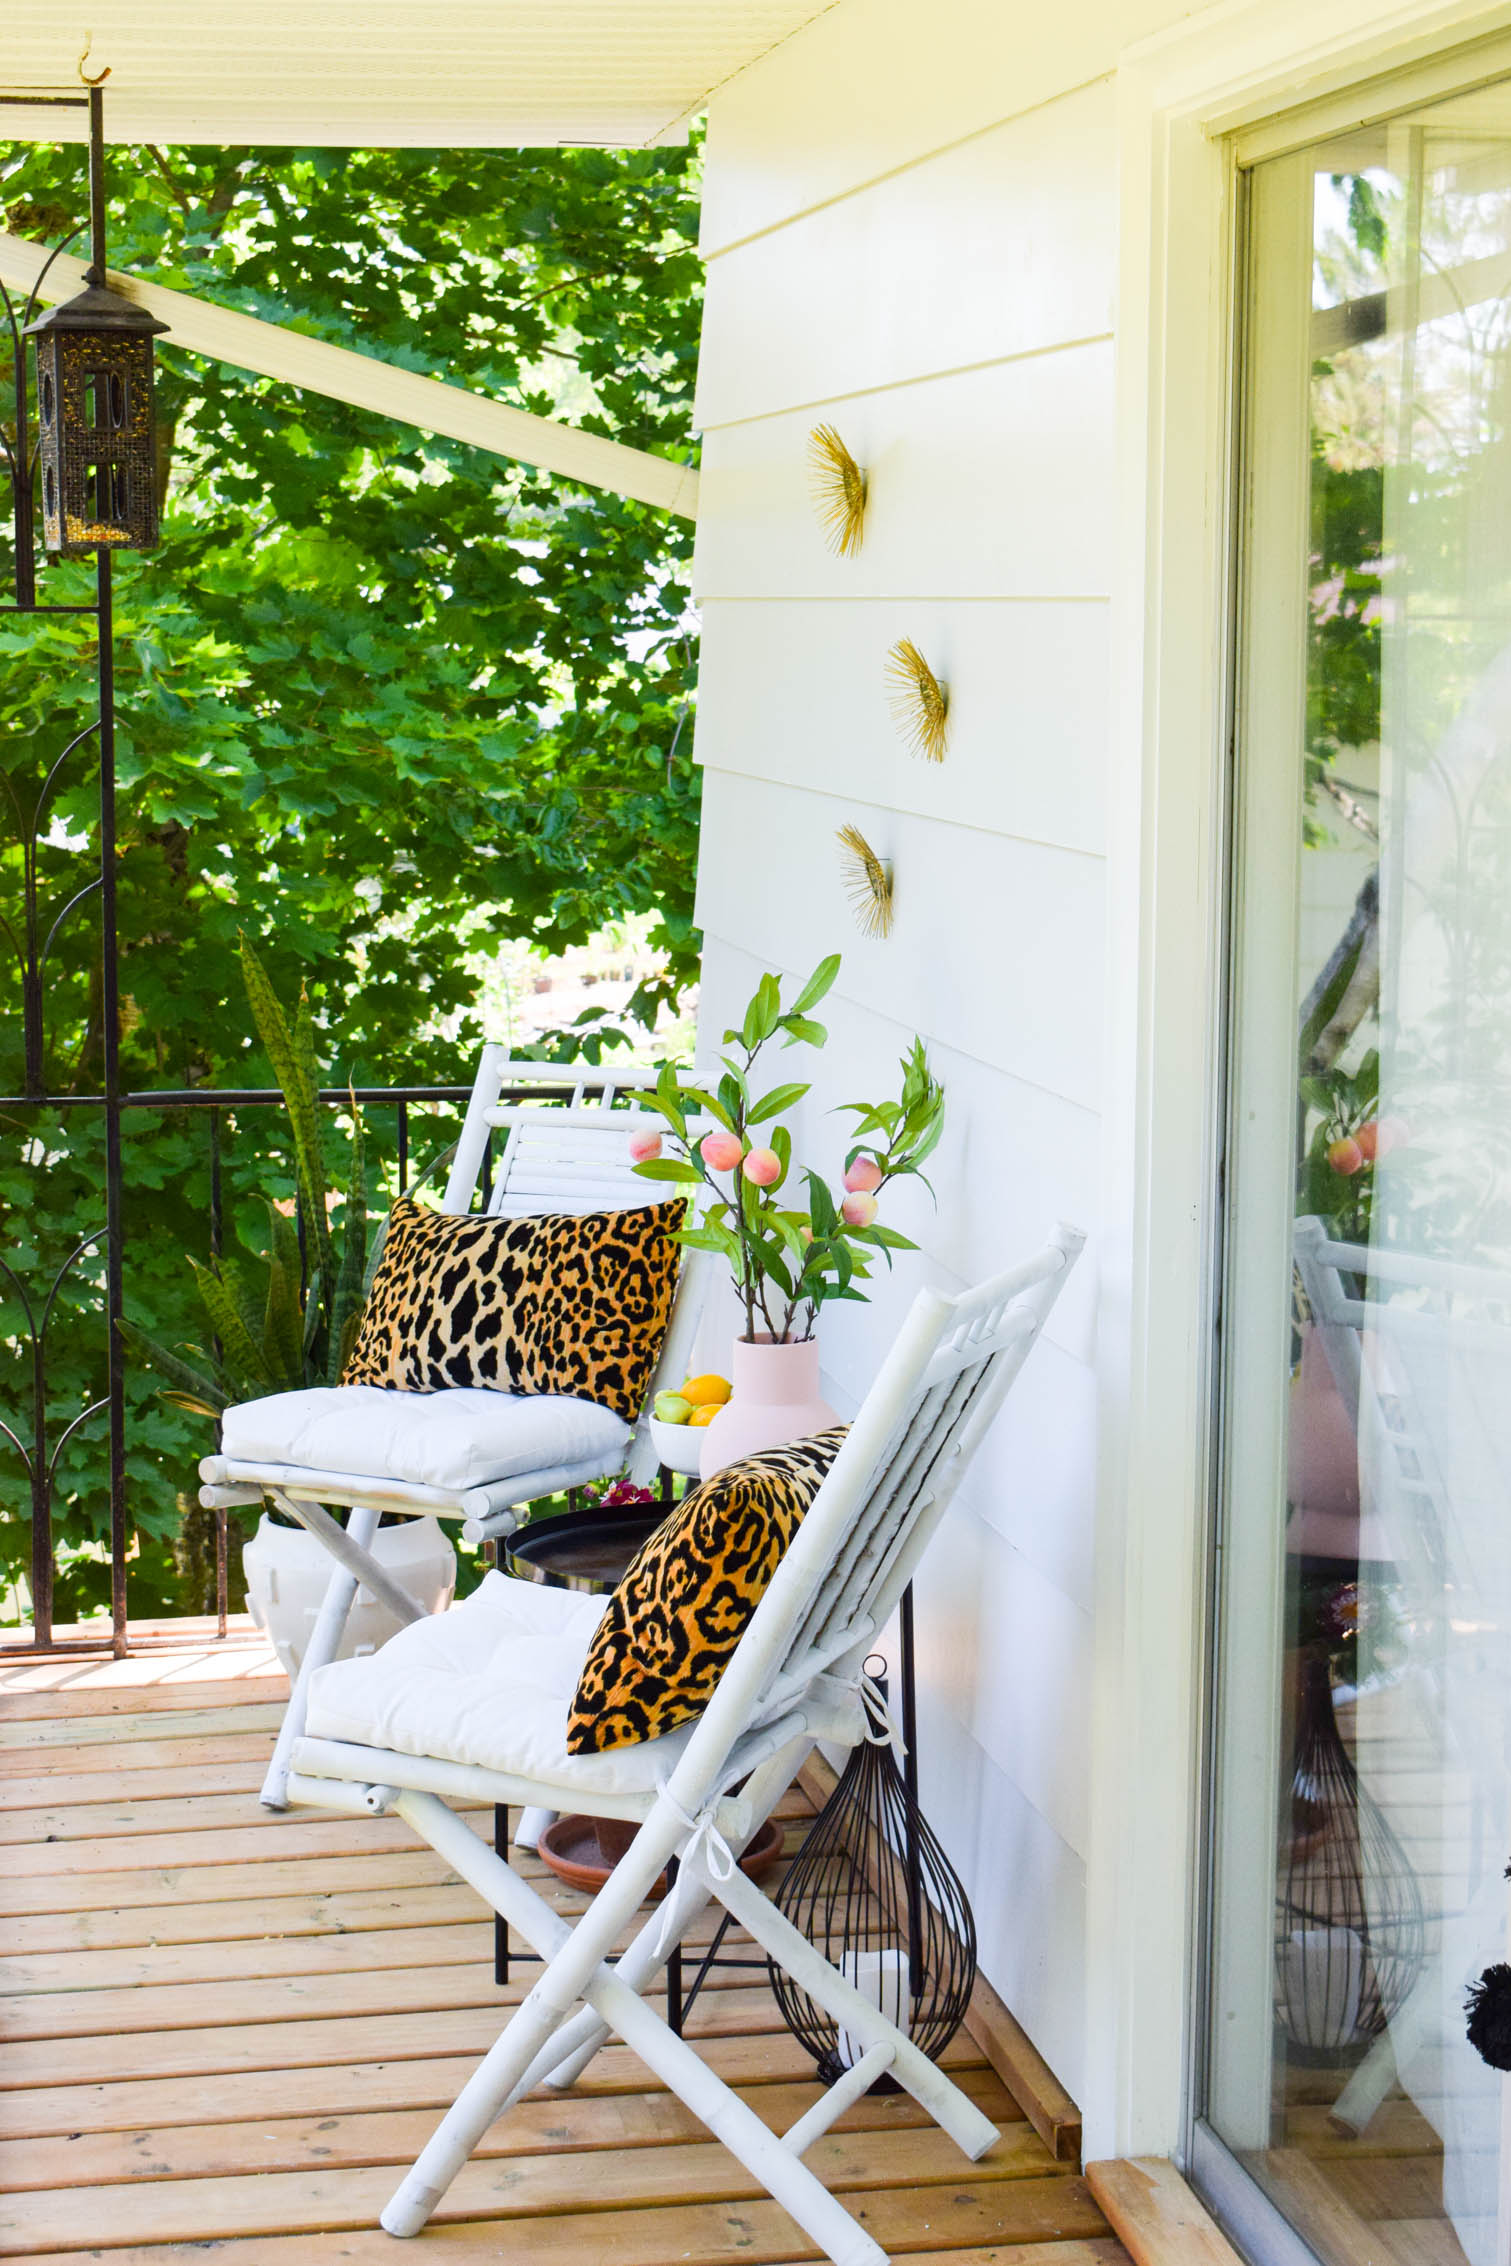
I unveiled our plans for renovating the exterior of our MCM house earlier this week, and here’s the first big project we did – the MultyDeck balcony deck off the living room.
I’ve got a whole video outlining the process, so I saved all the details for there. In the meantime, revel in the completed outdoor space!
*MultyDeck sponsored this post, but all thoughts are my own. Thank you for supporting the brands that make PMQ for two possible.

Why we renovated our balcony
This space was on my wish list for our first home. When we saw it in the listing photos, it was one of the many reasons we knew it was meant to be. It’s 45′ long and 4′ wide, it runs the entire length of the house and has two grand sliding doors that grant access to it.
Check out our other backyard DIYs and reveals
It’s wonderfully shaded, gets a great breeze, but it had gross carpet on it. Ewww. Here’s a pic with all the furniture removed, and a stray snake plant.
Why we chose MultyDeck
We first stumbled upon the MultyDeck by chance in our local Home Depot. They’re exclusively stocking the tiles in Canada and the U.S. so make sure you check out your local store for the MultyDeck system.
The system of recycled – made in Canada – rubber mats allows you to create a floating deck on almost any solid surface, and isn’t considered structural – so no permits required! It’s a great solution for balconies in apartment buildings, or renters who want to put a temporary deck in a yard or over an ugly yard.
Between the versatility and the price point per tile, we were itching to give it a go.
How to use MultyDeck
You’ll have to check out the video for the full tutorial, so let me know what you think! It took us about a day to install the deck, but we could have done it in one without June interfering with her request for snuggles.
Make sure you tell Dan he did a great job!
Our MCM Balcony Deck
The finished space is but one of many that I’ll be unveiling in the next few weeks. We’ve been busy bees over here!
Because it’s such a narrow space, it’s hard to photograph with any meaningful depth, so I climbed a ladder on the other side of the balcony and took these photos while perched precariously.
We’ve got three distinct little seating areas on the balcony, and they’re in use at different times of day.
This little seating area at one end is perfect for AM coffee as it’s right off the living room.
Further along the balcony we’ve got a patio lounger that I’ve done-up as a day bed. It’s the perfect spot for a nap as it gets a nice cross breeze, and there aren’t many mosquitos.
We’ve also got a little birdhouse above it, and some local chickadees have made a home there.
Get the plans for our DIY patio loungers and read about how we updated them.
All the way at the other end, we’ve got a final seating area off the principal bedroom. It’s great for a read before bed, or reading bedtime stories with June. We’ve got another fan down there to keep the air moving on those still hot days.
So there you have it! Our balcony is complete for now, and we couldn’t be happier with how the MultyDeck tiles helped transform our balcony.
