

But for all of you who have been asking about how to paint an upholstered chair, this is the post for you!
Catch-up on on dining room update with the plans for my tiny dining room makeover, how to make an inspiration board, wall colour update, how to DIY a roman blind, how to choose a rug, The Reveal
*Behr Paint, Rugs USA, Wayfair & Parima Studios sponsored this post, but all thoughts are my own. Thank you for supporting the brands that make PMQ for two possible.
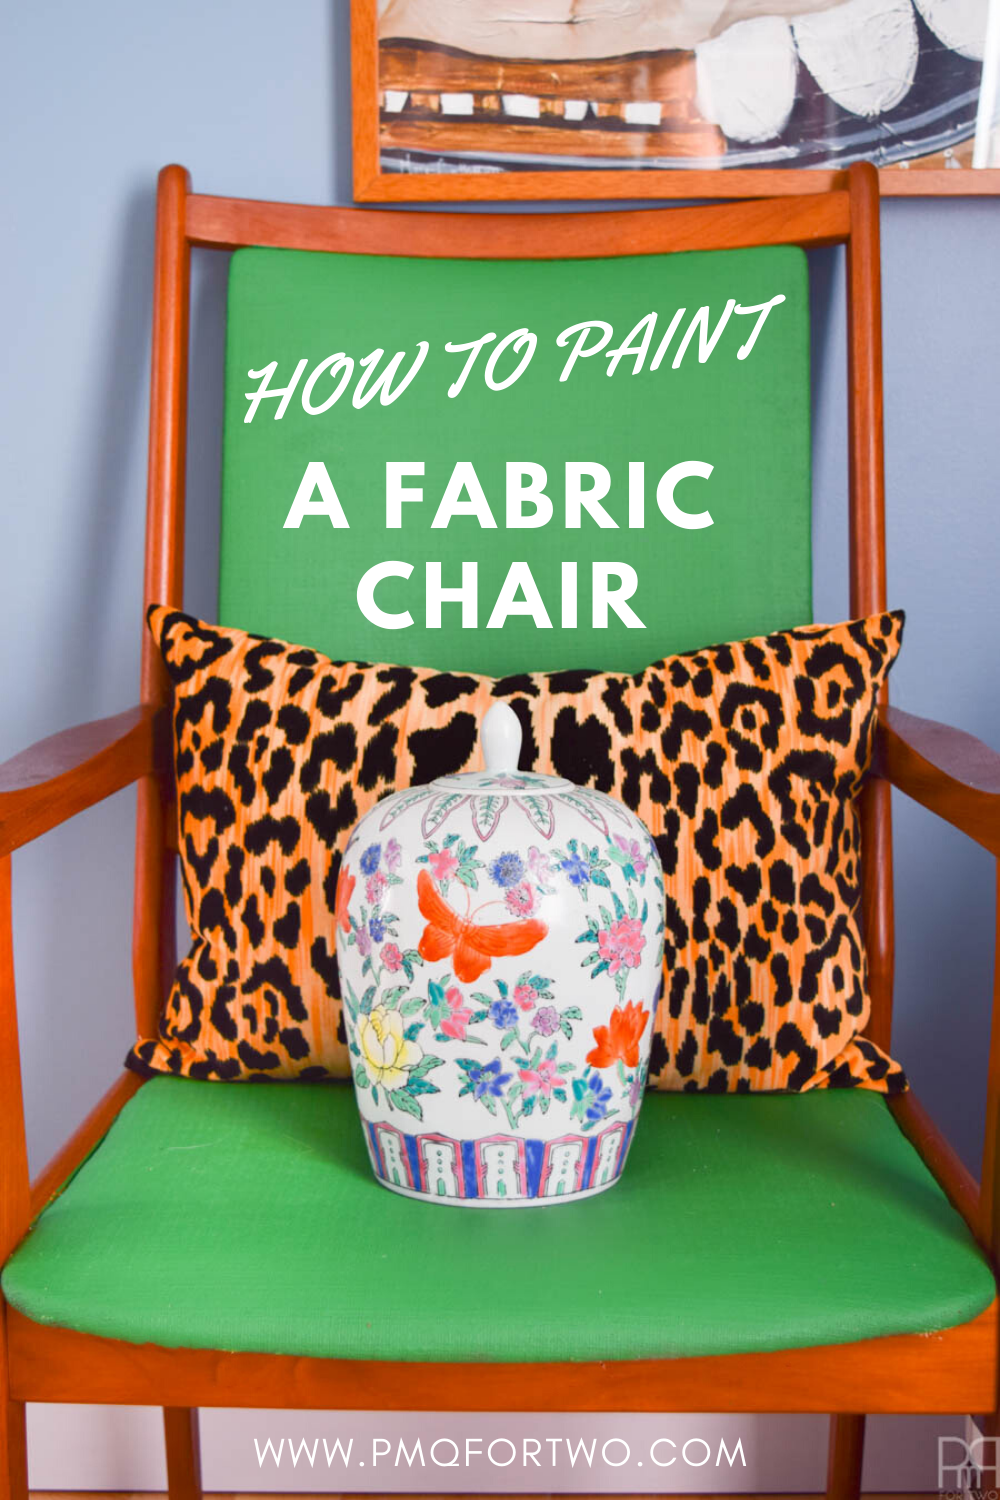


How To Paint An Upholstered Chair
Painting upholstery can be a dicey ordeal, but if you use the right products and technique you’ll get some quality results. It’s an affordable stop-gap for when you can’t re-upholster, and it takes a fraction of the time as well.
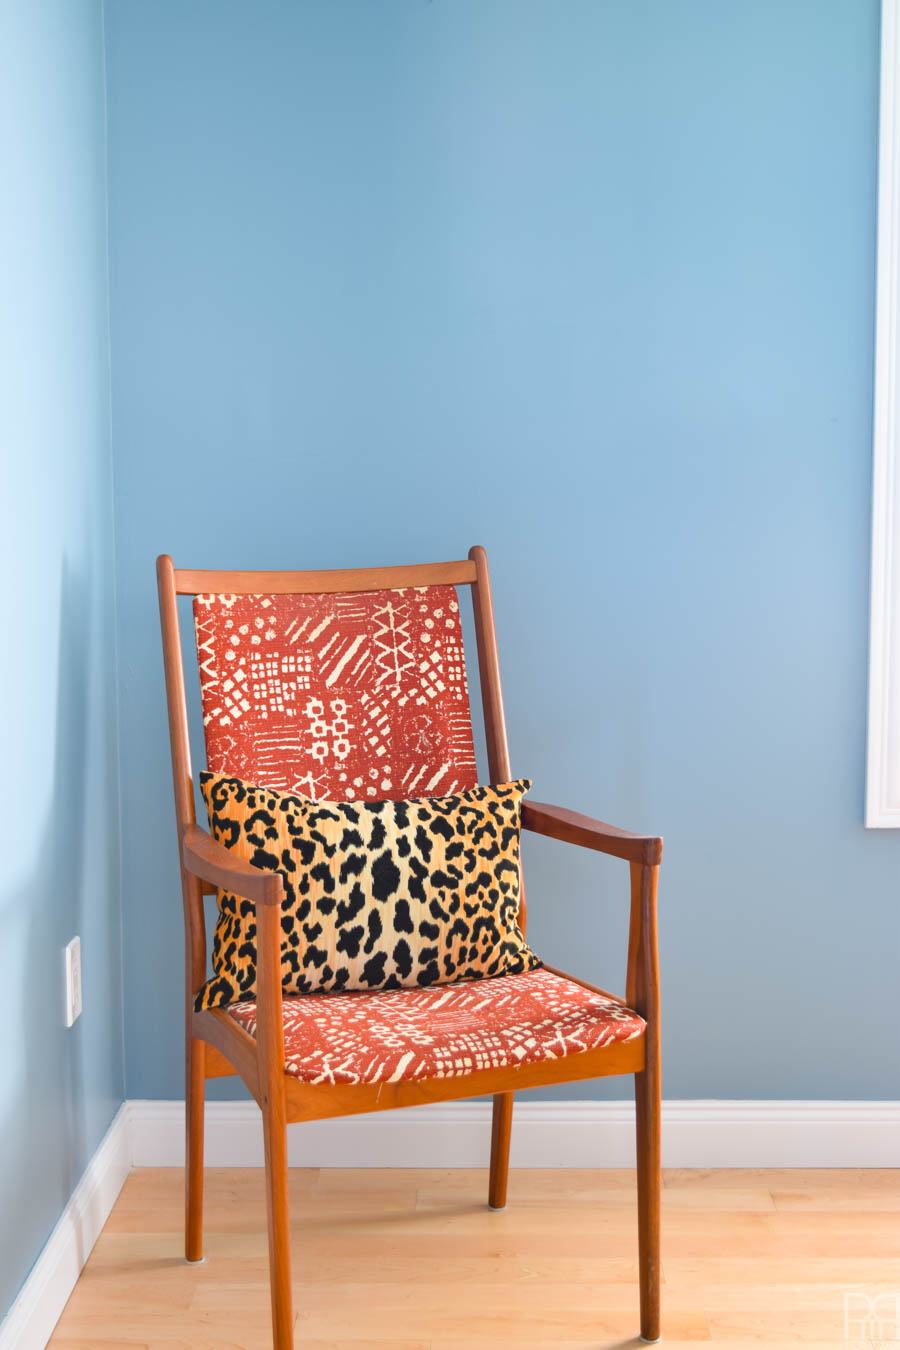
I had considered reupholstering the set of 6 chairs, but I’m uncomfortable with the technique that was used on these chairs, so I felt that painting them was a better option.
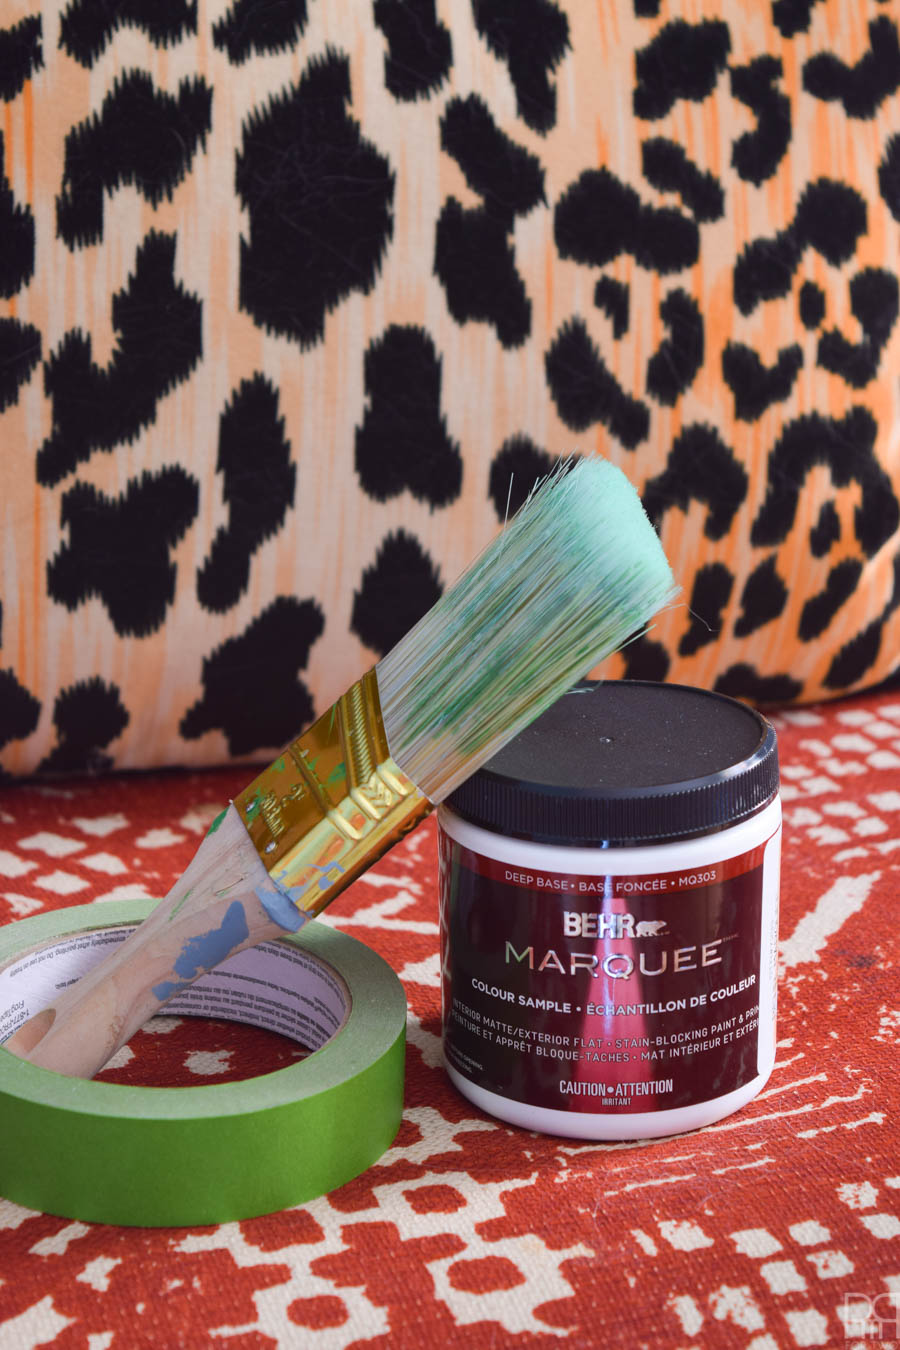
I looked to all my craft paint brands for this project, but at the end of the day BEHR paint had the exact colour I was looking for, which isn’t crazy because they’ve always got the colour I want.

What do you need to paint an upholstered chair
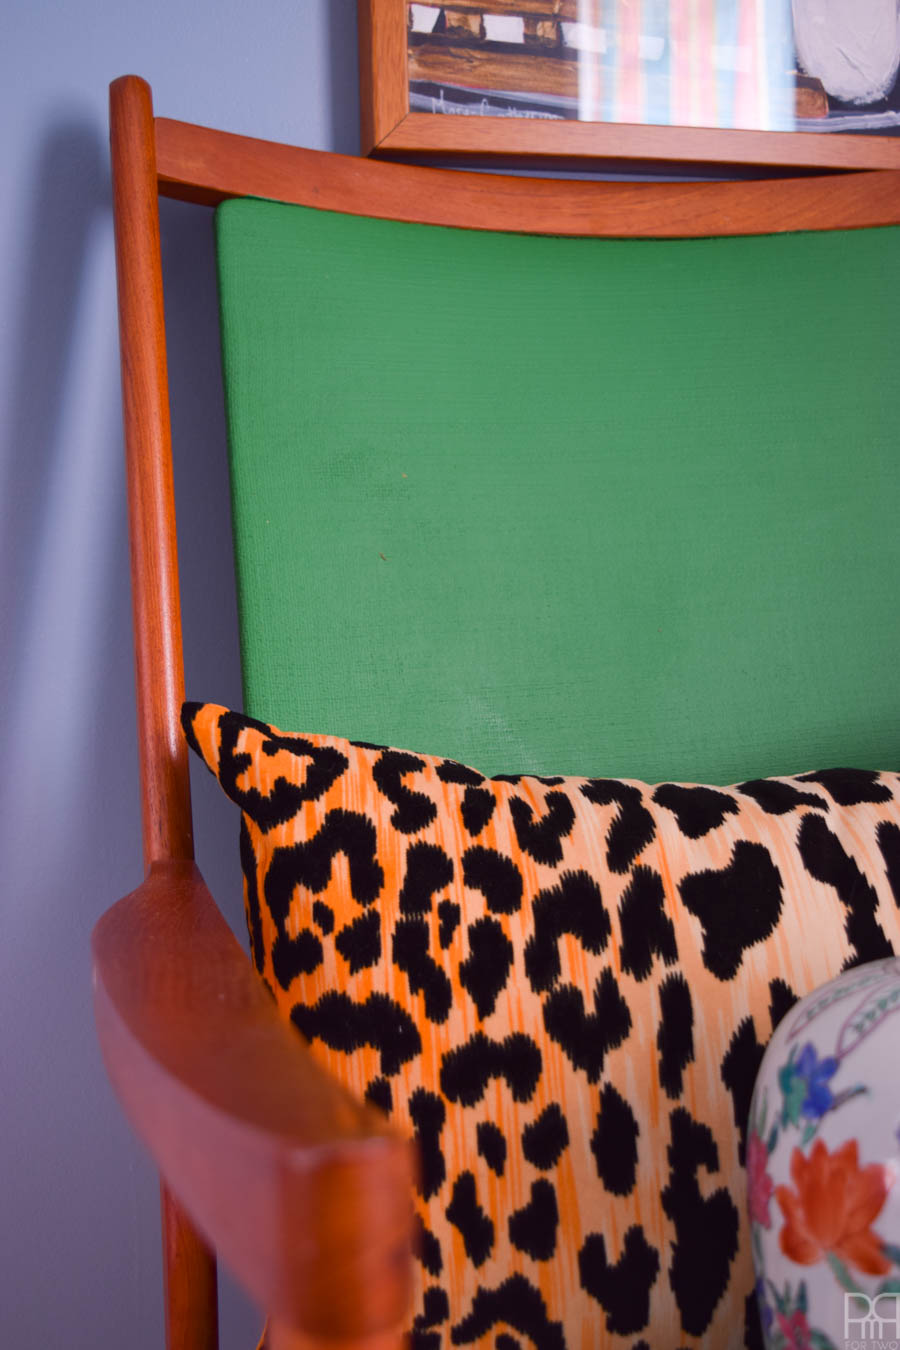
- Latex paint – I went with Behr Marquee samples in Emerald Forest MQ303
- Short angled brush
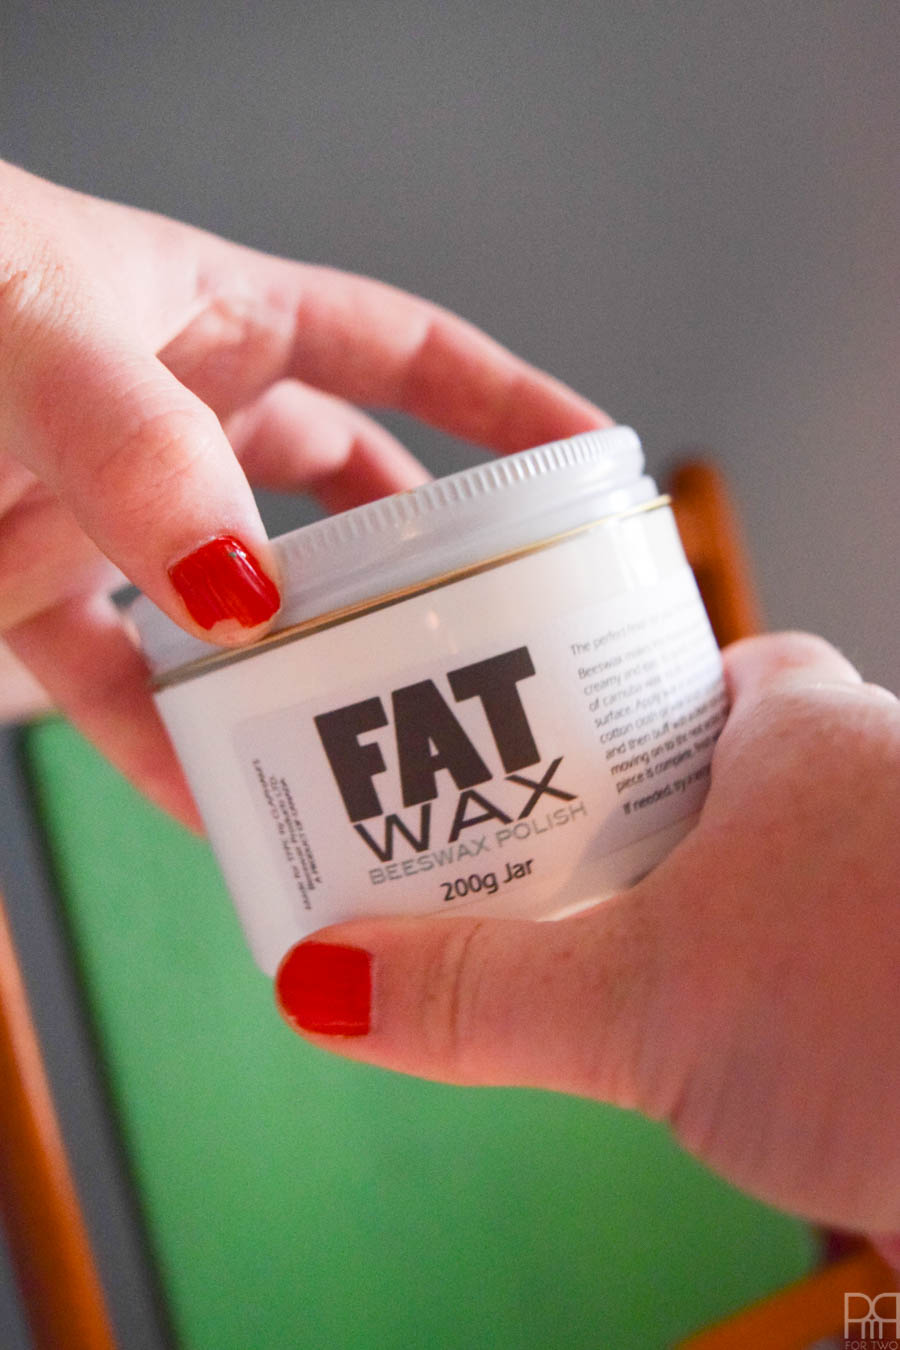
- FAT Wax
- Painters Tape
- Fine grit sand paper (180+)
- Cotton rags
*You can grab paint samples at Home Depot for about 2.50$ each
** In week 3 I started painting the chair and experimented with a mix of paint options: paint and fabric medium, watered-down paint, and just straight paint. You can see the difference on week 3 // here // I chose the “just paint” route since it provided the best coverage, and the chairs aren’t too plush, so a stiffer fabric doesn’t matter
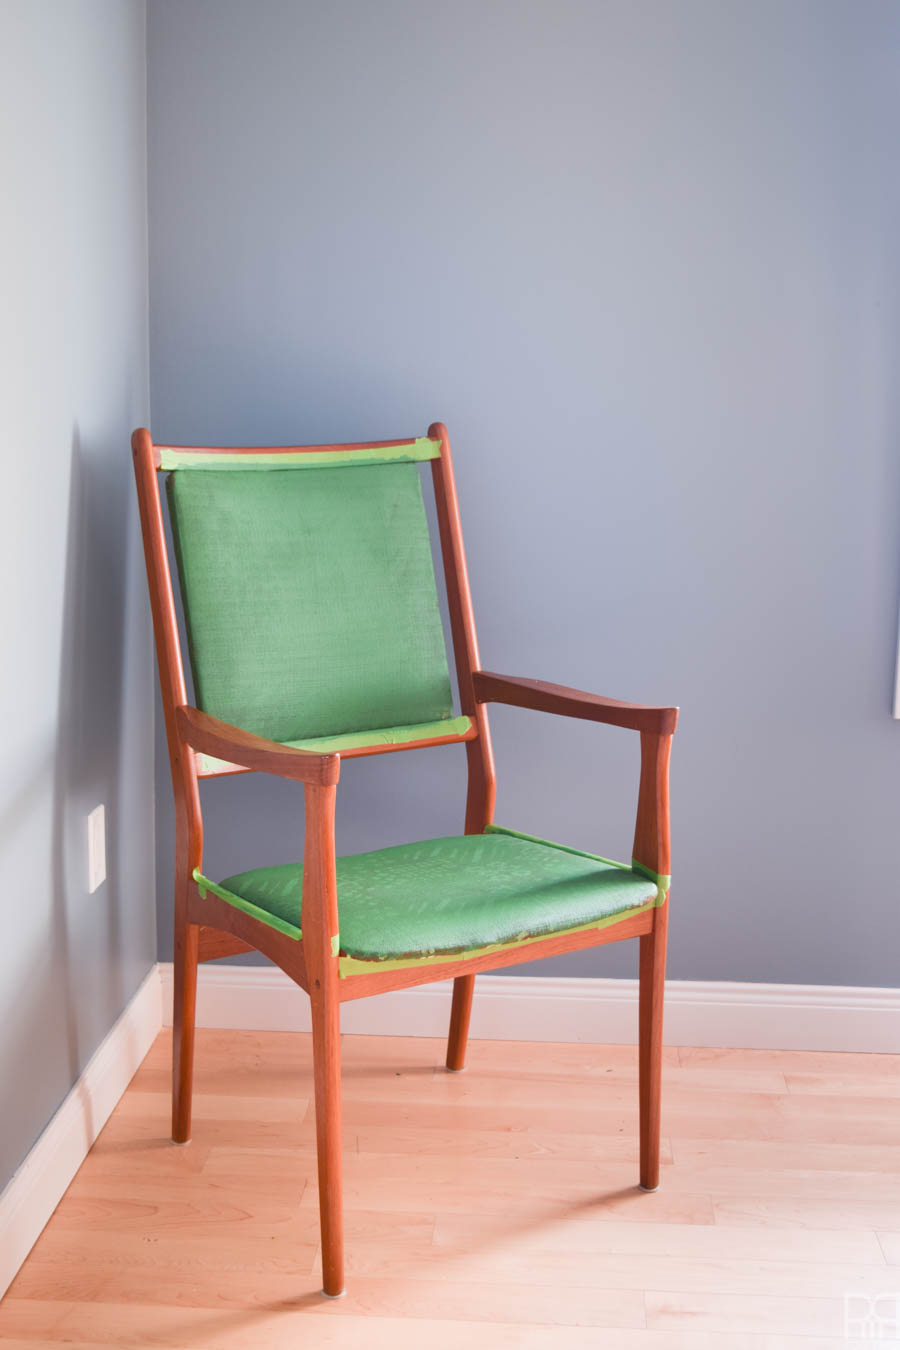
How to paint an upholstered chair
Start by cleaning the upholstery. I used a lint roller on all the surfaces to collect pet hair and dust, but if there was anything more substantial I would have used a wash cloth.
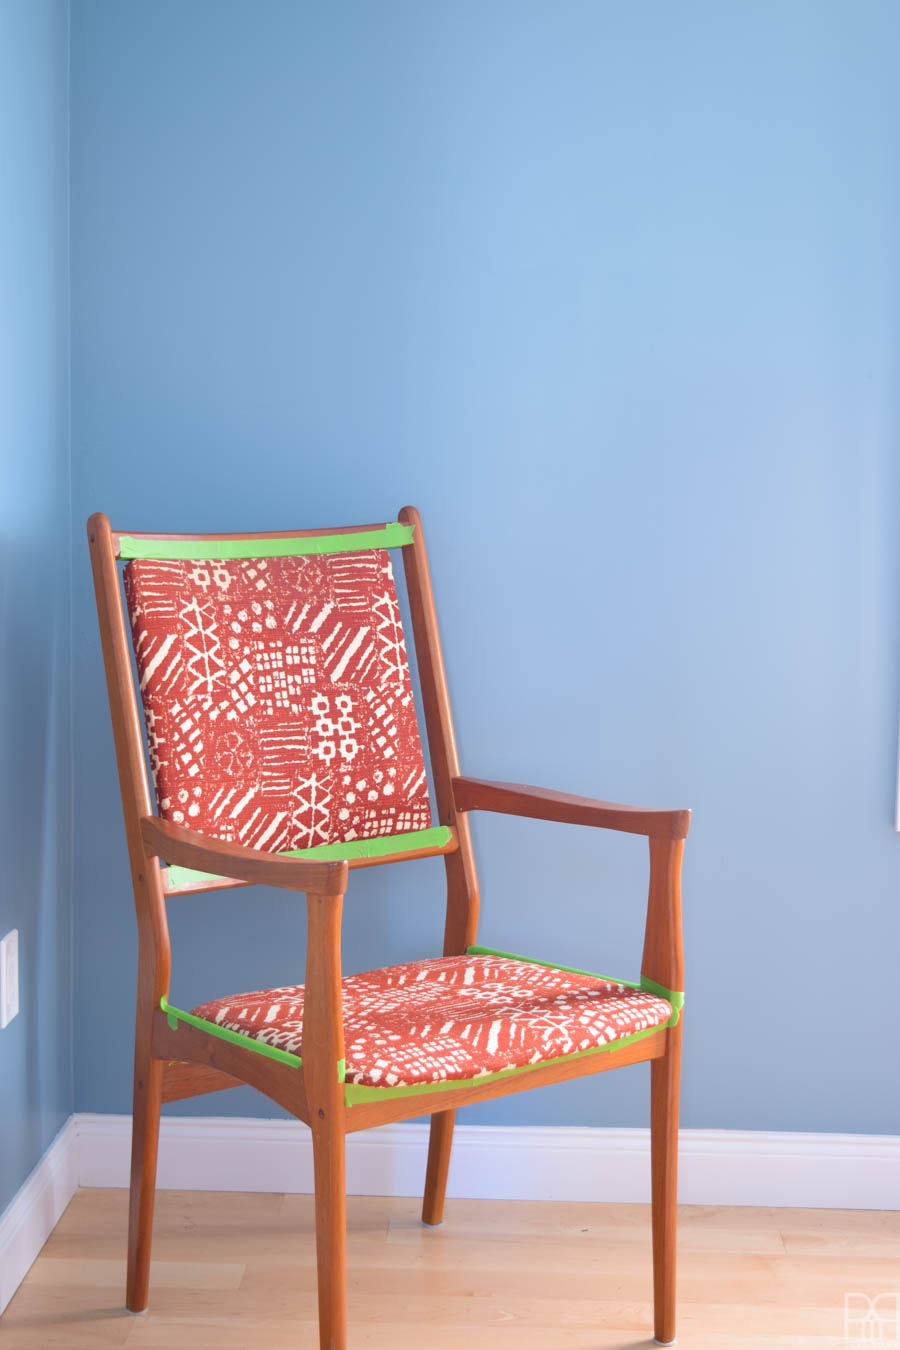
Tape any wood surfaces or parts to the chair that you don’t want to get painted. Since these chairs are quite nice, I took the time to tape every nook and cranny.
Start painting! Using an angled short bristle brush, generously apply your paint to the fabric. if the fabric has a particular grain to it you’ll want to brush in all directions to ensure the fibre is covered. Don’t be afraid to use lotsa paint!
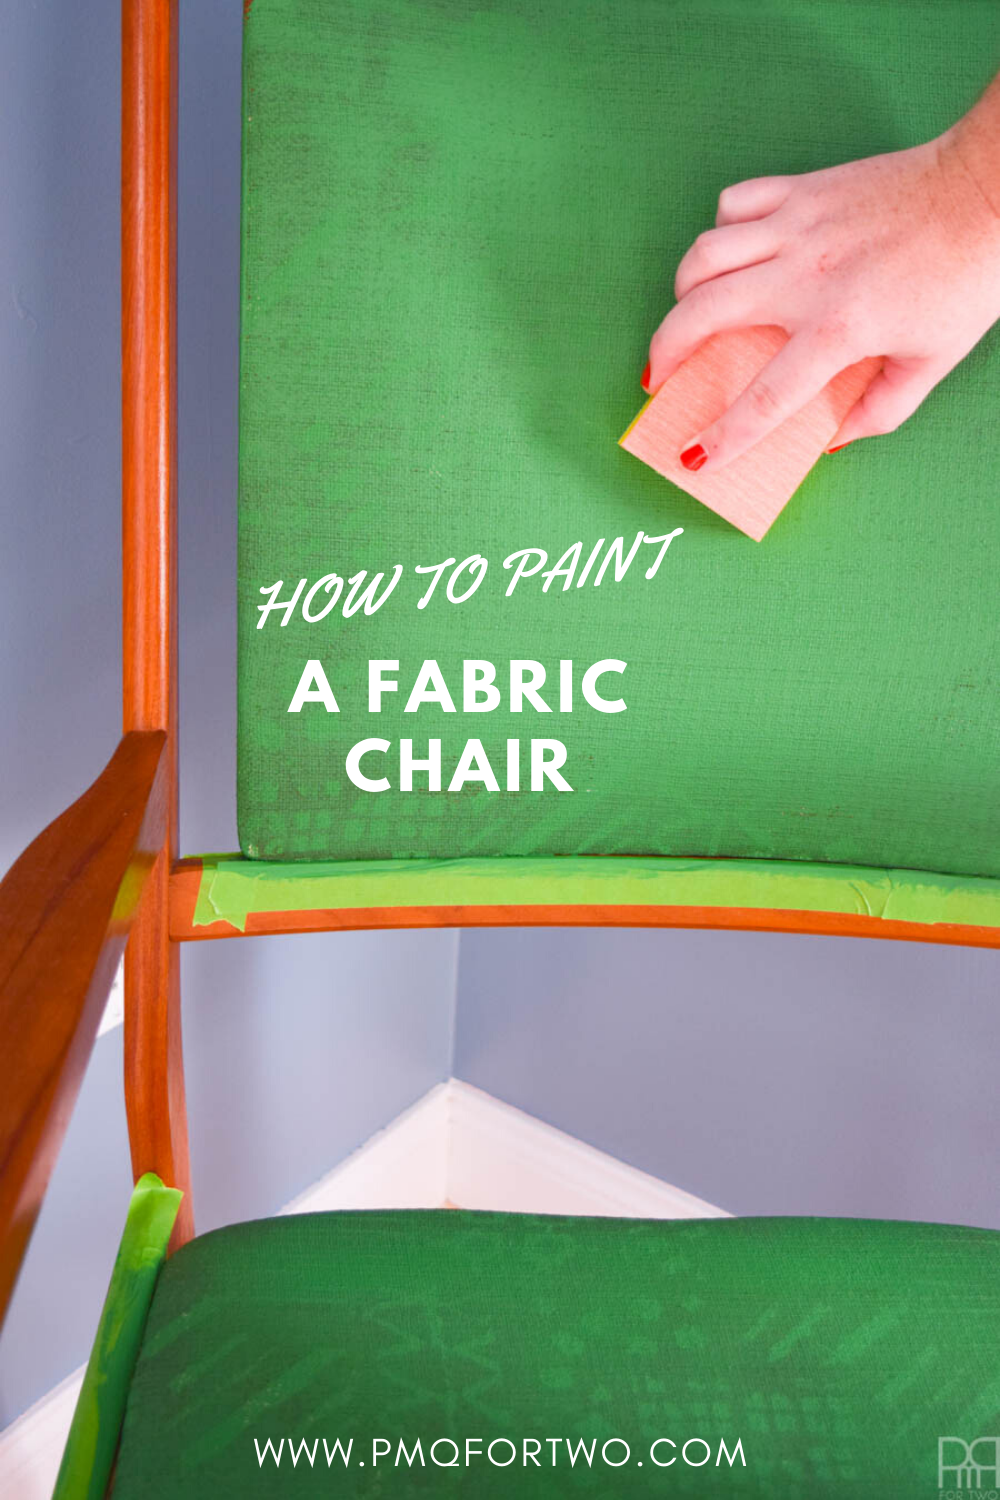
Once the first coat is dry, using your light grit sandpaper, go over all the painted fabric. It will make the fabric more supple and get rid of any painted imperfections.
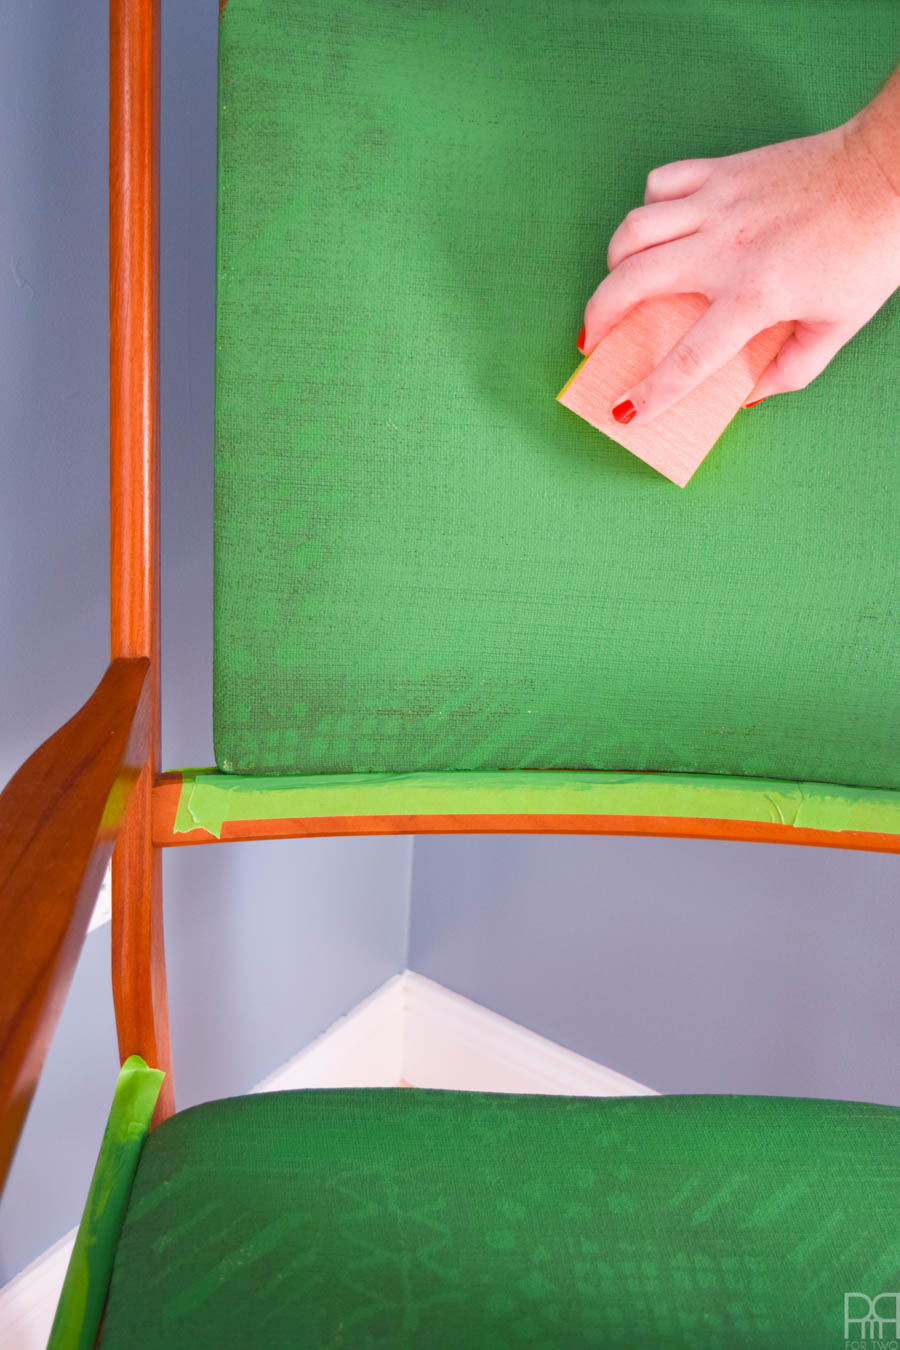
Apply a second coat. If you need a 3rd or 4th for complete coverage, don’t forget to sand in between coats.
Once you’ve applied your last coat, let the chairs dry completely over night. You want them to be dry before you remove the tape.

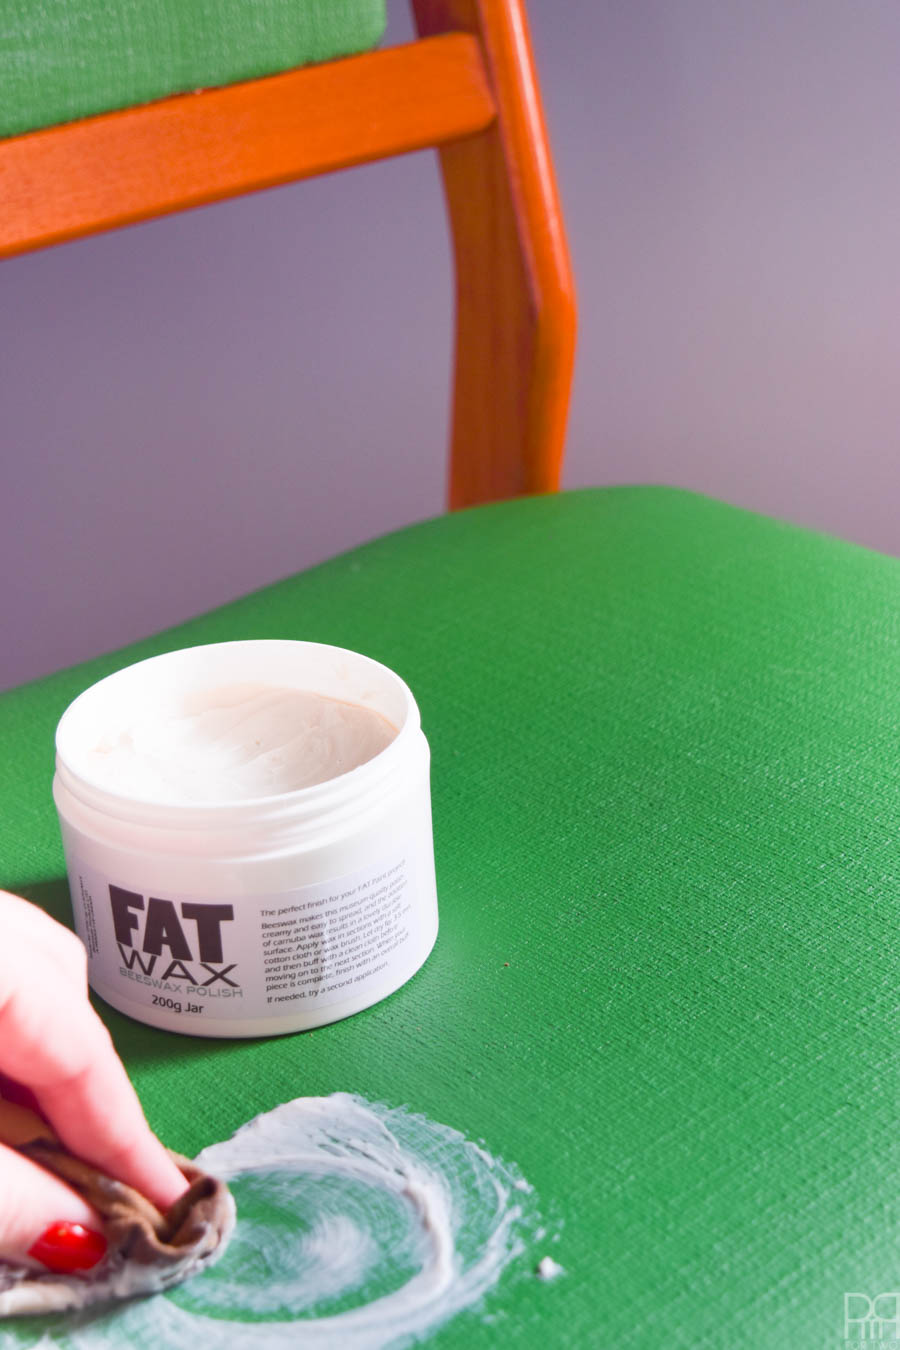
I suggest doing a test patch first, but if everything is good to go, start applying the FAT Wax to the upholstery. It will keep the painted fabric from cracking, keep it looking slick, and eep it from transferring to any clothes
You apply it using a cotton rag, in kind of a “wax on, wax off” kinda vibe. You leave the wax on for 3-5 mins before wiping off with another cotton rag. I then let them sit overnight before sitting on them.
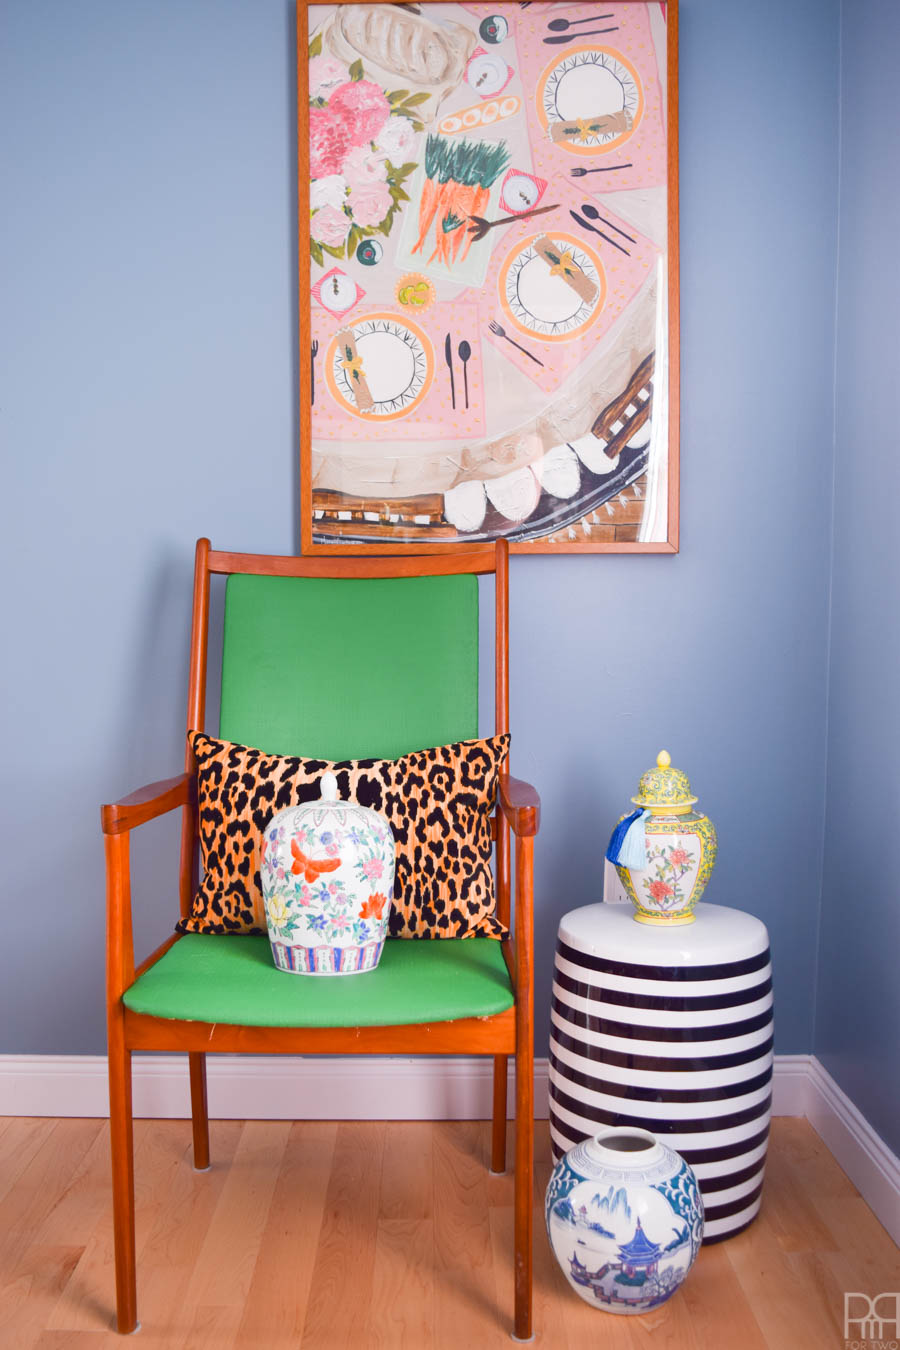
Voila! You have successfully painted upholstered chairs! It takes about two days from start to finish (including dry times) so it’s the perfect weekend project.
You’ll also save a fortune on upholstery, and if you’re having a hard time finding the right colour, going for an interior paint like Behr’s Marquee line perfect because of the range available. Painting upholstered chairs is easier than you think, and totally worth the effort.
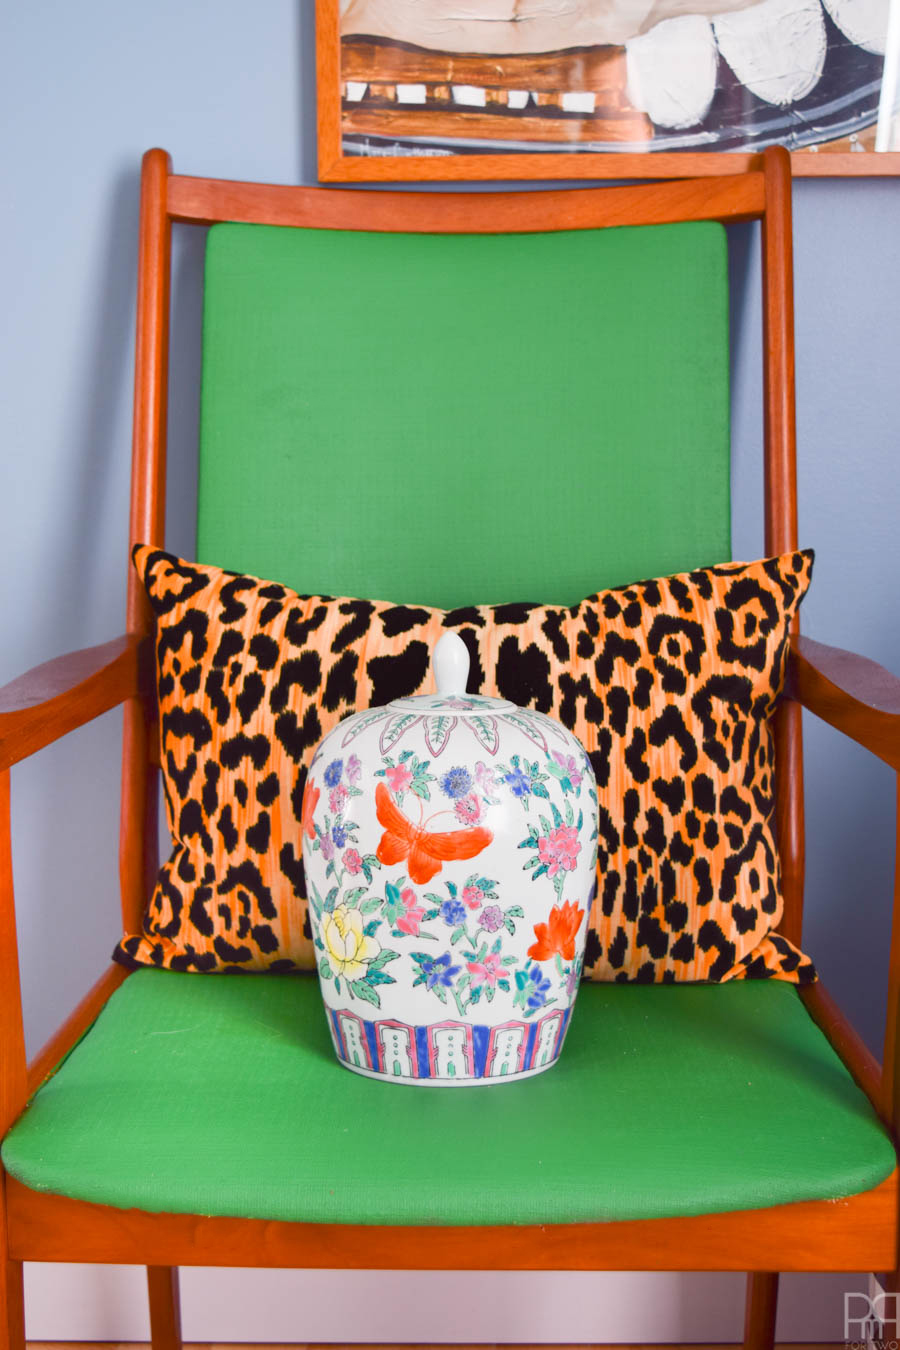
I painted a total of 6 upholstered chairs this past weekend, and now the entire set is complete.


To Do List
- Paint the walls – CHECK
- Instal new light fixture – CHECK
- Paint (or maybe reupholster) the dining room chairs – CHECK
- Acquire and instal art – IN PROGRESS
- Lay new rug
- Make roman blind for the window – CHECK
- Swap light switch-plates – CHECK
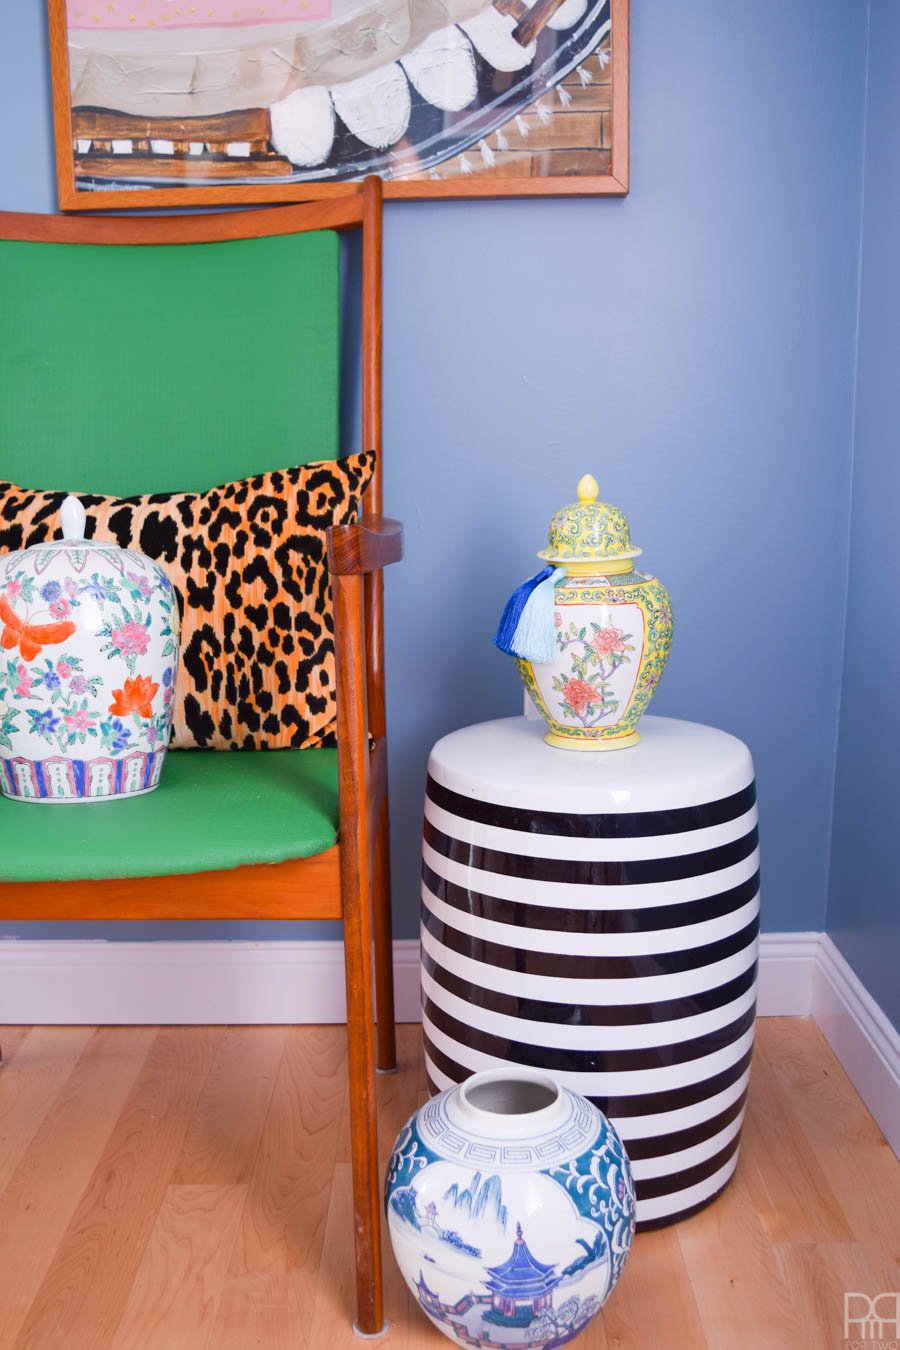
- Accessorize


