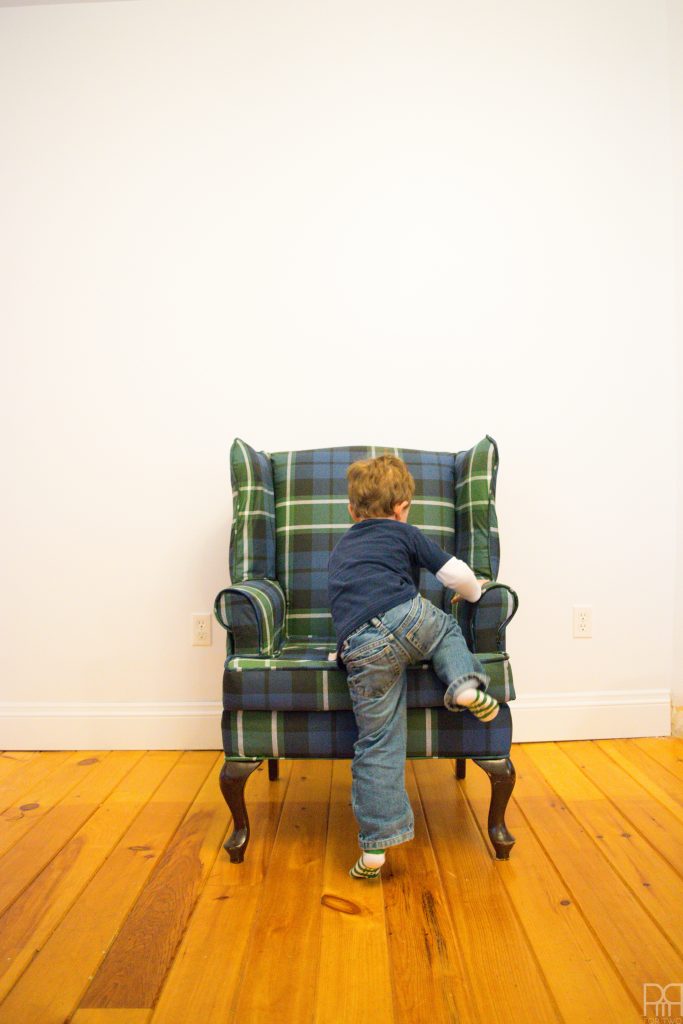
Week 3 of the One Room Challenge hosted by Calling It Home is here! If you’re curious about what the official participants did last week you can catch their progress // here // and you can see what all of us guest participants did last week // here //. For week 3 we spent damn near a week re-upholstering a chair, but not just any chair, a wingback chair. I’ve only ever really upholstered square objects, so all of a sudden taking on a chair with curves and all kinds of layers and pipping was a bit daunting. Now you understand why it took us a week!

Catch-up on the One Room Challenge to date:
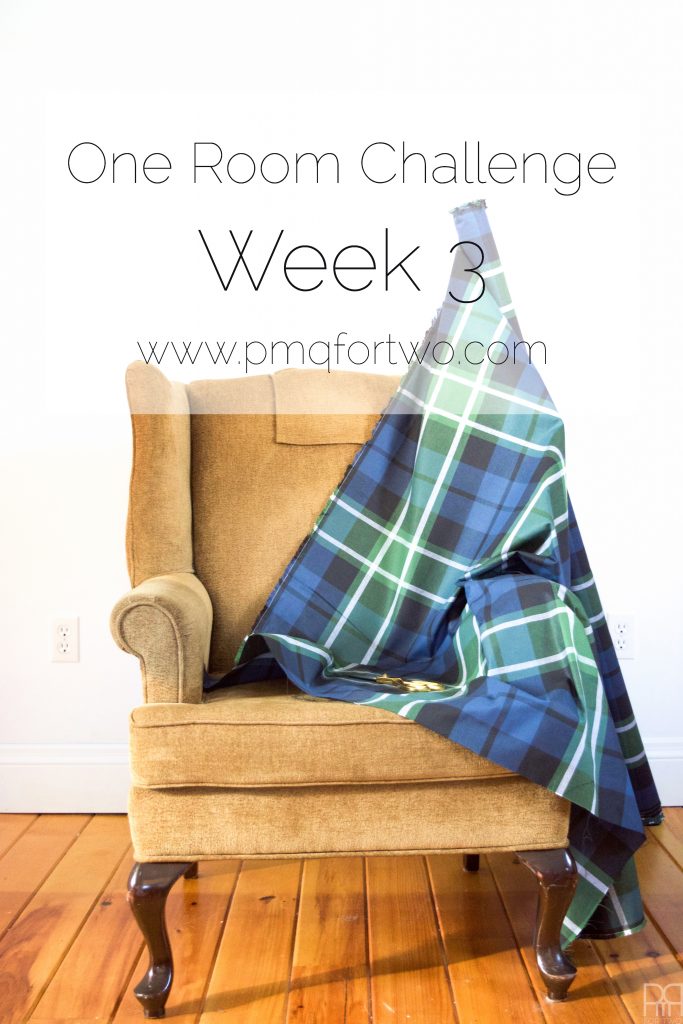
Week 3 – You are here
As always, I’d like to thank our sponsors – without whom this edition of the One Room Challenge would not be possible. 

There are so many tutorials for upholstering chairs and wingback chairs, and each one is slightly different and wholly based on the specificities of that chair. As such, I won’t be doing a step by step for how we did this chair. Instead I’ll be sharing some lessons we learned, as well as links to some videos that may help.
For some actual posts on How To you can click here // here // here
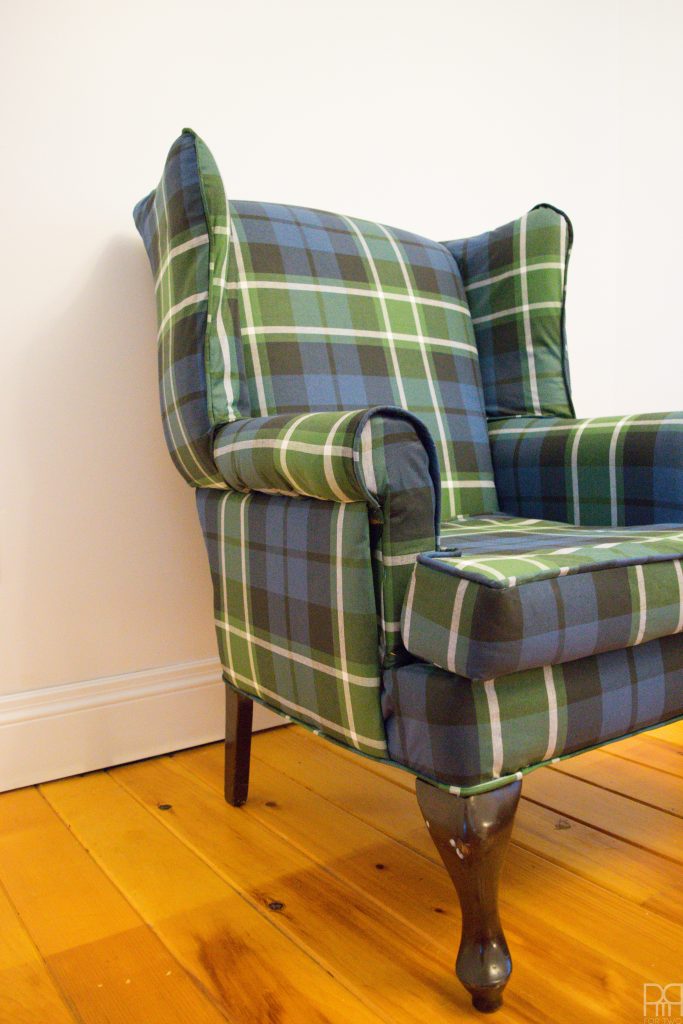
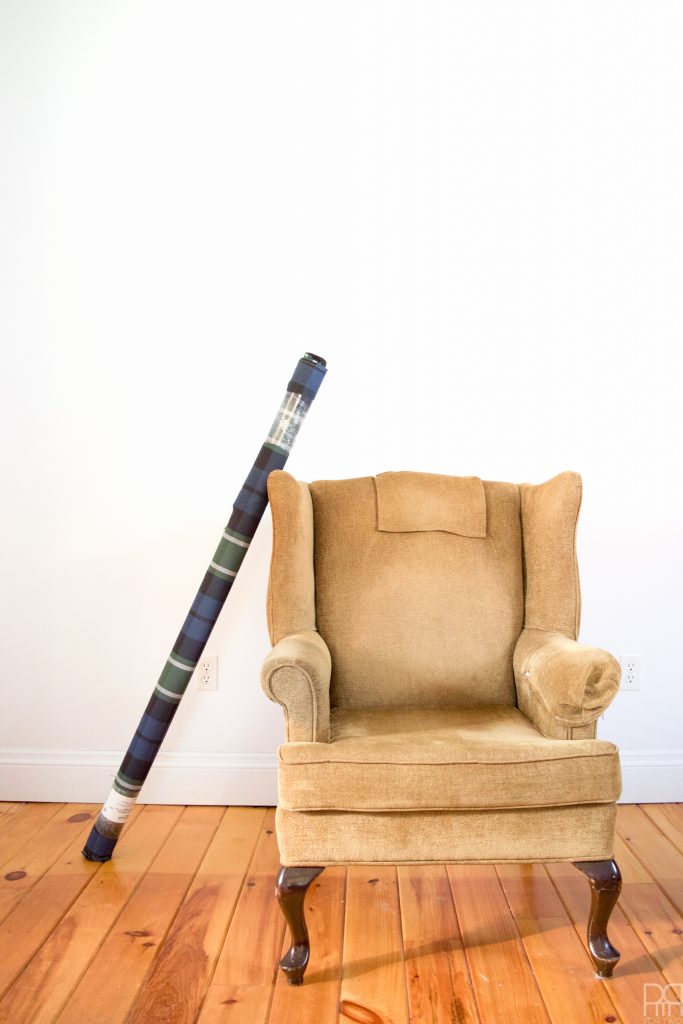
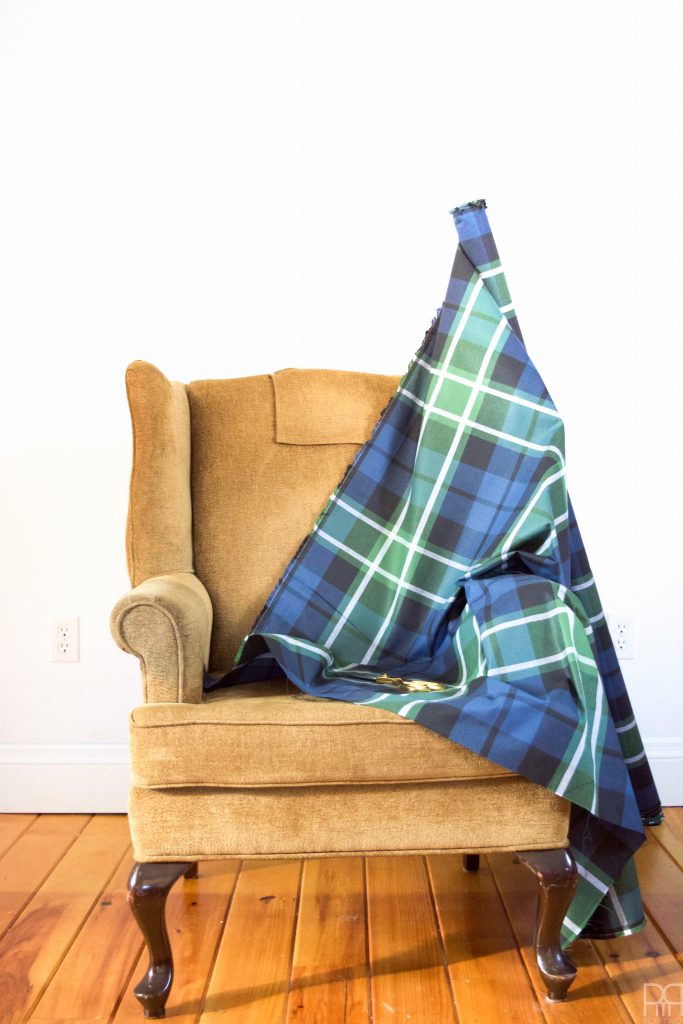
The Online Fabric Store helped us out by providing the fabric for our chair. We went with Robert Allen’s @ Home Plaid Glen Navy Green Fabric. This fabric is gorgeous, and the pattern is just big enough that it looks fresh and modern on a wingback chair. This, as opposed to the older, smaller print plaids that you often find on rec room chairs from your childhood. That definitely wasn’t the look we were going for, so this large plaid was perfection from the minute we laid eyes on it.
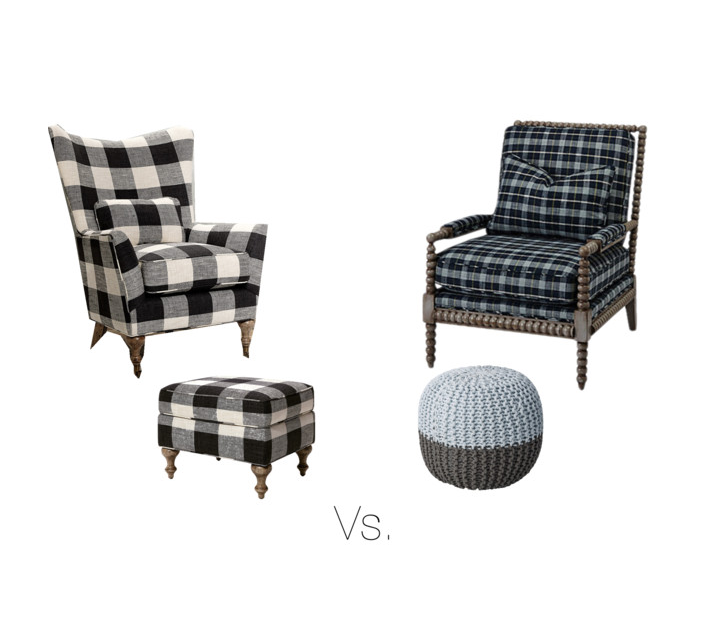
You may remember from our initial mood board in week 1 // here // that we had a black and white check for the chair. We ended-up having to swap it for the Robert Allen fabric to accommodate our budget, but if I had the chance I would cover the matching wingback chair (yes, they have) in the white and blue buffalo check using this fabric // here //.
I updated the look for week 2’s mood board to reflect the fabric we had chosen. You can catch-up // here // if your memory is a little foggy.

*Online Fabric Store.net provided the fabric for review, but all thoughts are my own. Thank you for supporting the brands that make PMQ for two possible.
Materials
- 6-8 yards of upholstery fabric
- Fabric Sheers
- Sewing Machine
- Staple gun
- TONS of staples
- Hammer
- Cardboard
- Flat Head Screwdrivers in varying sizes (to aid in removing staples)
Skills you will need in the process
- The ability to use a sewing machine

- The ability to sew piping
- The ability to sew a box cushion with a zipper
- The ability to re-shape or replace upholstery foam
- DO take photos of every corner, angle, view of the chair before you take it apart. This will serve to help you pull the final look together when you get lost.
- DON’T only take one photo and rely on your camera’s zoom all project to provide details.
- DO take a photo or video each time you remove a piece of fabric so that you can which layers are beneath it and how they’re affixed.
- DON’T just take photos of the “complicated parts.”
- DO Have a bowl or tupperware nearby to collect all the staples you’ll be pulling from the chair.
- DON’T just sprinkle them around you like fairy dust, and let them fly all over the place as you pry them off.
- DO wear gloves while stripping the piece. After 4hrs of removing nails with a screwdriver (or the back-end of a staple gun) and pliers, your hands will hurt.
- DON’T try to remove jagged staples with your bare fingers.
- DO use precision when removing large pieces of fabric, especially if you’re saving it as a pattern.
- DON’T use a reciprocating saw because the staples are b*tch to remove.
- DO try and save all the pieces you remove as patterns from which to cut your pieces.
- DON’T partially rip one in half trying to wrestle with it.
- DO remember which side is up when you’ve laid the pattern down on your fabric to cut. Right vs. Left starts to matter when you’re talking about the inside or outside of a pattern.
- DON’T just lay them down and start cutting.
- DO use wash tape to identify which side of the fabric that you’ve cut is “out.”
- DON’T use street chalk… it’s messier than you think.
- DO try and line-up your pattern and lines.
- DON’T just let the whole situation get out of hand with lines going every which way.
- DO have a small hammer nearby to tap any staples into the wood.
- DON’T just let them be, they’ll likely snag on other fabric.
- DO have some furniture/fabric glue and clamps nearby. There are just some things you can’t recreate, any knowing how to fix them will be important.
- DON’T just keep stapling until it holds…. see above.
- DO remember that the learning curve is very steep on this type of project.
- DON’T lose hope and start crying while surrounded by staples and broken zippers
- DO have a second or third person handy to question your cuts and help pull things tight while you staple.
- DON’T lean your chair agains’t a wall and hope it “holds tight.”
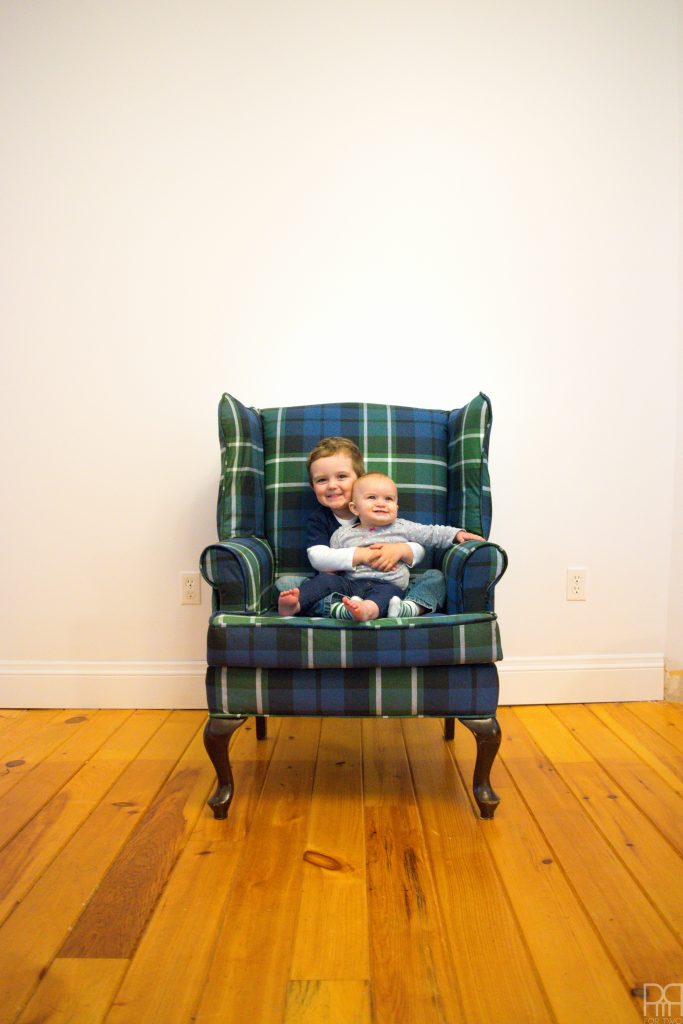
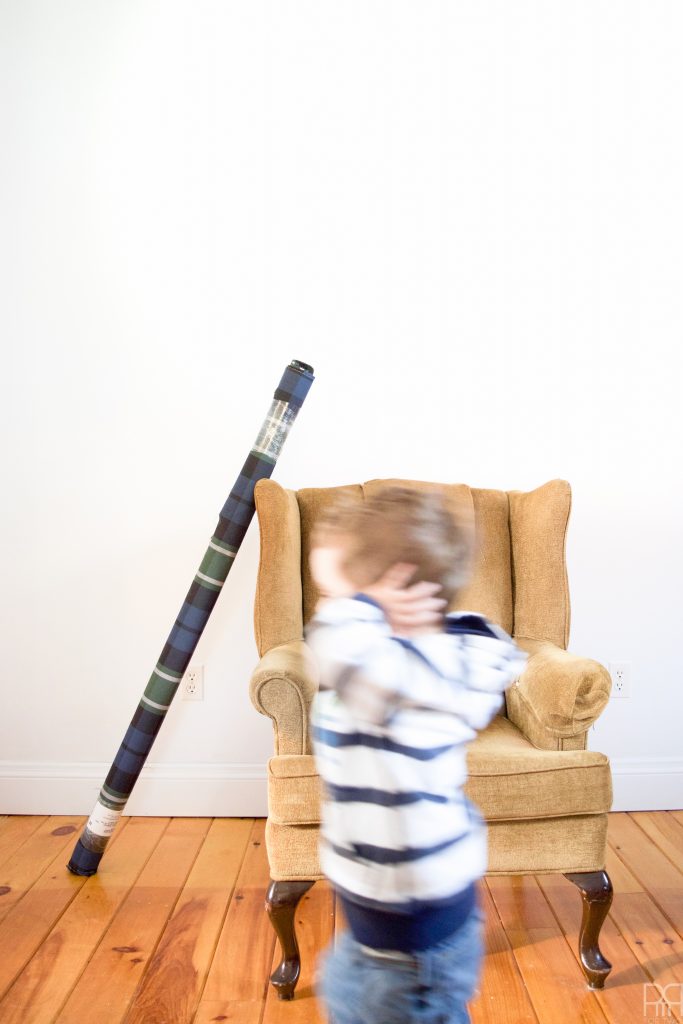
Most of all, learn! If it takes you an hour to do one thing, think how much faster it will be the next time you do it! And don’t be afraid to go back and correct things after you’ve perfected them. The chair is basically done. We have one or two more things to perfect before we consider it done, finite, fait accompli. But those will be done in time for the big reveal on Week 6, so don’t worry! For the final shot of the chair I have some adorable photos. The two kids decided to finally partake in a photo!