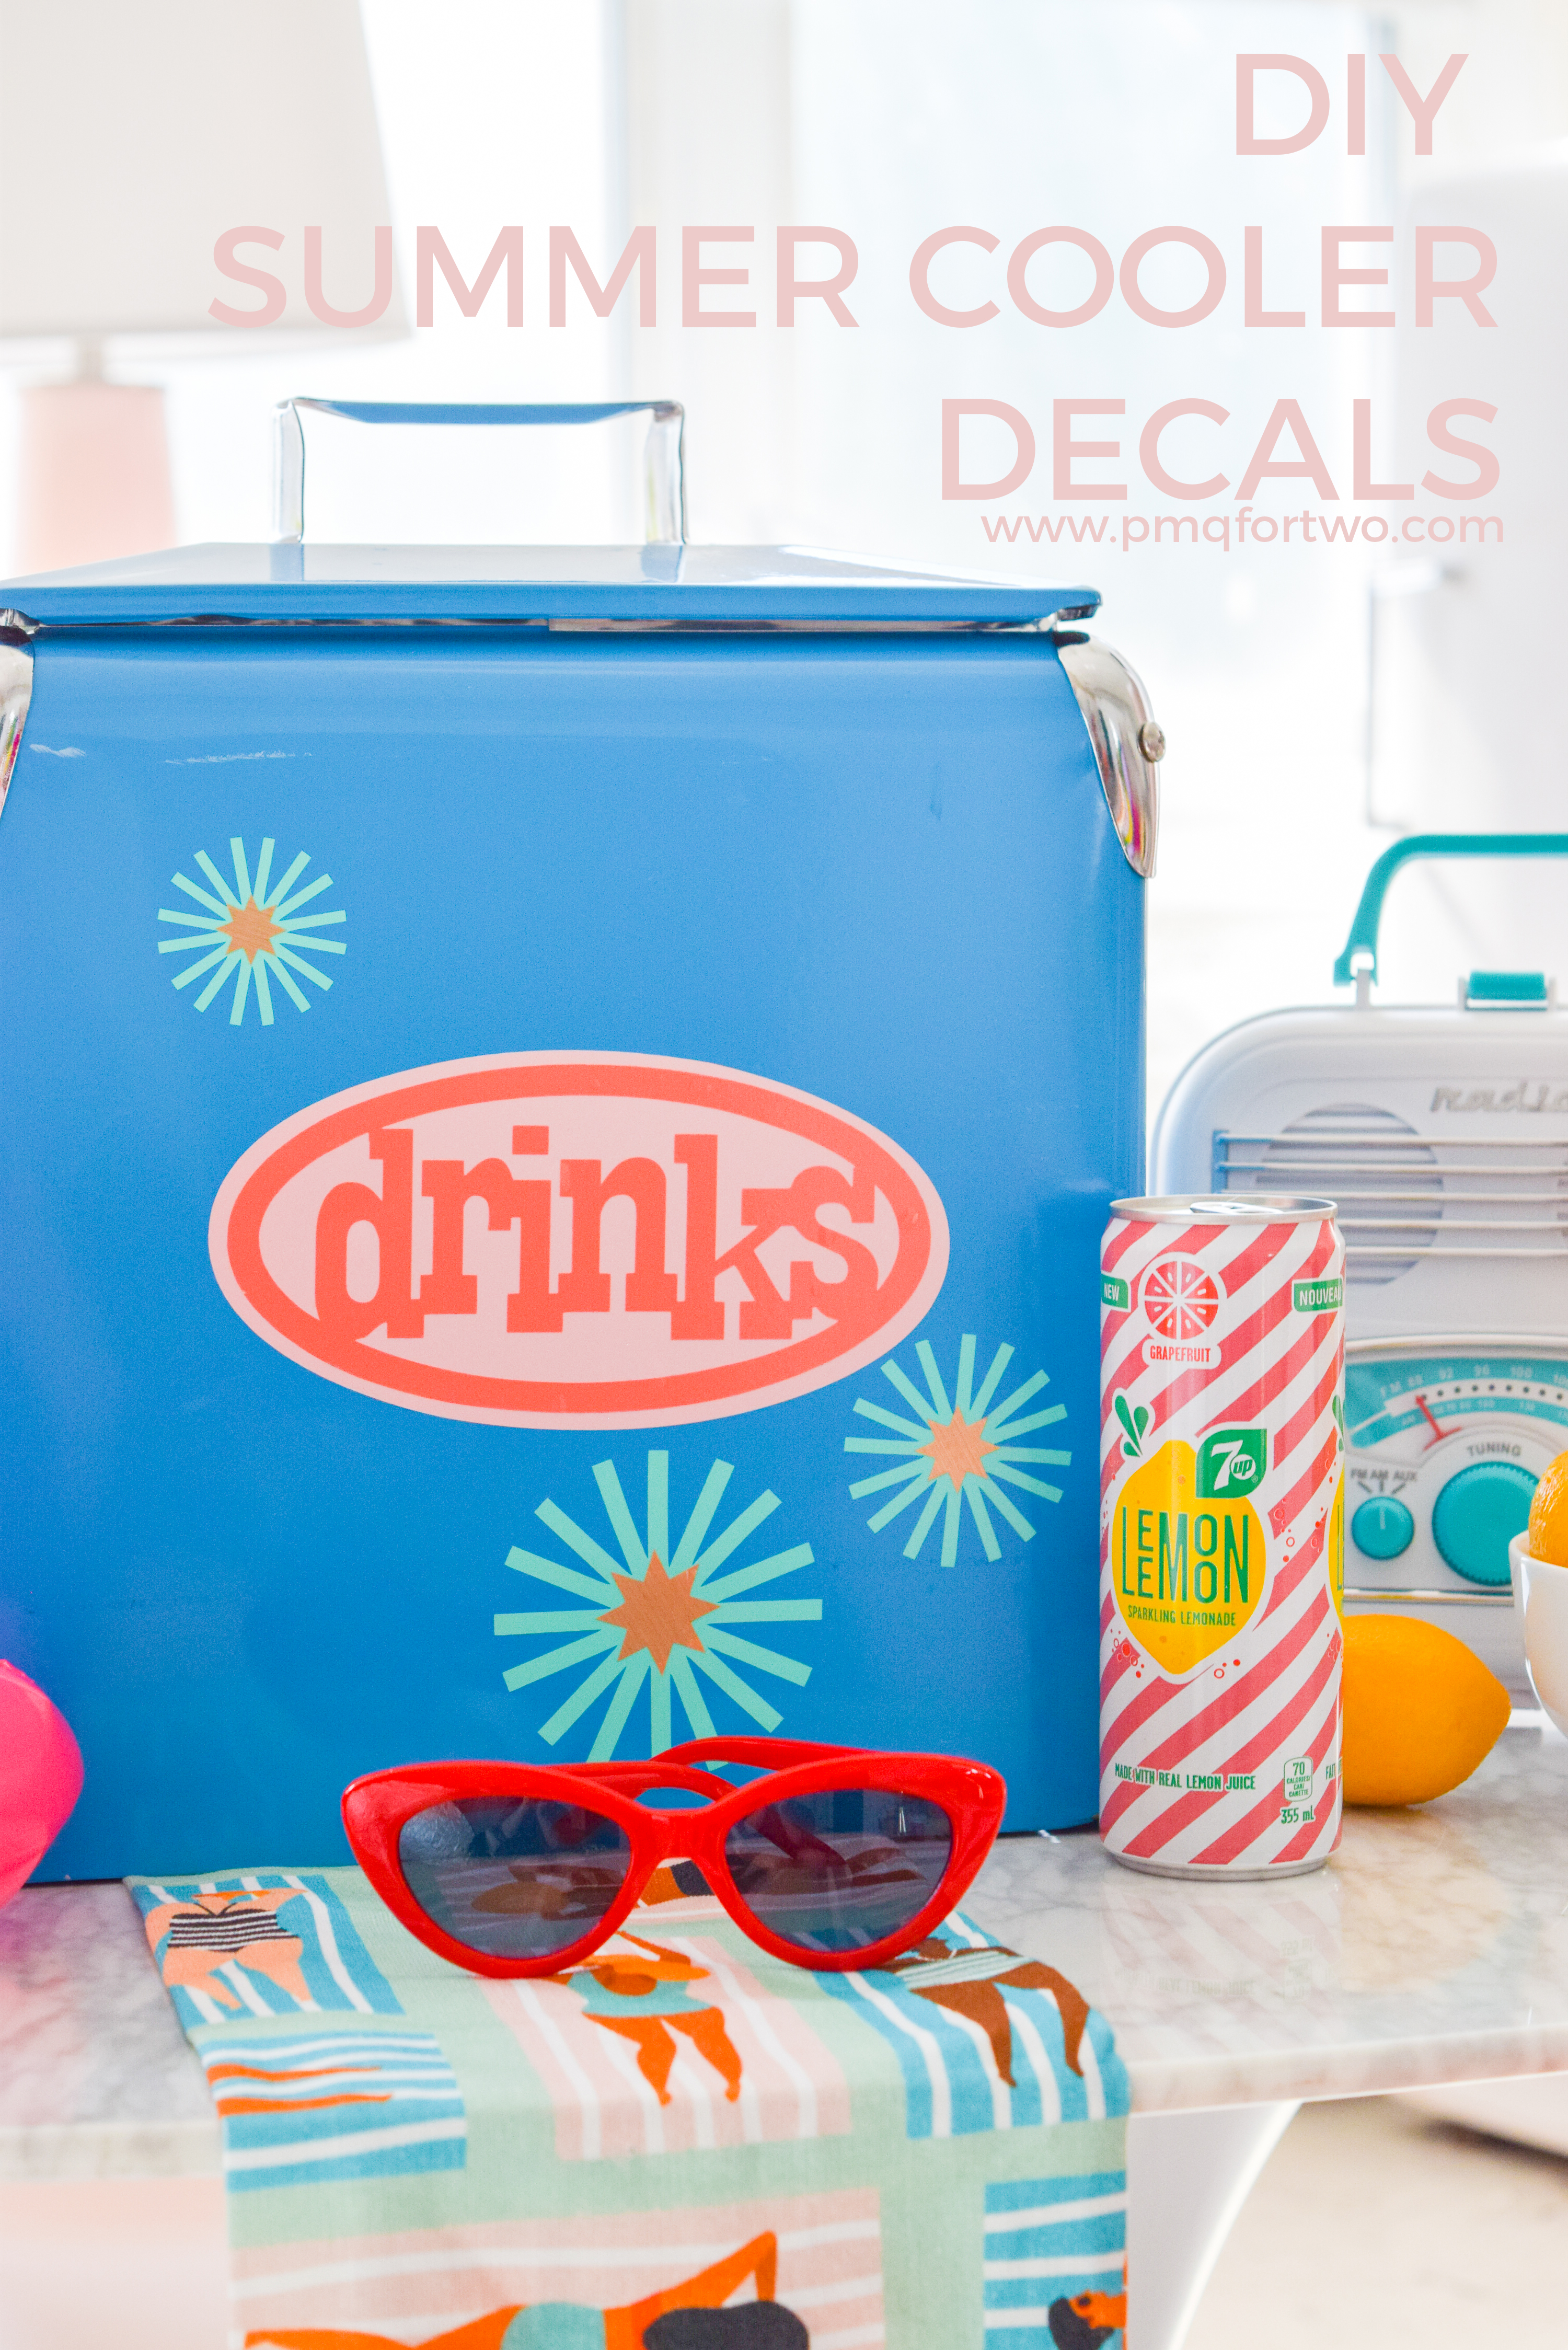
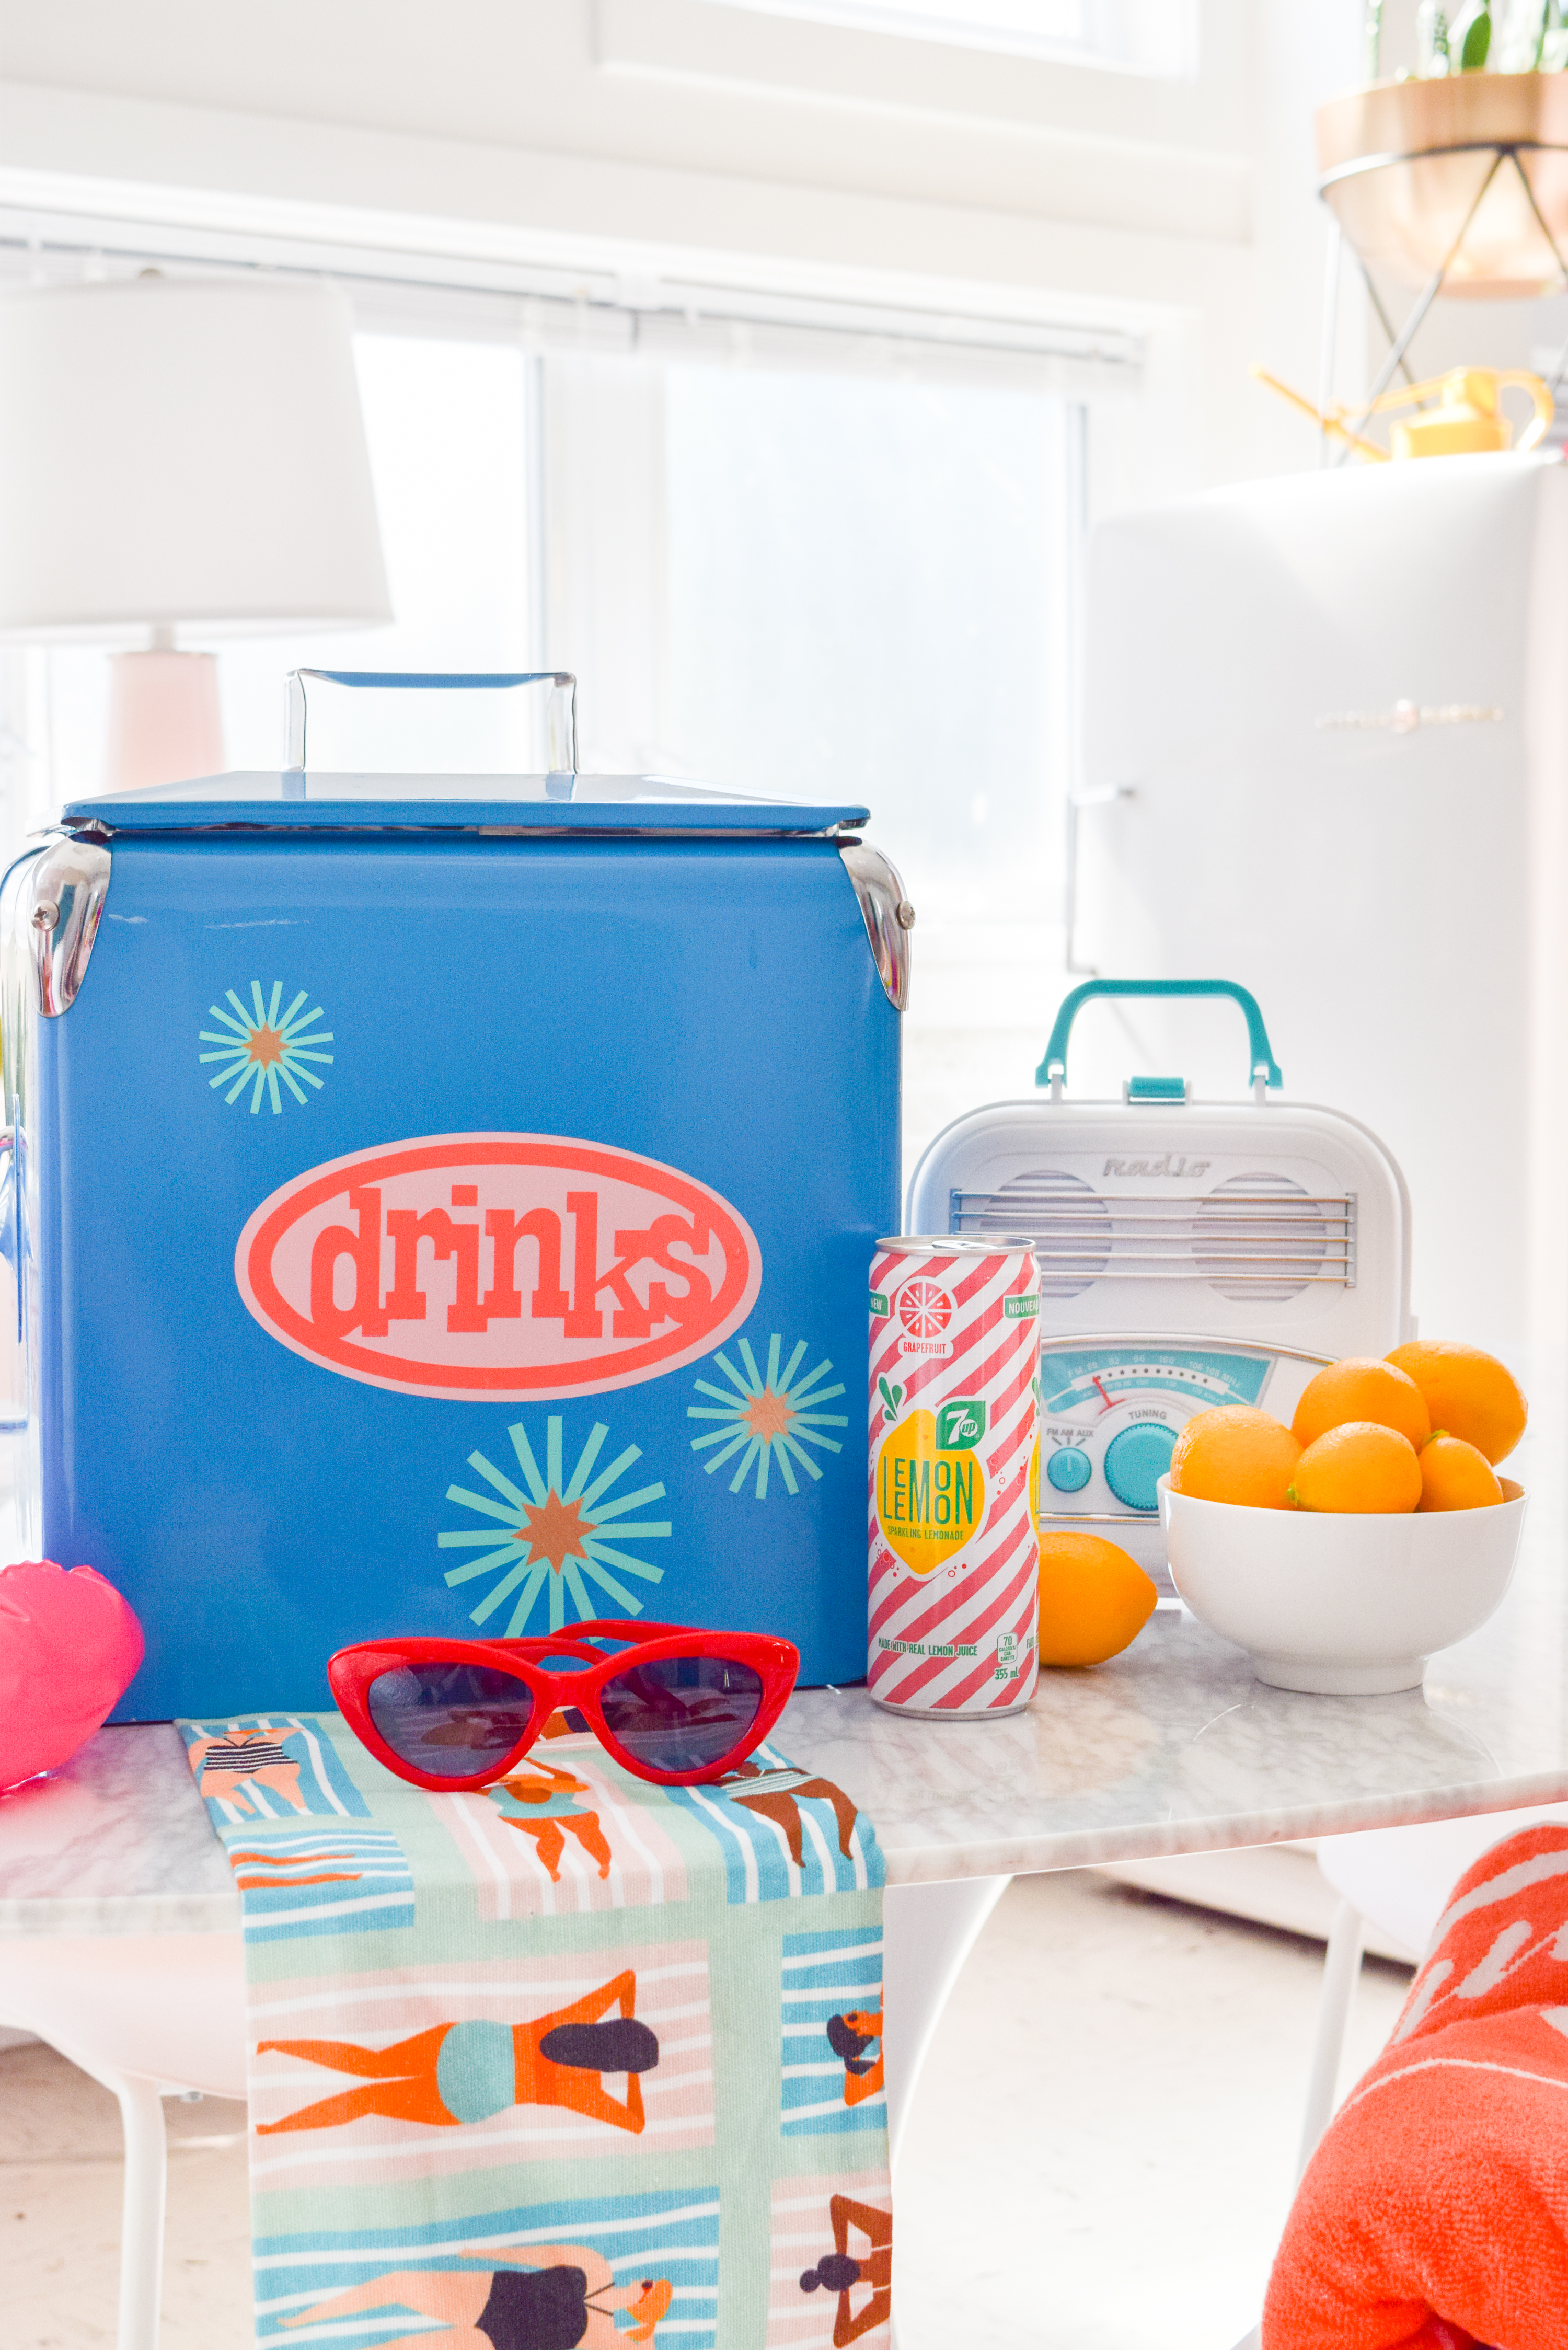
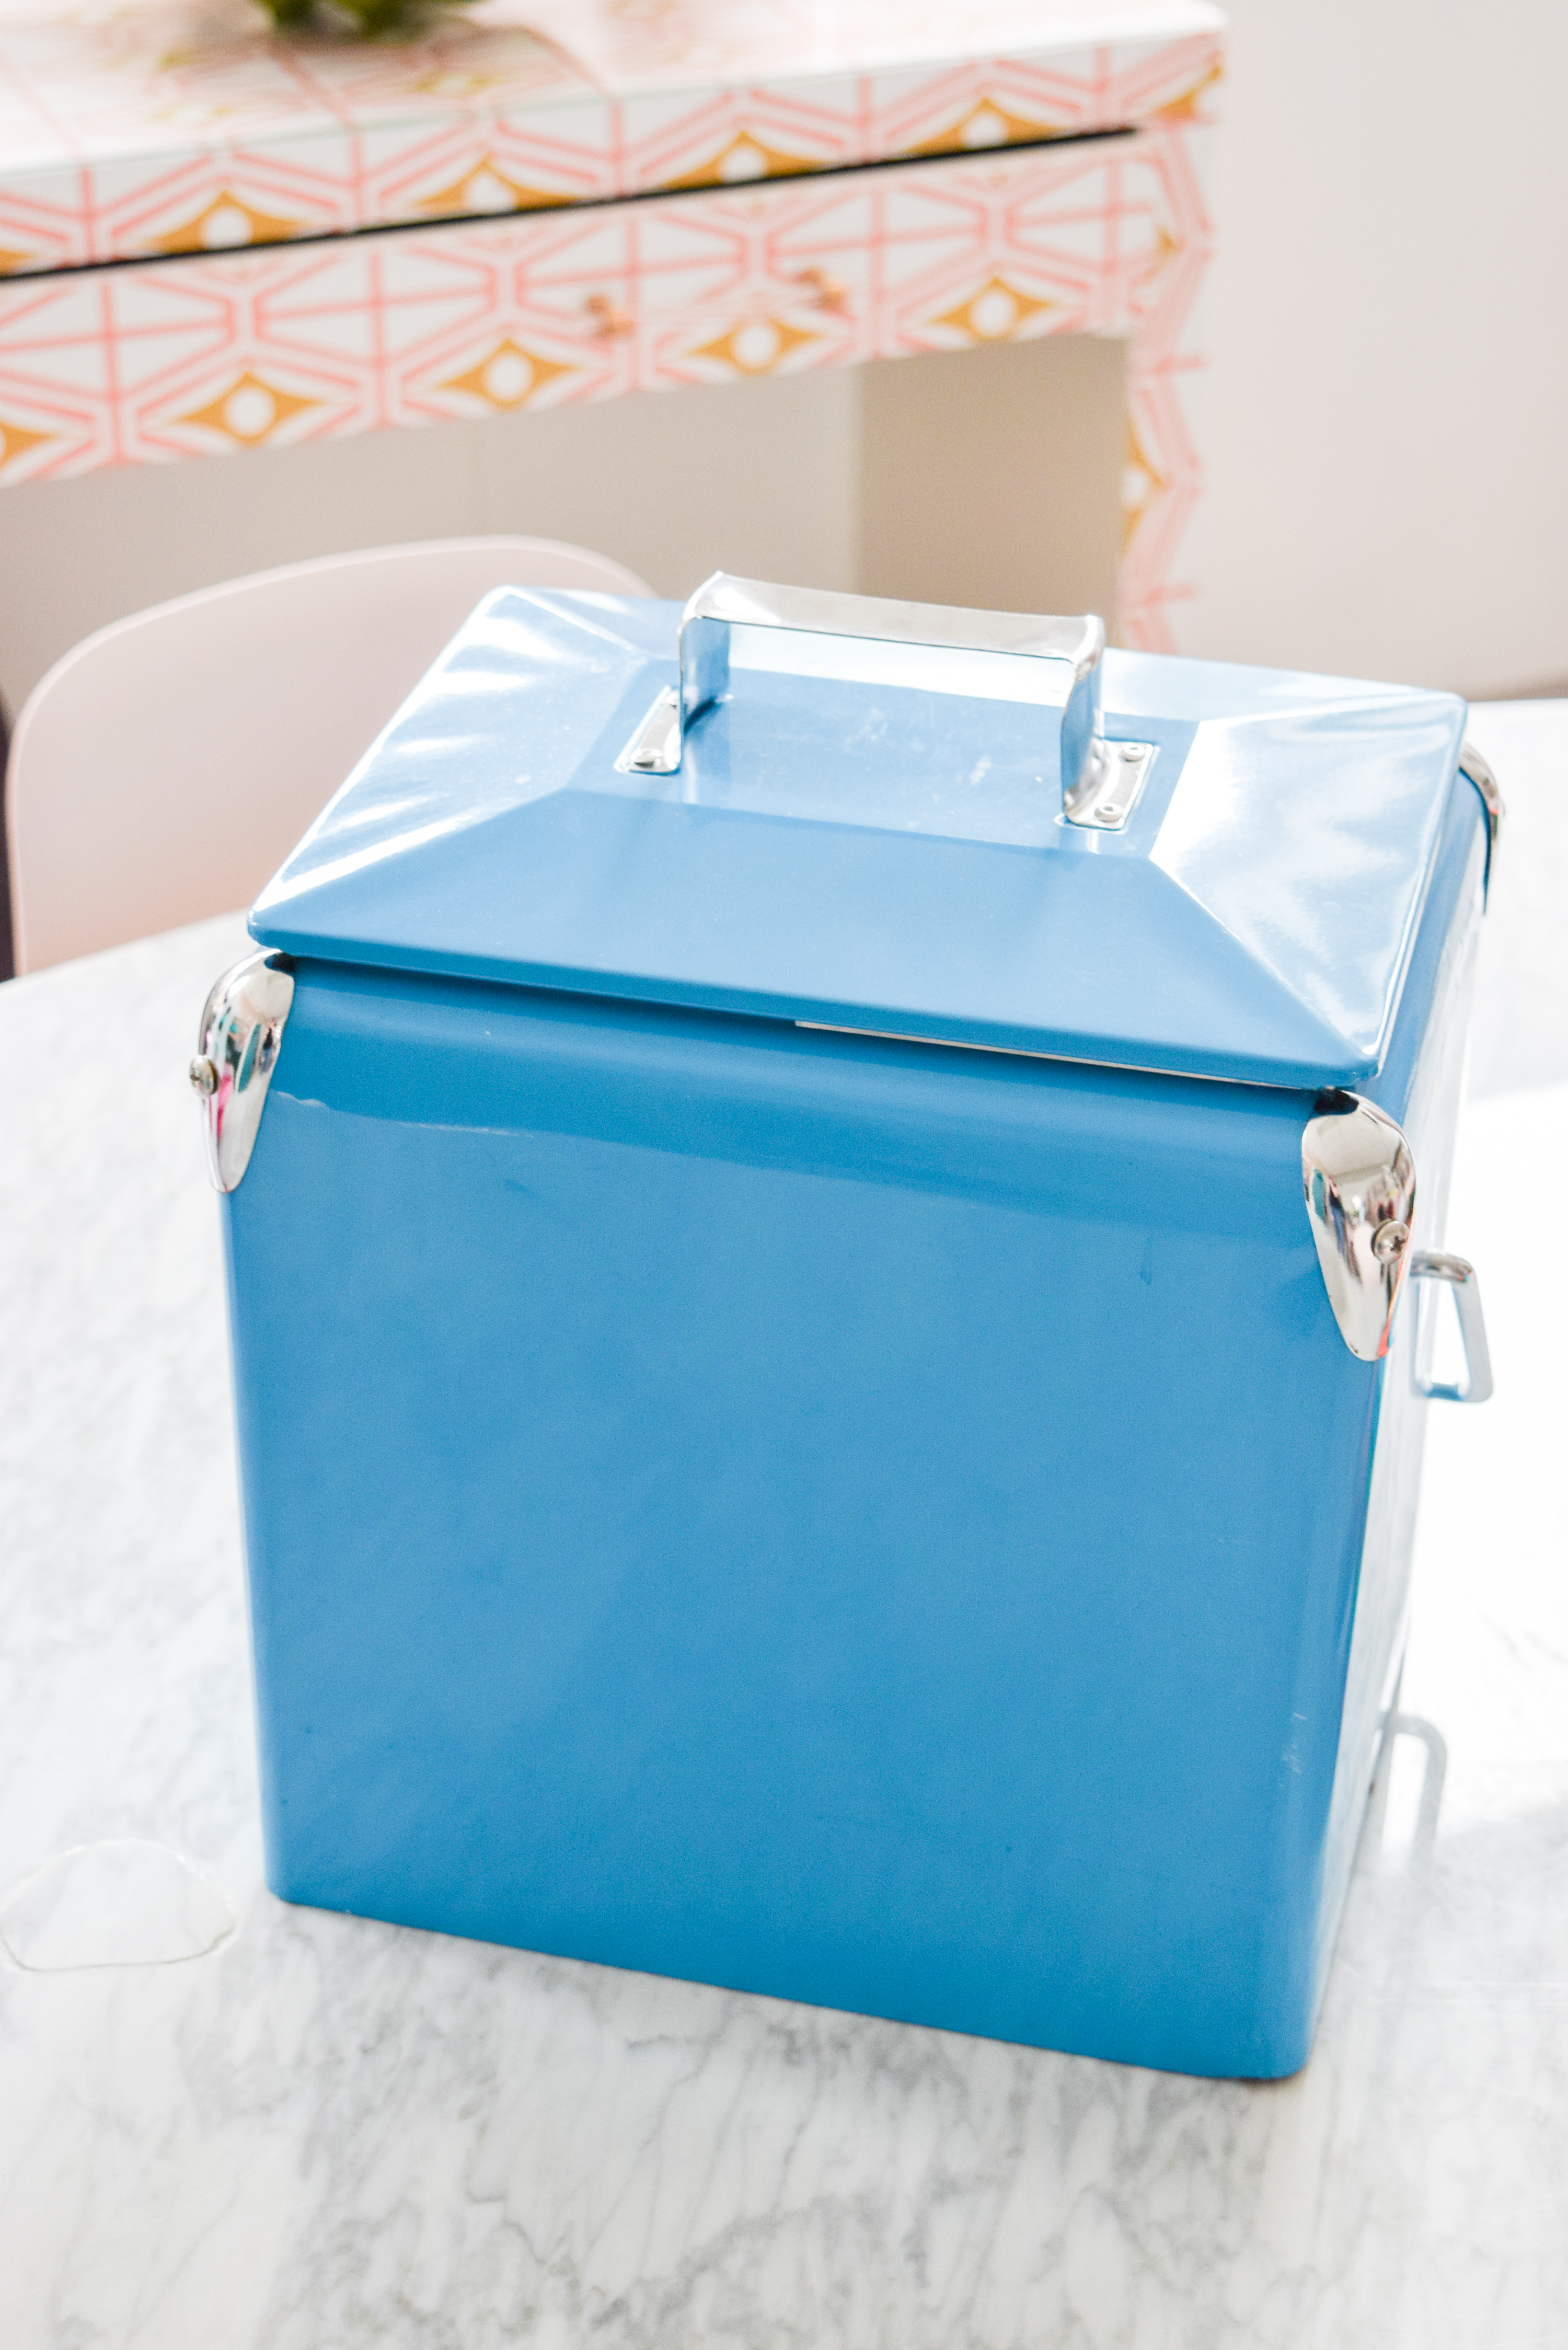
So I bought this adorable cooler last summer while shopping for our trip to Martha’s Vineyard // part 1 // & // part 2 //. Where did I get it? Homesense of course. We used it all summer as our cooler when we went to BBQs, on road trips, and just going over to a friend’s. This summer, I wanted to show it some love, because it got a little dinged up in the closet where we kept it this winter. Because I’m totally giving in to the flamingo trend again, I’ve put together two DIY Summer Cooler Decals using my Cricut Explore Air 2, so you can easily do the same!
*Cricut sponsored this post, but all thoughts are my own. Thank you for supporting the brands that make PMQ for two possible.
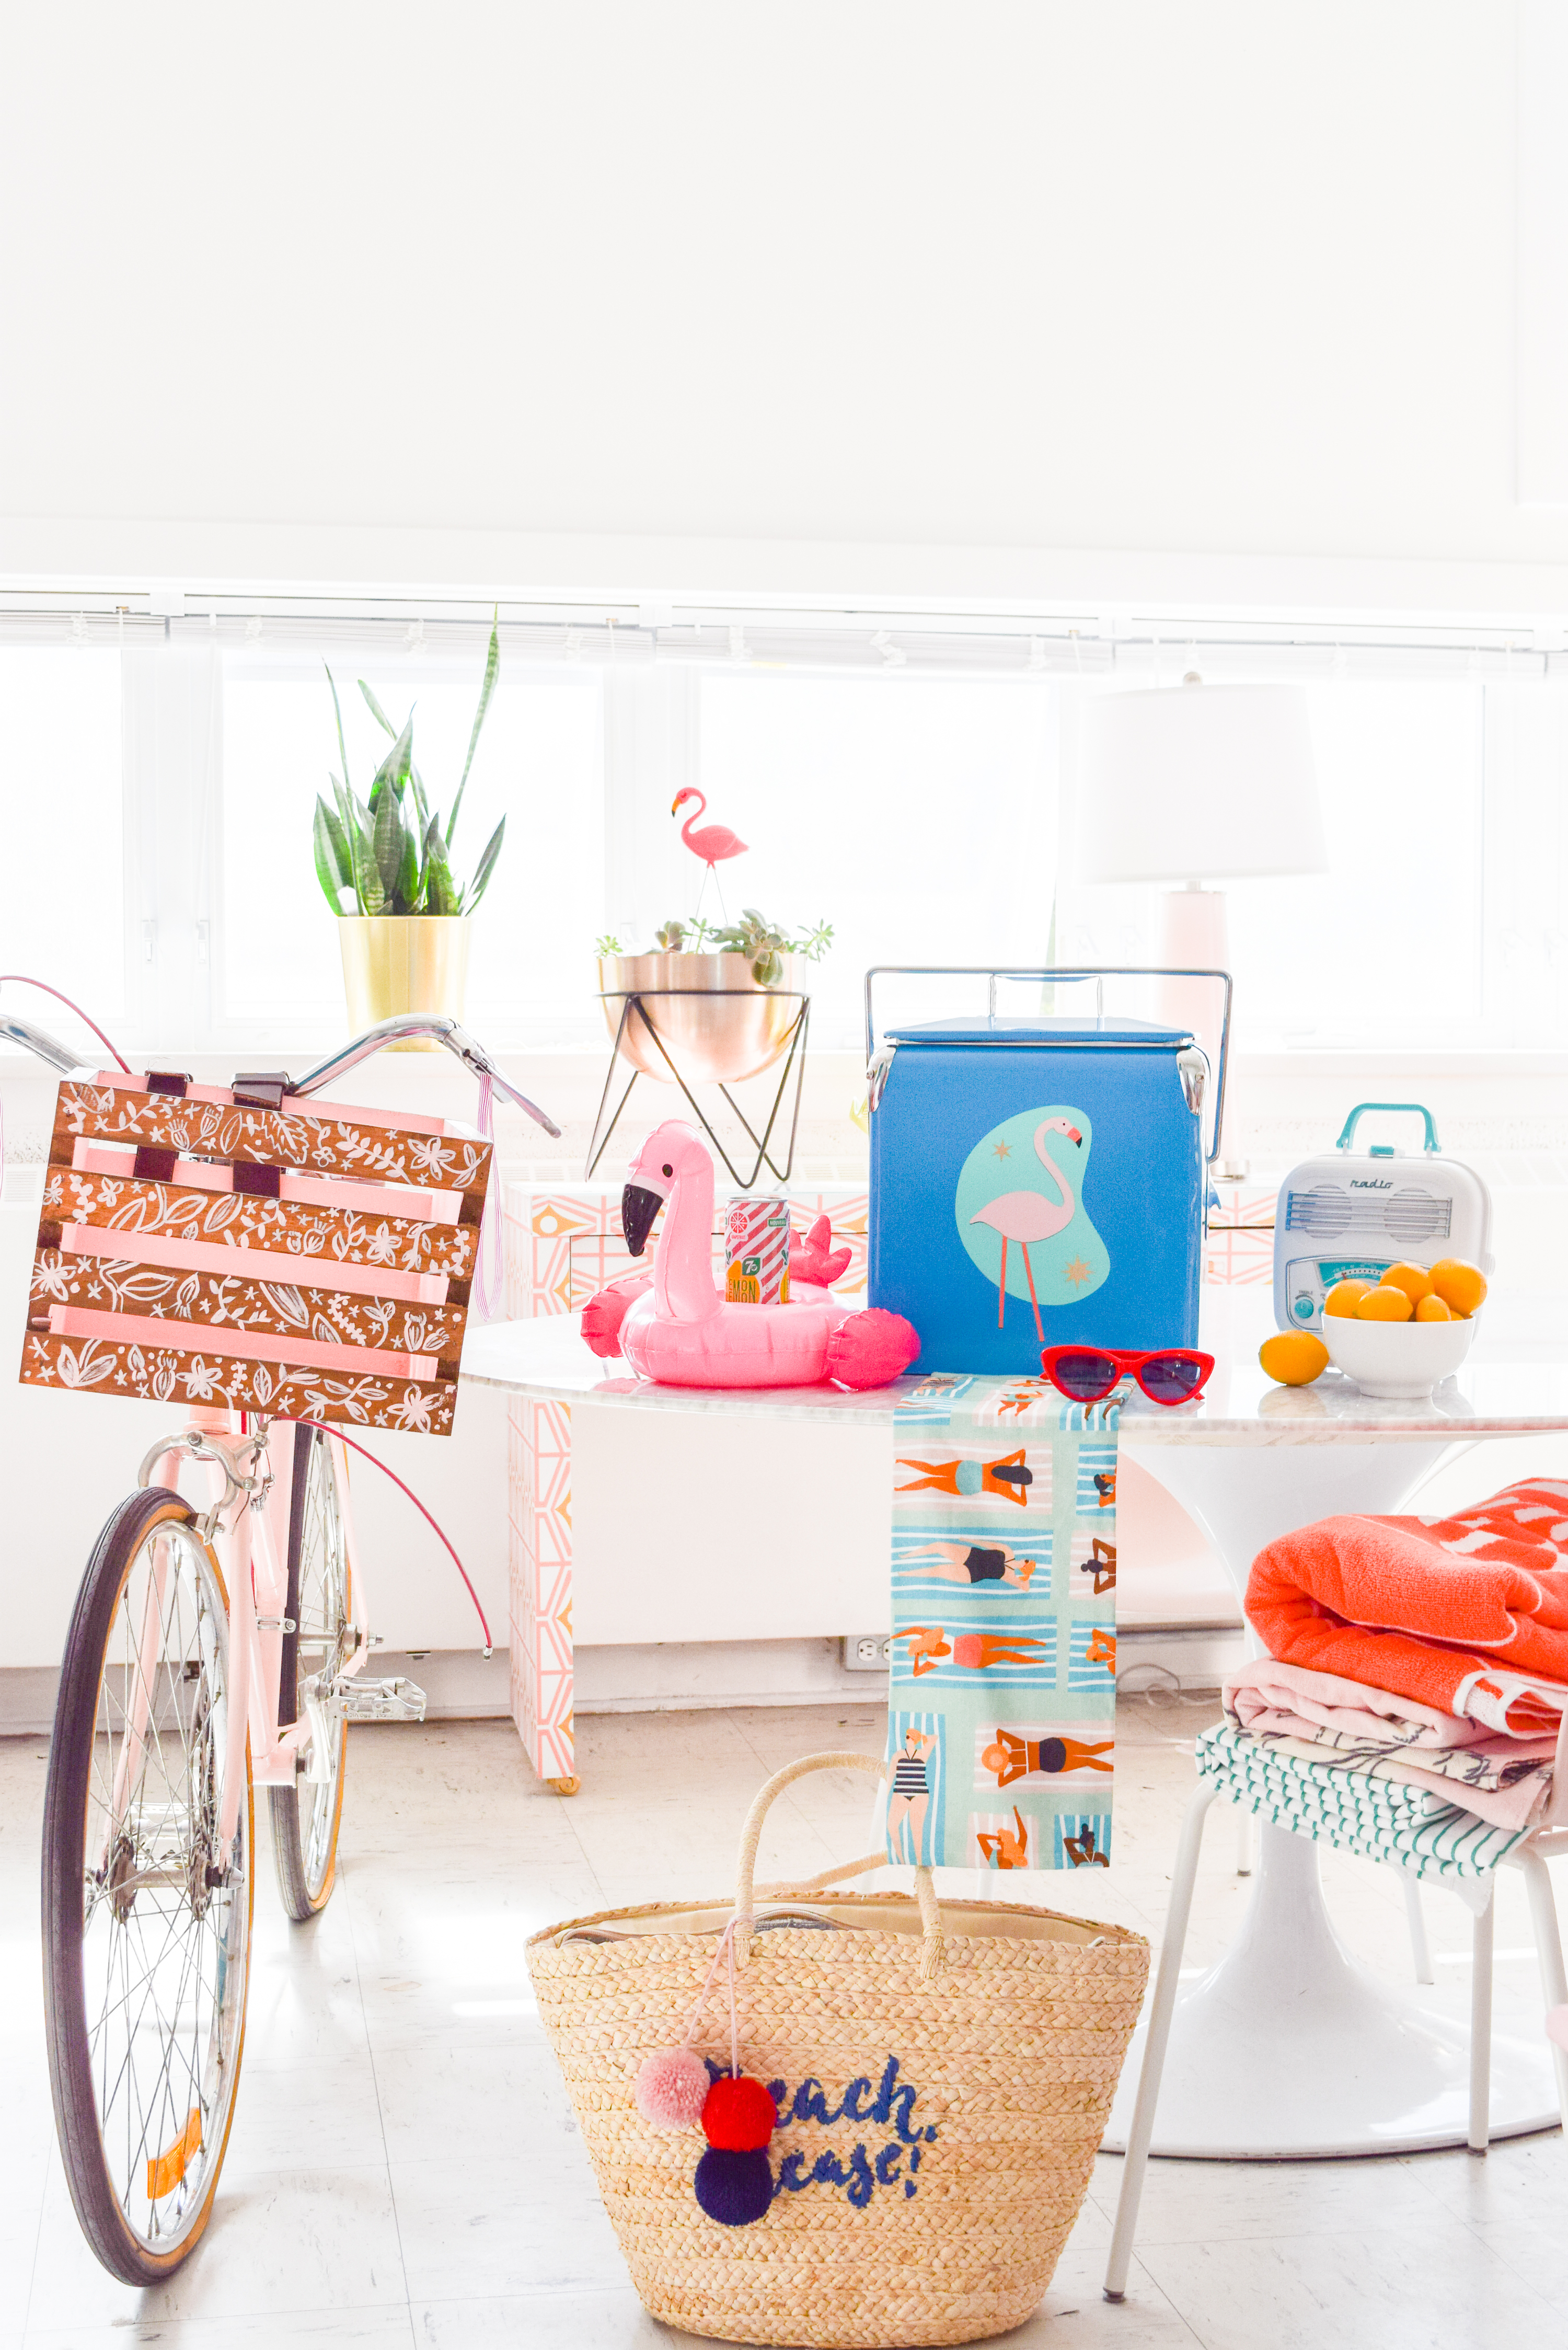

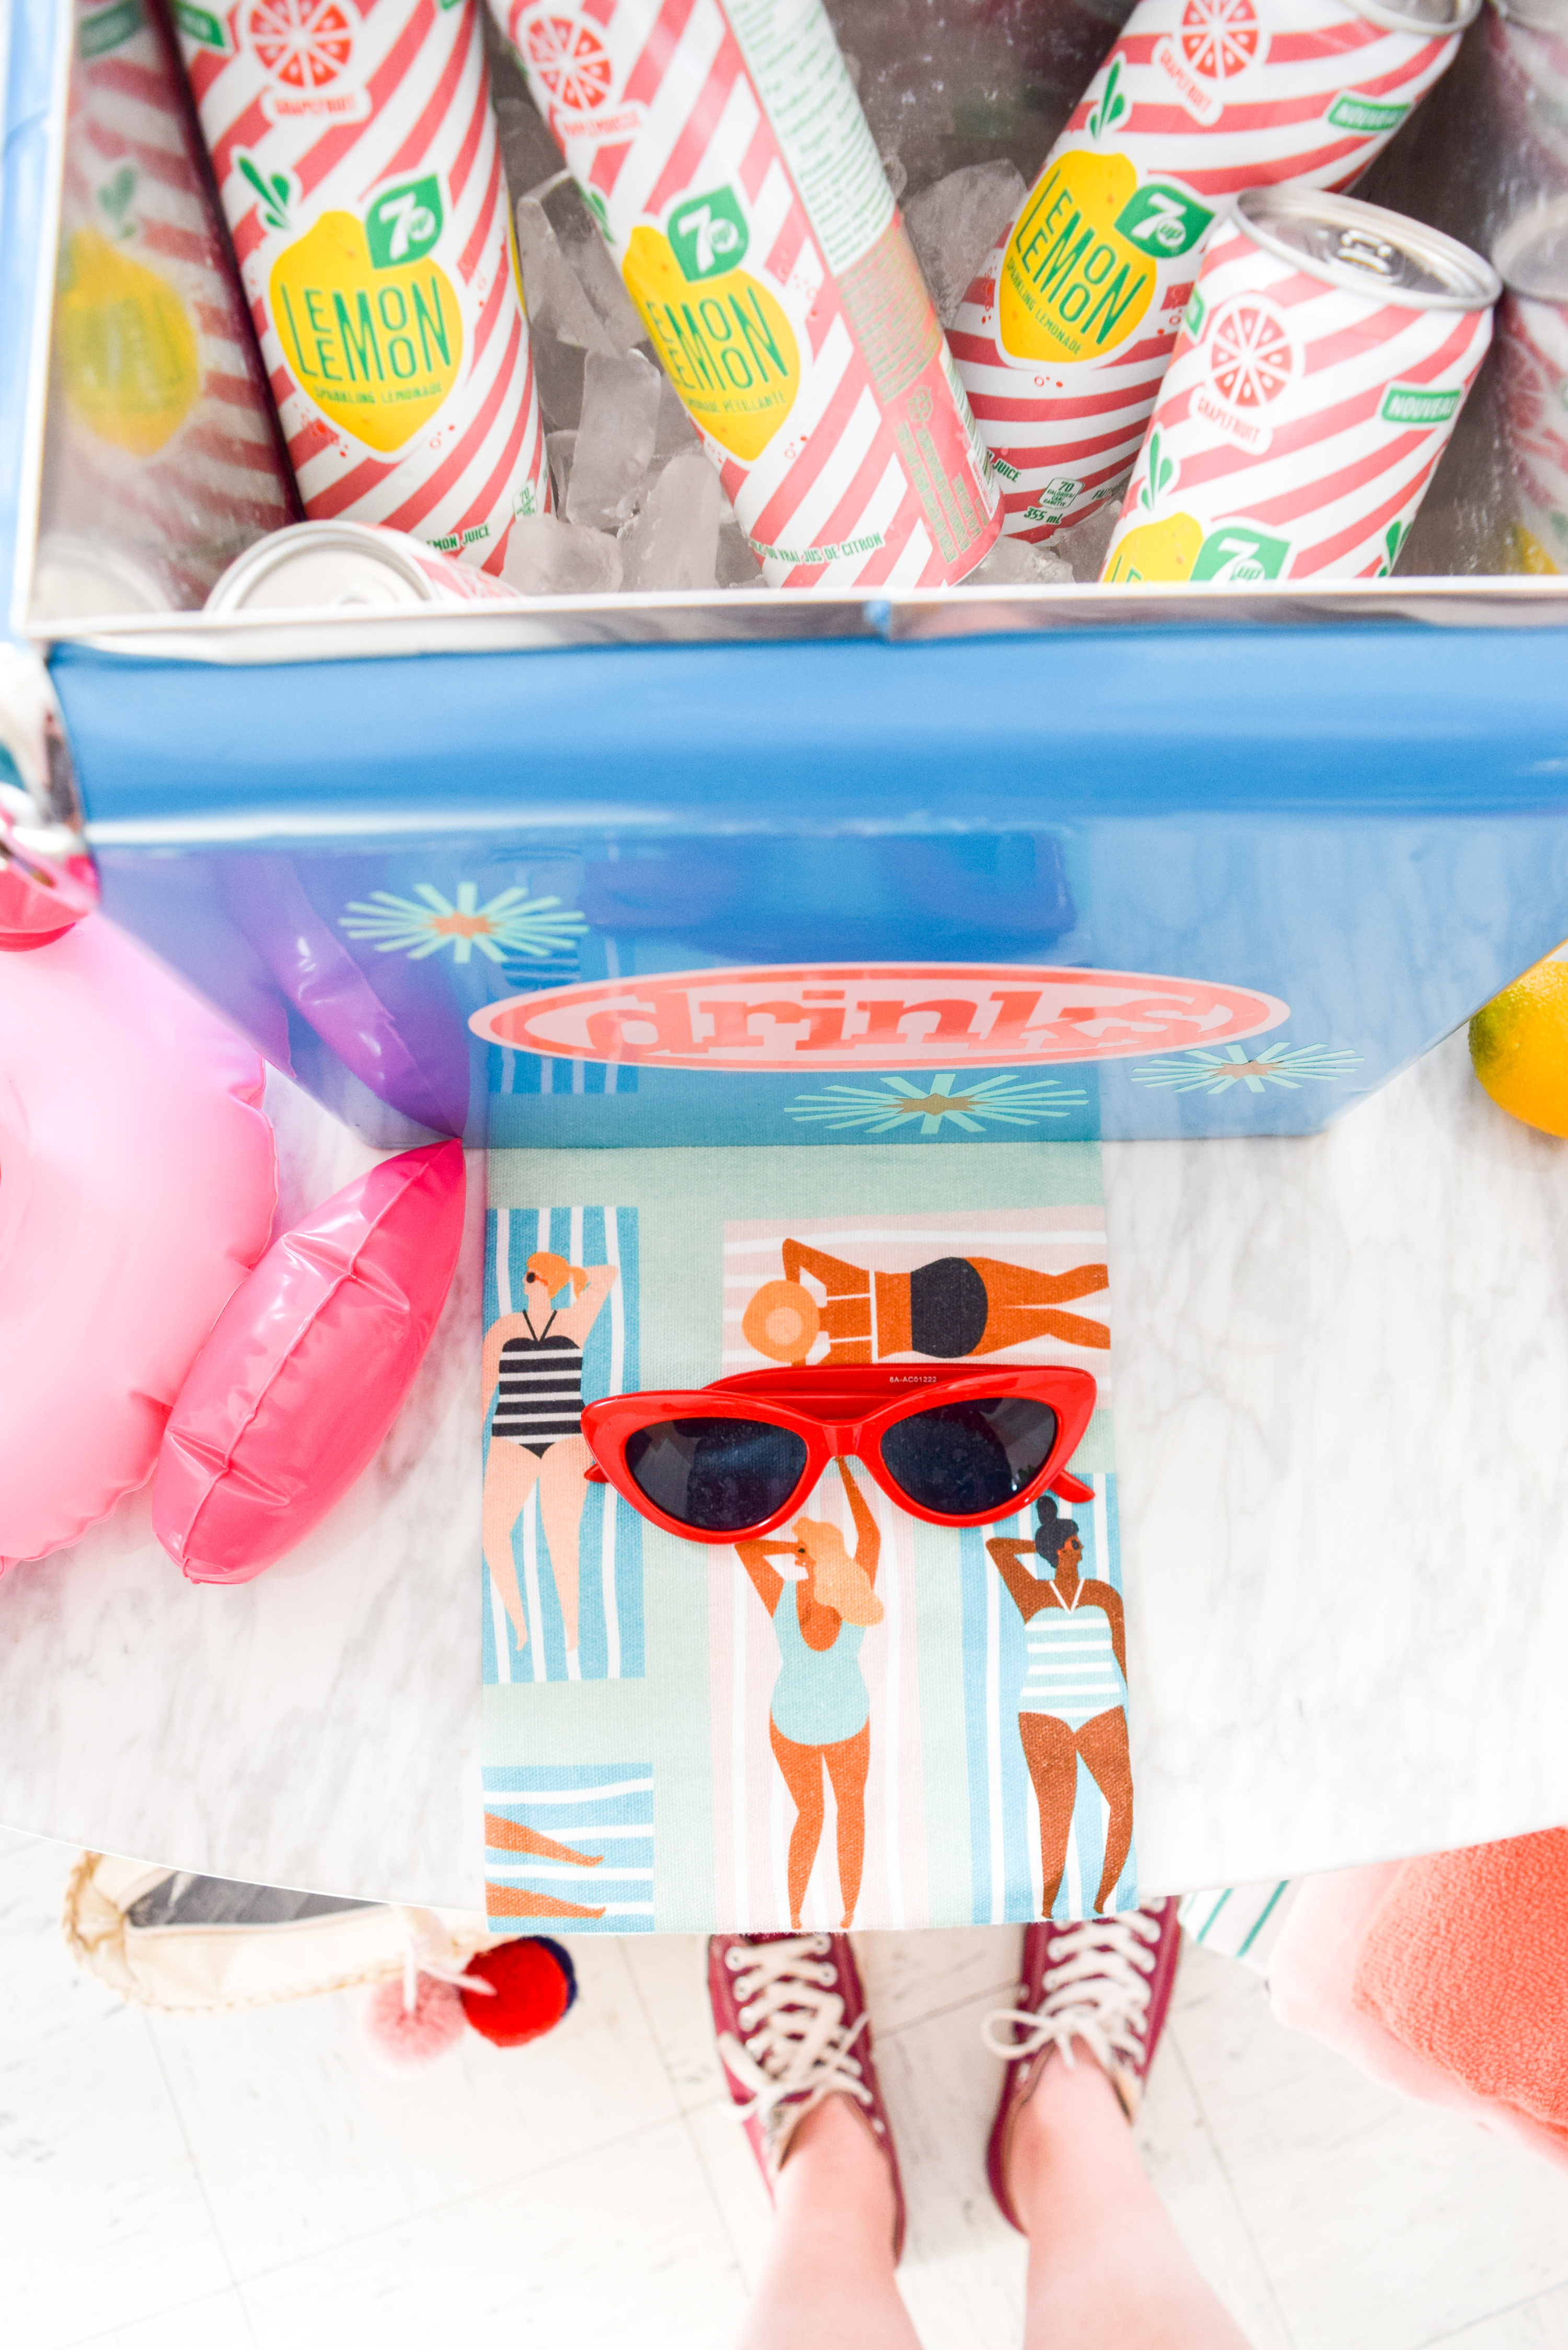
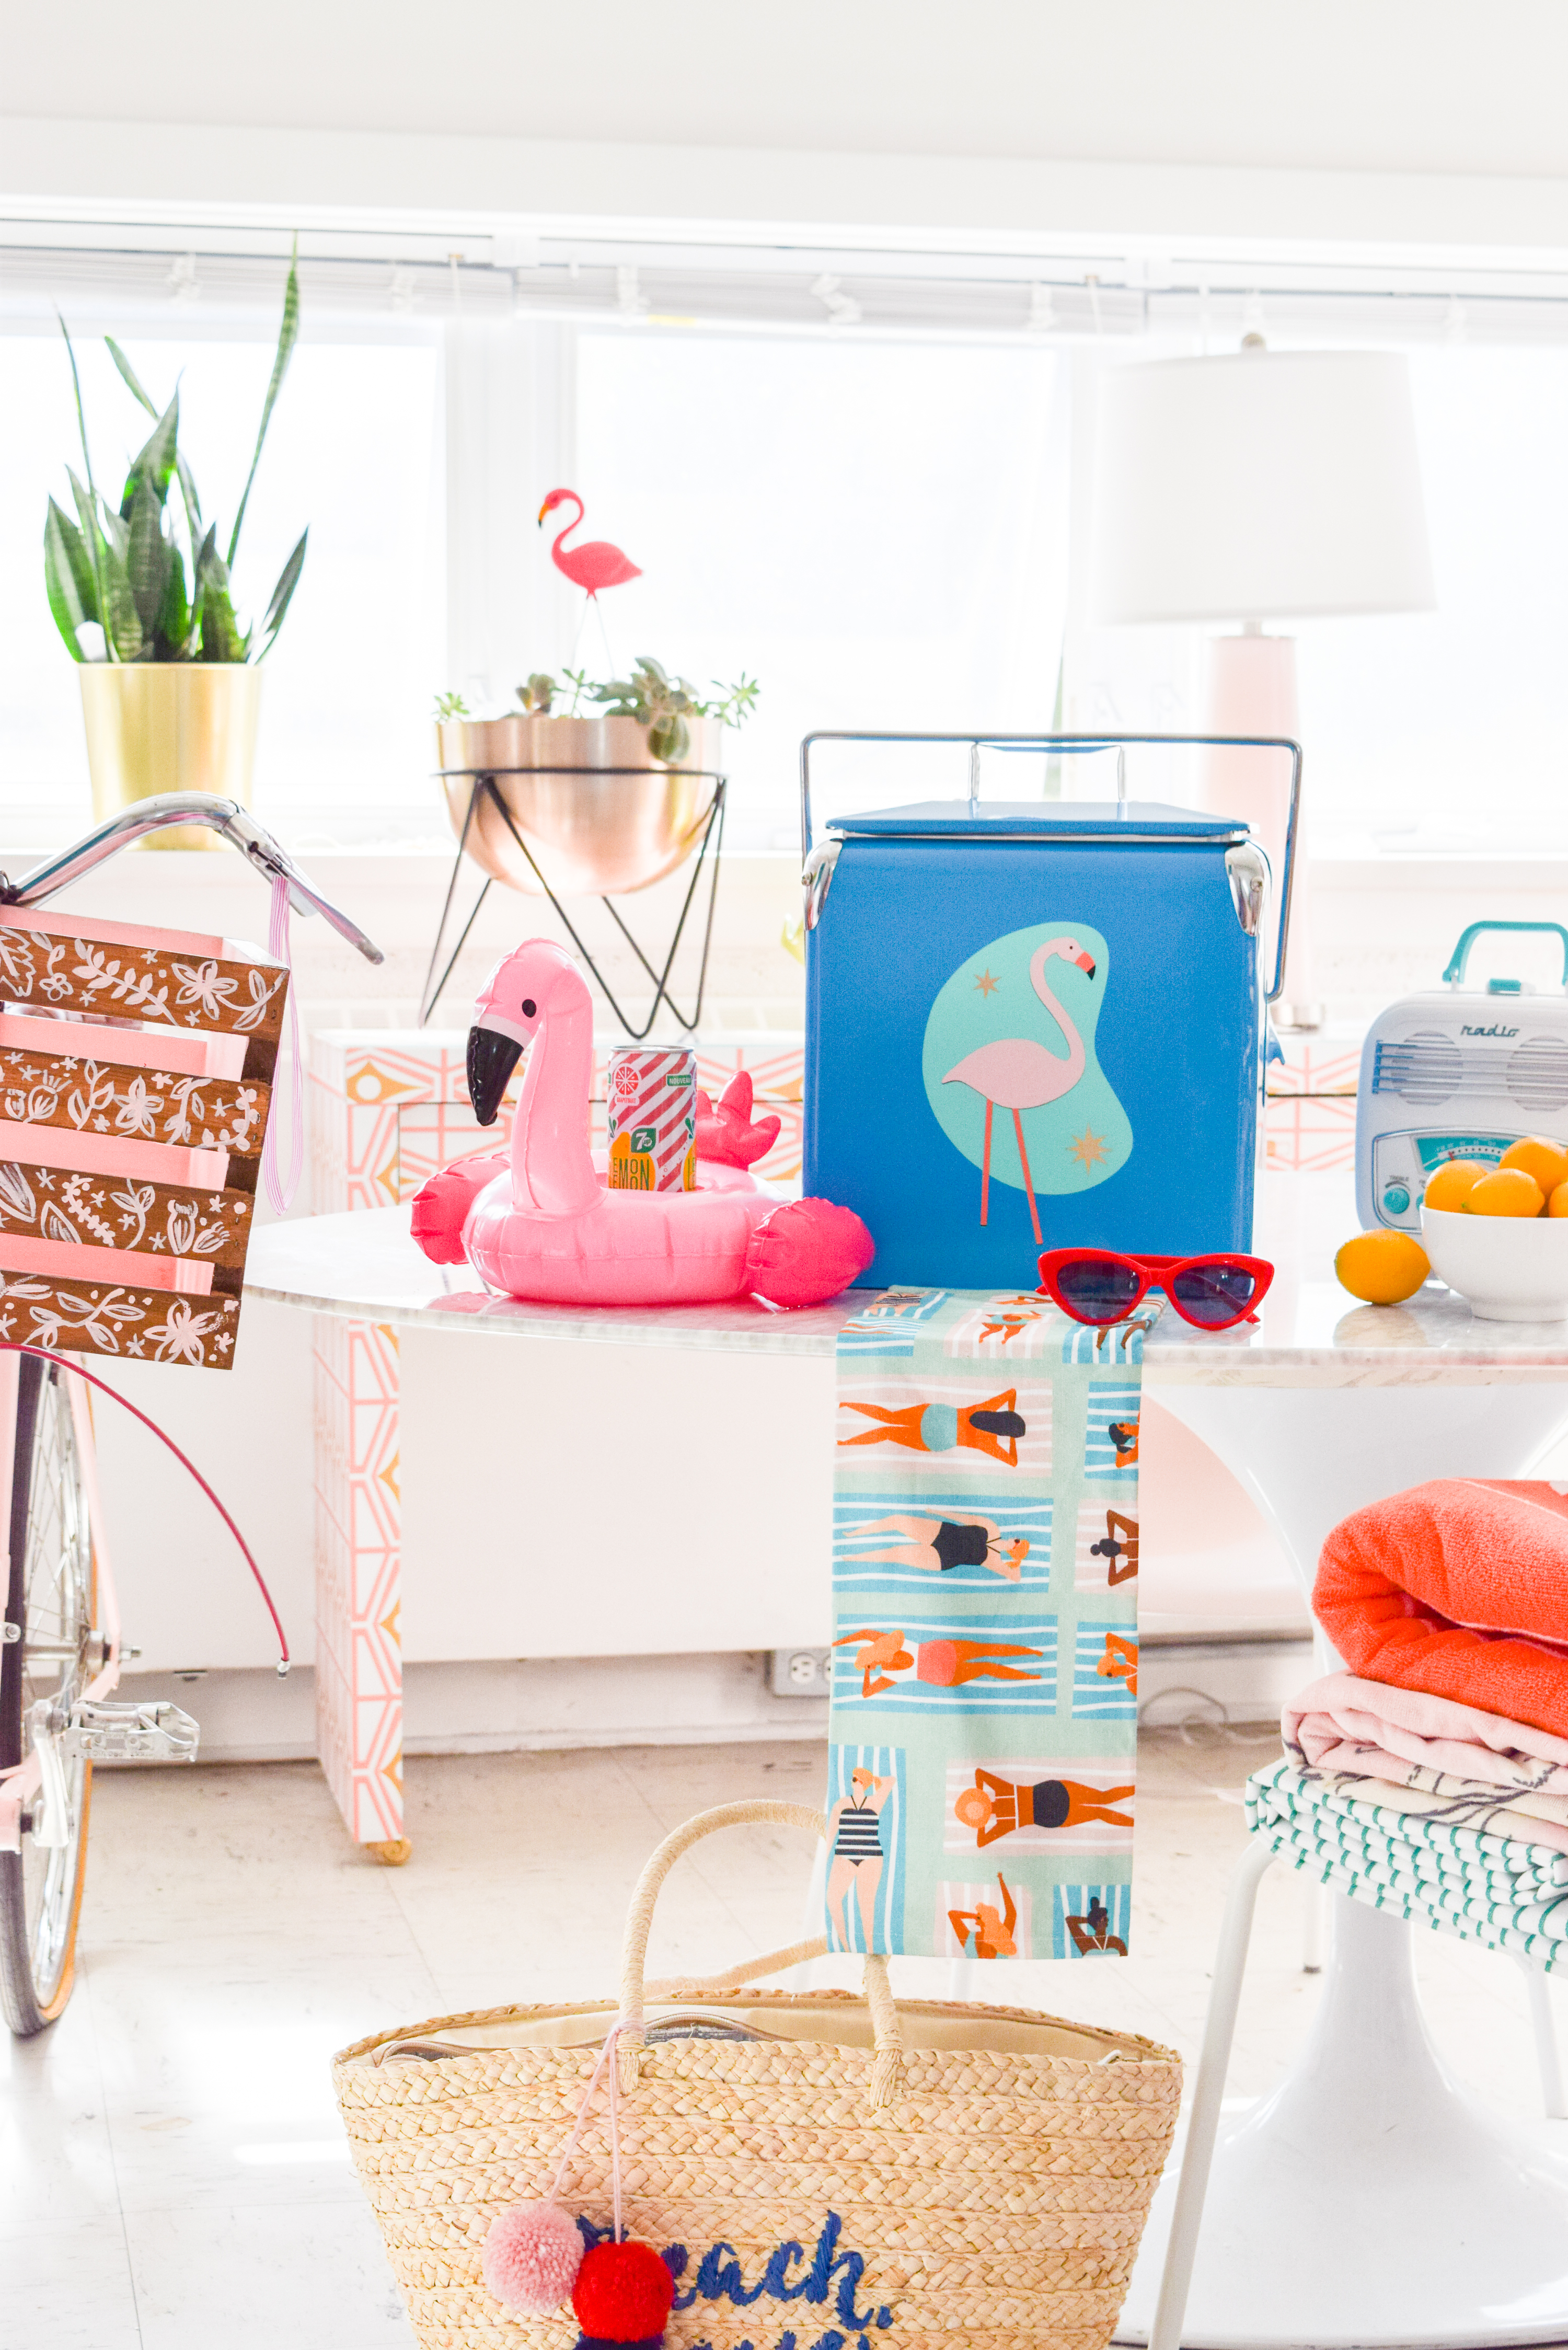
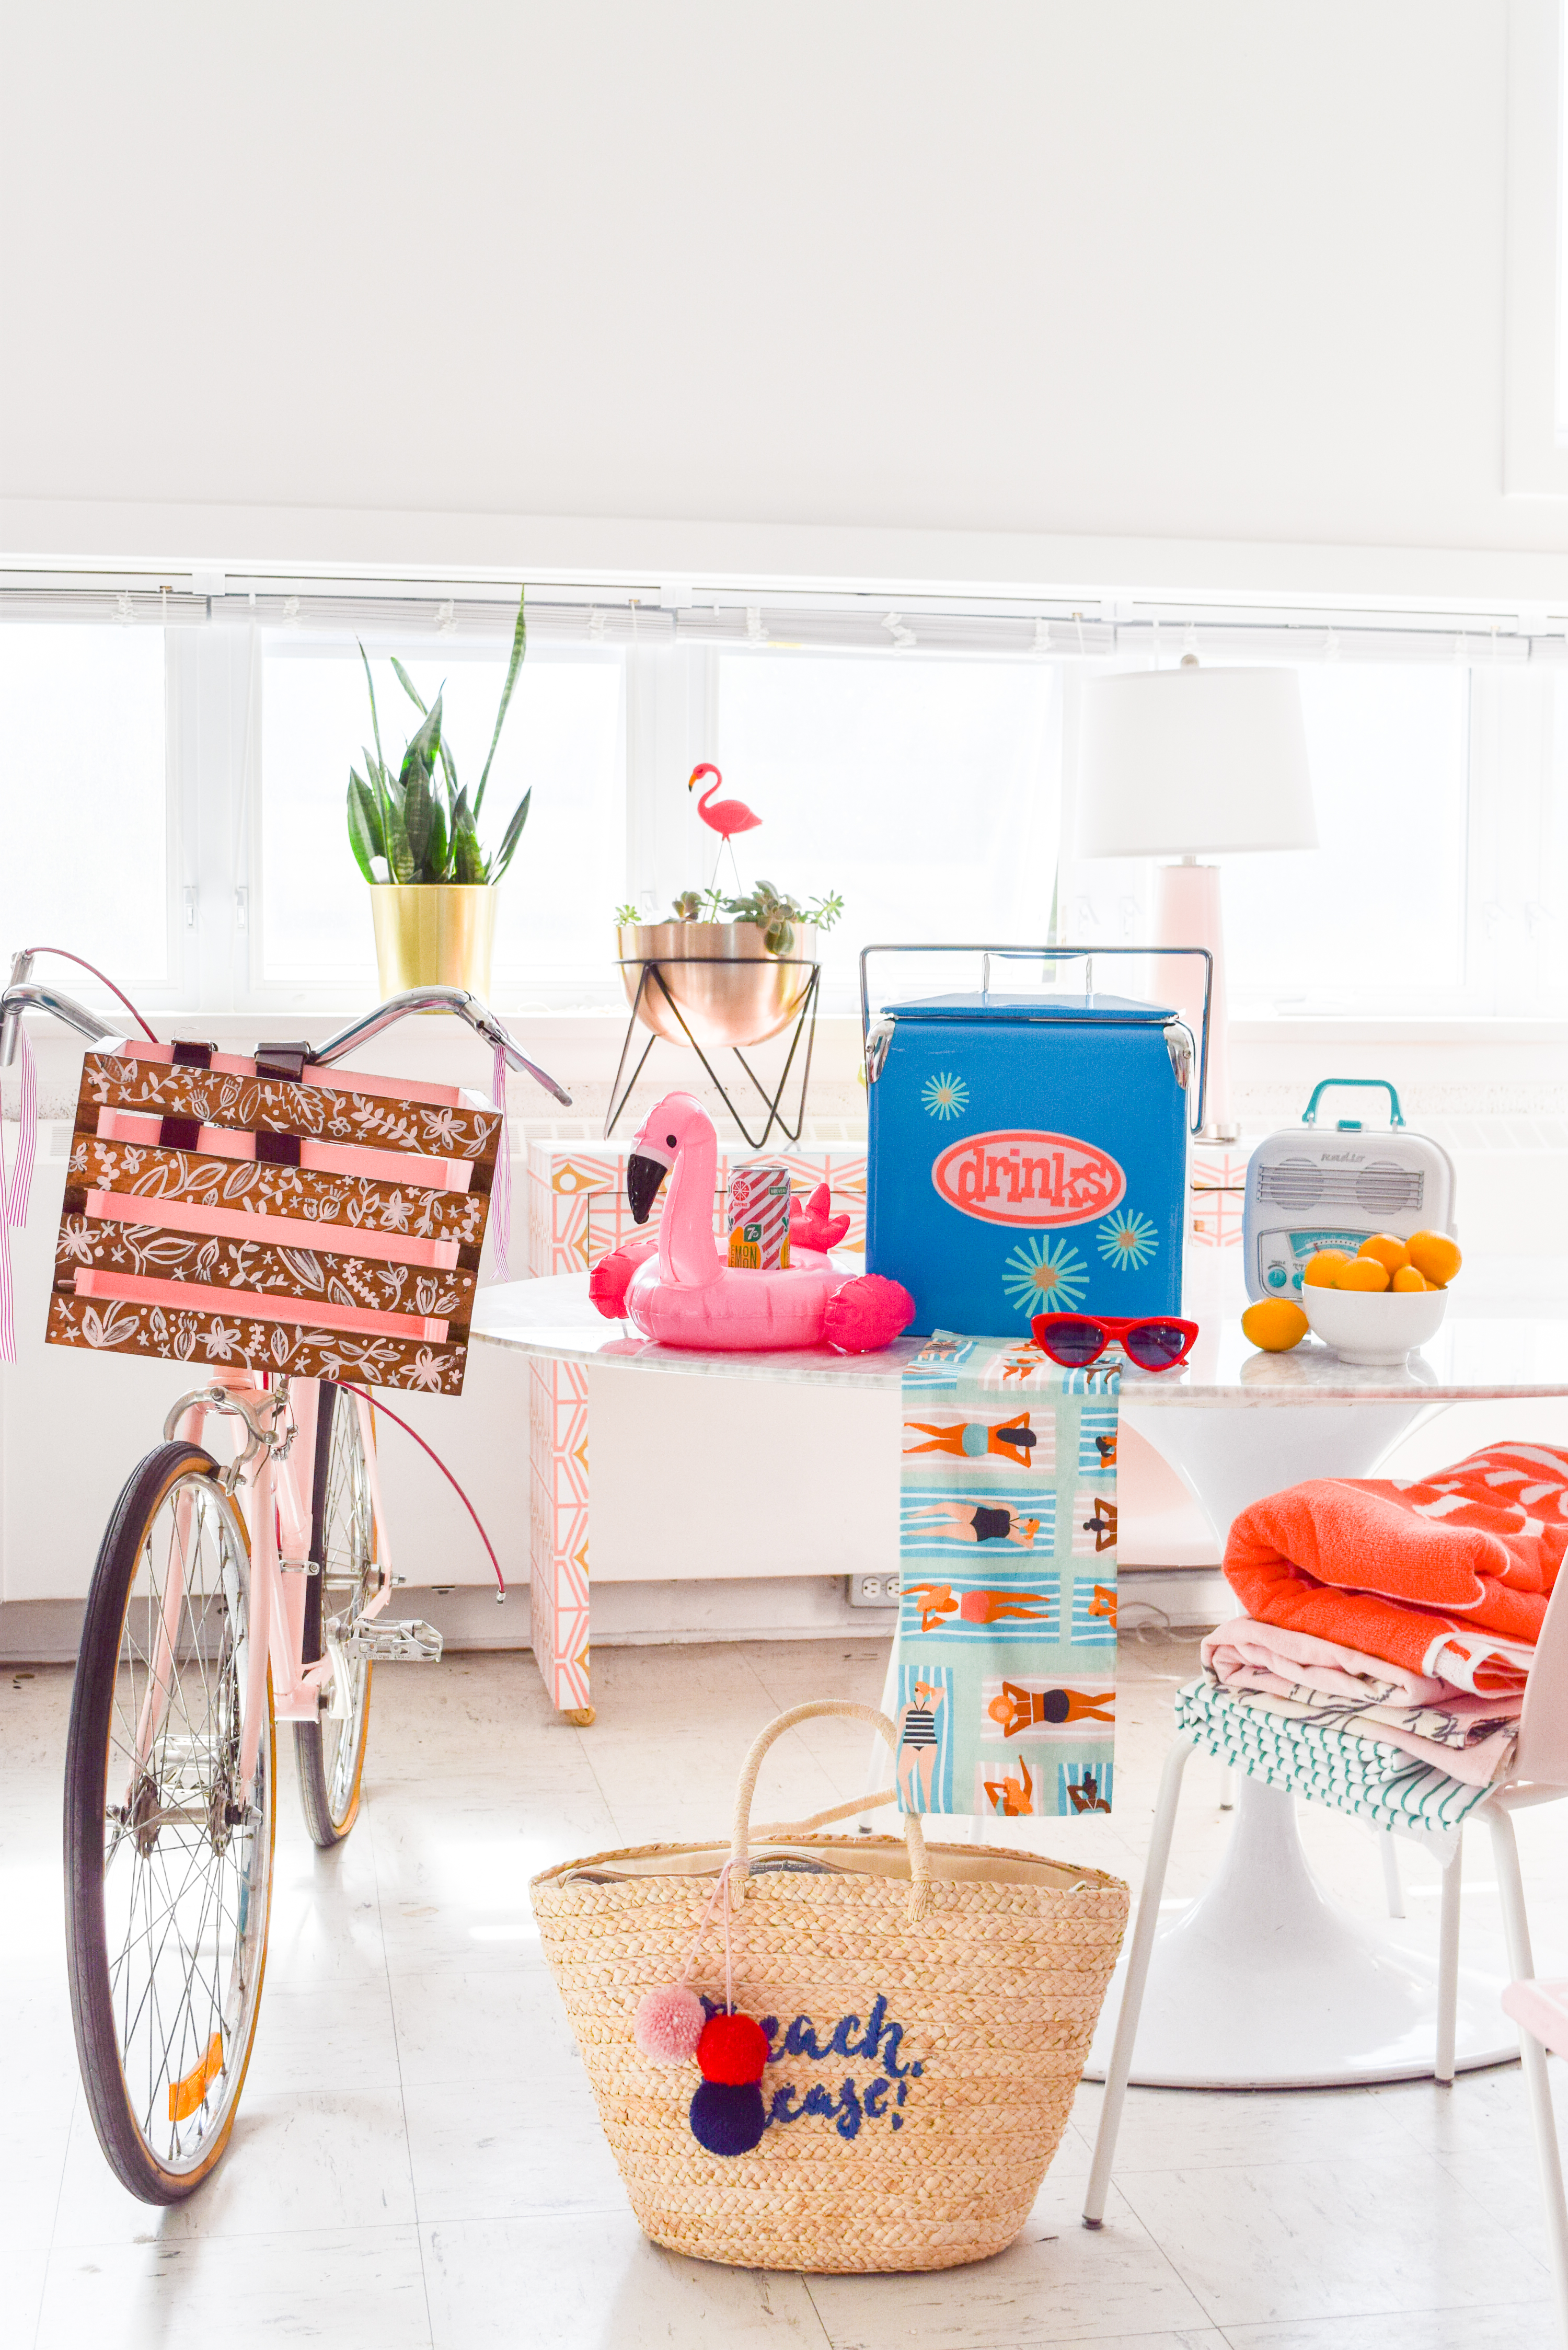
As you can see, it is the perfect summer companion for any adventures you’ve got planned, and the best part is – it’s double sided! So there’s something different on each side.
Materials needed for DIY Summer Cooler Decals
- Cooler – used or new – I like this one
- Cricut Explore Air 2
- Cricut Cutting Mat
- Cricut Tools
- Cricut Vinyl in the appropriate colours
- Cricut Transfer Tape
- Cricut Design Space account
// Catch my entire list of essential Cricut tools and must-haves //
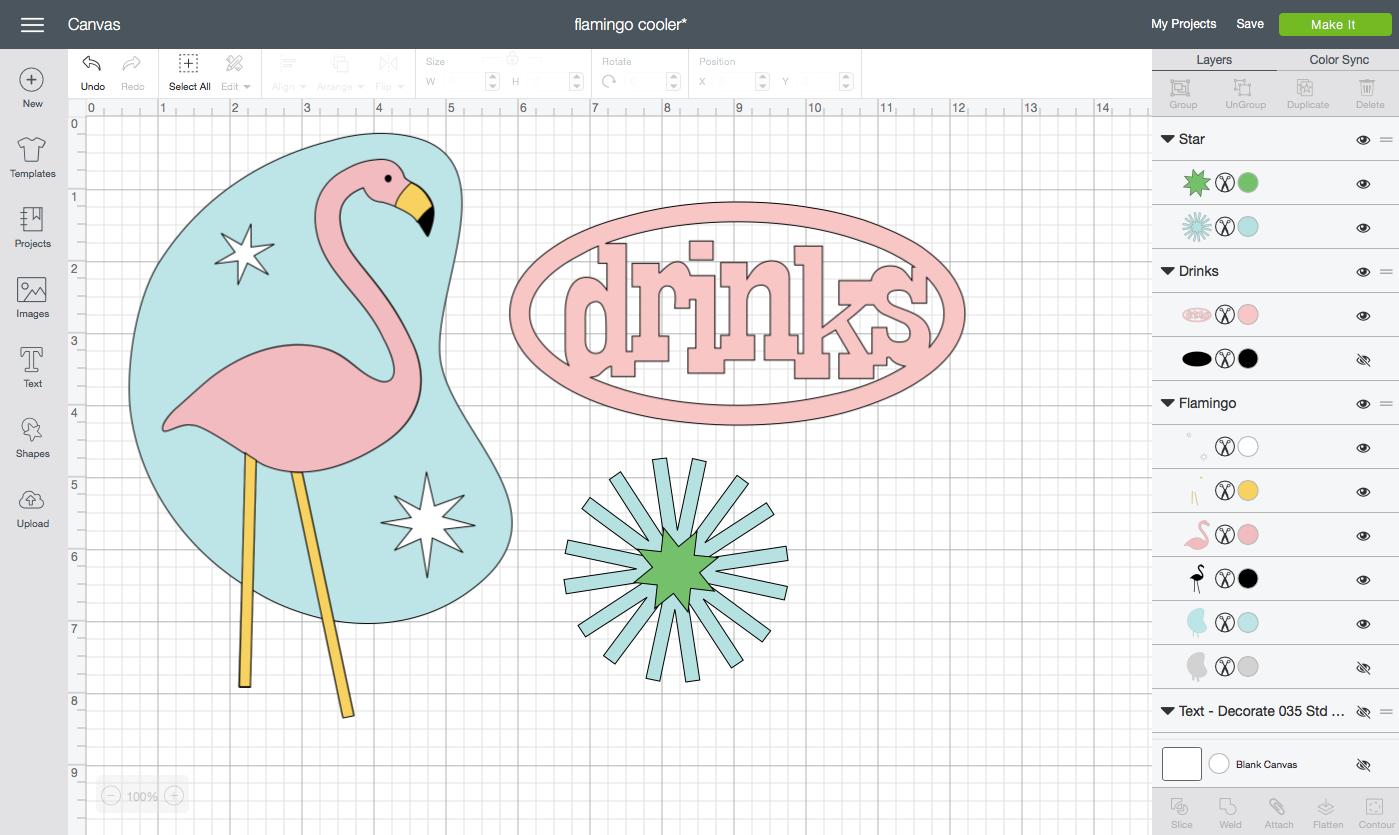
Step 1: Start by sizing your designs in the design space. You can grab both designs I used // here //
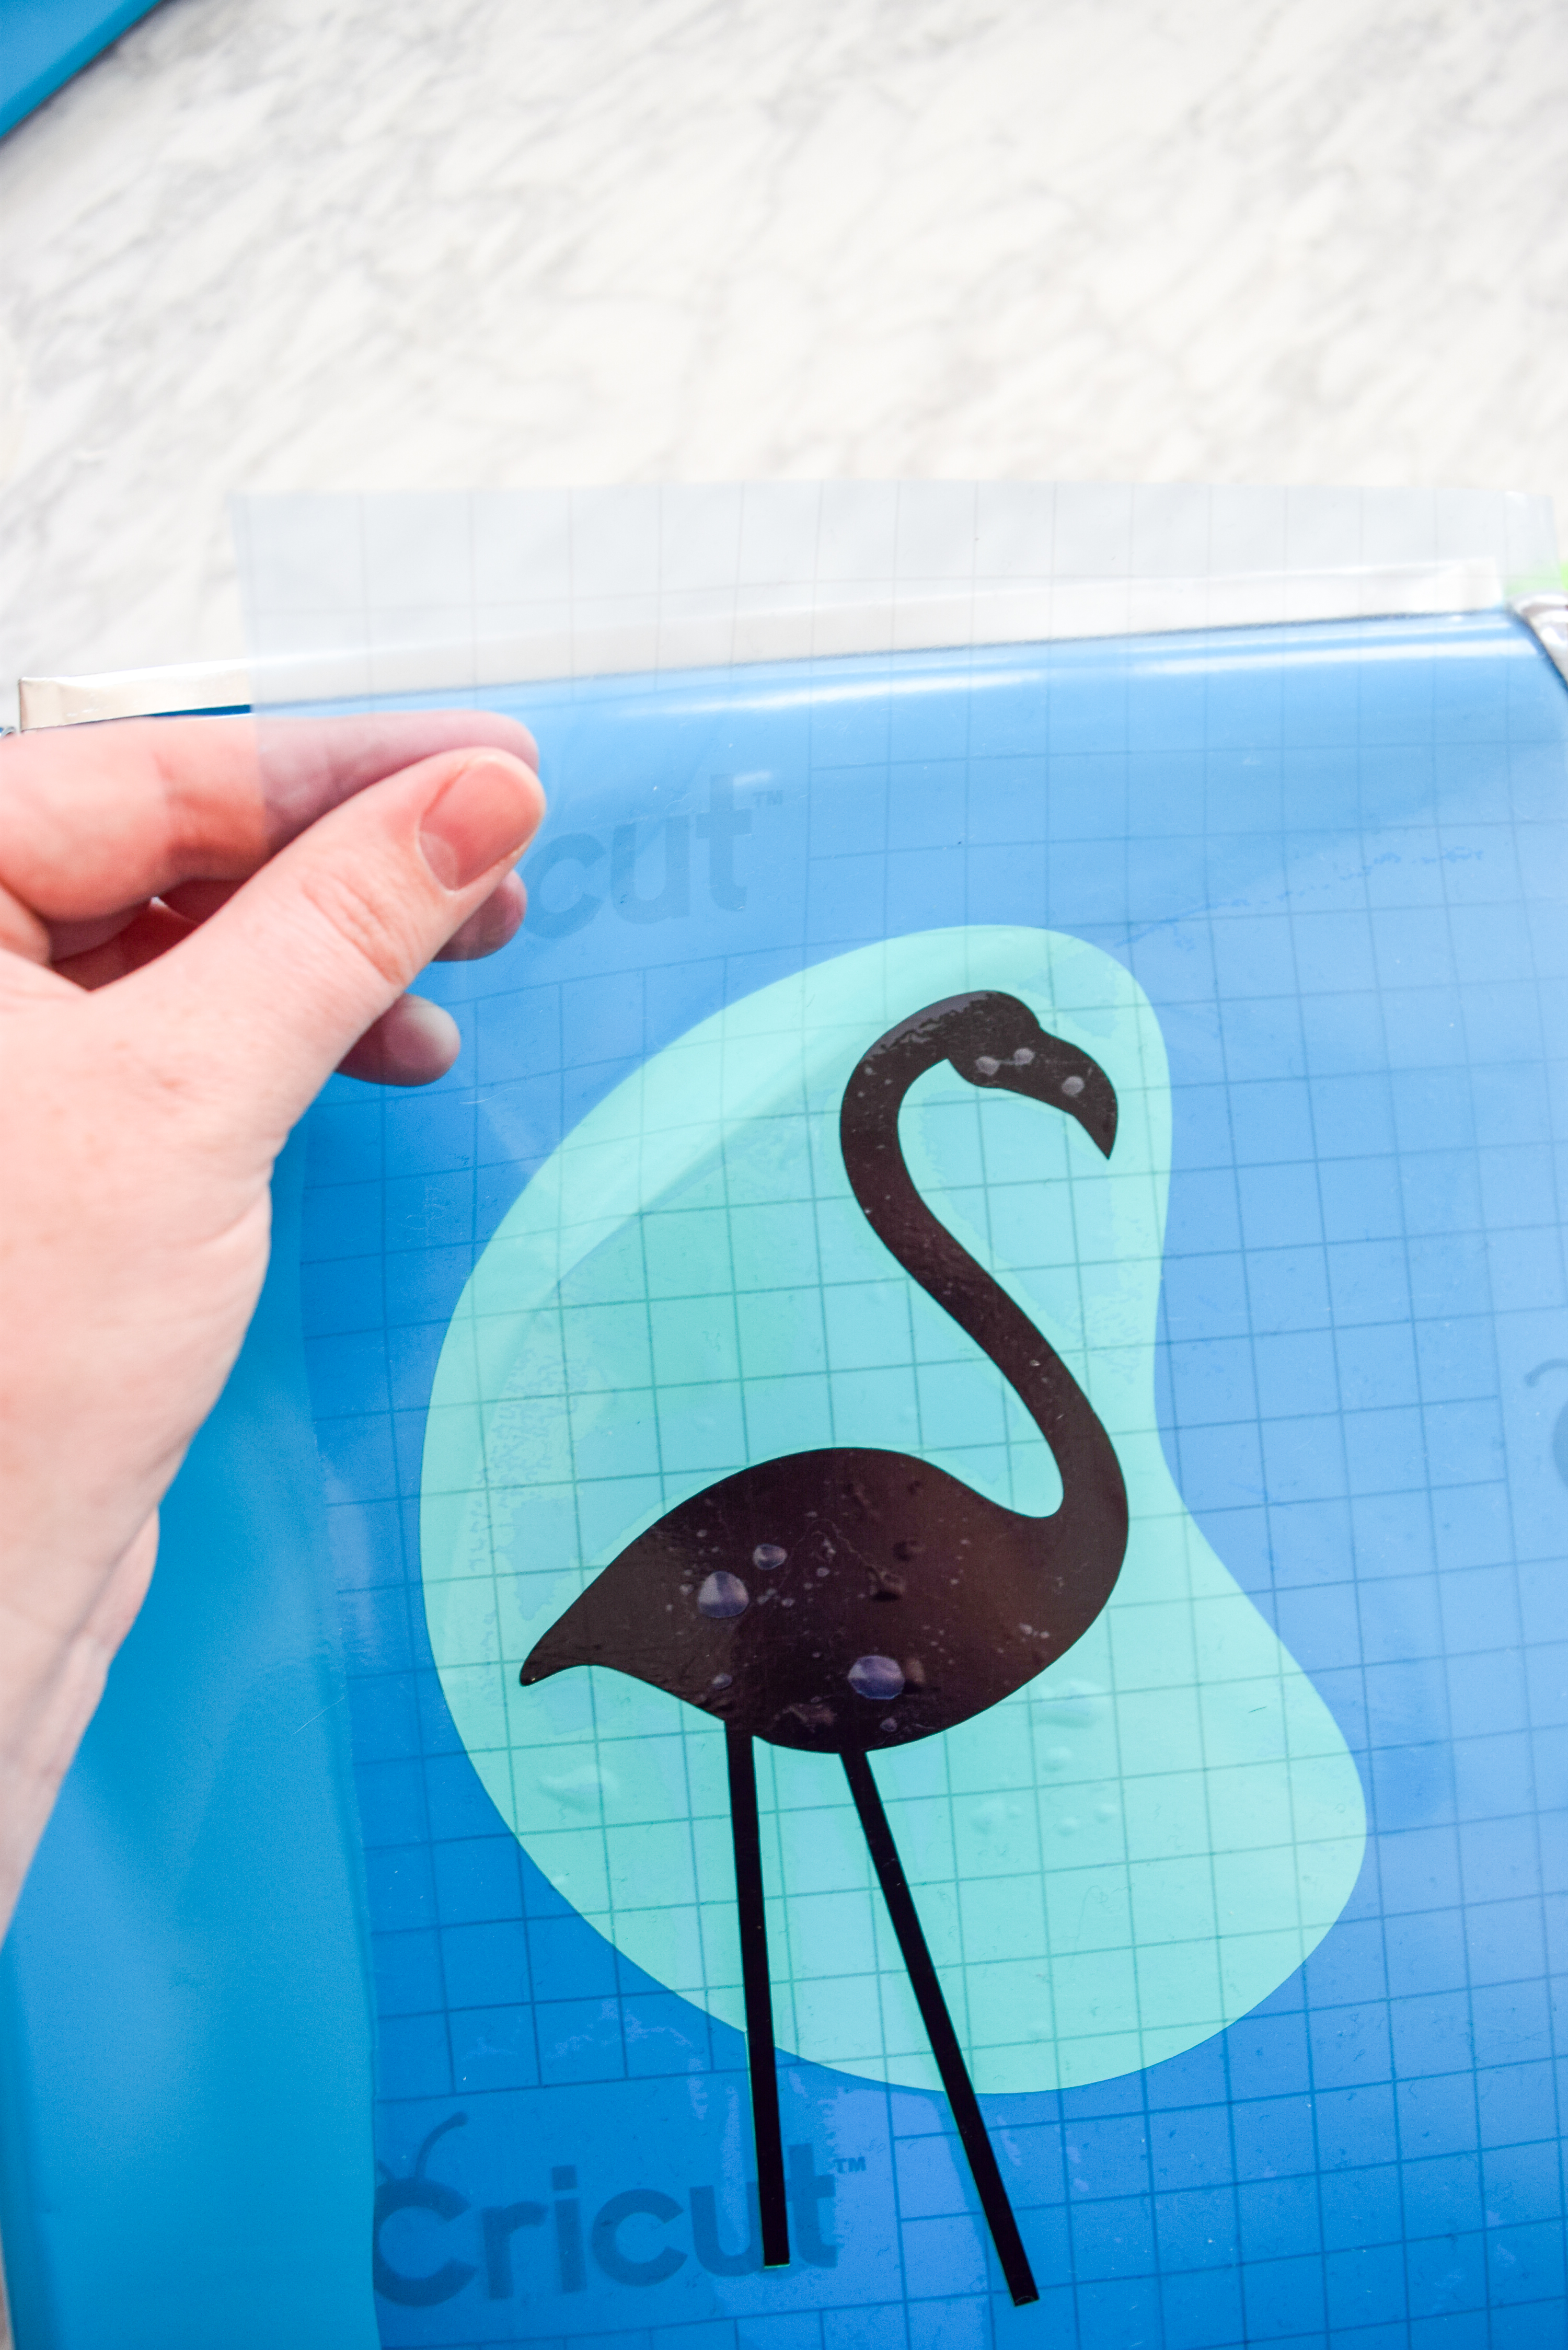
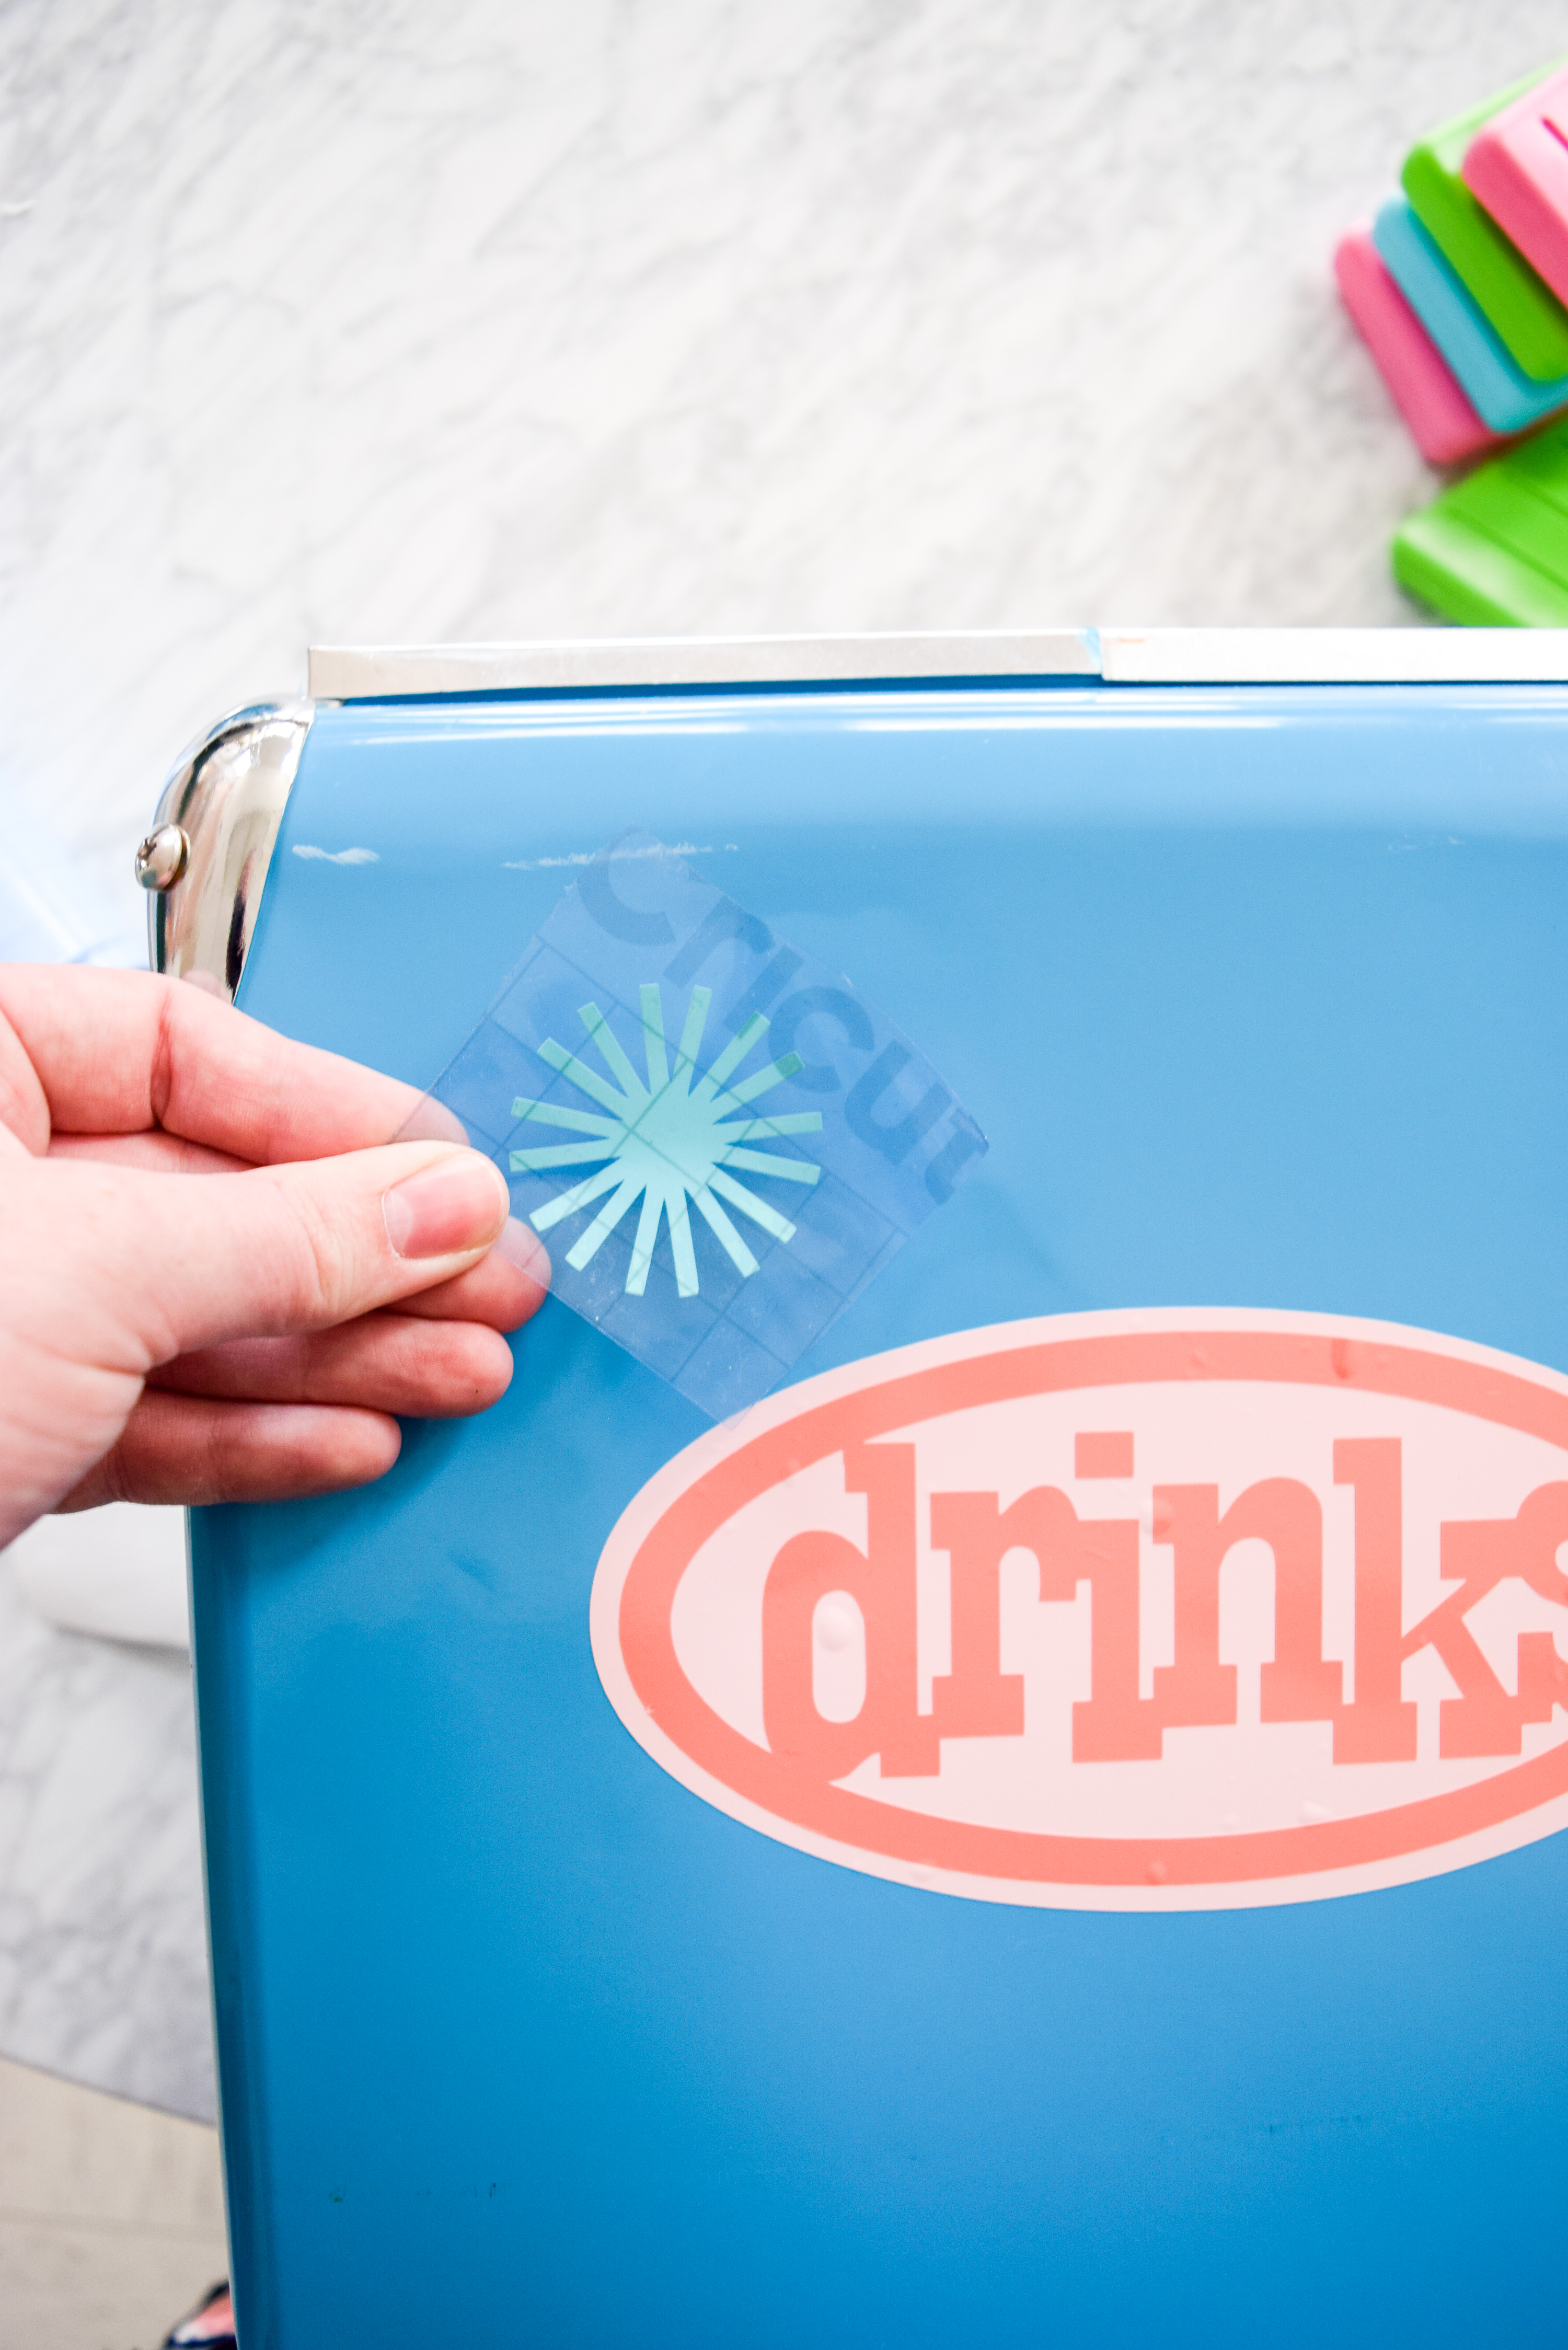
Step 2: Once all your designs are cut (follow the prompts, as usual), weed them and get ready to transfer them over.

Step 3: When it comes to layering a design, the key is figuring out in which order they’re placed. Once you’ve got that, the only issue is getting them all the align. I saw a great video tutorial on how to do that // here // so I thought I’d share it with you.
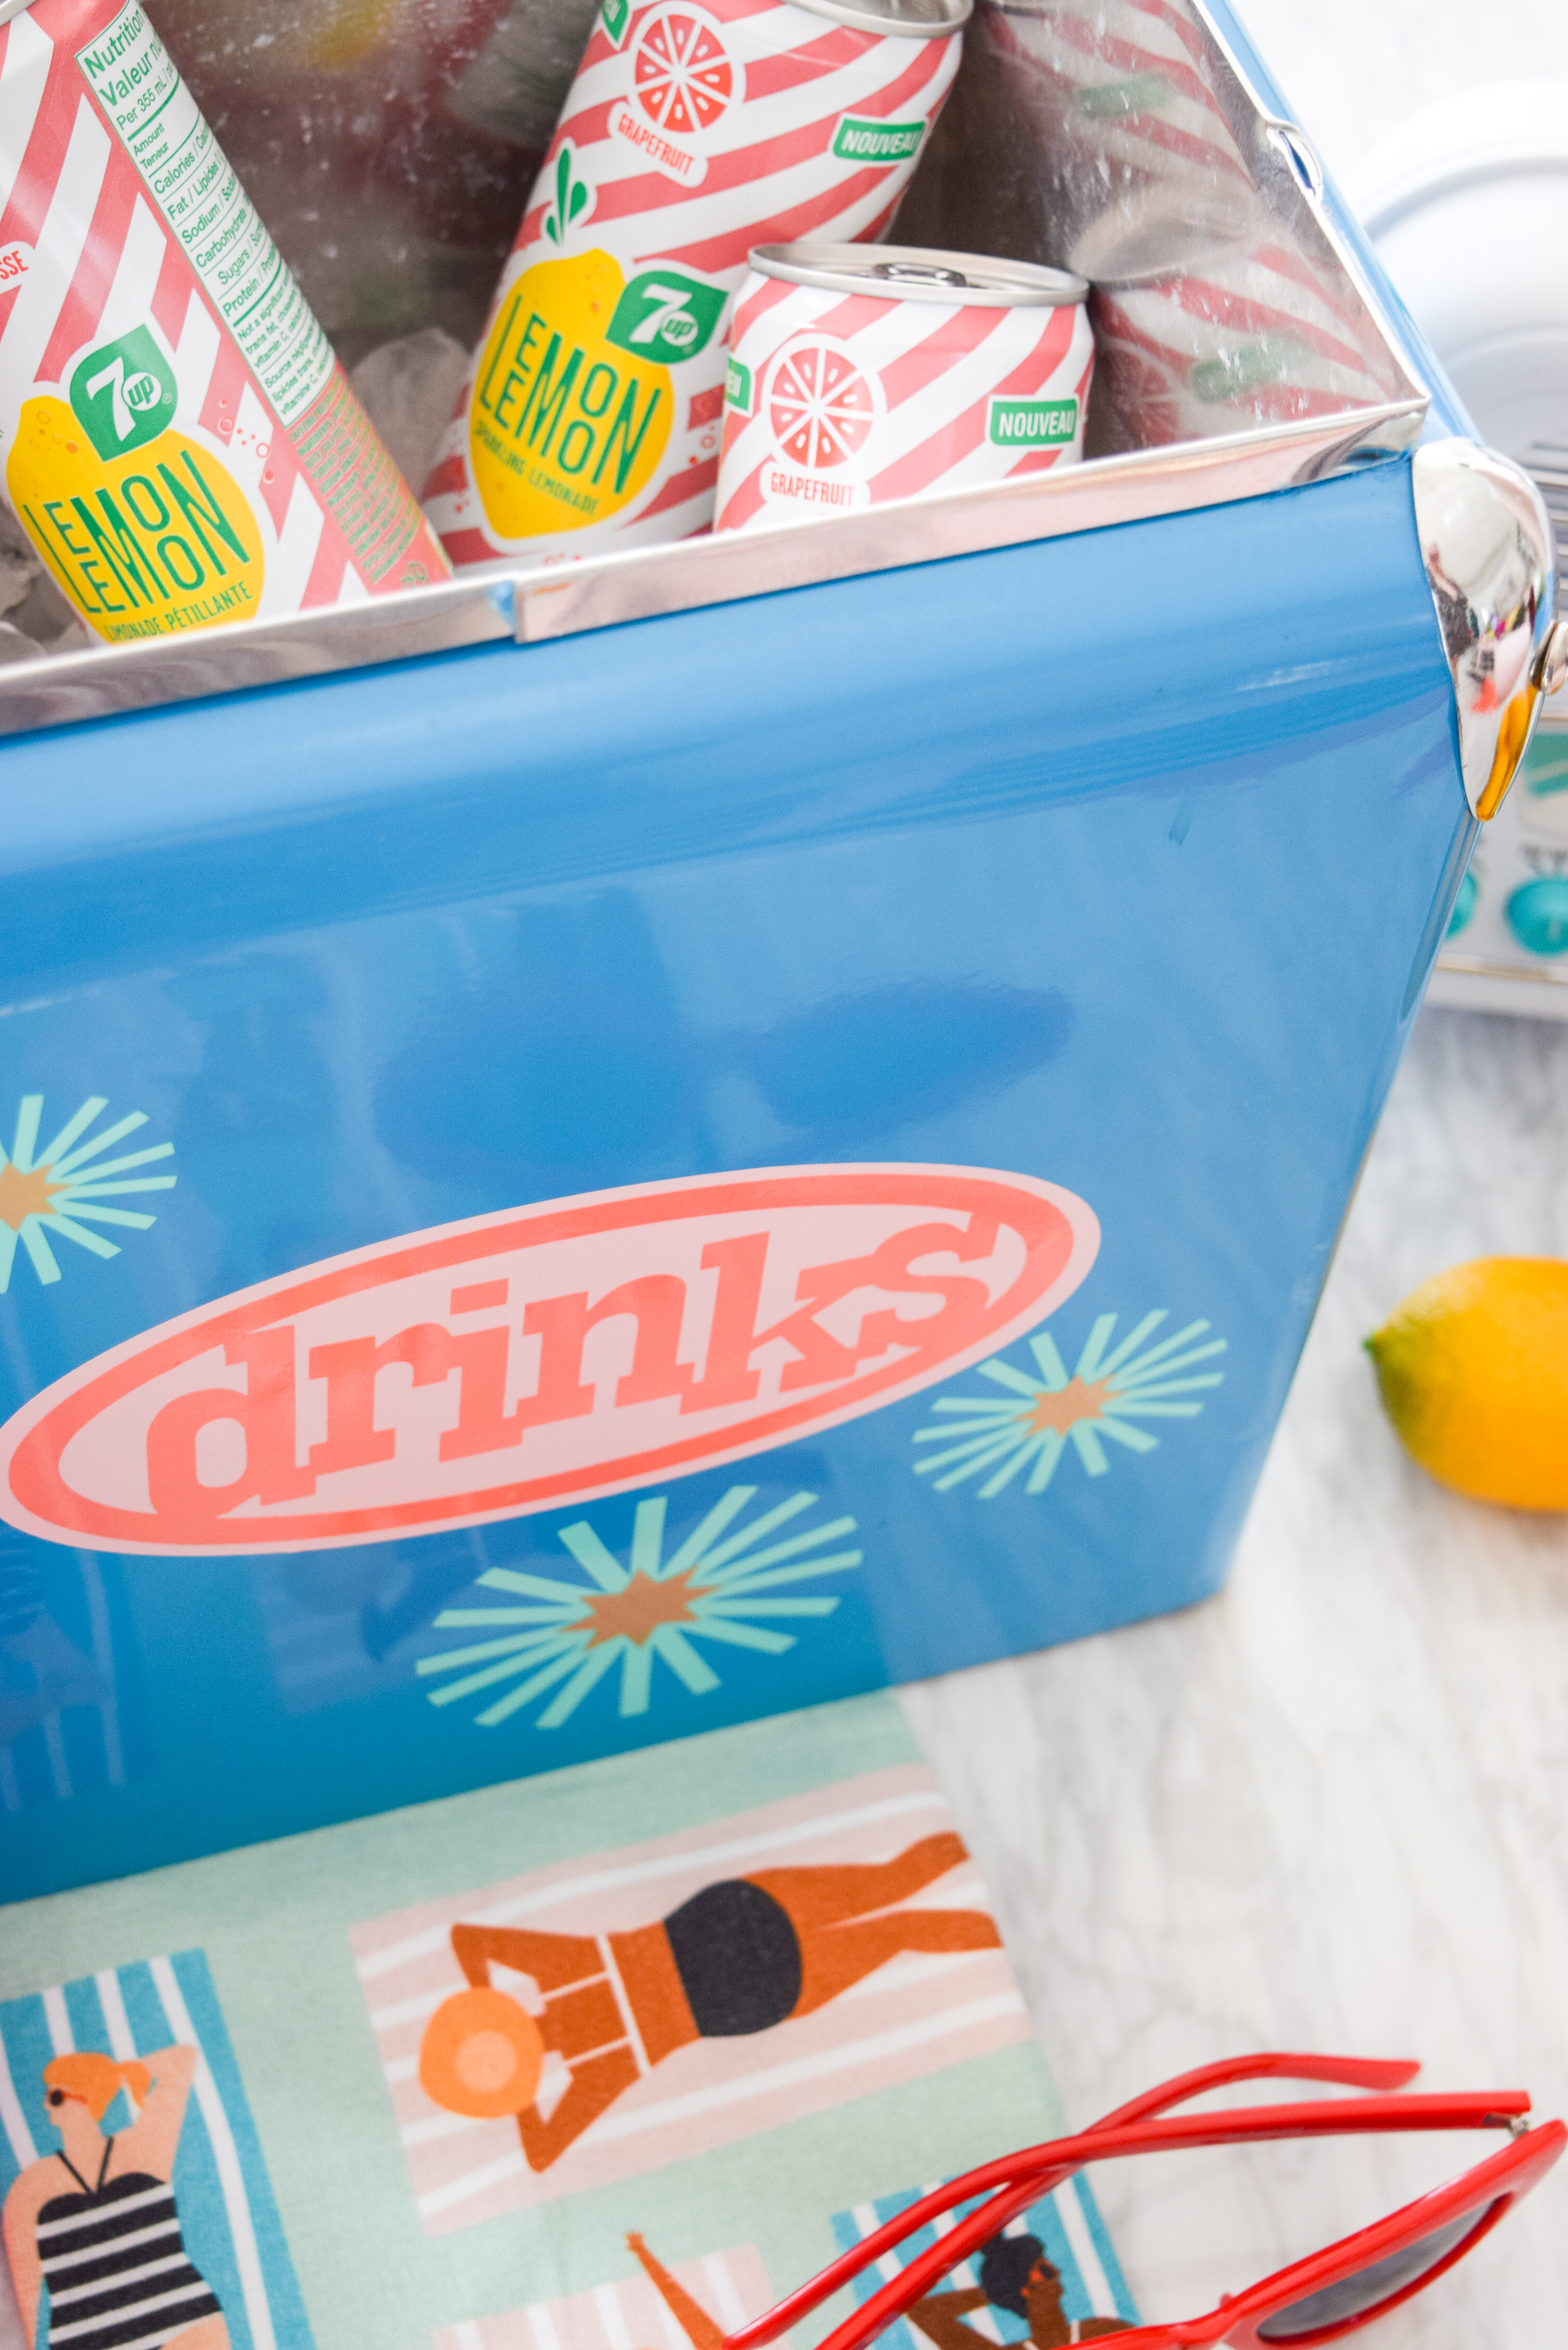
I placed the flamingo on one side, and the “drinks” and stars on the other. Proceed as you would!

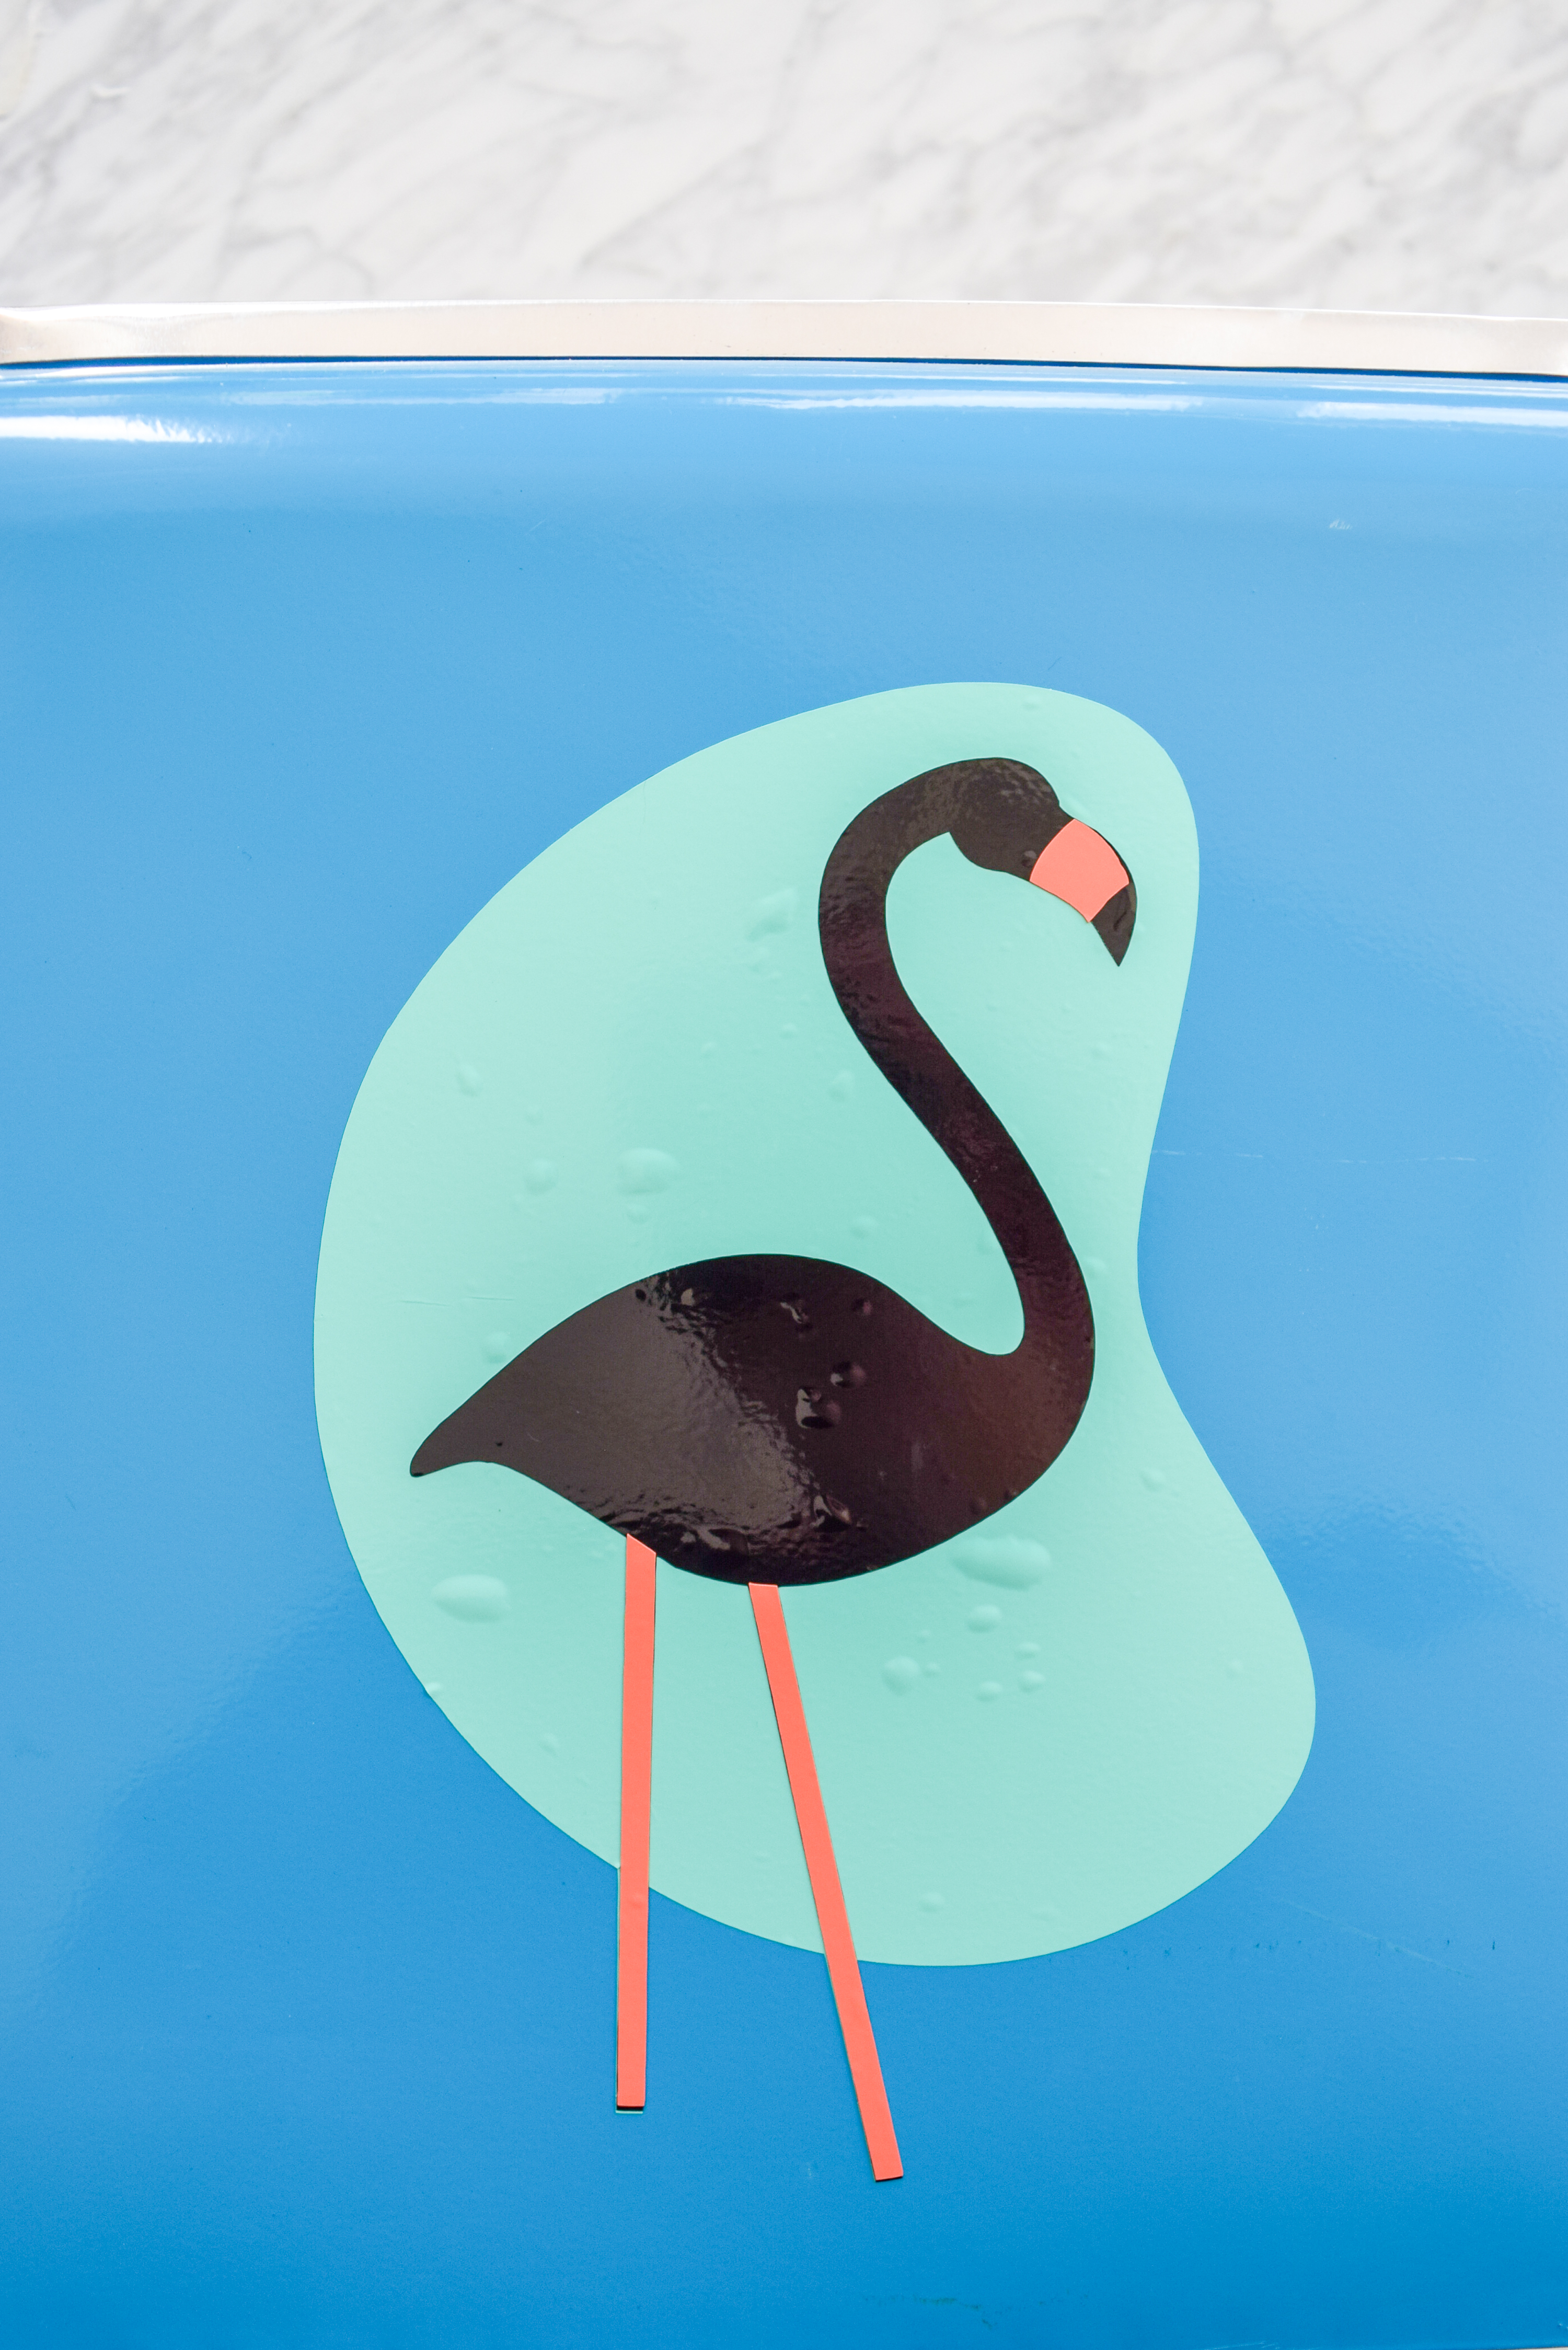
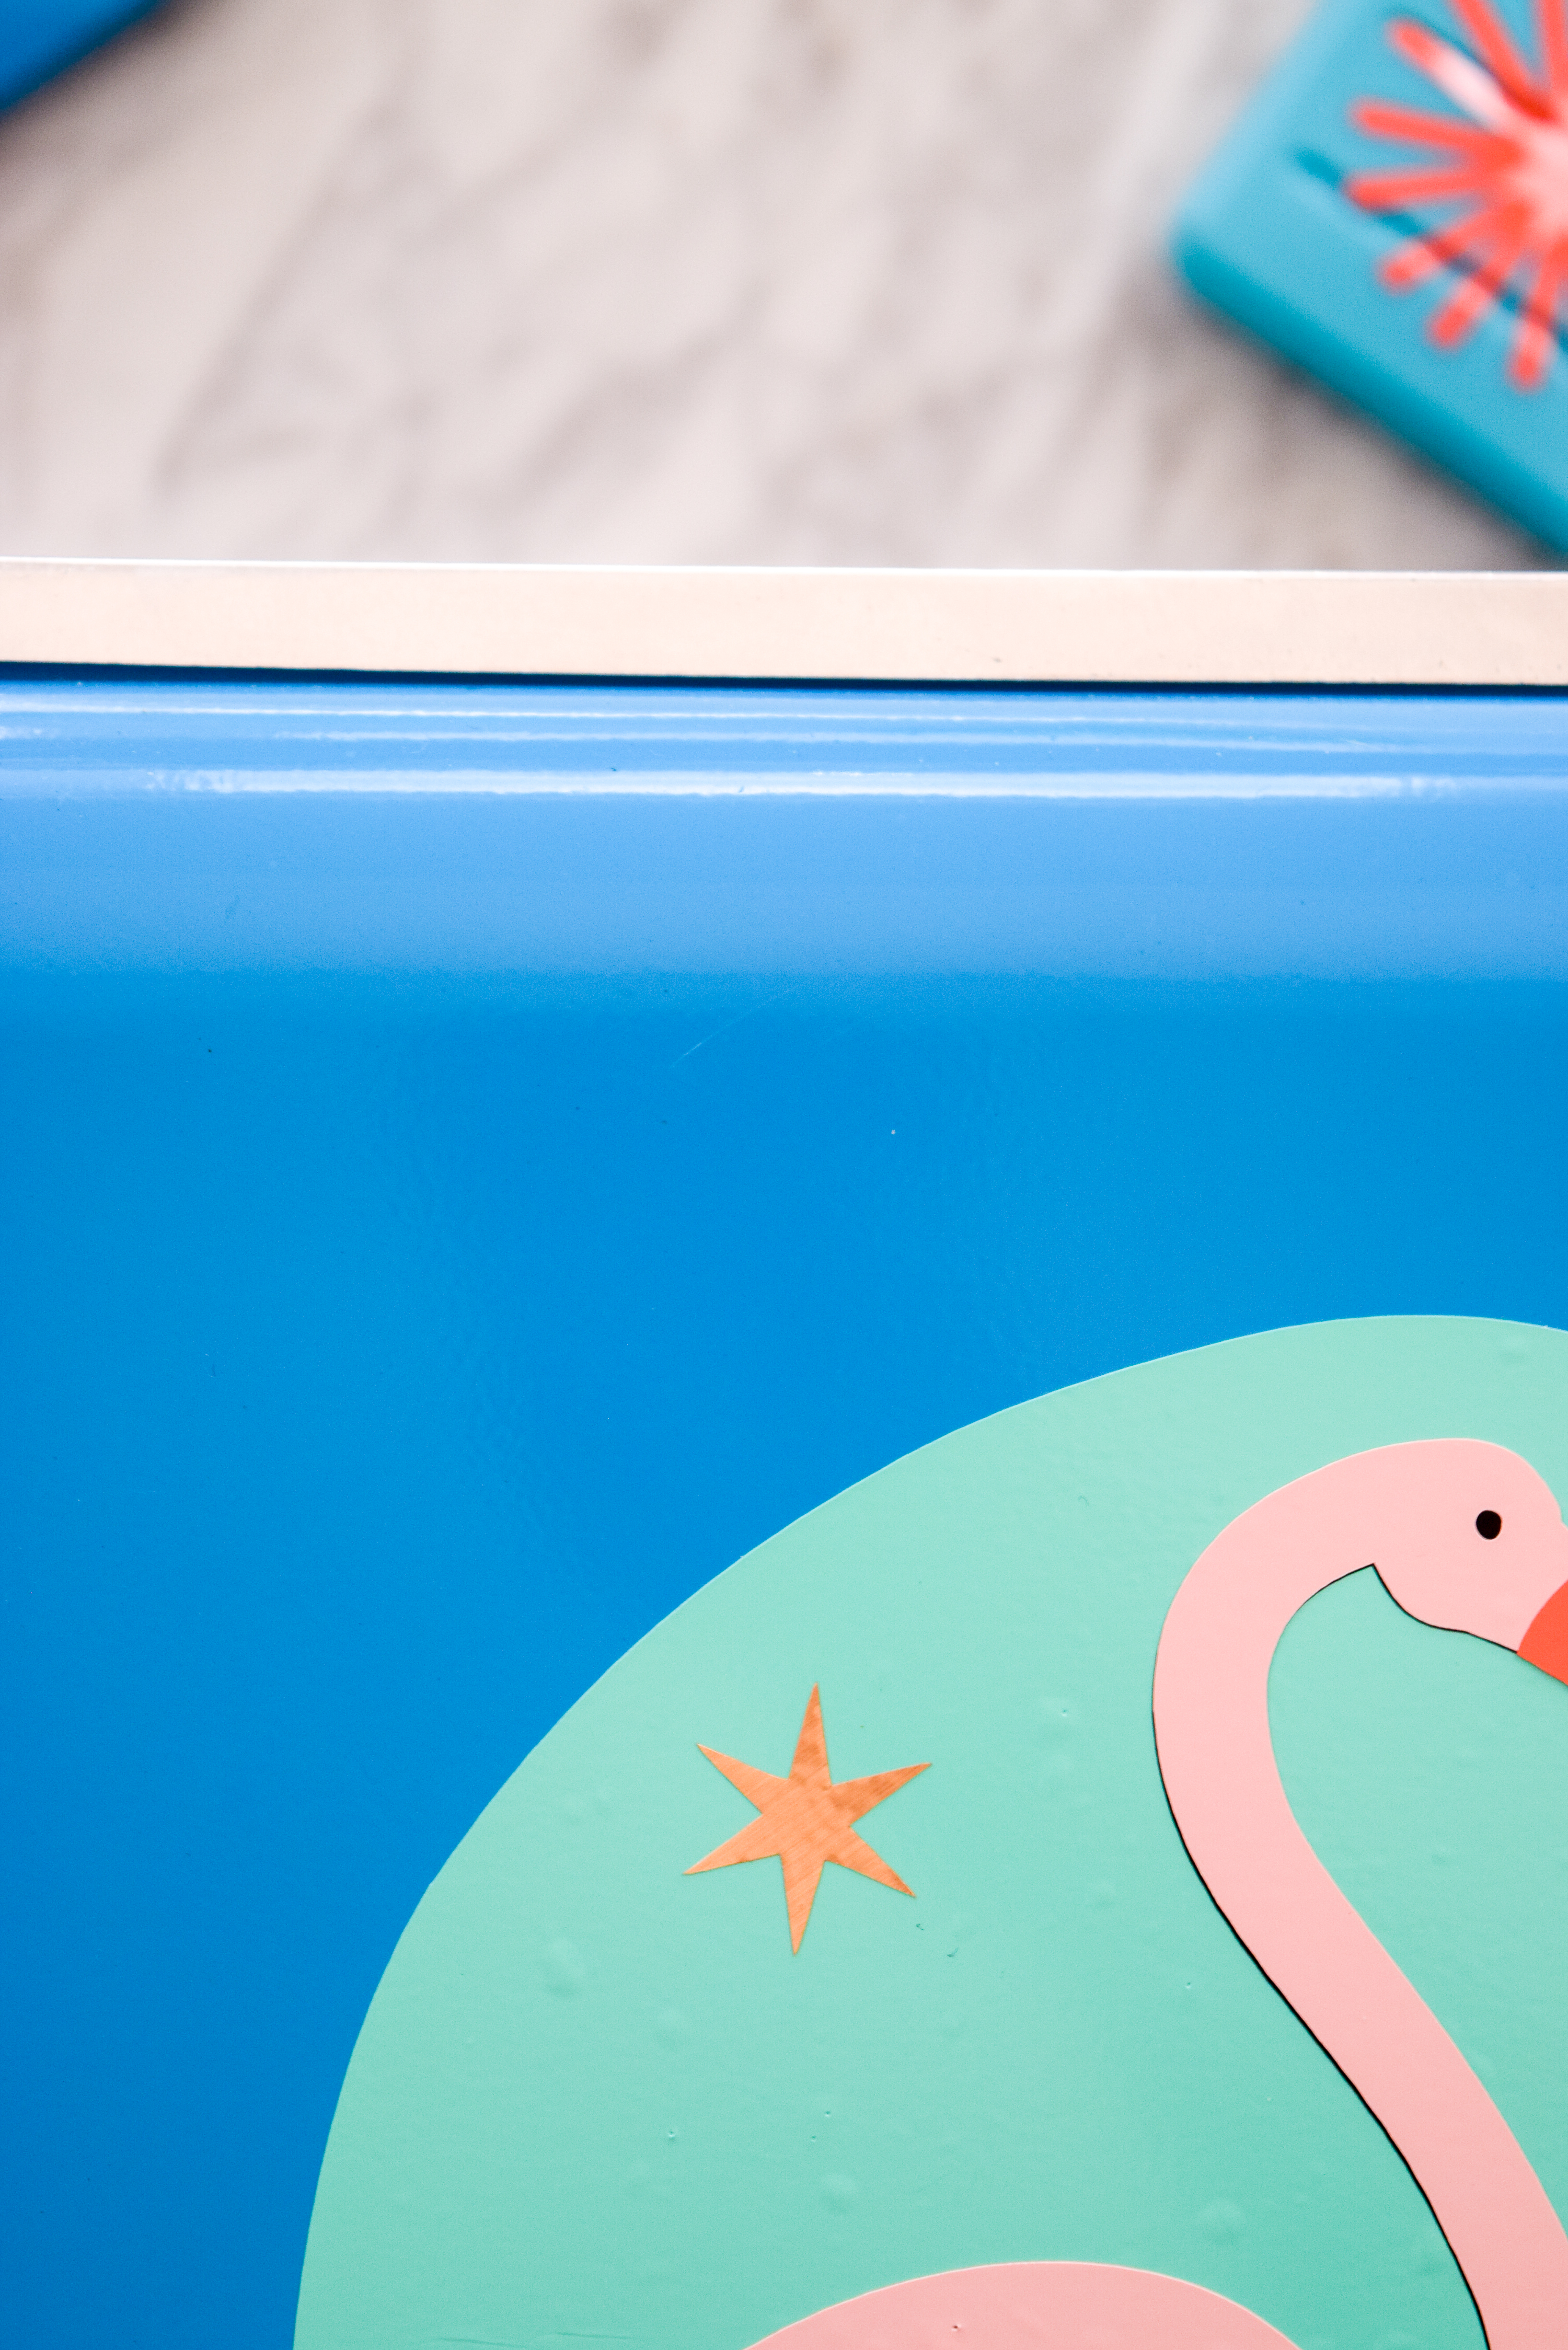
I actually put the pink flamingo off by just the slightest, so that there would be a nice shadow line. Cute eh? BTW if you love my bik
Step 4: Once you’ve got both sides down, you’re done! This is honestly not that complicated, and a great way to jazz up a cooler. Make sure you share these DIY Summer Cooler Decals with your friends!