

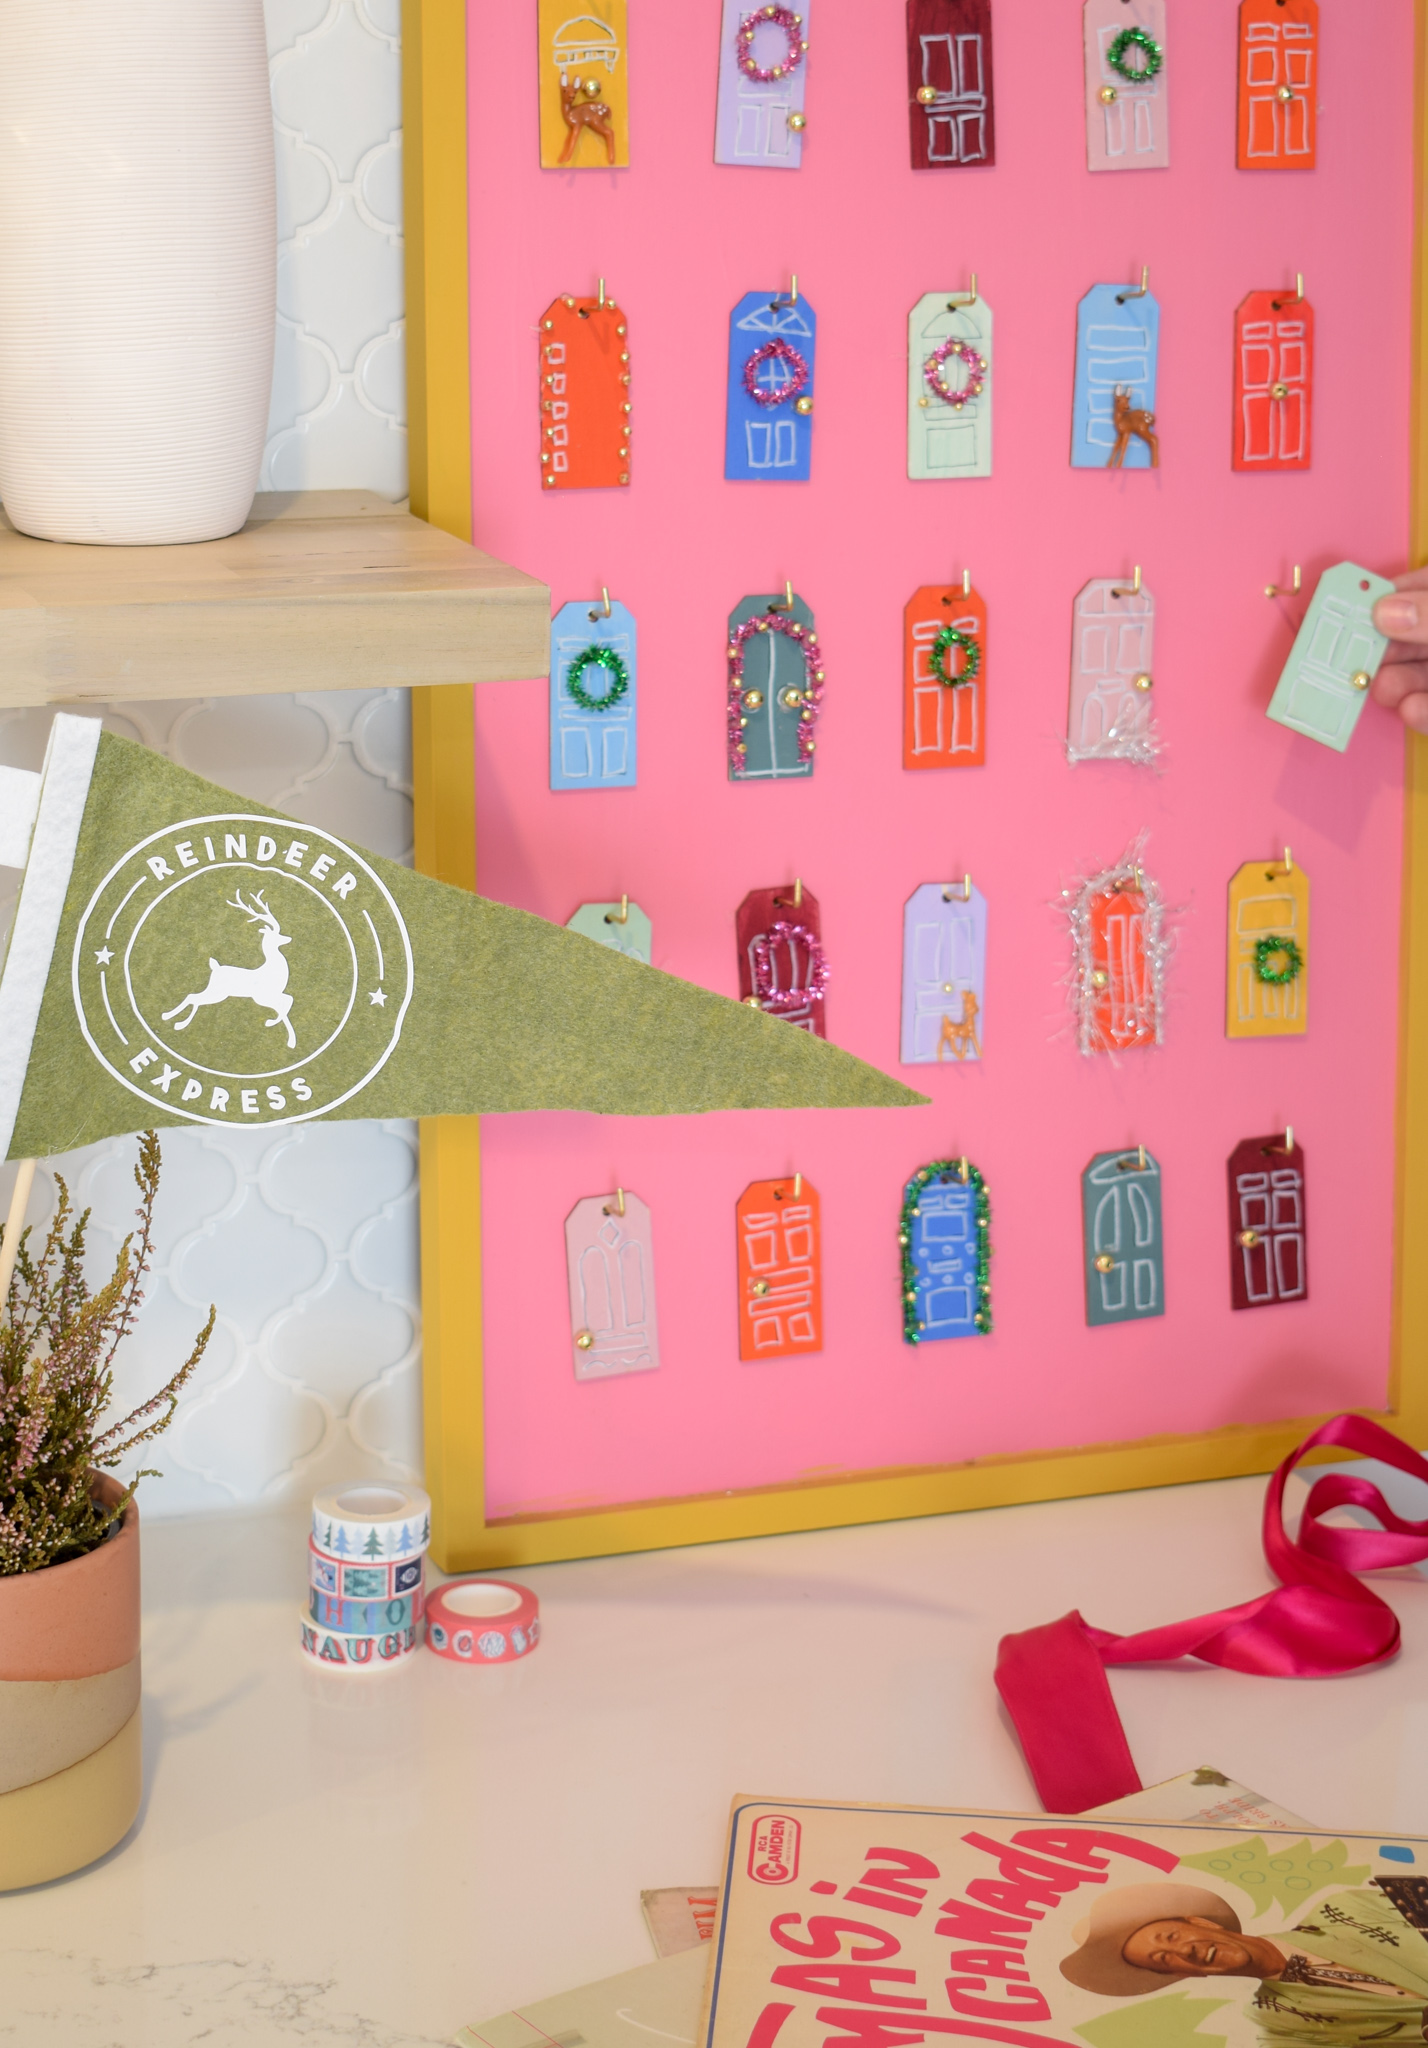
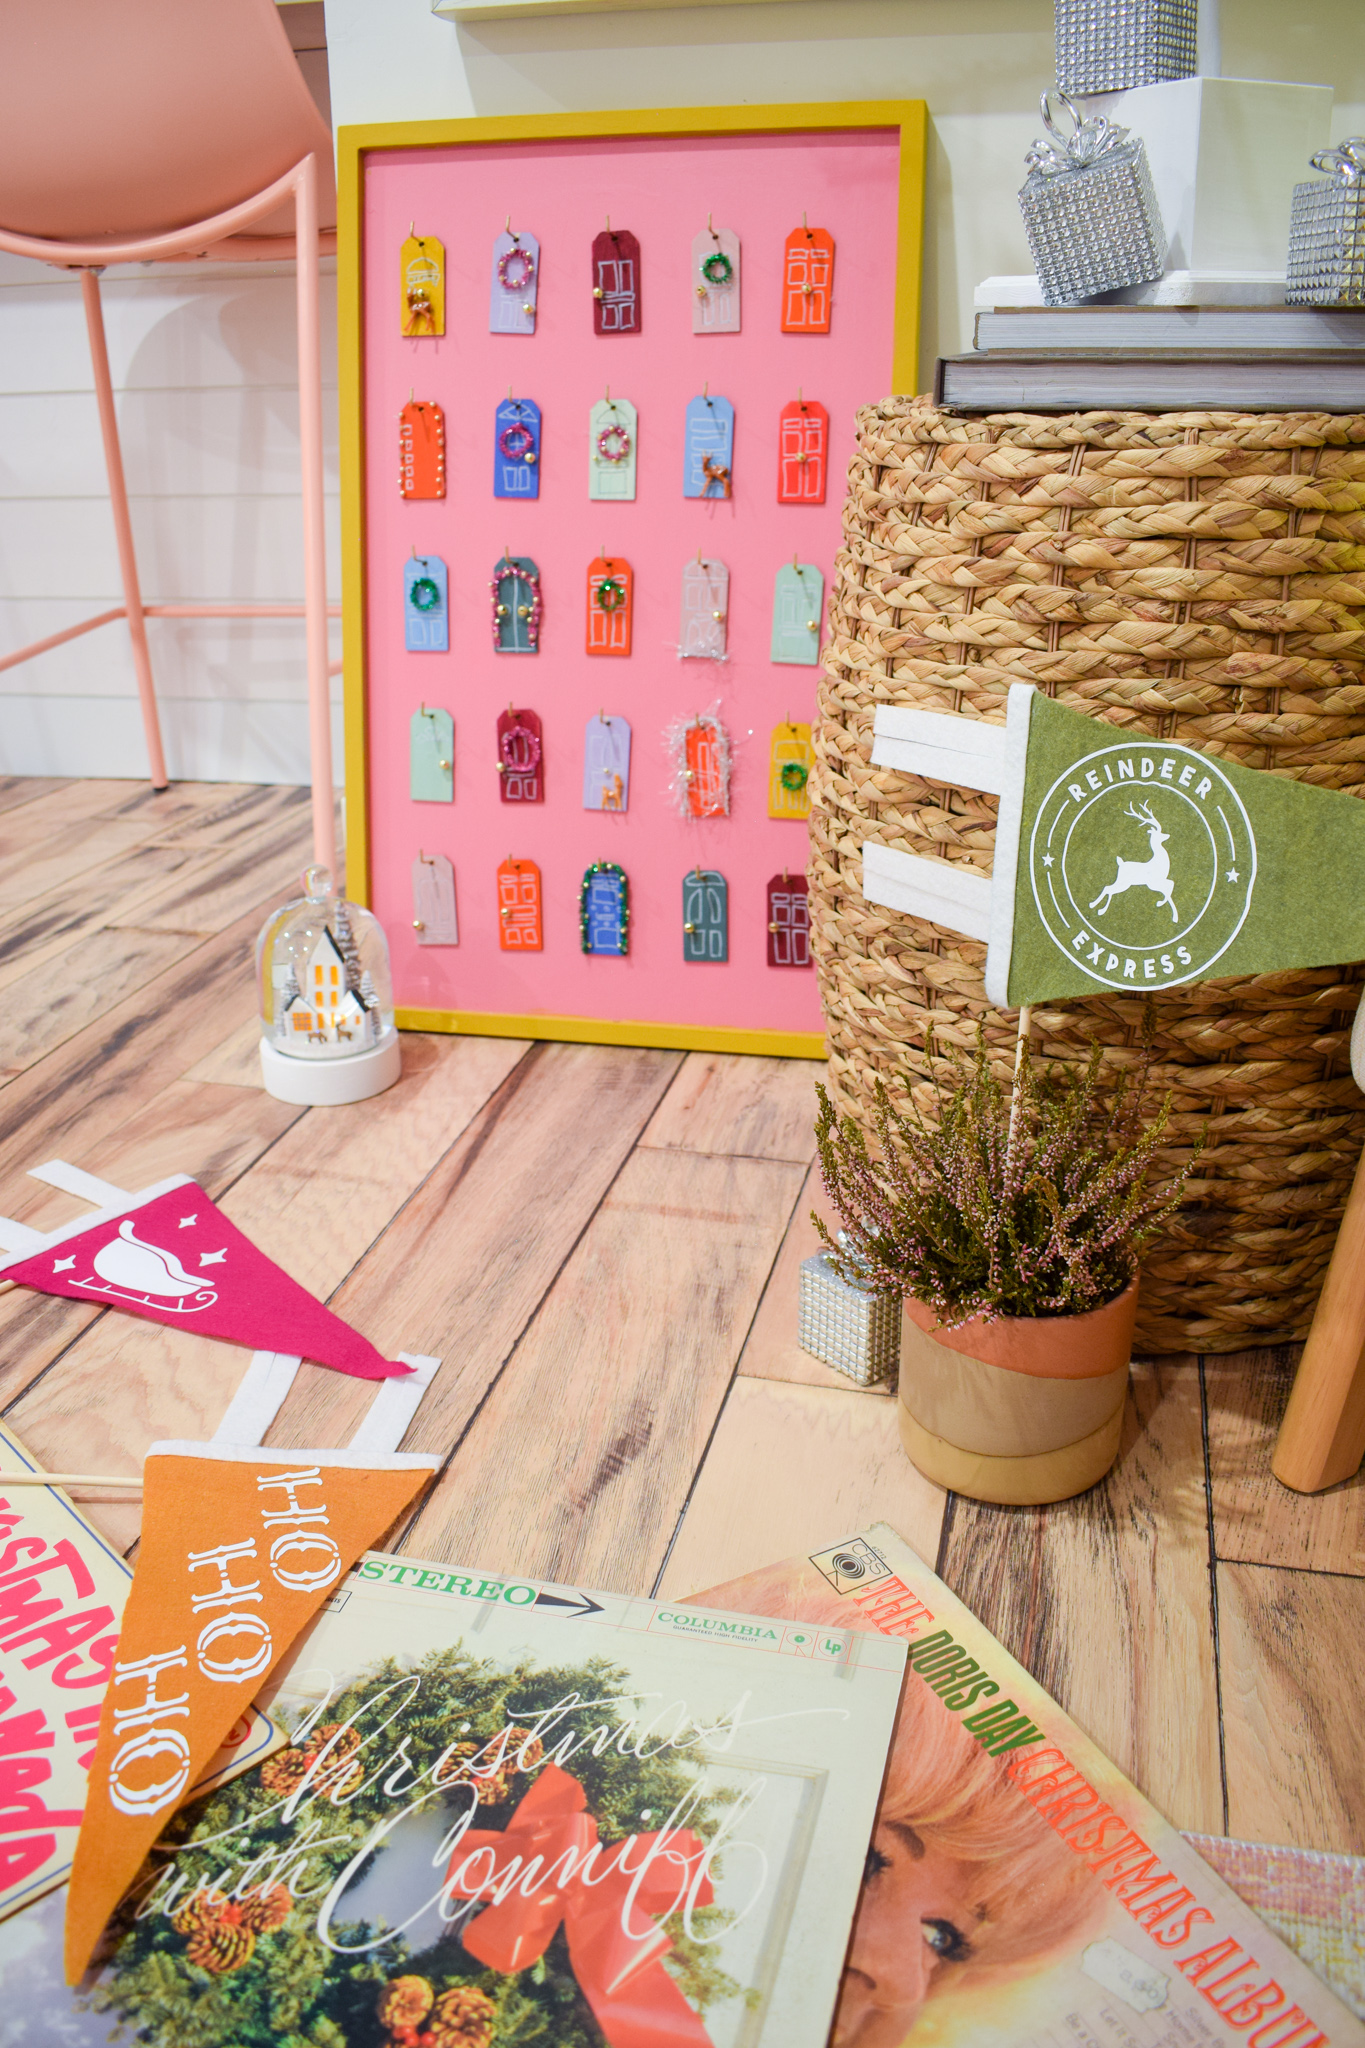
You know what I love about the holidays? Seeing how people dress up their front doors for the occasion. So with that in mind, I made a DIY reusable advent calendar based on people’s front doors! I painted and decorated 25 little front doors, and hung them on a frame.
And because I’ve got my act *somewhat* together this year, I’m sharing it with you with plenty of time for you to do your own.
Check out my other reusable adventa calendar tutorials: DIY felt Christmas tree ornament advent calendar; and my DIY Reindeer ornaments advent calendar.
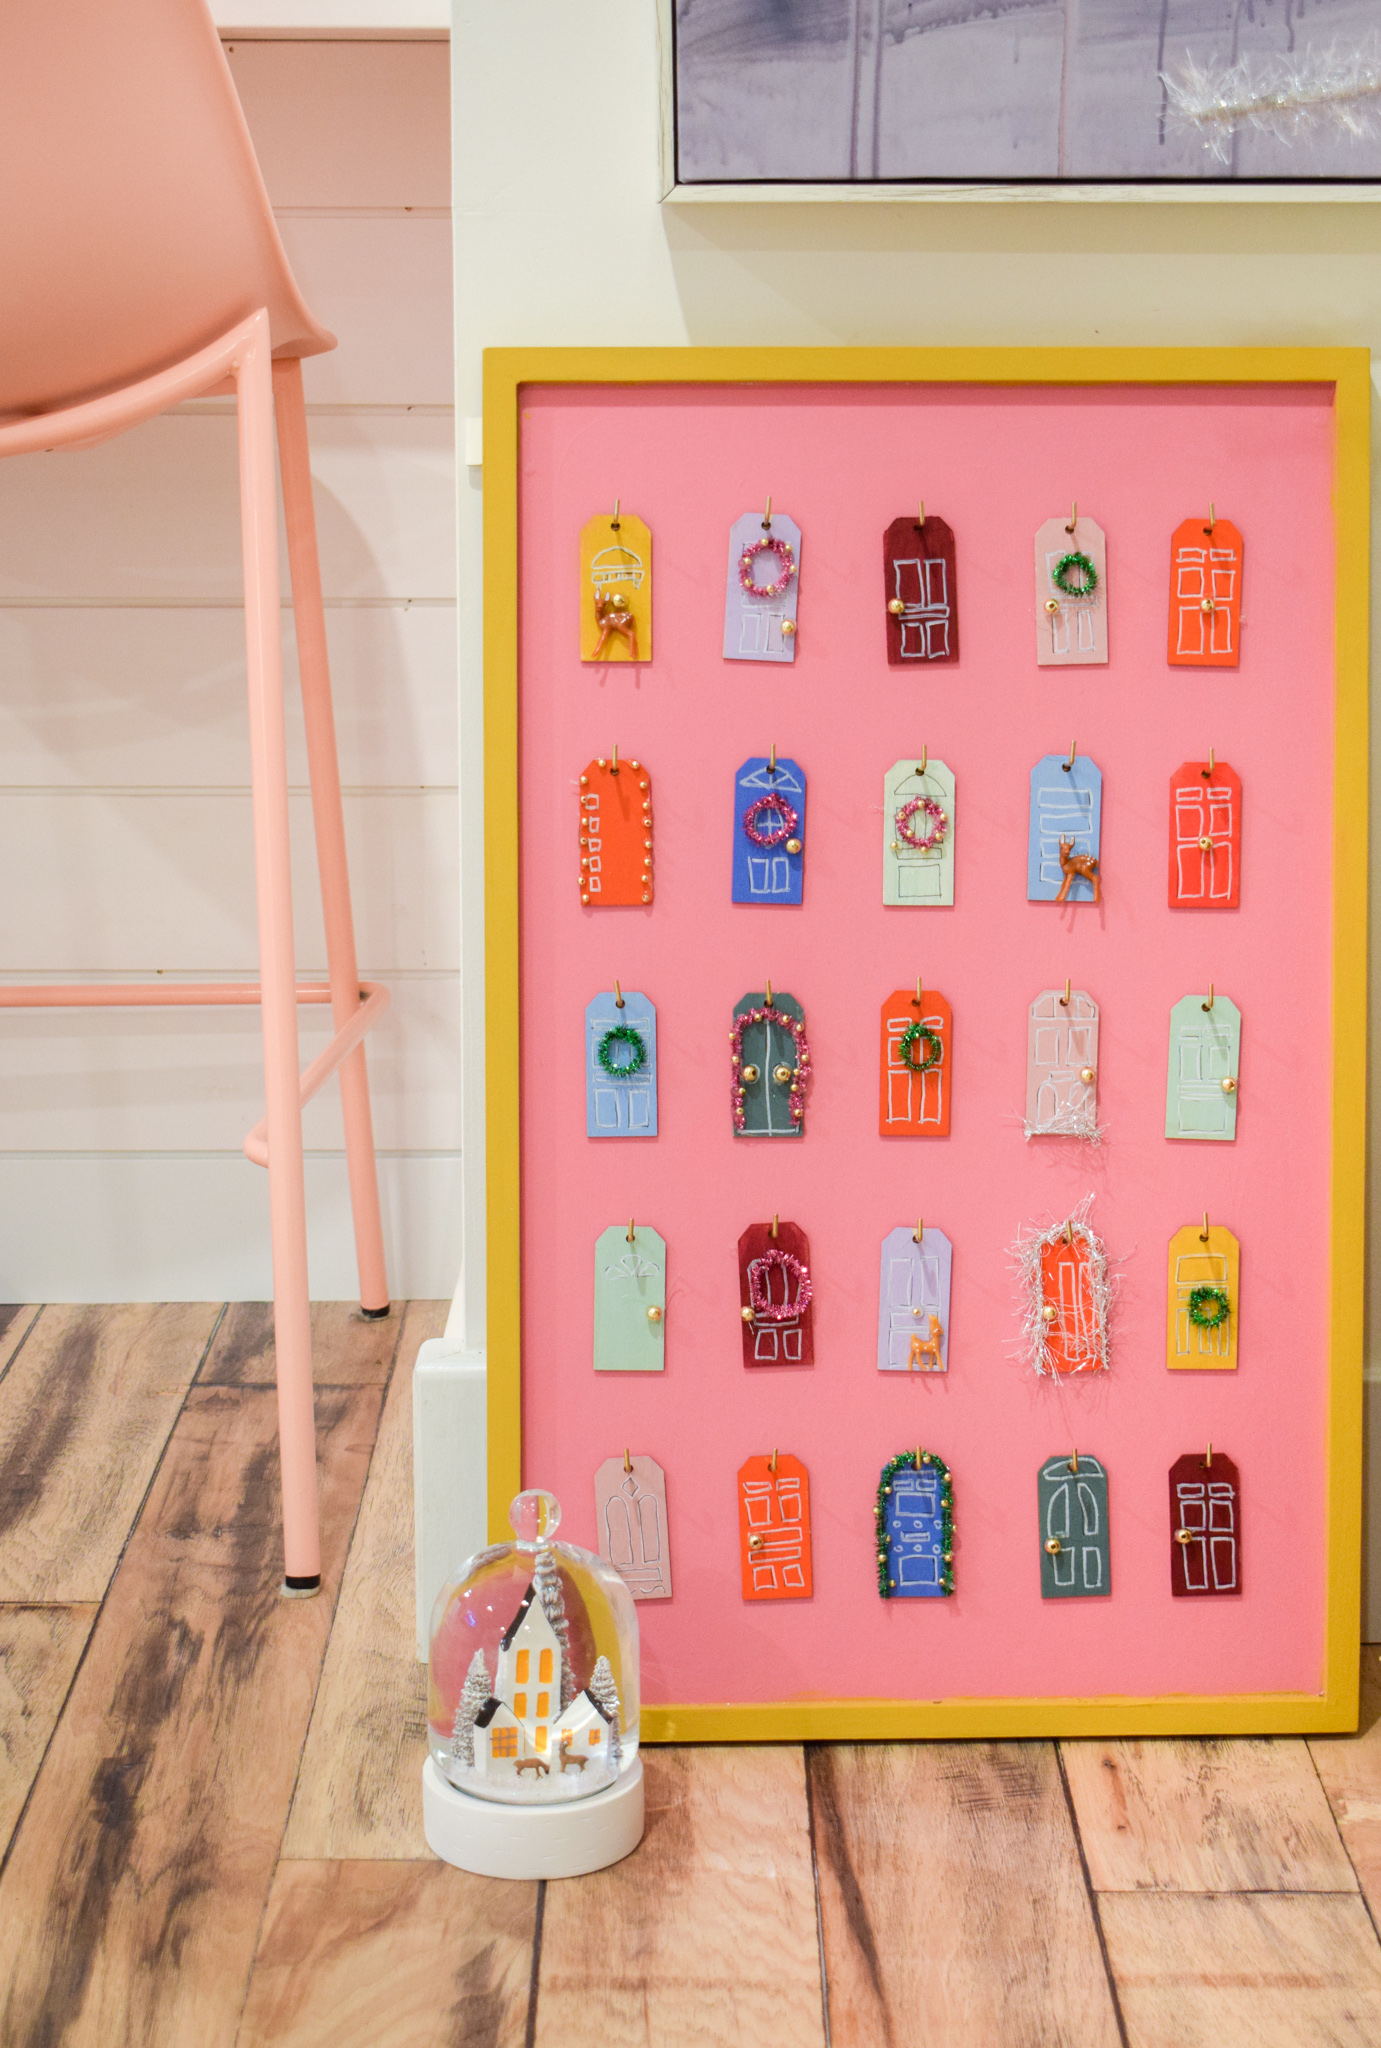

There are so many fun things about this project, but I really like that you can choose how to use it. Do you want to add one door for each day of the month? or remove one door as each day passes? up to you. Because this is a DIY reusable advent calendar, you can use it one way this year, and differently next year.
What you need to make a resuable advent calendar
Here’s what I used to make this front door calendar, I found half the items at the dollar store, half at the fancy craft store, and had a bunch of the items on hand already. I love when projects like that work out.
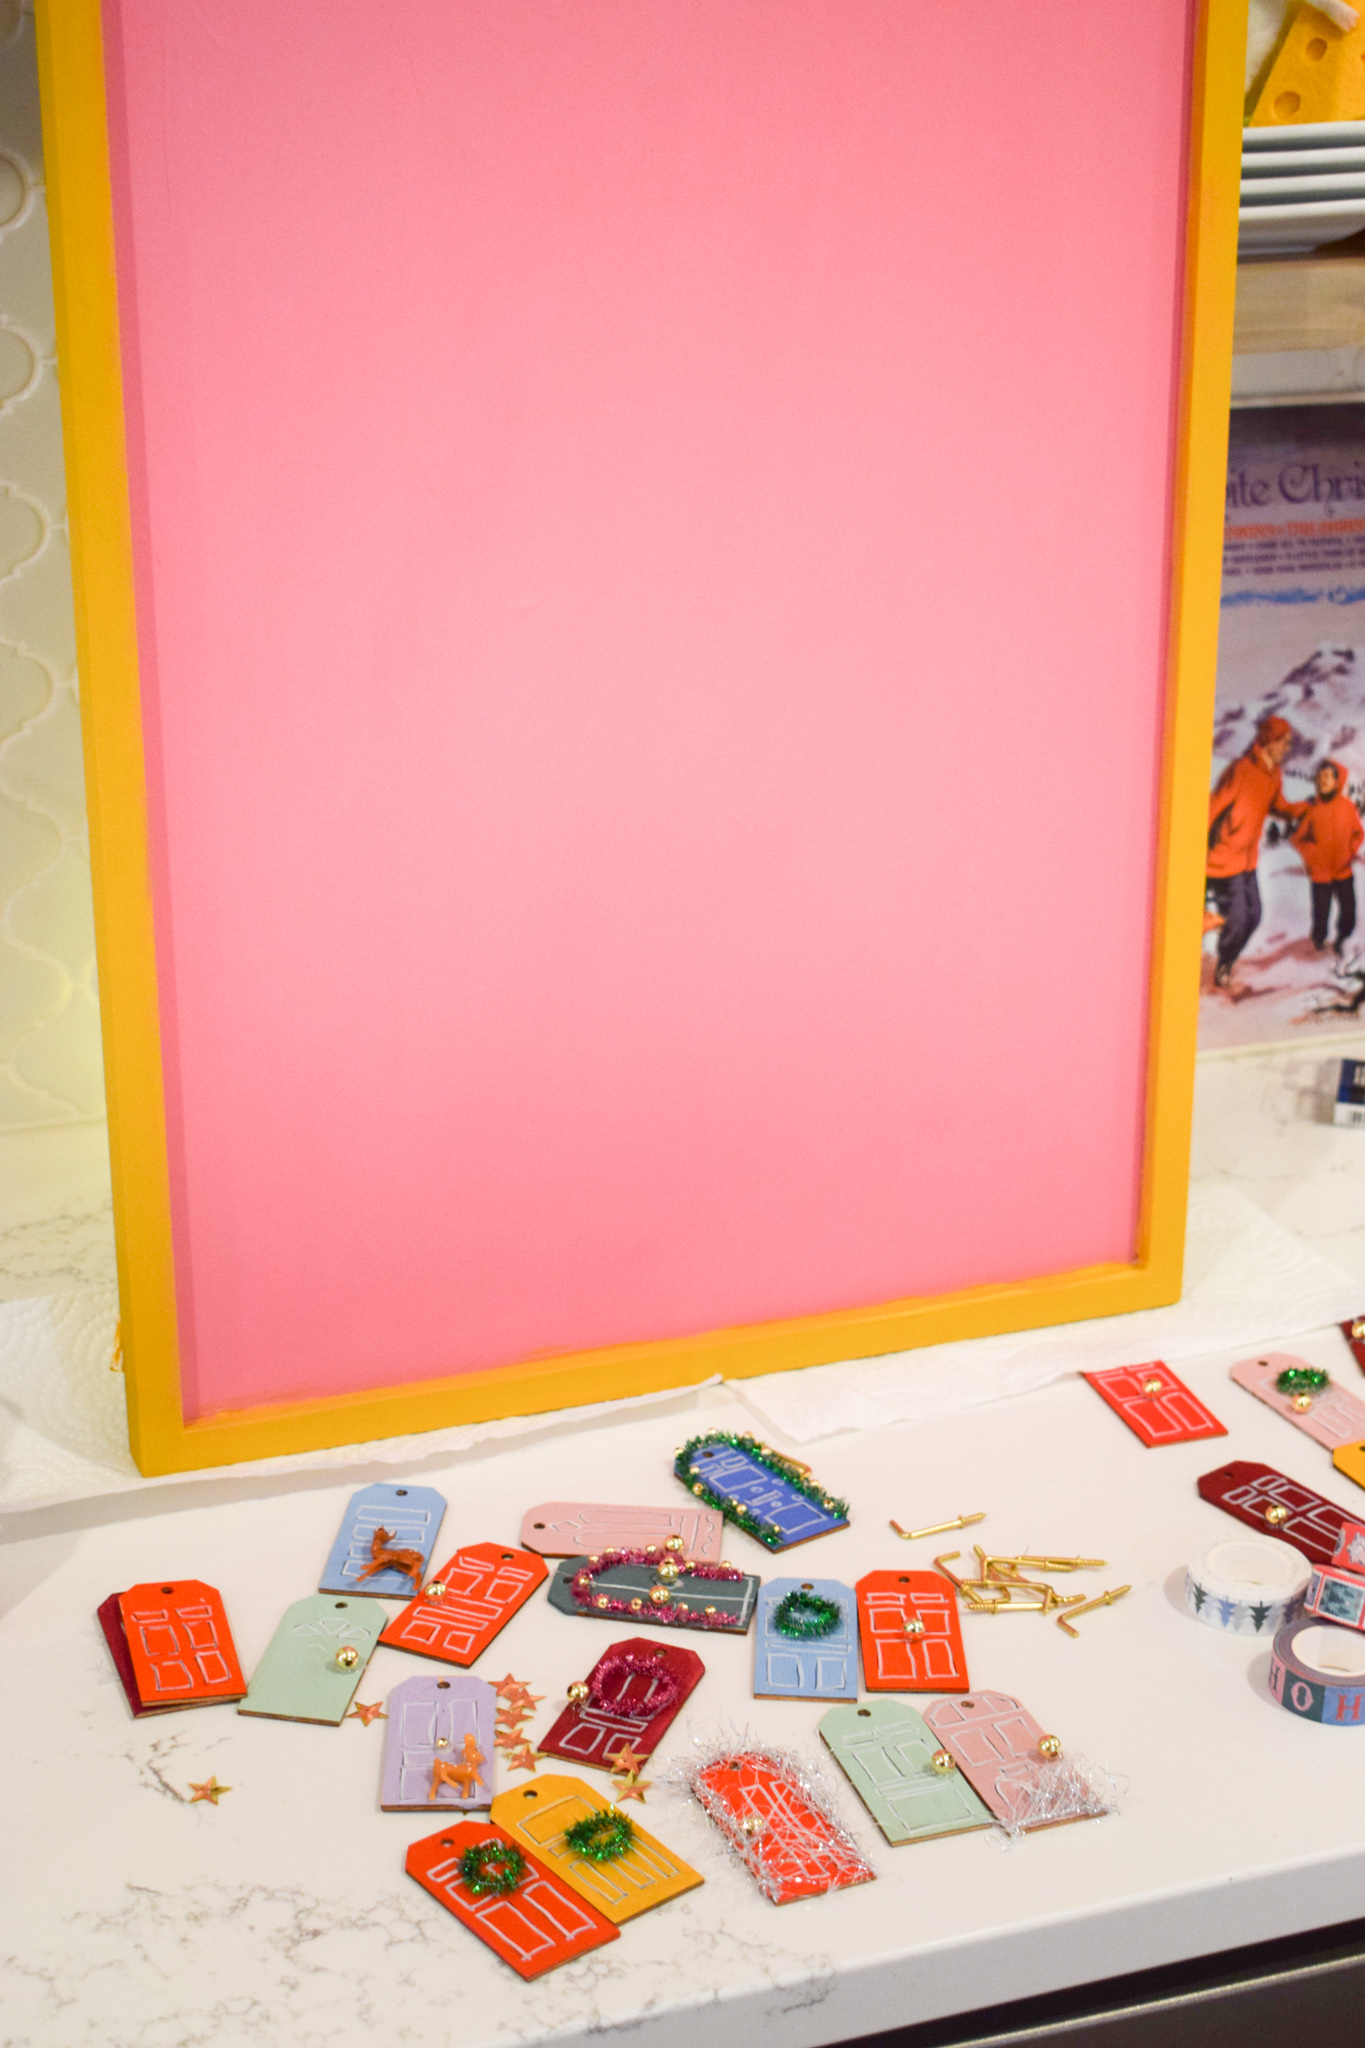
- framed wood board- I do not recommend using a canvas because the screws won’t hold. This is a sign from Michael’s and it worked perfectly.
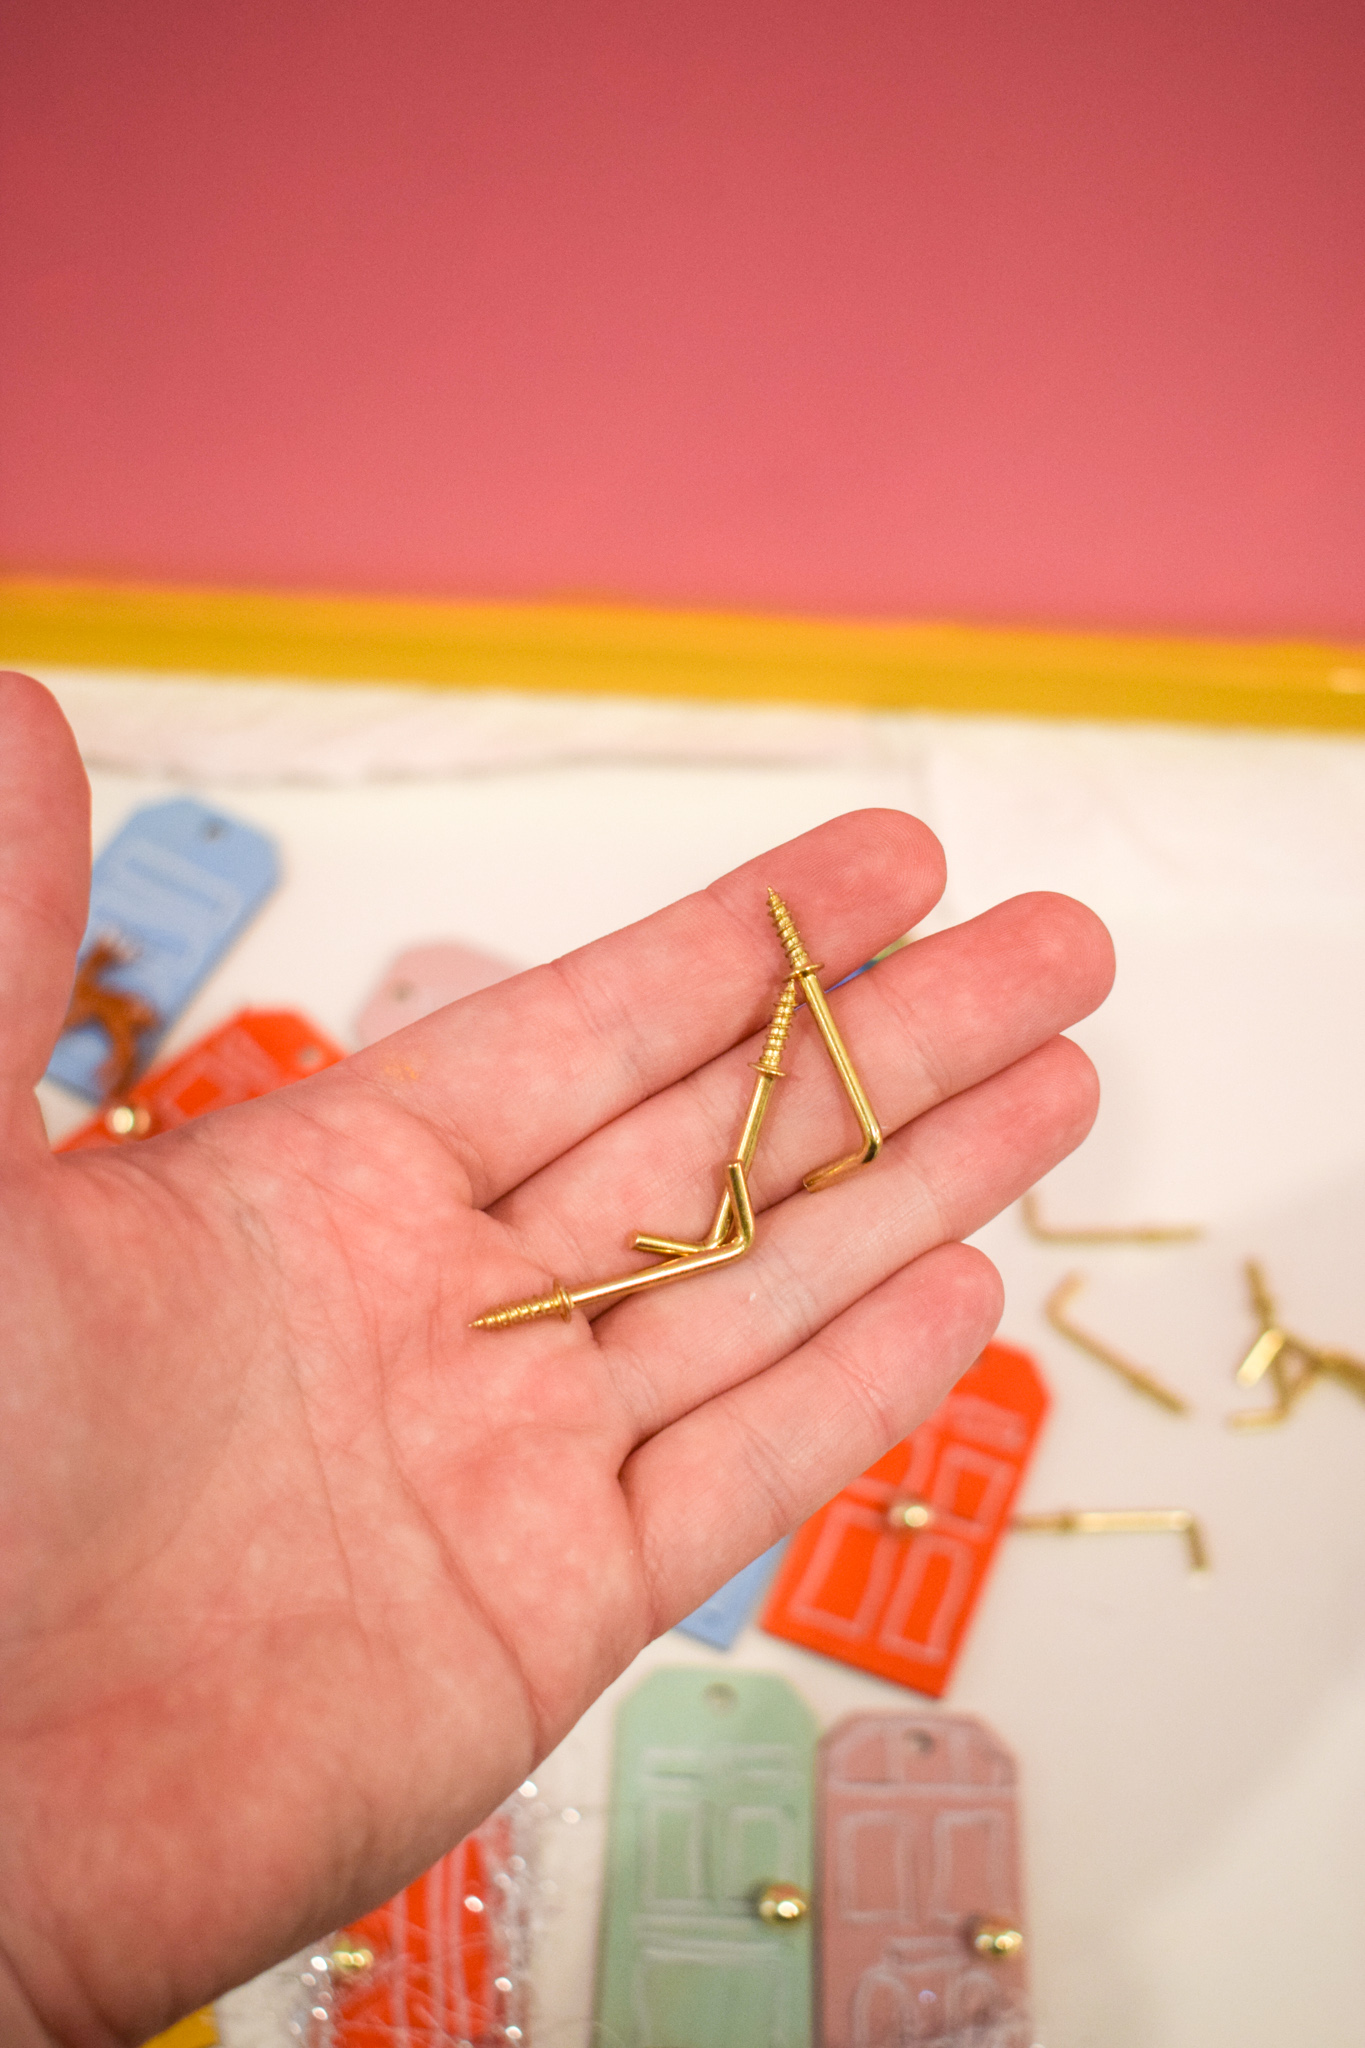
- 25 screw hooks
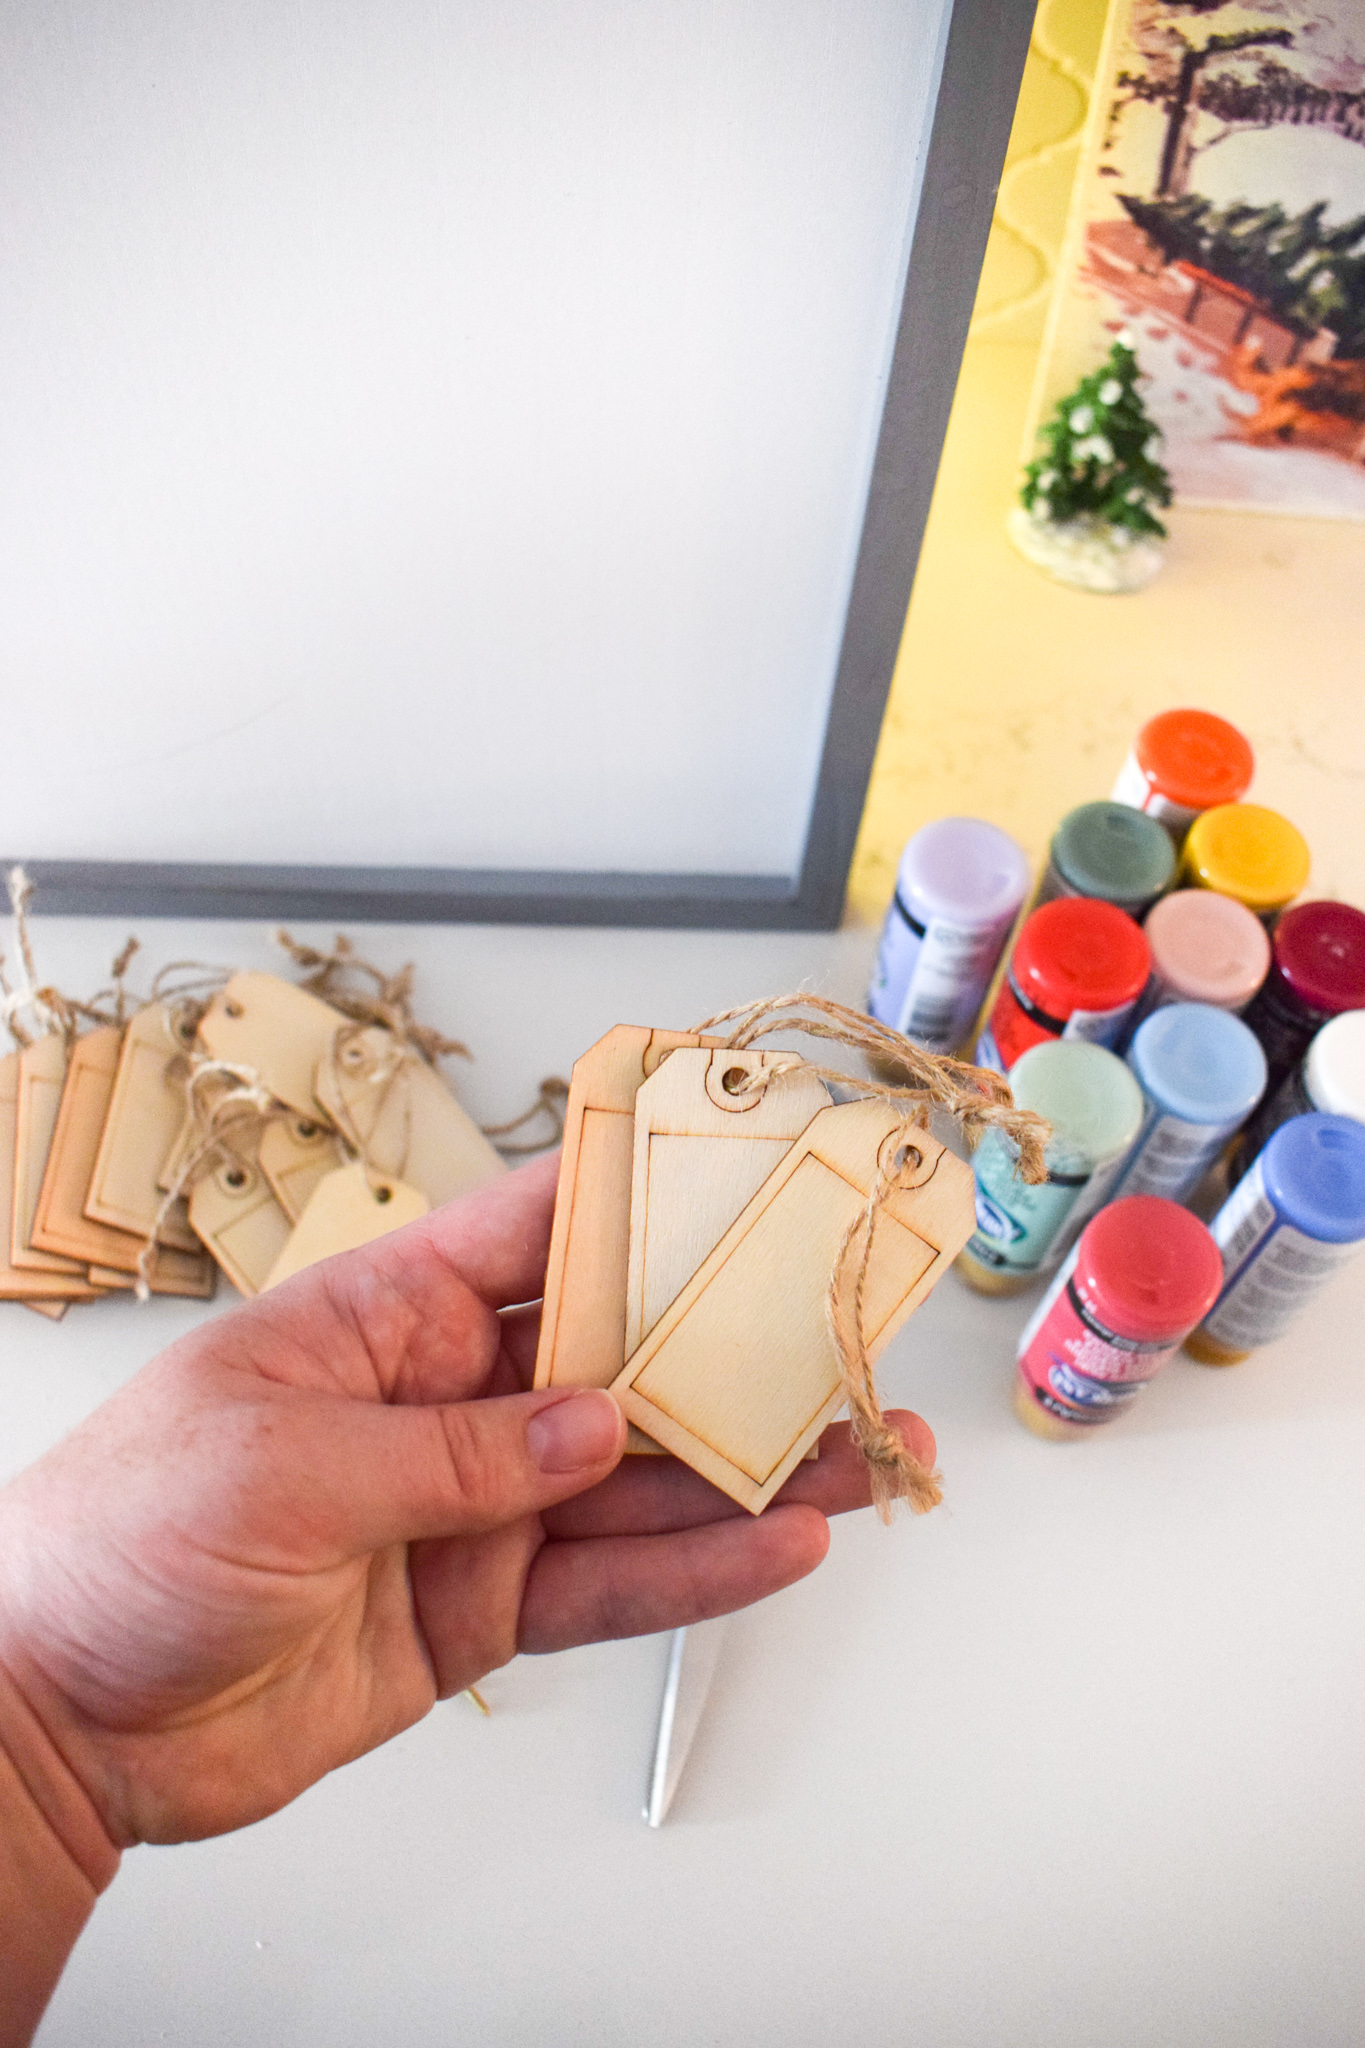
- 25 wood gift tags – our dollar store had these fun wood gift tags, so I turned them around and painted the backside.
- craft paint in as many colours as your heart needs.
- ribbons, beads, pipe cleaners to decorate the doors
- 2 fine tips markers – one in white and one in black
- drill + bits to fit
- glue gun


Making your DIY reusable advent calendar
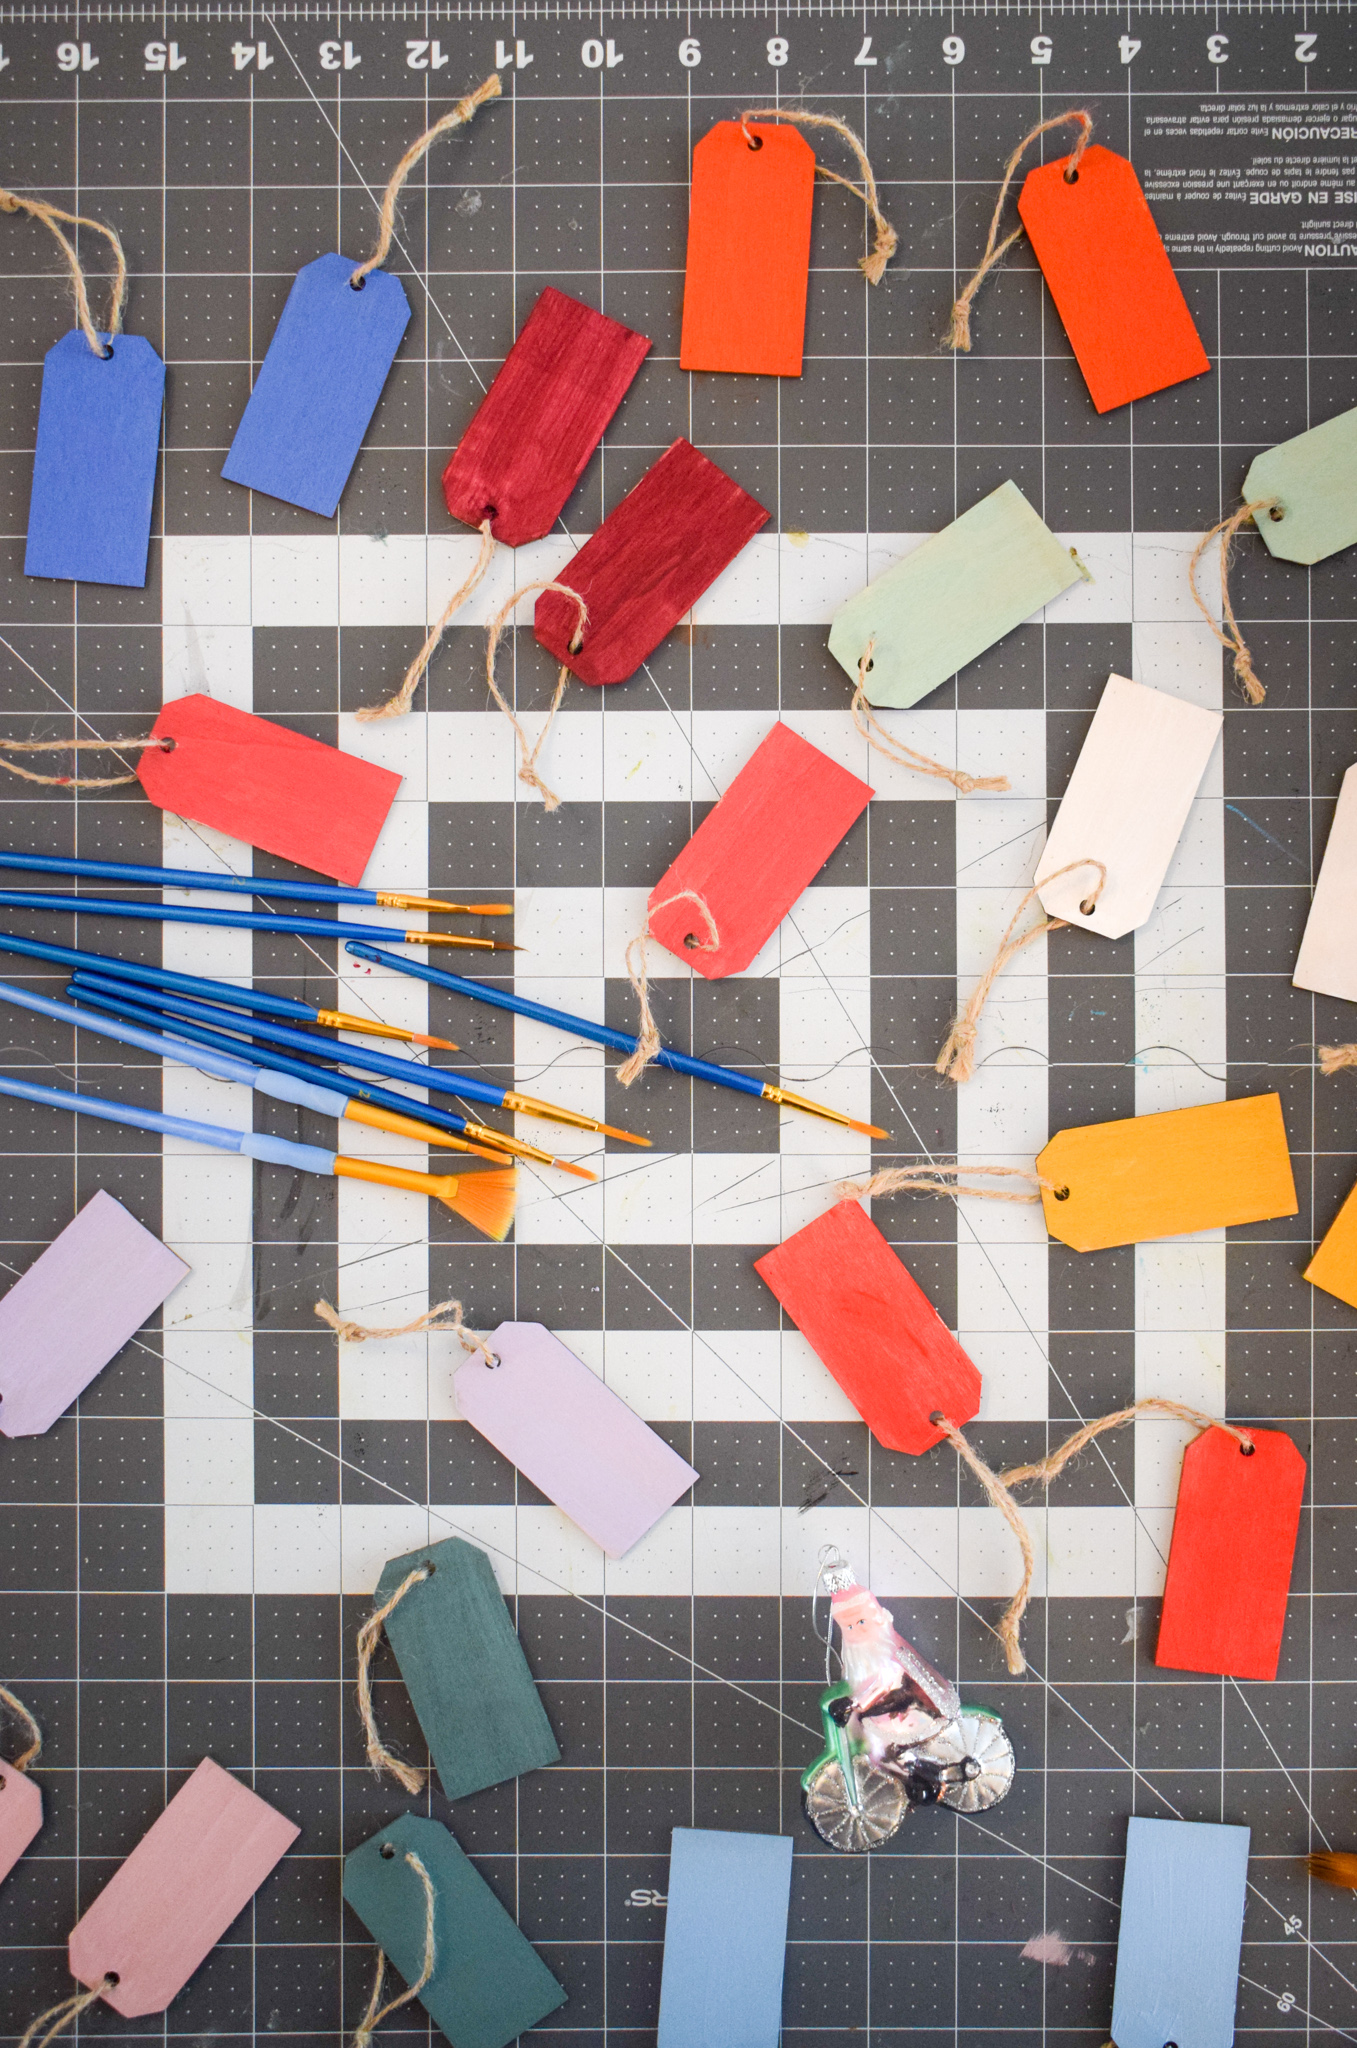
This is the perfect project to do while watching a movie, if only because of how long it will take to paint (and have dry) all the doors, and then decorating them.
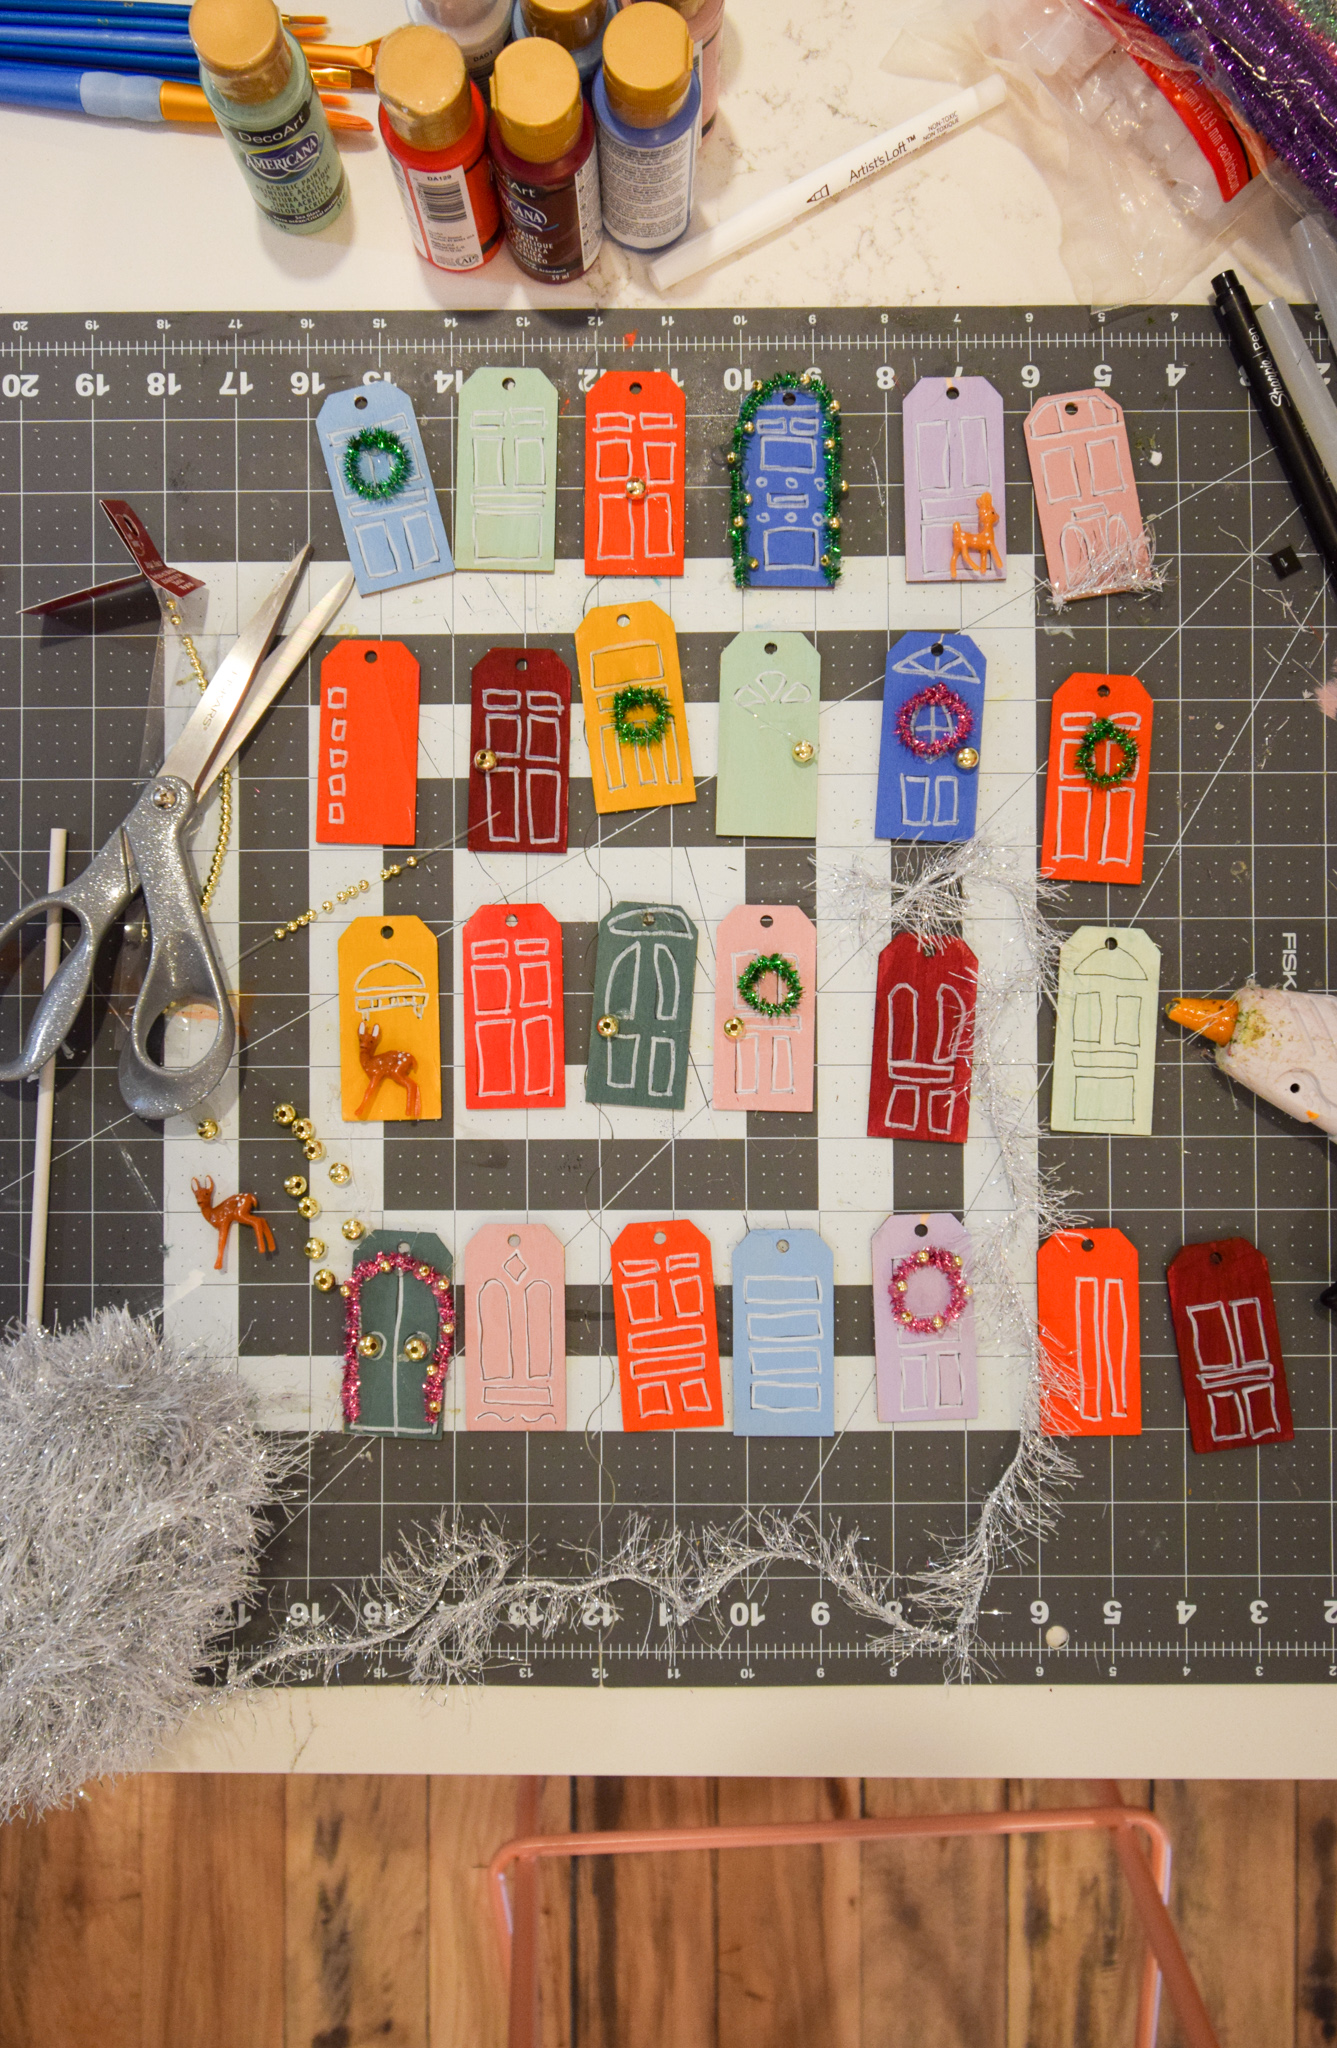
I paint on my big crafting mat. After one too many “oops!” with paint, I find it best to do things this way.

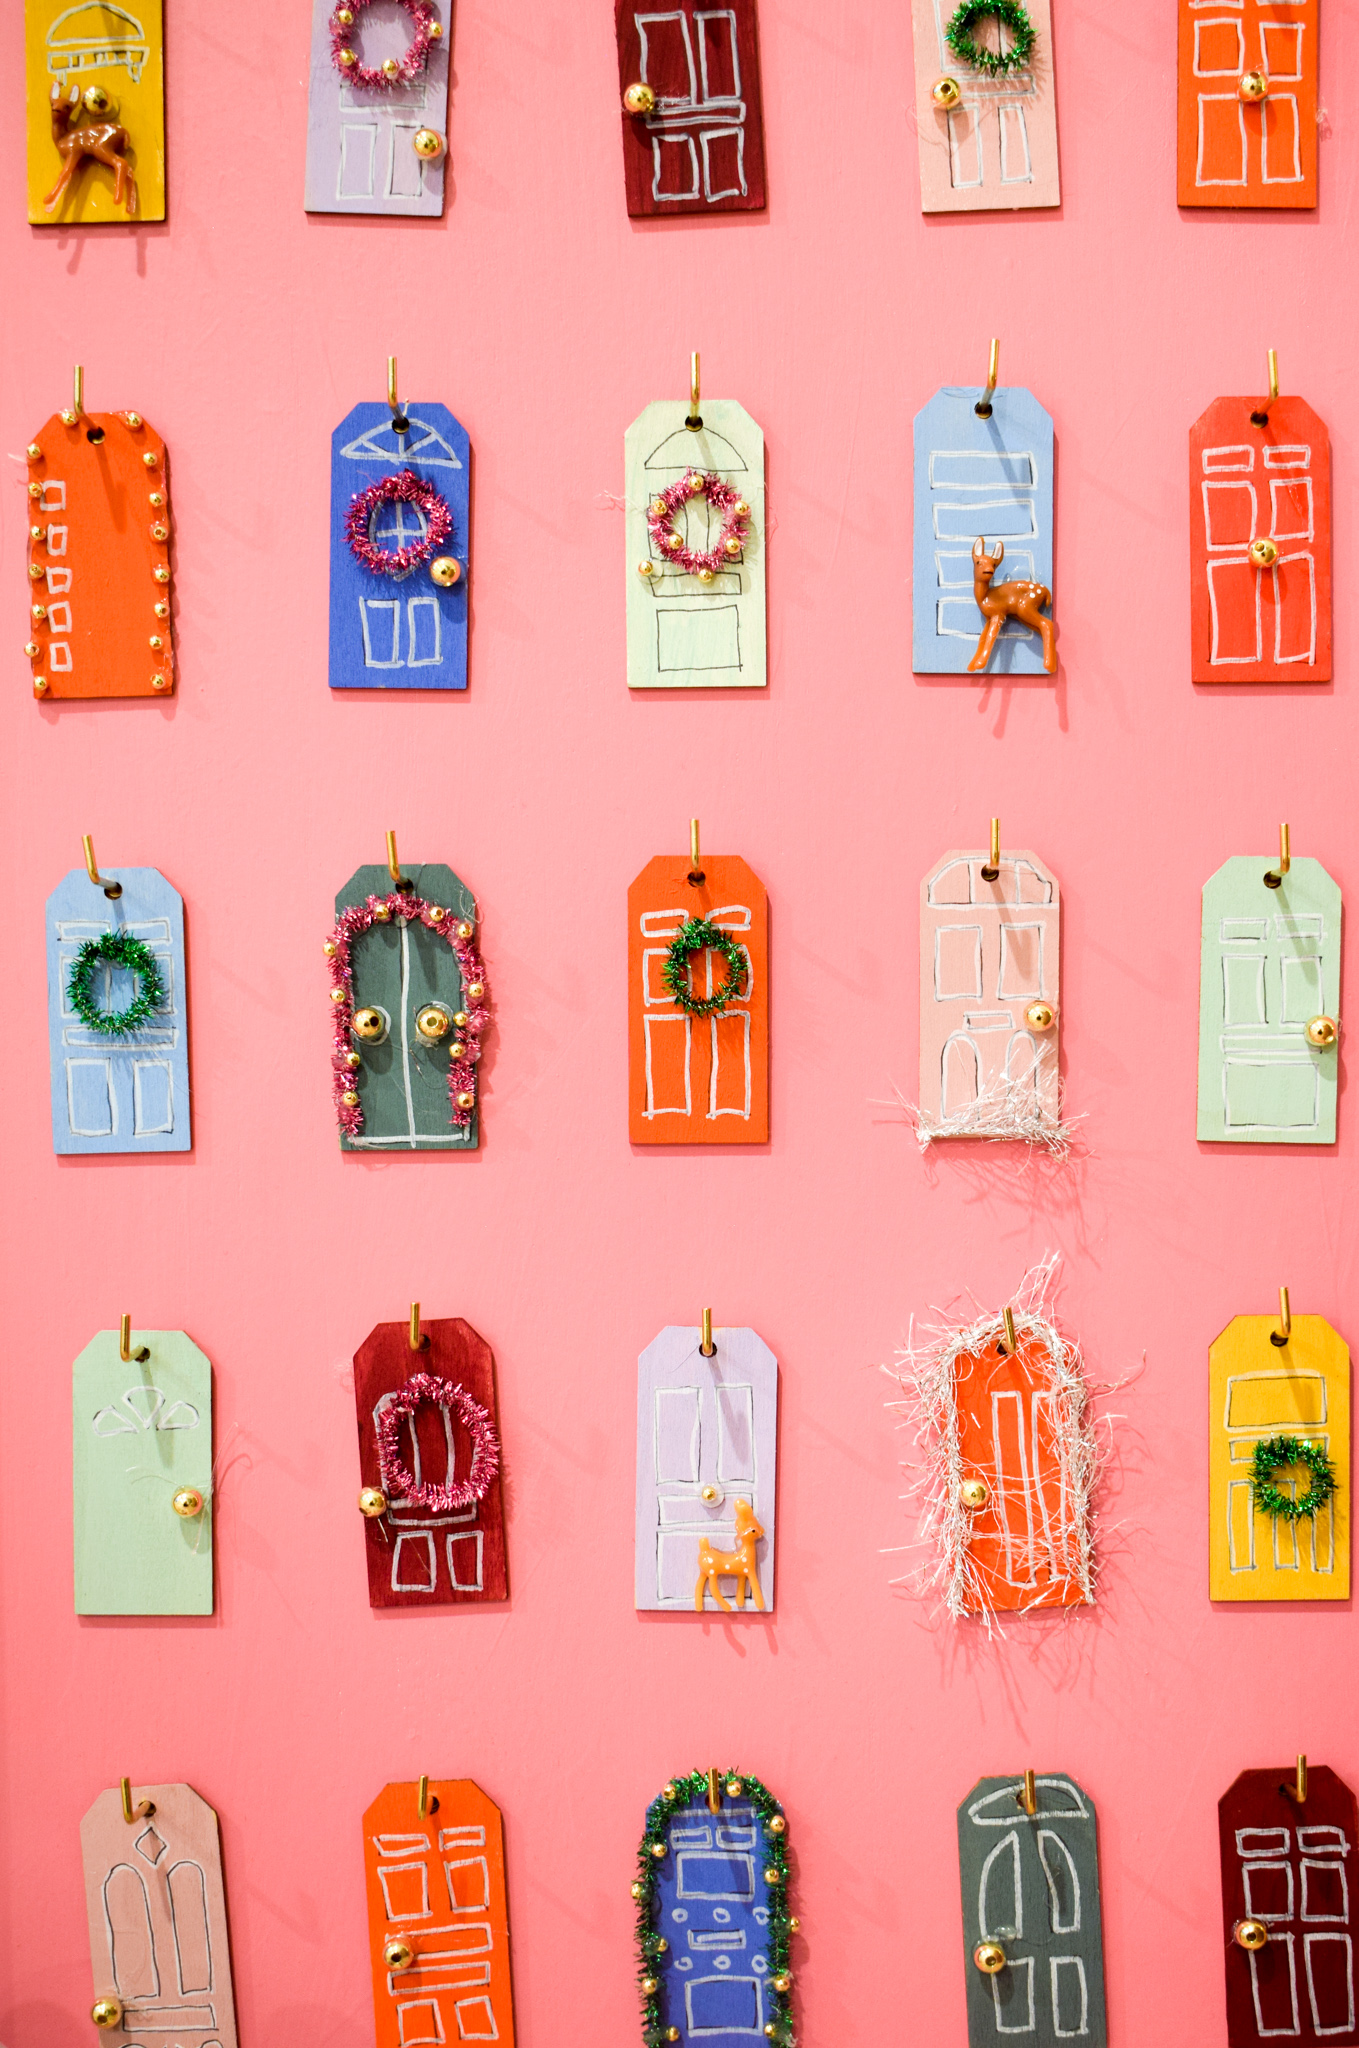
Once they’re dry, you’re going to use the black marker to draw the outline of the doors on each tag. You’ll want to look-up snow covered european doors for inspiration (you’ll fall down a rabbit hole there!)
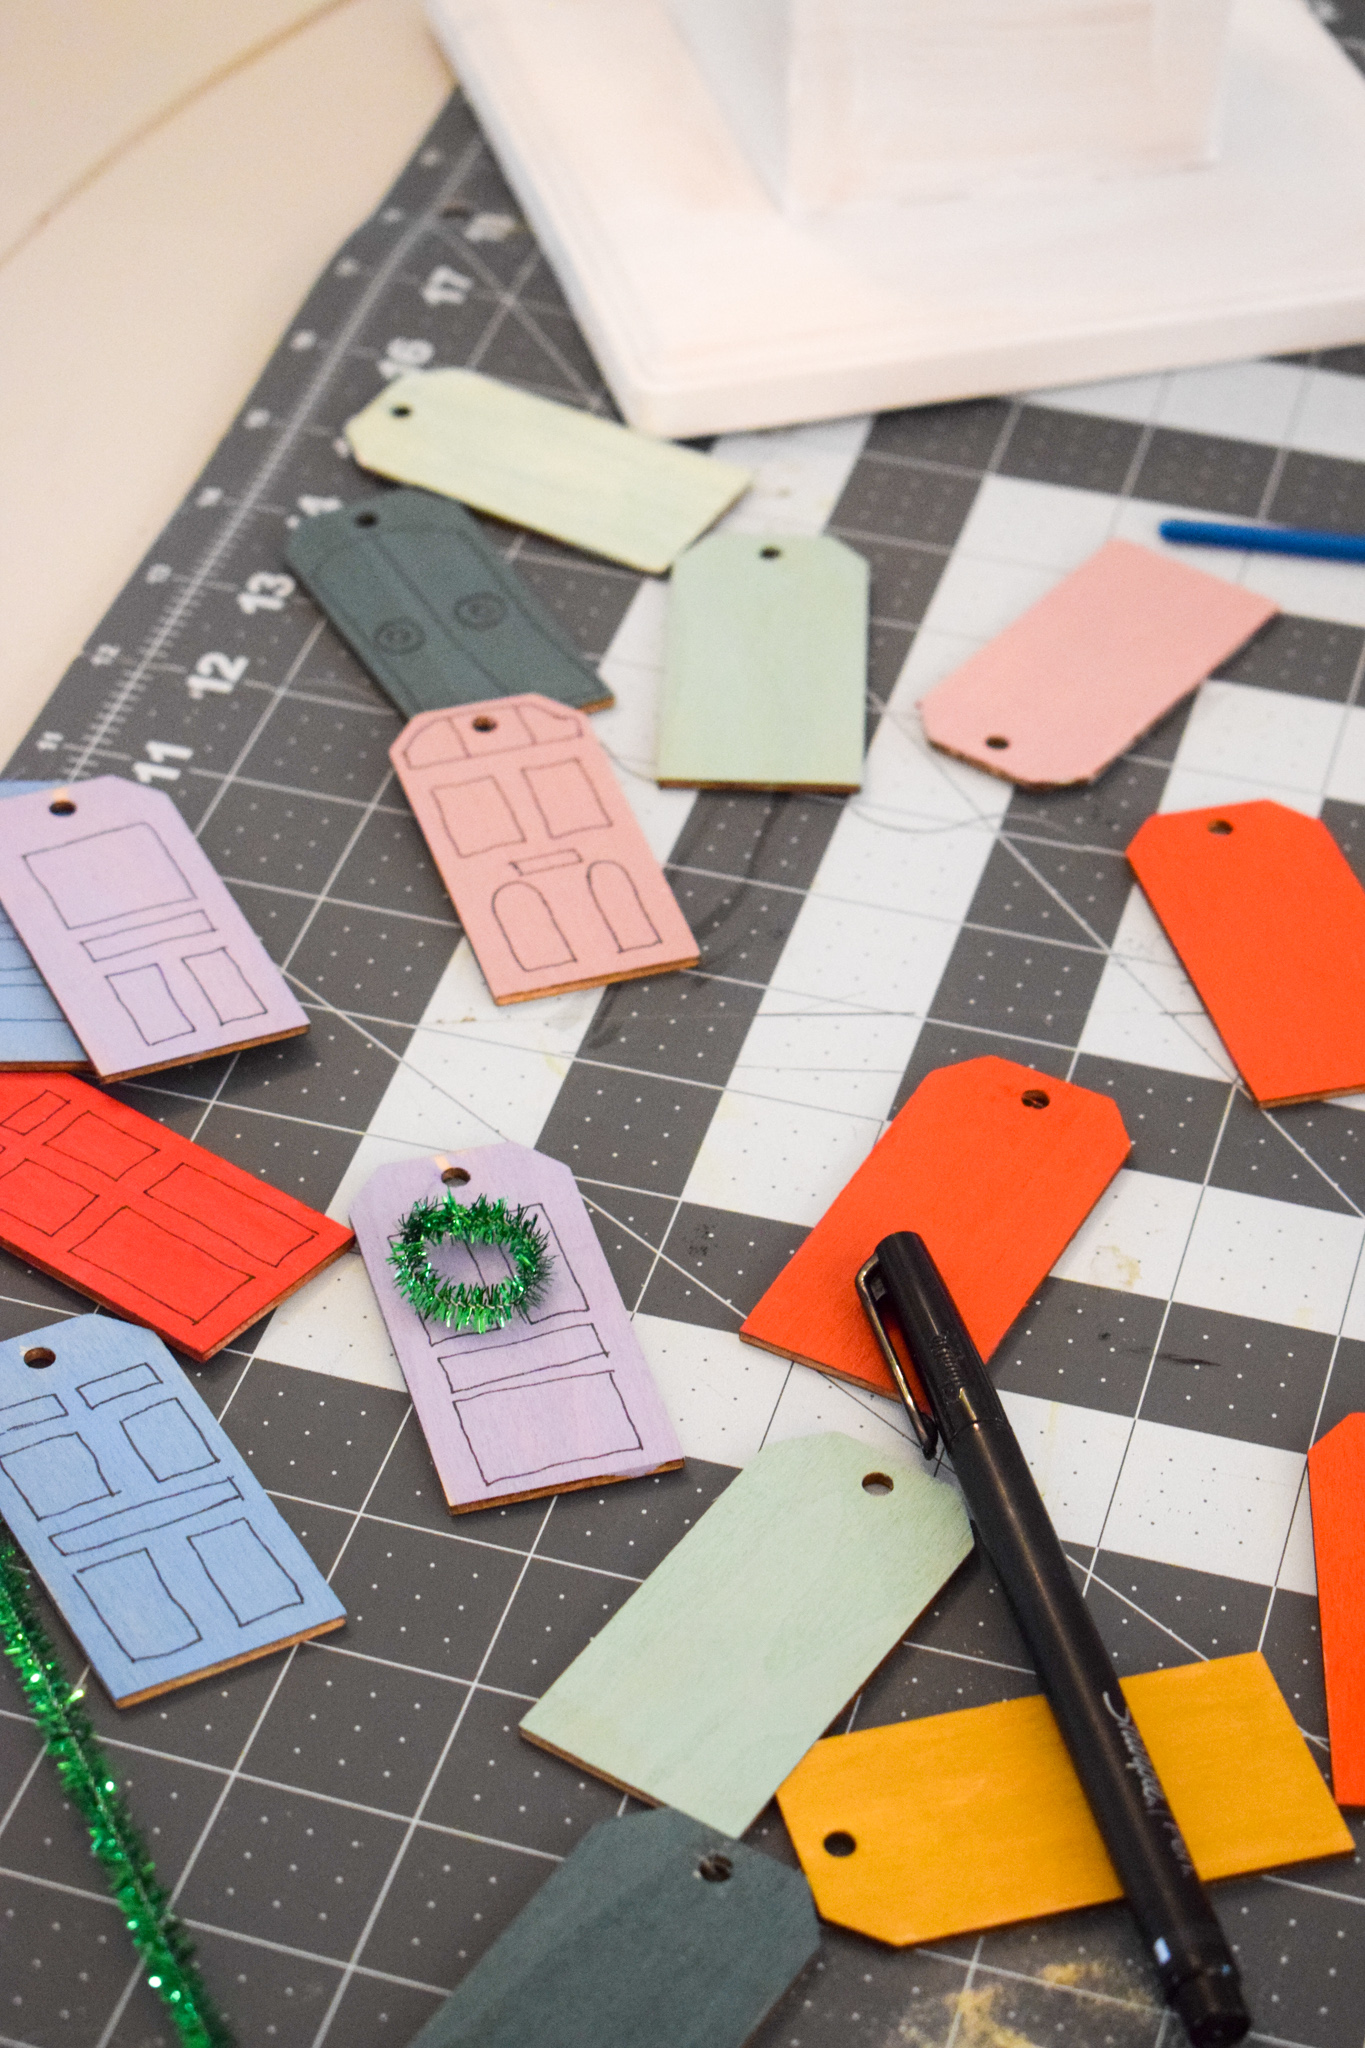
Once the doors are dry, go around the outline with the white tip marker. It adds extra contrast and helps define the spaces and adds depth.
Next up, we’re decorating the doors! I used my hot glue gun to:
- attach small gold beads as door handles,
- attach even smaller gold beads to pipe cleaners to simulate strings of lights
- attach pipe cleaners as wreaths to the doors
- attach pipe cleaners as garlands and boughs to the doors
- attach little deer to the door as if they were passing by, etc.

There are no hard and fast rules about decorating these doors. They live in your imaginary winter wonderland after all!
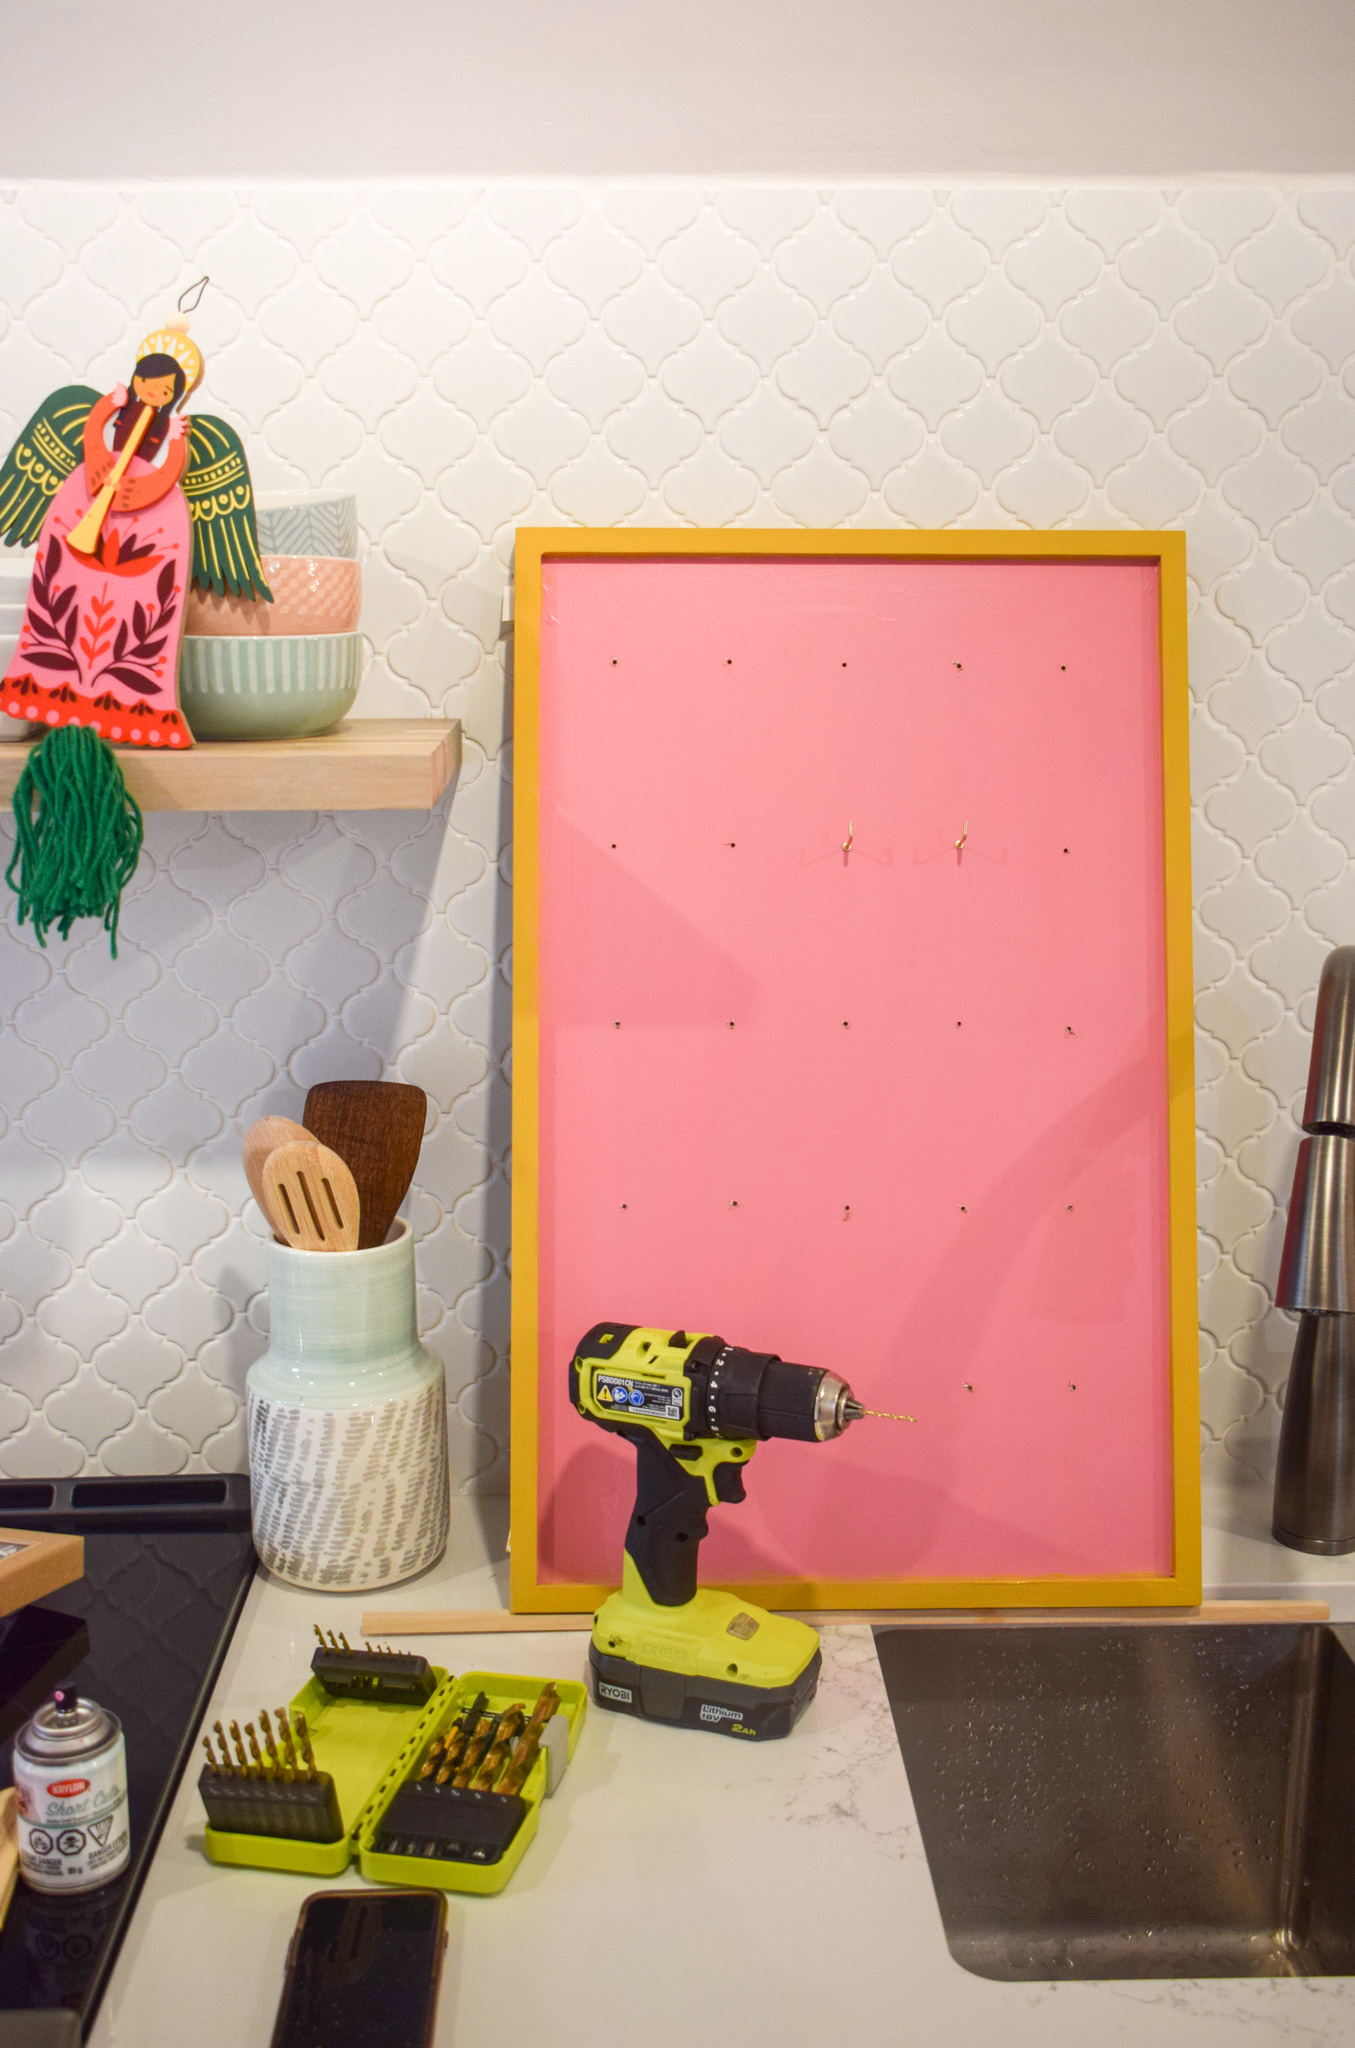
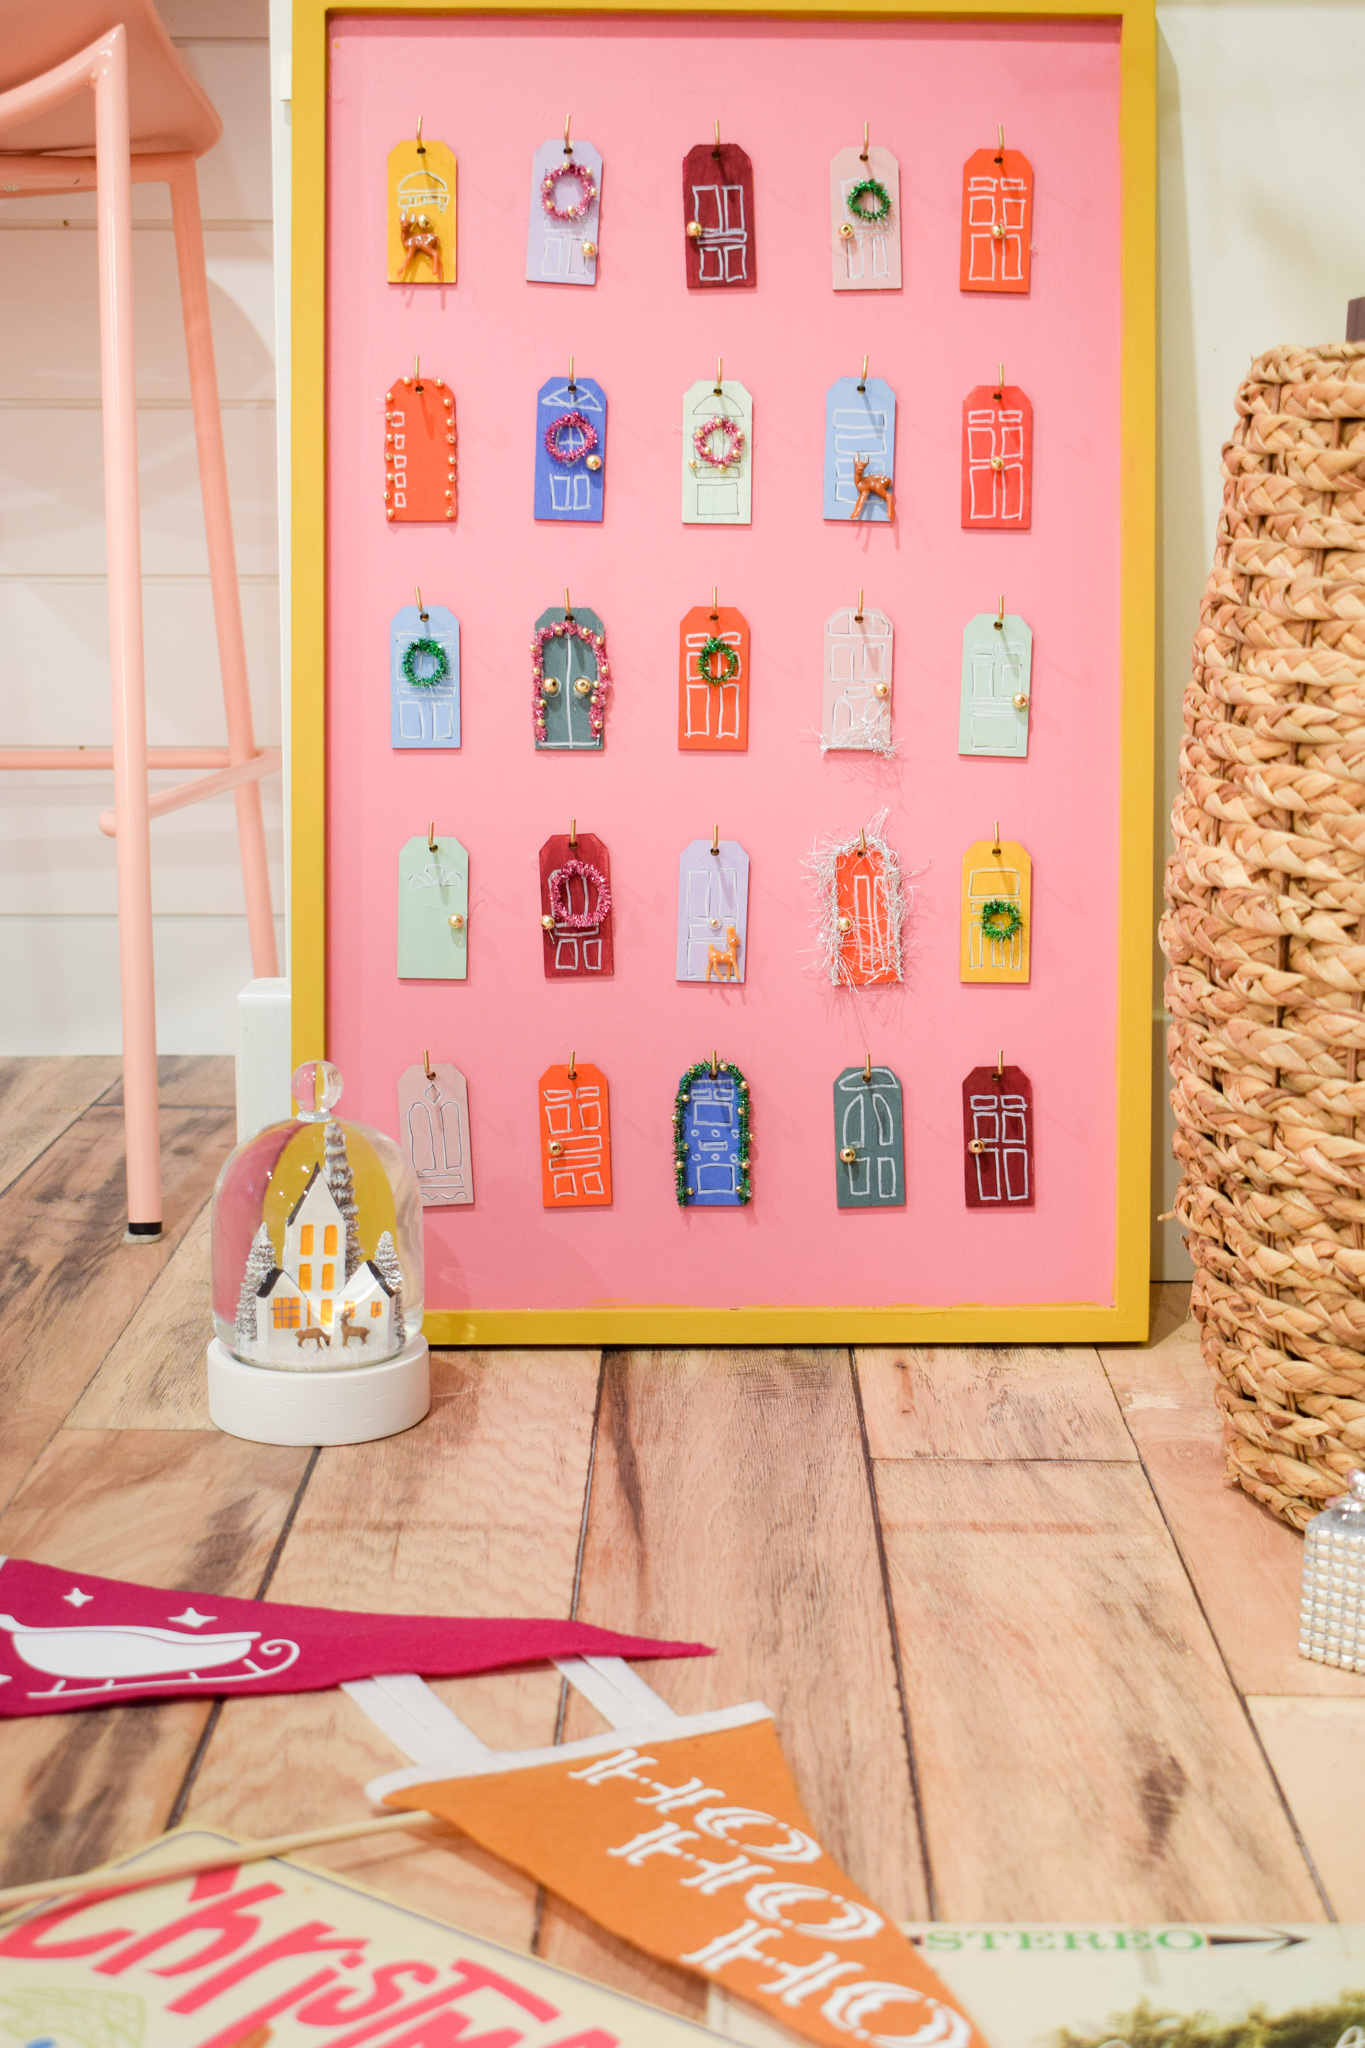
While they’re drying, it’s time to line-up the grid for the hooks on your sign/board. Take the time to do this properly, otherwise you’ll be staring at a miss-matched situation for like a while month. No bueno.
I happened to have the corresponding drill bit for my hook size (which like never happens) so I was quickly able to drill all 25 holes, and screw in all the hooks.

Once they’re hung, it’s just a question of arranging the doors as you please!


p.s I’m super self concious about the fact that some of these photos have different lighting i.e “nighttime with the lights on,” than what I usually do. For this period of my life, time is super precious and I want to spend as much time as I can with June. This means a lot of projects are happening in the evening.
I know I’m far from the only one in that boat, so I’m giving myself some grace and would love the same from you <3

