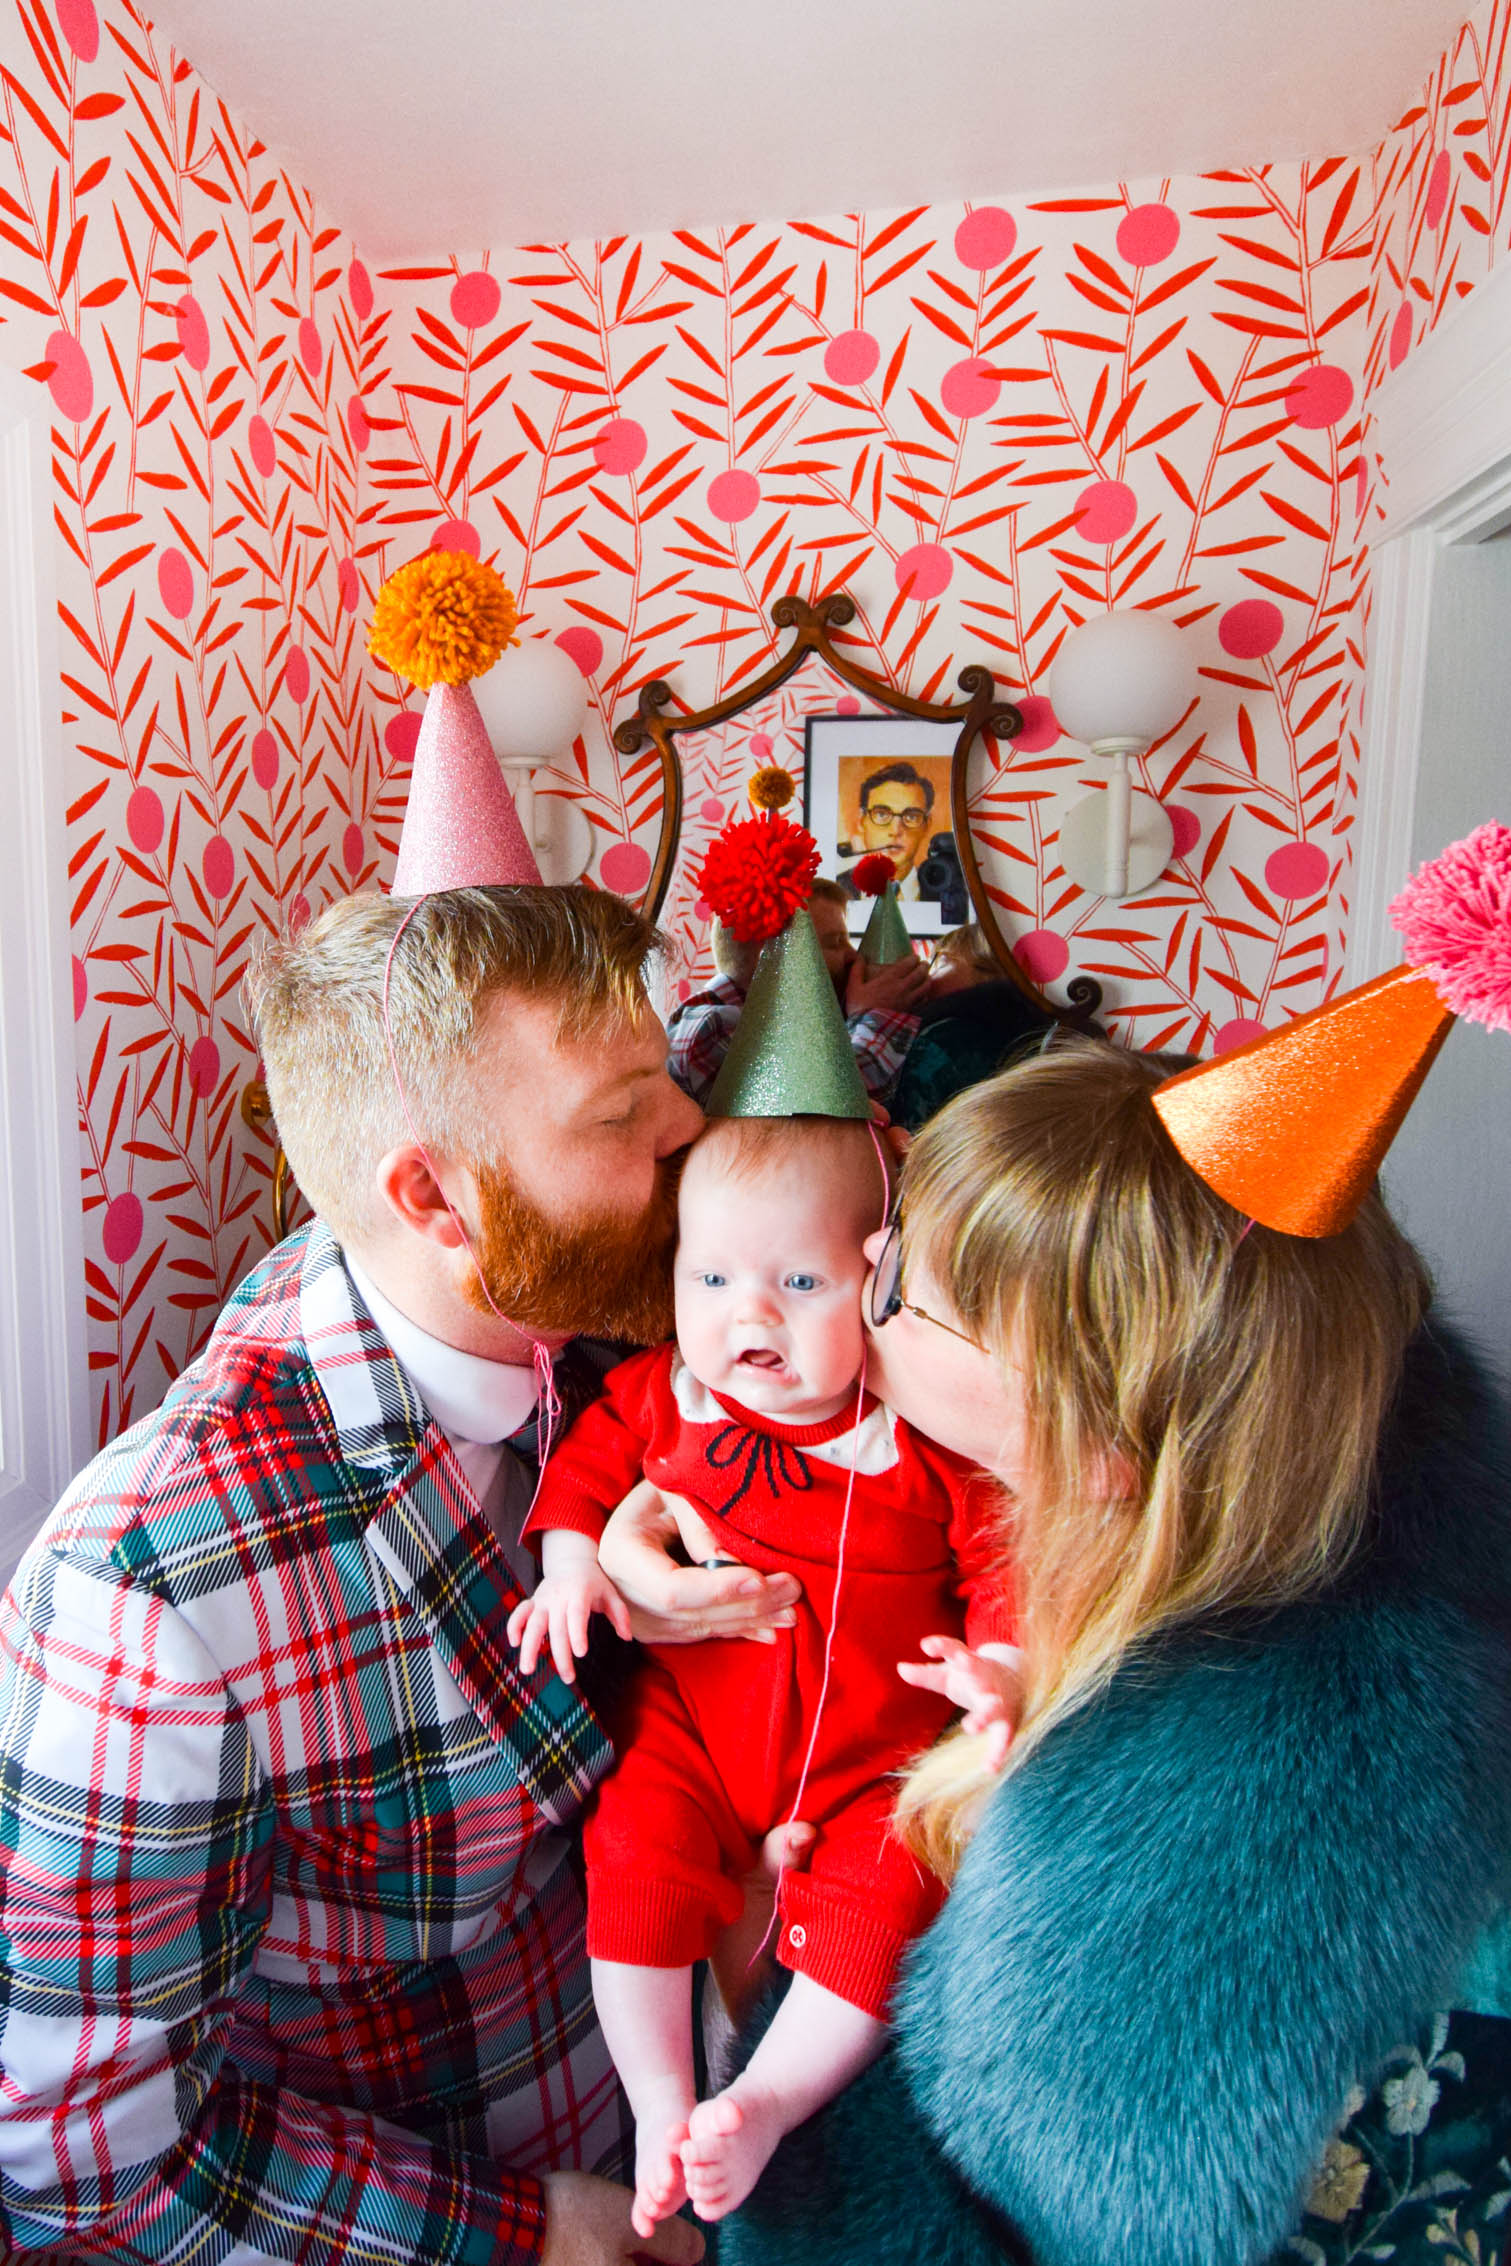
Almost every occasion calls for party hats! NYE, Christmas Dinner, Birthdays, promotions and more. If you can get away with a cake at the event, you can get away with party hats. Since we seem to have a lot of those in our life, I made these DIY party hats so that we’d always have some on hand.
*Fiskars sponsored this post, but all thoughts are my own. Thank you for supporting the brands that make PMQ for two possible.

DIY Party Hats
I whipped these up in a jiff while JB was napping, so you know it’s an easy enough project. Better yet, I used the right tools, so it went even faster.
For the final photos we got JB in on the fun, and dedicated this party shoot to the ultimate in event photography – the bathroom selfie.
How to make Party Hats
I made these from glitter cardstock – a notoriously tricky material to cut, using the Fiskars Comfort detail knife, a hot glue gun, yarn and a pom pom maker.
Creating the hat
I used an existing party hat to create the pattern to cut around. I’ve tried in the past and have always gotten something wrong with the proportions, so using a template made it easy peasy.
I use the comfort detail knife to cut it open, and then laid it flat on the cardstock.
The nice thing about the blade is that it gives you so much more control for curves. Scissors are great for straight edges, but I find I can never get as clean a curve as I’d like.
Because you hold the comfort blade like a pen, you can get more control and detail.
Pro tip: pull don’t push when using a utility knife like this. I did all my cutting on my Fiskars cutting mat so that I didn’t ding up the table, and it worked beautifully.
Assembling the hat
I folded over the little edge, applied a bead of hot glue, and then folded it under.
Making the Party Hat Topper
I used existing pom pom makers and yarn from my collection. I chose colours that complimented the cardstock. Of course, I used my Fiskars Craft Scissors to cut the yarn.
Check out my DIY Pom Pom Wreath
What can I say! The right tools make everything easier.
I secured the pom pom inside the hat, and with a big dollop of glue on the outside.
I pulled the tail in through the top of the hat, and glued each side down.
Finishing the party hats
I then added pieces of yarn to use to tie the hats on. I glue each end in, right where I secured the tails from the pom poms.
Bathroom Selfies
Like I said above, what better place to take a picture of our DIY pary hats than in the bathroom! They used to be a staple of going out, so with tongue firmly planted in cheek, we got dressed up in our festive best to shoot some bathroom selfies.
I am now accepting any and all compliments about how cute my baby is. Thank you.
