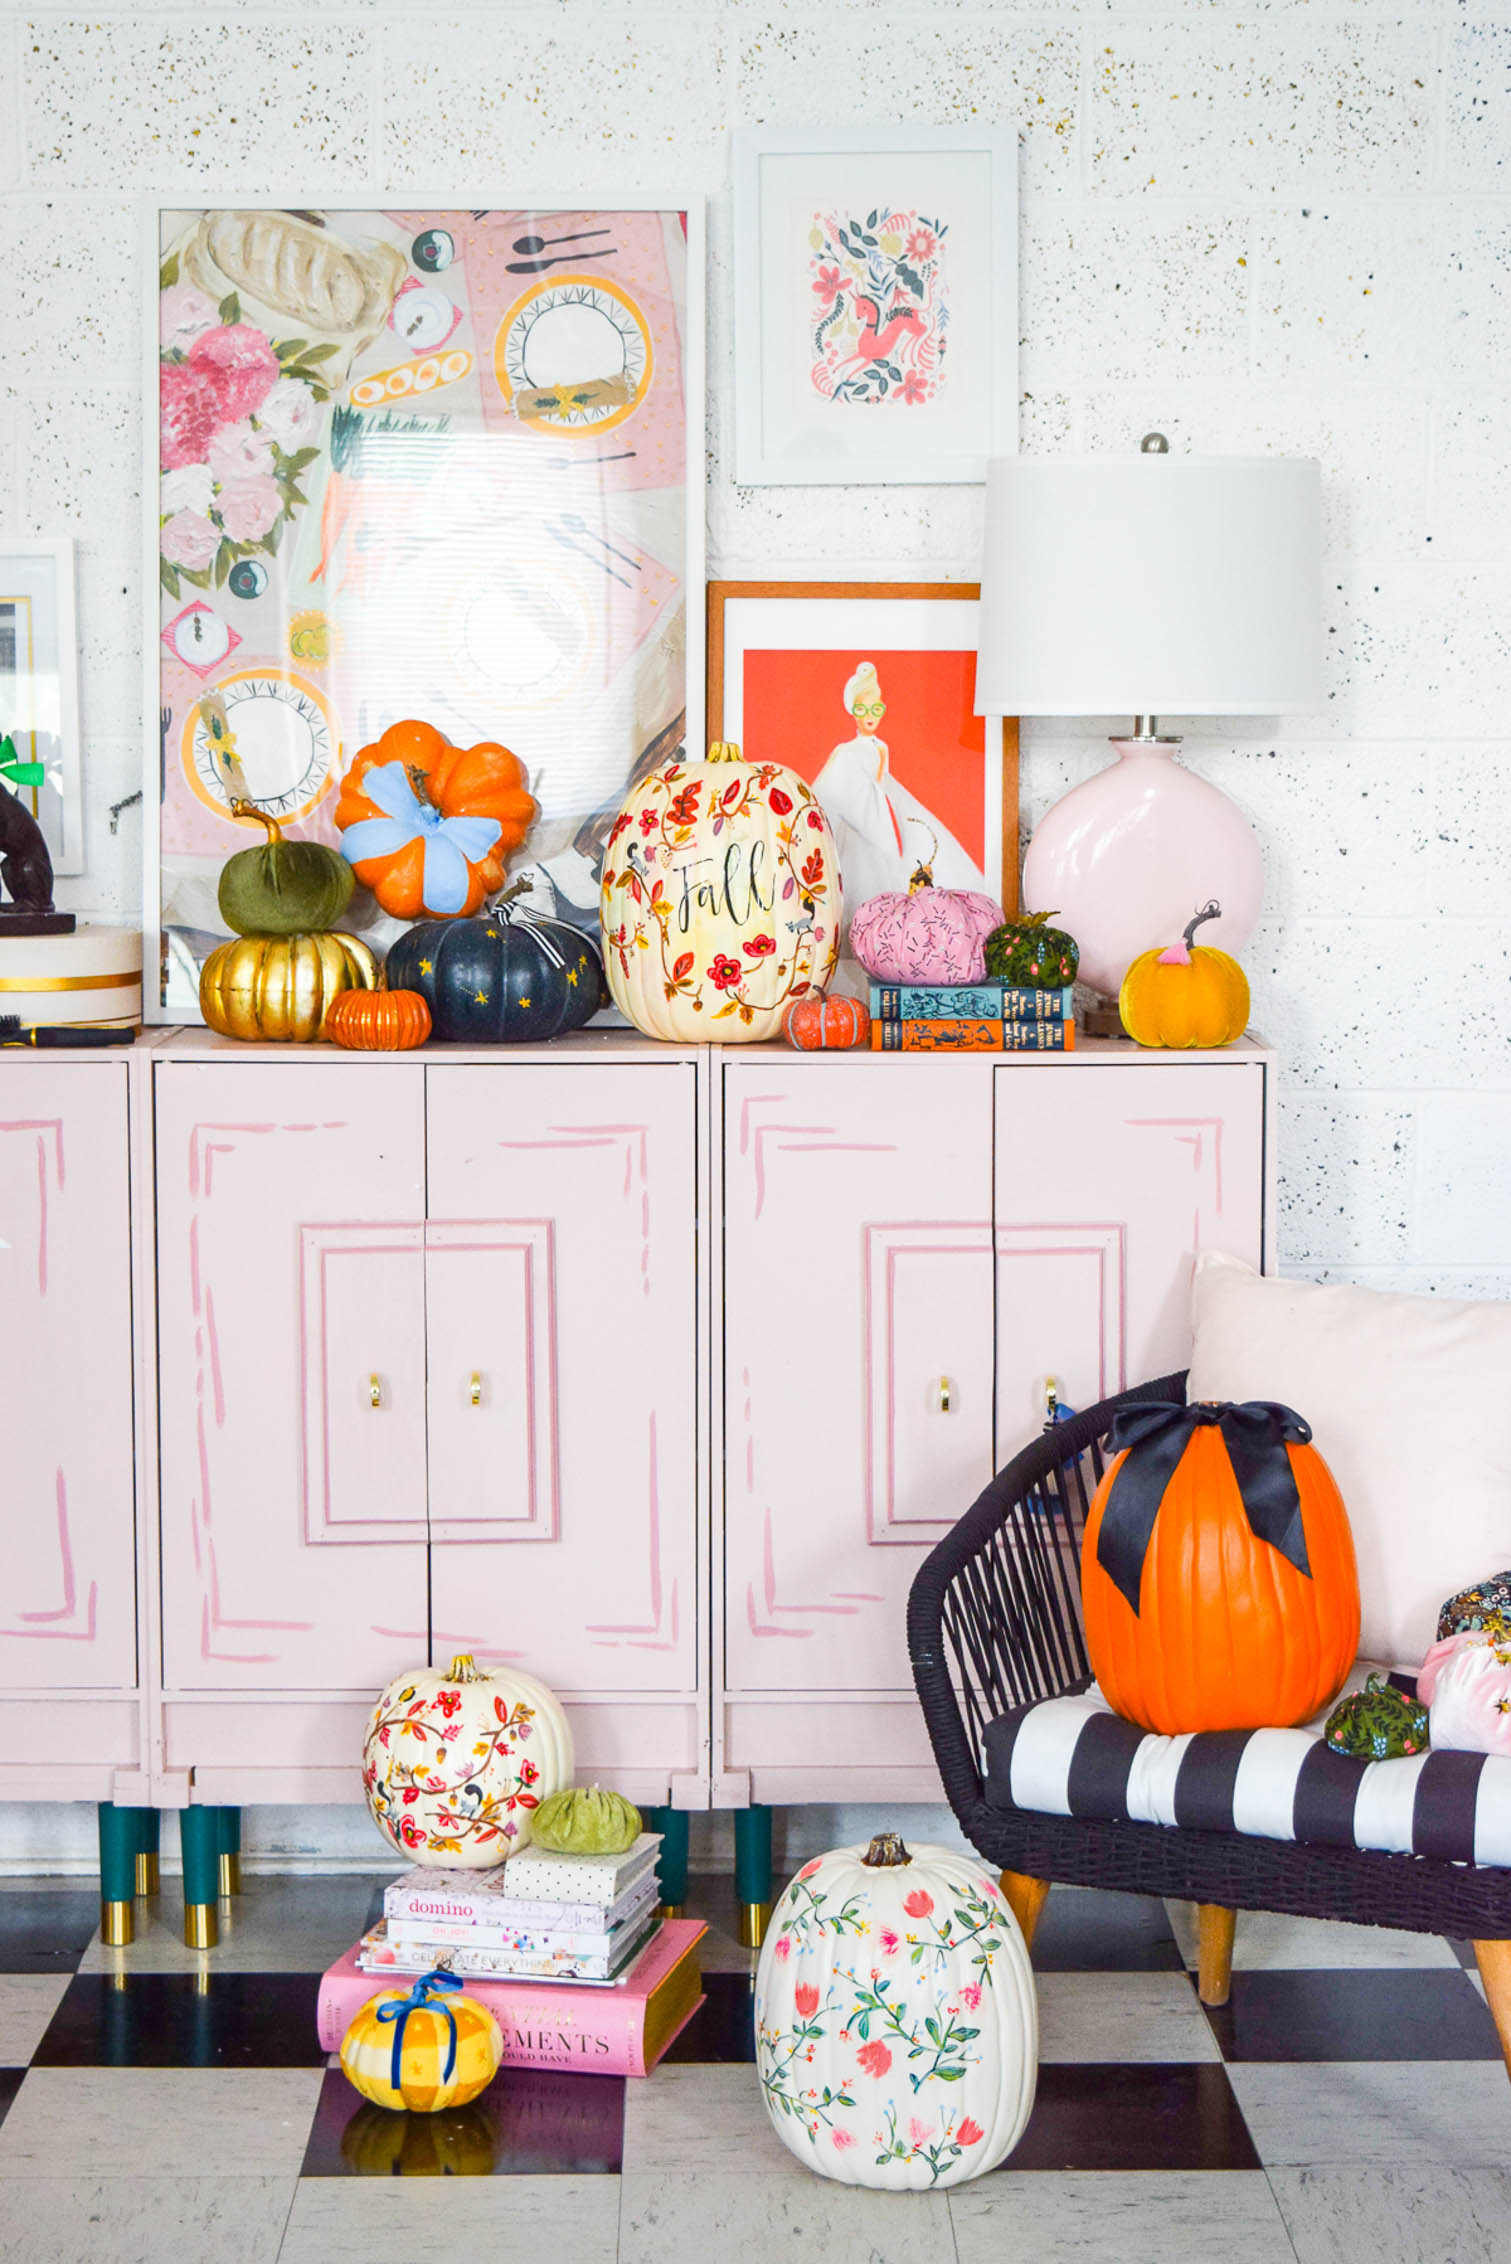
It’s September! (actually just August 31st, but you’ll forgive me the day). I’ve skipped right past back-to-school and late summer stuff, and I’m diving head first into fall, with DIY painted pumpkins.
Painted Floral Pumpkins // DIY Fabric Pumpkins // 5 pumpkin painting ideas
I love a good pumpkin display, and after years of DIYing them, I’ve got quite the collection of painted and plush pumpkins. I’ve added a few to the collection, but together they all look majestic. I love bold colour, pattern and a good bow, so this all just feels right.
*DecoArt sponsored this post, but all thoughts are my own. Thank you for supporting the brands that make PMQ for two possible.

I’ve added a retro plaid, another floral pattern, and a starry sky pumpkin. All of them are painted with love, a fine tipped paintbrush and some acrylics from Decoart.
How to paint fall pumpkins
I’ve done fall floral pumpkins inspired by Rifle Paper co. and you can find those // here //, so many of the fancier techniques used for the other floral pumpkin can be found in that post.
How to paint a buffalo plaid pumpkin
You want to start by using a pencil to draw a grid around the pumpkin. It’s easier than using painter’s tape, and will make sure you don’t accidentally mess up the pattern.
Using a paint brush and some acrylic paint in true ochre, fill in the grid squares accordingly. I’ve got an entire tutorial on painted buffalo plaid // here //.
To add a retro flair — besides the colour choices — add a little 5 point star in the darker squares, using the same shade as the lighter squares.
How to paint a starry night pumpkin
I don’t know about you, but I love all the differently coloured pumpkins that you can buy in stores. White and orange are fun, but so are the pinks and greens, and blues. I bought a dark blue one last year, and knew I would use it for something fun like this.
Using a fine tip brush, and several shades of yellow and mustard, paint dainty little 5 point stars. I used a random pattern, but you could create a pattern if you so chose.
To finish it off, add a little trail of dots behind some of the stars. It will looks like the trail behind a shooting star.
How to Paint Florals on a Pumpkin
You need to start with your palette, since it’s hard to go back once you’ve started. Make sure all the colours work together, and that you’ve got the right shades mixed.
I always start with the vines and leaves. Take time to make them look natural, and don’t be afraid to do random offshoots. Once the bottom layer is dry, use a lighter blue (with hints of green) to add shading to the leaves. You can catch the full tutorial in my original post // here //.
Use a wider bristle brush to create the peonies by painted a U and then filling it in. Once it’s dry, add details in contrasting shades of pink and red.
You’ll want to add berries in fun little colours, but those will depend entirely on your colour palette.
Catch the video tutorials for all the brushstrokes needed to create Rifle Paper Co. like florals in my original post // here //.
Displaying your painted pumpkins
When it comes to showcasing your lovely collection of pumpkins, you can showcase them in small groups, large clusters or just find little spots for one at a time. In the studio on my Wes Anderson entryway console, I’ve got a bit of everything going.
