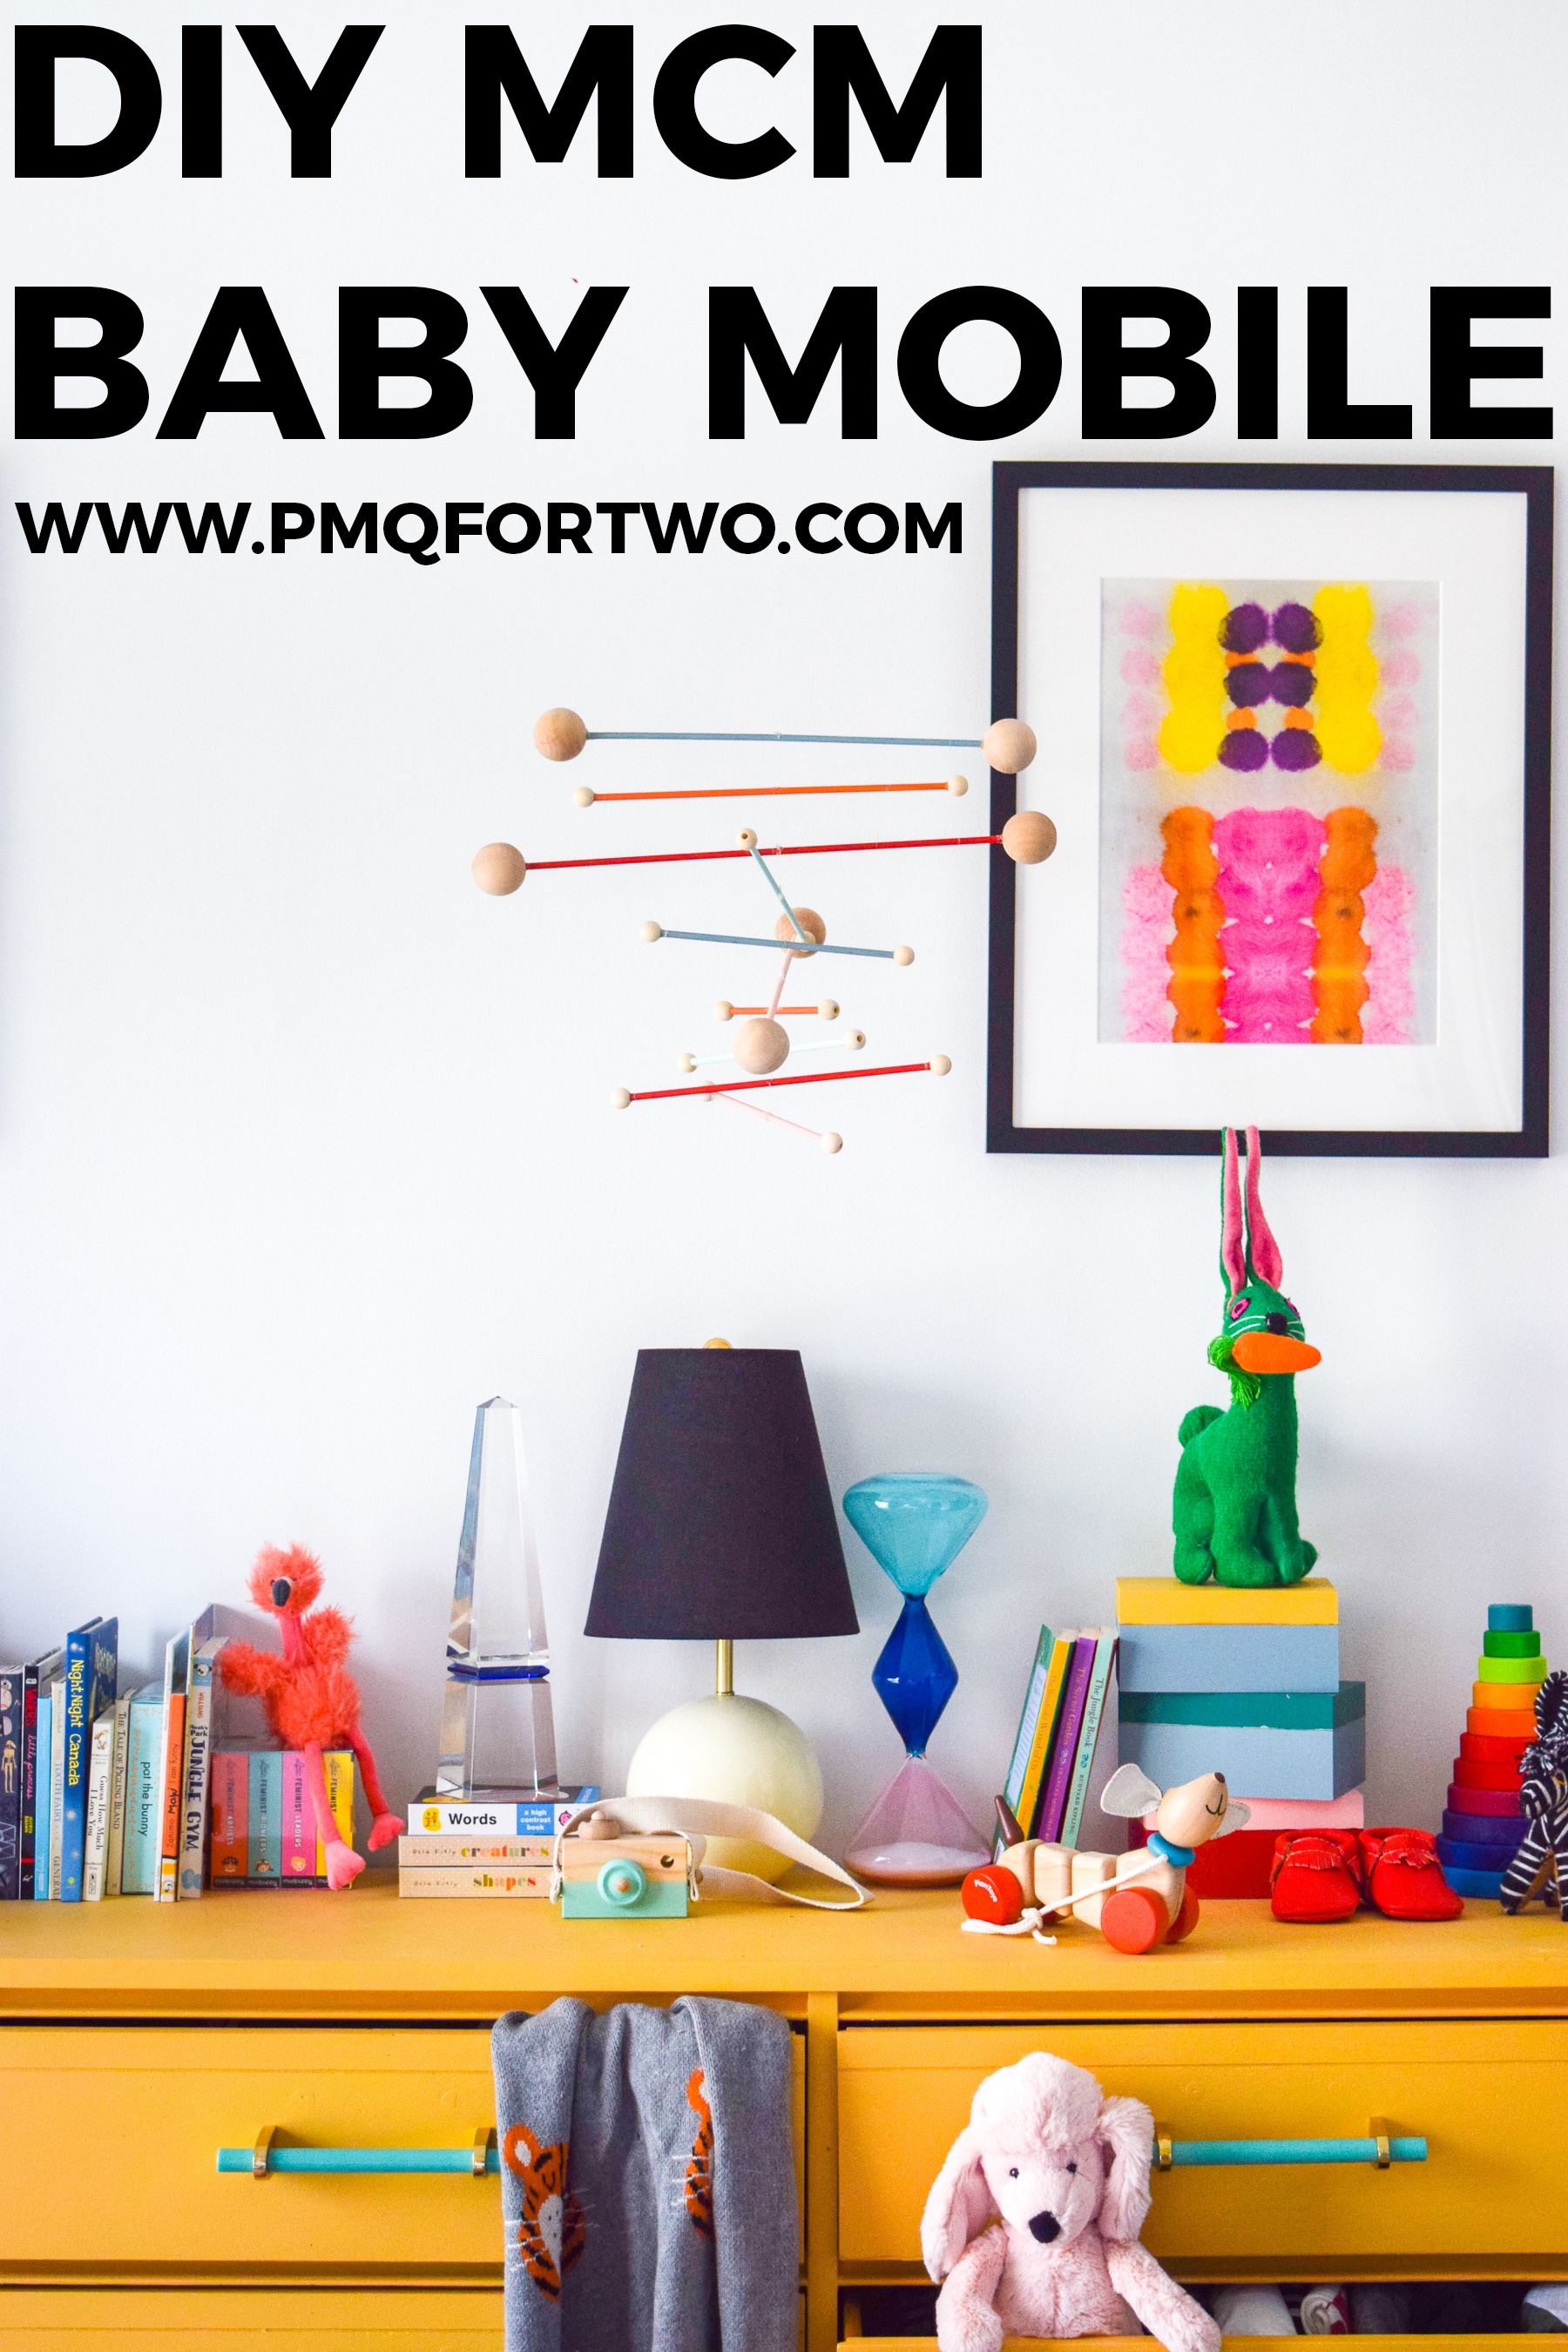
So we’ve legit got 13 weeks left till Baby Girl arrives. OH EM GEE. While I finish sorting out the background details for her nursery, I took the time to make a DIY MCM Baby Mobile for her crib, because I can’t find a single thing I like online. Wanna make one too? It’s actually hella easy.
Check out my Dyed Custom Onesies
*Fiskars sponsored this post, but all thoughts are my own. Thank you for supporting the brands that make PMQ for two possible.

Baby mobiles should be colourful, shapely, and entertaining. I also think they should match the nursery theme, but that’s a theme for another day.
I’ve been looking at a lot of handmade ones, but haven’t found anything I like for the right price. Everything seems to have a boho or yarn vibe these days, and that ain’t me. Since the rest of the house is colourful and Mid Century, I took inspiration from Eames & Calder for colours and shapes.
How to DIY A Mobile
I’ve greatly enjoyed using my Fiskars DIY tools – hopefully you’ve spotted my Powercut Snips in my projects – but I recently received a few new ones so I thought I’d put them to the best with some wood beads and wood dowels.
For this project you’ll need 5 wooden dowels (thickness up to you), Fiskars Precision Hand Drill, Fiskars heavy-Duty Carving & Chiseling and Sawing Set, Fiskars Powercut Snips, fishing line, wood beads of any size, and a hot glue gun.
Because I had pre-matched the 1/4″ dowels to the largest drill bit on the precision hand drill, I started by adding holes about 1/2″ deep on each of the wood beads. In some cases it meant creating new holes, and in others it meant making them a big bigger.
I used the hand drill to do so, because I wanted to be sure the bit wouldn’t accidentally skip off the bead and knick my hand.
Next, I painted the dowels using bright and high-contrast colours (babies love that contrast! or so the books say). I used a piece of paper towel dipped in paint to do this, a brush would have been woefully ineffective.
Once they were dry, I used my saw blade attachment in the set, to cut the dowels down to size. I created a variety of lengths, ranging from 5″ – 12″. You can use whatever lengths you want, but I found that having a variety of lengths would allow the dowels to move without knocking into each other.
I made sure to do the cutting over a self-healing mat, since I didn’t want to cut up my tabletop.
Next, I set the dowels in the order I wanted from a colour story and length perspective, before matching them up with the wooden beads that I had drilled.
Using my hot glue gun, I added a small bead of glue to each end of the dowels, before adding the beads. I used my finger to wipe the excess glue and make it look seamless.
Next, using one long piece of fishing line, I tied all the dowels together. I started a knot in the middle of the bottom dowel, measured 2″ before adding the next dowel, and so on. I used a little bit of hot glue to secure the knot in the centre of each dowel (otherwise they slid around).
Once everything was secured and balanced, I trimmed away excess glue, and prepared to hang the DIY MCM Baby Mobile in the bedroom.
DIY MCM Baby Mobile
We don’t have the crib yet, and we haven’t started on the Nursery yet, but we do have our dresser doubling as the baby centre. It’s where we’ve got all her books, cute stuffed animals and toys, and now – her MCM Baby Mobile!
I can’t wait to get this mobile above the crib! It’s a true piece of MCM inspired decor, and I love how it turned out. I don’t think my cuts would have been as clean if I had tried to cut them, so I’m really glad for the precision of the saw set.
