


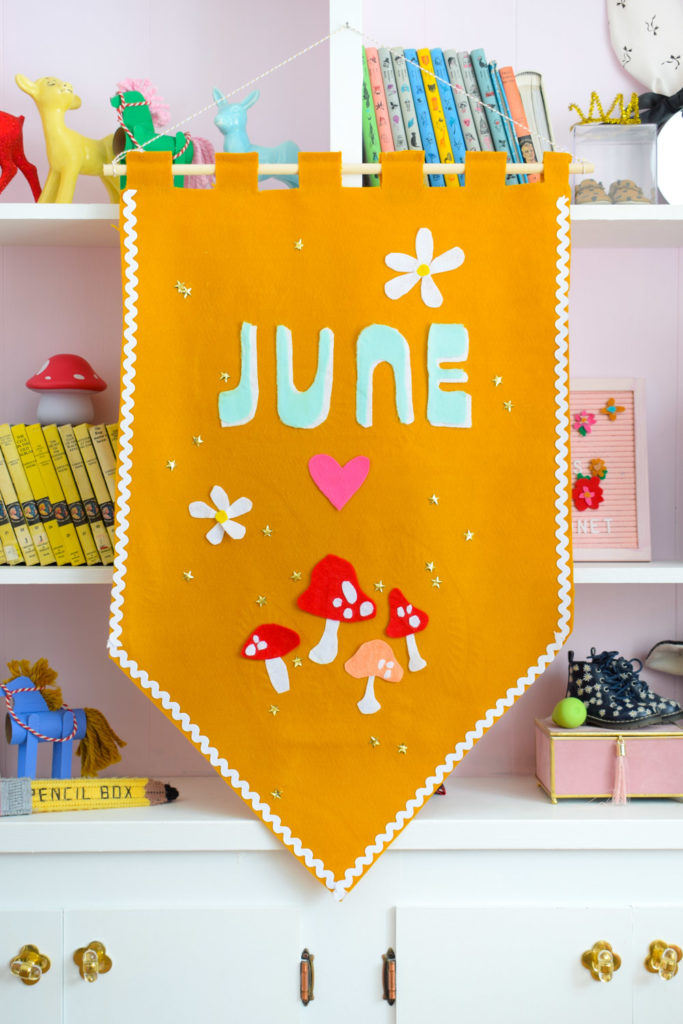
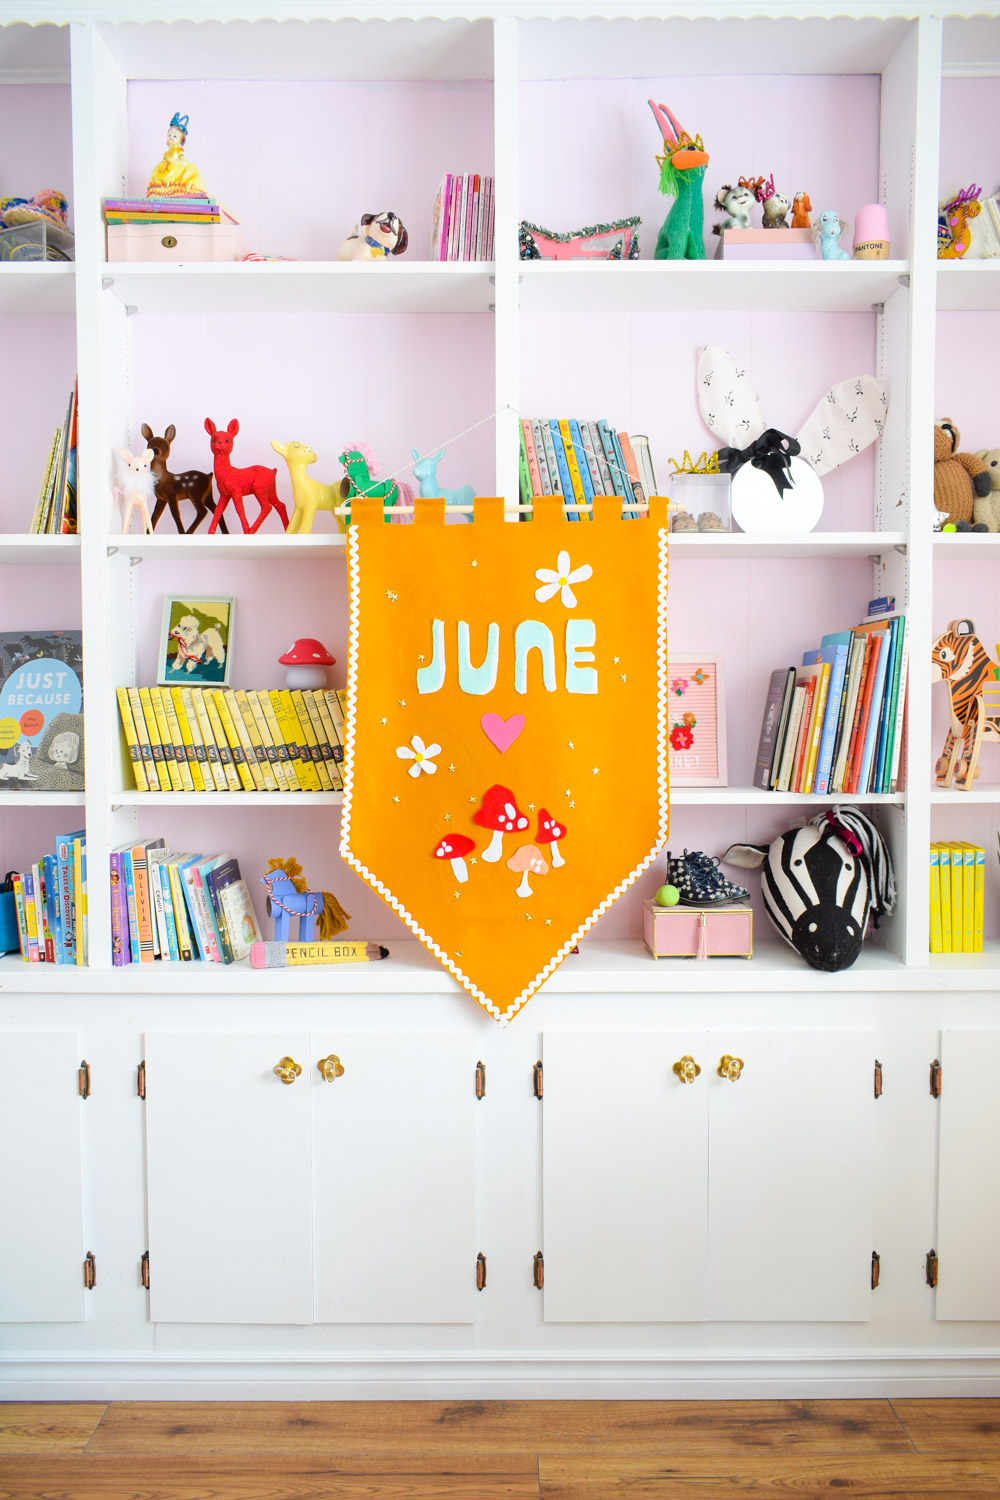
I made June a beautiful felt banner for her nursery. It’s been a year since we made any changes to her space, and this DIY large felt nursery banner was the perfect addition! If you want to see the rest of the space, check out her Rainbow Nursery.

The concept of the banner was inspired by Joni Lay’s beautifully creative party banners! I made mine inspired by hers, and using entirely iron-on elements because I definitely did not feel like sewing or hot gluing this thing.
Speaking of felted crafts – have you seen my DIY Groovy Nursery Sign?

What do you need to make a DIY Large Felt Nursery Banner?
- Large piece of felt (I found mine on a bolt in the fabric store)
- smaller pieces of felt in various colours: blue, white, red, pink, yellow – you can change up this part based on the designs you make for your banner.
- White Ric Rack
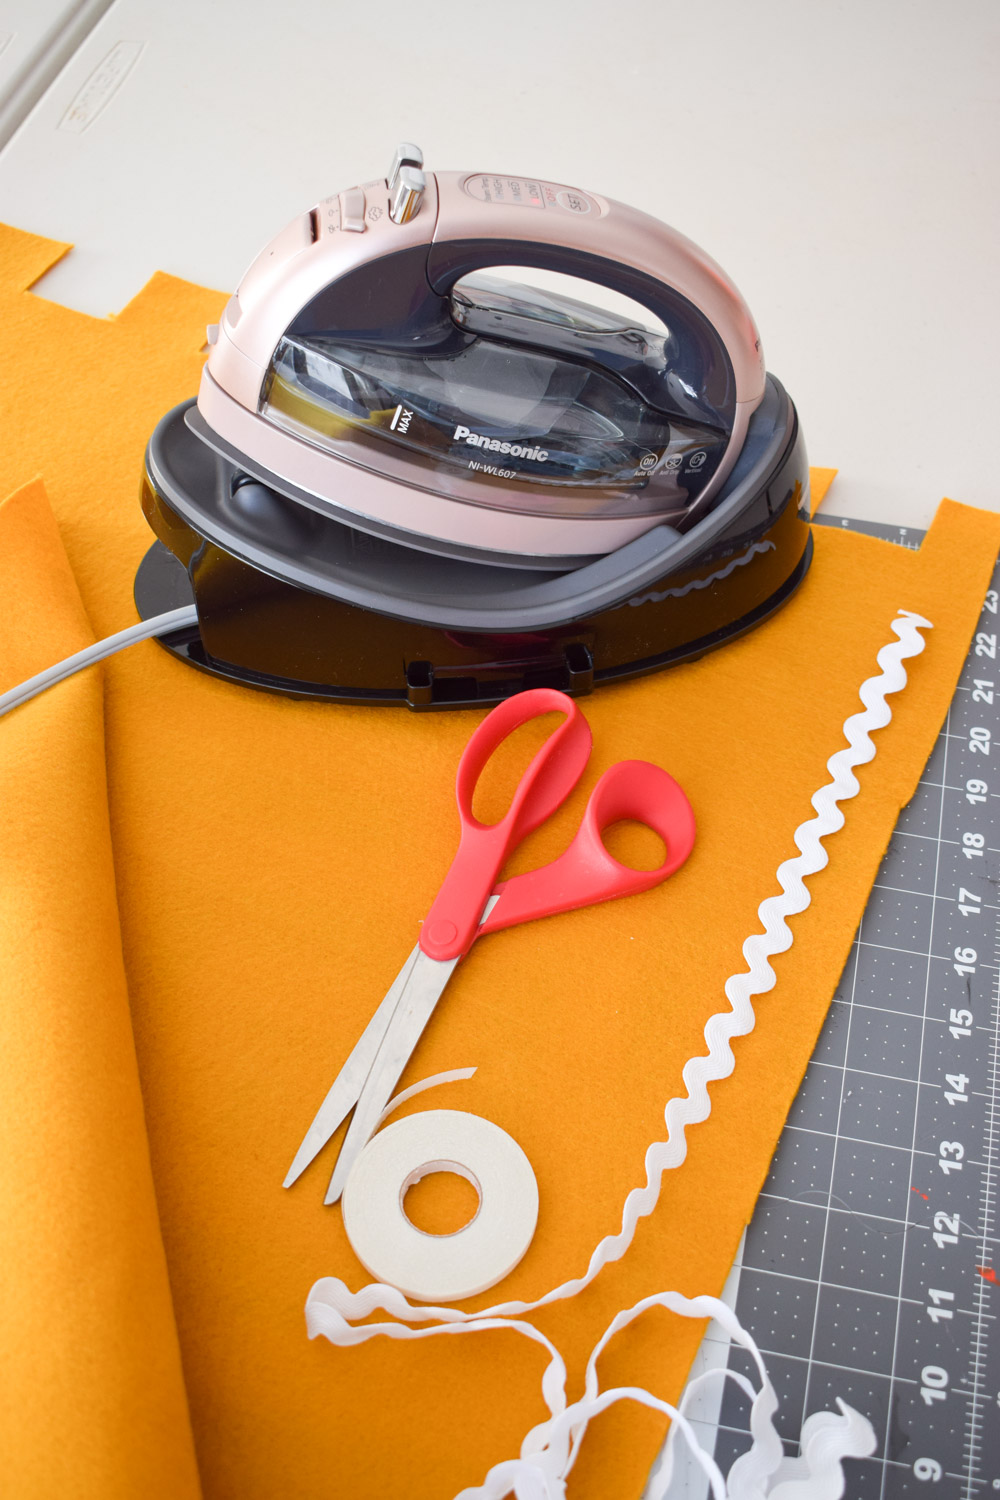
- Panasonic cordless iron + tea towel
- Fiskars Scissors
- Cutting mat
- 2 sizes of iron-on hem
How do you make your banner?
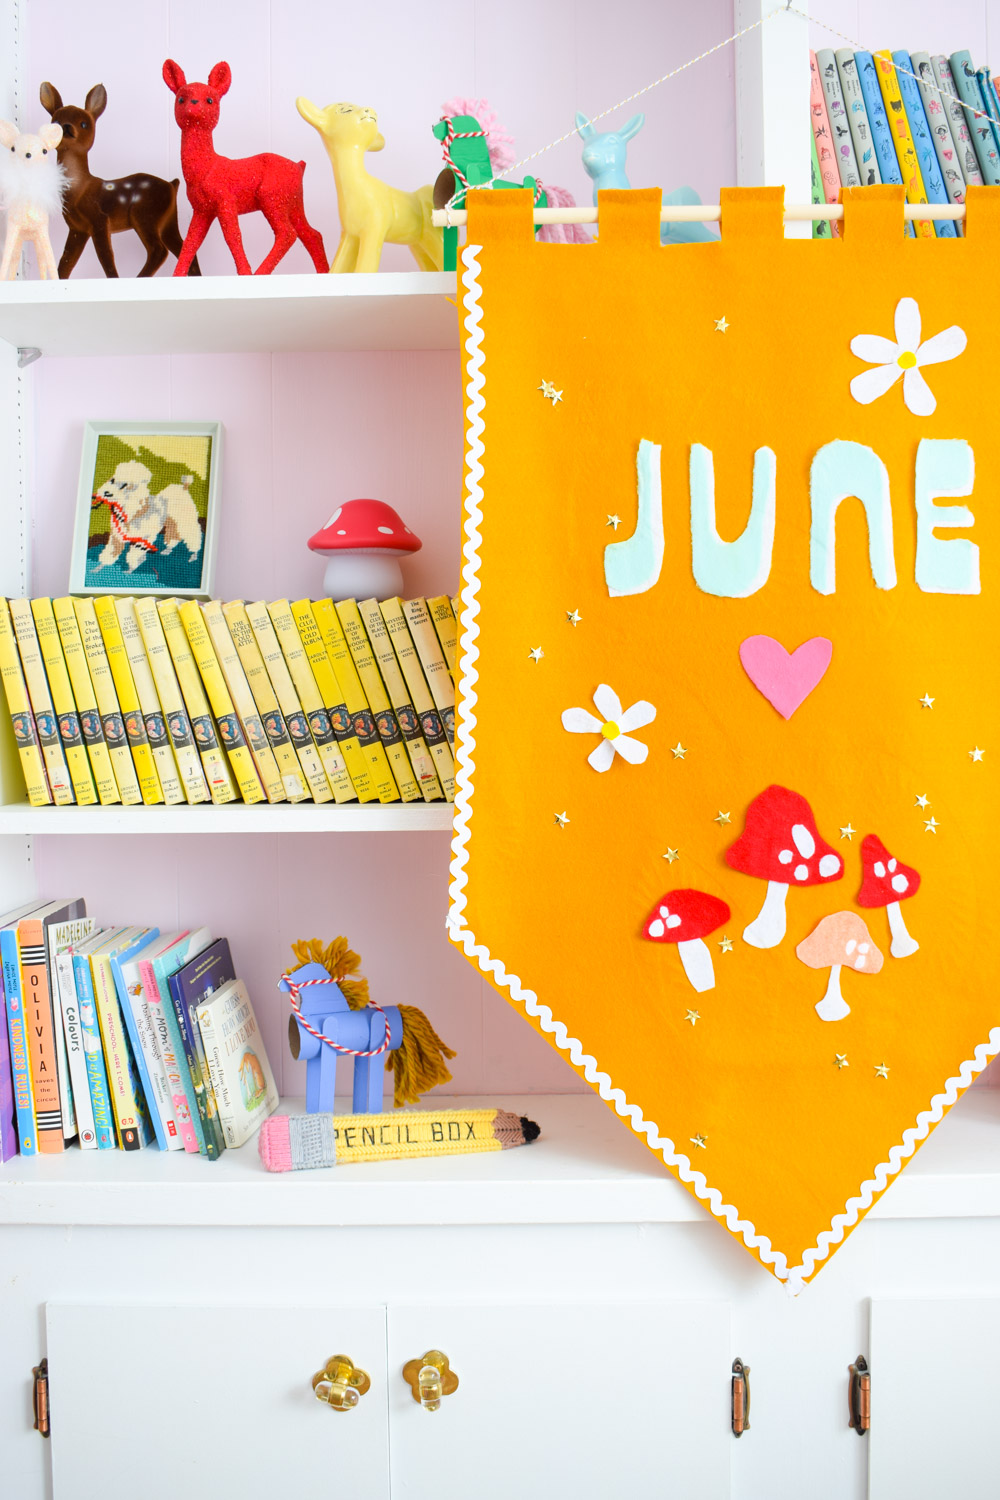
Start by cutting your large piece of felt into a banner: cut to a point at one end, and then staircase the opposing end (this is where you’ll run a dowel). If what I said makes no sense, look at the pic below.

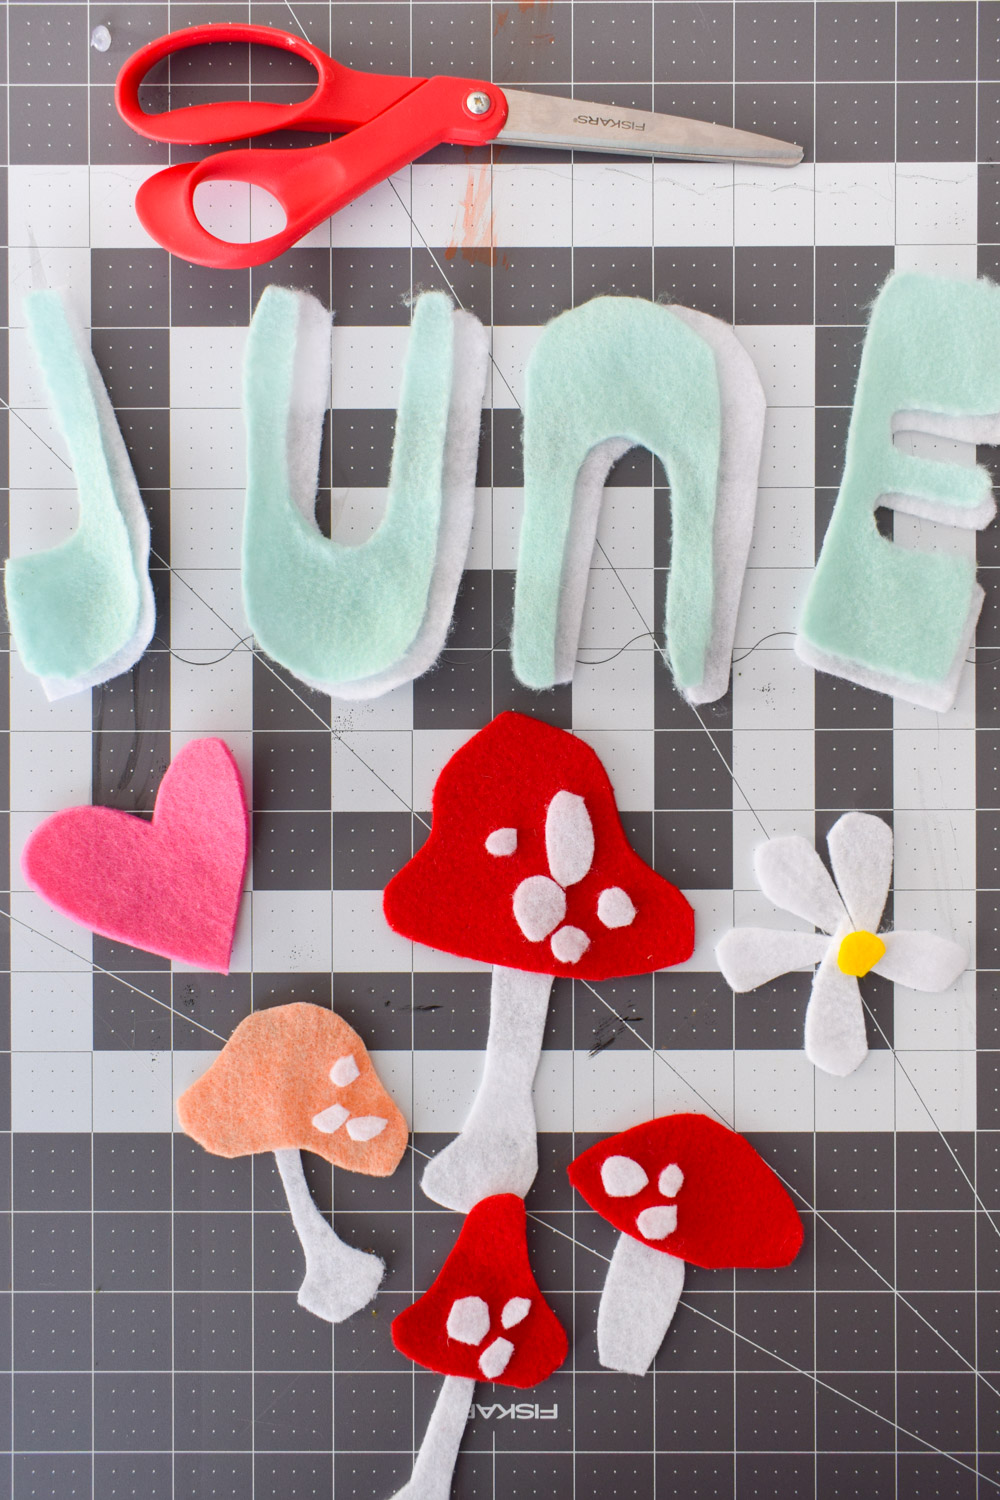
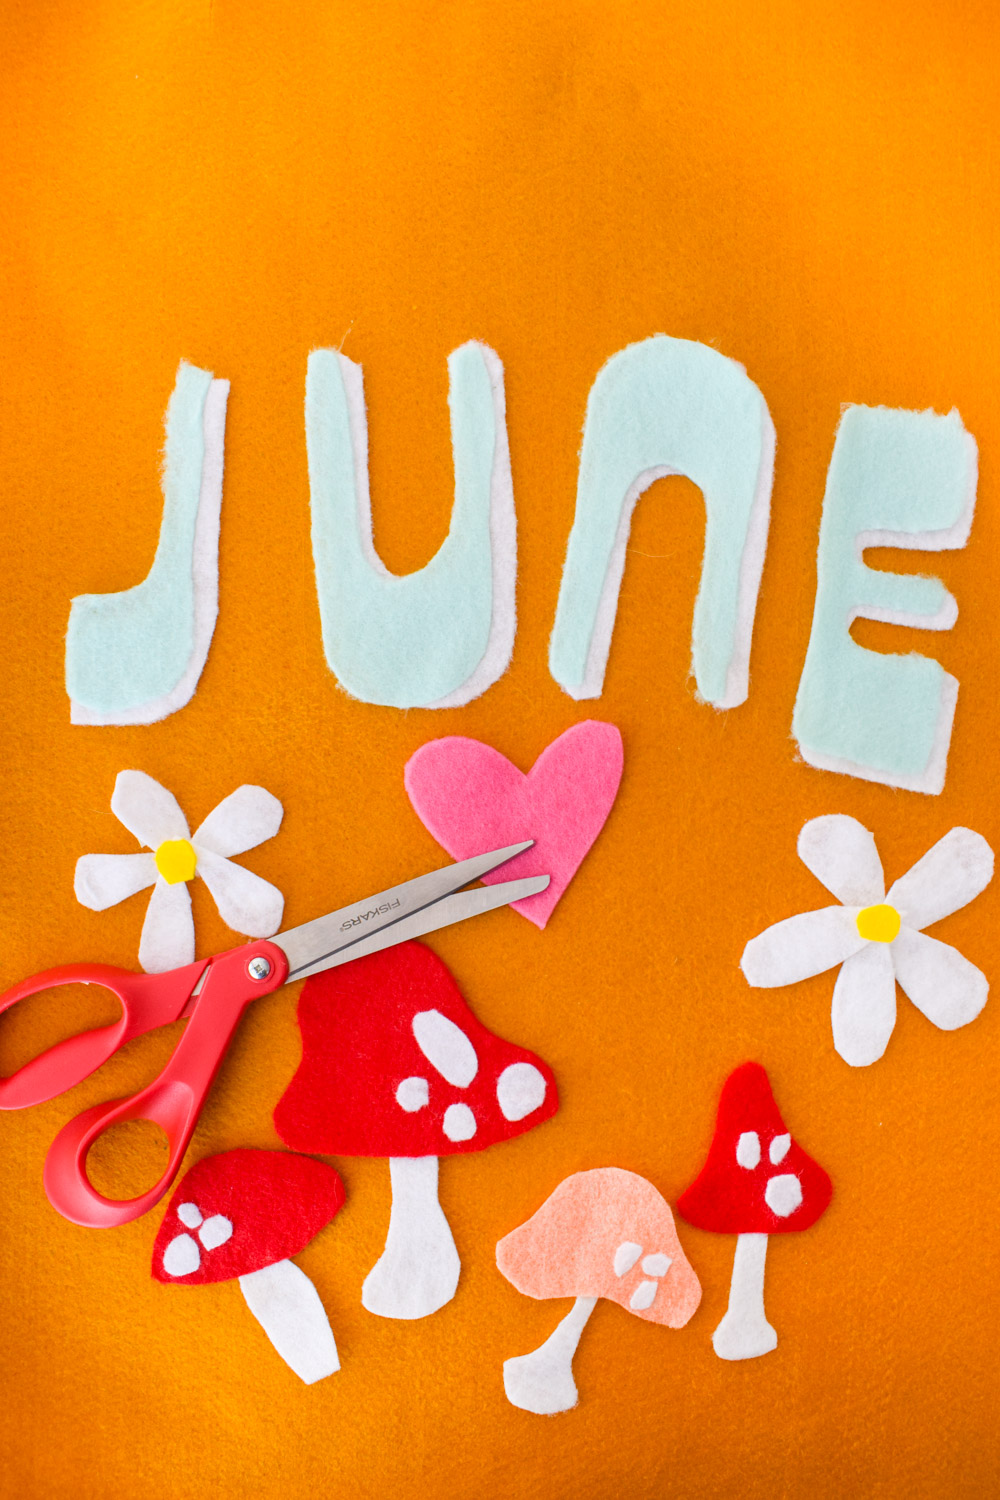
Next, cut out your letters and designs! I created a silhouetted version of her name in a groovy style, as well as some cute toadstool mushrooms, hearts, and daisies.
I used the various iron-on hems to attach all the bits and bobs to the design. Super easy actually! but for these little bits you could technically use hot glue just fine.
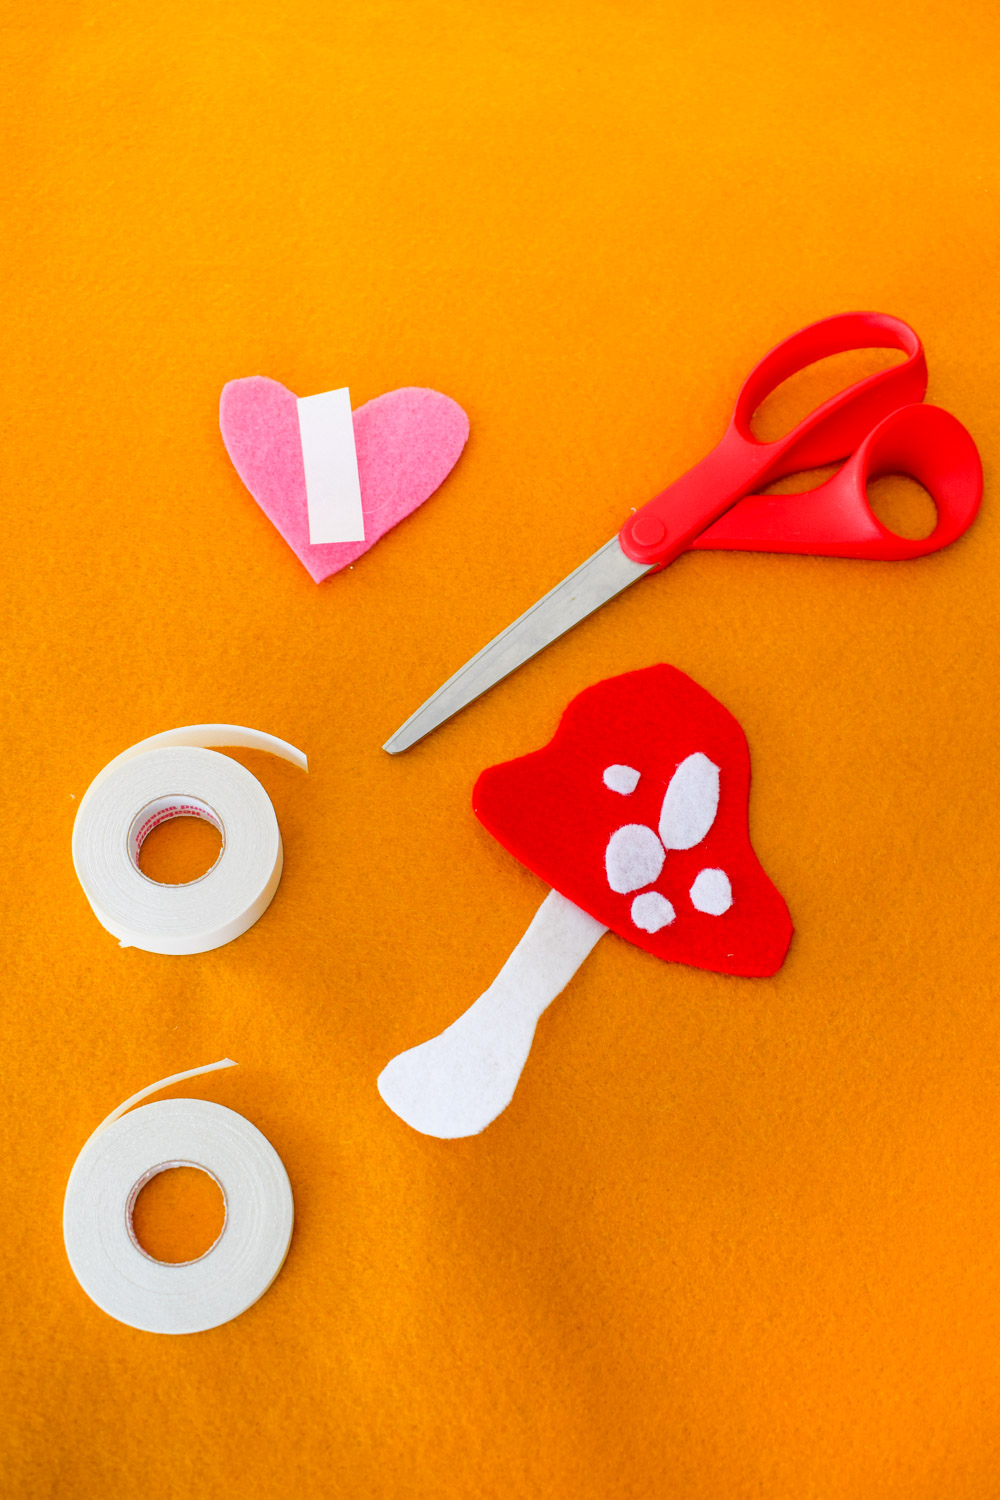
Once all the textured and dimensional aspects are created, apply one step of the iron-on hem. You’ll wait until the ric rack and name are added, before doing the others.
Next, add the ric rack along 4 of the 5 sides of the pennant (down the vertical sides, and the two sides of the point). I chose a nice thick one given how large the pennant is. A smaller size would have gotten lost in the design.
Once that was done, I attached all the extra design elements.
For the dowel that holds the whole piece, I added it to the back of the pennant behind the “staircase tabs” and then attached a back flap to each tab, to secure the dowel. I then tied a large piece of cord and glue the knots in place for an extra secure hold.
Et voila!
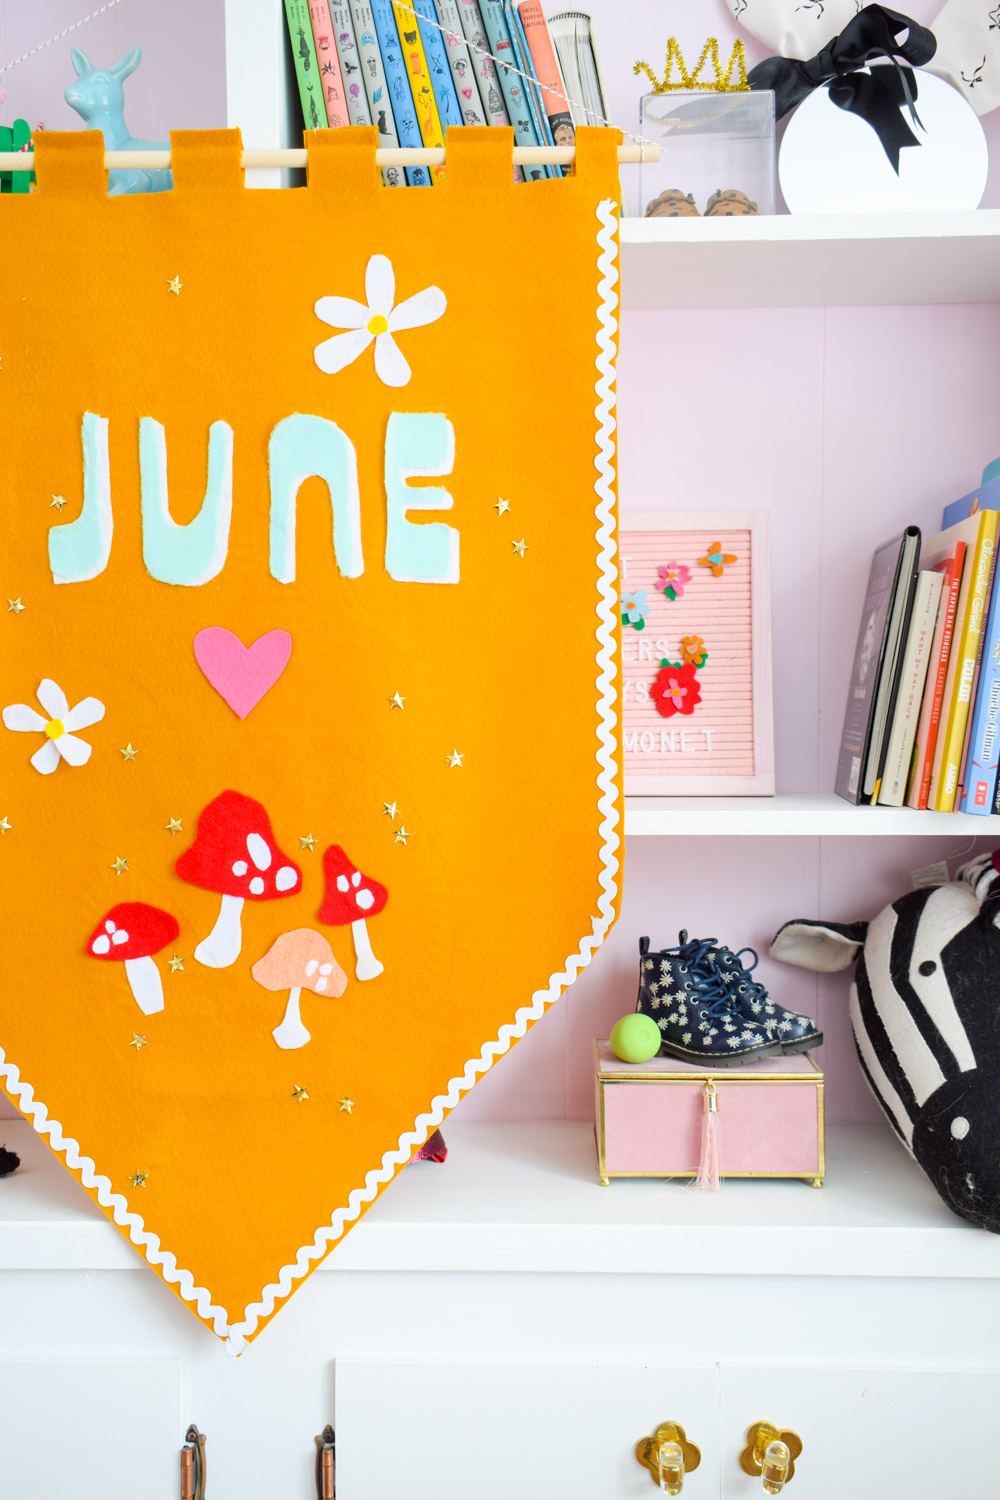
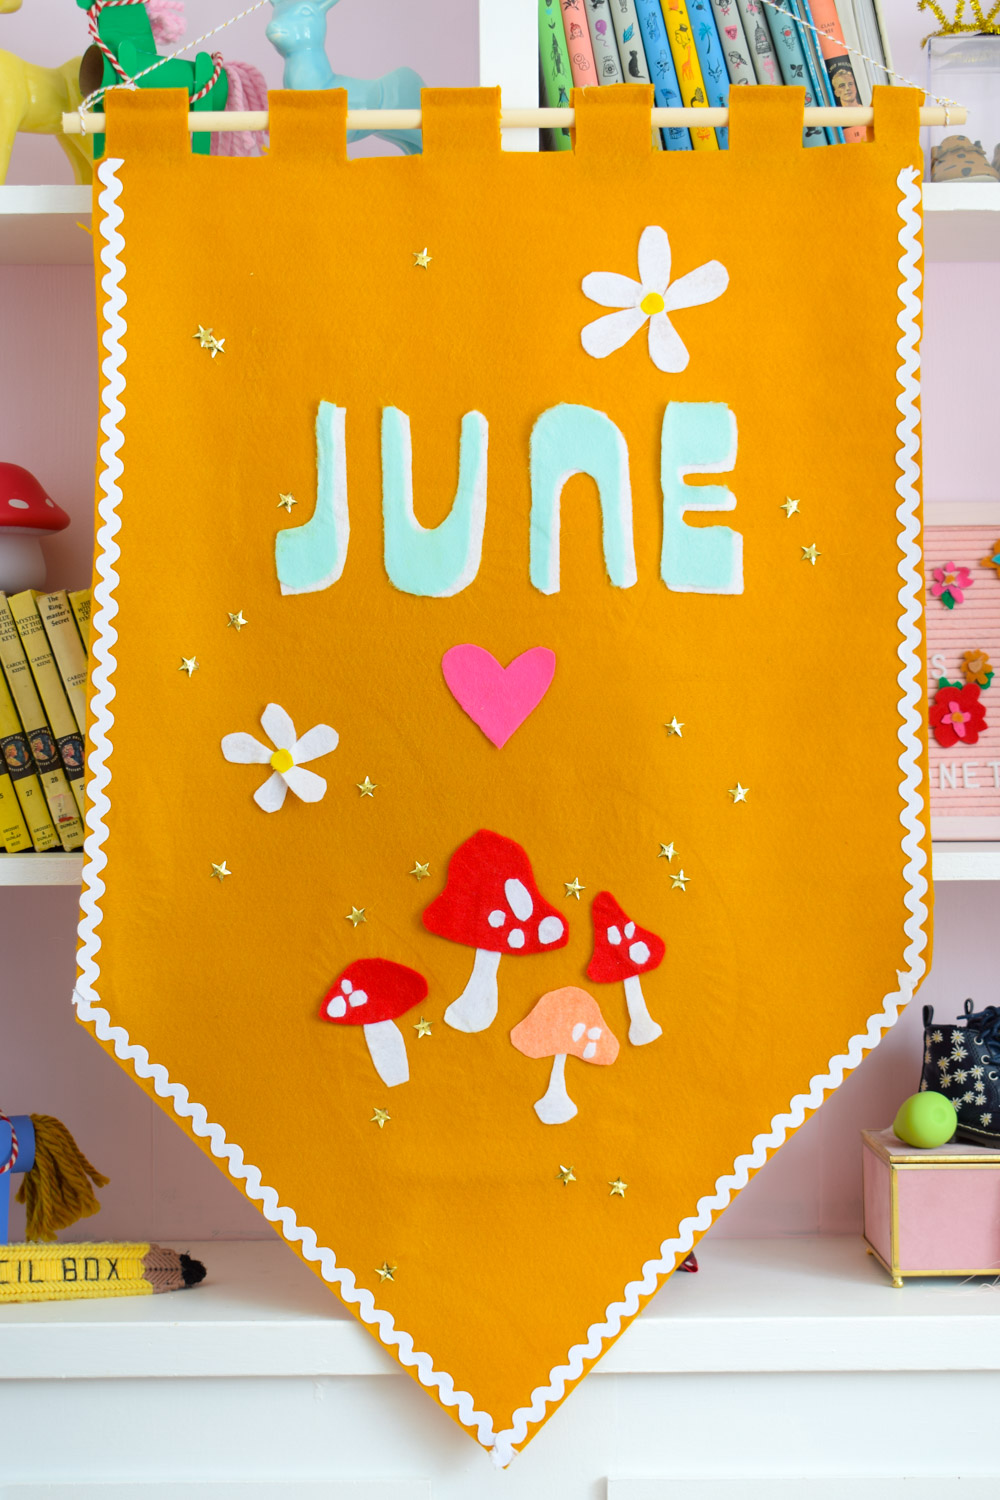
As you can see, I added some little gold star beads, but those were very much a last minute addition.
You might also spy my Toilet Paper Roll horses! You can watch the tutorial for that here:

