

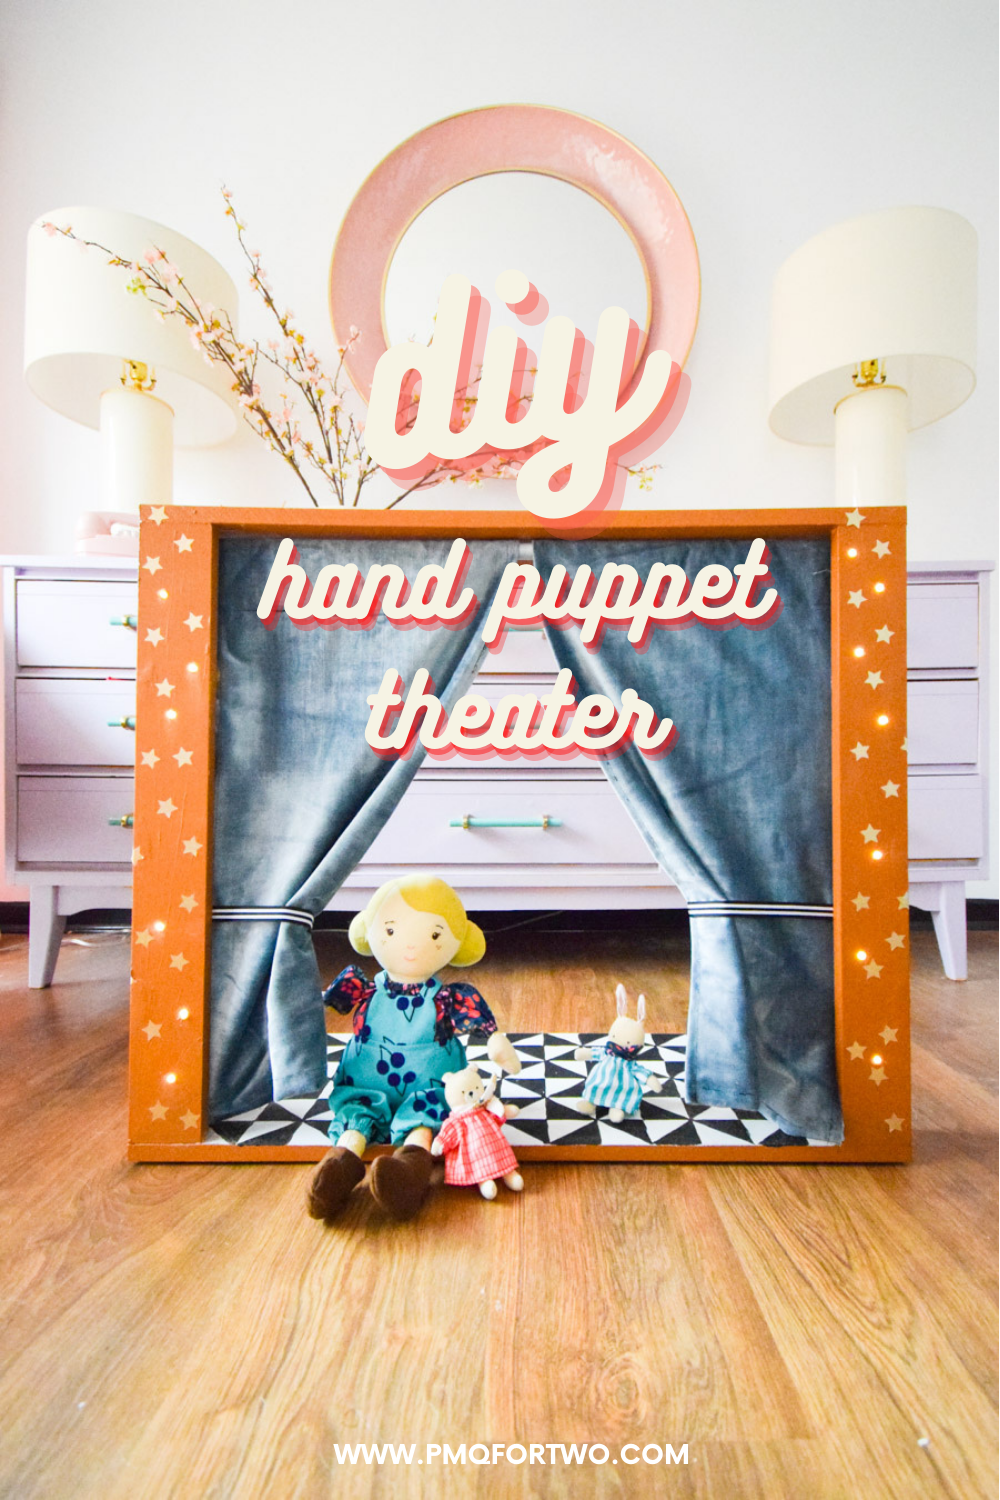
I wanted to get a head start on gifting this year, and since Dan and I are trying to make more of June’s toys, a DIY hand puppet theater was right up my alley. I used the new brushless compact series from Ryobi to get the job done!
*Ryobi Canada sponsored this post, but all thoughts are my own. Thank you for supporting the brands that make PMQ for two possible.

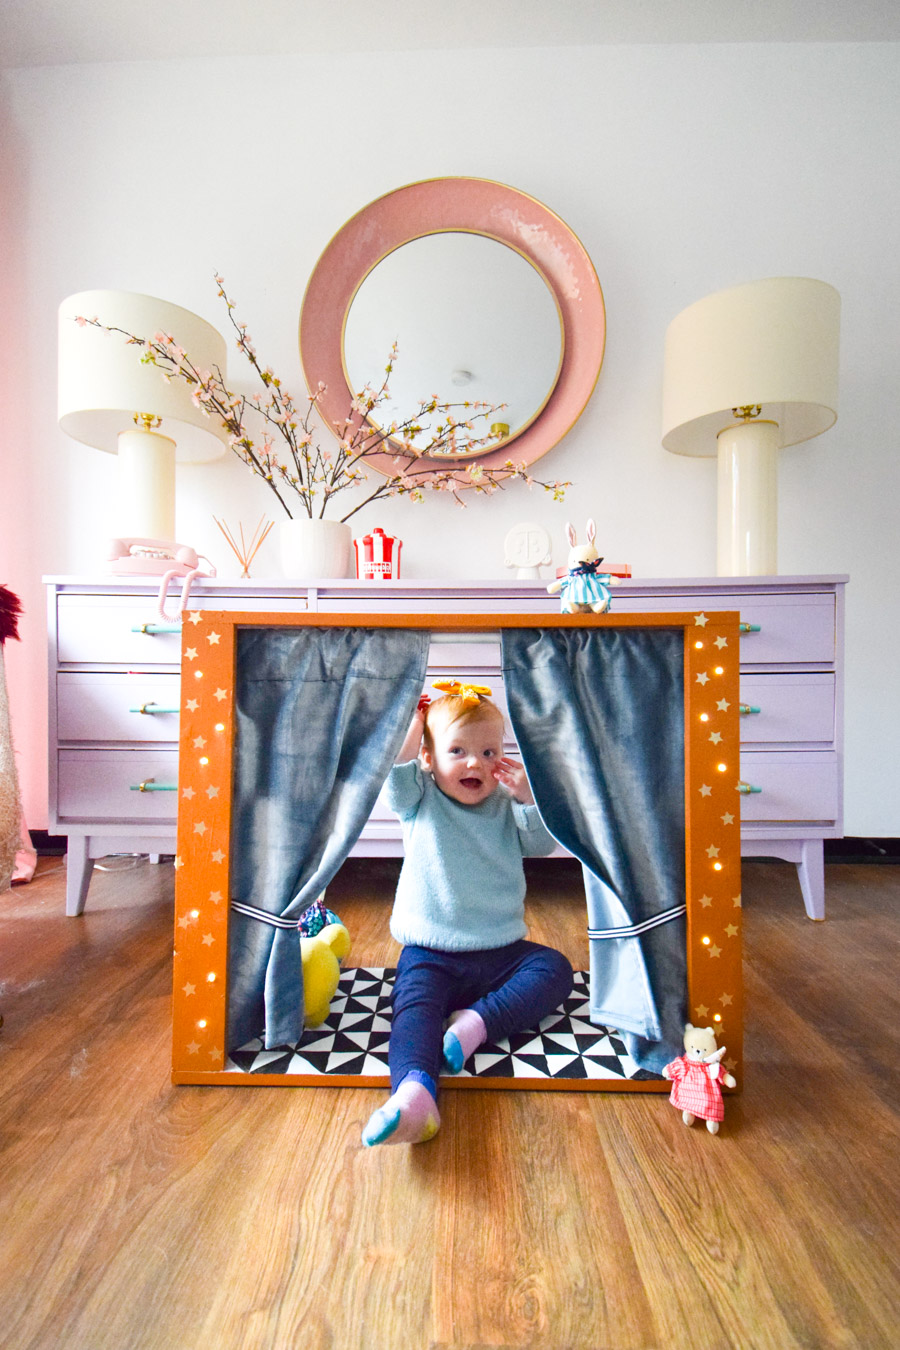
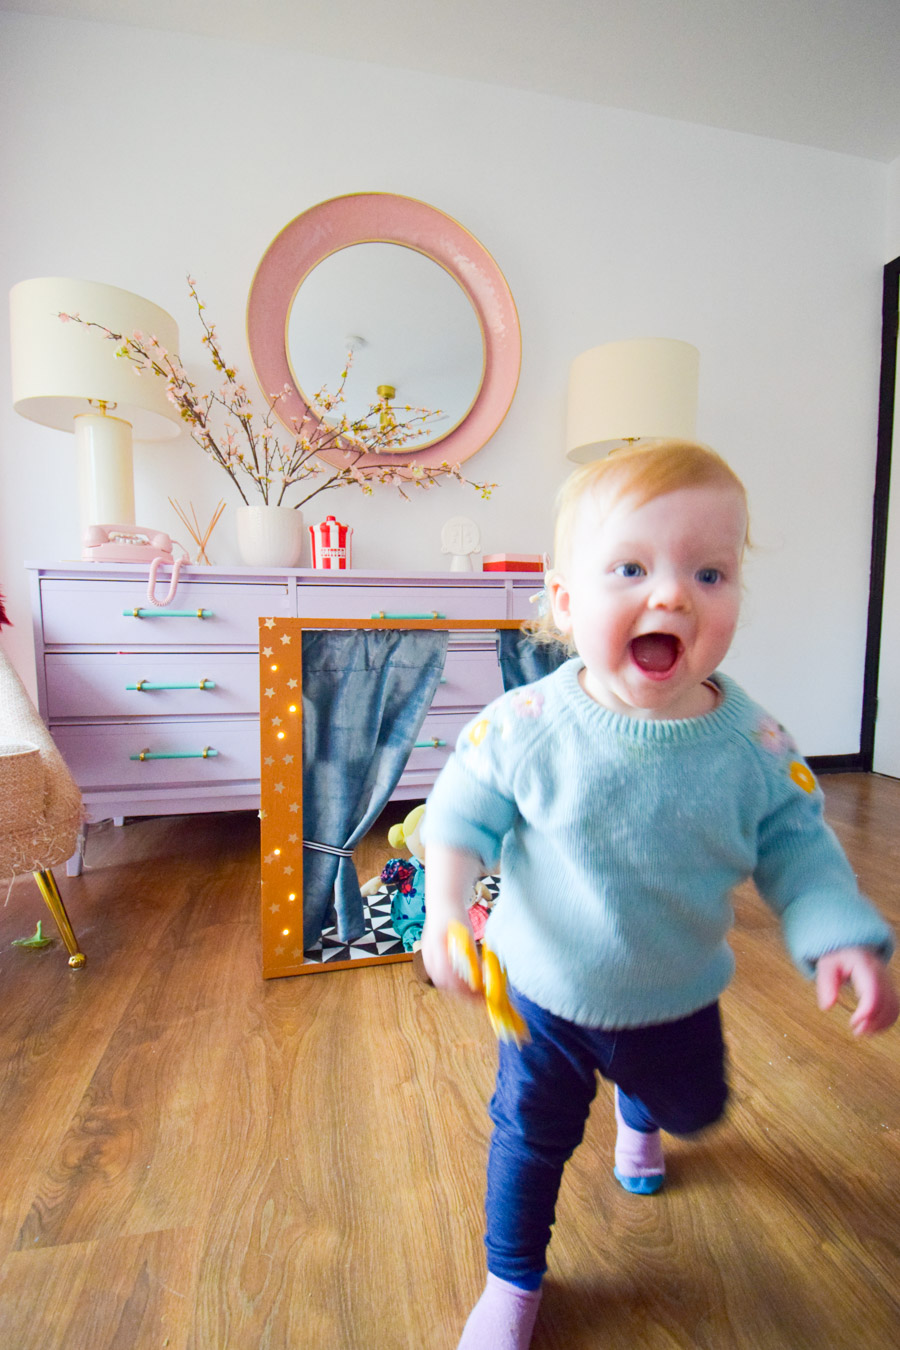
Introducing my fave photo of June, since the last photo I took. My Queen is a total ham, and once she saw a stage she knew exactly what to do.
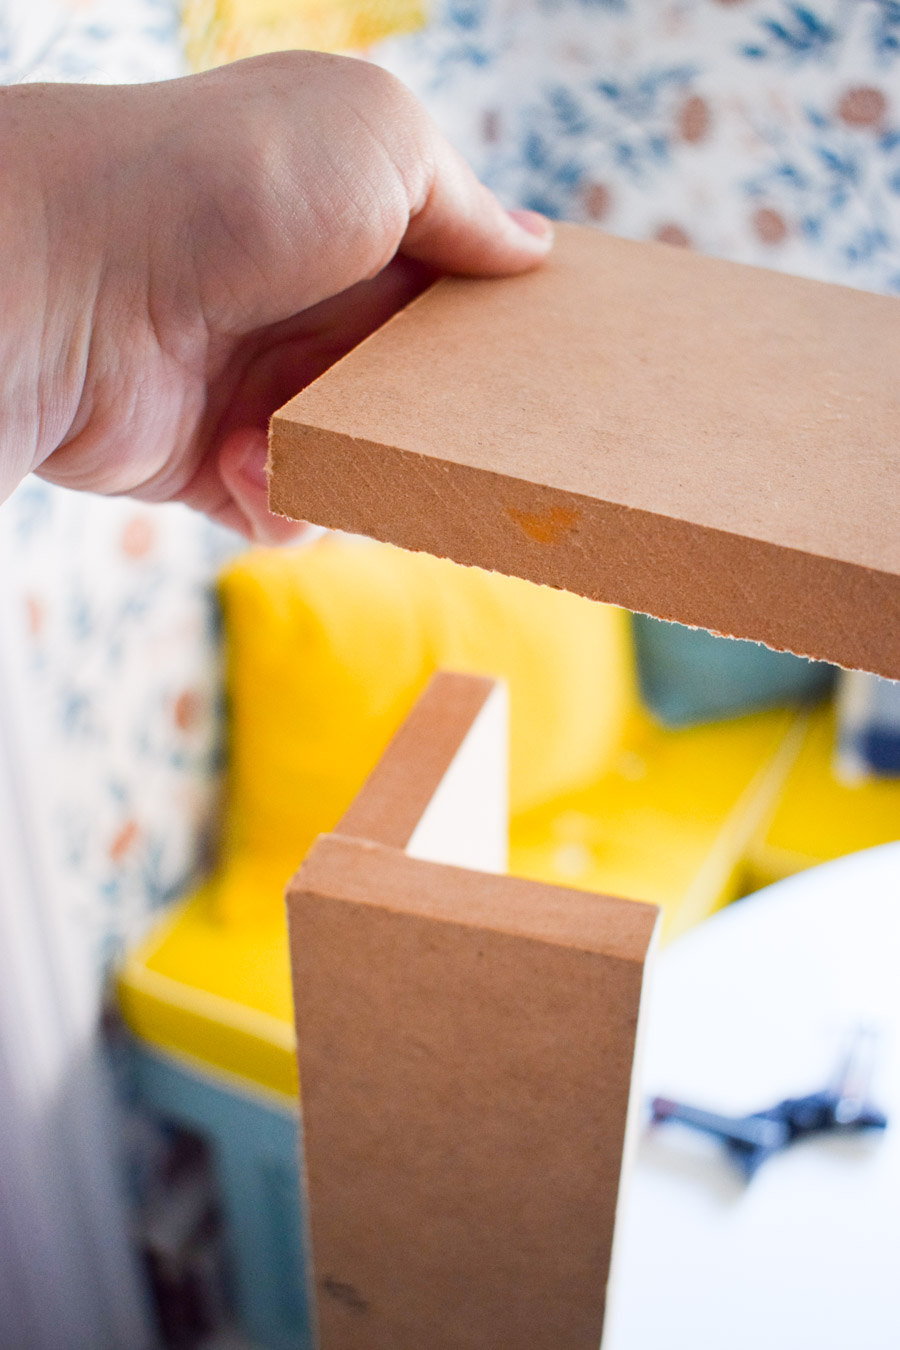
I made this puppet theater using a piece of scrap MDF that we had. I was able to use the table saw to cut it into 4 pieces that you’ll see below. Using the Ryobi brushless drill and brushless impact driver, I made quick work of the MDF and turned it into what you see before you.
How to DIY a Hand Puppet Theater
You can use whatever dimensions and sizing you want. But I made mine 28″ wide and 24″ tall.
The base and top piece are therefore 28″ wide, and the side pieces are 24″ long. I made the bottom piece 14″ deep, and the top piece was as wide as the remaining inches in the piece.
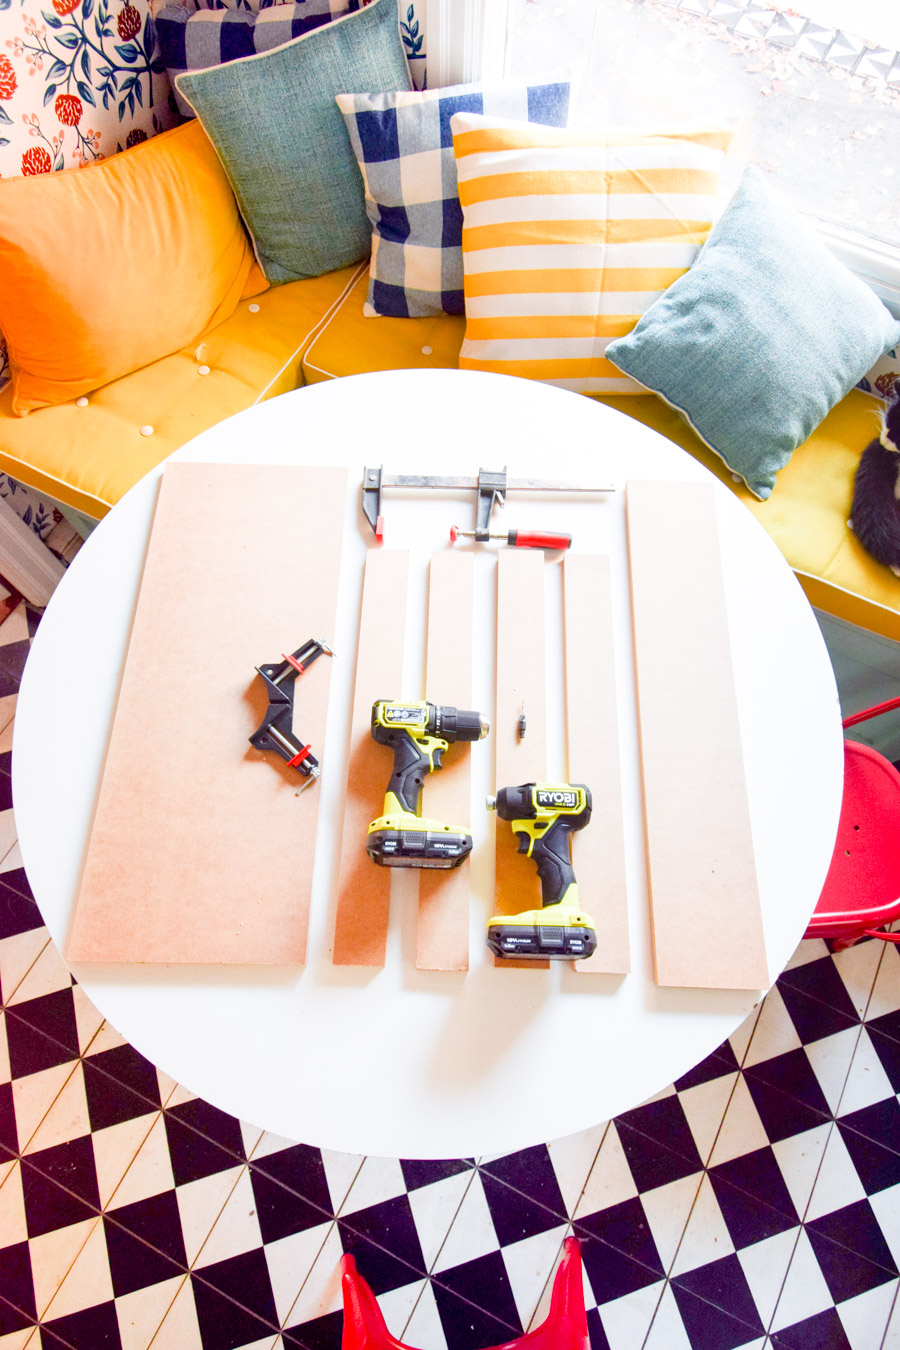
I also used 90* clamps, a regular clamp, wood glue, wood screws, and the Ryobi 18V One+ HP Compact Brushless Drill + Impact Combo Kit. They’ve got a whole compact set of tools (launched this summer) and if you’re in the market for something smaller but equally powerful, this range is for you.
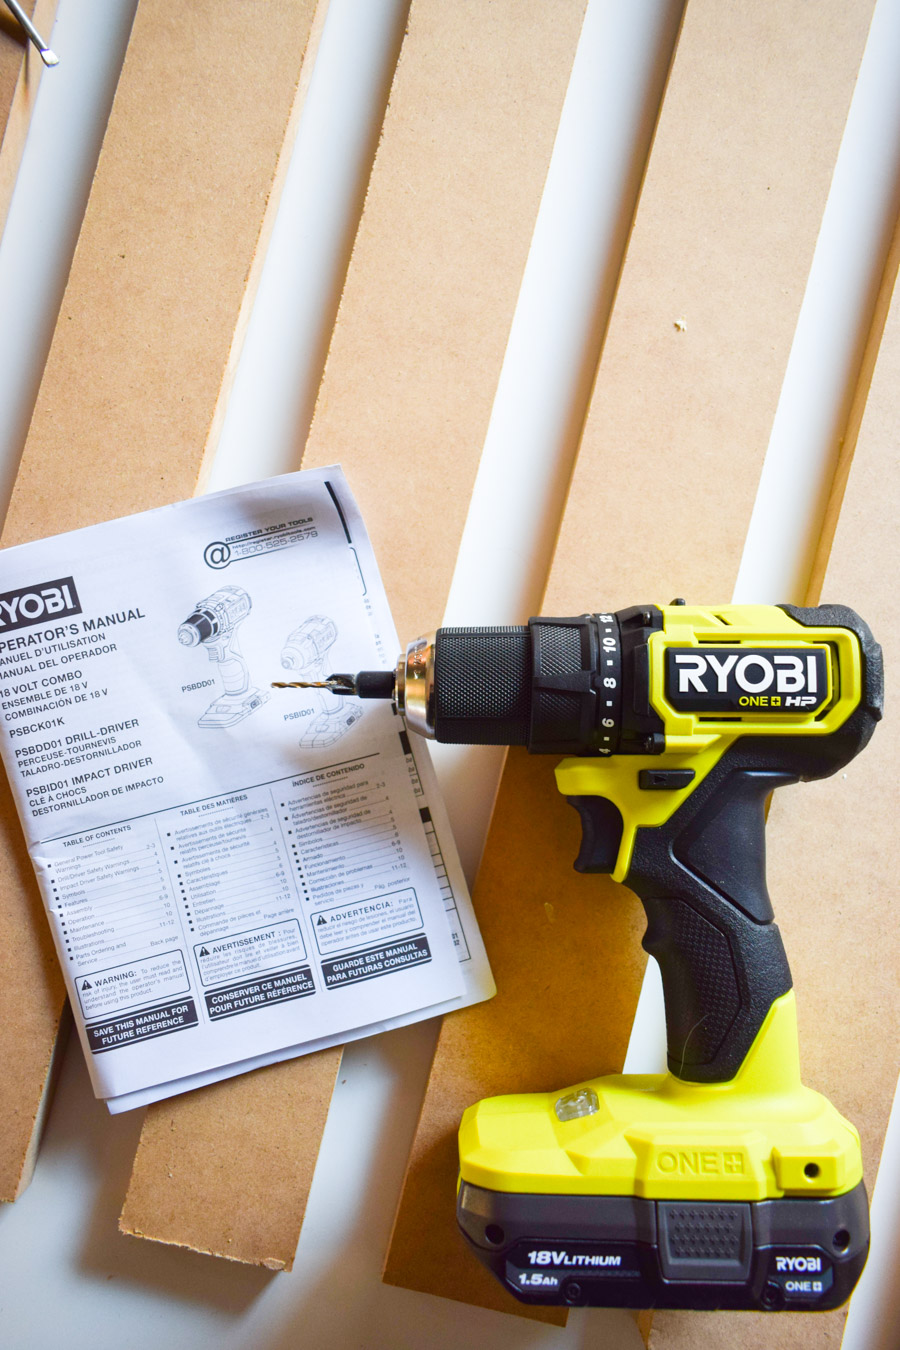
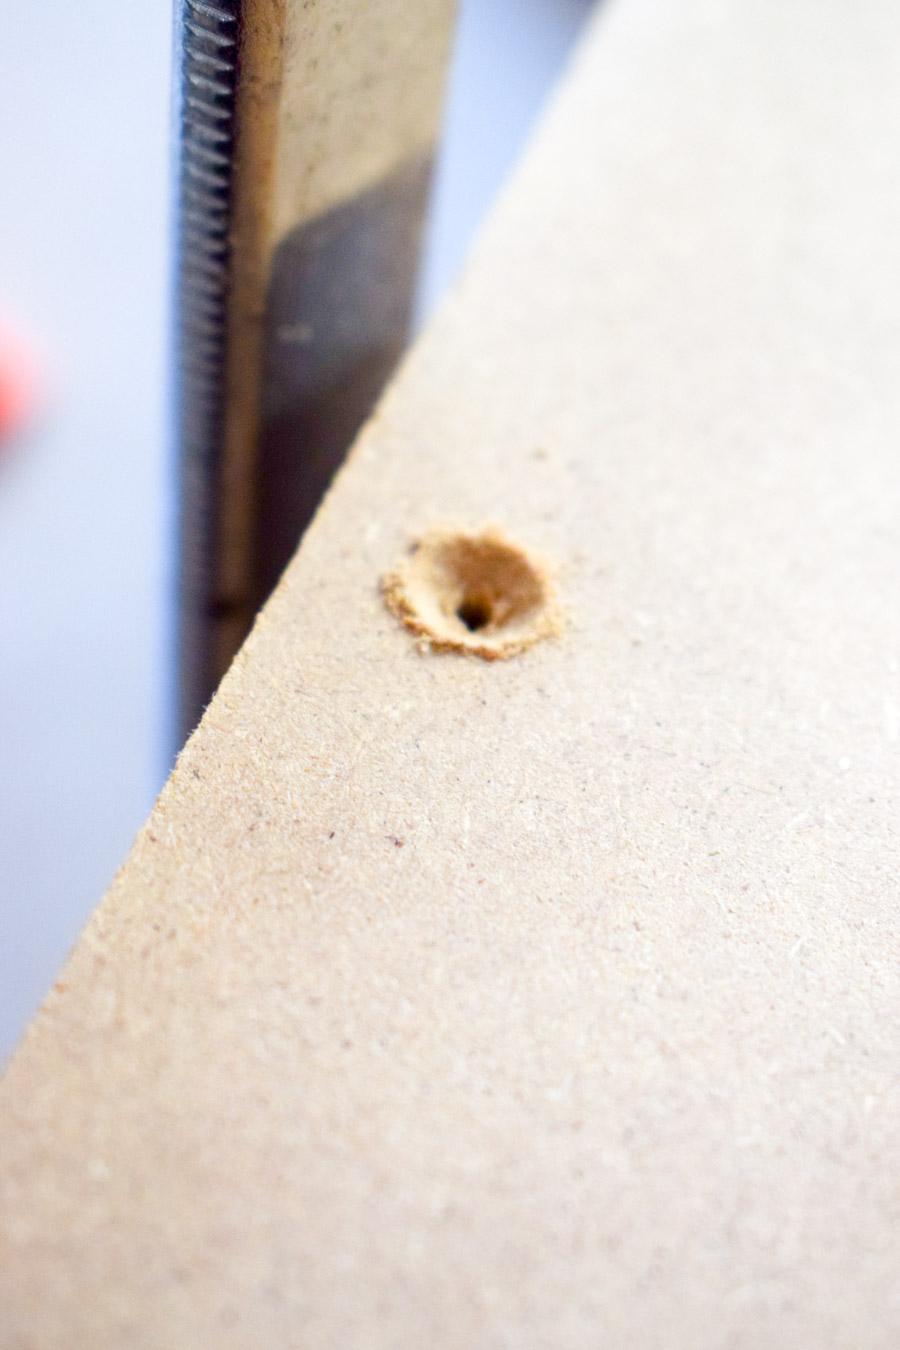
I used the drill and impact driver to countersink the pieces together so that I could putty over them to prevent June from catching on anything.
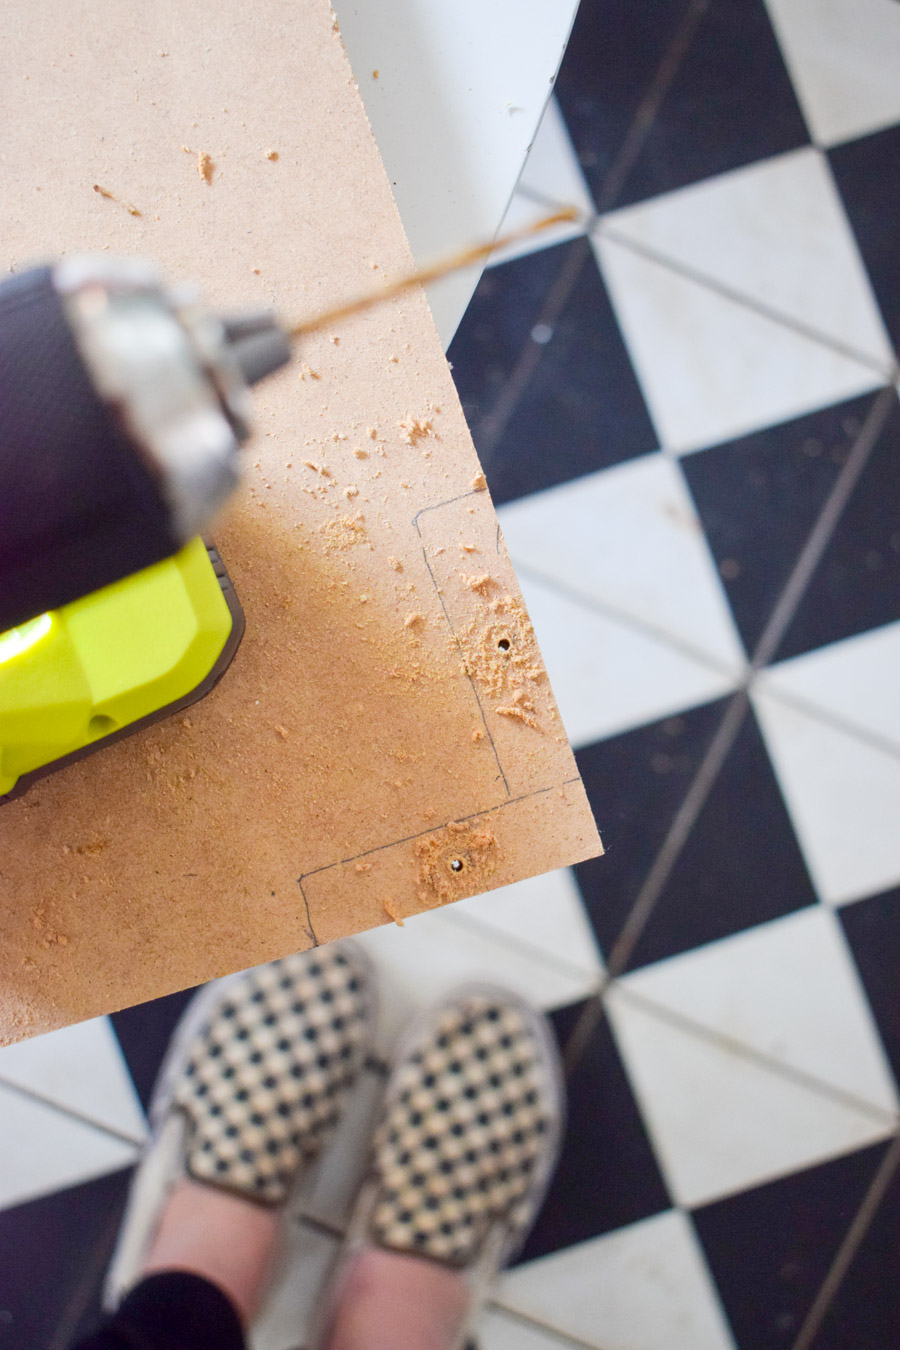
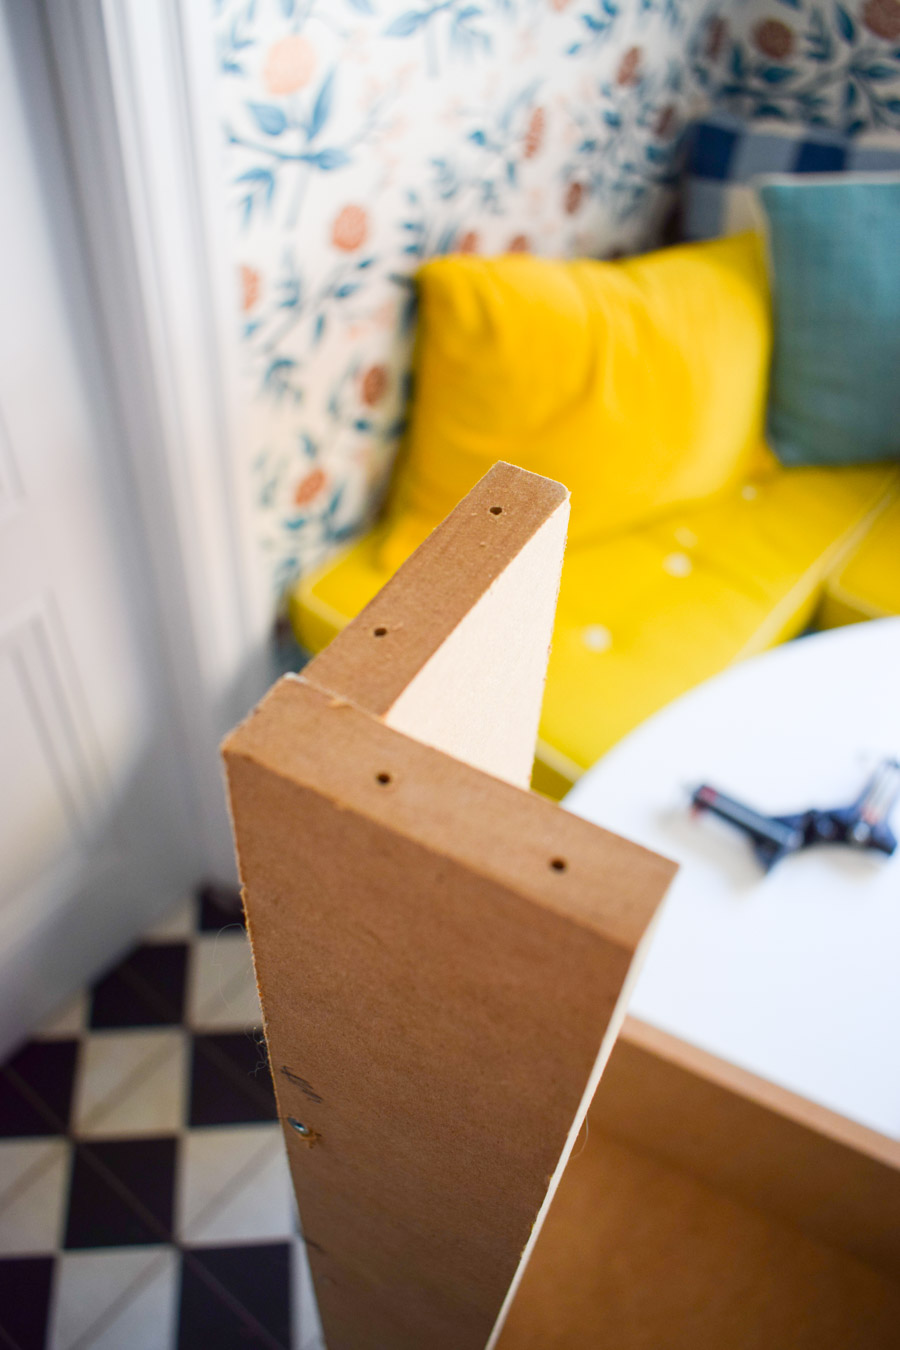
Using the drill with a countersink bit I created a pilot hole so that when I use the impact driver to fasten pieces with a screw, I don’t splinter the MDF.

When drilling the pilot holes, I clamped all the pieces together first so that all the holes lined-up across connecting pieces. Once that was done, I took pieces apart, added a bead of wood glue, re-clamped and then fastened together.
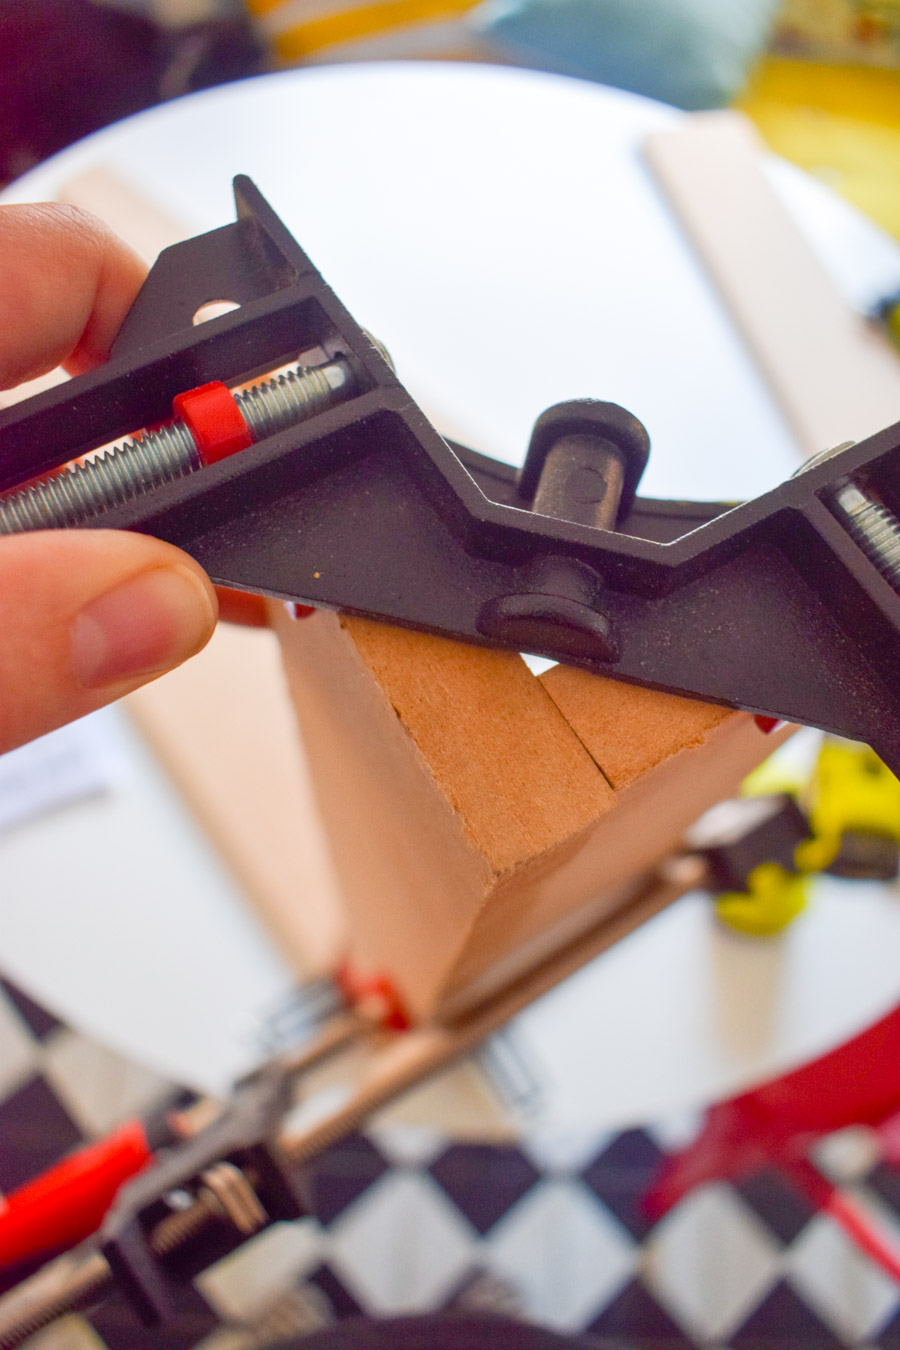
I started by drilling and clamping the pillars of the theater together. Once those were fastened I repeated the process to attach the pillars to the base of the theater.
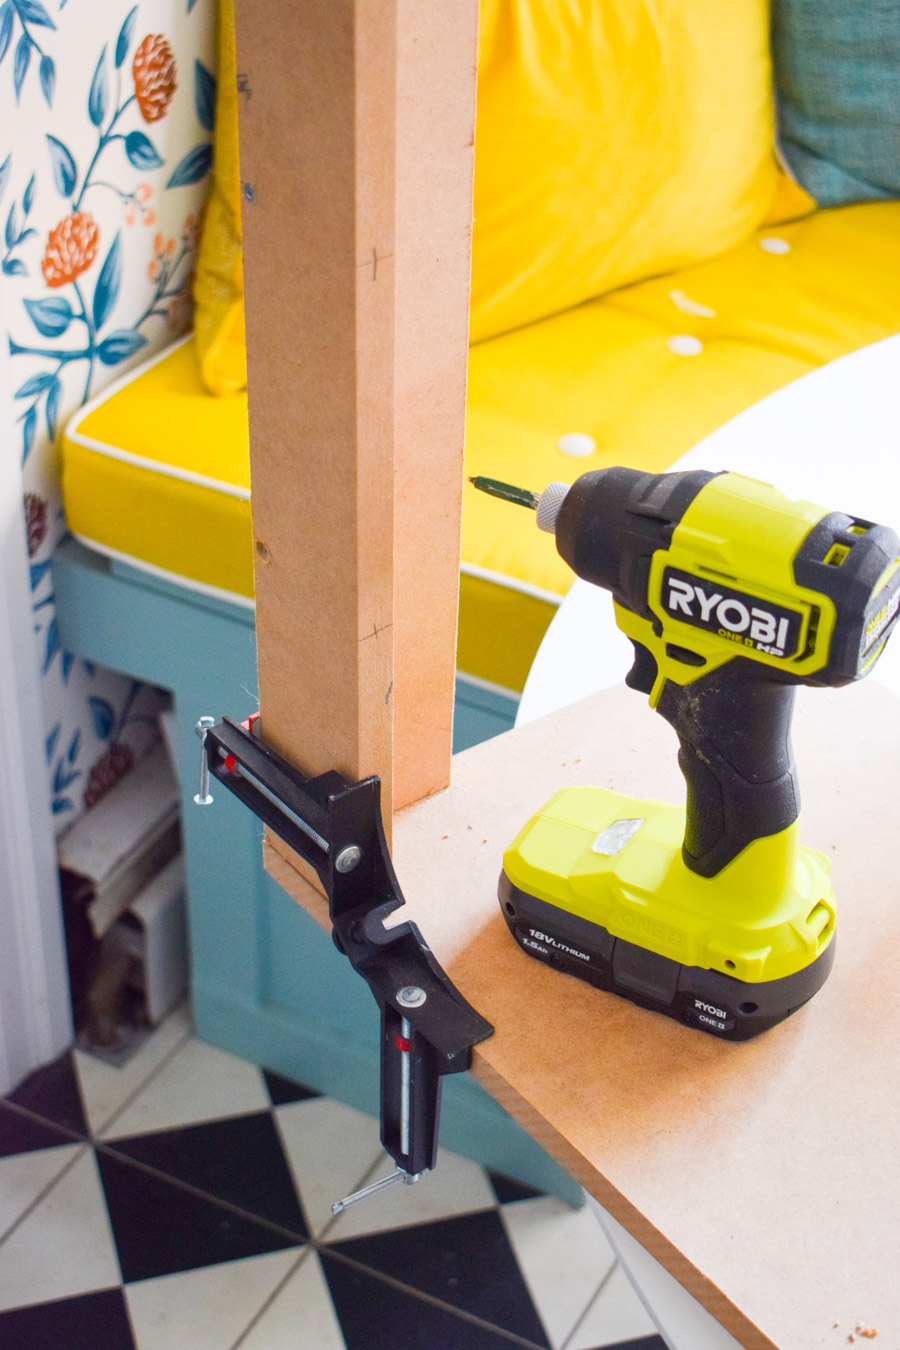
And then again to fasten the top piece to the top of the pillars.
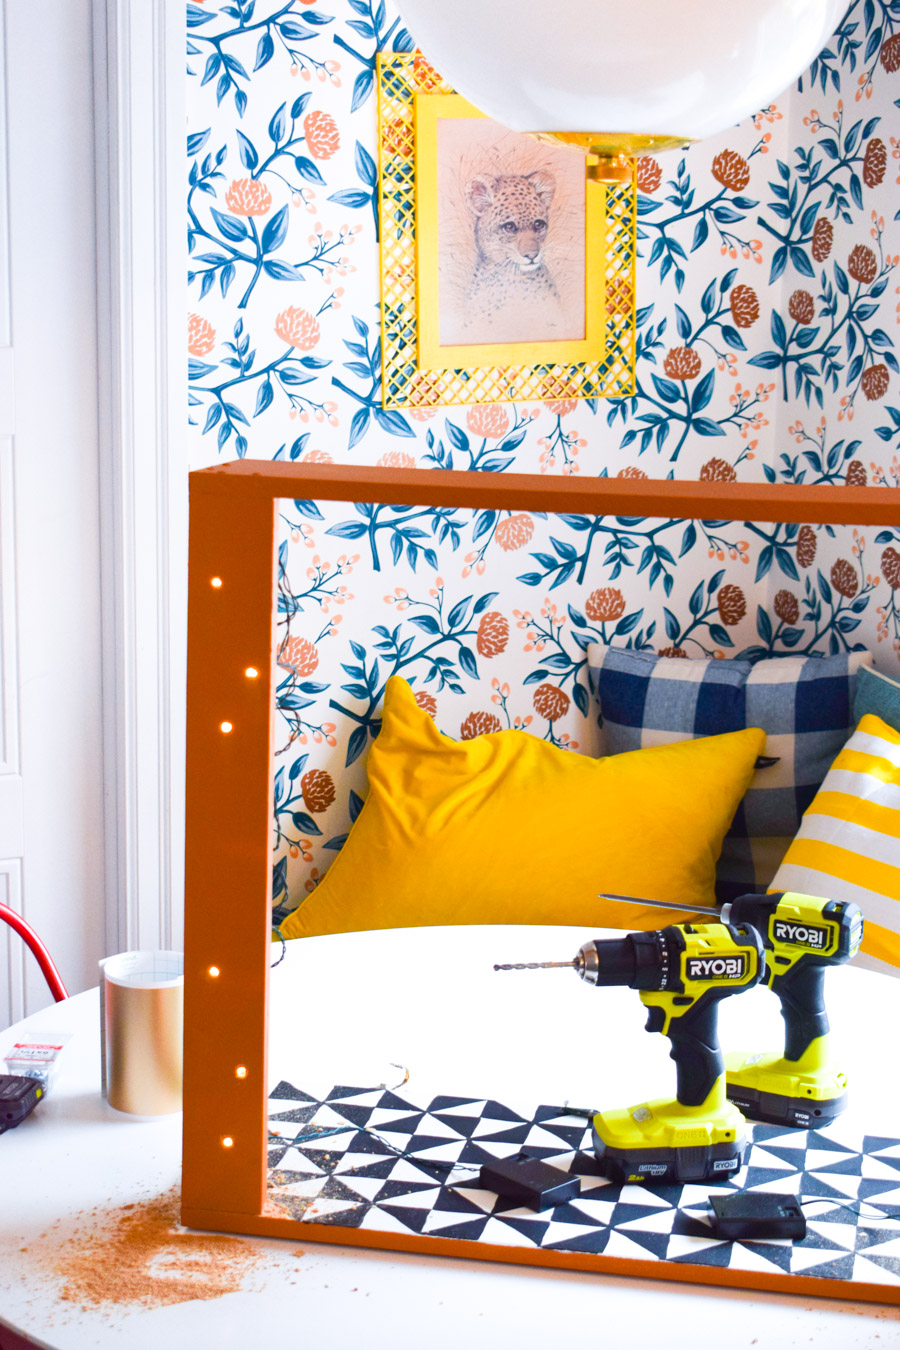
Once the piece was assembled, I puttied over the screws, sanded and painted the theater.
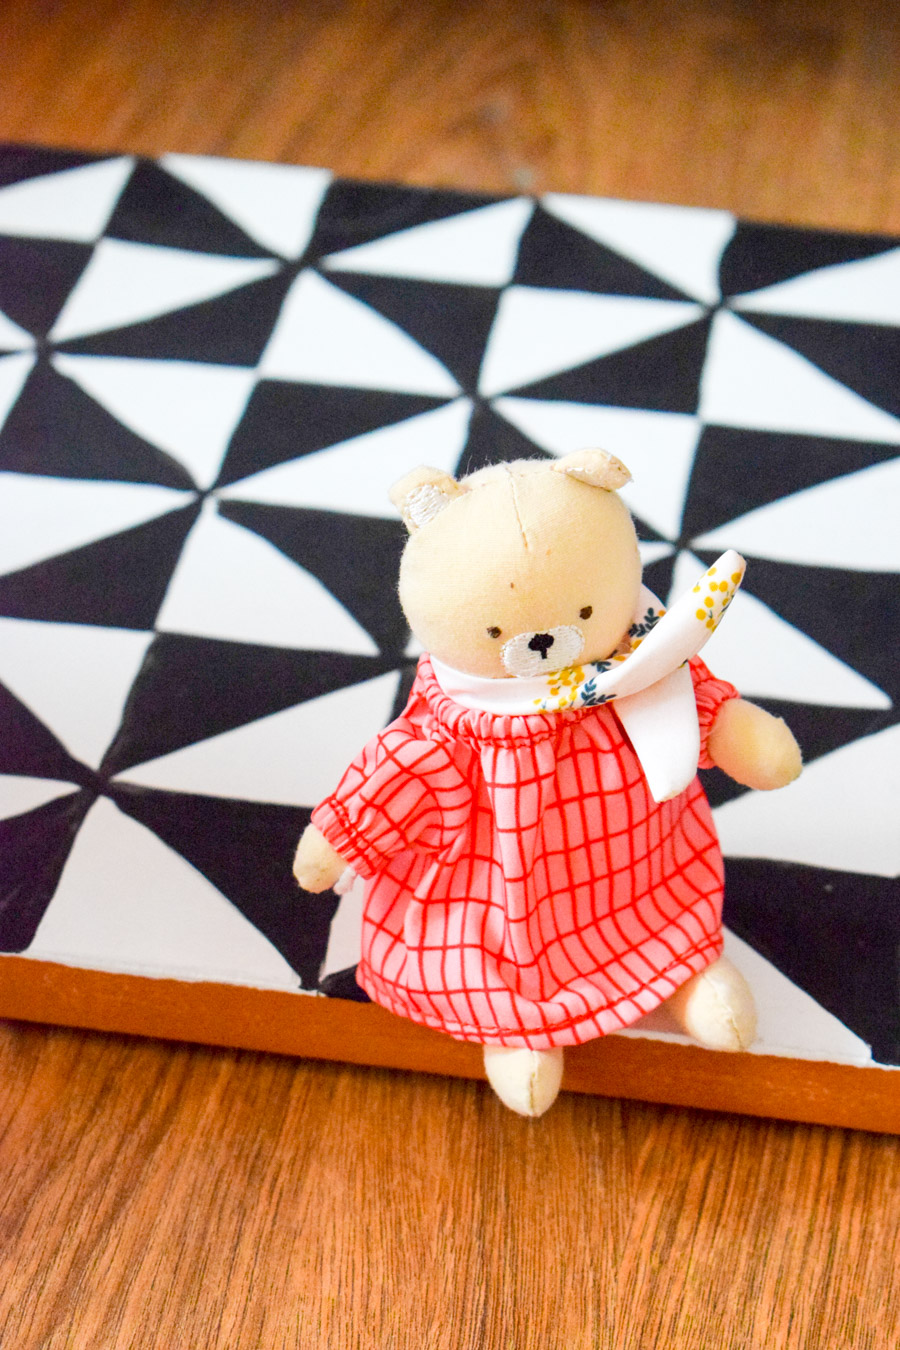
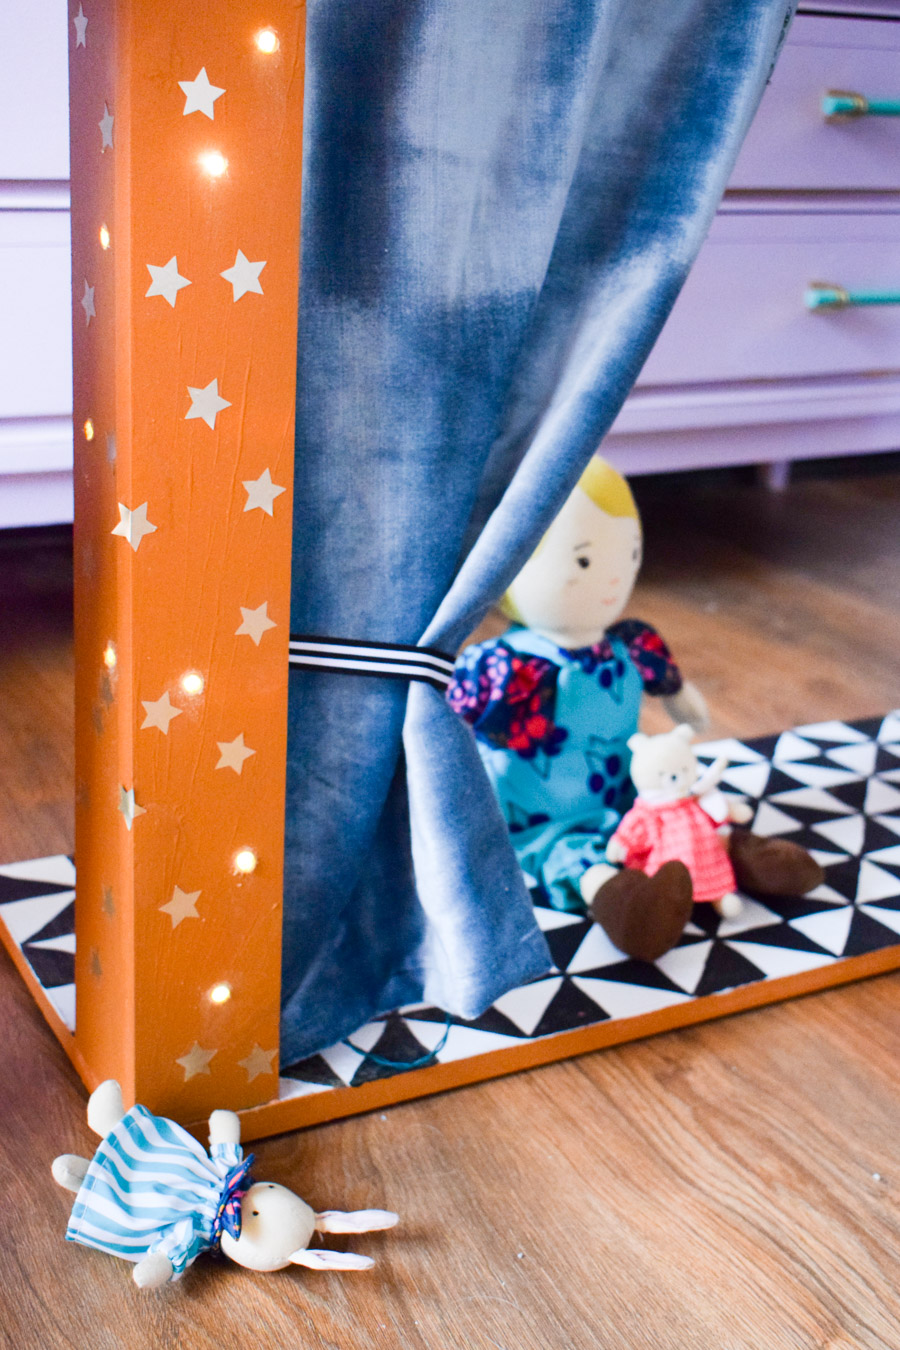
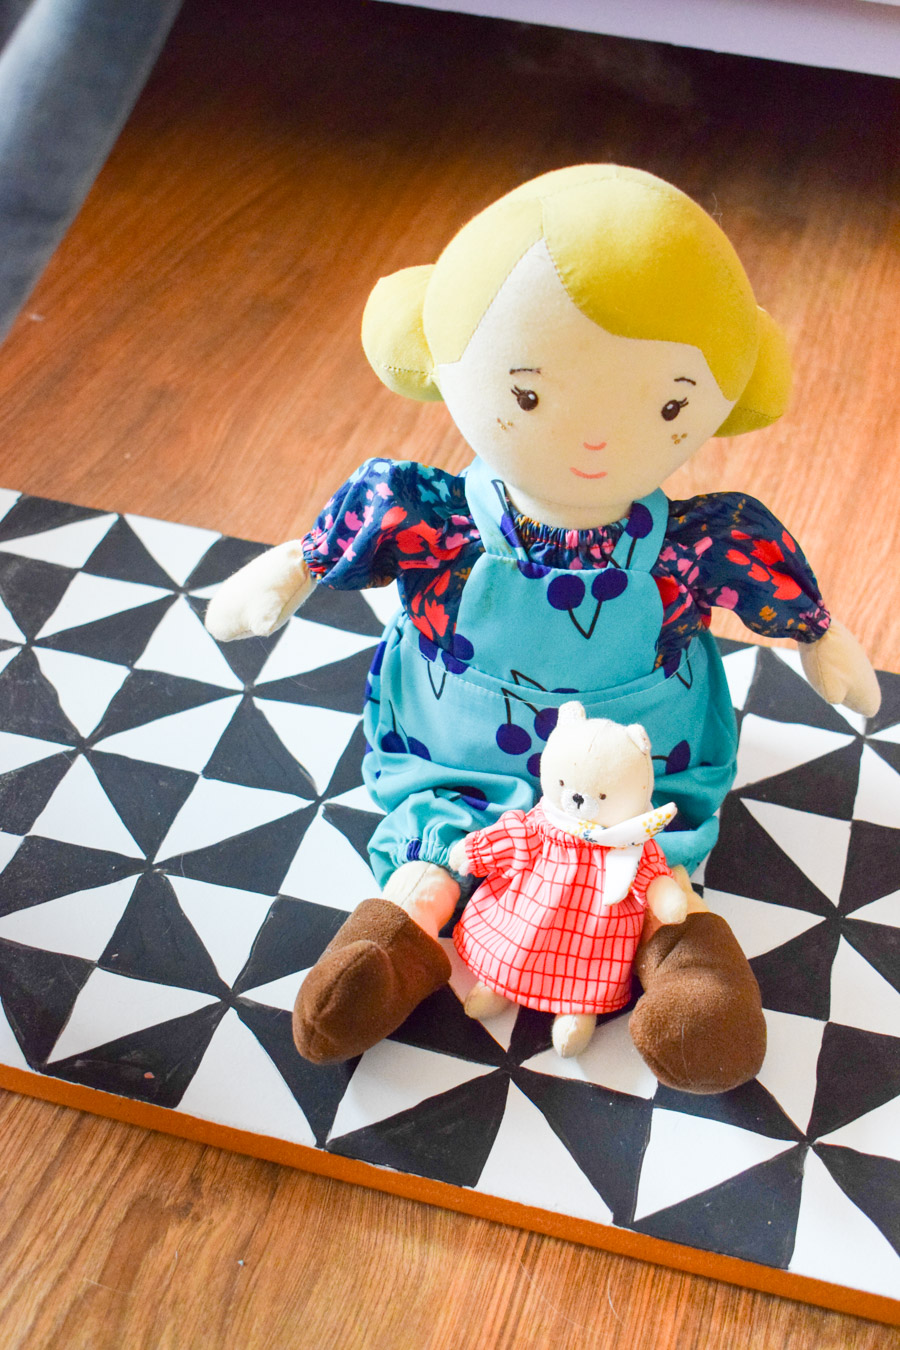
I painted the floor of the theater to match the floor of the her MCM playhouse and our front step. The pattern is gonna continue throughout!
Adding lights to the puppet theater
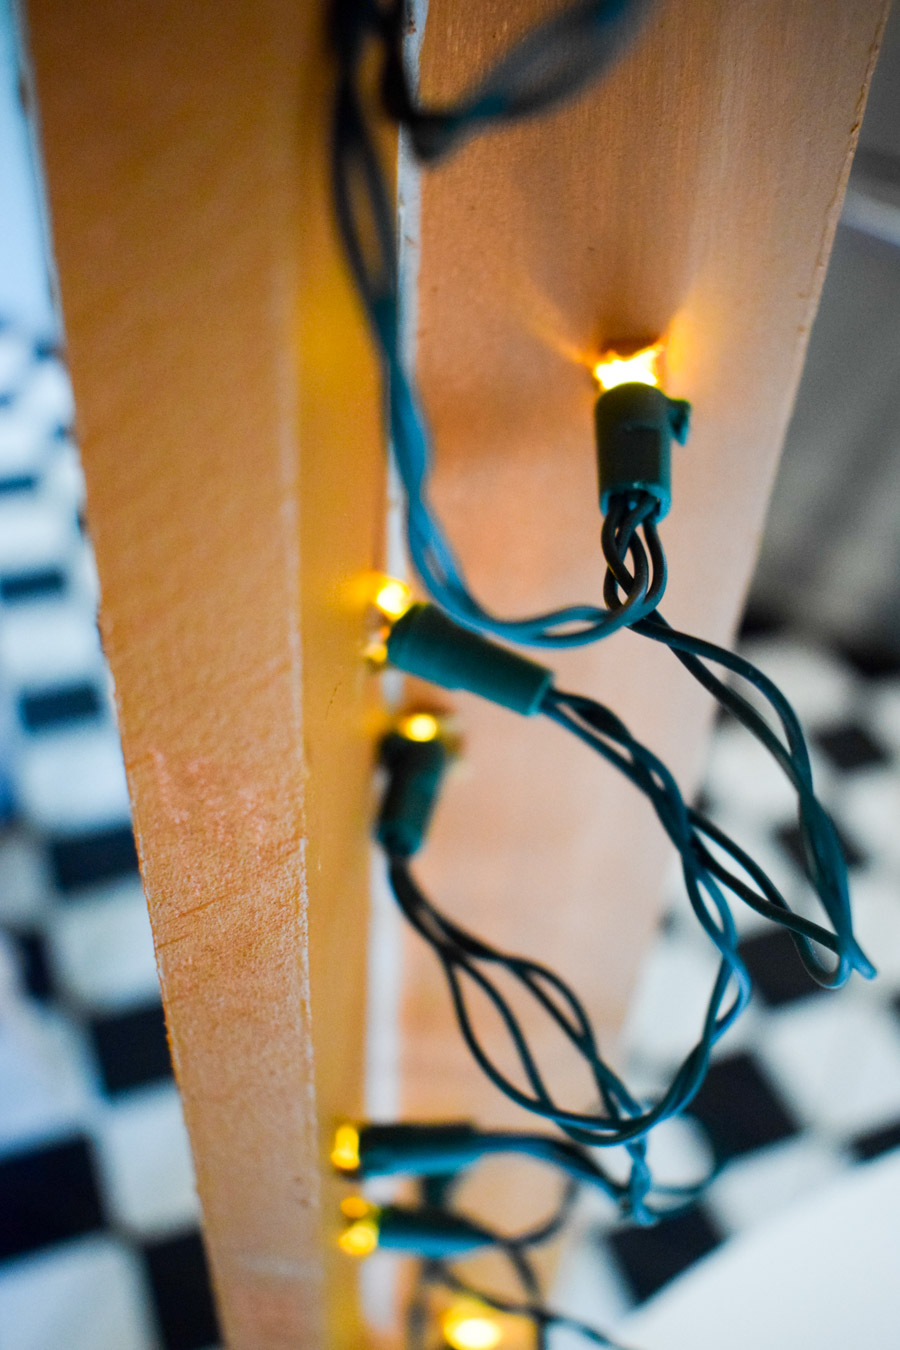
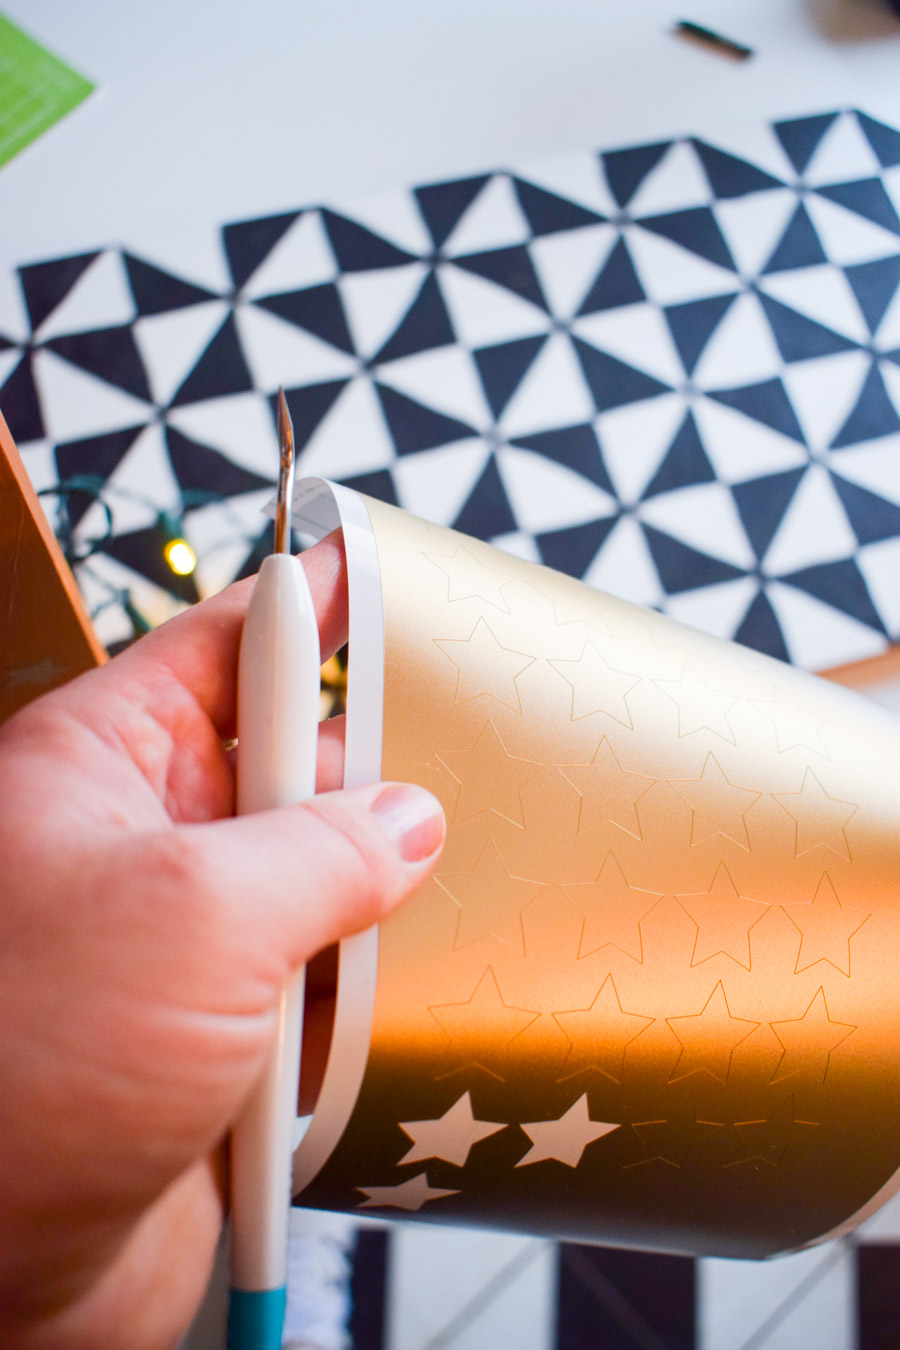
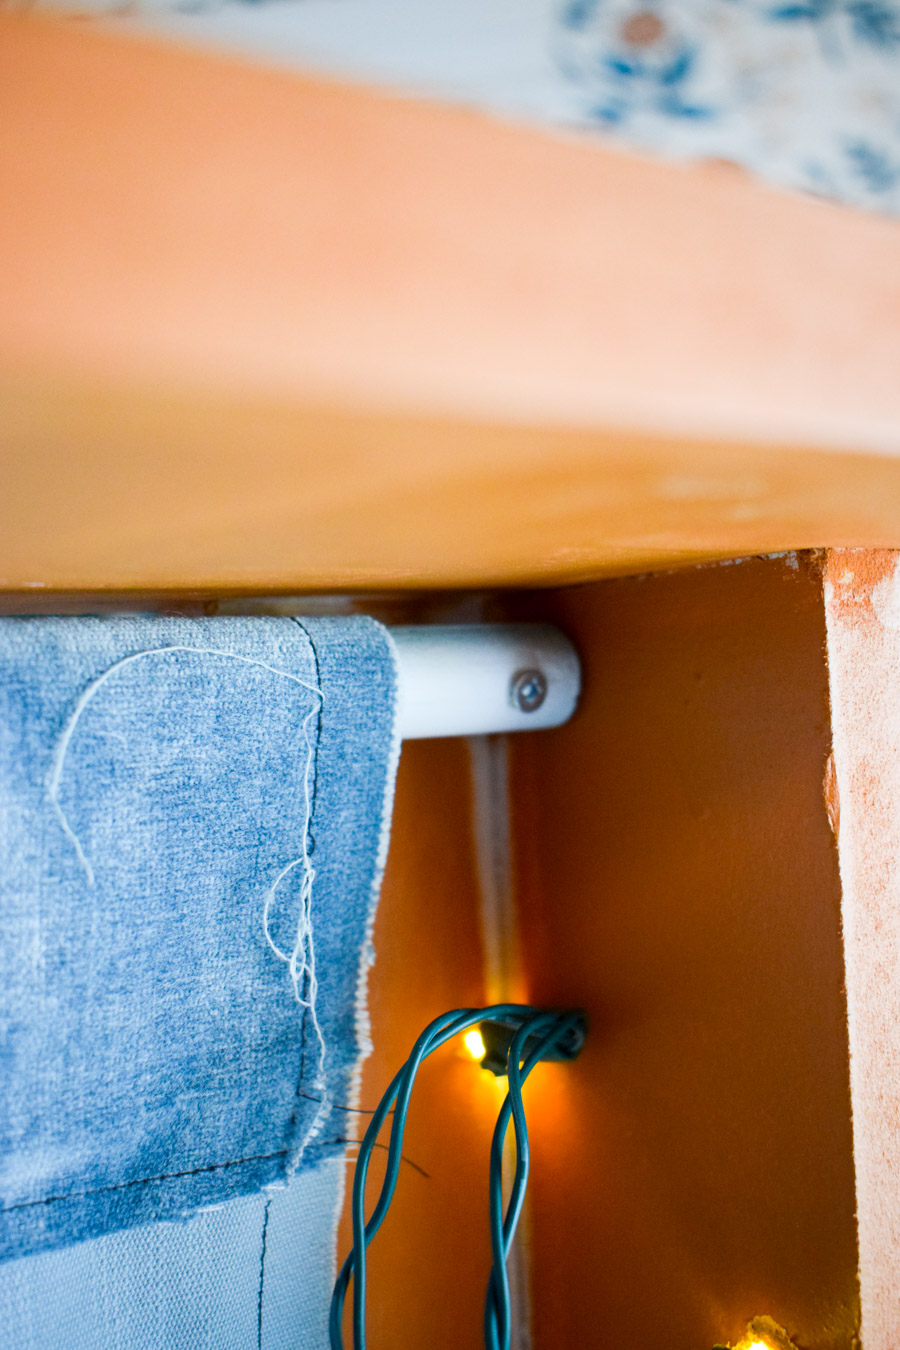
I wanted to make something top notch, so I knew we needed to talk about a lighting scheme. I used some small battery operated lights that I had from another project, and drilled random holes into the pillars.

My original plan was to paint gold stars around each light hole, so that it would look like shimmering stars around the stage. But I decided that vinyl stars would do the trick.
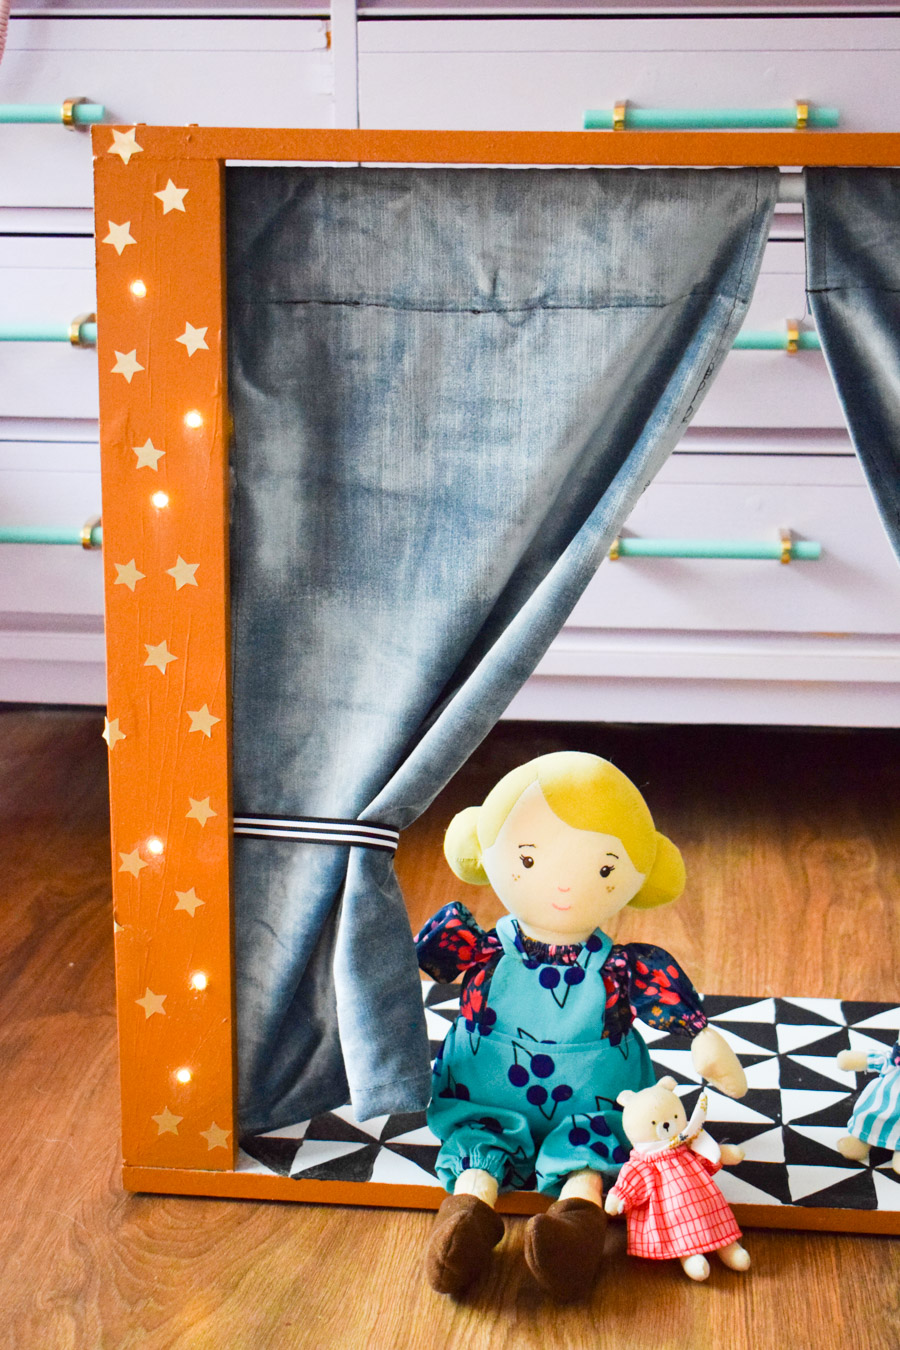
Adding a curtain to a puppet theater
I sewed two small curtain panels from leftover velvet, and using a dowel and the Ryobi brushless combo, added it to the puppet theater.
Like with the MDF, I pre-drilled a hole for the screw – trust me, it saves time and splintering.

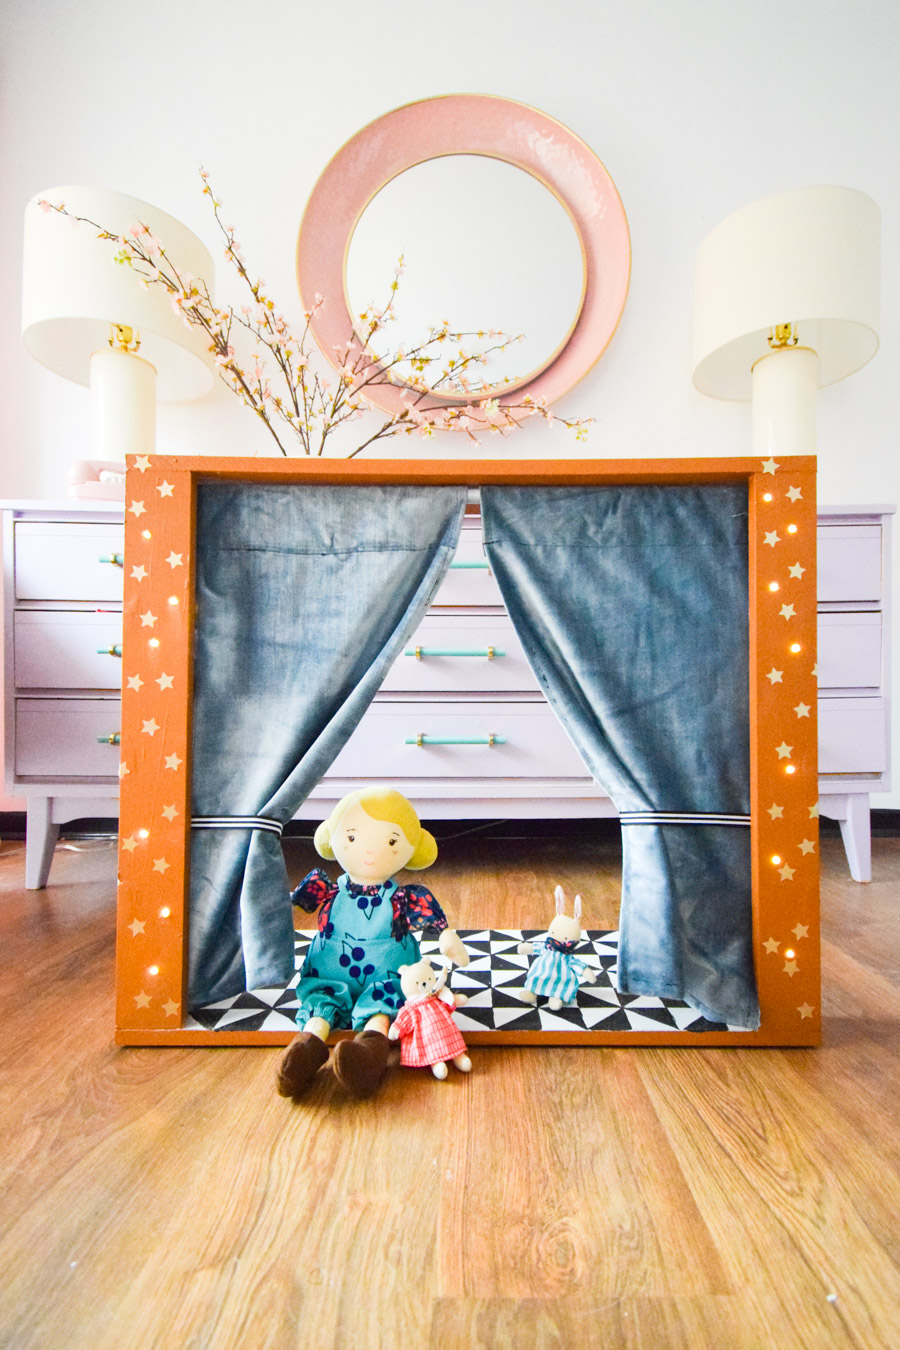
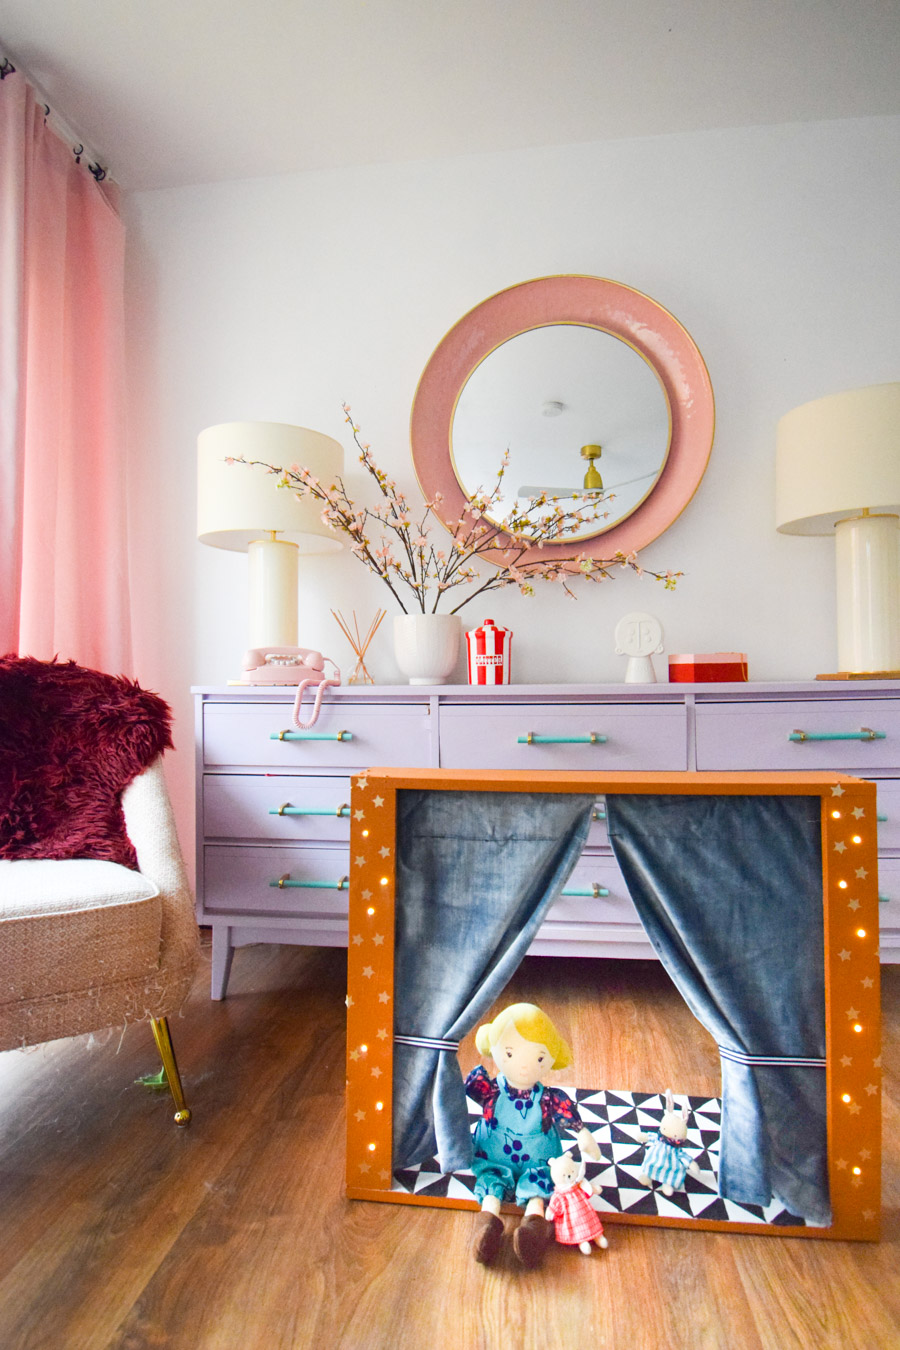
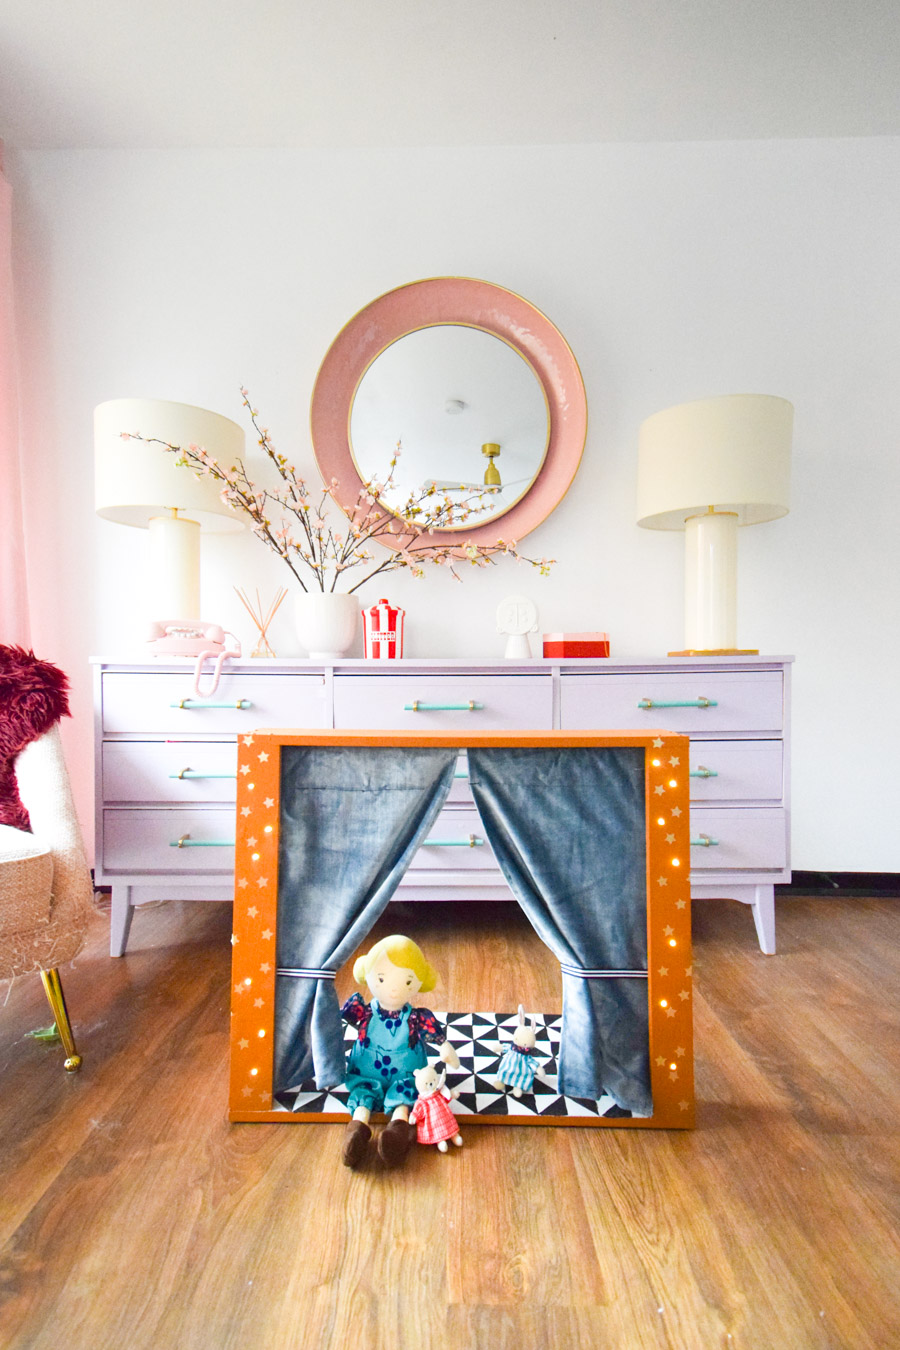
DIY Hand Puppet Theater
Here it is completed! It didn’t take that long to actually do, but between parenting and work and other things, it took me a few days. I’m glad I took my time though, because June seems to love it.

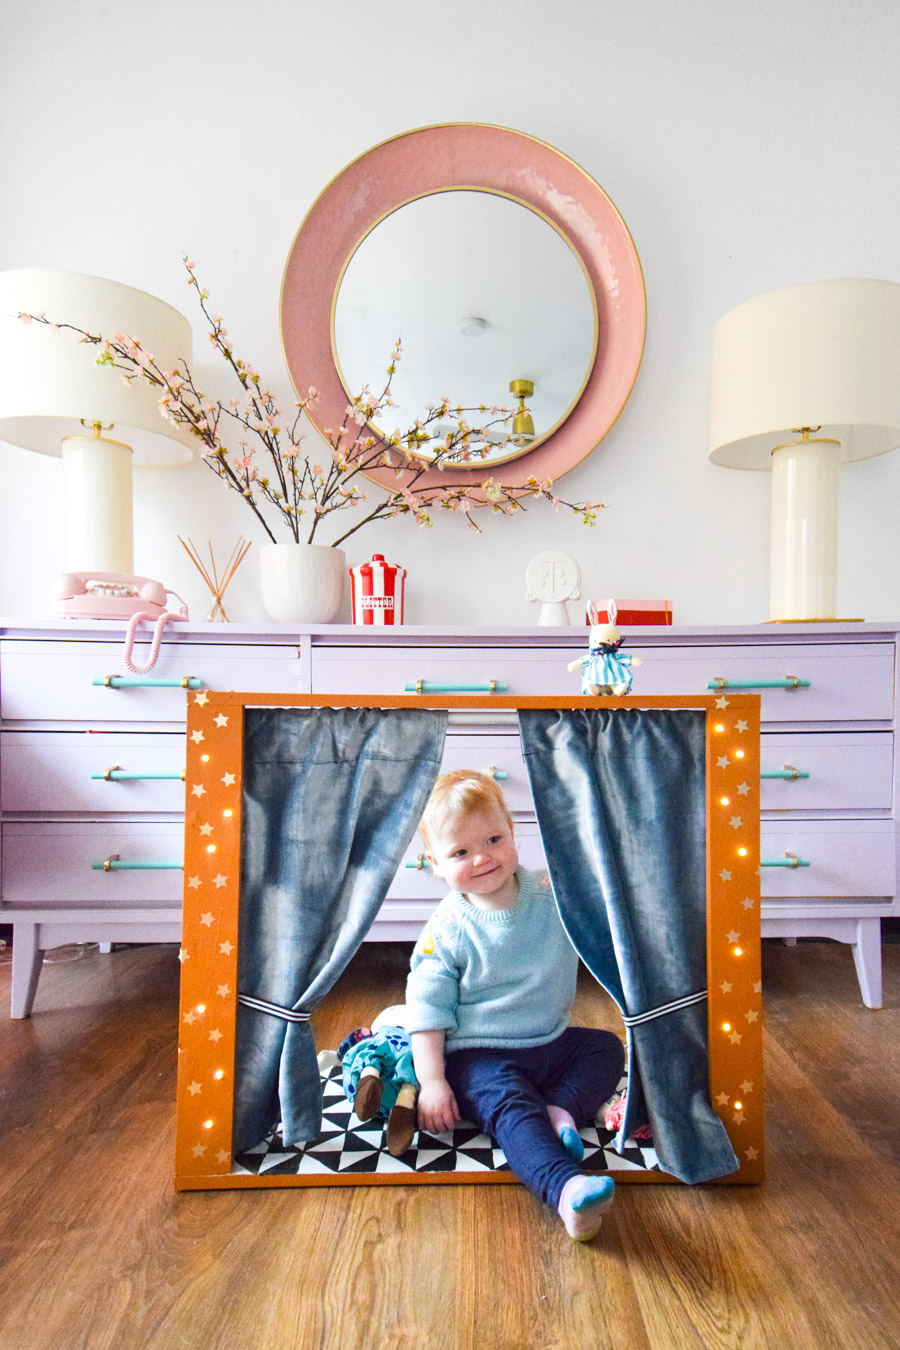
Sure, she could use her dolls or hand puppets, but it seems like more fun to climb inside and be the centre of the show!

The end.

