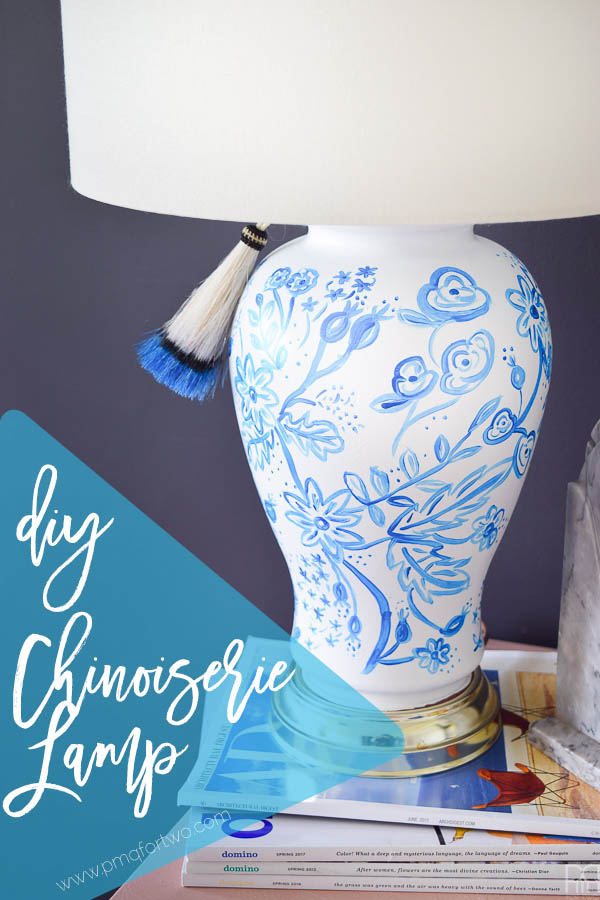
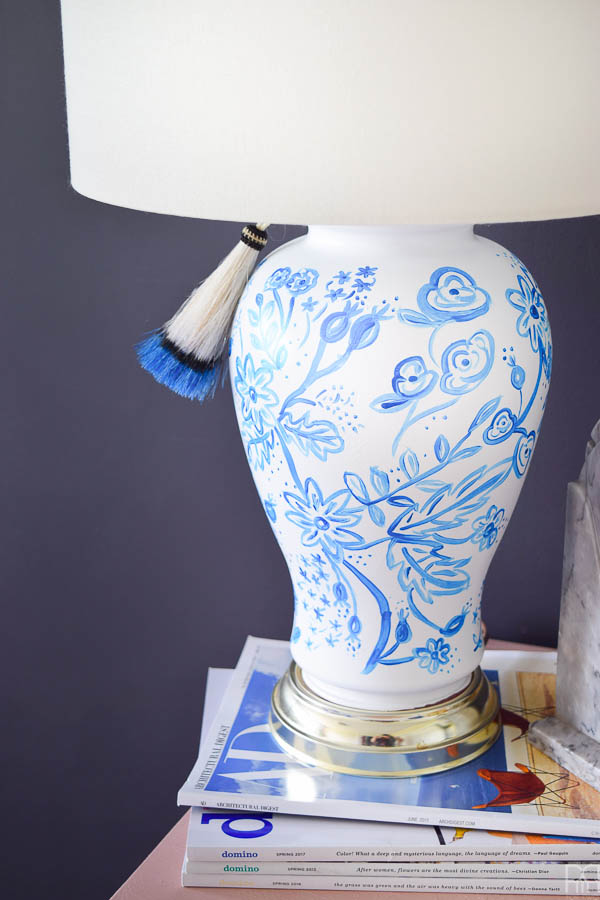
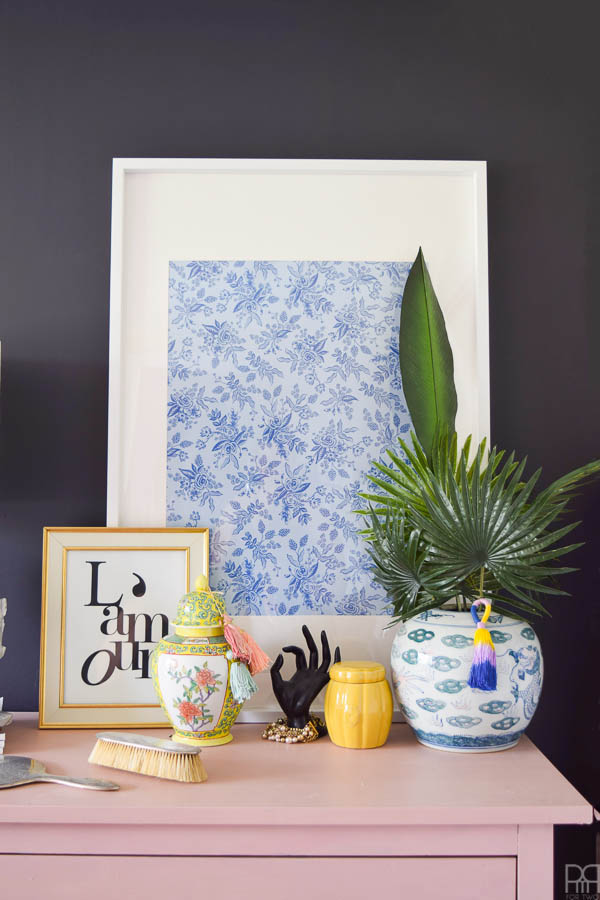
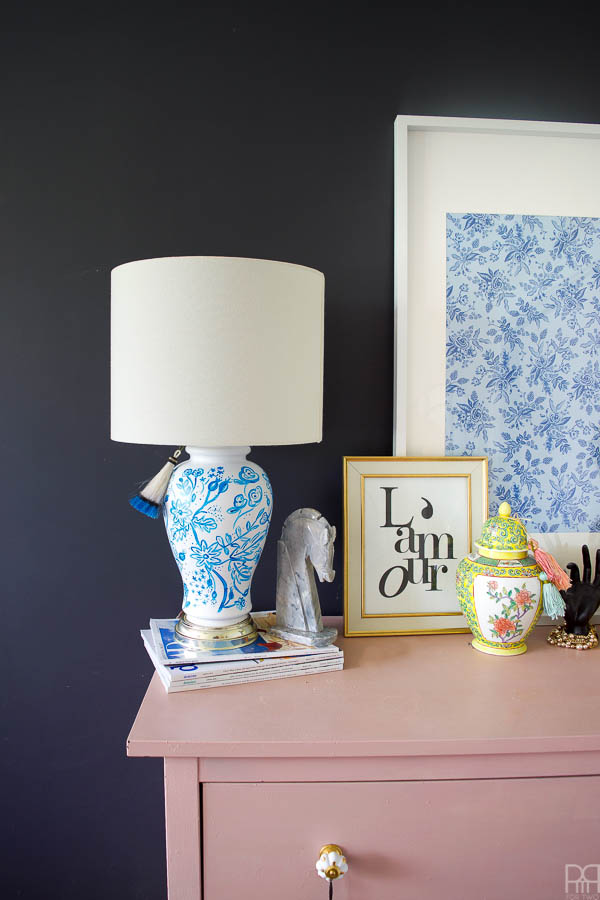
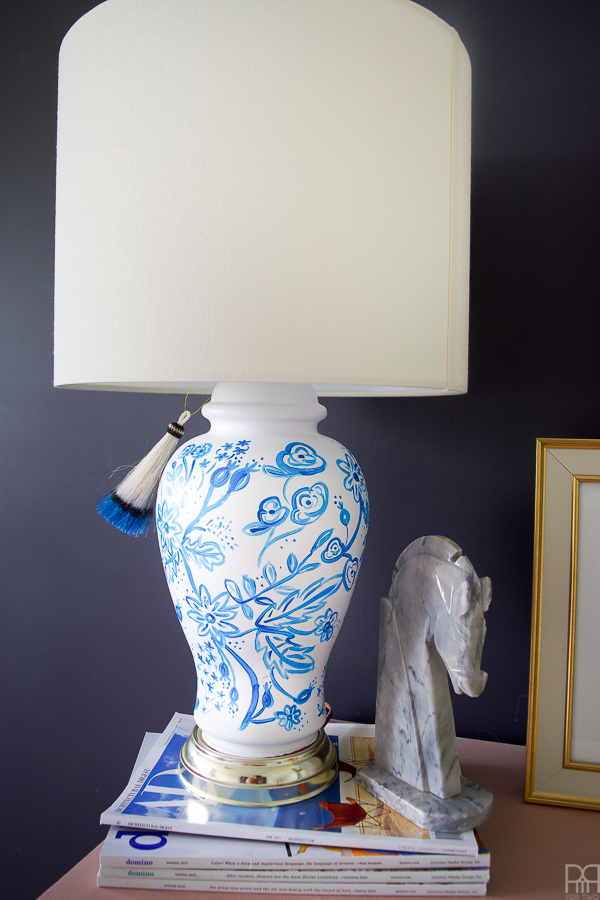
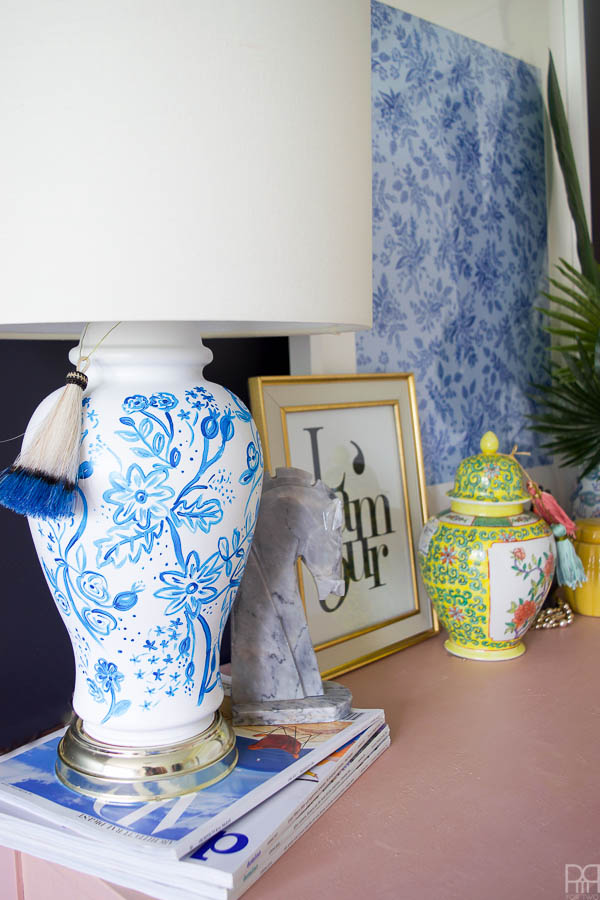
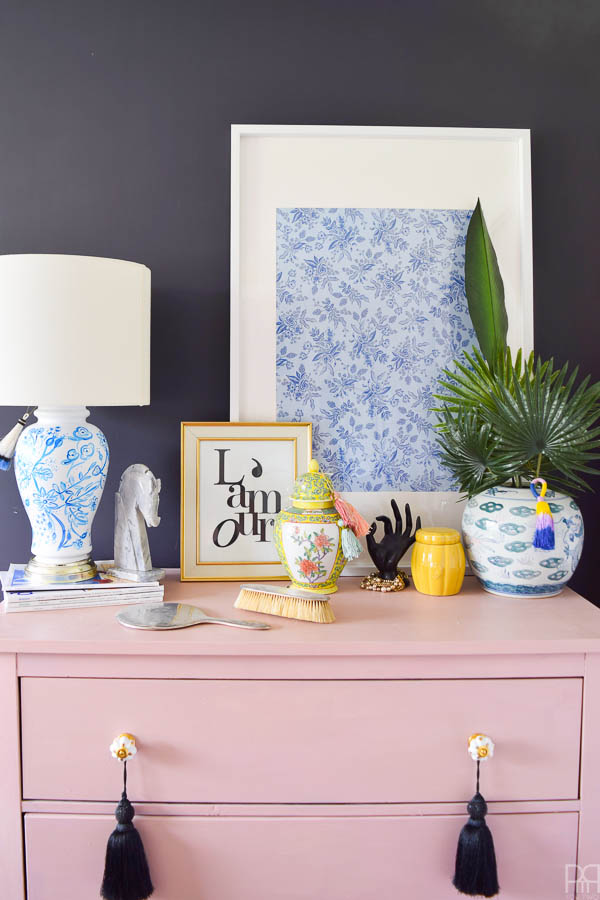
I love a good painting project, especially one with tons of flourishes and intricate details. Well, I’ve outdone myself and created a DIY Chinoiserie lamp for our master bedroom as part of my space refresh . With the help of DecoArt’s new Extreme Sheen metallic paints I’ve created a beautiful lamp that looks right at home in my bedroom.
Love intricate painted florals? Check out my DIY painted pumpkins or my DIY floral christmas ornaments
*DecoArt sponsored this post, but all thoughts are my own. Thank you for supporting the brands that make PMQ for two possible.

Painting A Chinoiserie Lamp
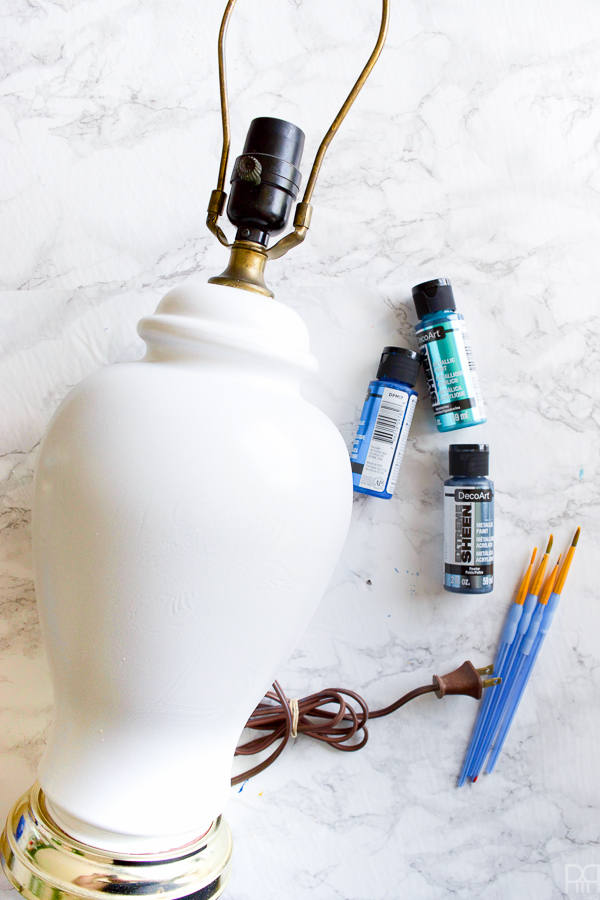
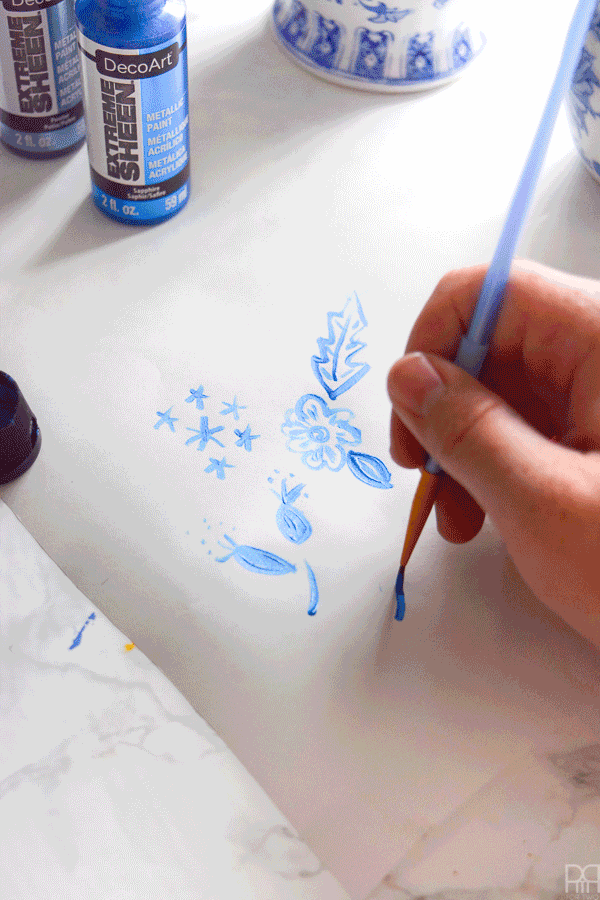
So this can either be easy or hard, but I’ve made it easy with these quick little gifs showing the strokes and various patterns. But first, you’ll need the right materials!
-
- Lamp (cleaned, primed and dry)
- Fine tip acrylic paint brush
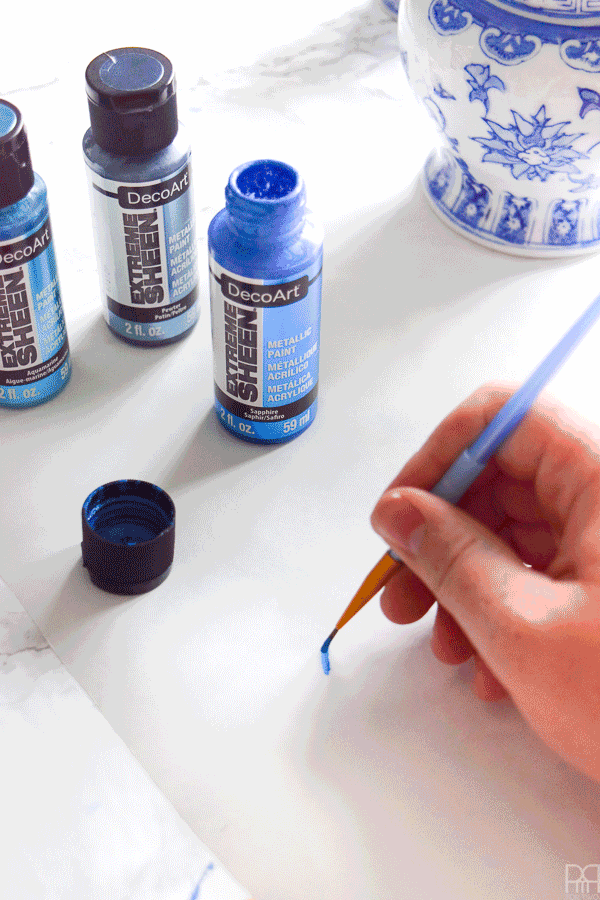
- DecoArt Extreme Sheen Metallic Paint in Saphire (or if you’re going in store – SKU 1460898)
- If you need a primer for your glazed lamp, try DecoArt’s Chalky Finish in any shade of complimentary blue like “Yesteryear”
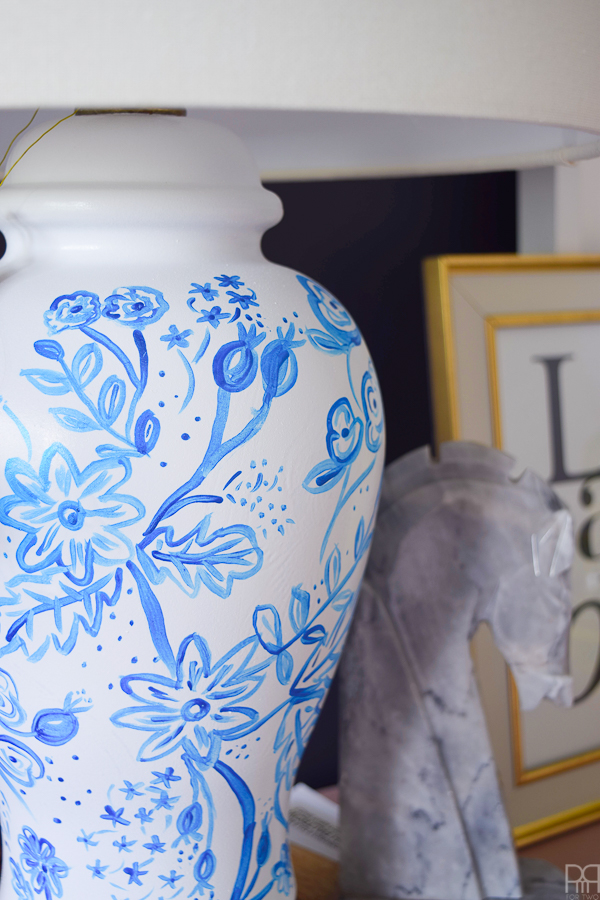
When it comes to painting things I’m usually inspired by Rifle Paper Co.’s work, but for this one I looked to the chinoiserie and ginger jars I’ve been collecting for a while now. They’re classic and timeless in their elegance with simple blue on white and lots of intricate details. While I wasn’t in a position to recreate a vase‘s pattern down to the last flourish, I figured I’d give it a go.
Creating a Painted Chinoiserie Pattern
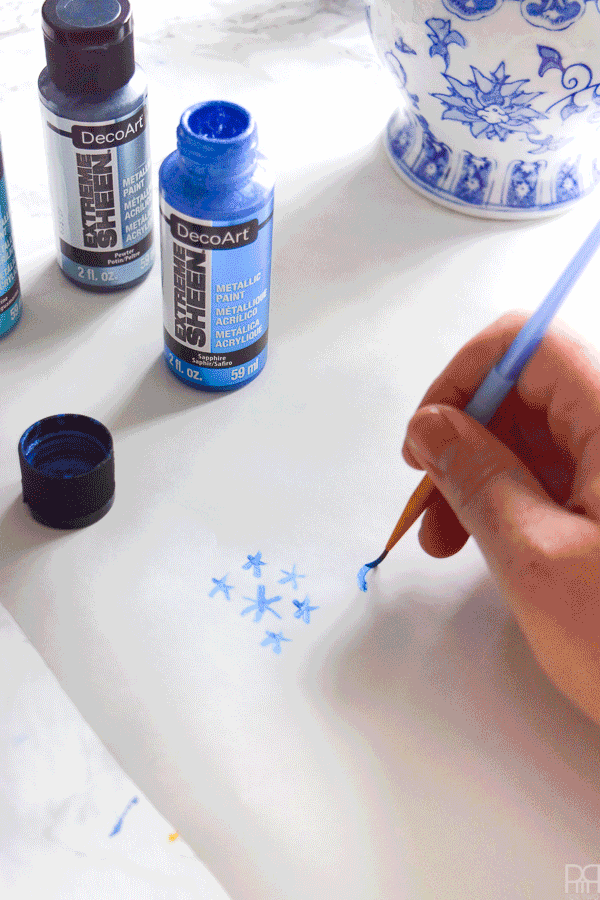
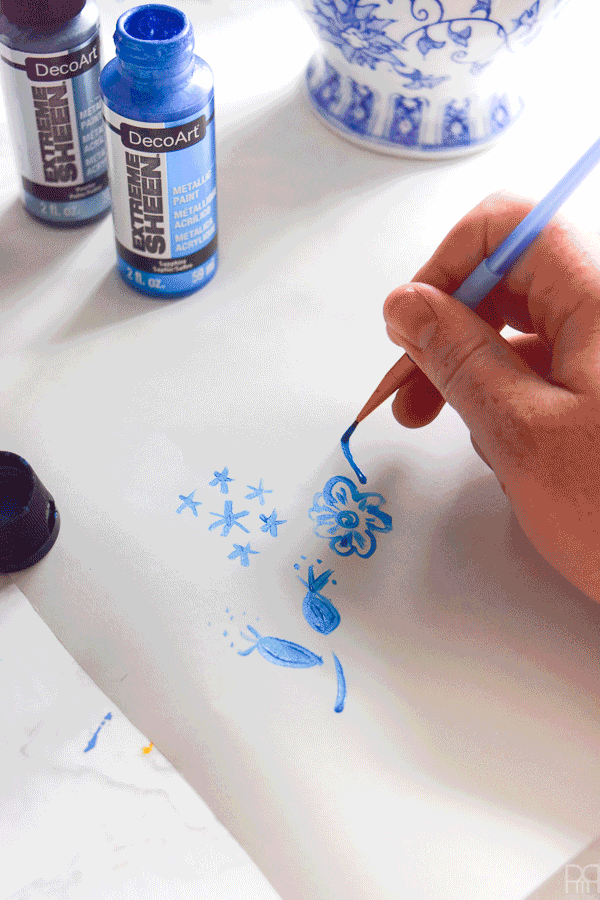
Create little blossoms – you’ll sprinkle these all over once the bigger buds are in place to fill the space, but I like to start with them because they help me anchor the piece.
The main bud here is a cosmos that is in full bloom. I try to draw mine with 8 or 9 petals. The centre is darkest, with little jolts of colour alone the petals pointing to the centre.
Create some flower bulbs that are just beginning to sprout. You can see the exact brush-strokes below. I add a few little dots above, just like pollen buds do when a flower is opening.
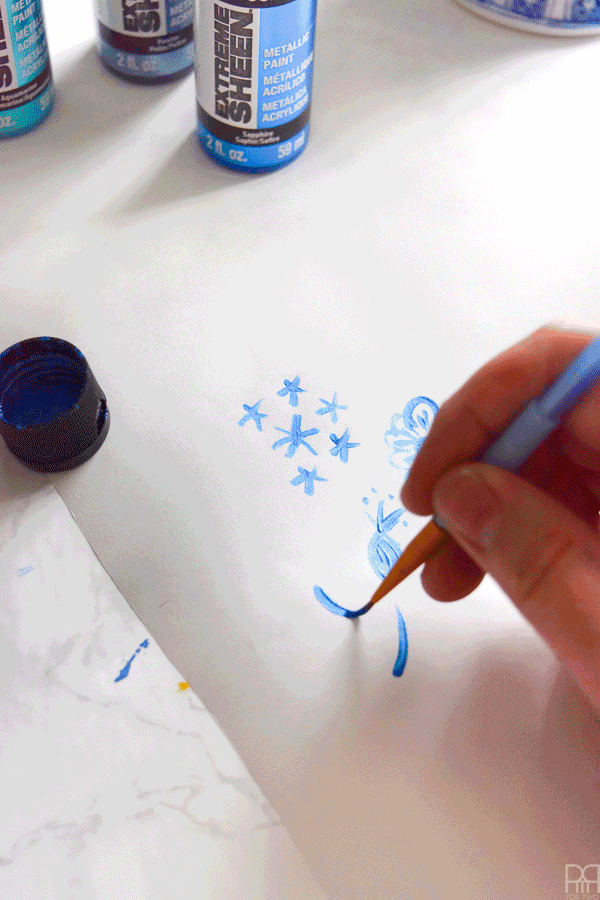
Much like with my fall pumpkin, I also create some large leaves to fill the space and provide scale. These are simple enough.
Under the cosmos I also a small leaf, it helps add another shape and is just two brush-strokes that meet and connect to the flower.
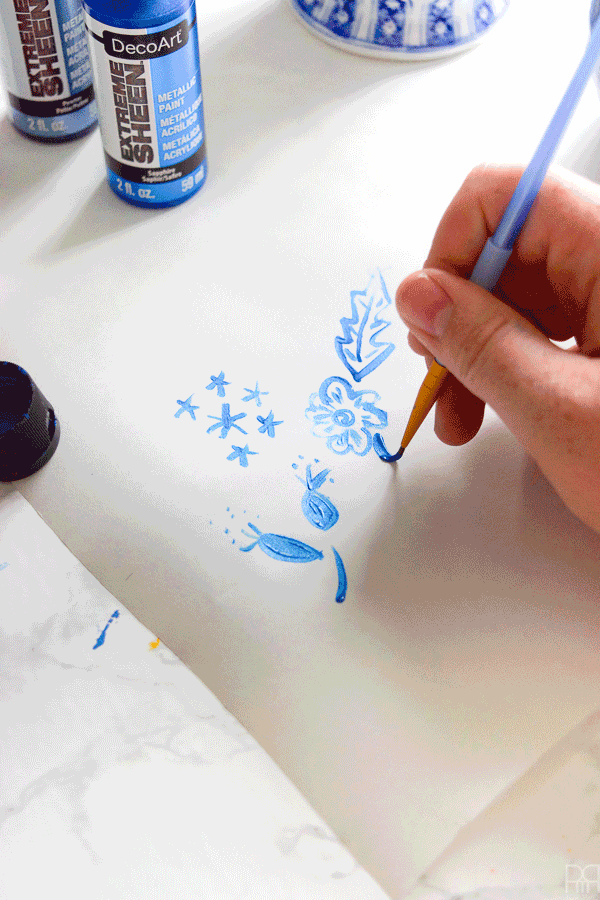
Right about now I start adding more details to help flush things-out. I added little branches to the small blooms. They’re little flicks of the paintbrush and require minimal effort.
The poppies are my favourite! They’ve two different sized half -moons that are sandwiched together. I then add several flourishes with the same motion to create the illusion of many petals and layers. The whole is centred around a dark circle for the pollen.
Another cosmos has been painted further down to provide a visual counter-weight, and I’ve added another small leaf.
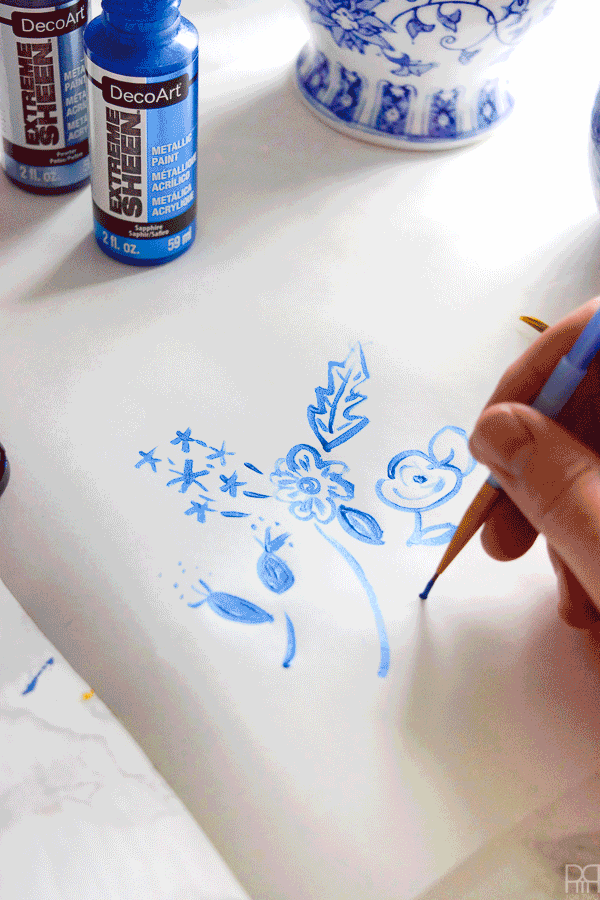
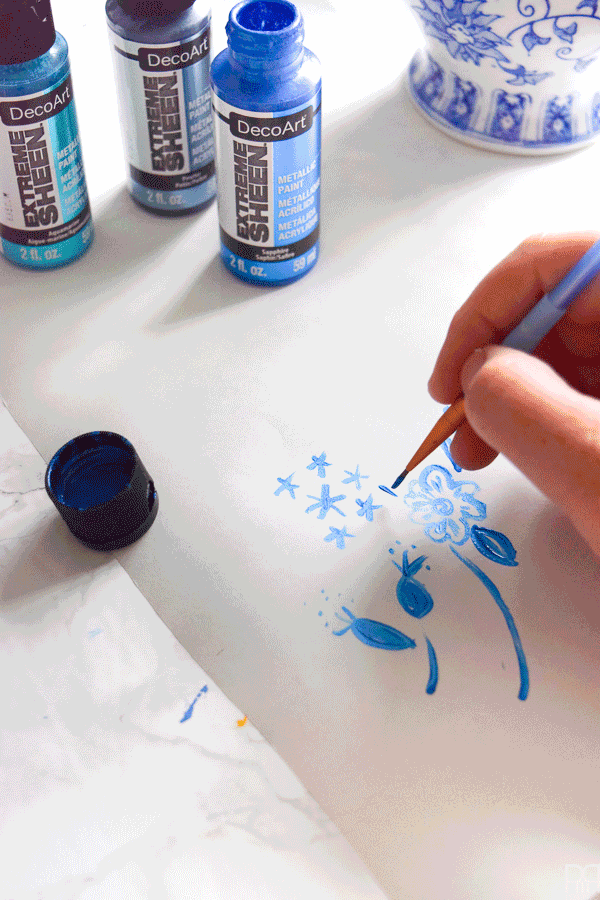
Using a wider bristle brush I create thick stems to counteract all the fine points of the florals.
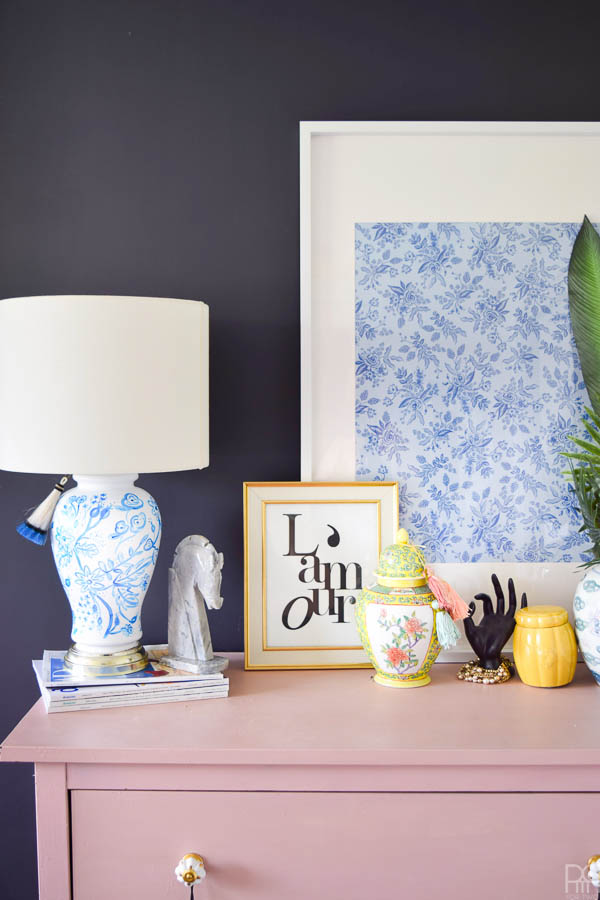
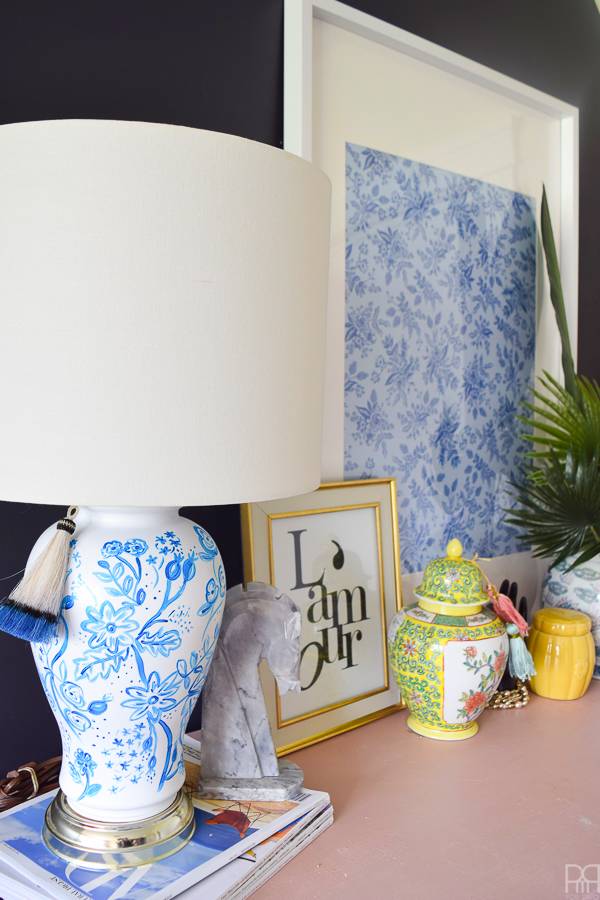
MY DIY Chinoiserie Lamp
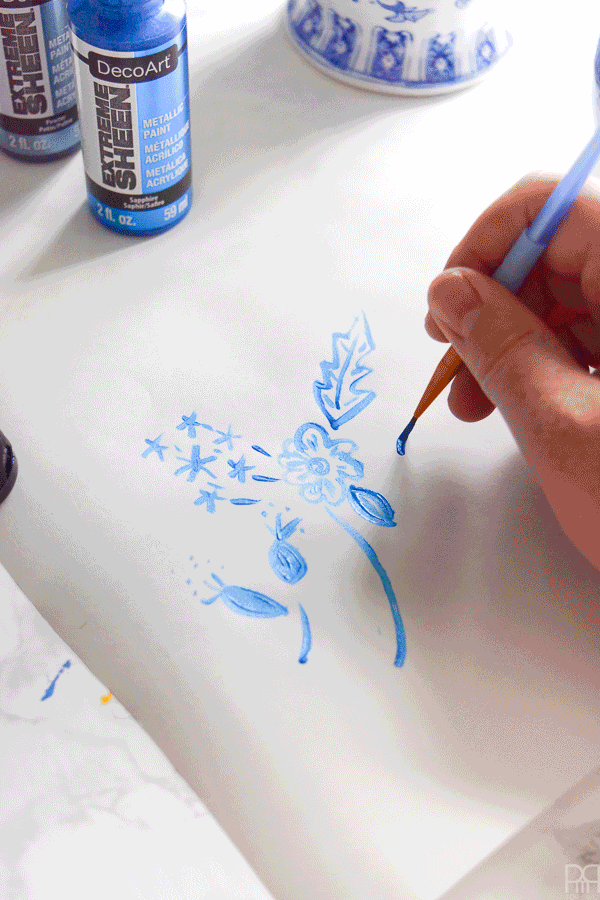
To recreate the entire thing on a much large space it’s a question of marrying these painted elements in varying scales and compositions. On my lamp there are quite a few cosmos, buds, blossoms and leaves etc. They all work in harmony to create a wholistic floral pattern and a thing of beauty.
Once it was all dry I grabbed one of my lampshades (I have a few in storage) and presto! bang! I have a new lamp for our dresser in the master bedroom.
Check out my other painting projects!