I’ve been using beeswax food wrap in our home for almost two years now. I love how easy it is to use, to clean, and I feel like I’m contributing less to our trash when I do. Instead of buying more, I wanted to try making my own! Not only could I make more sizes, but different shapes to suit my needs, so here we are.
*Michaels & Fiskars sponsored this post, but all thoughts are my own. Thank you for supporting the brands that make PMQ for Two possible.
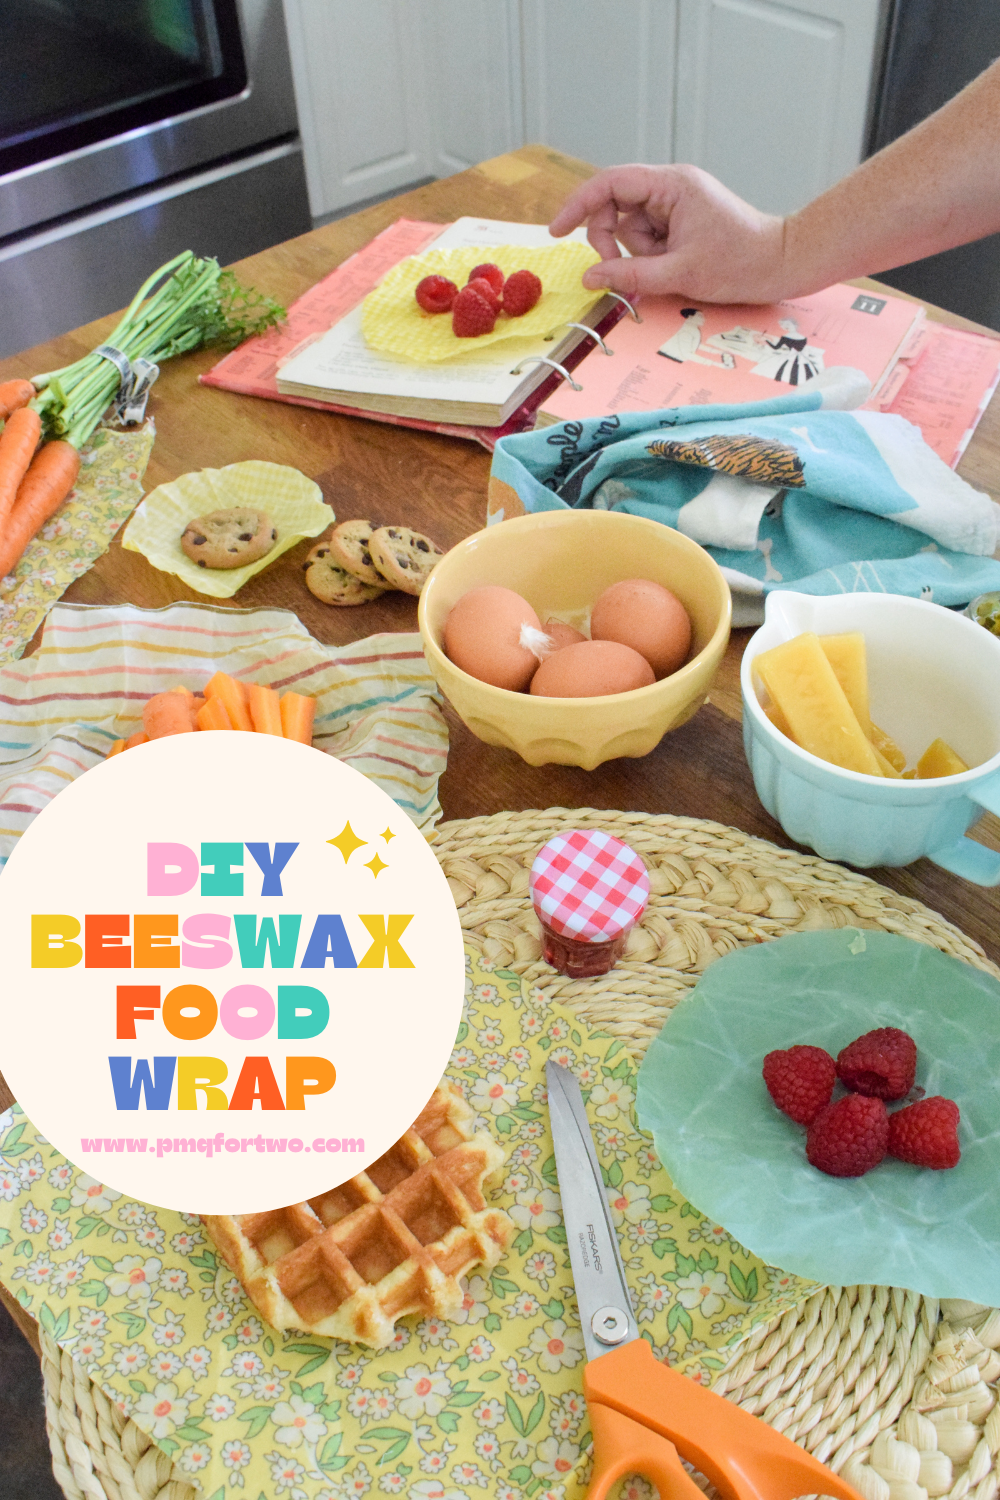

What is beeswax food wrap?
It’s a nifty little item that lets you use beeswax coated fabric to secure and safely store food items. It has a shelf life of about 4-6 months depending on how you care for it, and it’s a great way to reduce your regular household waste.
Where can I use beeswax food wraps?
Anywhere you would use a plastic snack bag, saran wrap, tin foil, wax paper, tupperware etc. I’ll include the following disclaimers: not for storing liquid, do not re-heat, do not put through the dishwasher, not recommended for the freezer.
How does Beeswax food wrap work?
The natural beeswax coating creates a protective seal around whatever it encloses. So by wrapping food in a beeswax wrap, you’re keeping it fresh, moist, and secure. You seal the edges by using the heat from your fingertips to get it to adhere to itself or the container/food item.
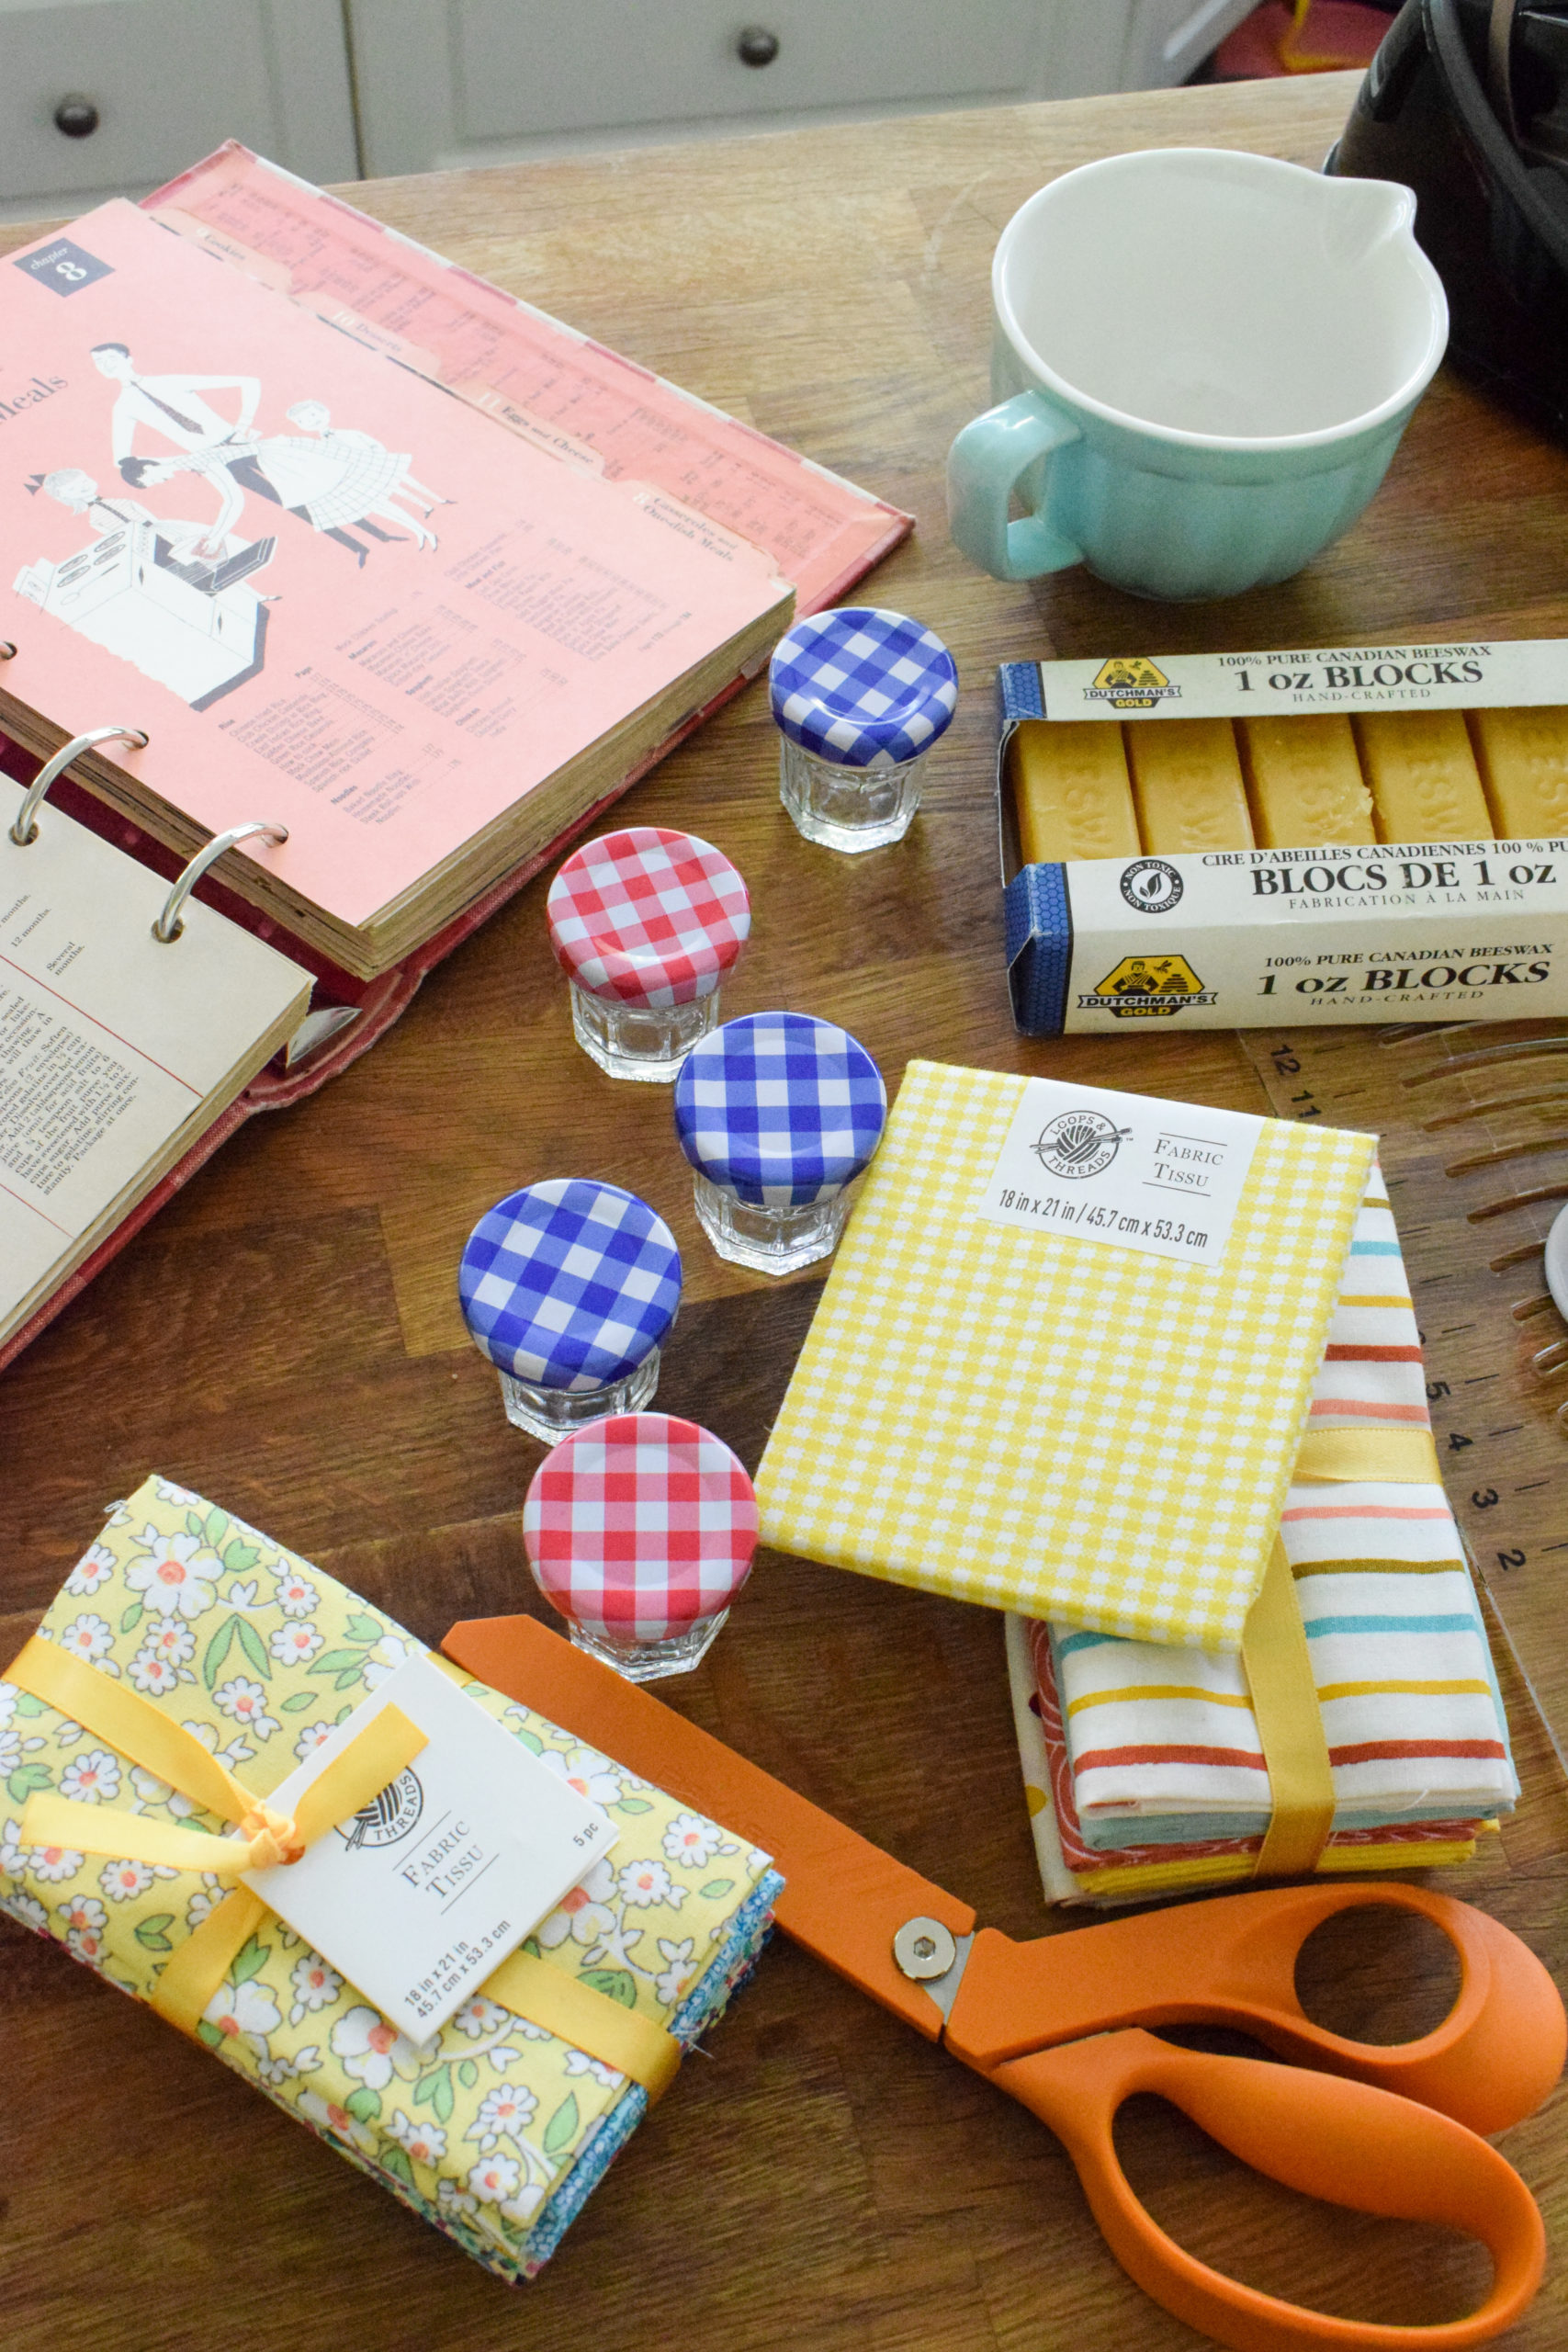
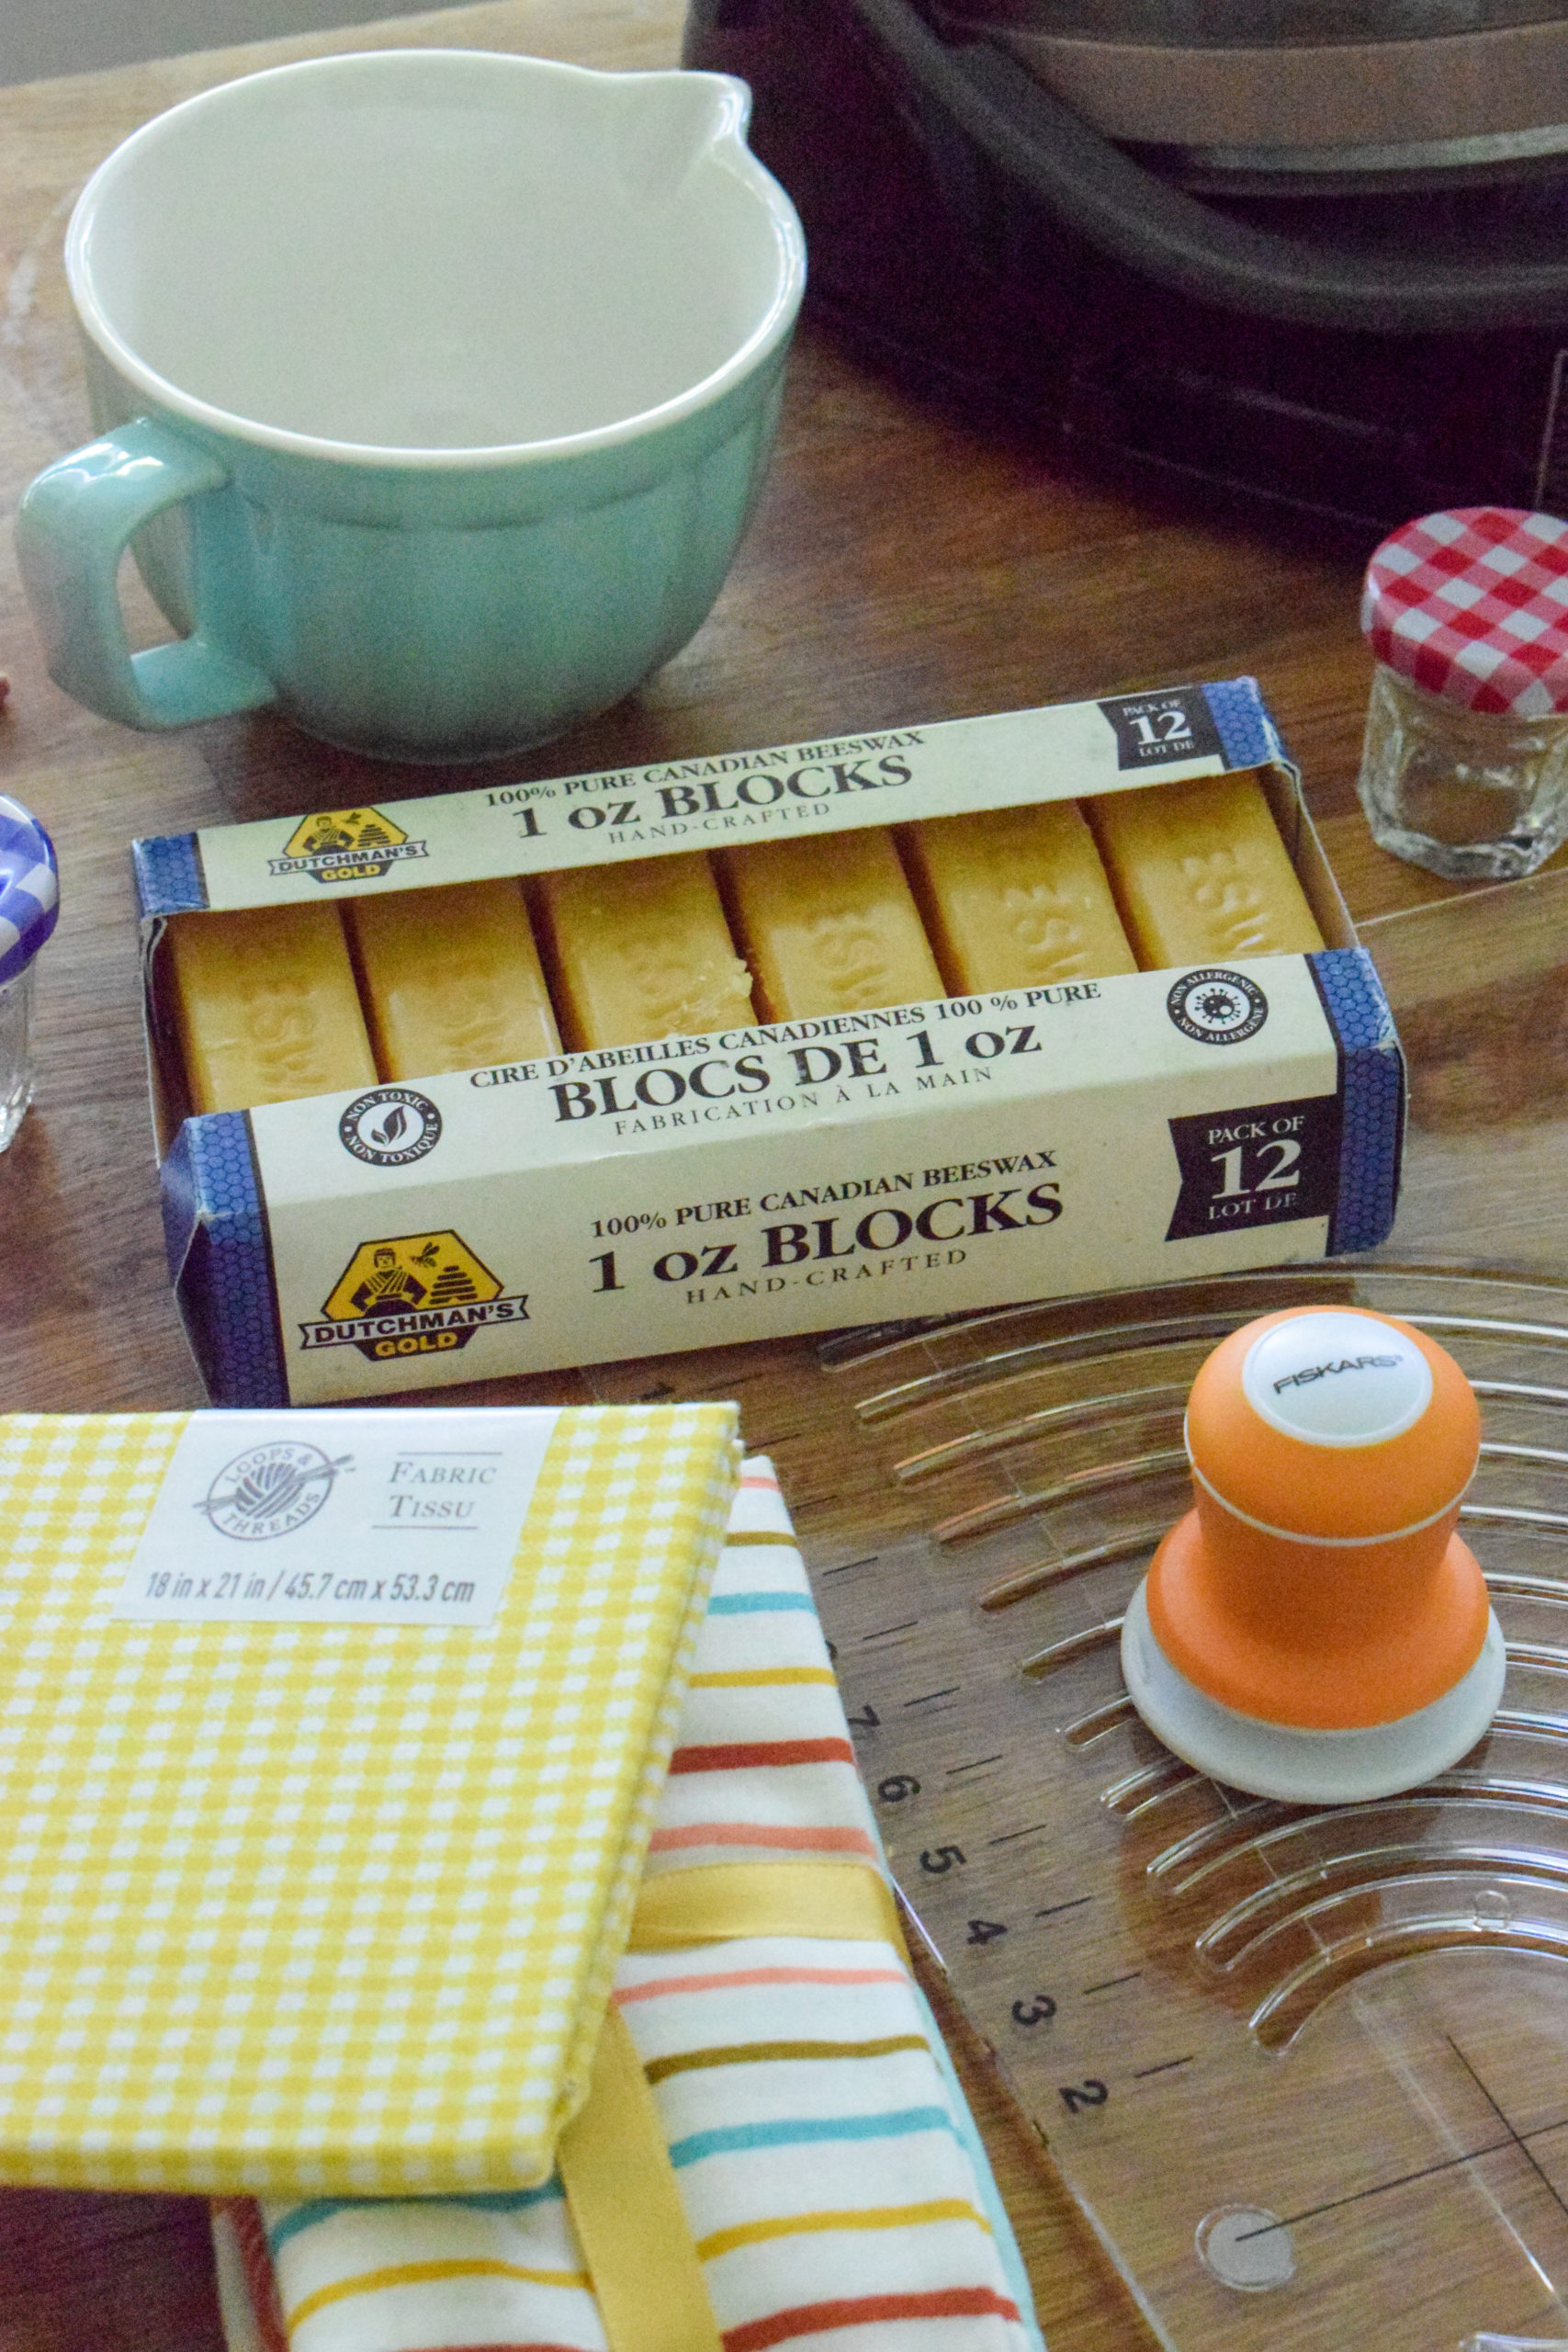
What do you need to DIY beeswax food wrap?
A few things! And you can get all of them at Michael’s.
Fiskars® RazorEdge


How to DIY Beeswax food wrap
The process is relatively simple, and takes about 30mins to do half a dozen sheets.
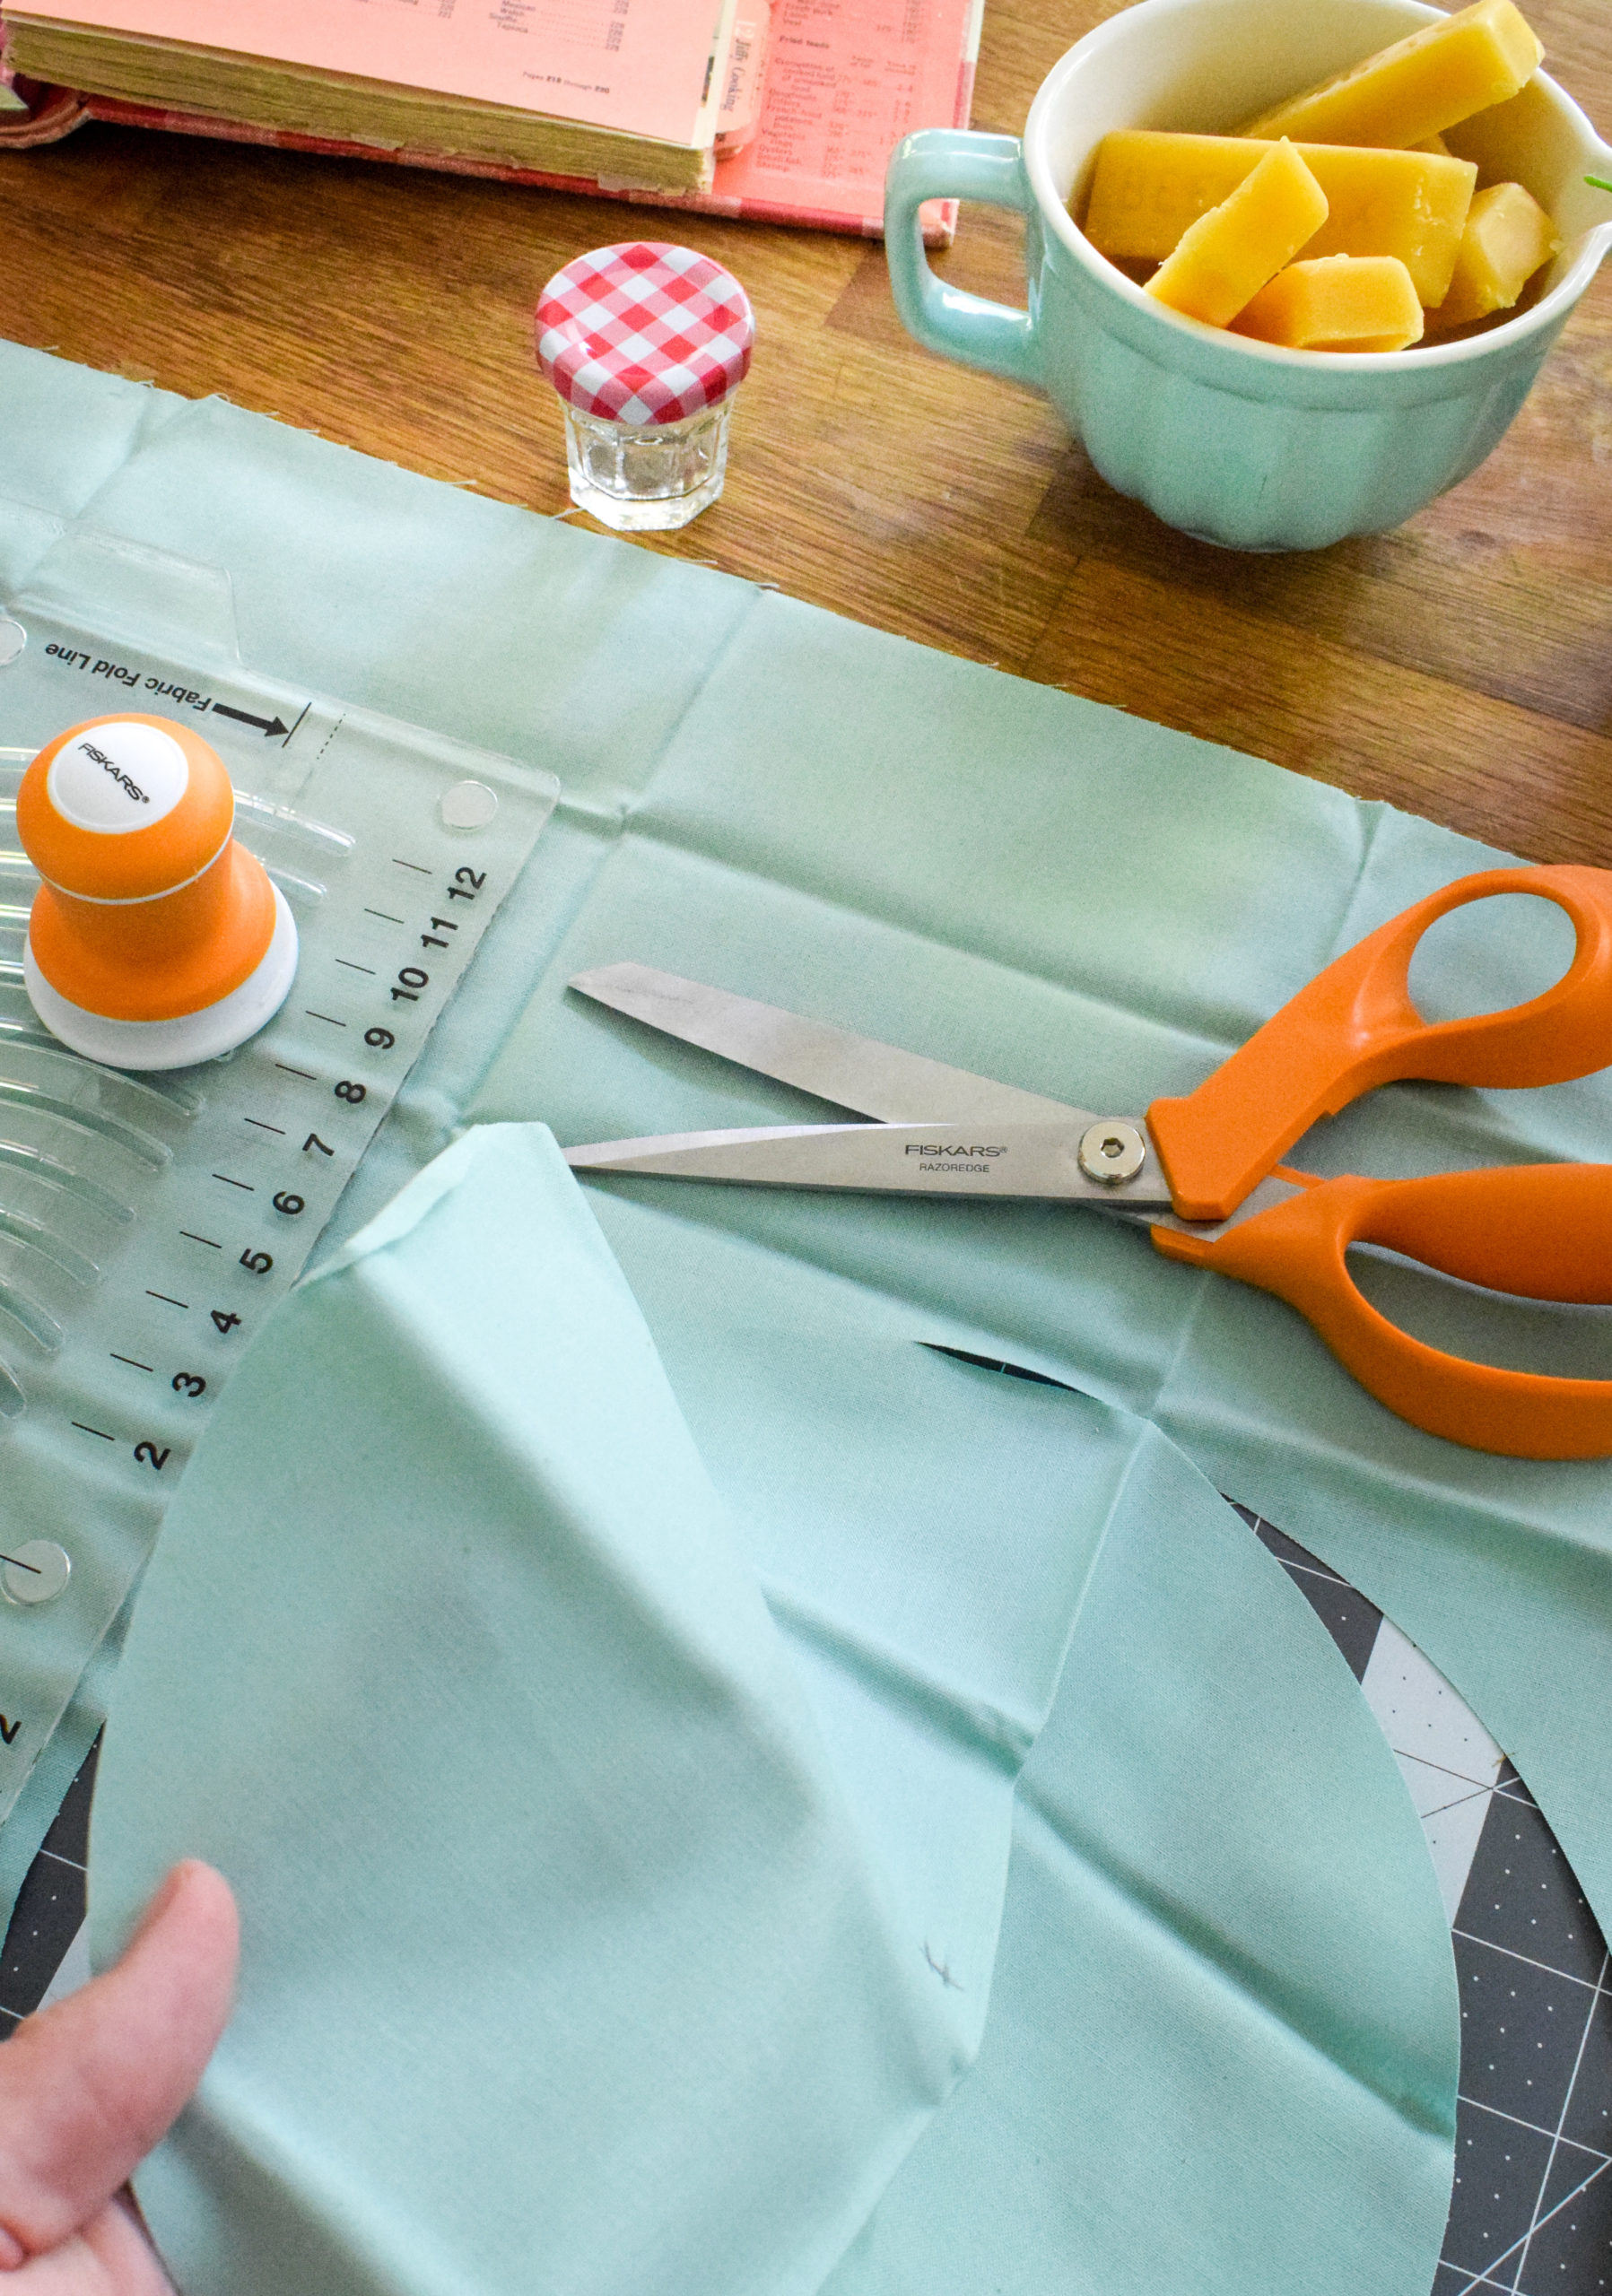
Start by cutting the shapes you want to use. I used the sheers to create simple squares, and the circle cutting tool to create a few different sizes across a variety of the fabric patterns.


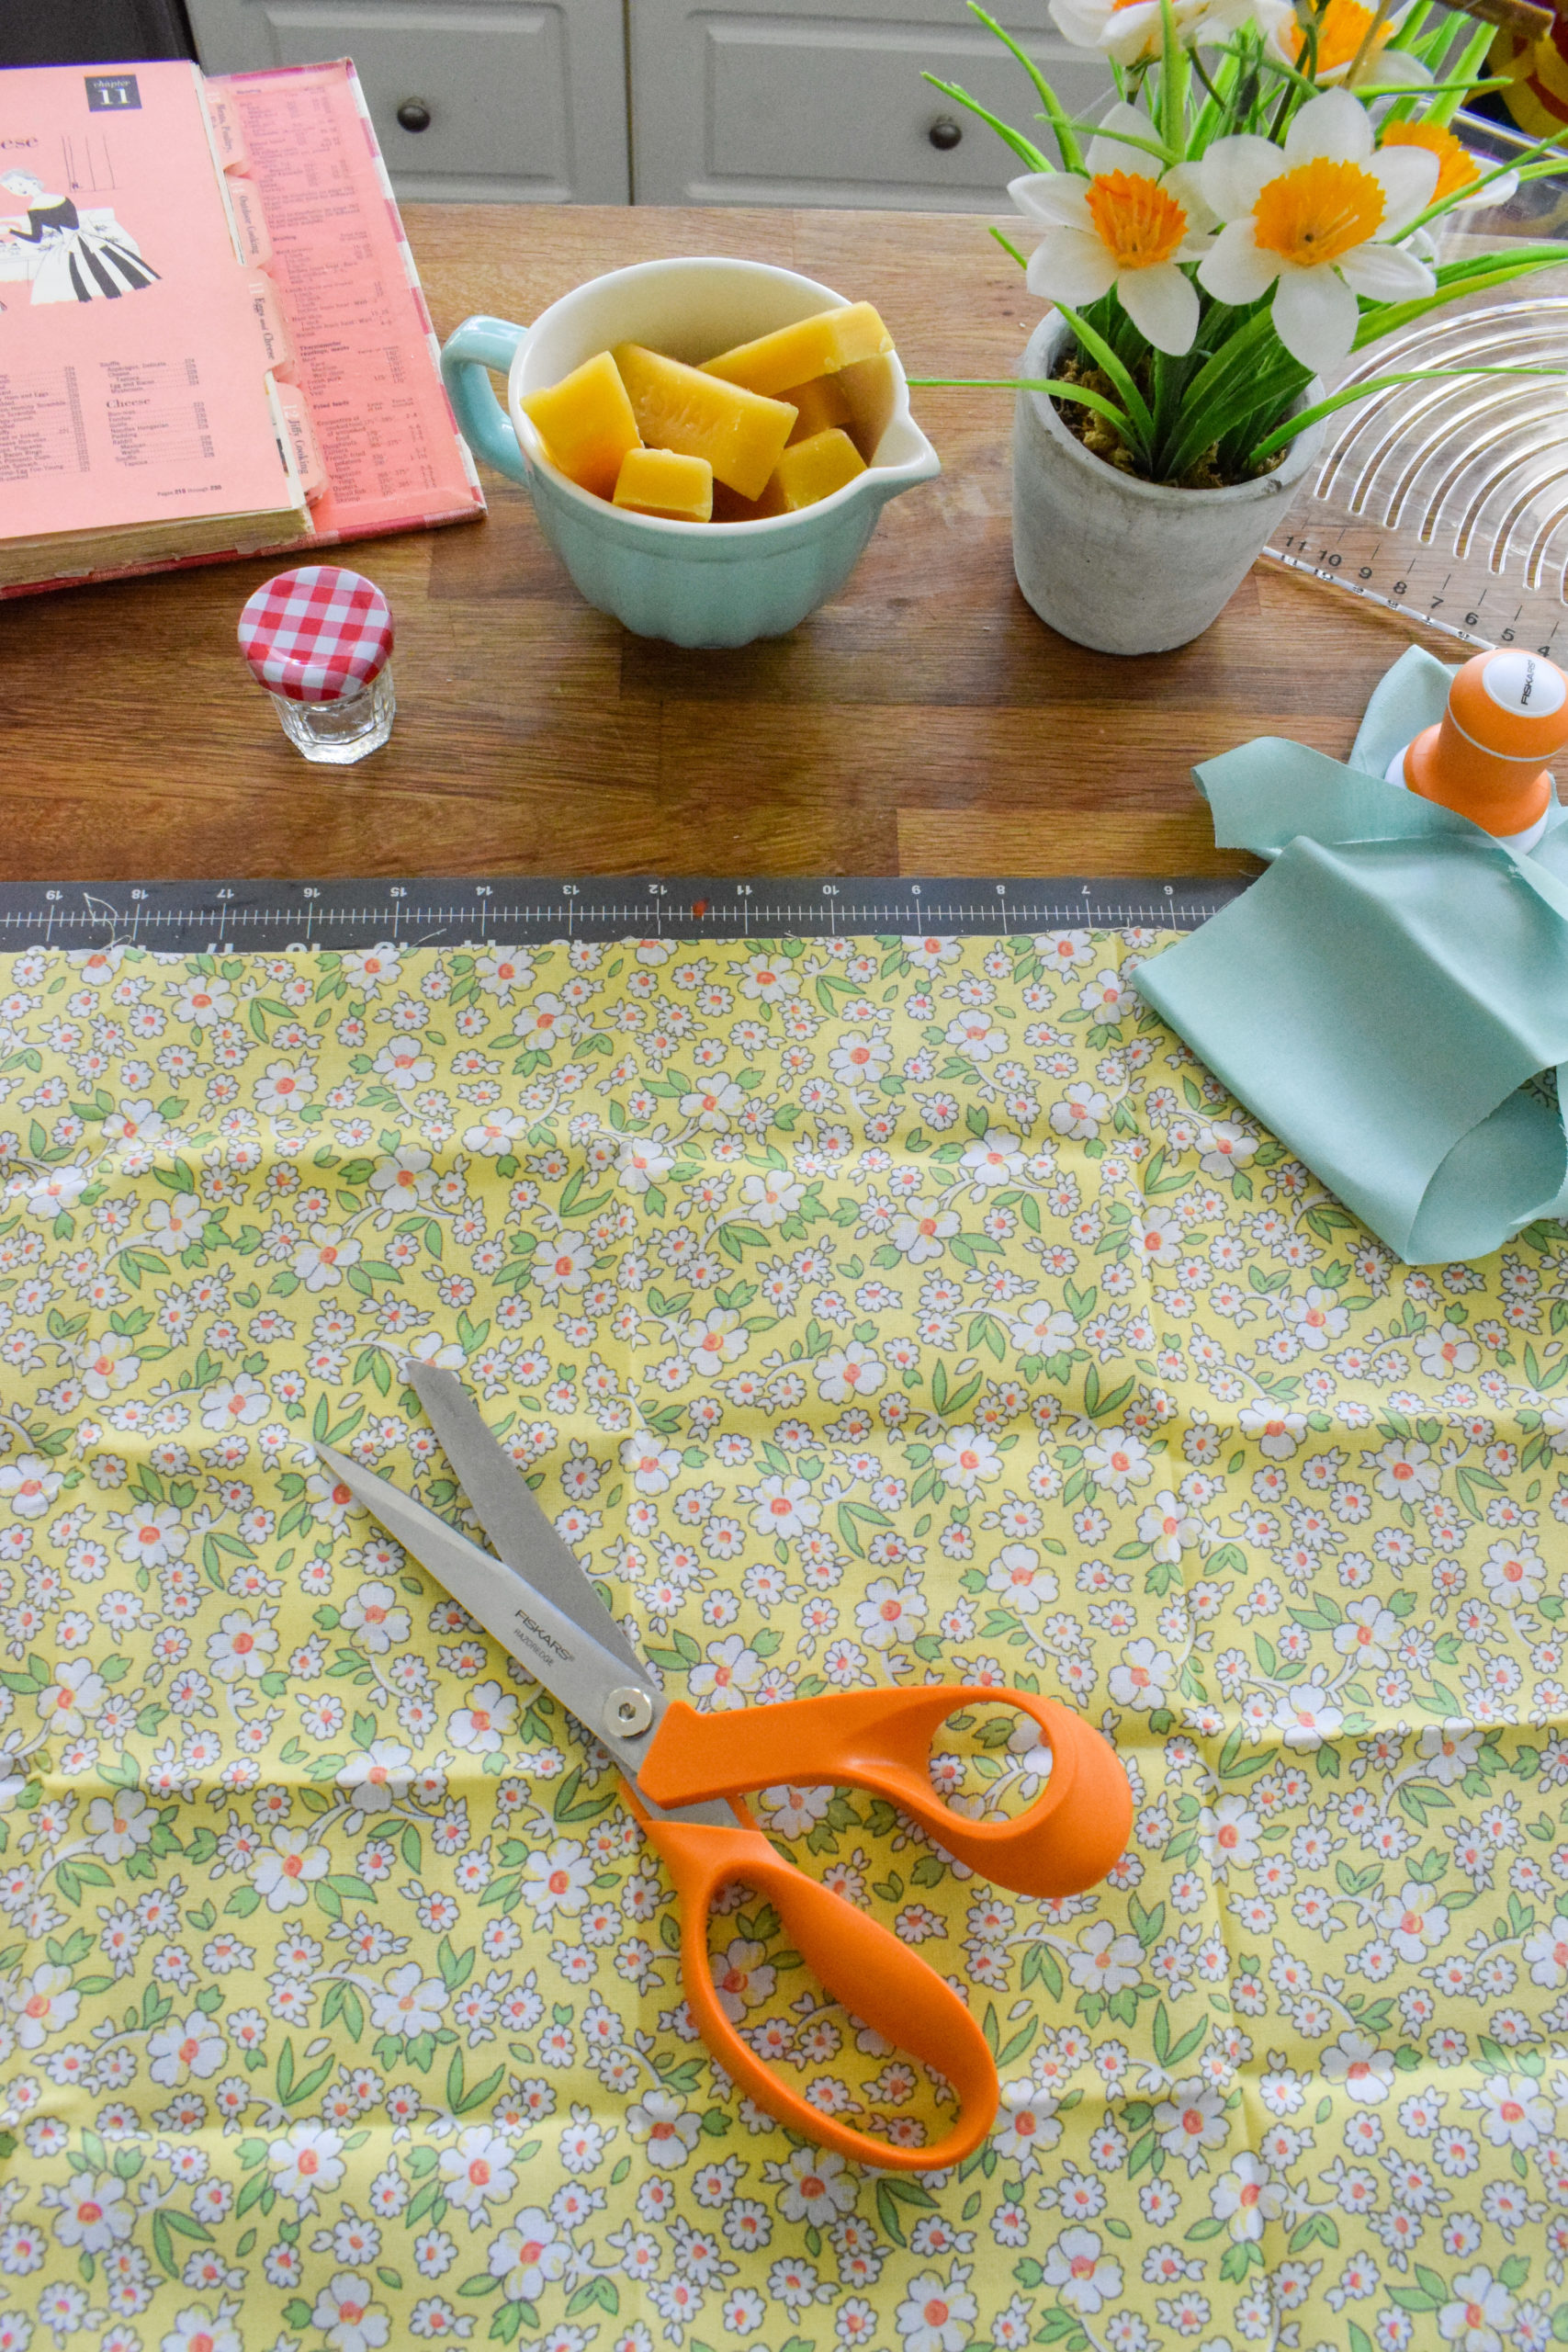
The Fiskars cutting mat is always a handy tool to have, even if you’re just cutting. You’ve got a built-in guide if you’re free-handing the cut, but I find it provides an extra clean surface between my material and the table surface. Nothing worse than randomly getting a stain on something because you thought the table was clean.
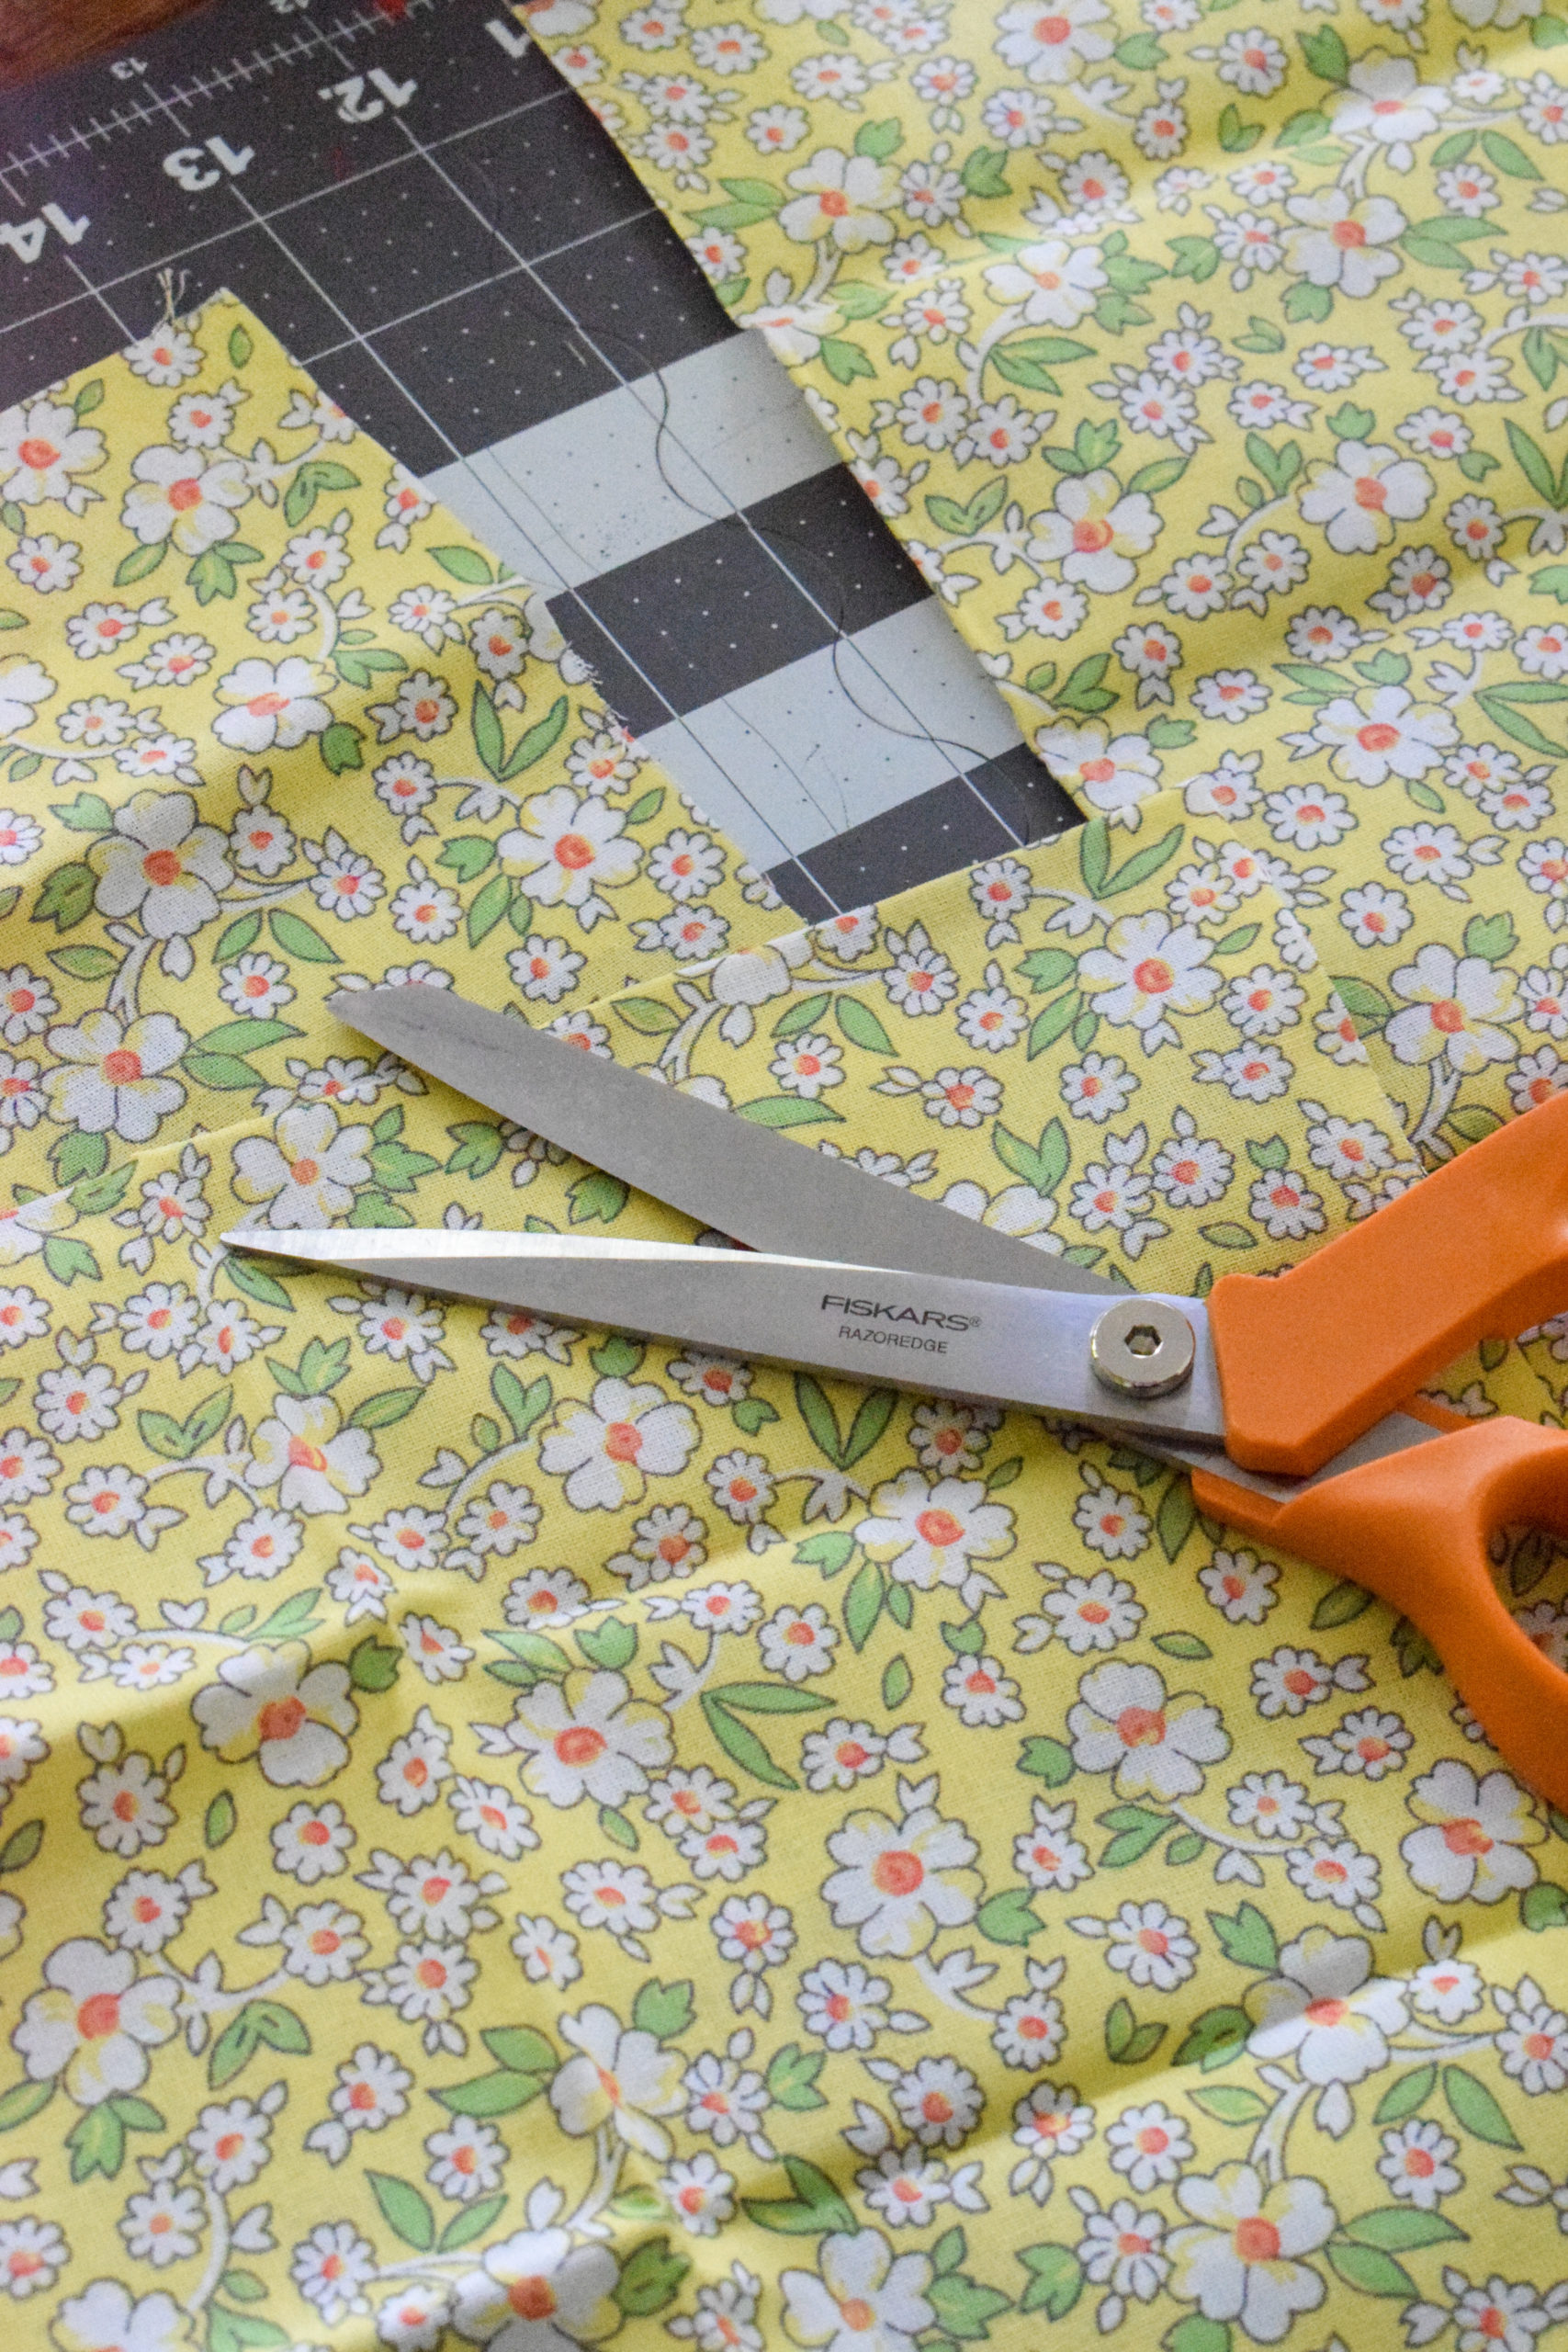
The razor edge sheers are a dream. They cut through fabric with zero issues, and provide a nice clean cut. Good scissors are always worth the cost.
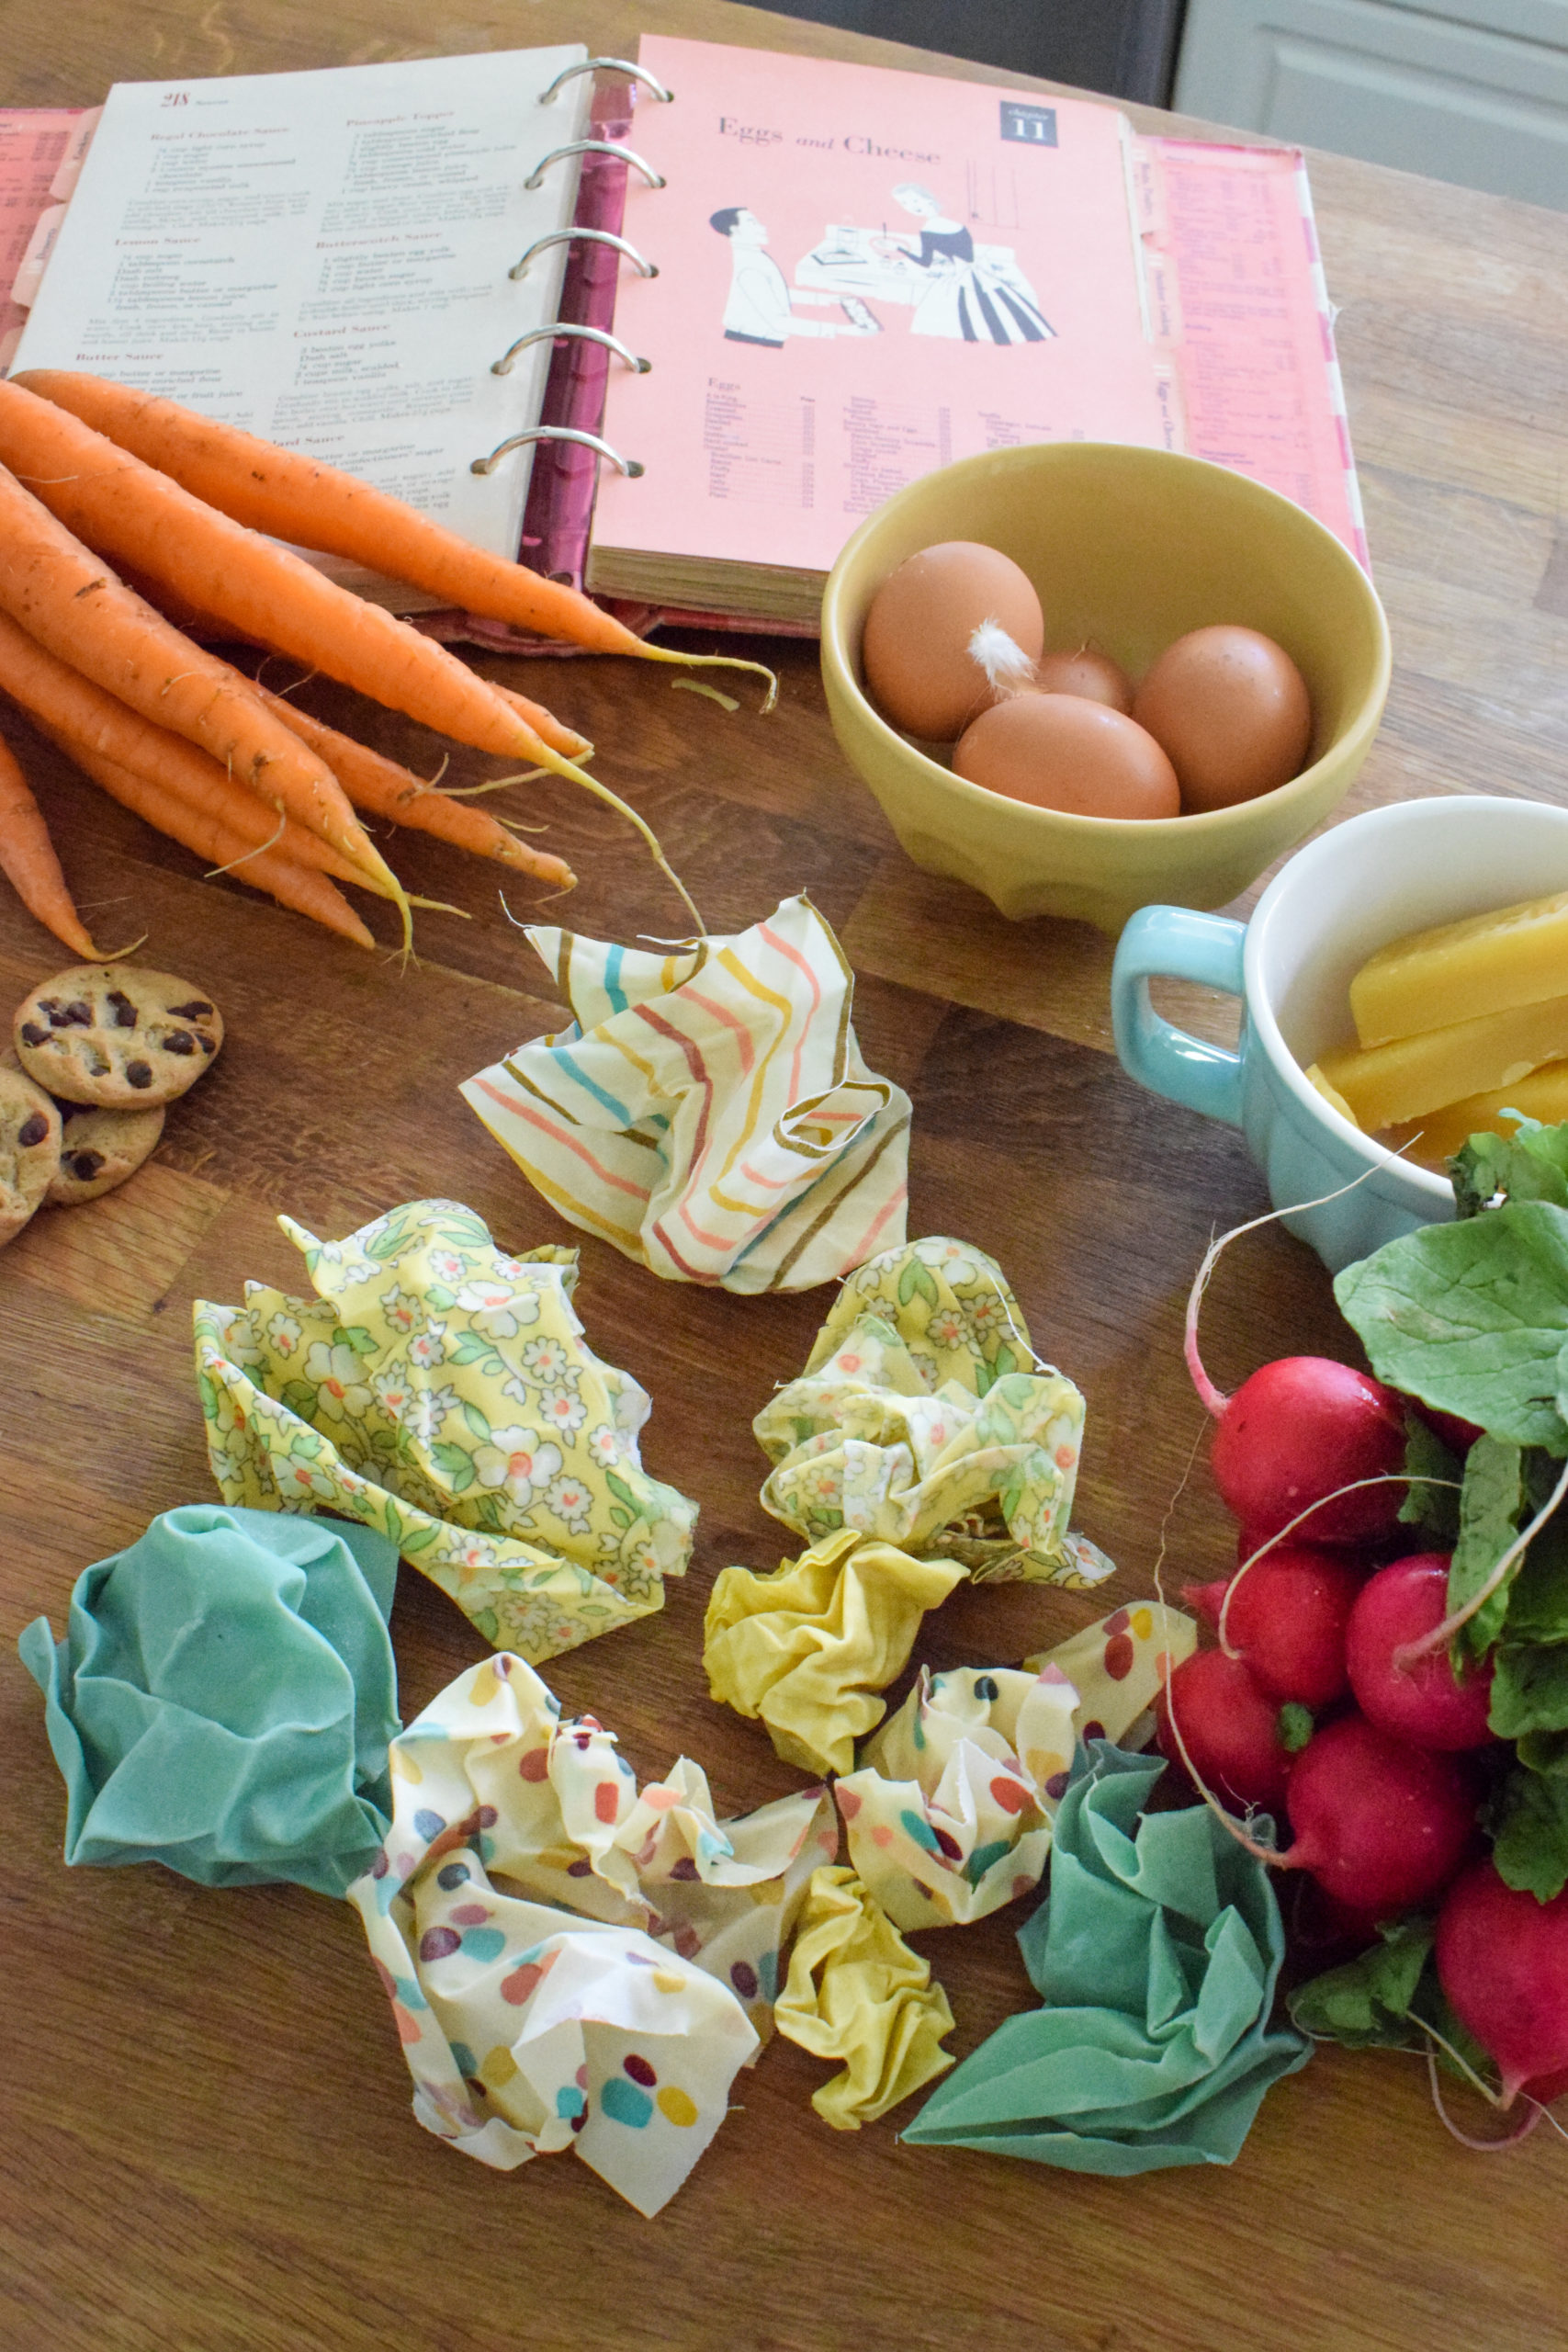
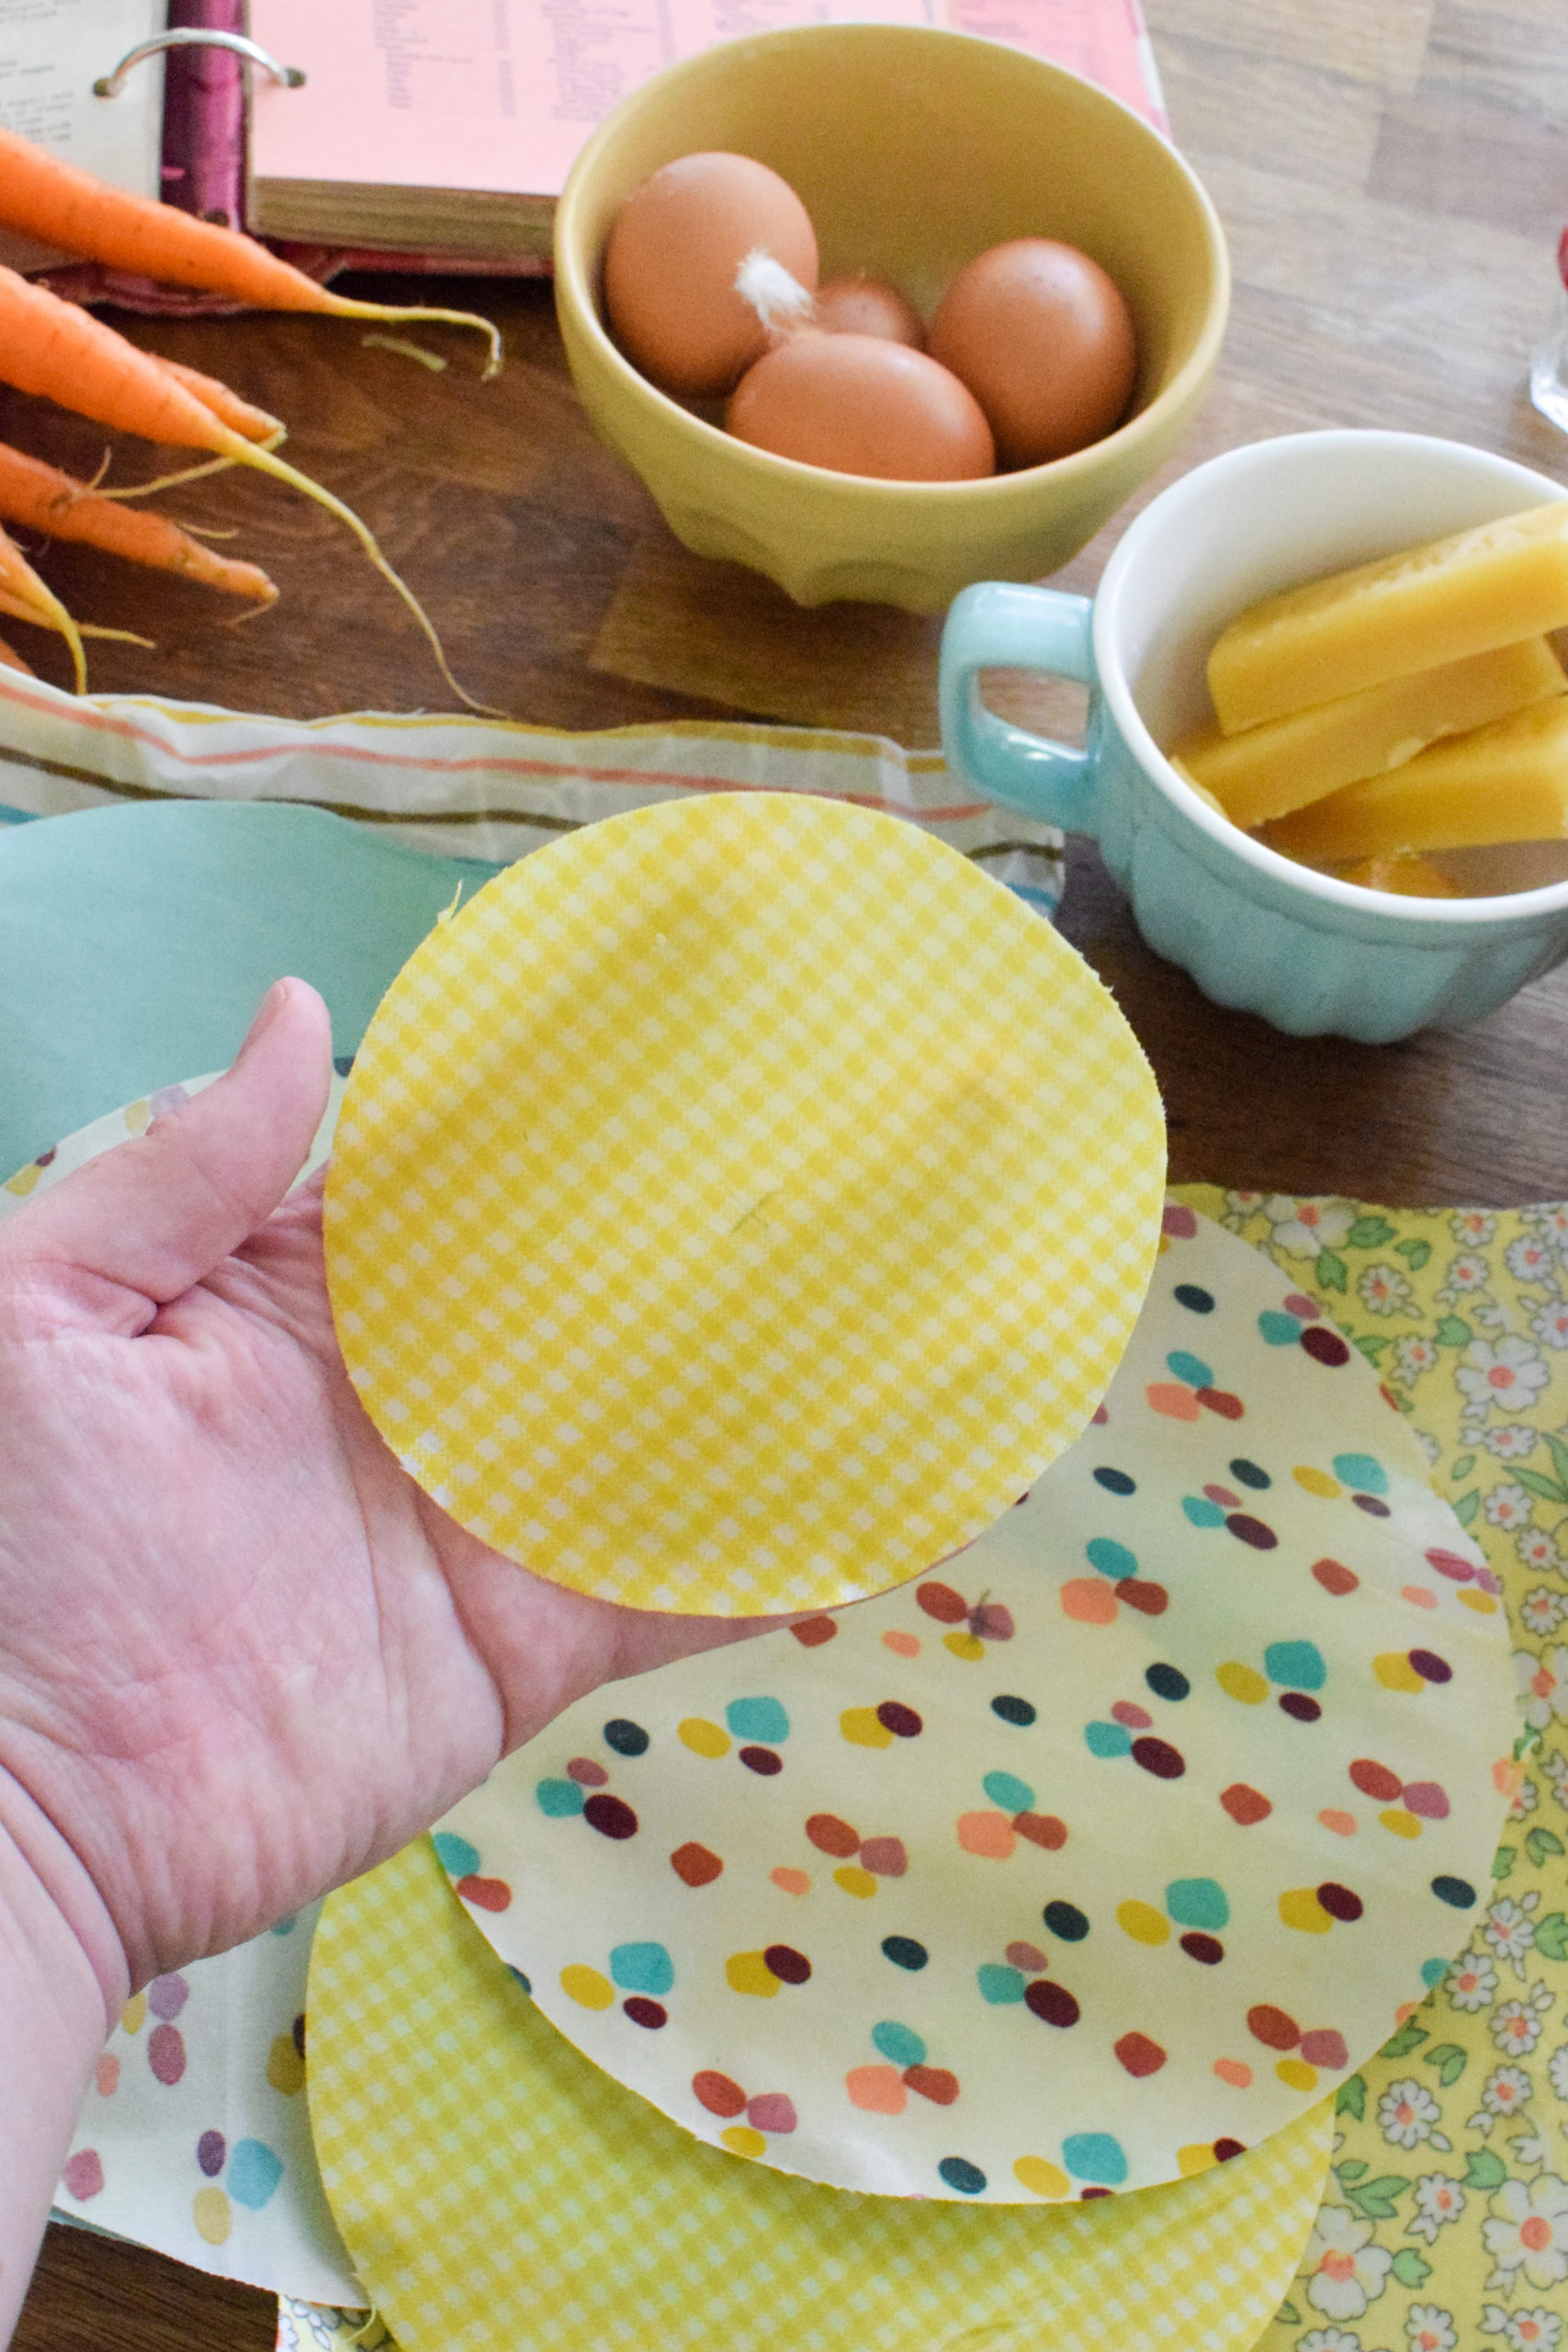
Why cut circle beeswax wraps?
Fun fact, most beeswax wraps are just squares, but with circles you can do a lot! You can cover half a fruit like an orange or apple, wrap-up a cookie or two, and you can of course use them to cover jars or cups ex. dressing that wasn’t fully used, or a jar to which you lost the lid.
I had also been dying to use the Fiskars circle cutter, so this was as best a use as any that I could think of. The jig is simple, easy to use, and should absolutely be used with a cutting mat beneath it.
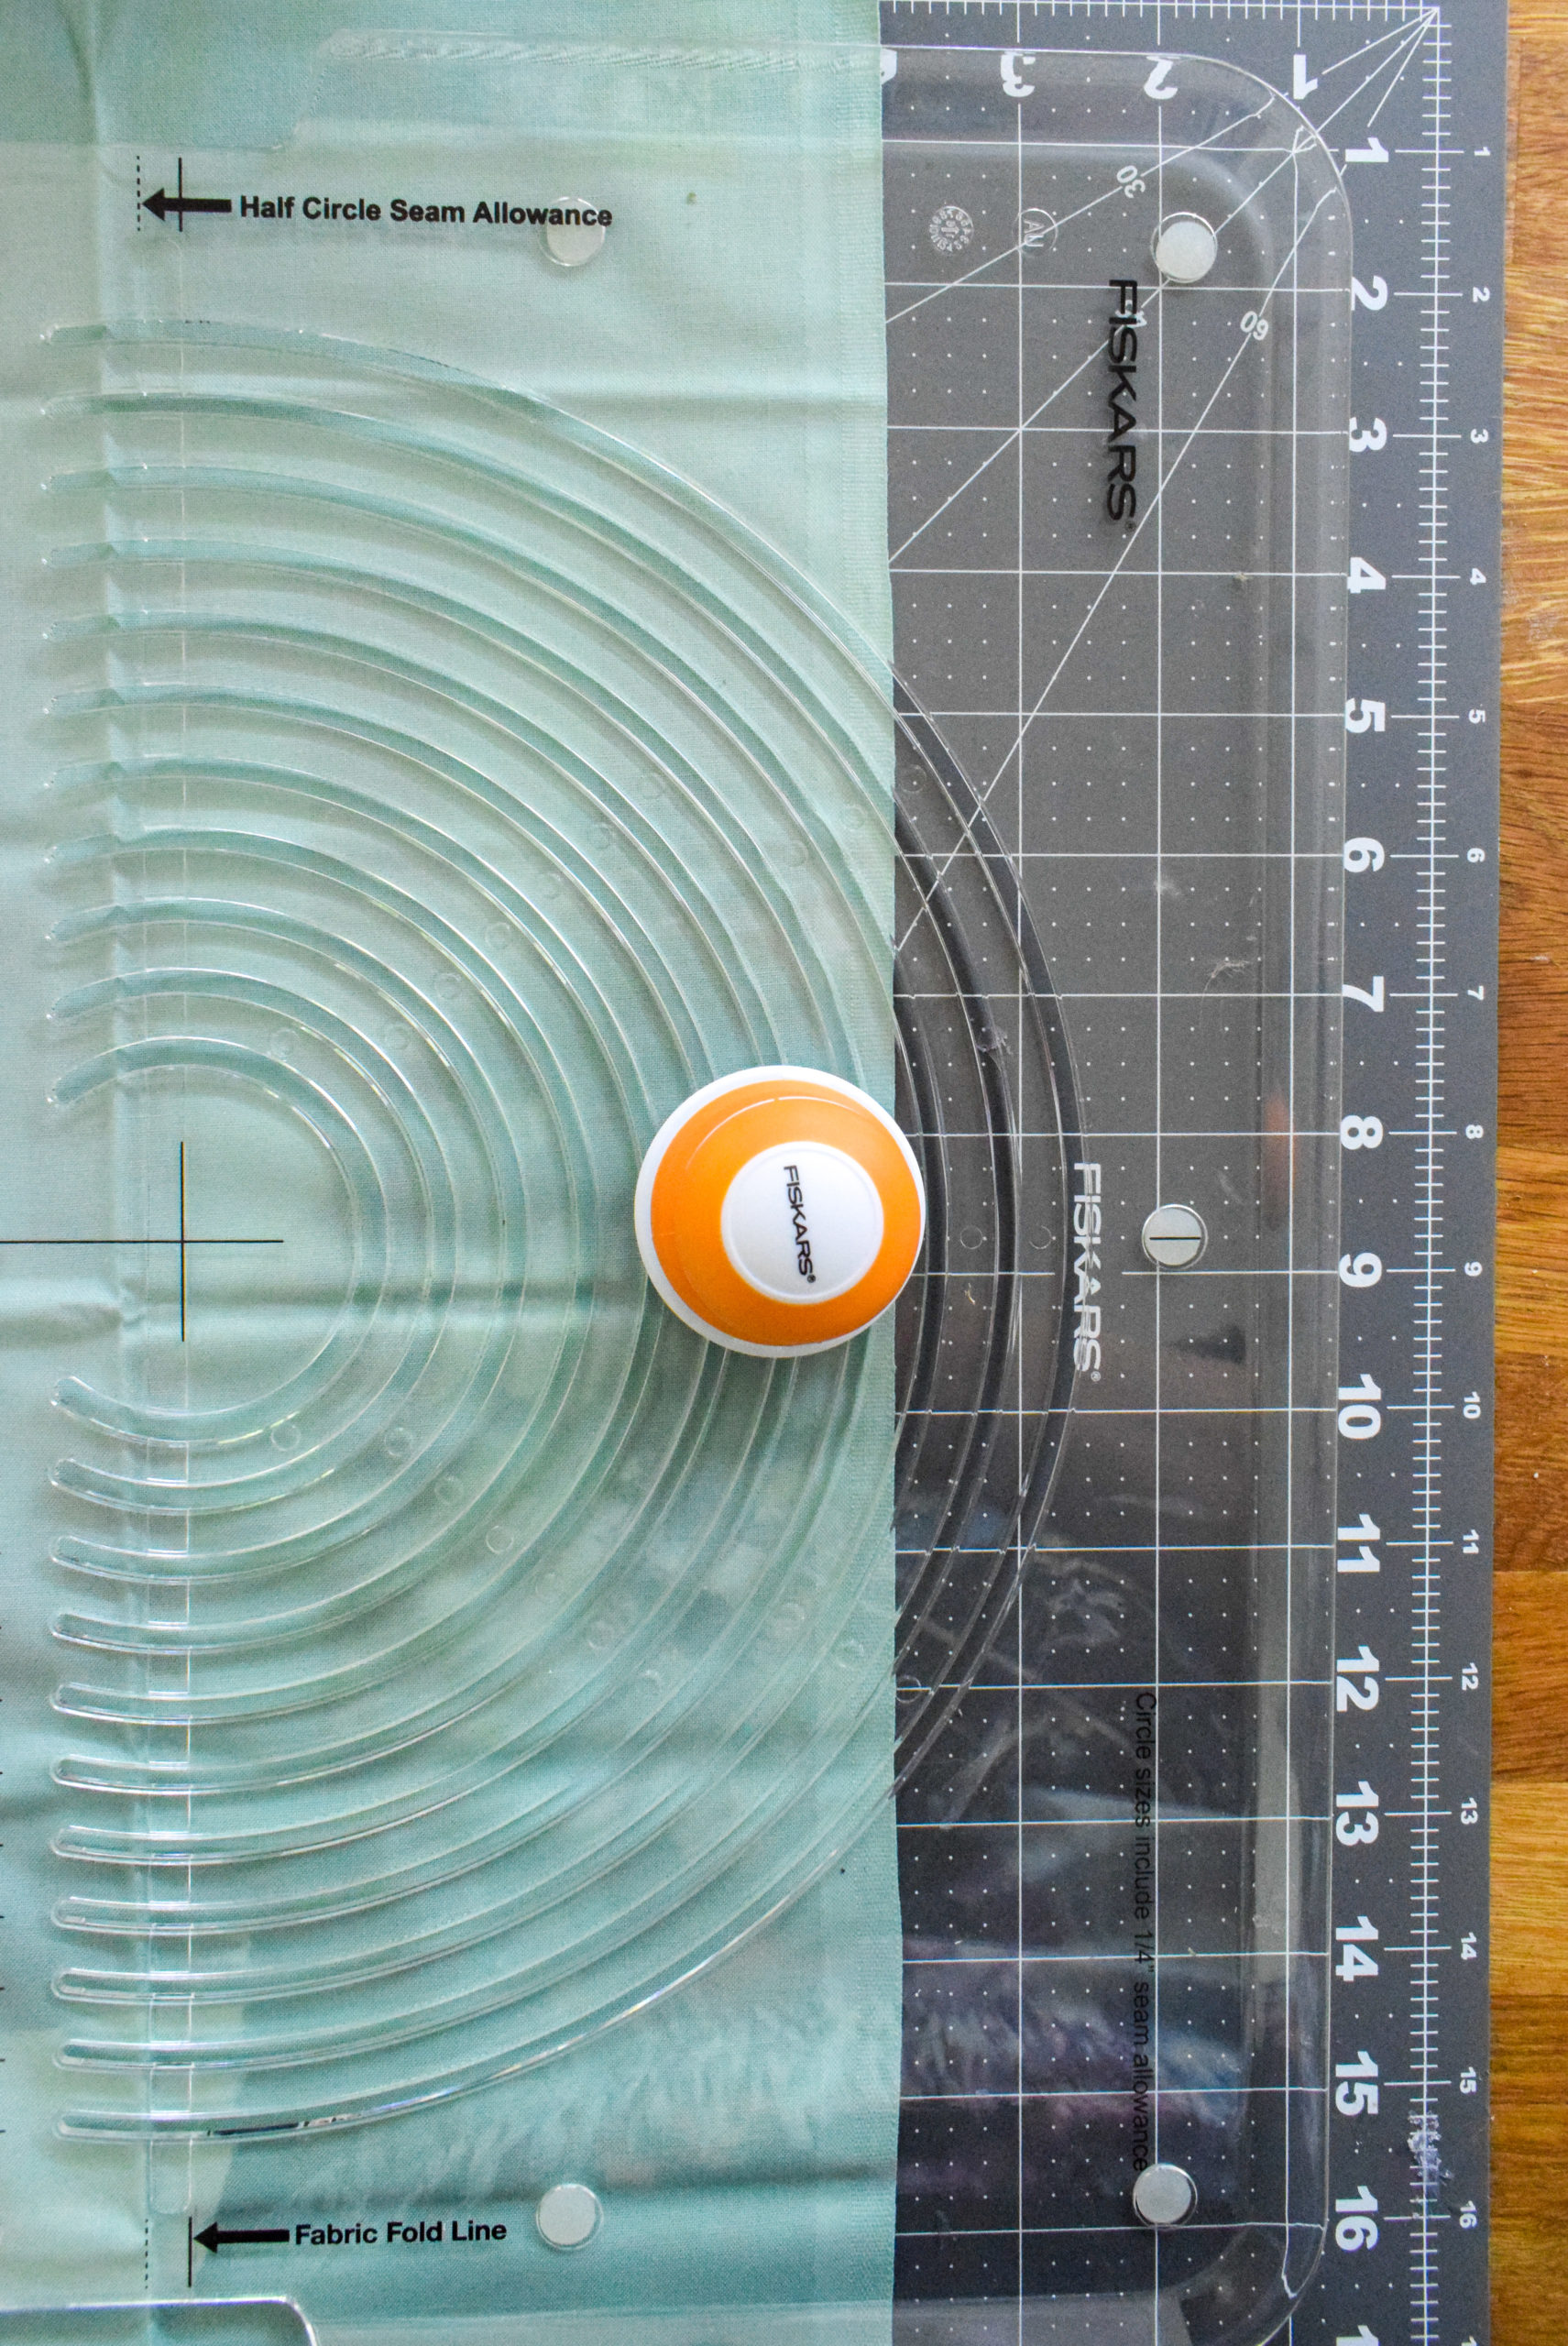

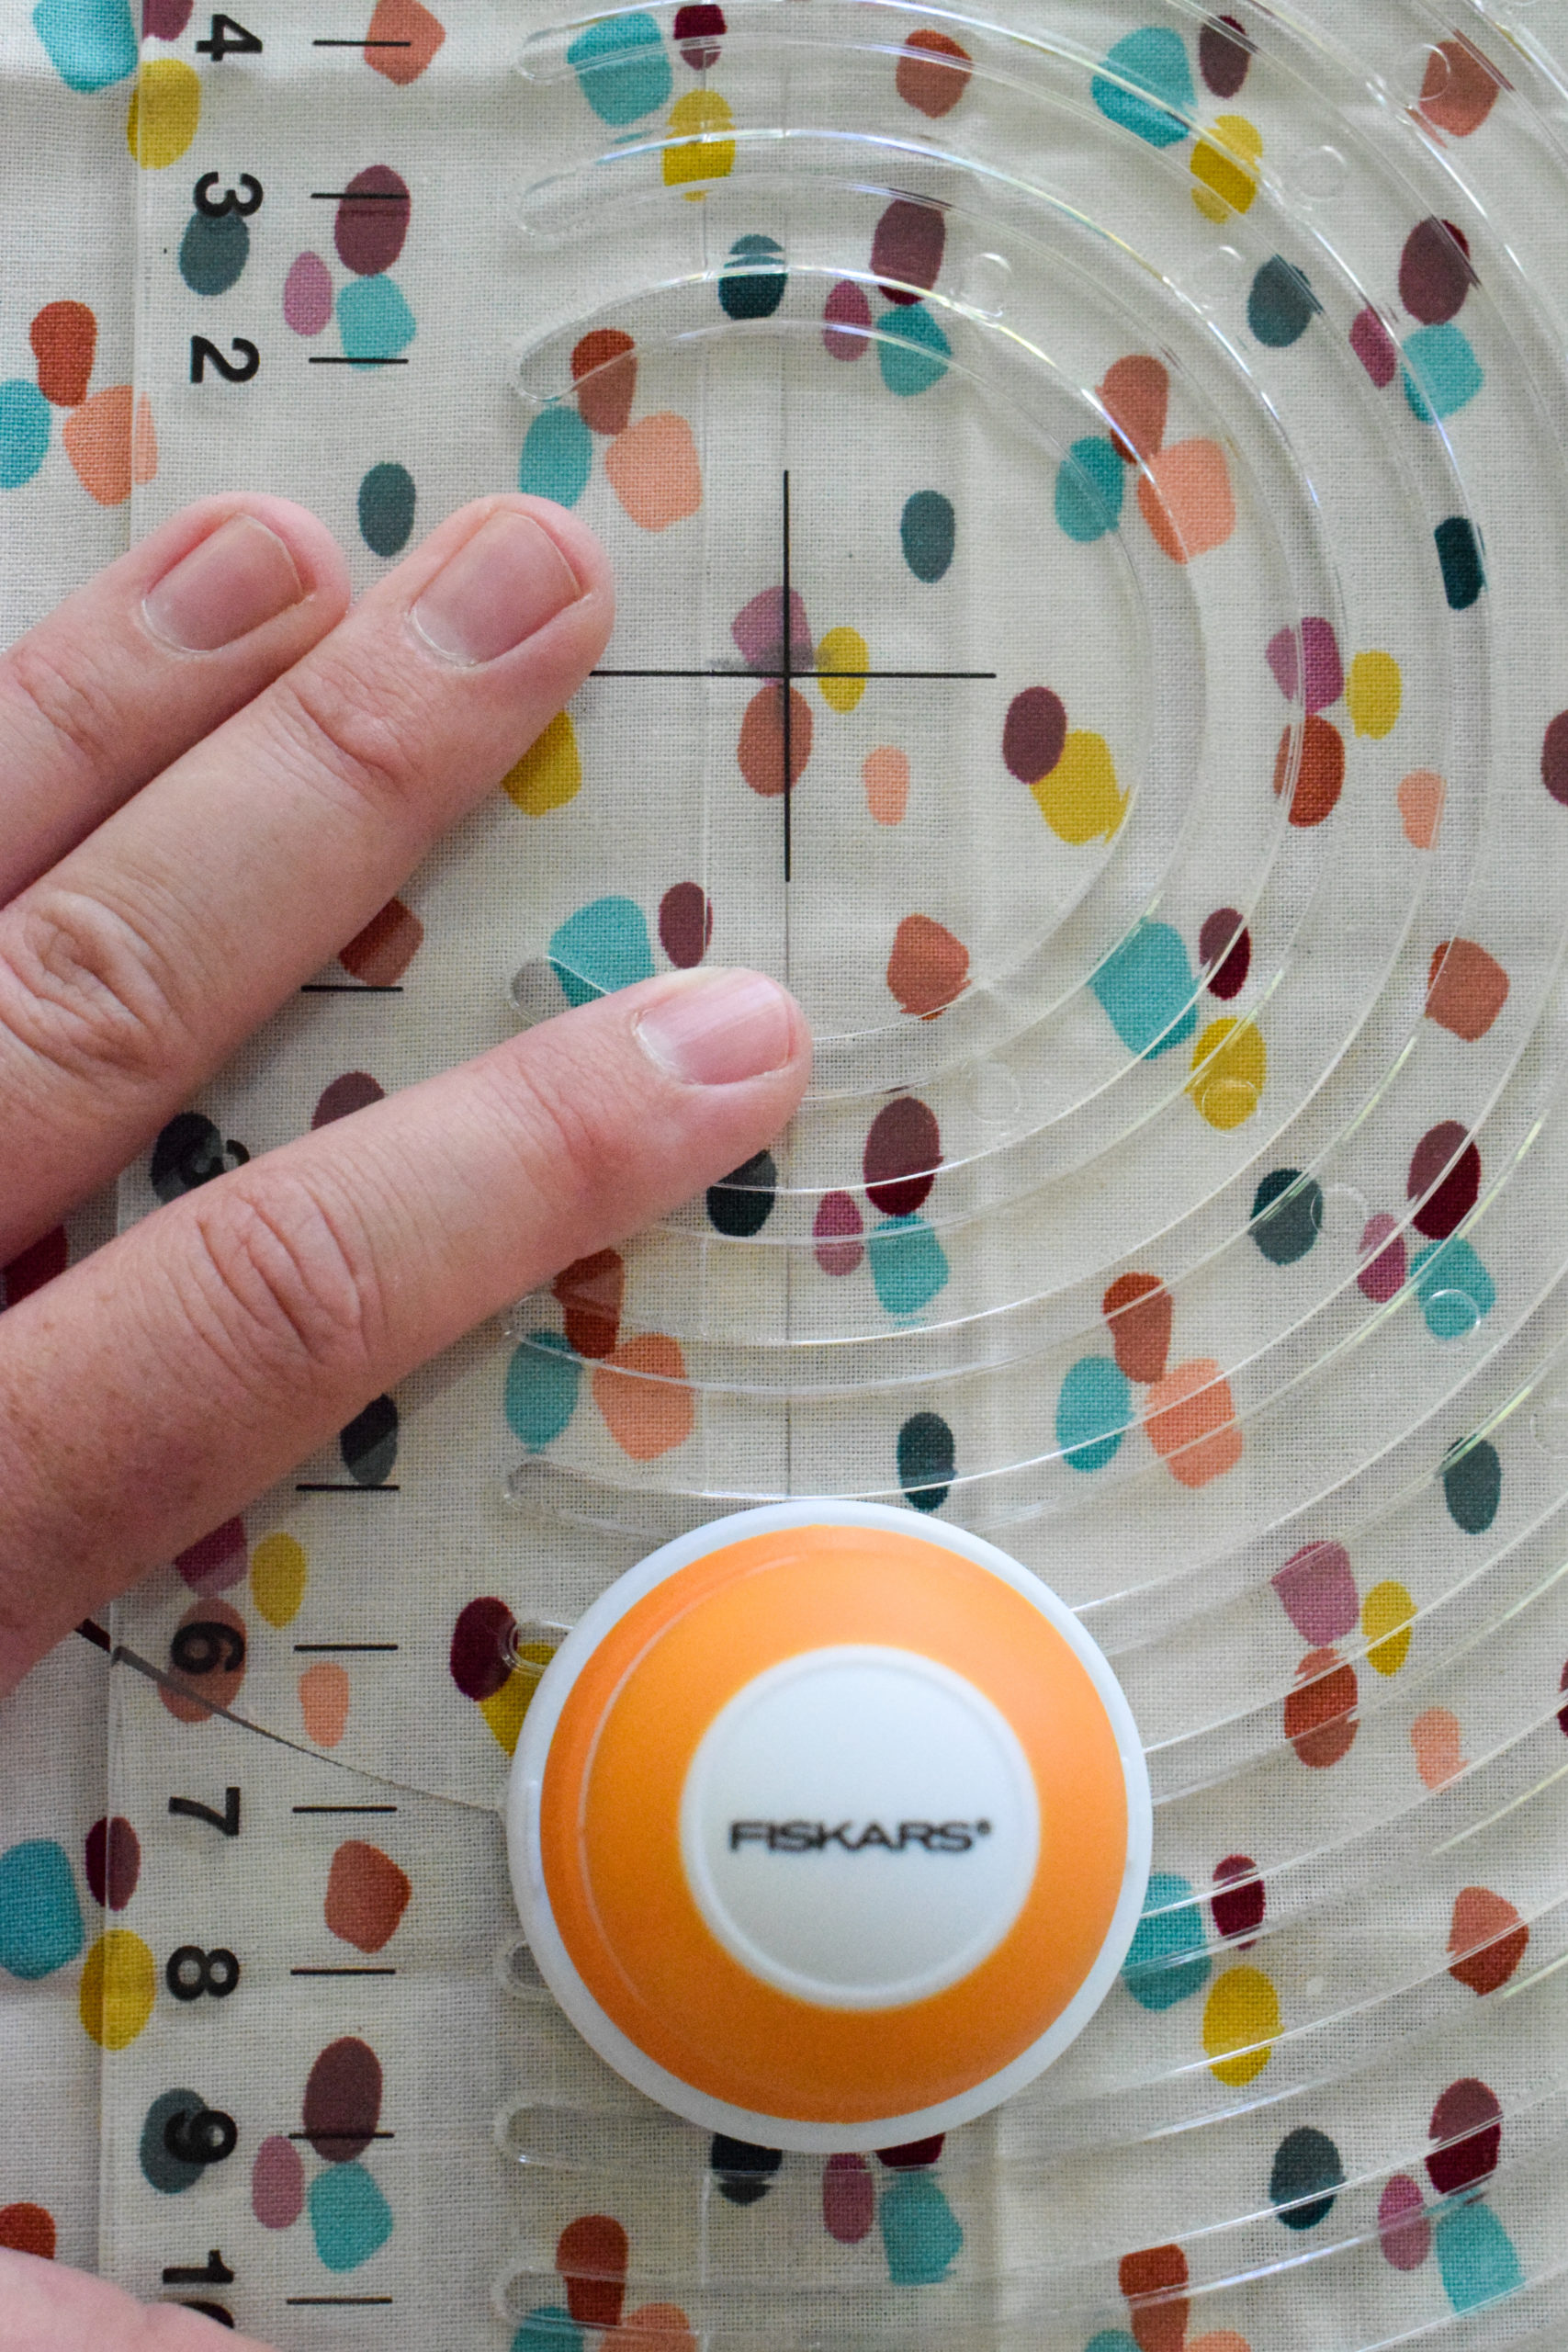
How to use the circle fabric cutter
Real simple, assess the desired size of your circle, mark a center, and place the sight lines over your center. Place the blade into the correct arch, push down, and slide from one side to another.

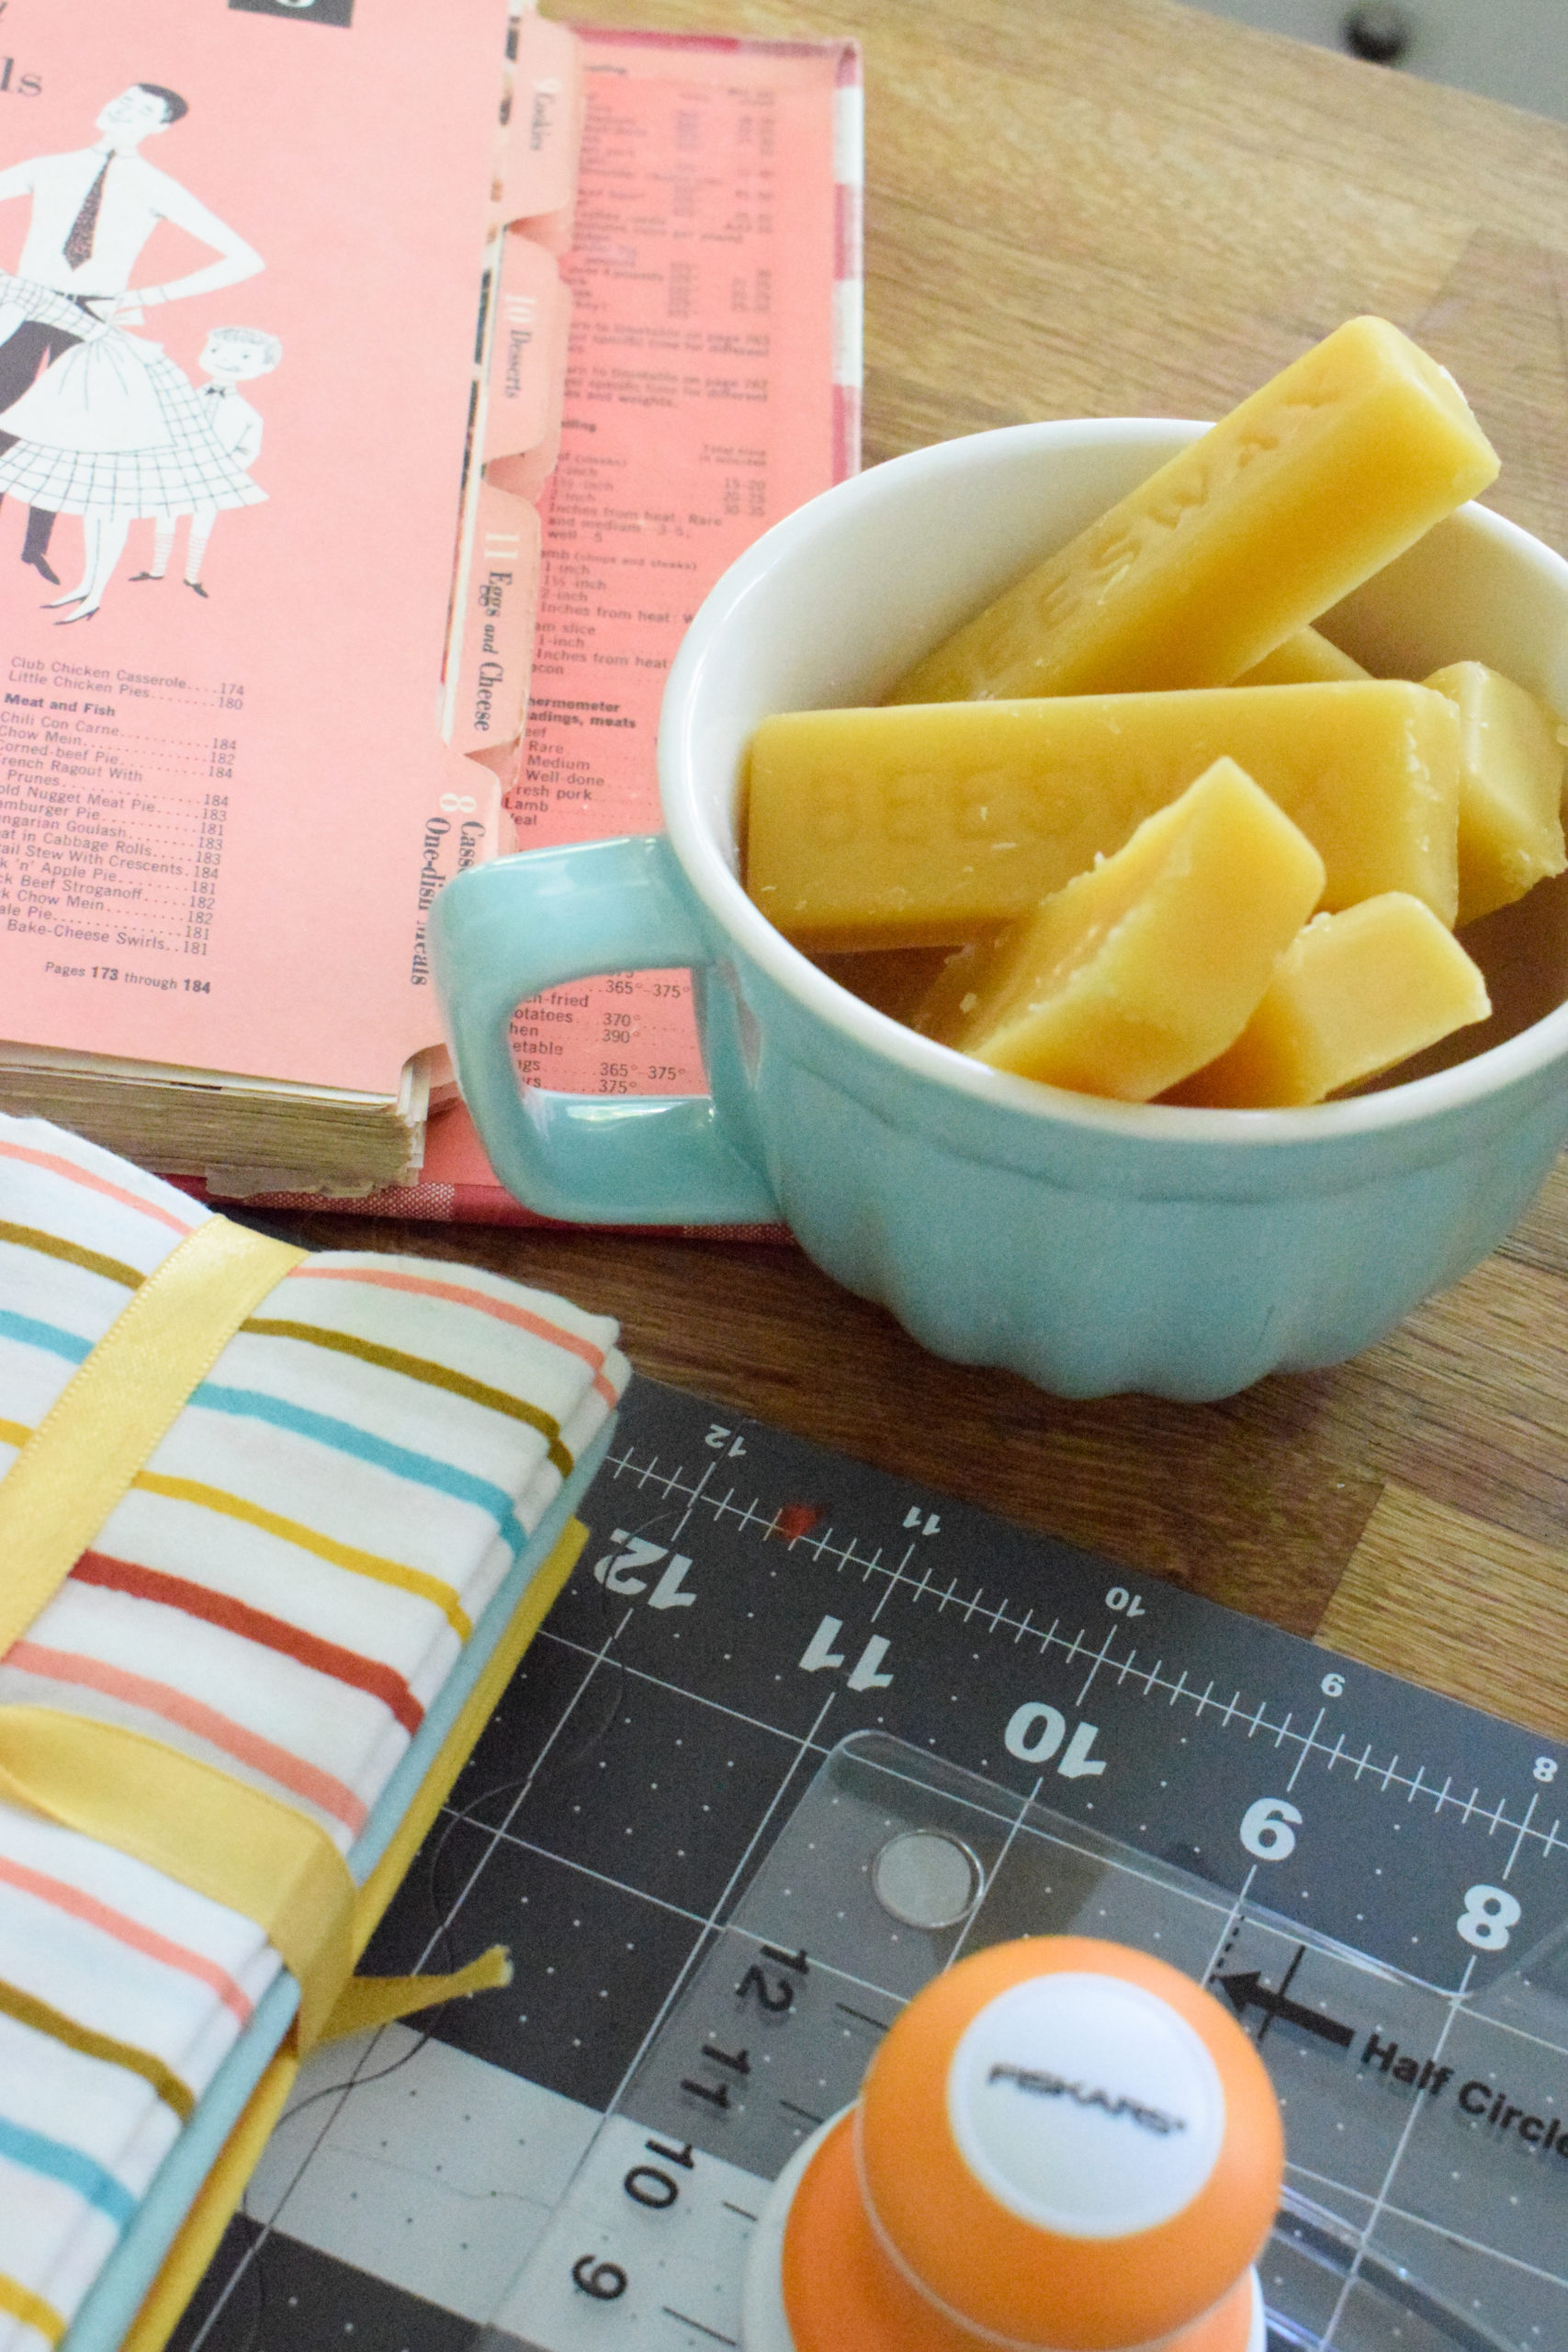
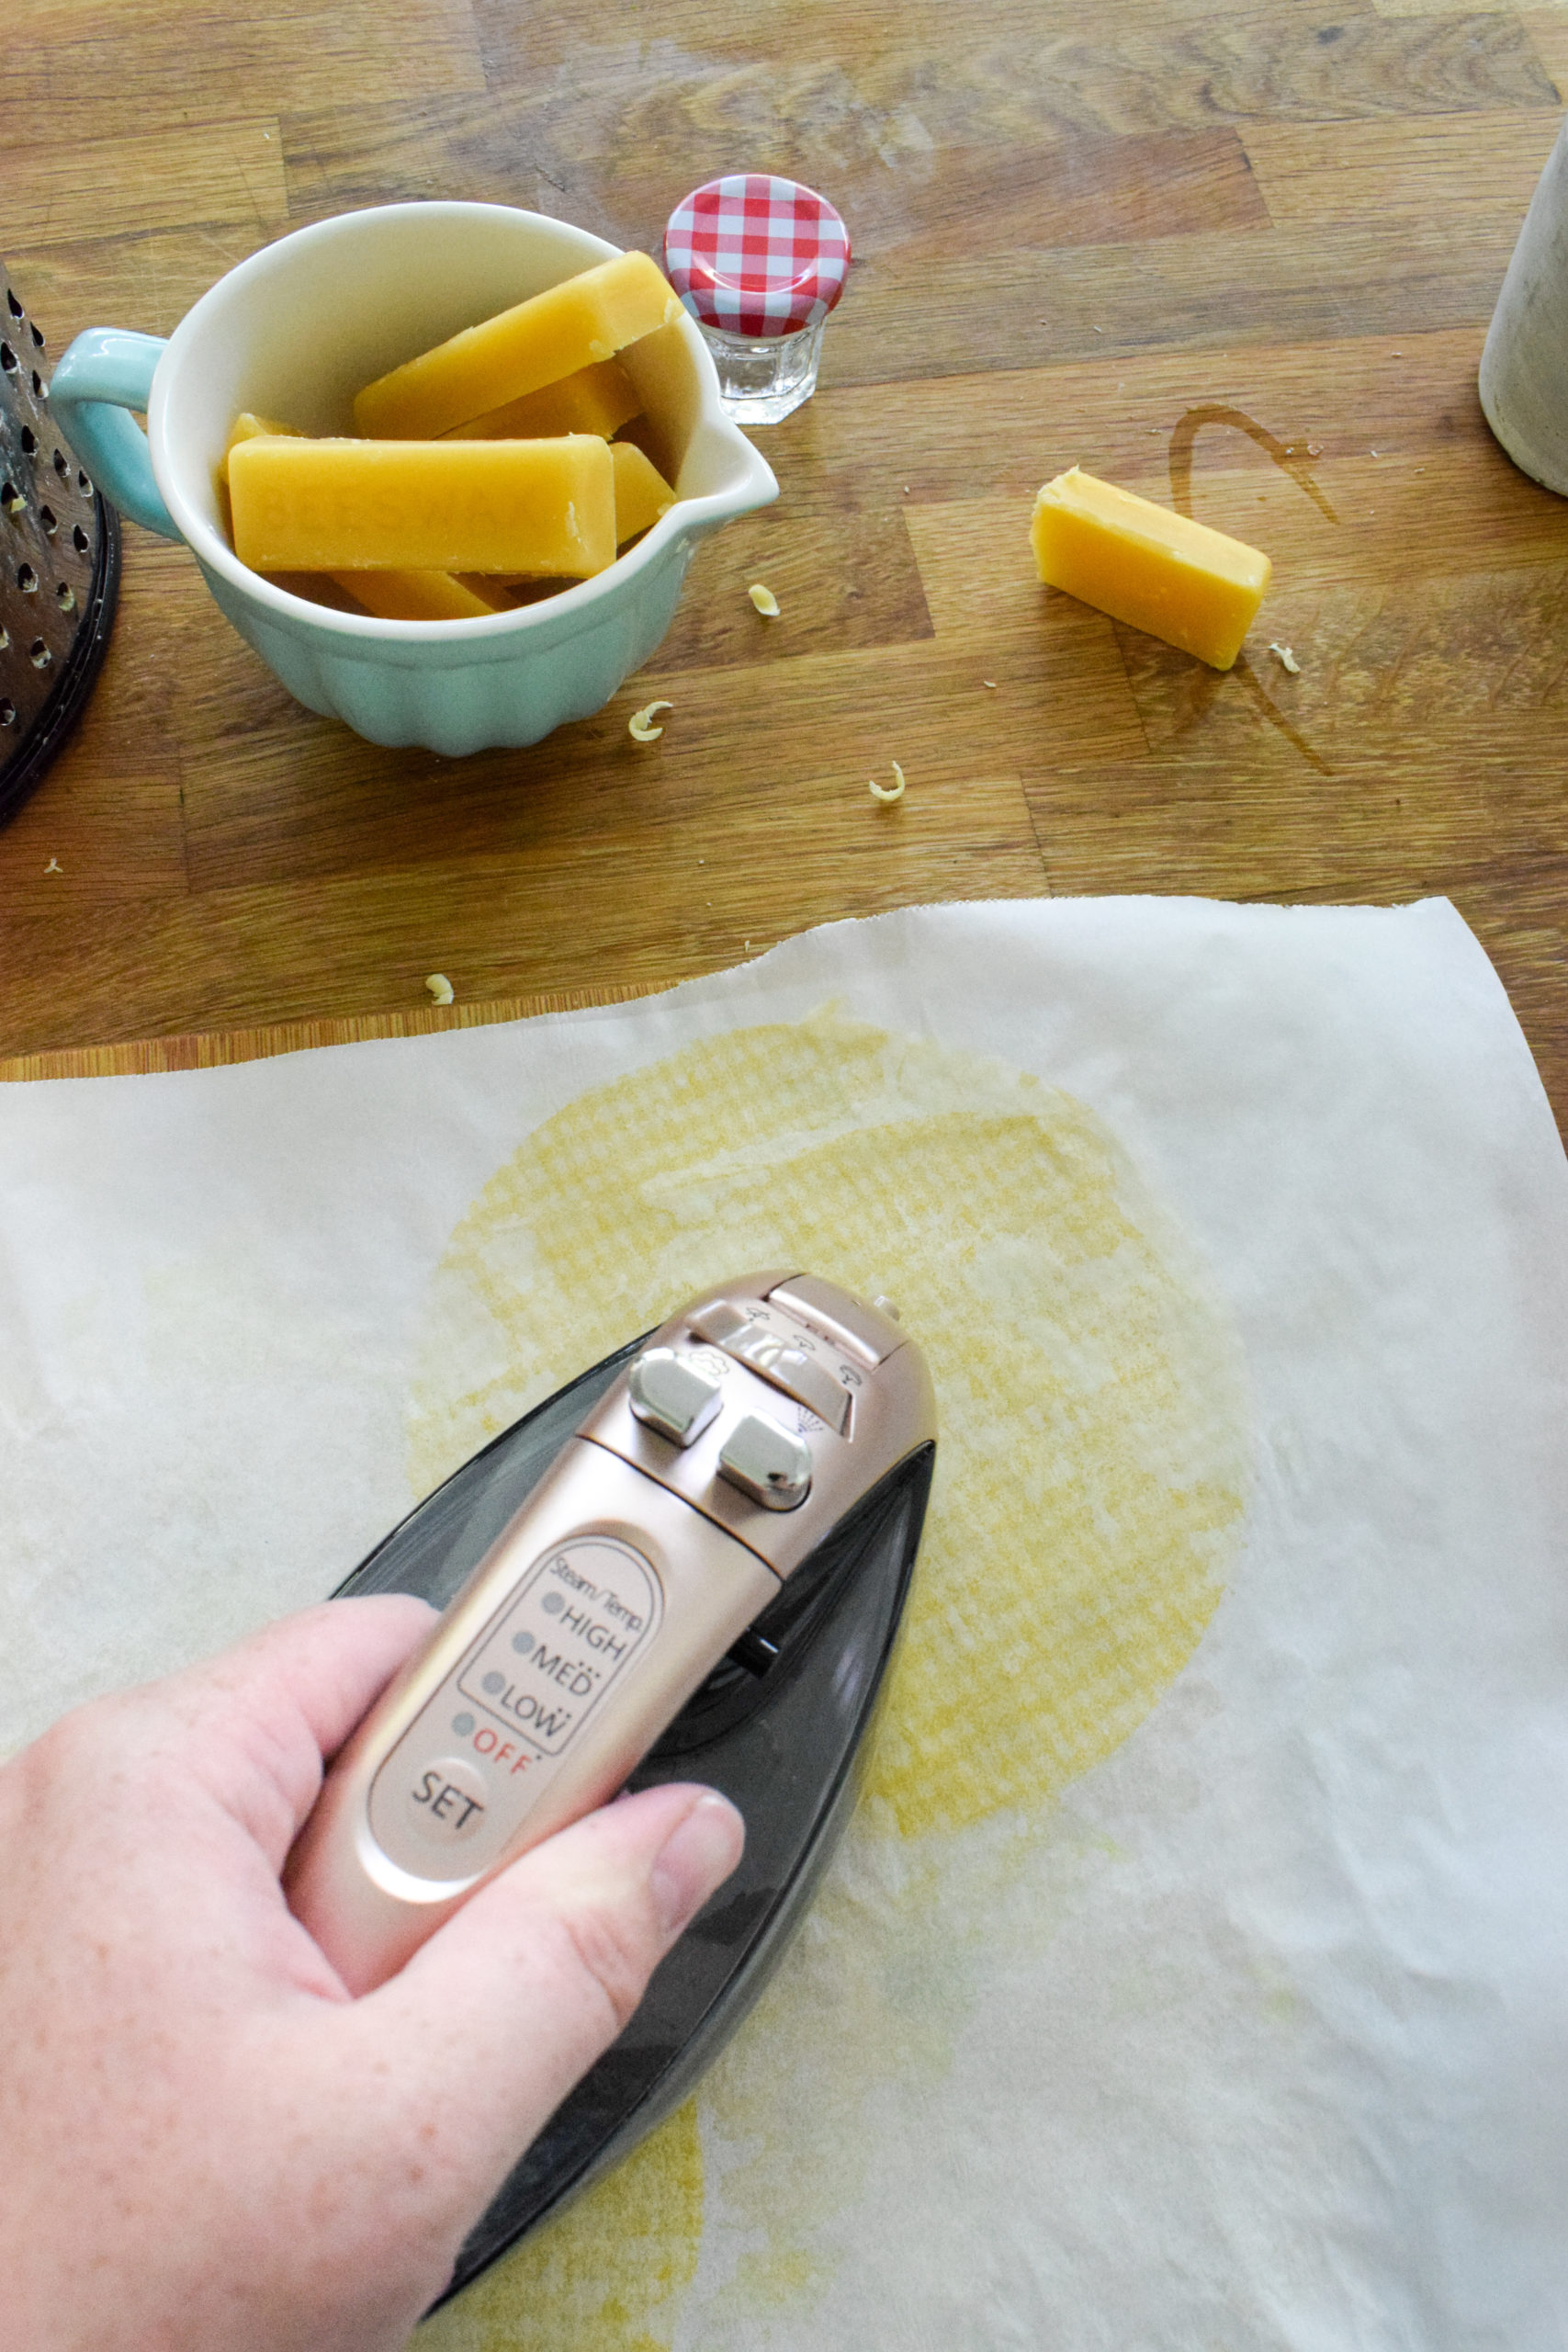
Once you’ve got all your pieces cut, it’s time to add the wax! I placed a cutting board with a sheet of wax paper on top as my work surface.
Lay-down your piece of fabric, and grate the beeswax all over the item. Start with less because you can always add more. Cover it with another piece of wax paper, and then using your iron on a med-high setting, apply heat. You’ll be able to see the wax melt between the sheets, and using the pressure of the iron you can help move it around the surface of your fabric.
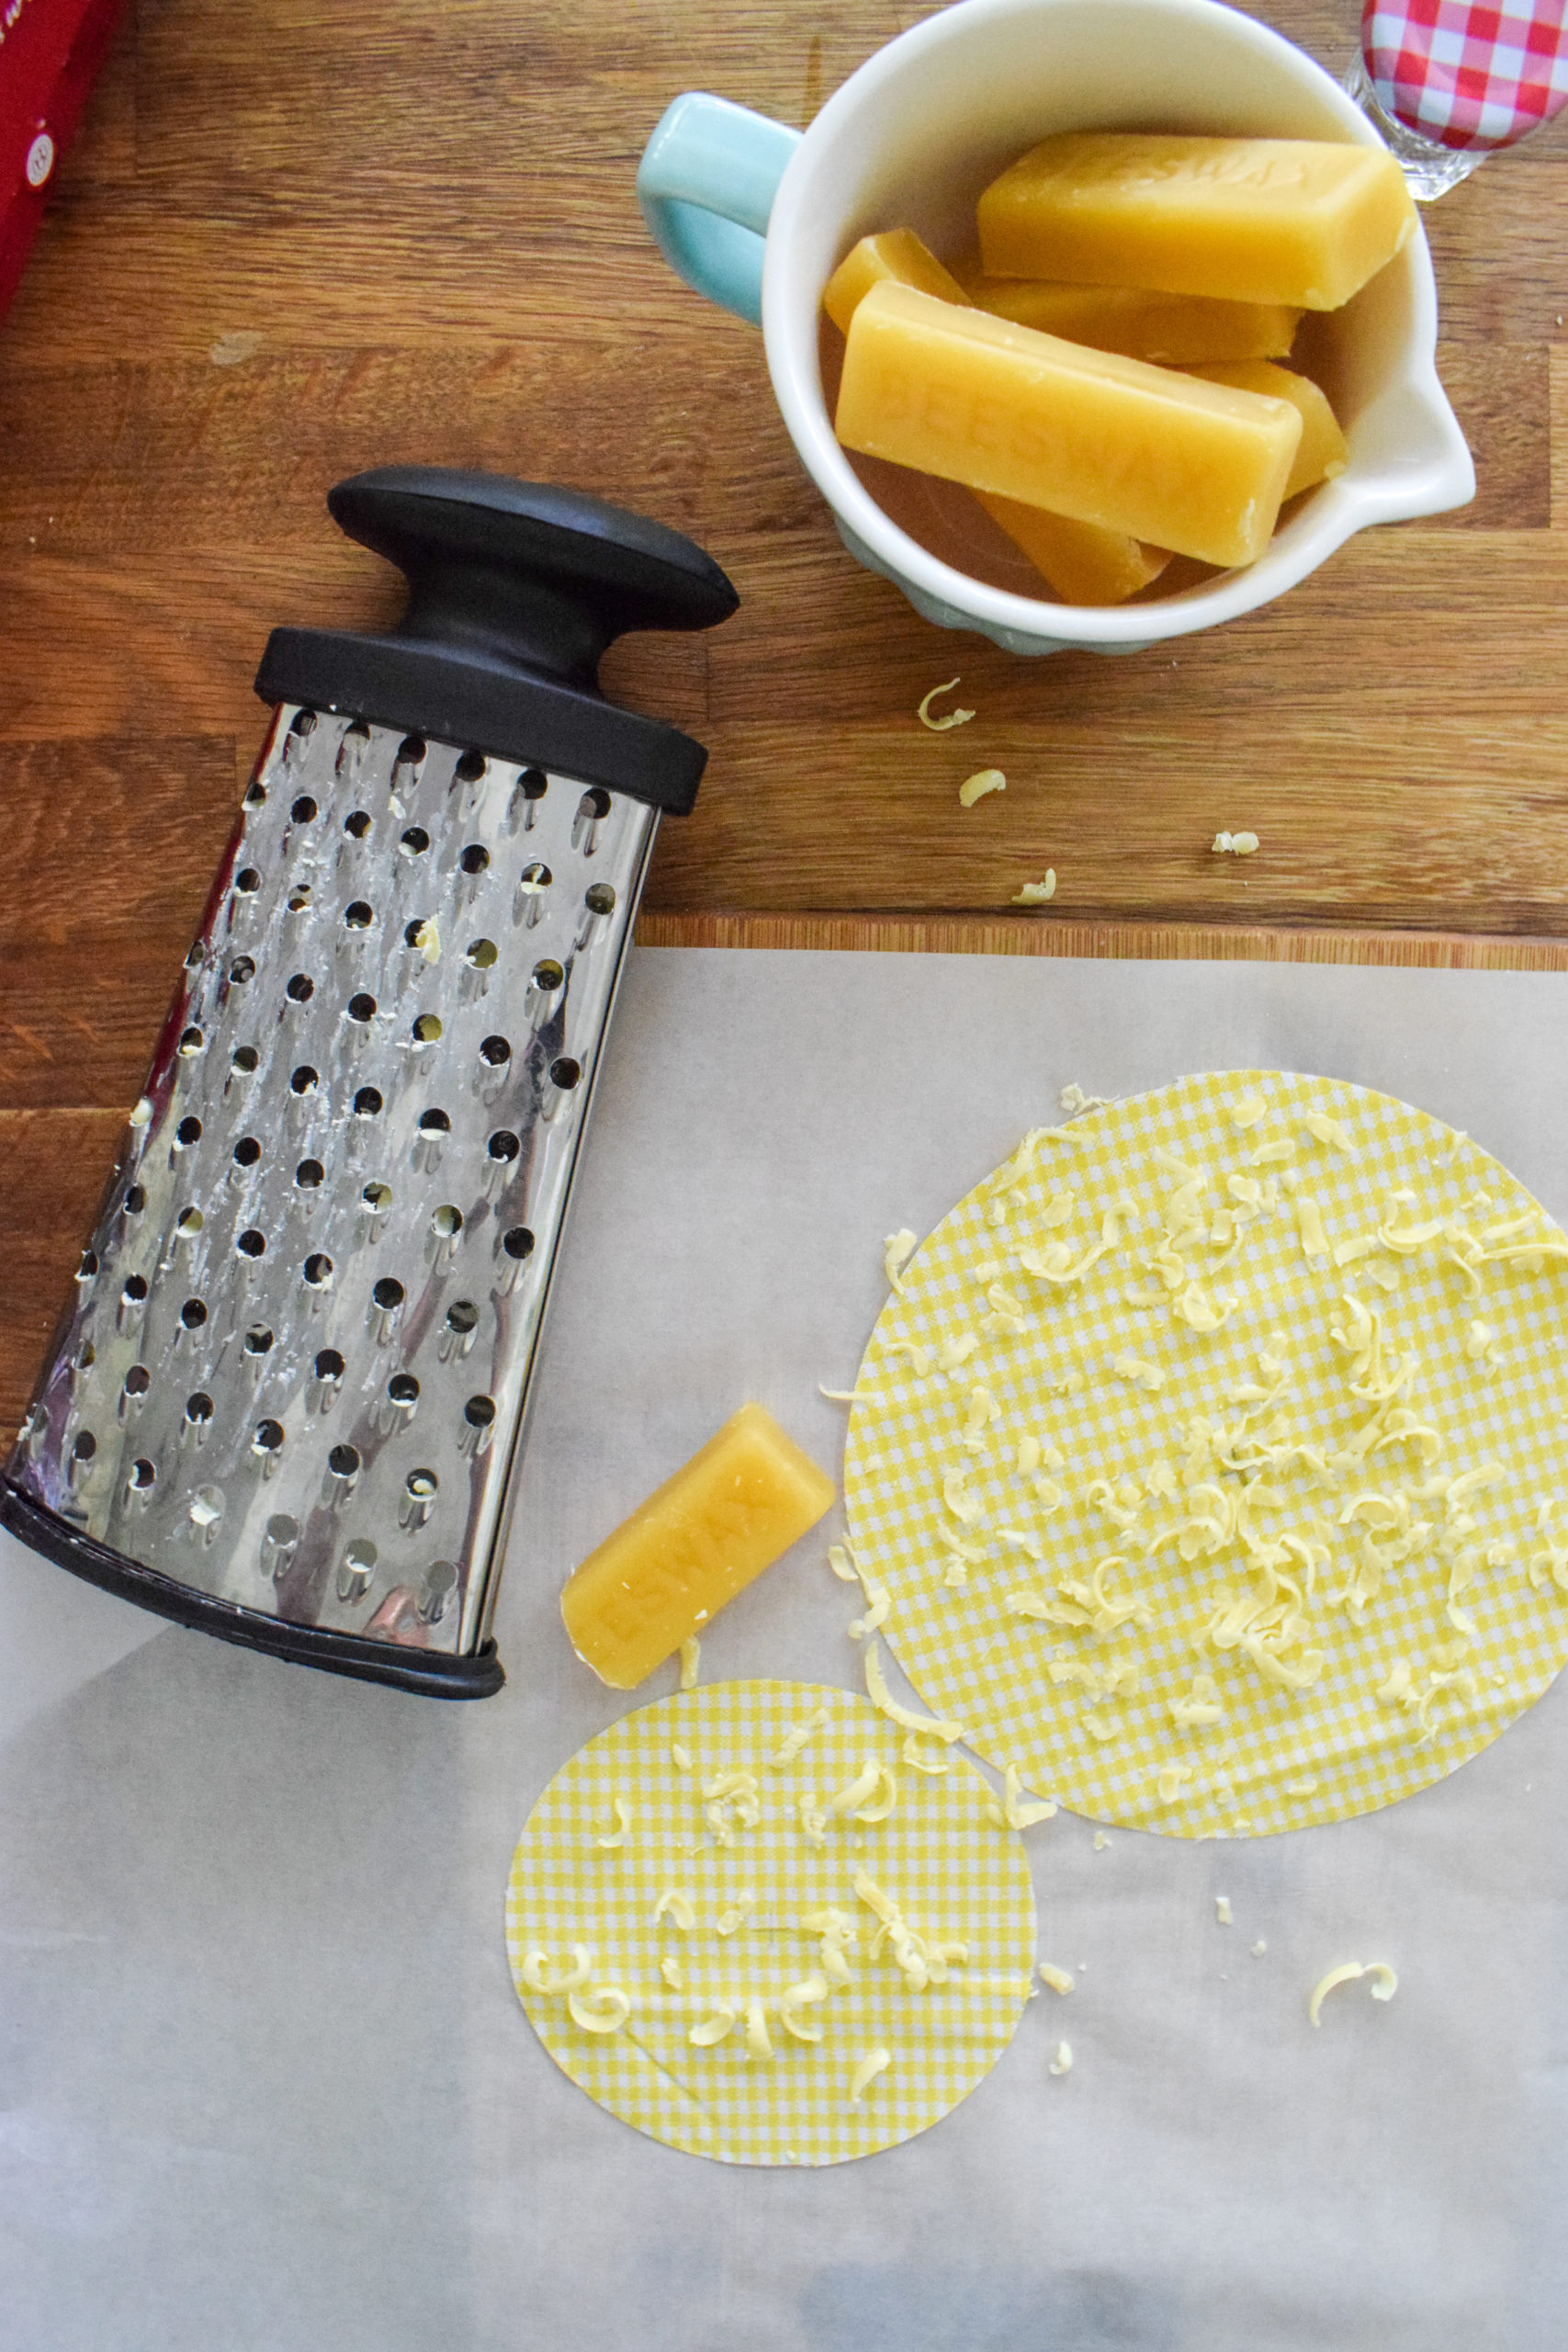
Once the piece is coated, wait a few seconds for it to cool down, and set it to dry on a pitched surface (think: dish rack)
How can you make your beeswax food wrap better?
Some people recommend mixing coconut oil with beeswax, others recommend coating both sides of the sheet, and some say do coconut on one side and beeswax on the other. No matter which way you do it, you’ll find a mixture that works for you. Just remember that it will be in contact with food, so don’t go putting essential oils in it.
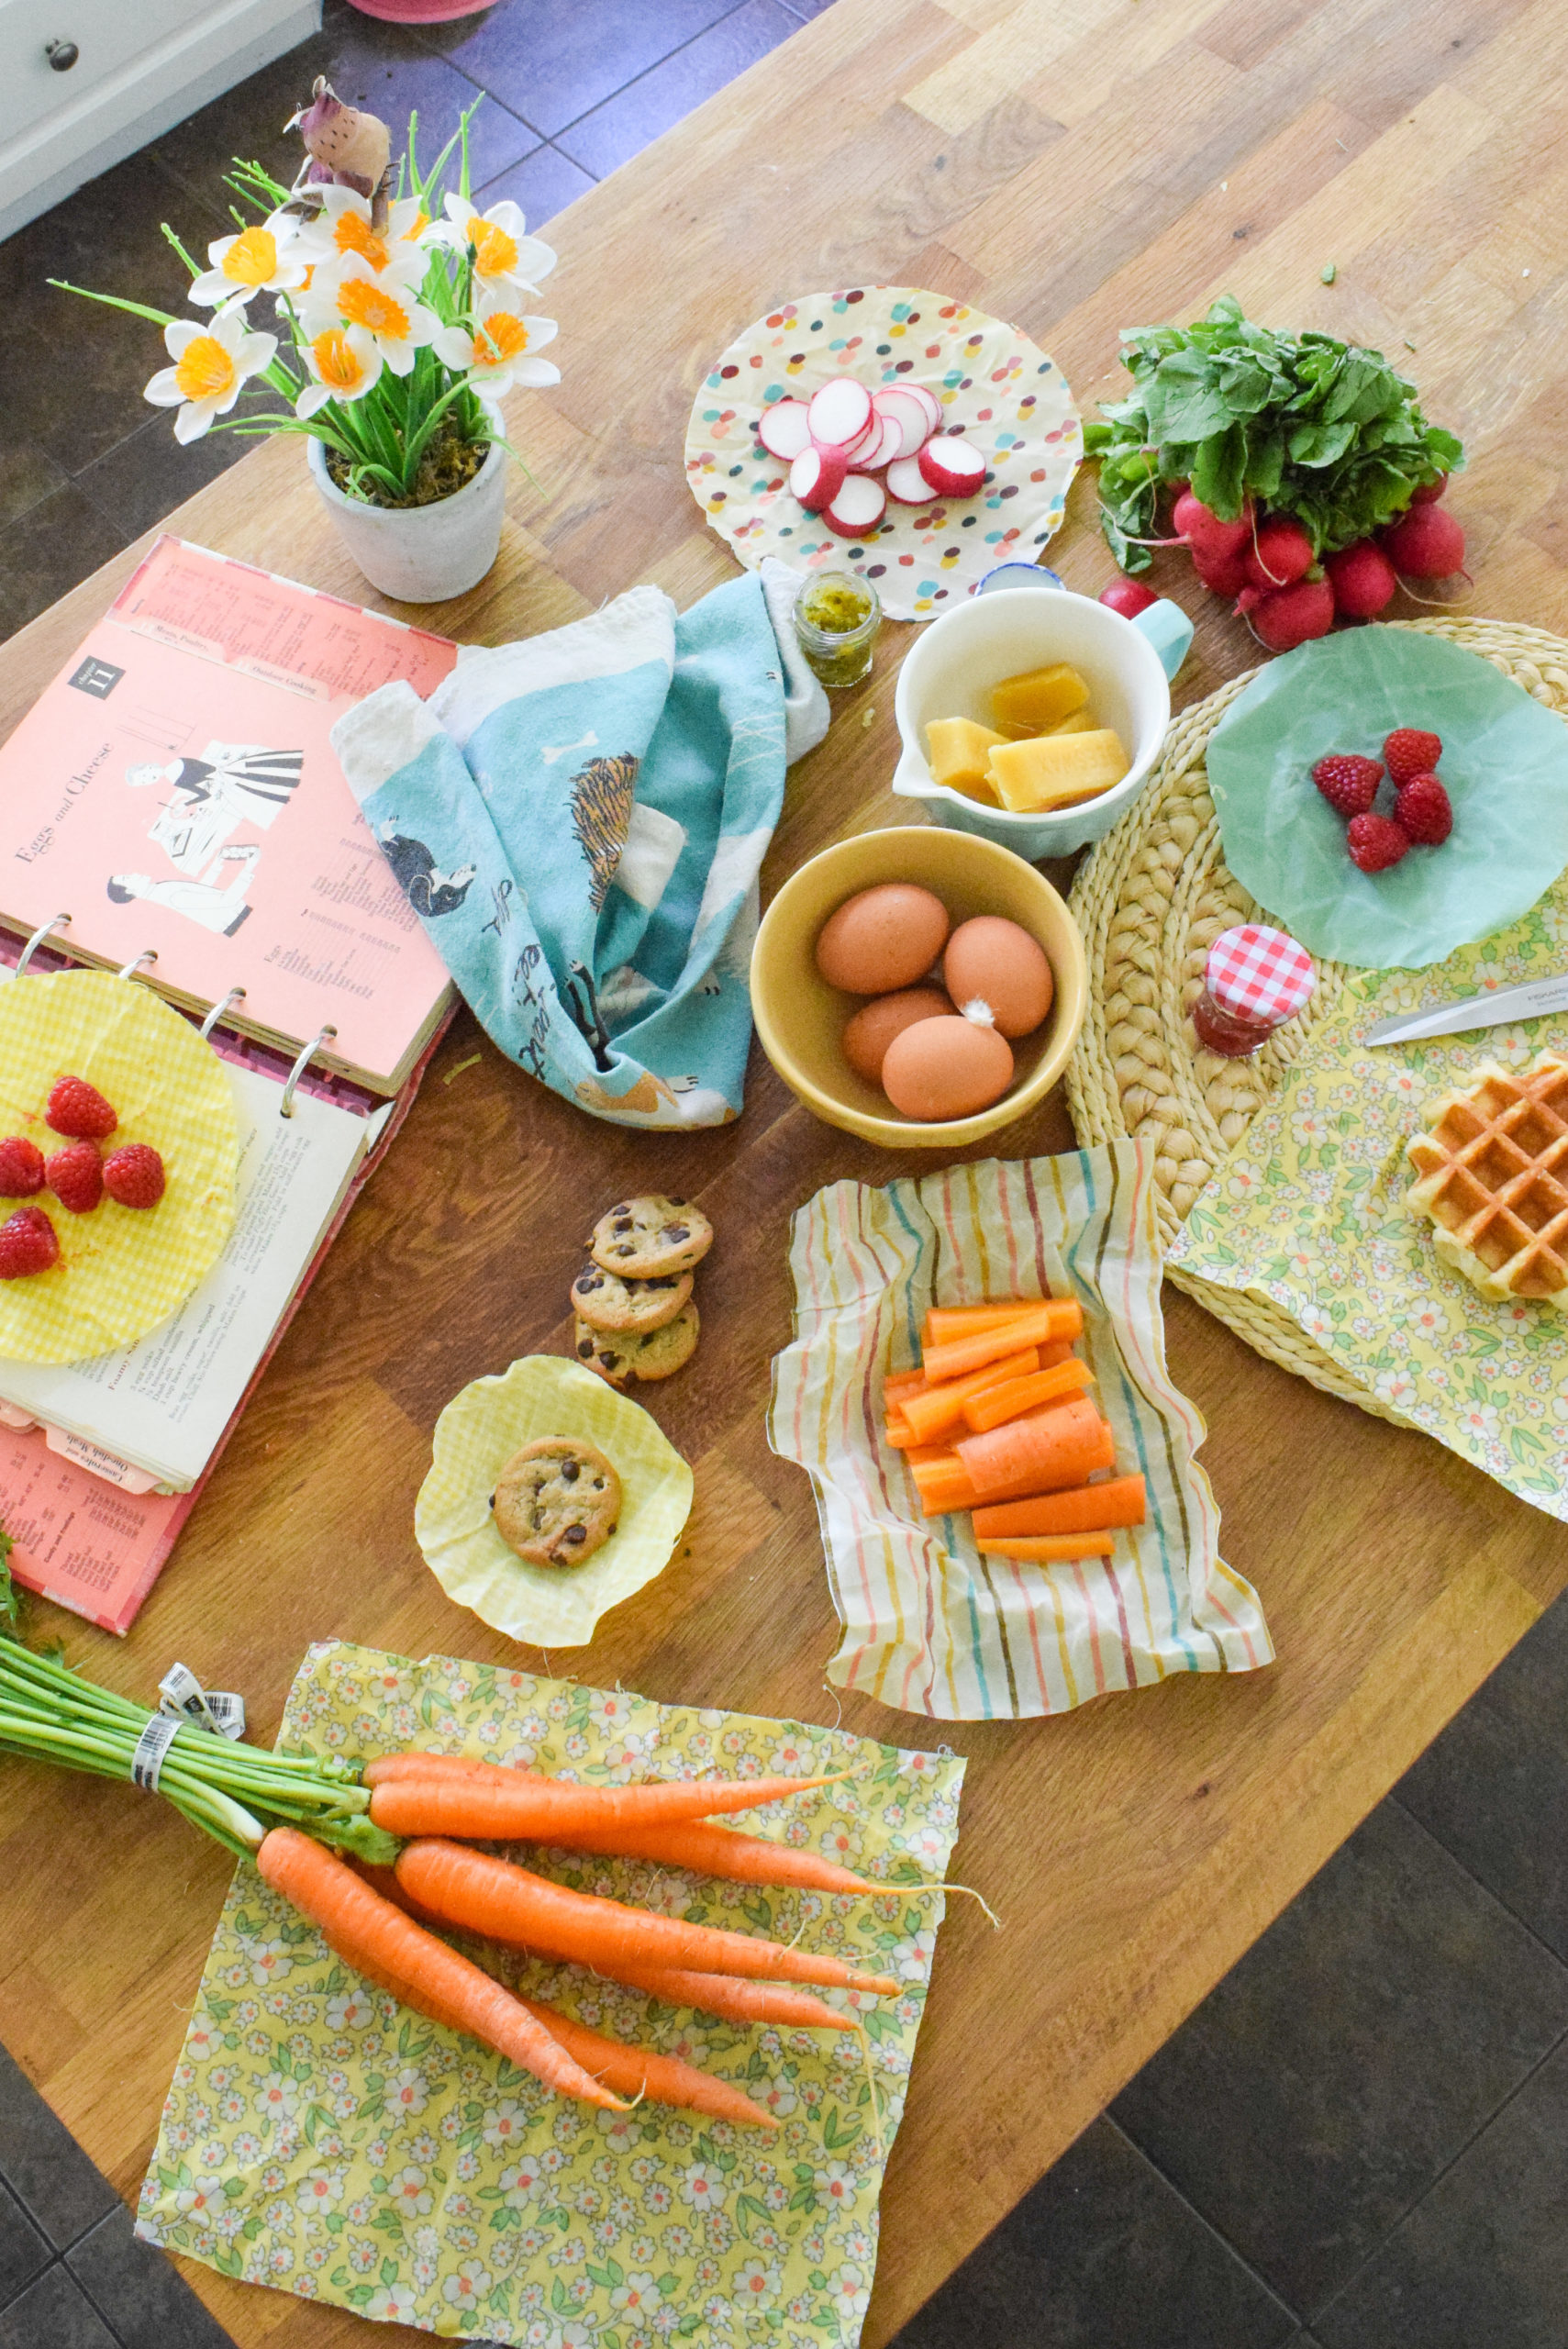
How to use your beeswax food wrap
As I mentioned at the top, I’ve been using it in a variety of ways for a few years now, but I cut new shapes to be able to do the following:
- wrap smaller items
- cover jars or cups or bowls
- cover entire pans or trays in the fridge
- seal an opened fruit or vegetable
- wrap loose items like nuts or seeds
- keep an opened coffee container fresh
- etc.
Before you start using them, scrunch them up into a ball in your hands because the heat of your hands will warm the wax enough to seal whatever you’re covering.