

Here we are in week 2 of the New Year New Room challenge, hosted by Steph of Casa Watkins. Last week I shared my plans for June’s rainbow nursery, and this week I’ve tackled my first project for the space: a DIY Bean Bag Pillow.
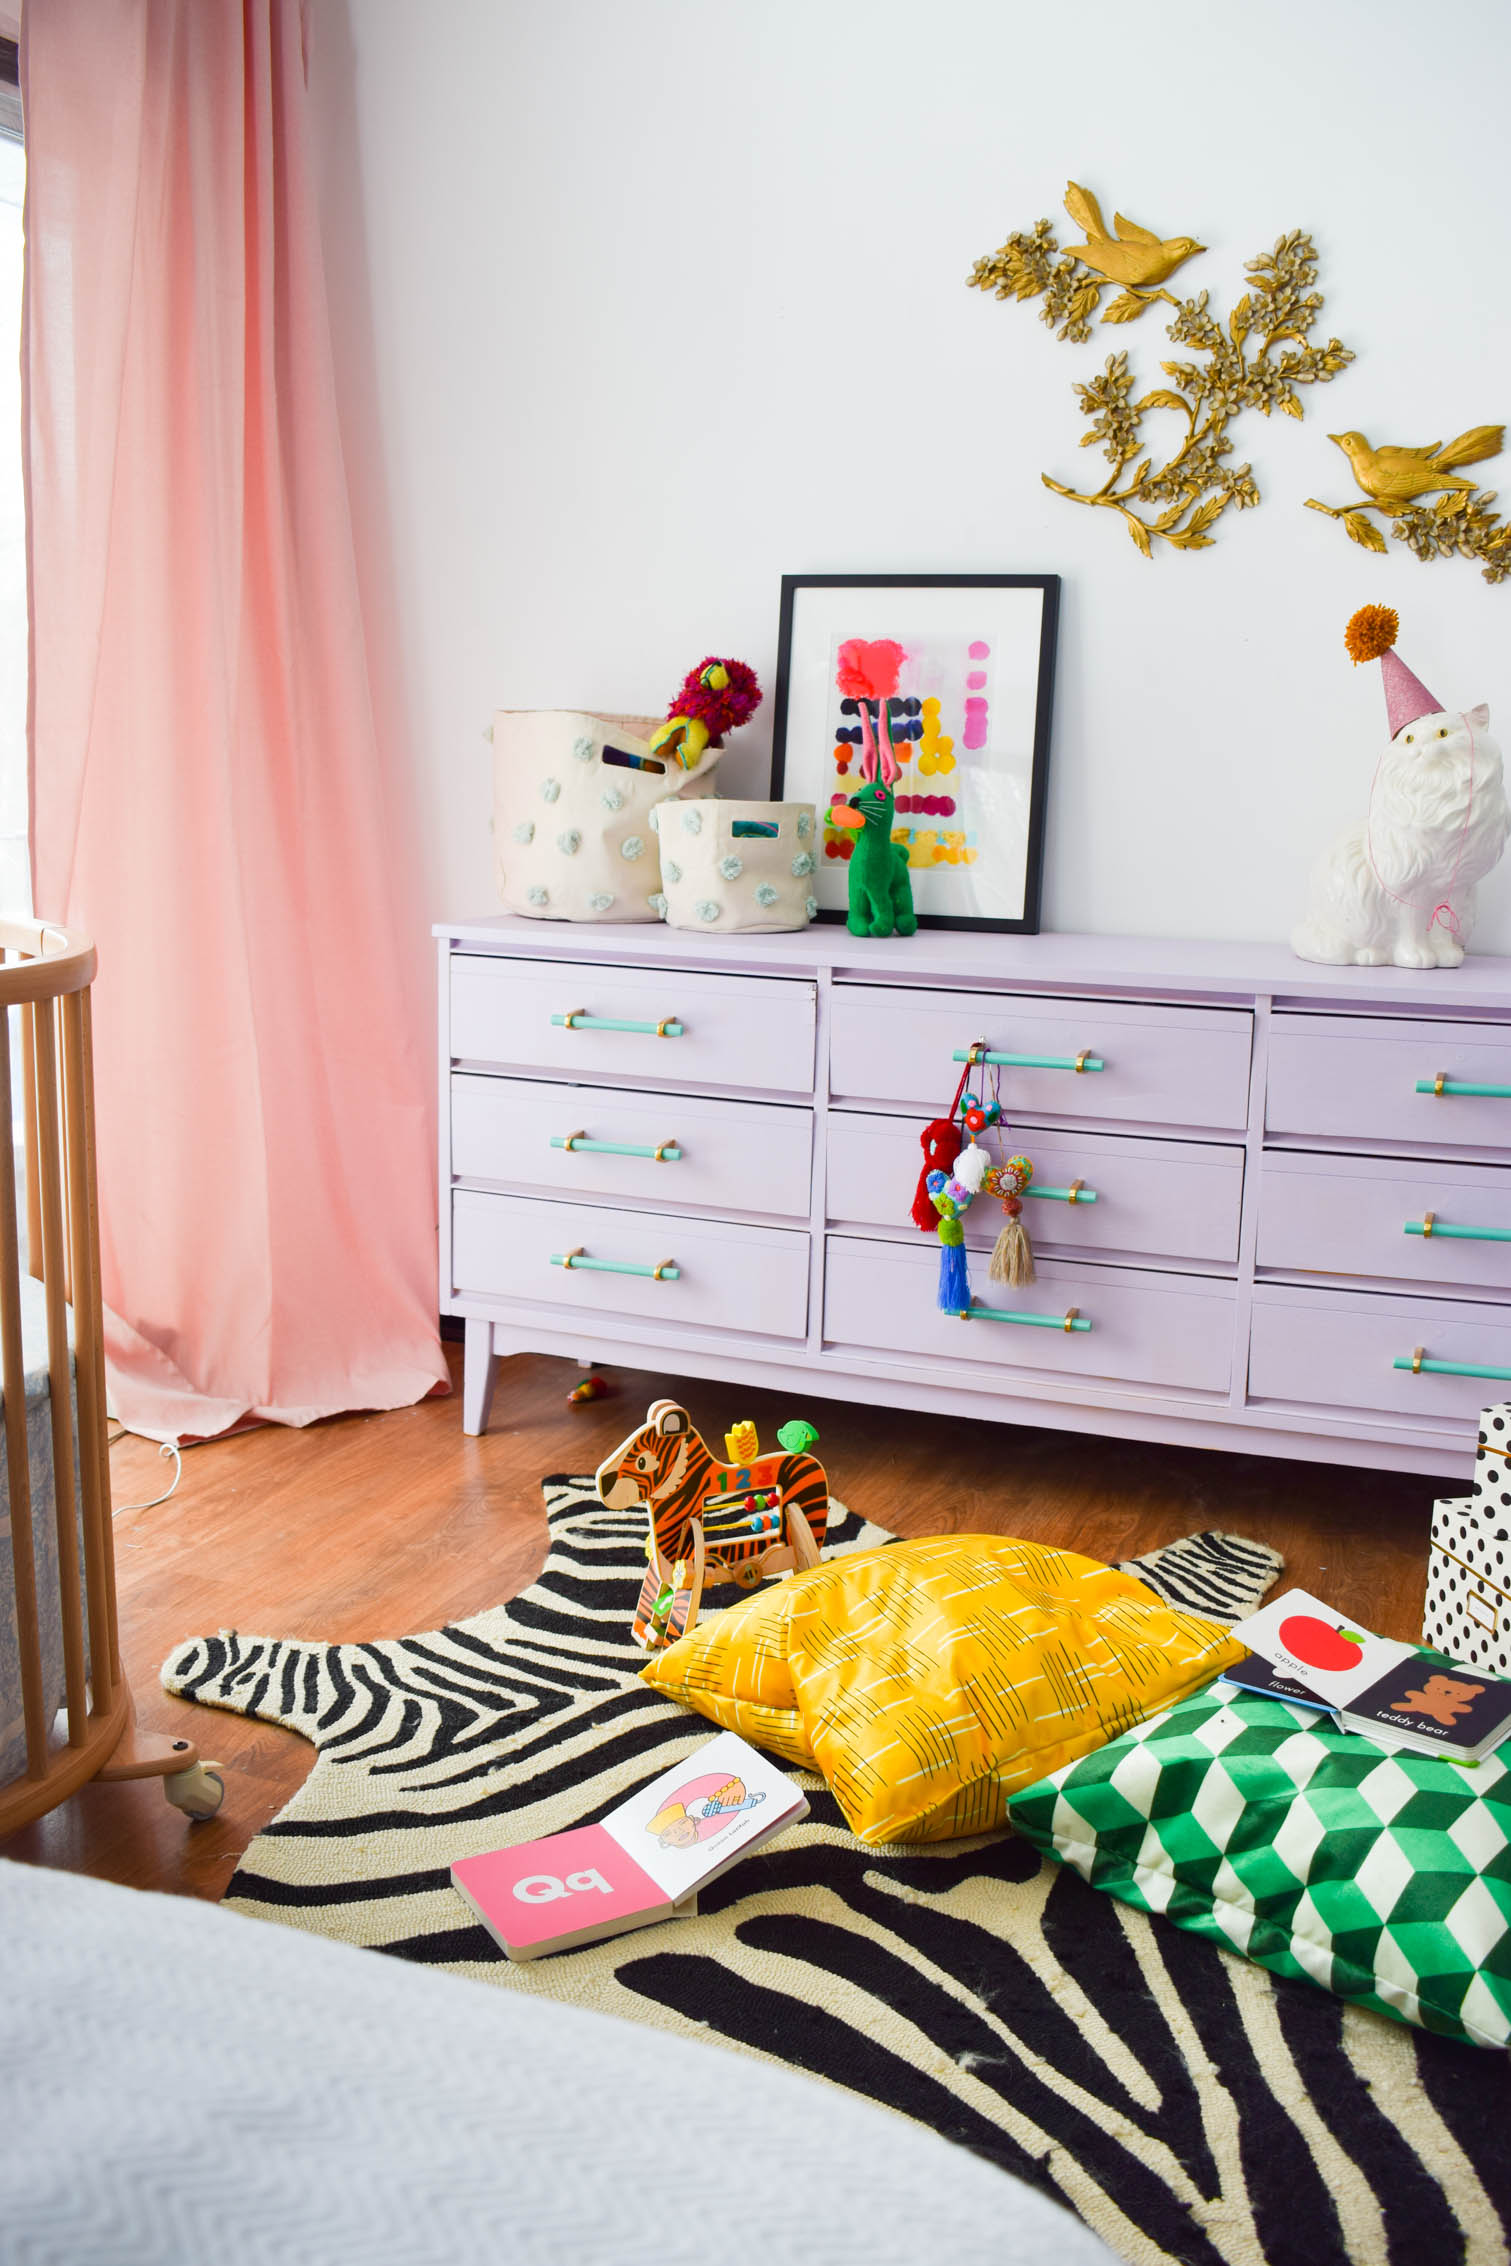
I actually made two, and they’re for June to lounge on when she’s playing in her nursery. I used beautiful Celosia Velvet from Spoonflower and two prints in bold colours, to embody parts of the rainbow.
*Spoonflower sponsored this post, but all thoughts are my own. Thank you for supporting the brands that make PMQ for two possible.


Check out my other sewing projects and tutorials

DIY Bean Bag Pillow
This sewing tutorial is definitely something a beginner can tackle, it covers basic shapes, and the bean bag fill is something you can find in a hobby or craft store.How to sew a basic pillow
Can you sew straight lines? excellent, you can sew a pillow. All you need is a sewing machine, a fabric wheel, and a cutting mat. I chose Retro mid-century Scandinavian minimal design by Little Smile Makers and Abstract Emerald Forest cord Cube by Bruxa Magica. I opted for Celosia Velvet because its great for upholstery, enhances colours, and will be supple and soft for June’s playtime.Flip the fabric inside out so that the patterned sides are touching.
HOT TOP: If you line-up the blue arrows, the design will line-up.Start by cutting the fabric and deciding on the size.
With 1 yard of fabric I was able to sew a 22″ x 22″ pillow. I folded the fabric in half, and measured 23″ on each side before trimming.Start sewing the pillow
Because you folded the fabric in half, one side of your pillow is already sewn. Hooray! Time to sew the other 3. Make sure you sew with the designs inside out. If you cut the fabric at 23″, you have an extra inch for seam allowance.Filling your DIY bean bag
I found a big bag of bean bag fill at our local fabric store. It was 27$ for a GIANT bag that could probably fill an actual bean bag. It served me well with my two big pillows, and there’s plenty left over. I recommend using a cup and a funnel, because by hand it’ll take forever.Closing your bean bag pillow
Once the bag is full, you can stitch it up by hand or using your sewing machine. I didn’t overfill the pillows, so I was able to use the machine. You can add tassels or pom poms to the corners, but I left them plain for now. She’ll likely start sucking on them, and I want one less thing to clean, or worry about a chocking hazard with an errant strand of wool.Bean Bag Floor Pillow
Since these will live on the floor, I wanted JB to test them out! She seems to be enjoying herself on the floor in the master. I can’t wait to move everything into the nursery once it’s done.Casa Watkins Living // The Boho Abode // Delineate Your Dwelling // Haneen’s Haven // The Happy Housie // Homemade by Carmona // House by Hoff // Jeweled Interiors // Kaleidoscope Living // Our Fifth House // PMQ for 2 // Rain on a Tin Roof // Southern State of Mind // Taryn Whiteaker // This is Our Bliss // Thou Swell // Up To Date Interiors

