

We also just over a month away from Christmas, and to help get you in the spirit I teamed up with some other Cricut bloggers to show you just how many styles of ornaments you can make with your Cricut! And if that wasn’t already amazing, we’re giving away a Cricut Explore Air 2! That’s right! Do you want a Cricut in time for the holiday? Well make sure you read all the way to the bottom for entry details.
If you’re joining me from any of the other amazing bloggers’ sites, welcome! My name is Ariel and I blog about bold, bright, colourful and eclectic decor and DIYs. You can see my work // here // and read more about me // here //.
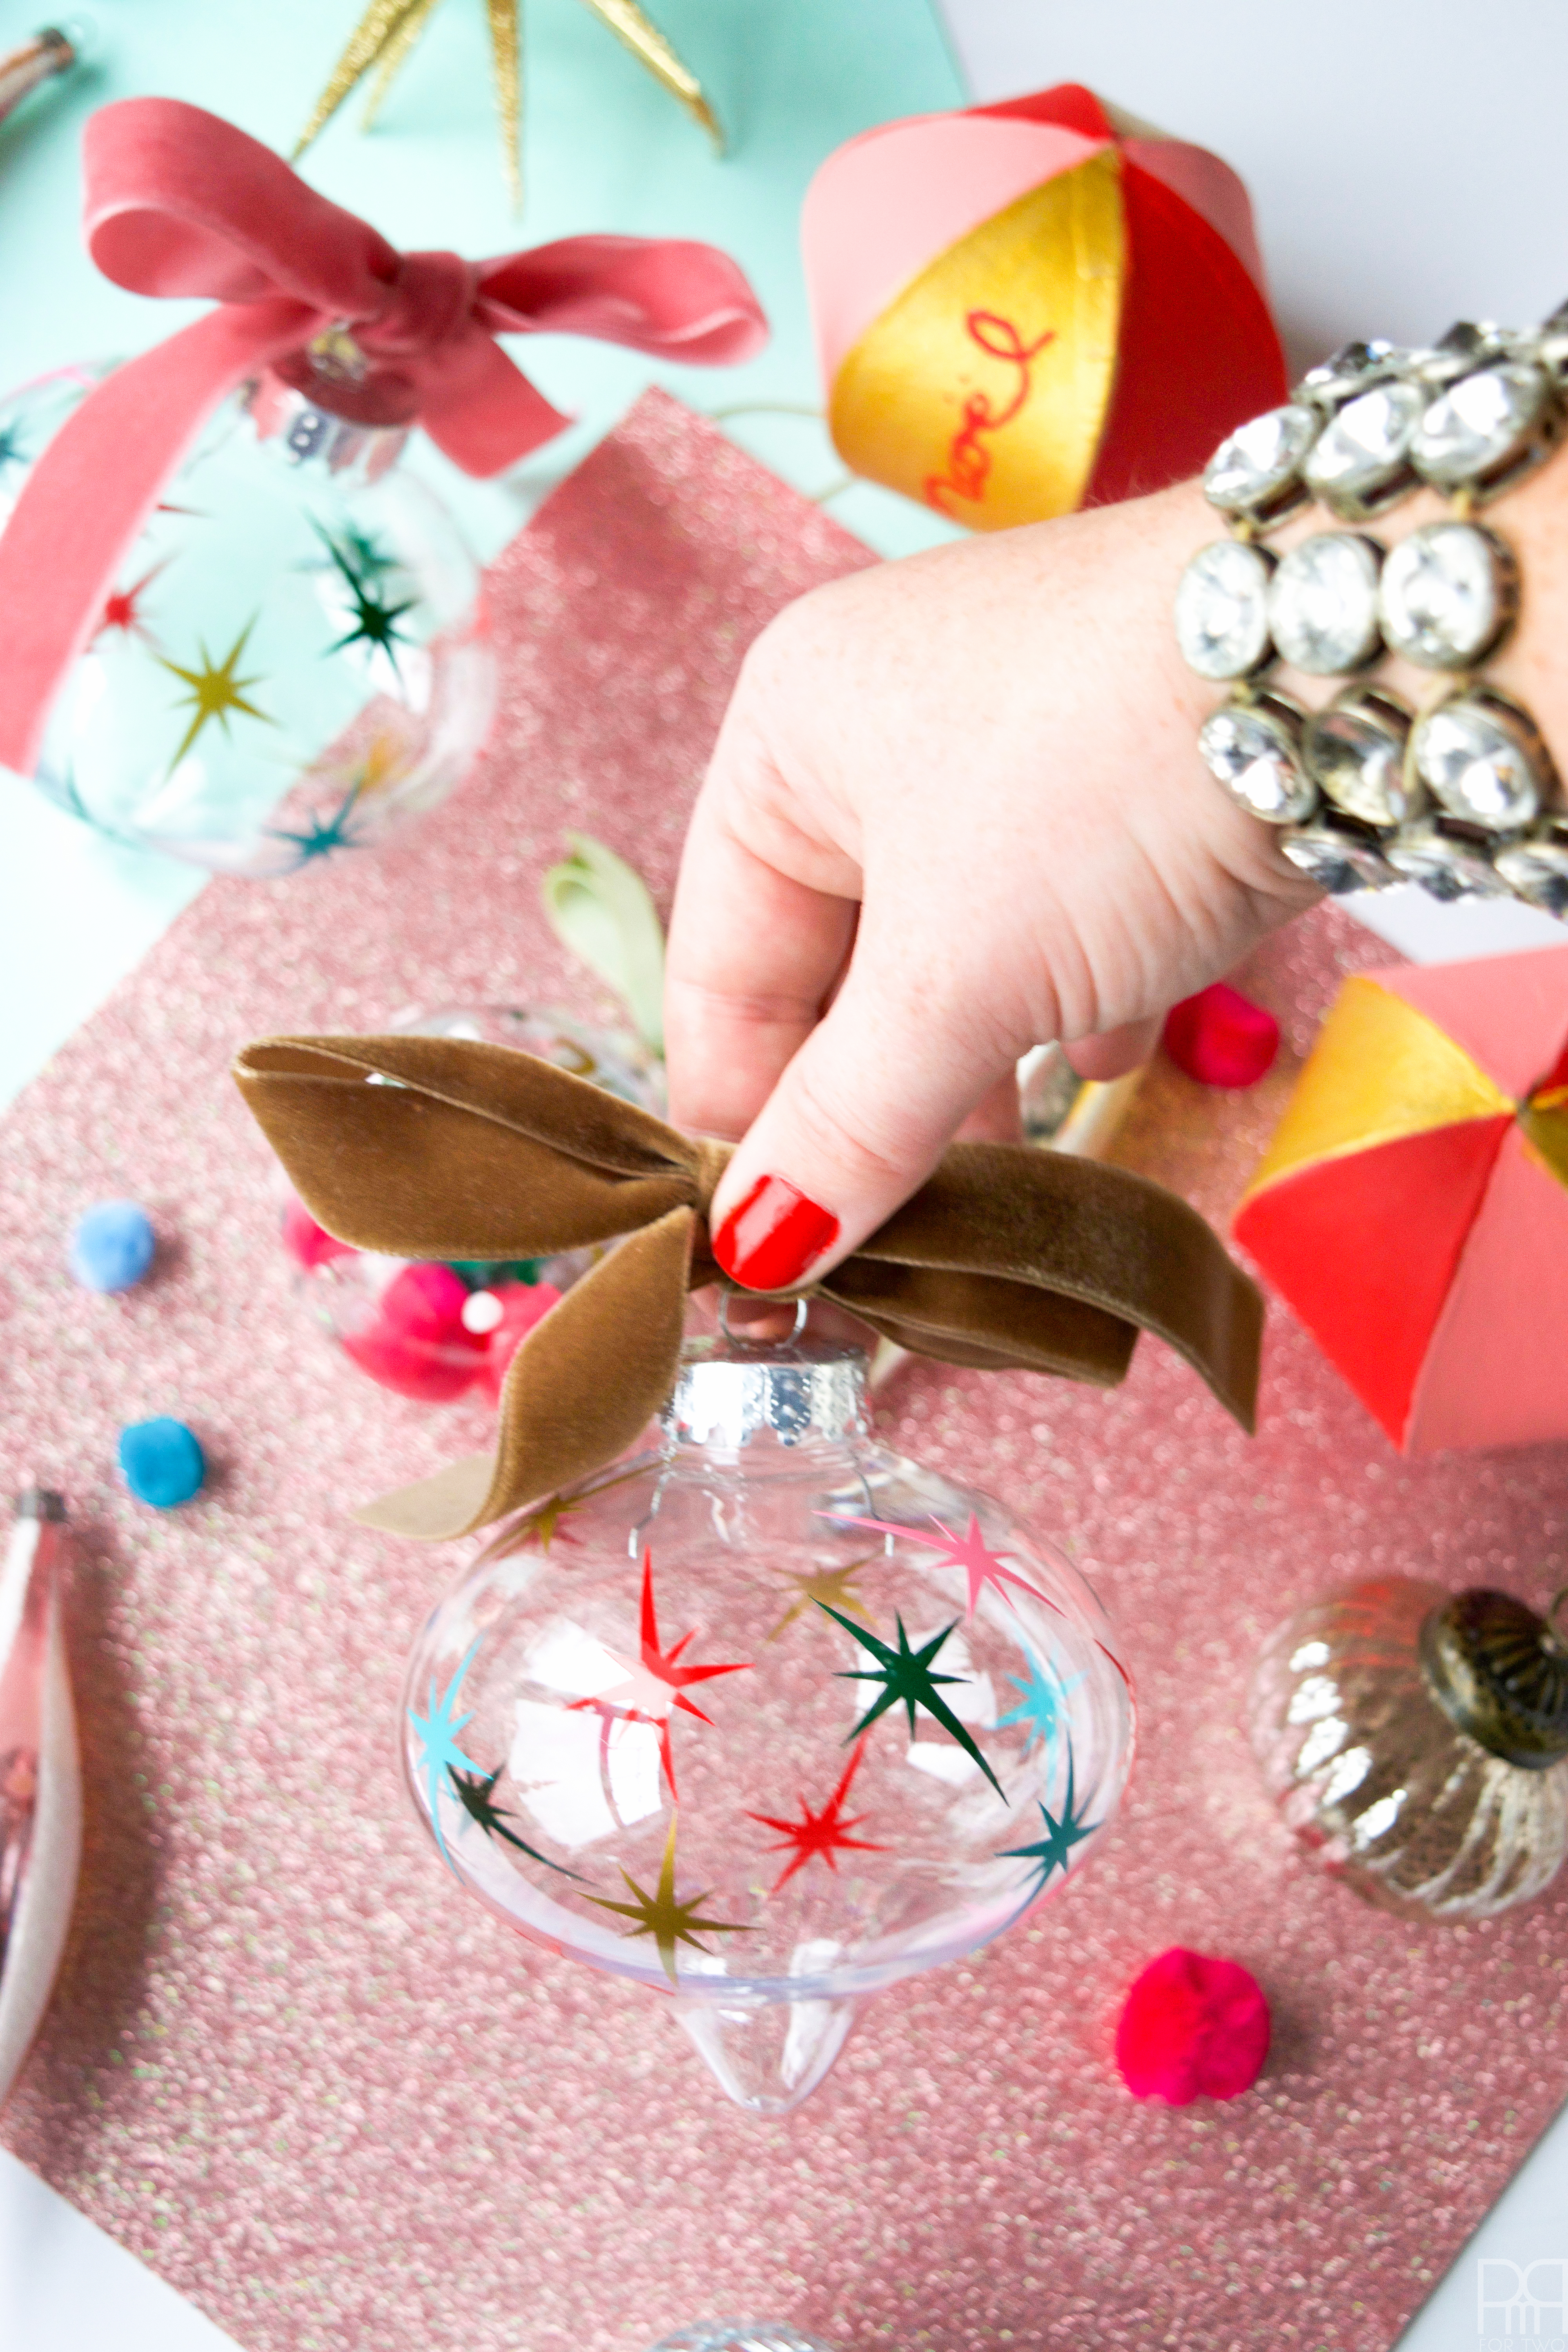
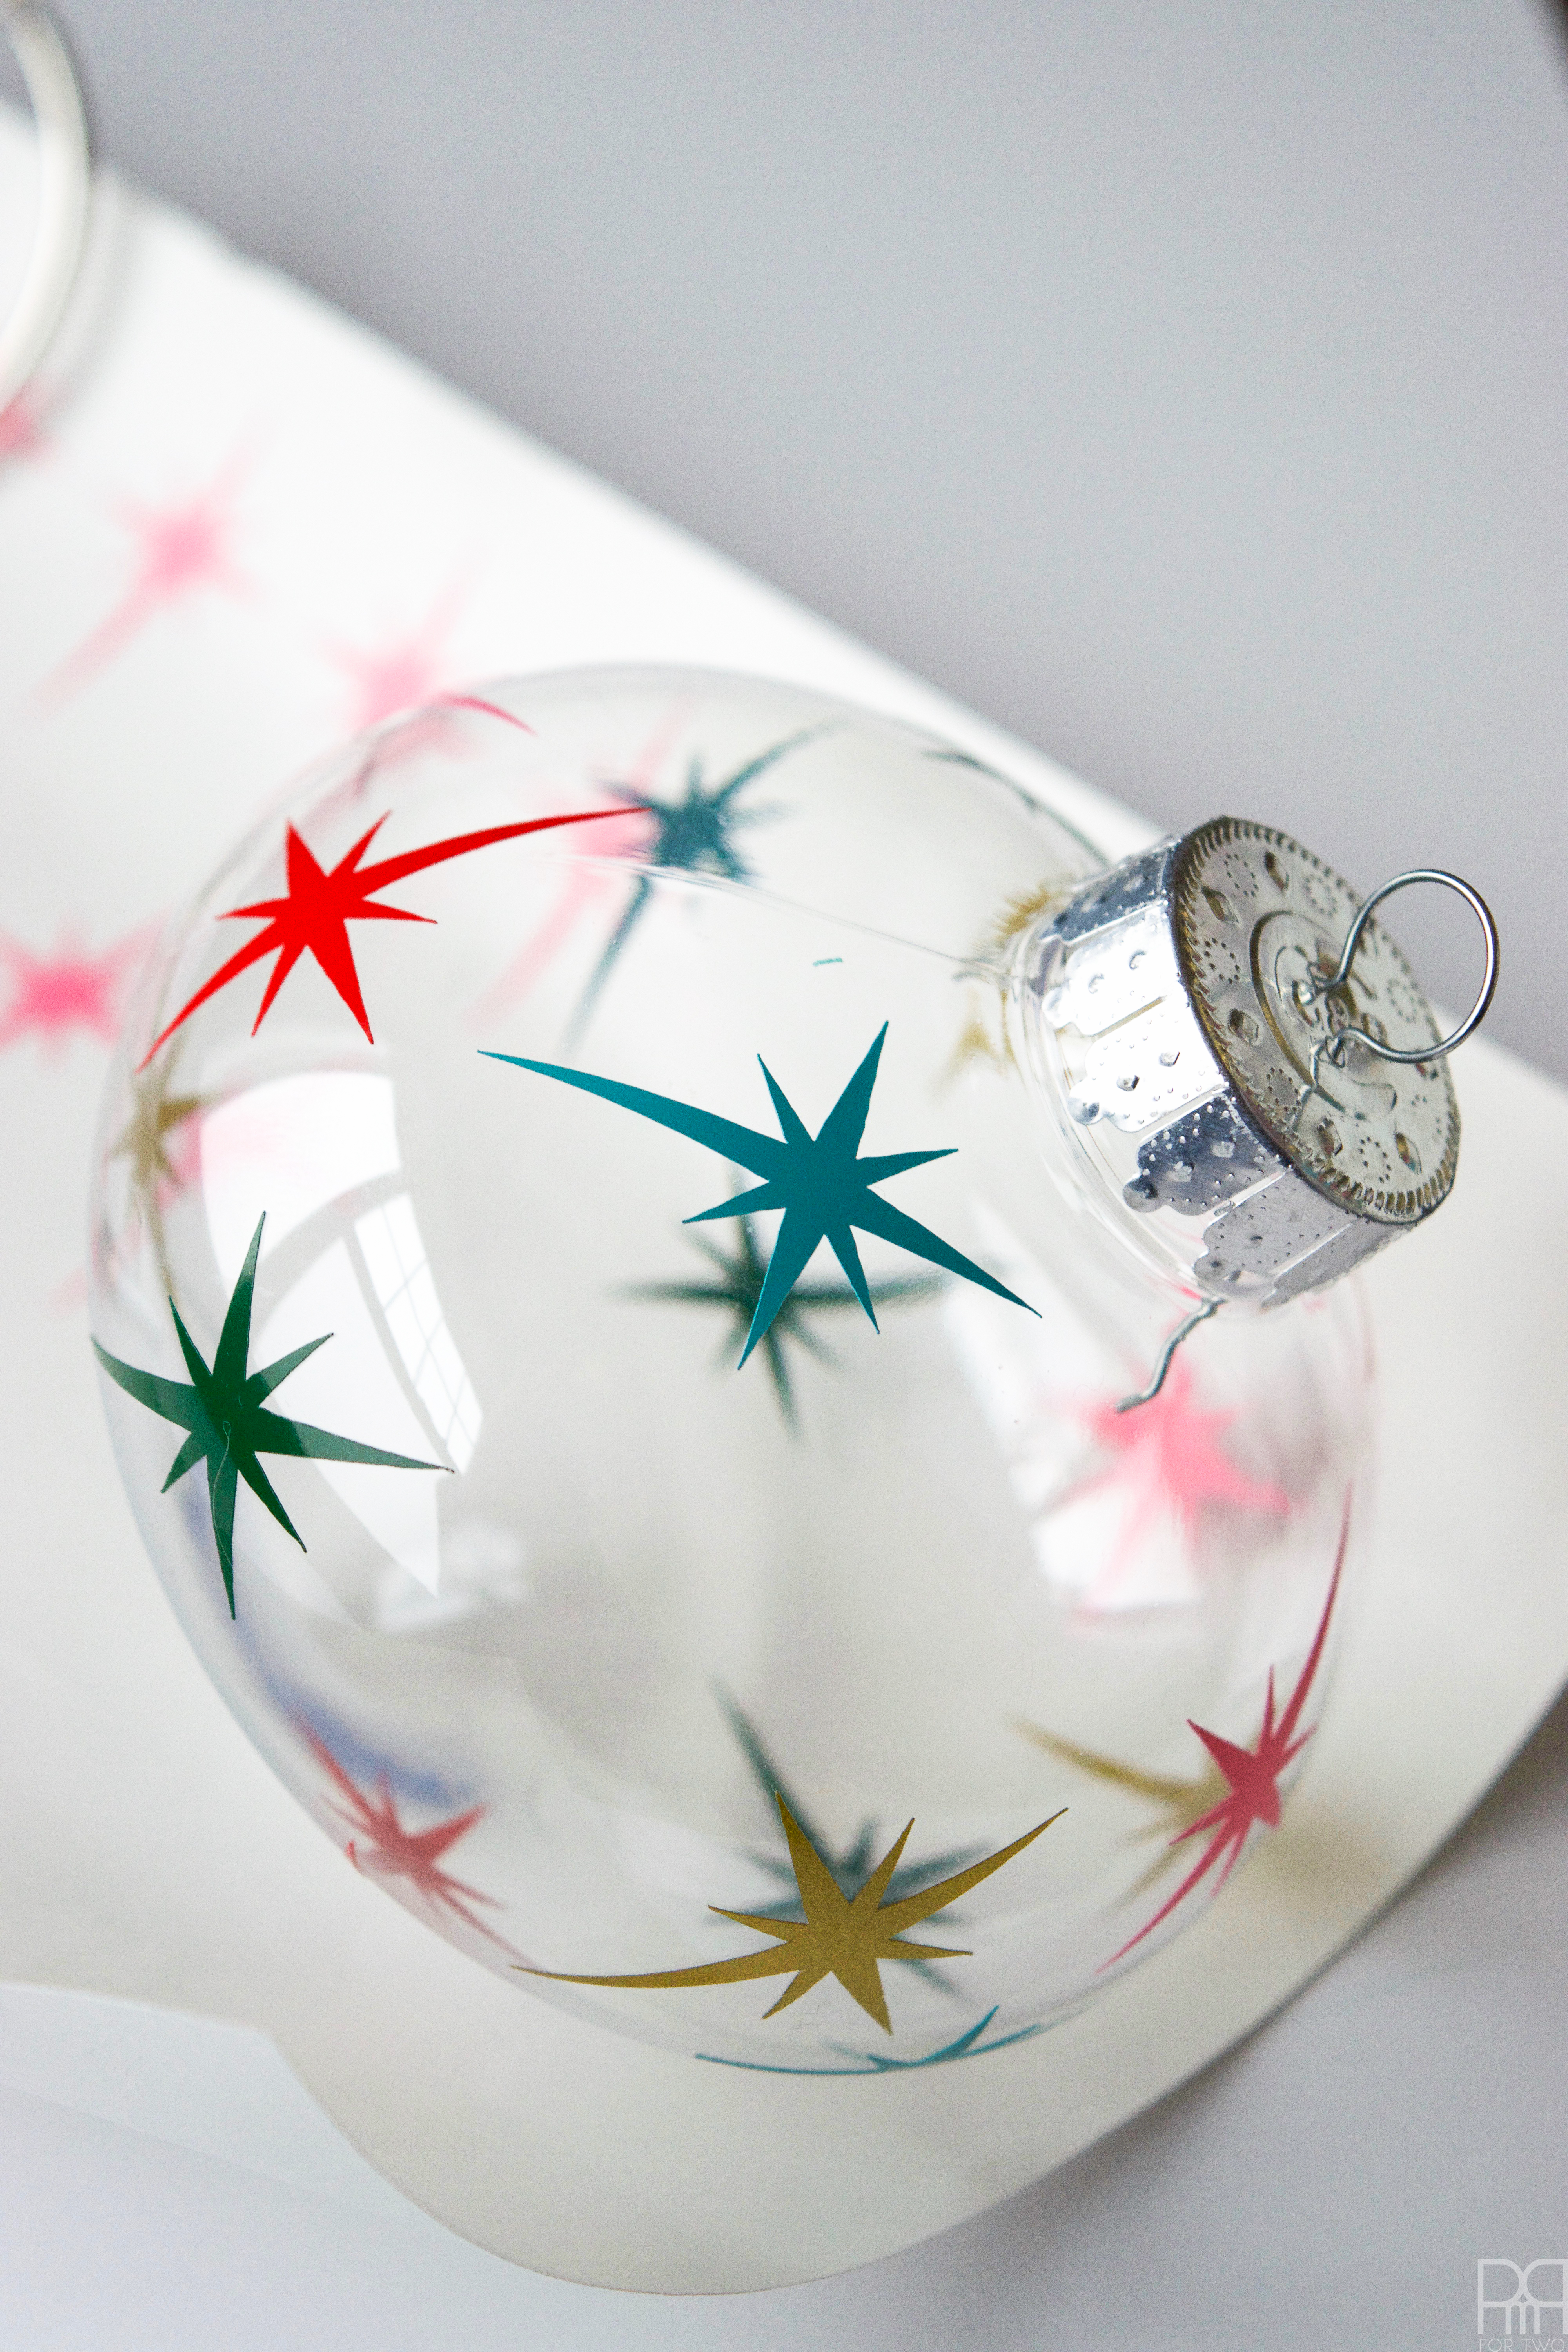
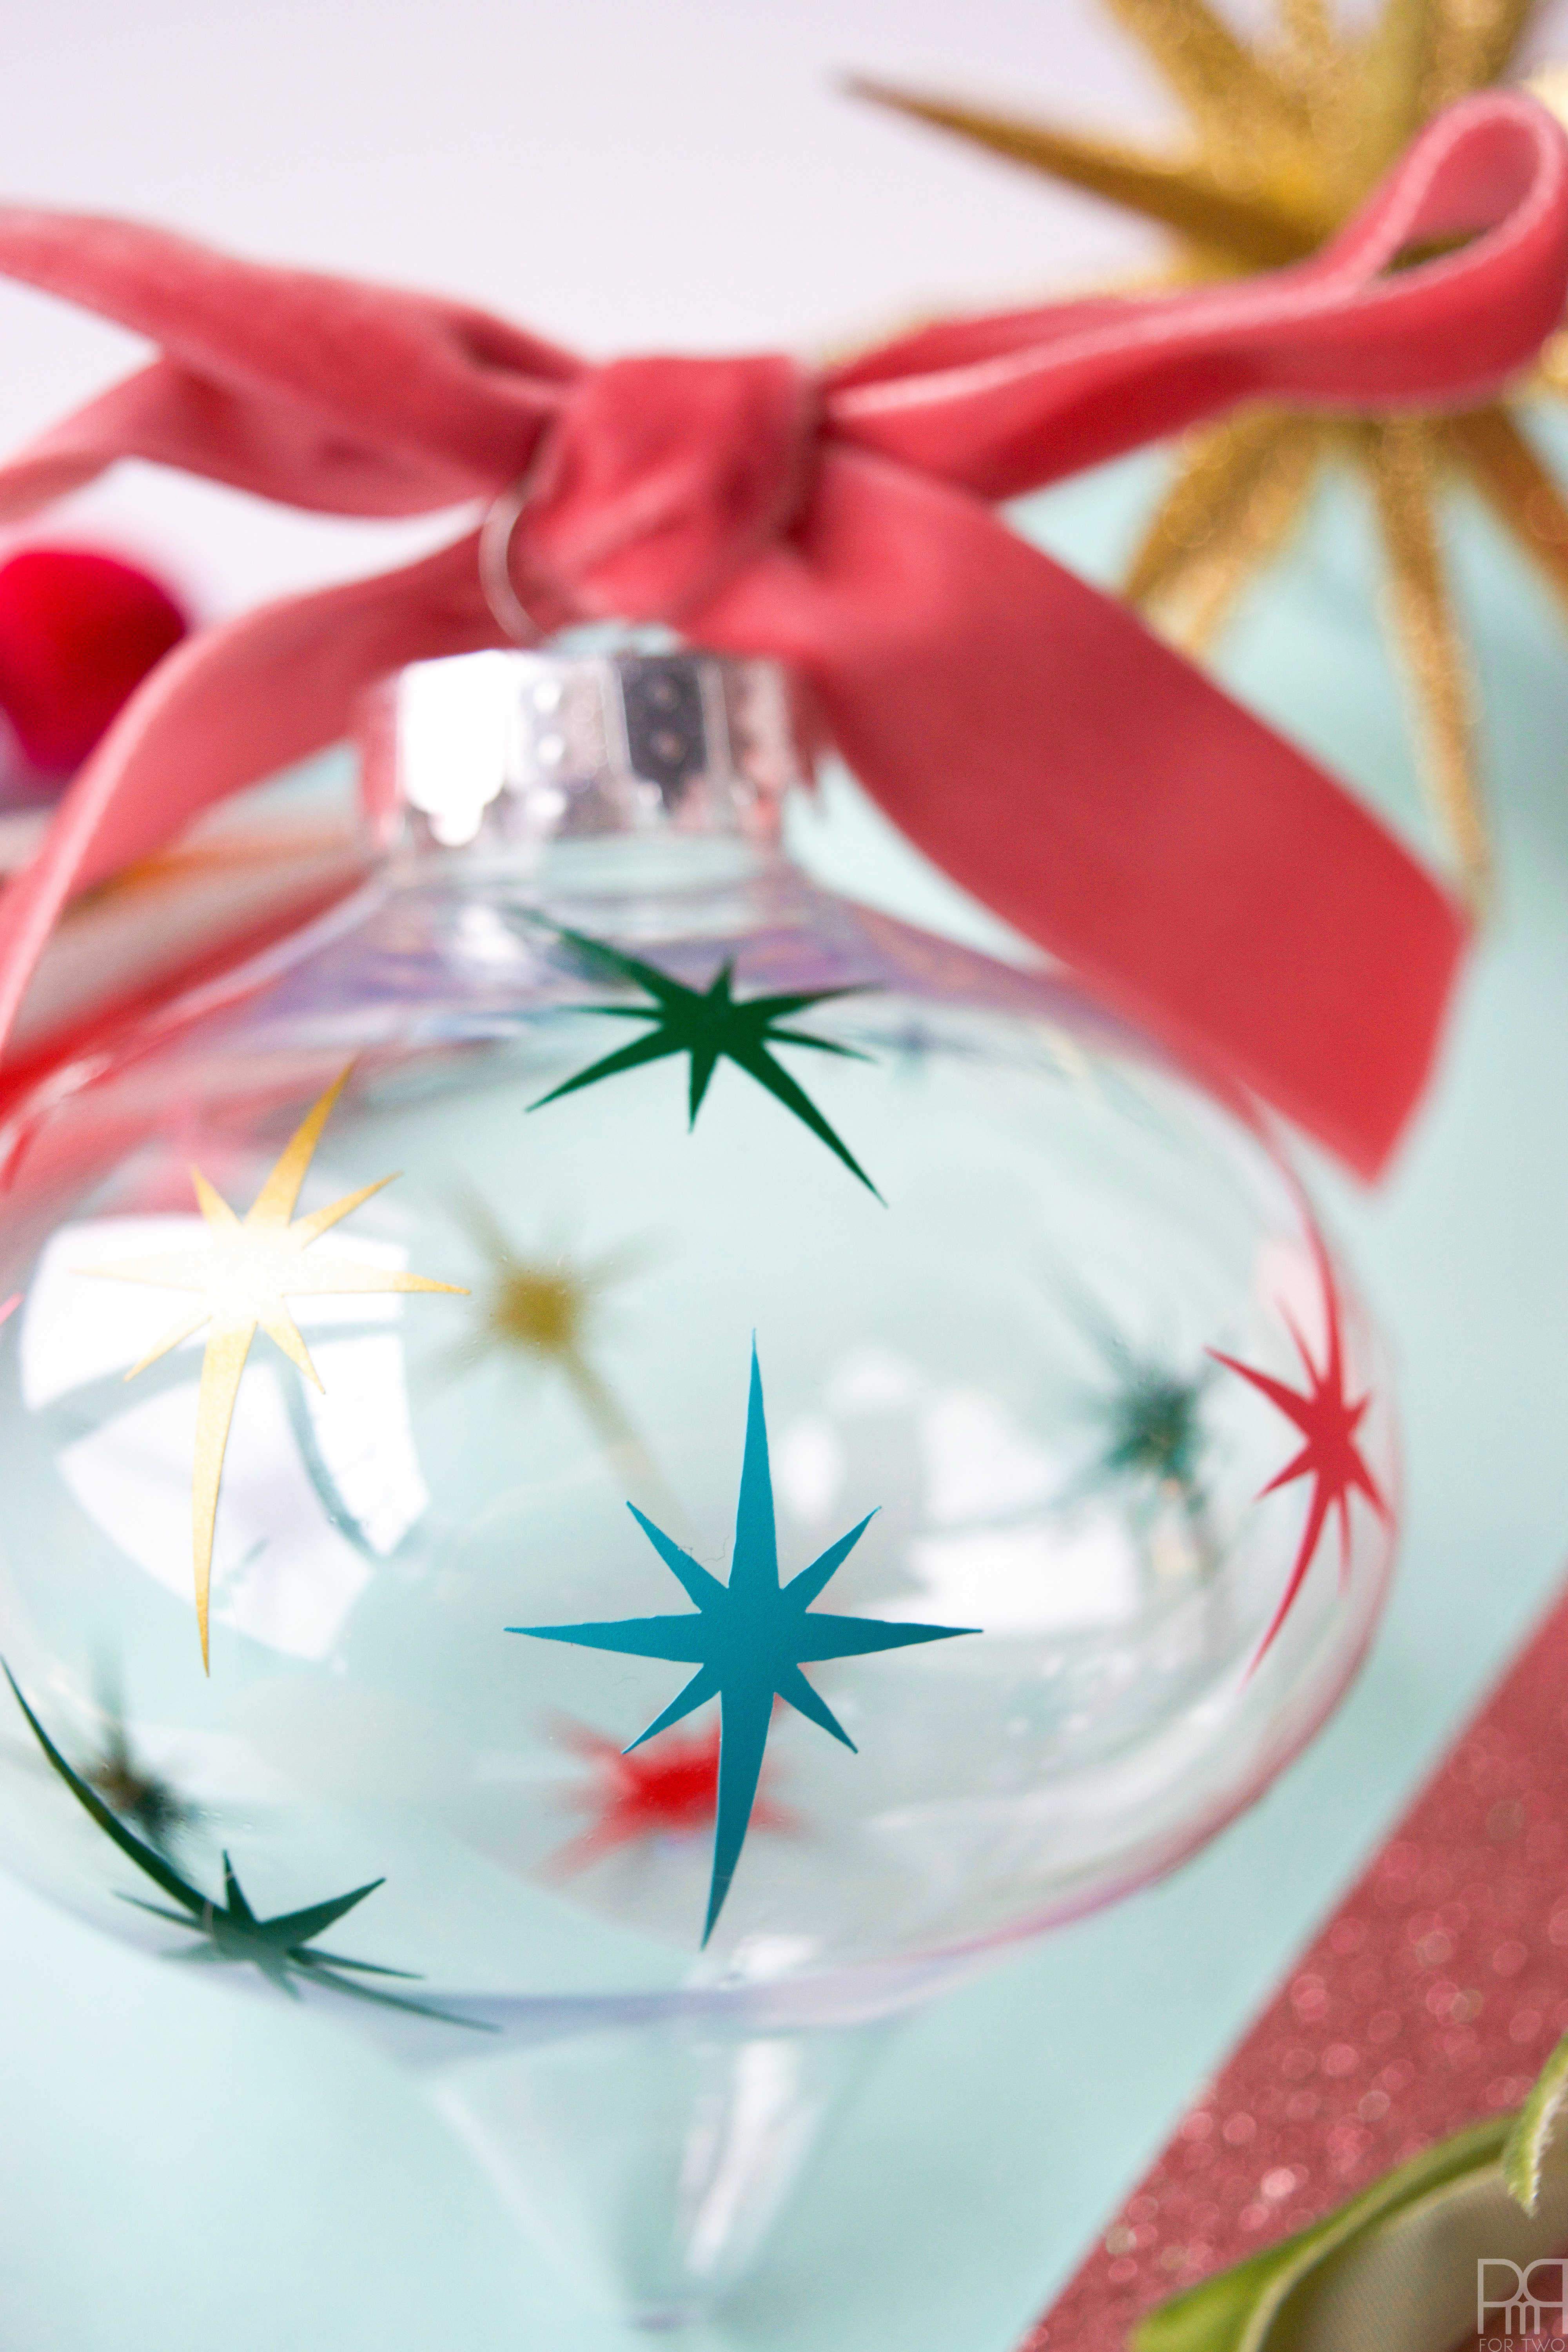
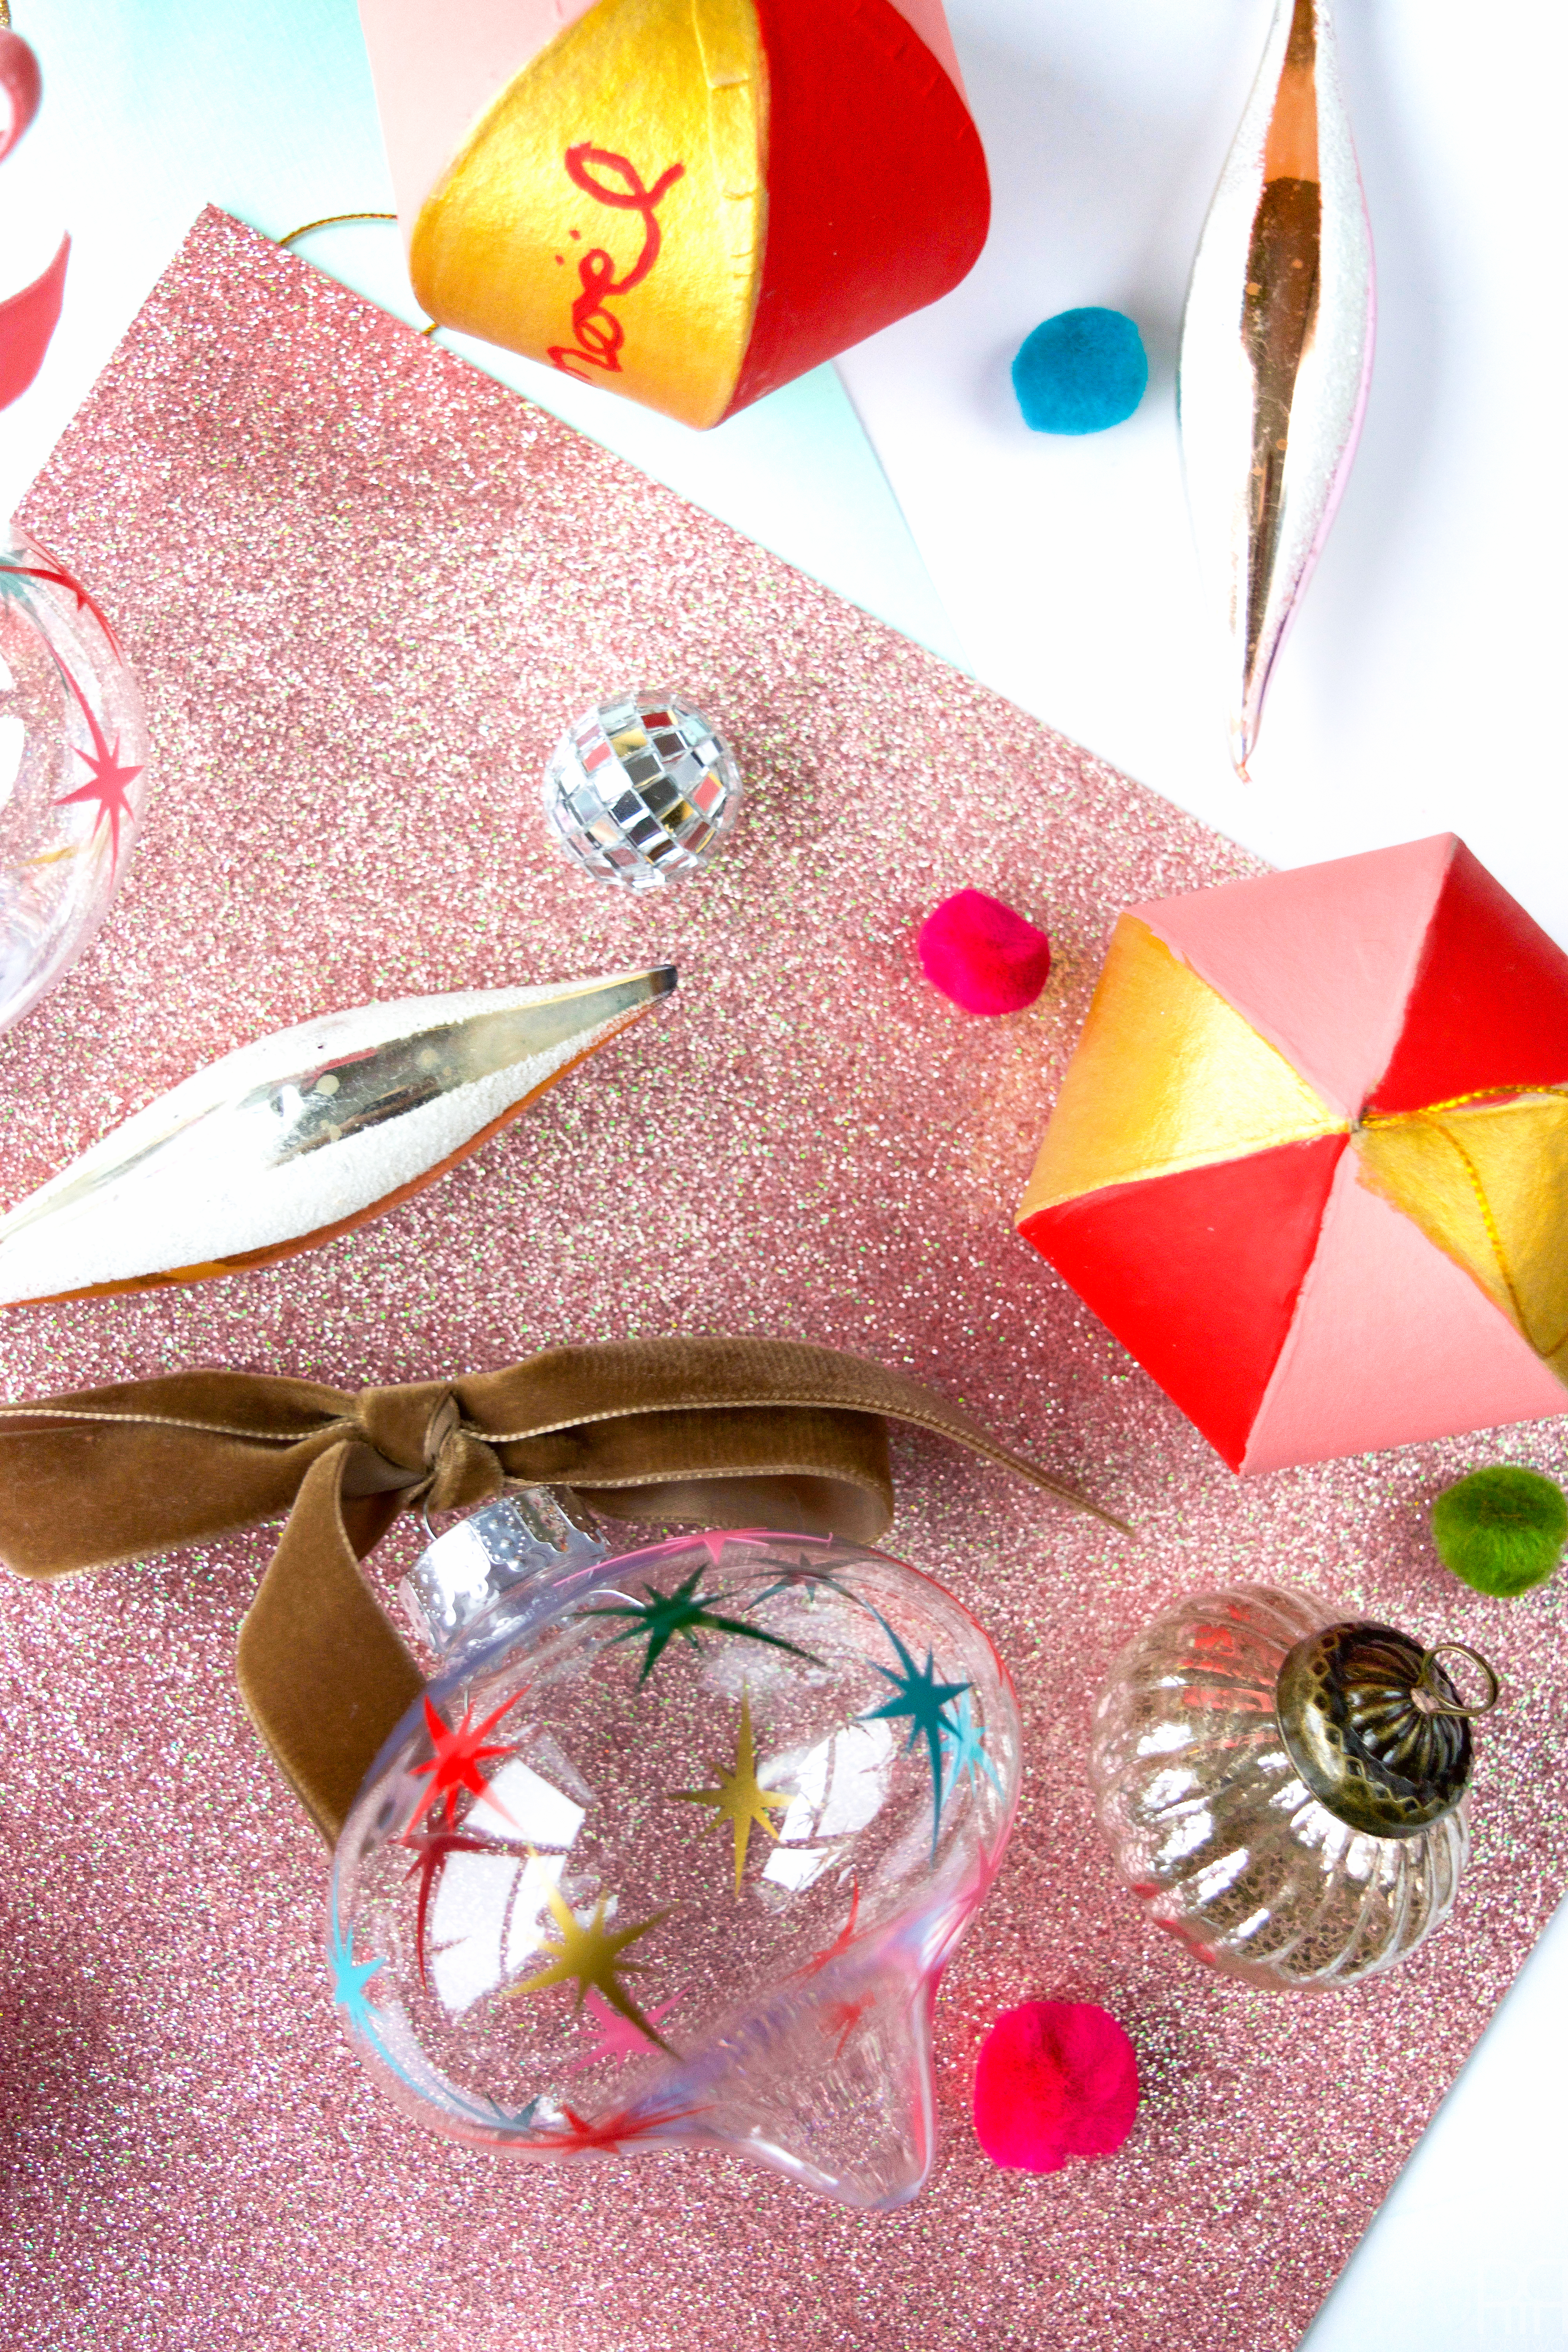
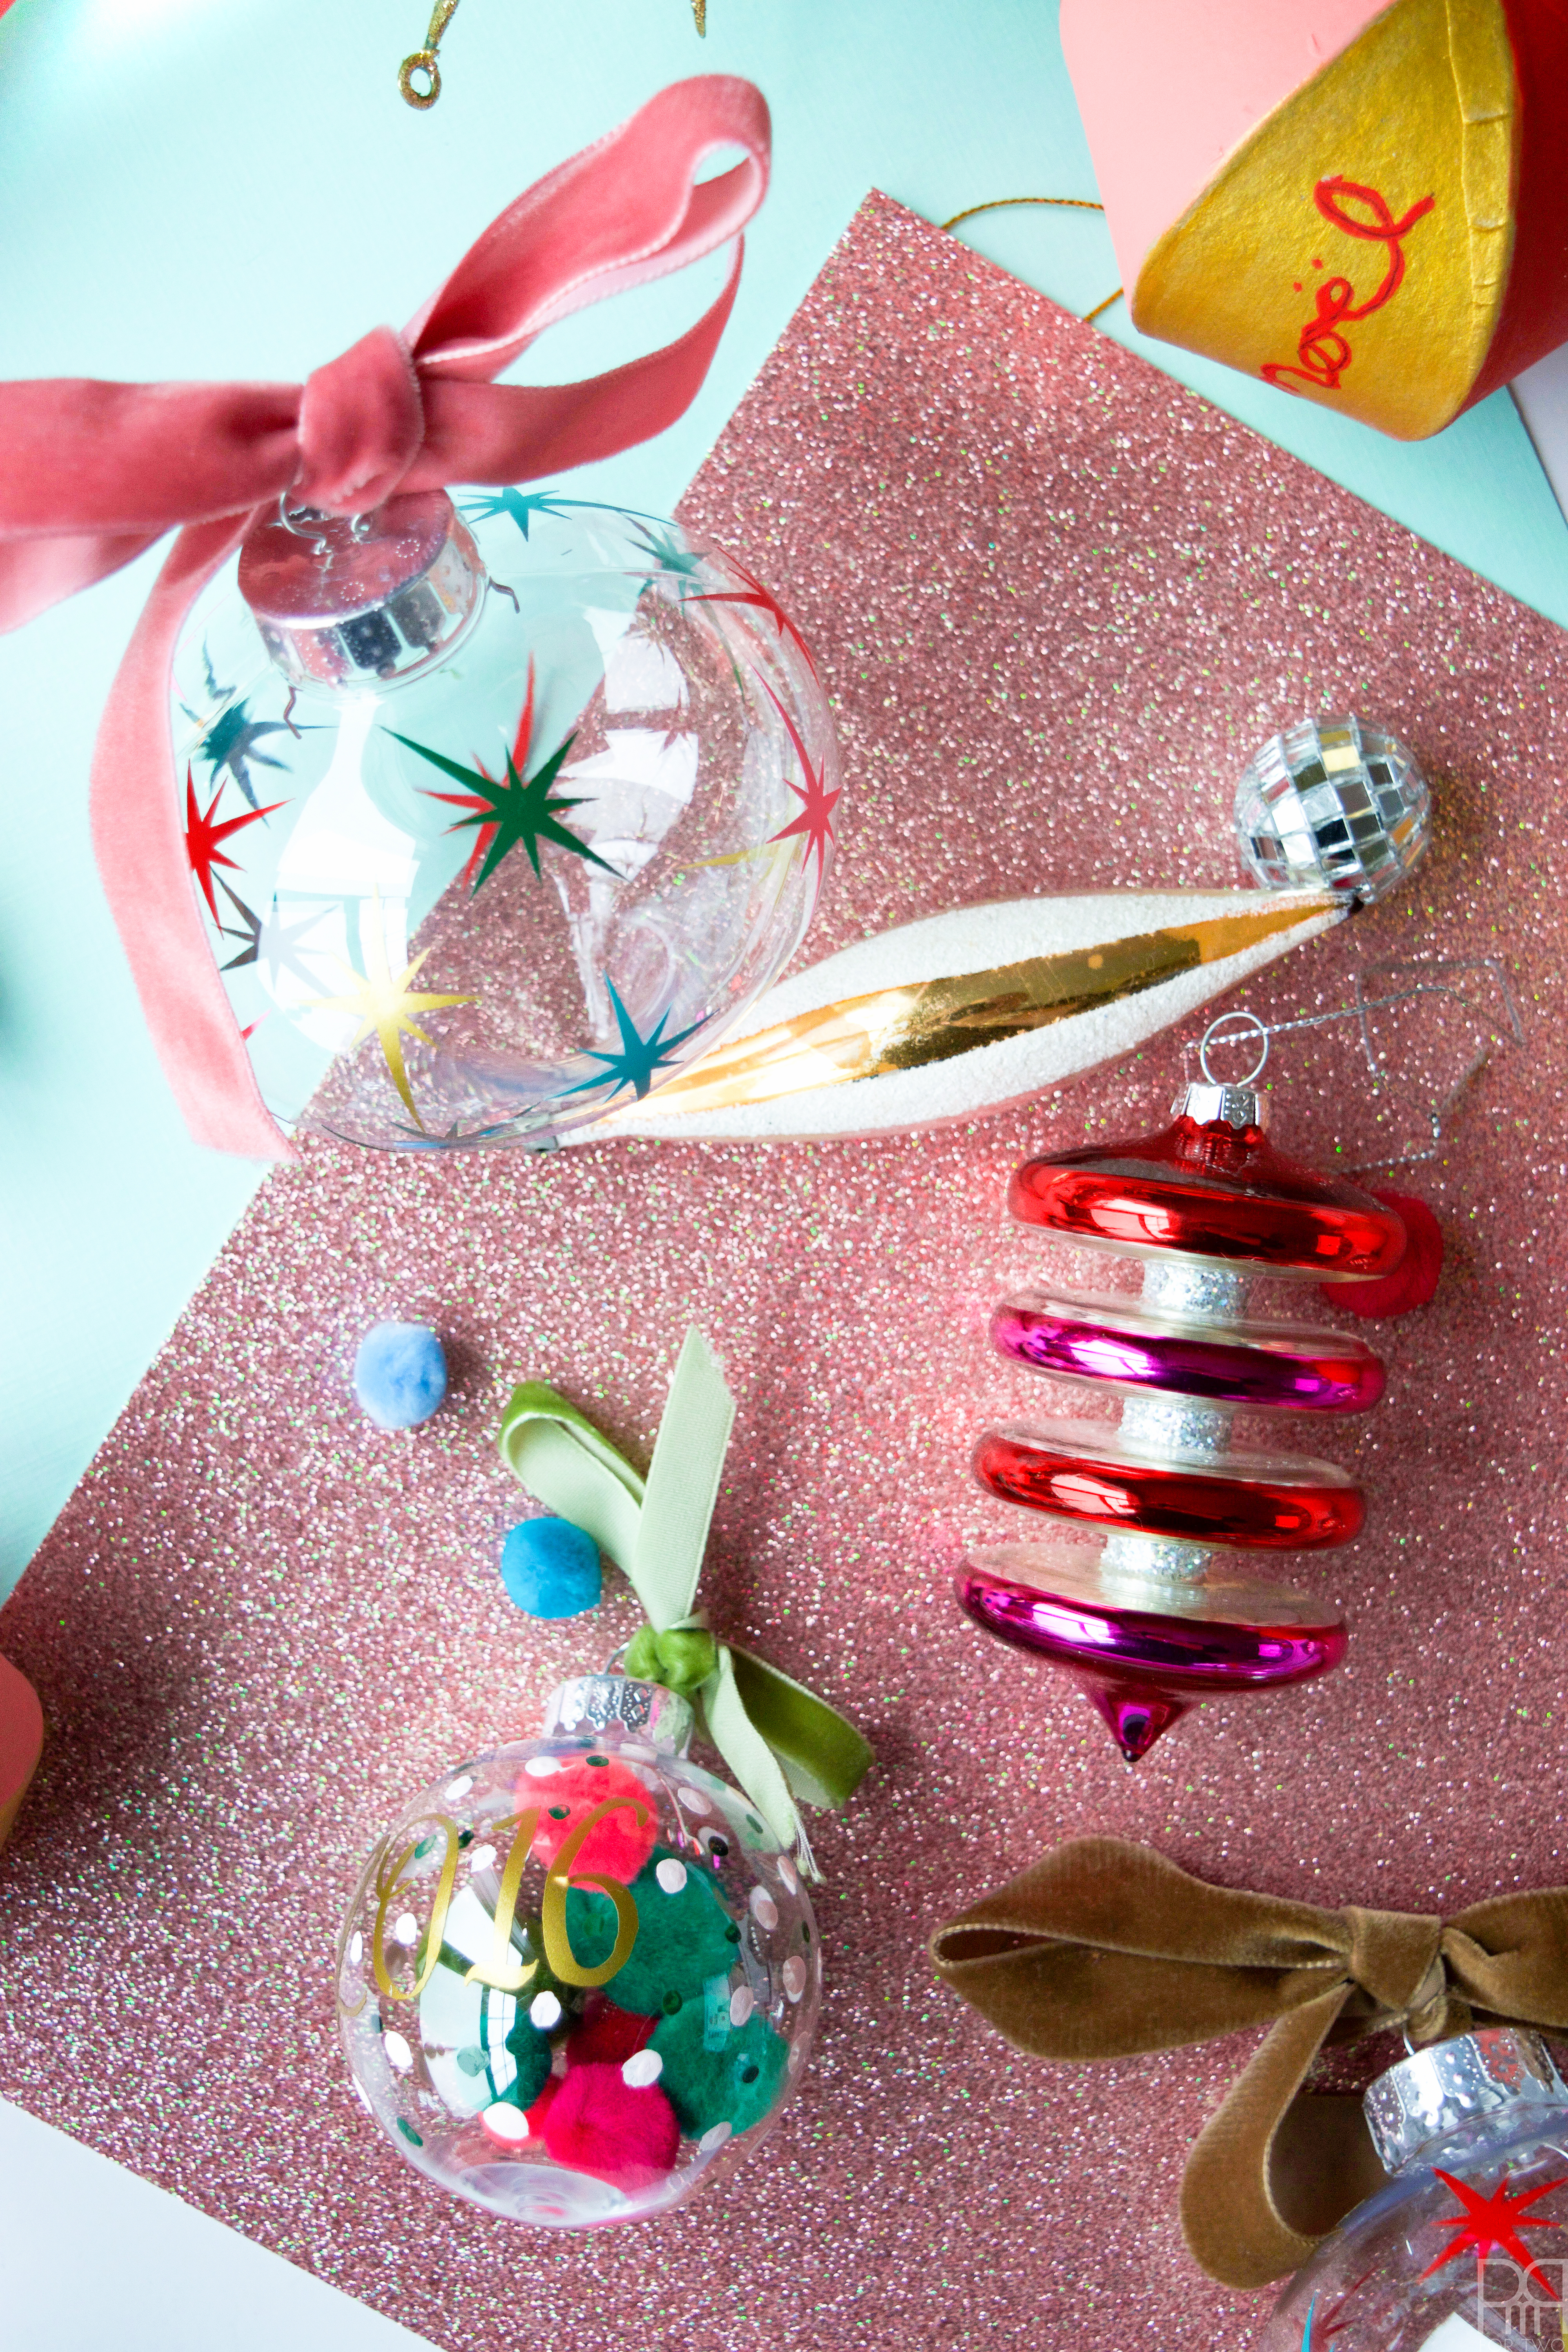
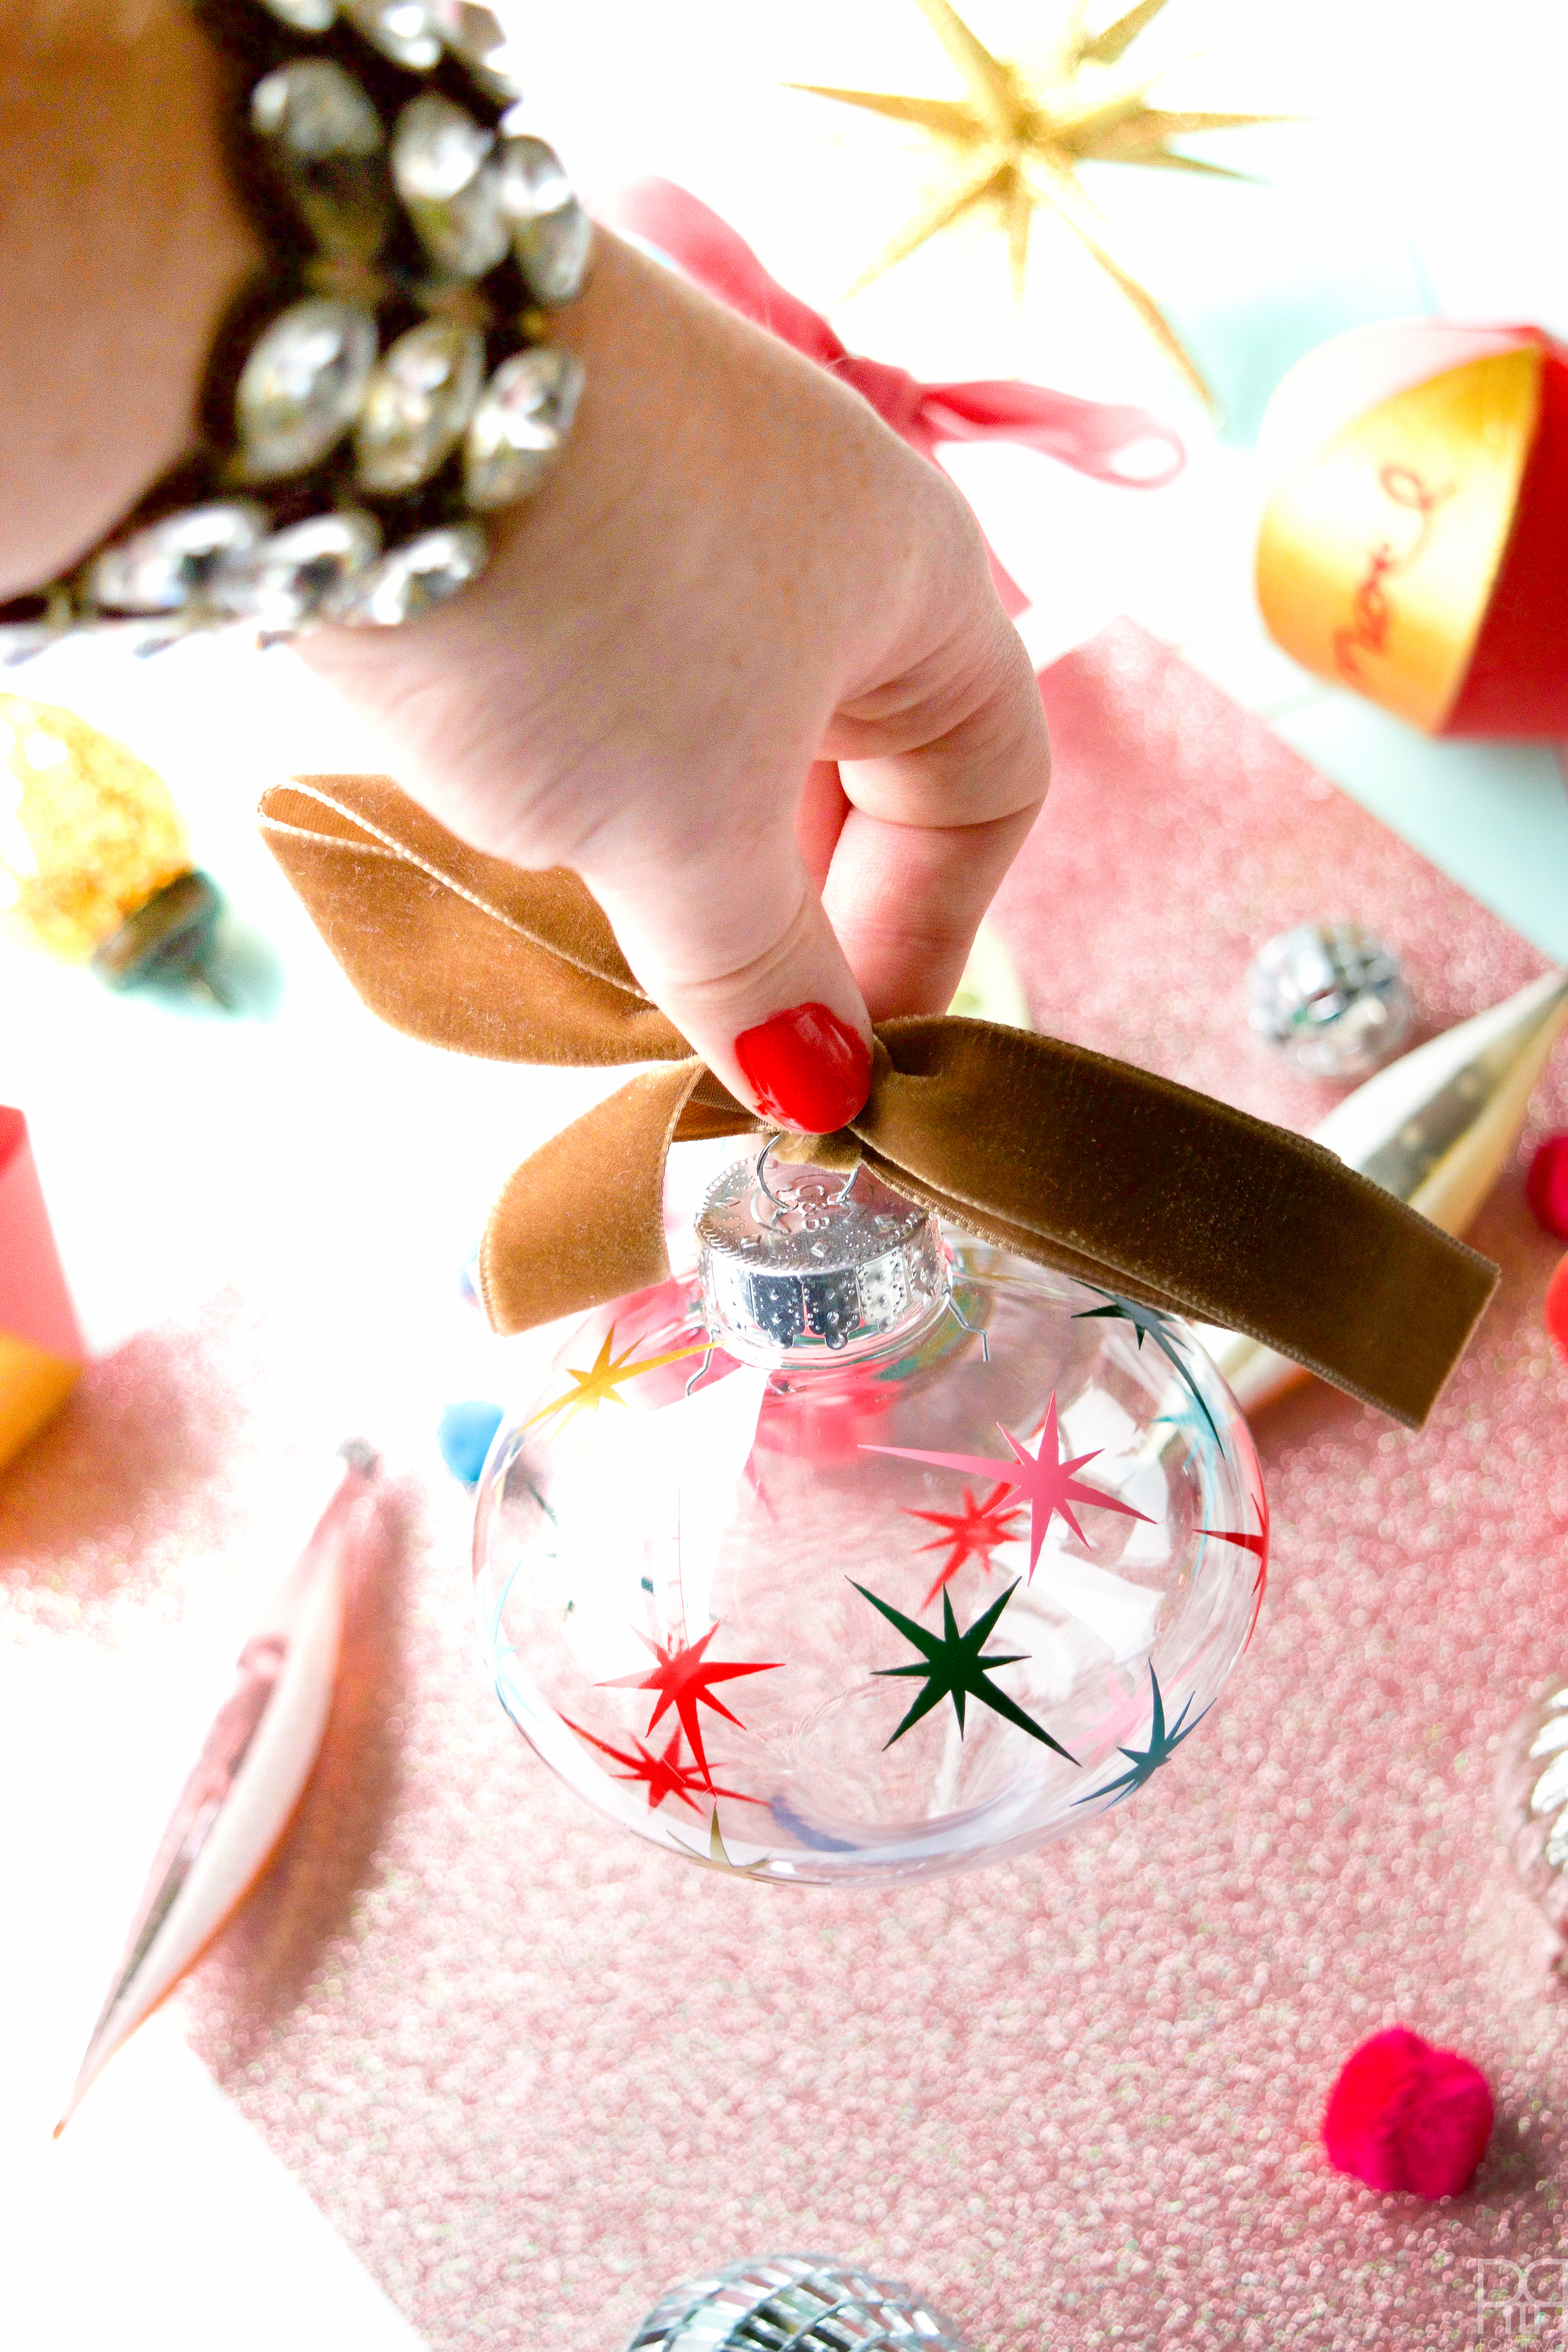
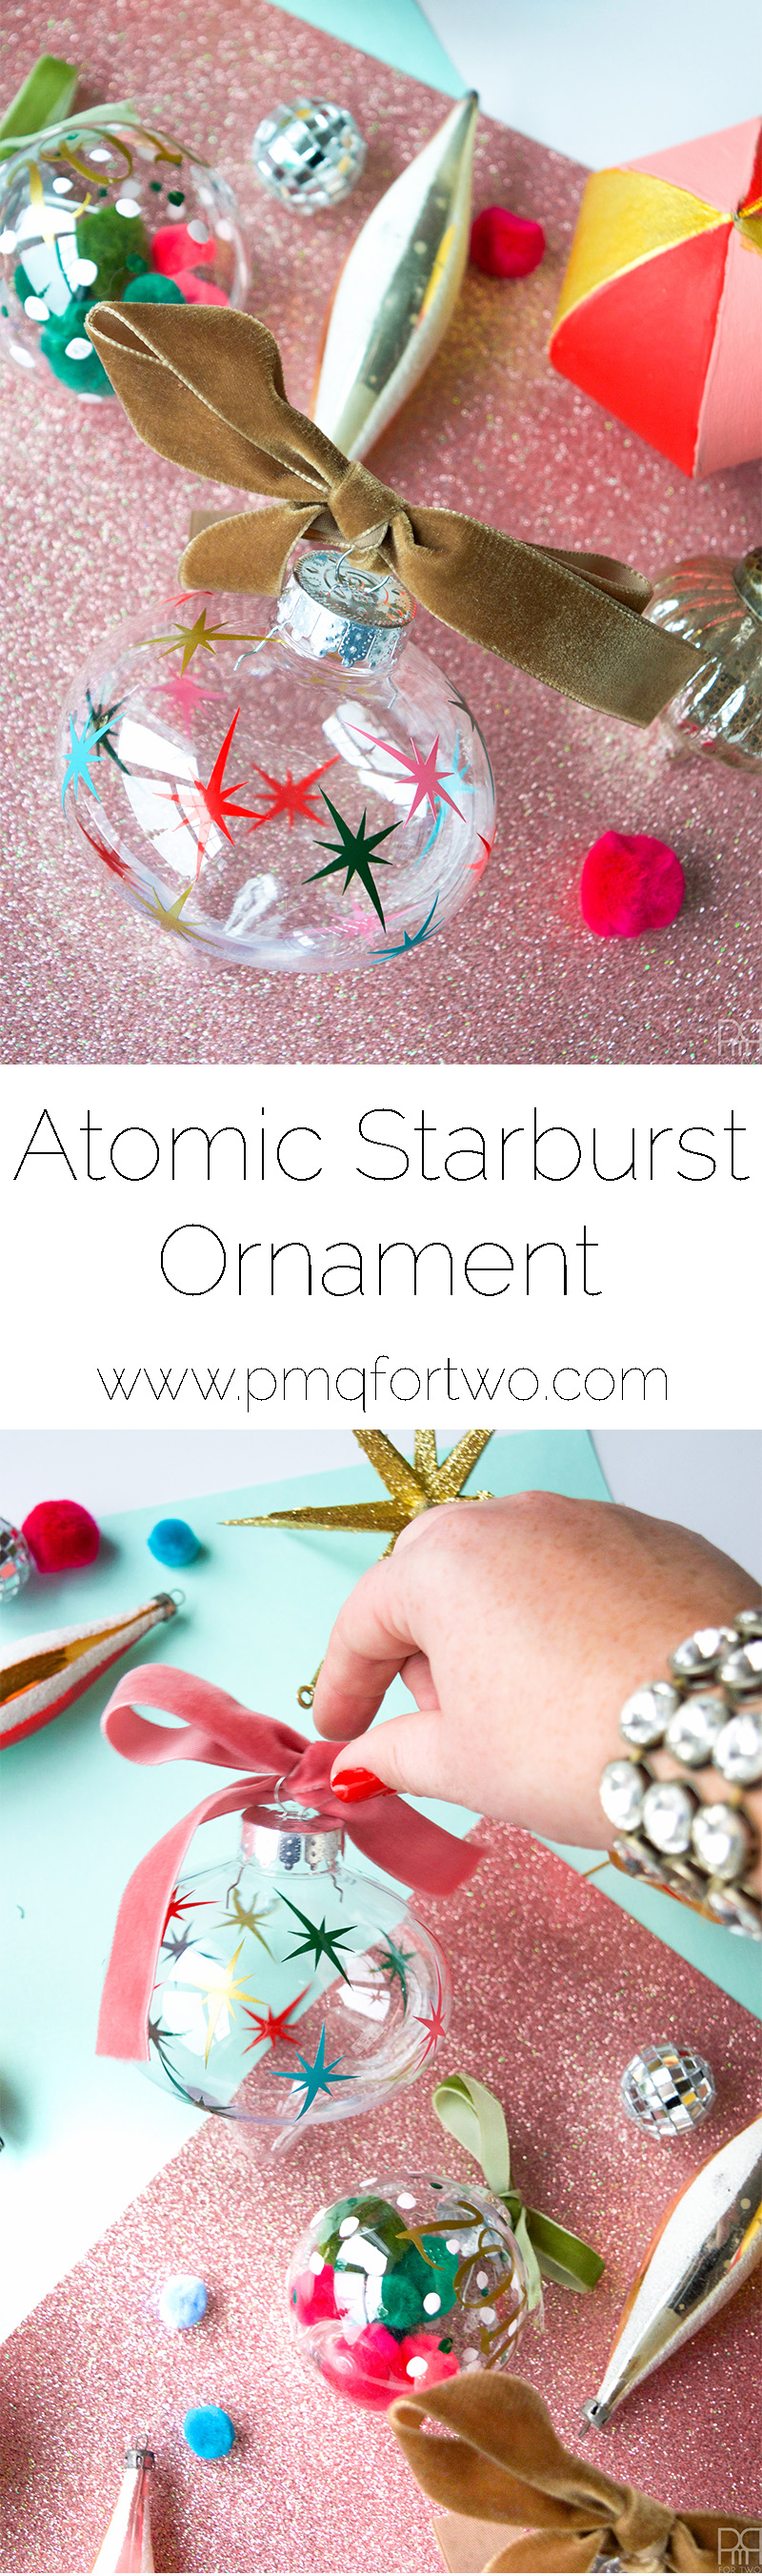
For our Cricut ornament hop I made some atomic starburst ornaments using my Cricut and Expressions Vinyl. I love a good retro Christmas, but I also love a New England Christmas, so my style choices always reflect a balance between the two – lots of pinks and blush and starbursts, but also tons of plaids and greens. it just works!

To see a kick-ass retro Christmas house tour click // here //
For this project we’re using a basic atomic starburst to design cut into a few key colours and applied to a plastic ornament. These aren’t show-stoppers like my painted ornaments // here // but they are the perfect accents to my decor and will compliment my existing collection beautifully.

*The following product links contain affiliate links. Thank you for supporting the brands that make PMQ for two possible. For my full policies click // here //
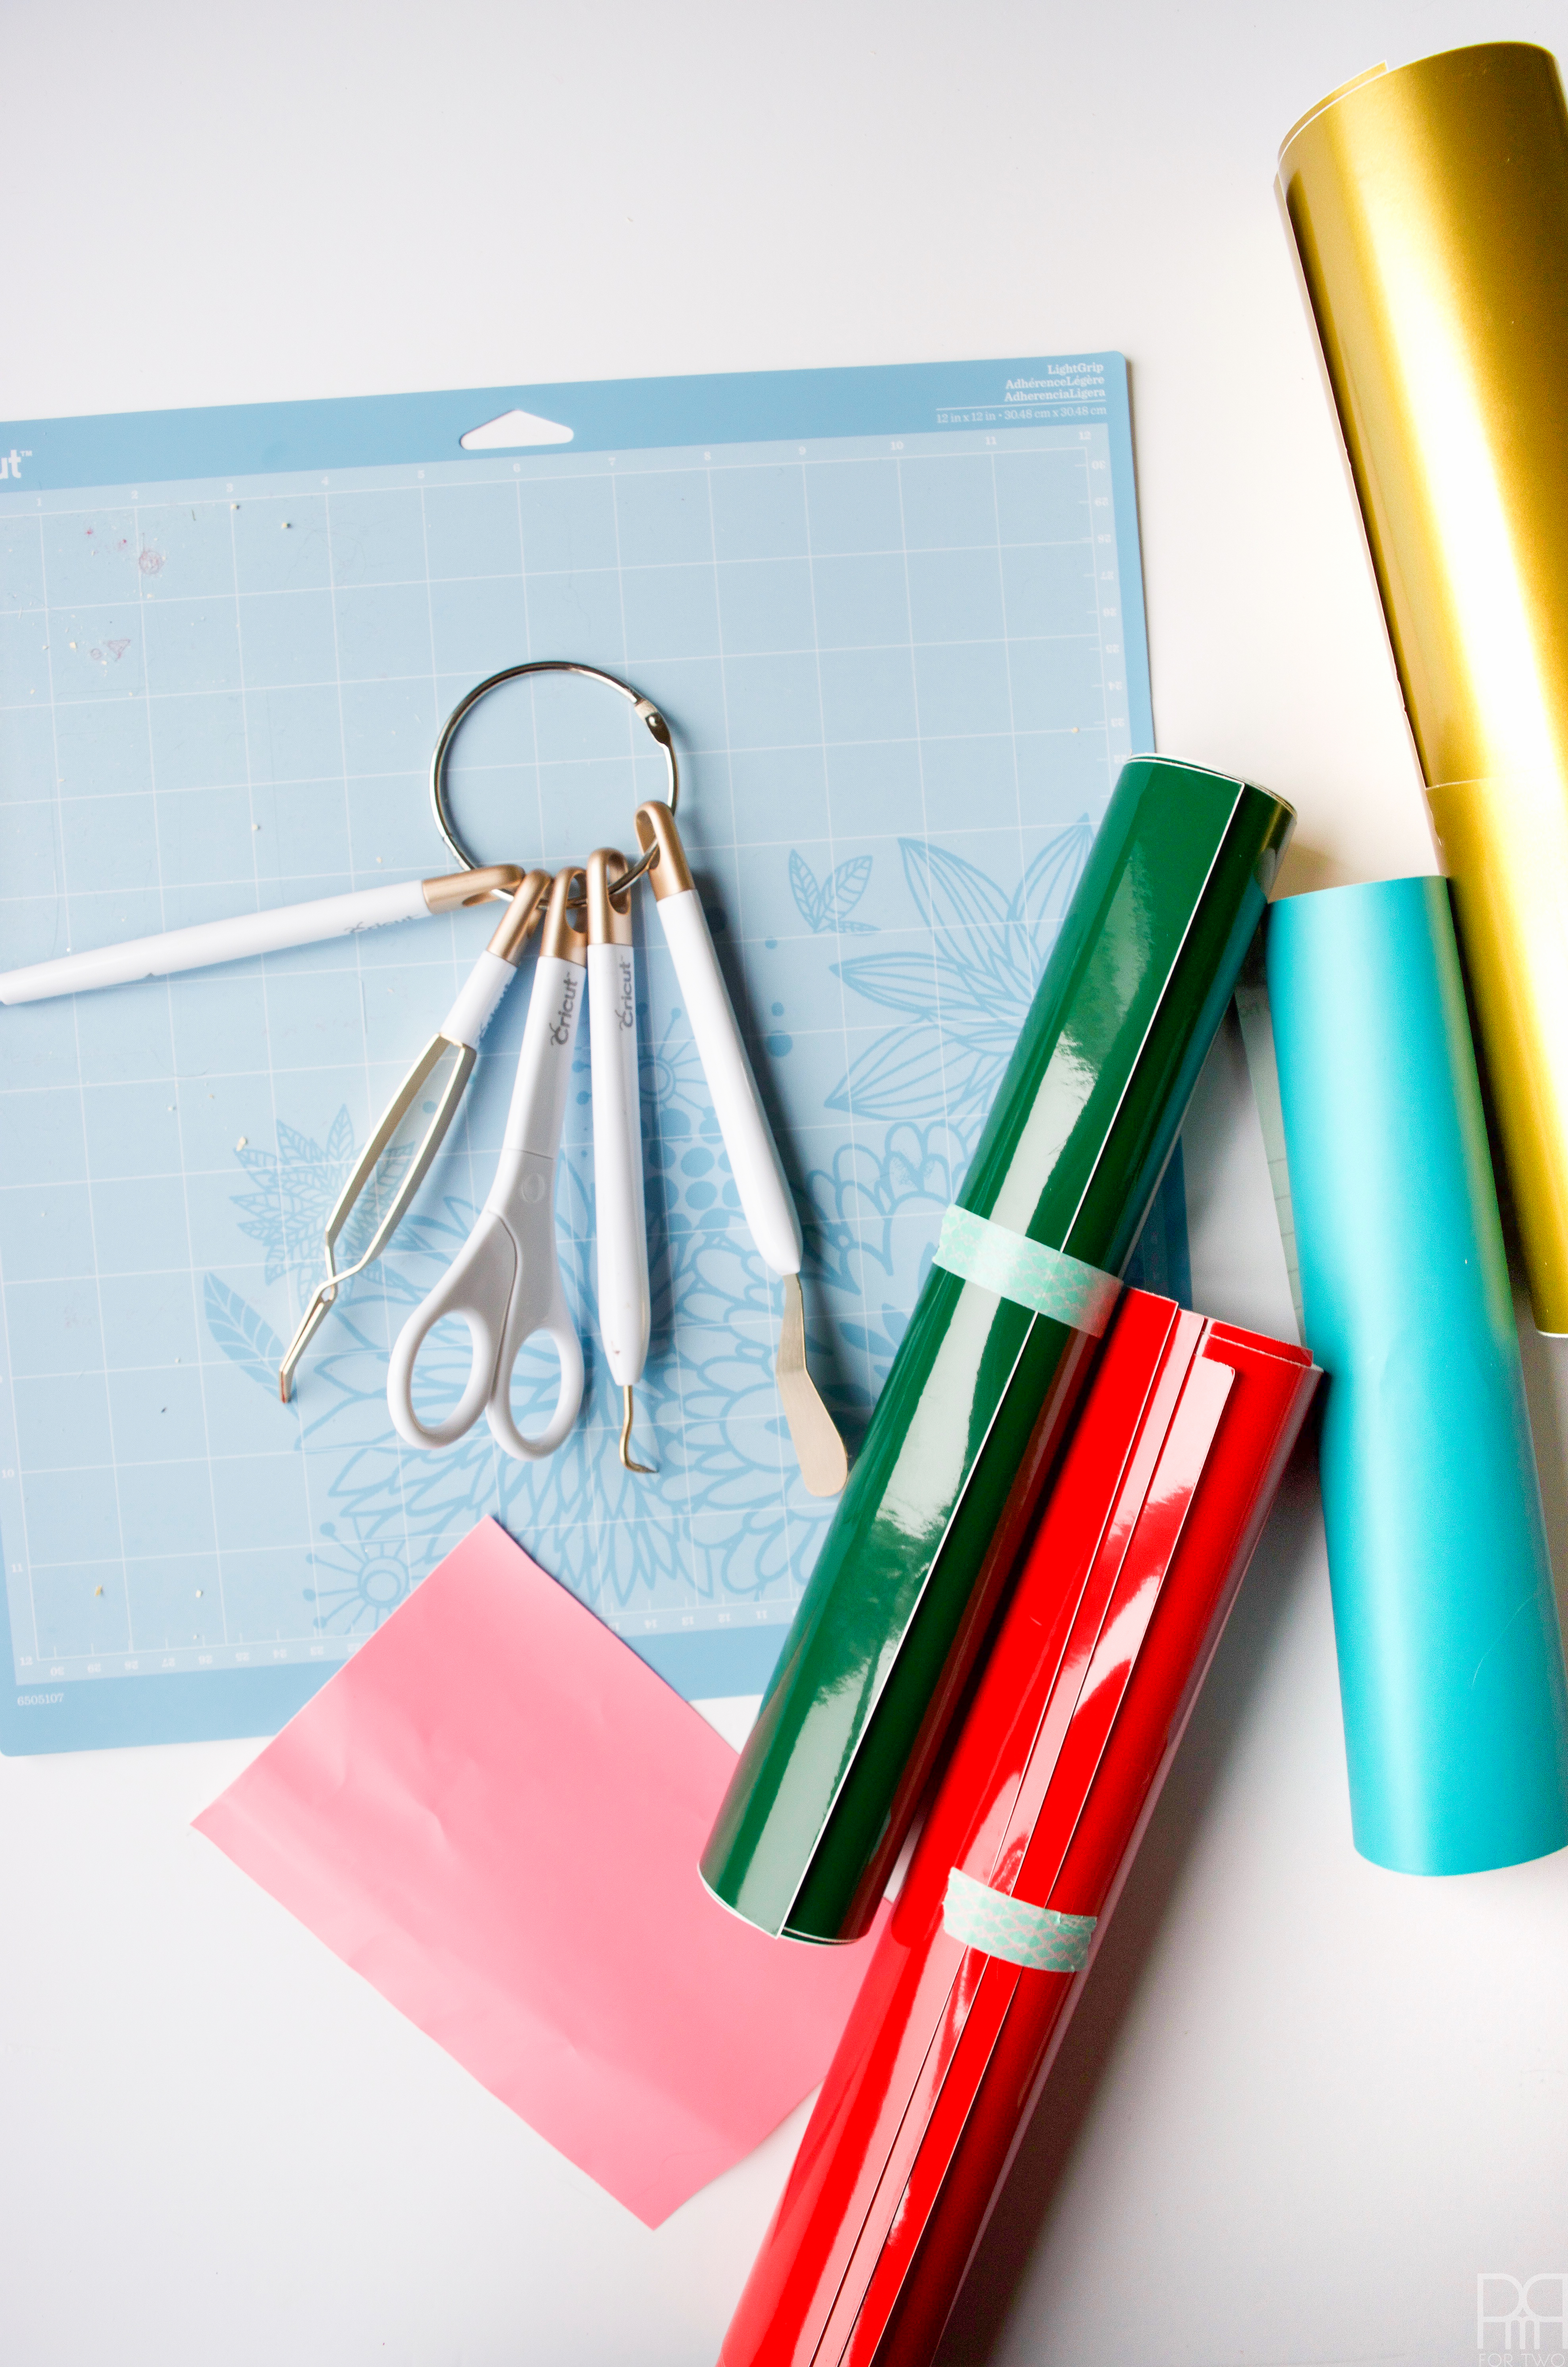
Materials
- Cricut Explore Air

- Expressions Vinyl: Evergreen, 14k Gold, Flamingo Pink, Costa Rica Blue, Red Hot
- Cricut® Tools Weeder
- Cricut® 12″ x 12″ LightGrip Adhesive Cutting Mat
- Clear Plastic Ornament Discs 80 mm x12
- Velvet Ribbon


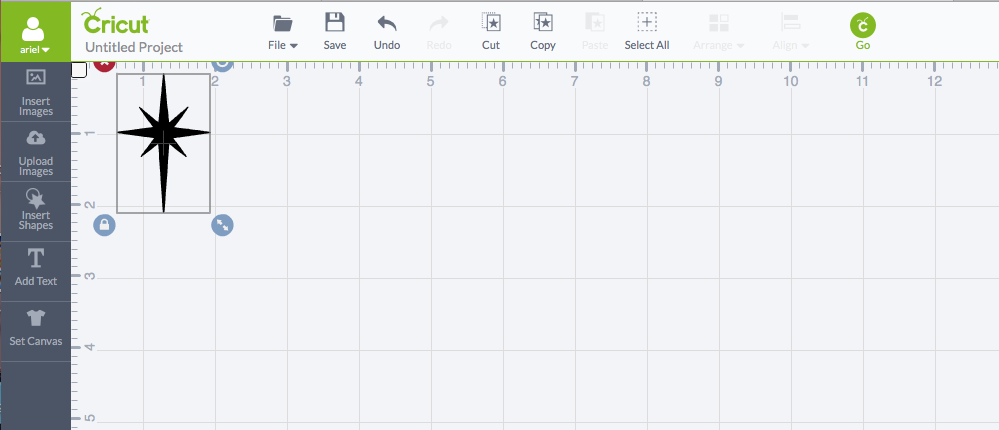
Step 1: Chose a design for your starburst. I found this one online, but you can also purchase them from the Cricut Design Space for 0.99$.


Step 2: Load the image into the Cricut Design Space and scale it to the appropriate size. I wanted to have several on my ornament (which is on the larger side) so I scaled them to just over 1″ wide.
I then copied and pasted it about a dozen times so that I was getting them all at once.

Step 3: Make sure you cut them for all the colours you intend to use at once. Nothing worse than laying on a pattern to realize you forgot one colour and then having to peel everything off.
Once the sheet is cut, remember to peel back the excess vinyl delicately.

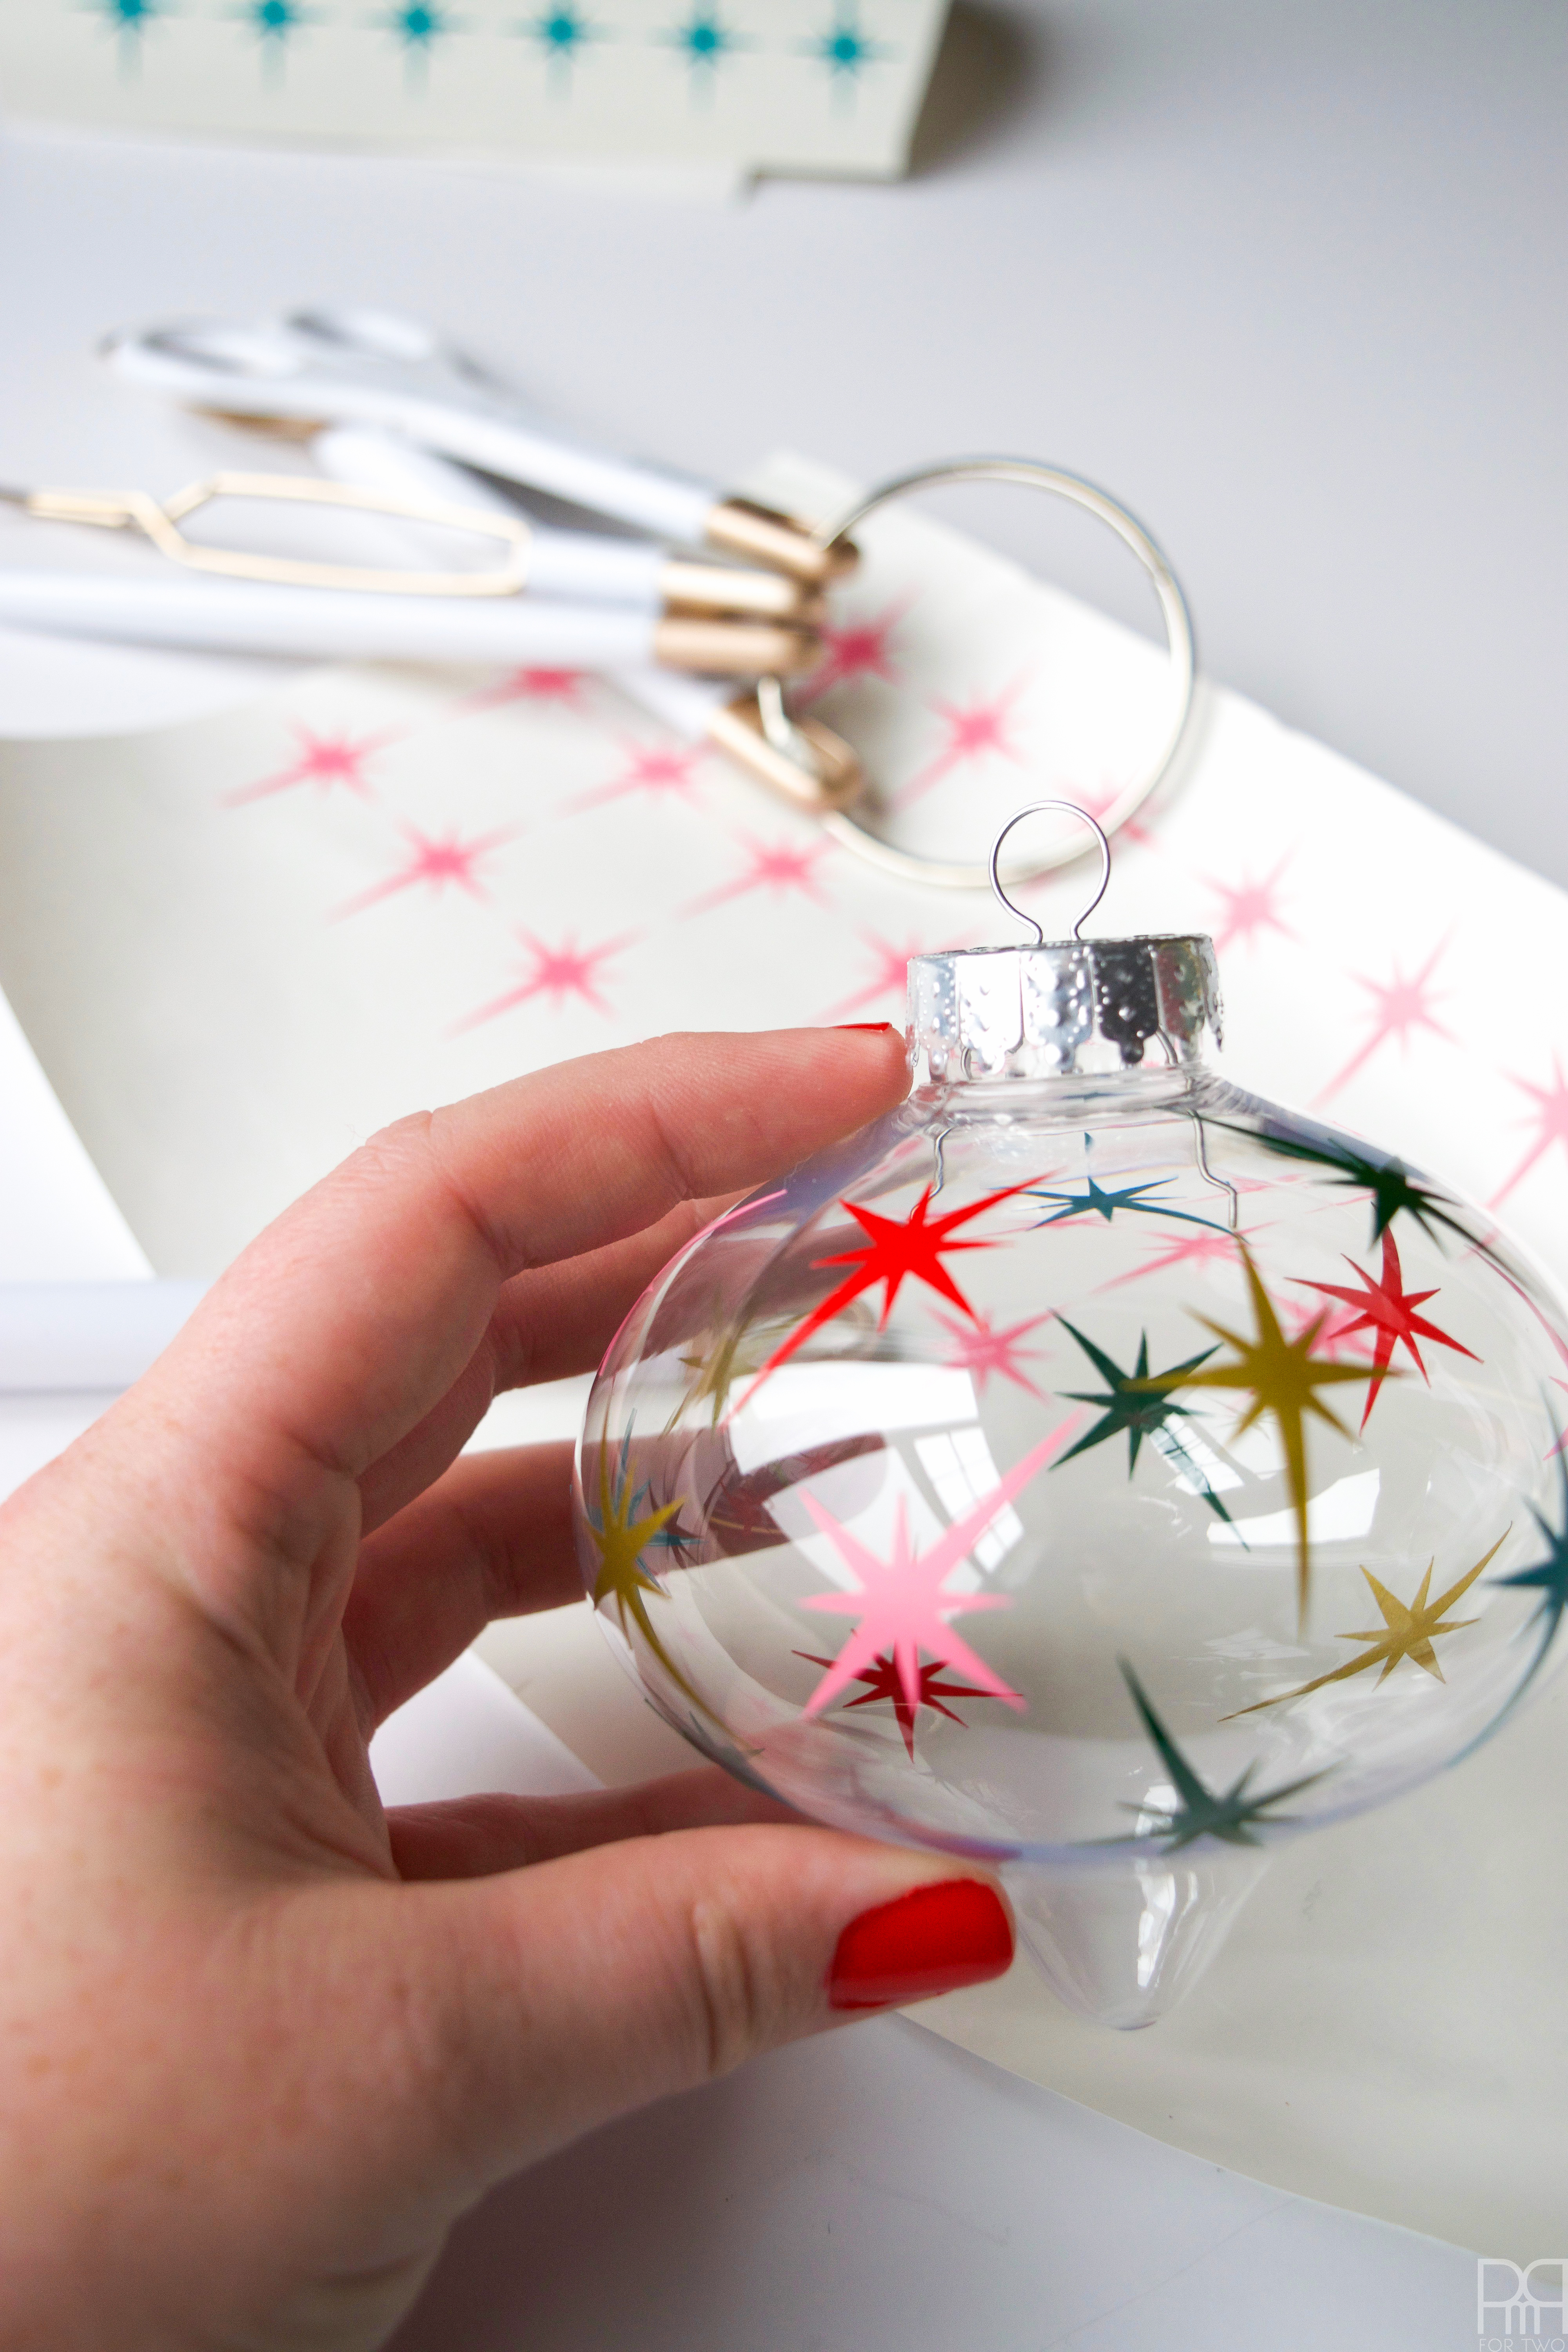
Step 4: Using your weeding tool, place the starbursts on your ornament.
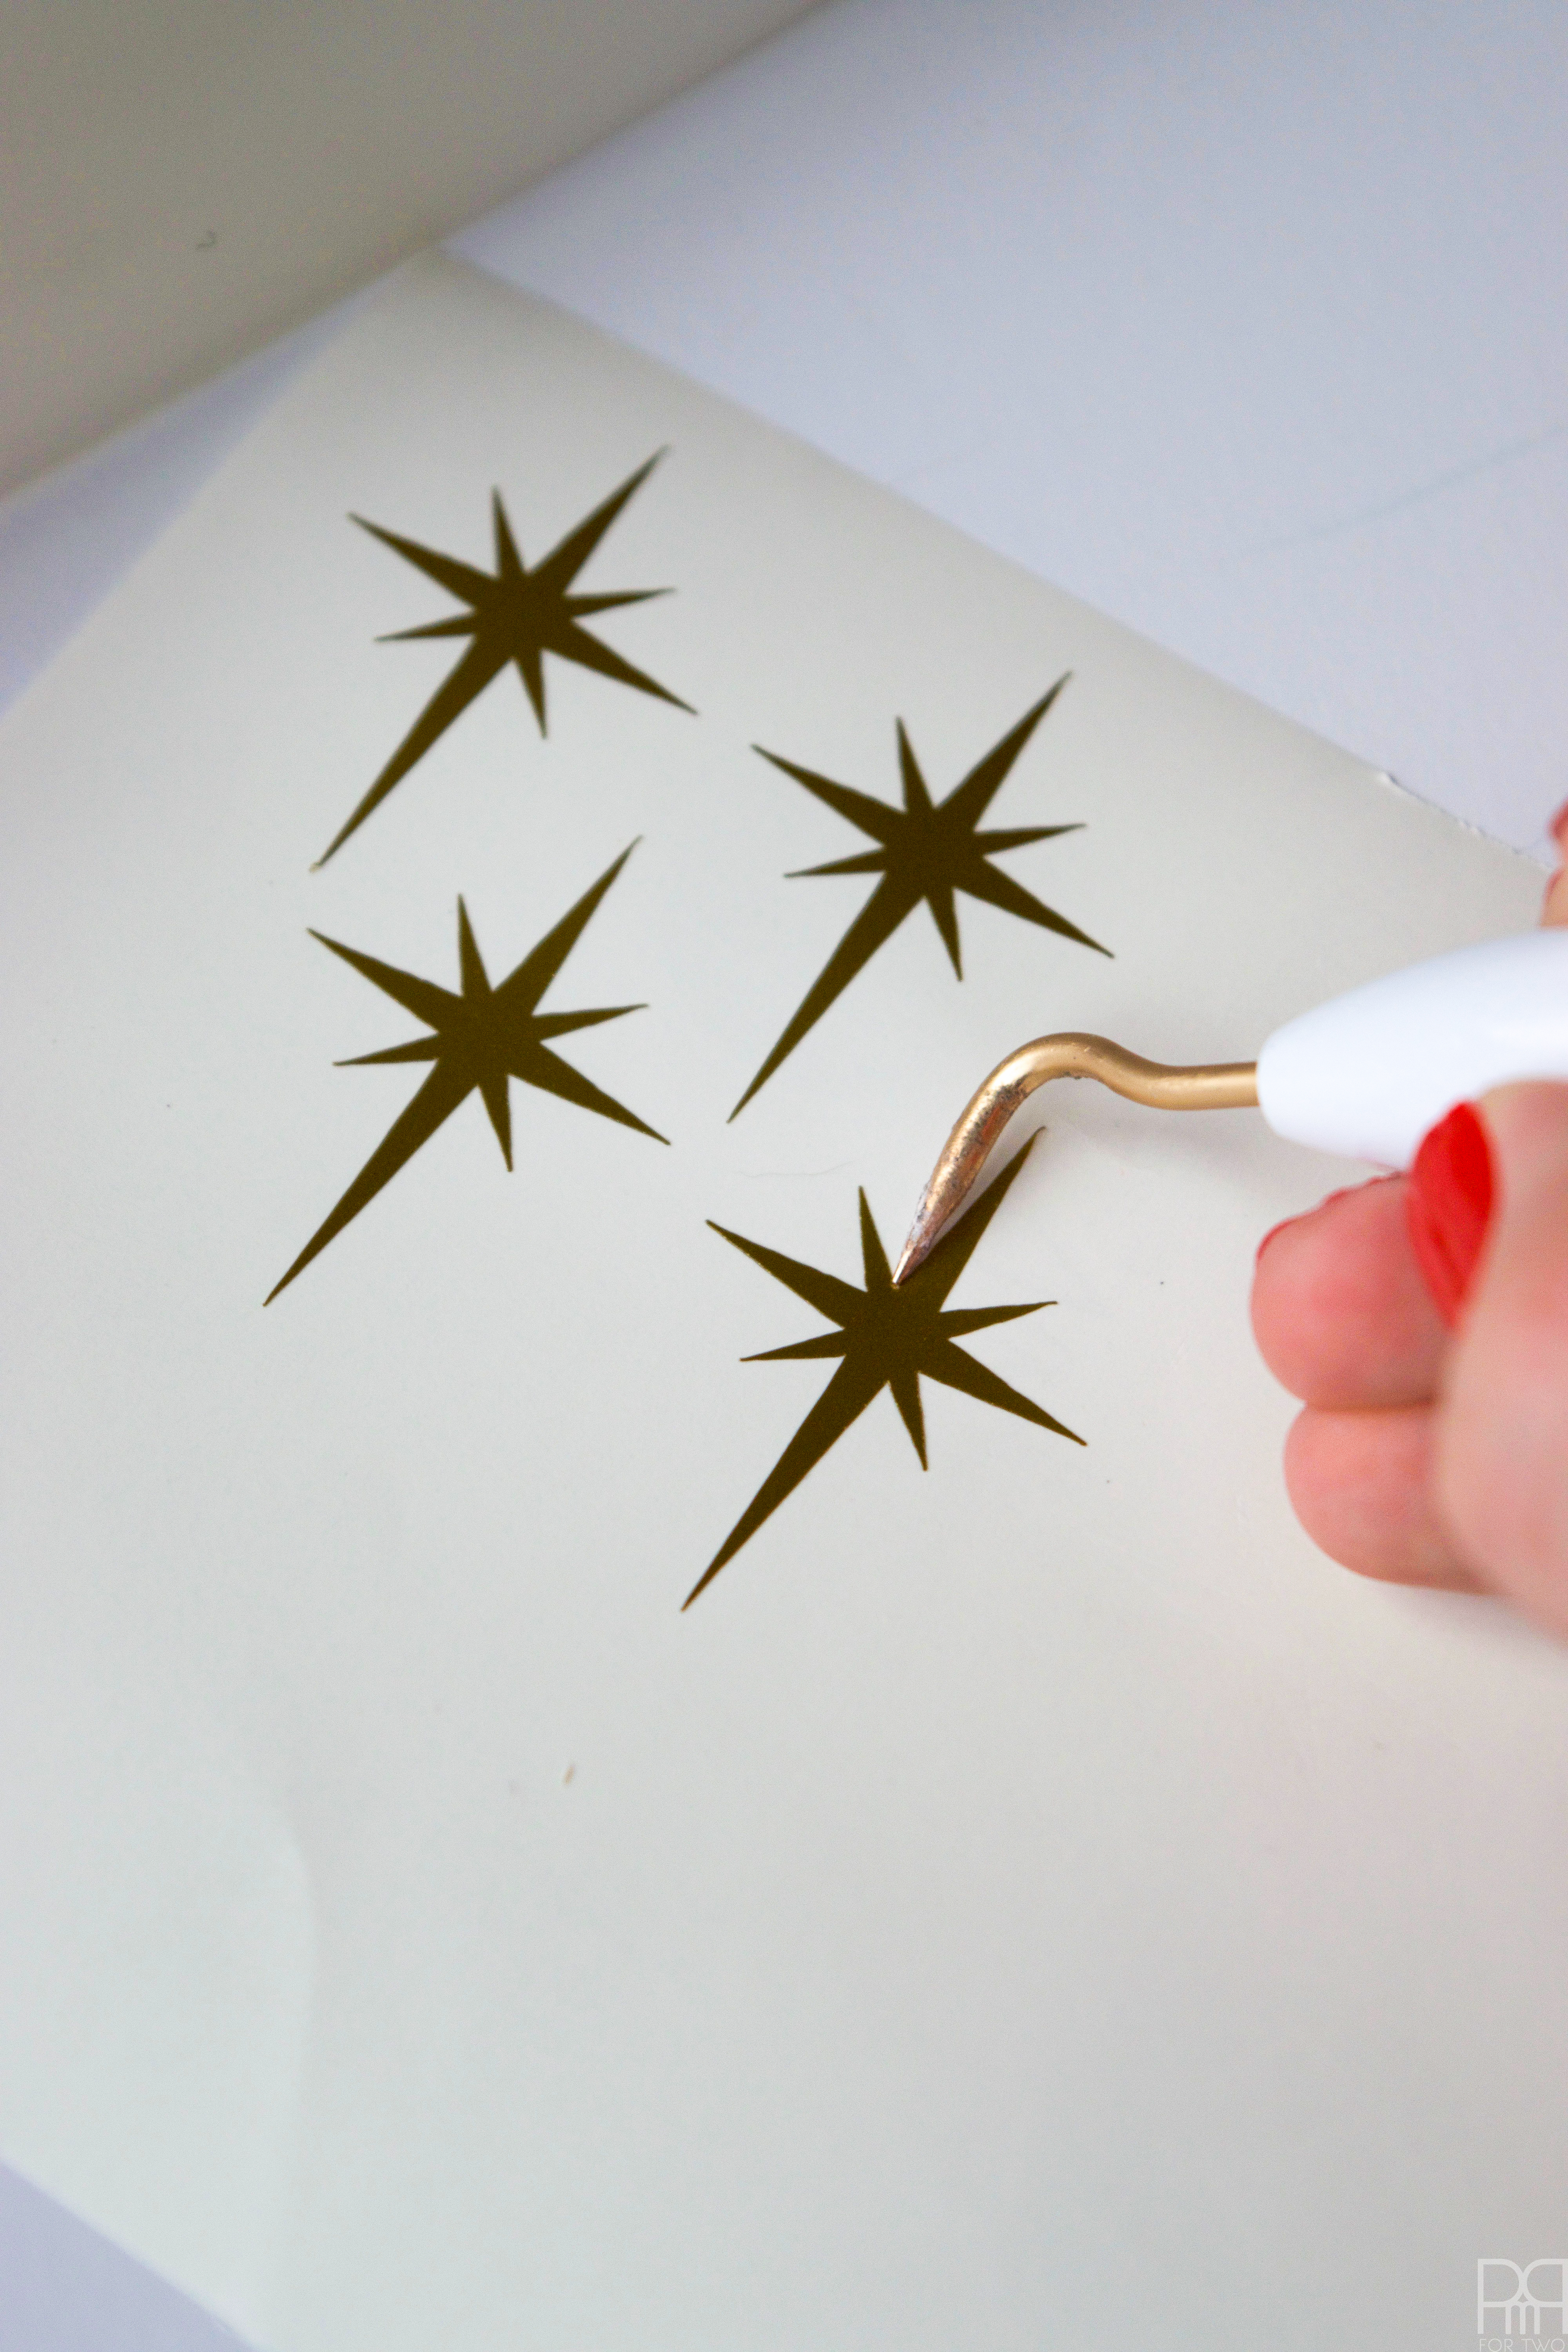
Step 5: I’ve chosen to group the colours next to each other in a pattern. As such, every time I place a gold star, I know where I’m placing the green, red, pink and blue ones.
For each ornament there are 3-4 sets of stars.

Step 6: Adorn with the bow of your choice and display! I’ll probably be putting these bigger ones on a shelf of our newly completed renter friendly built-Ins // here //
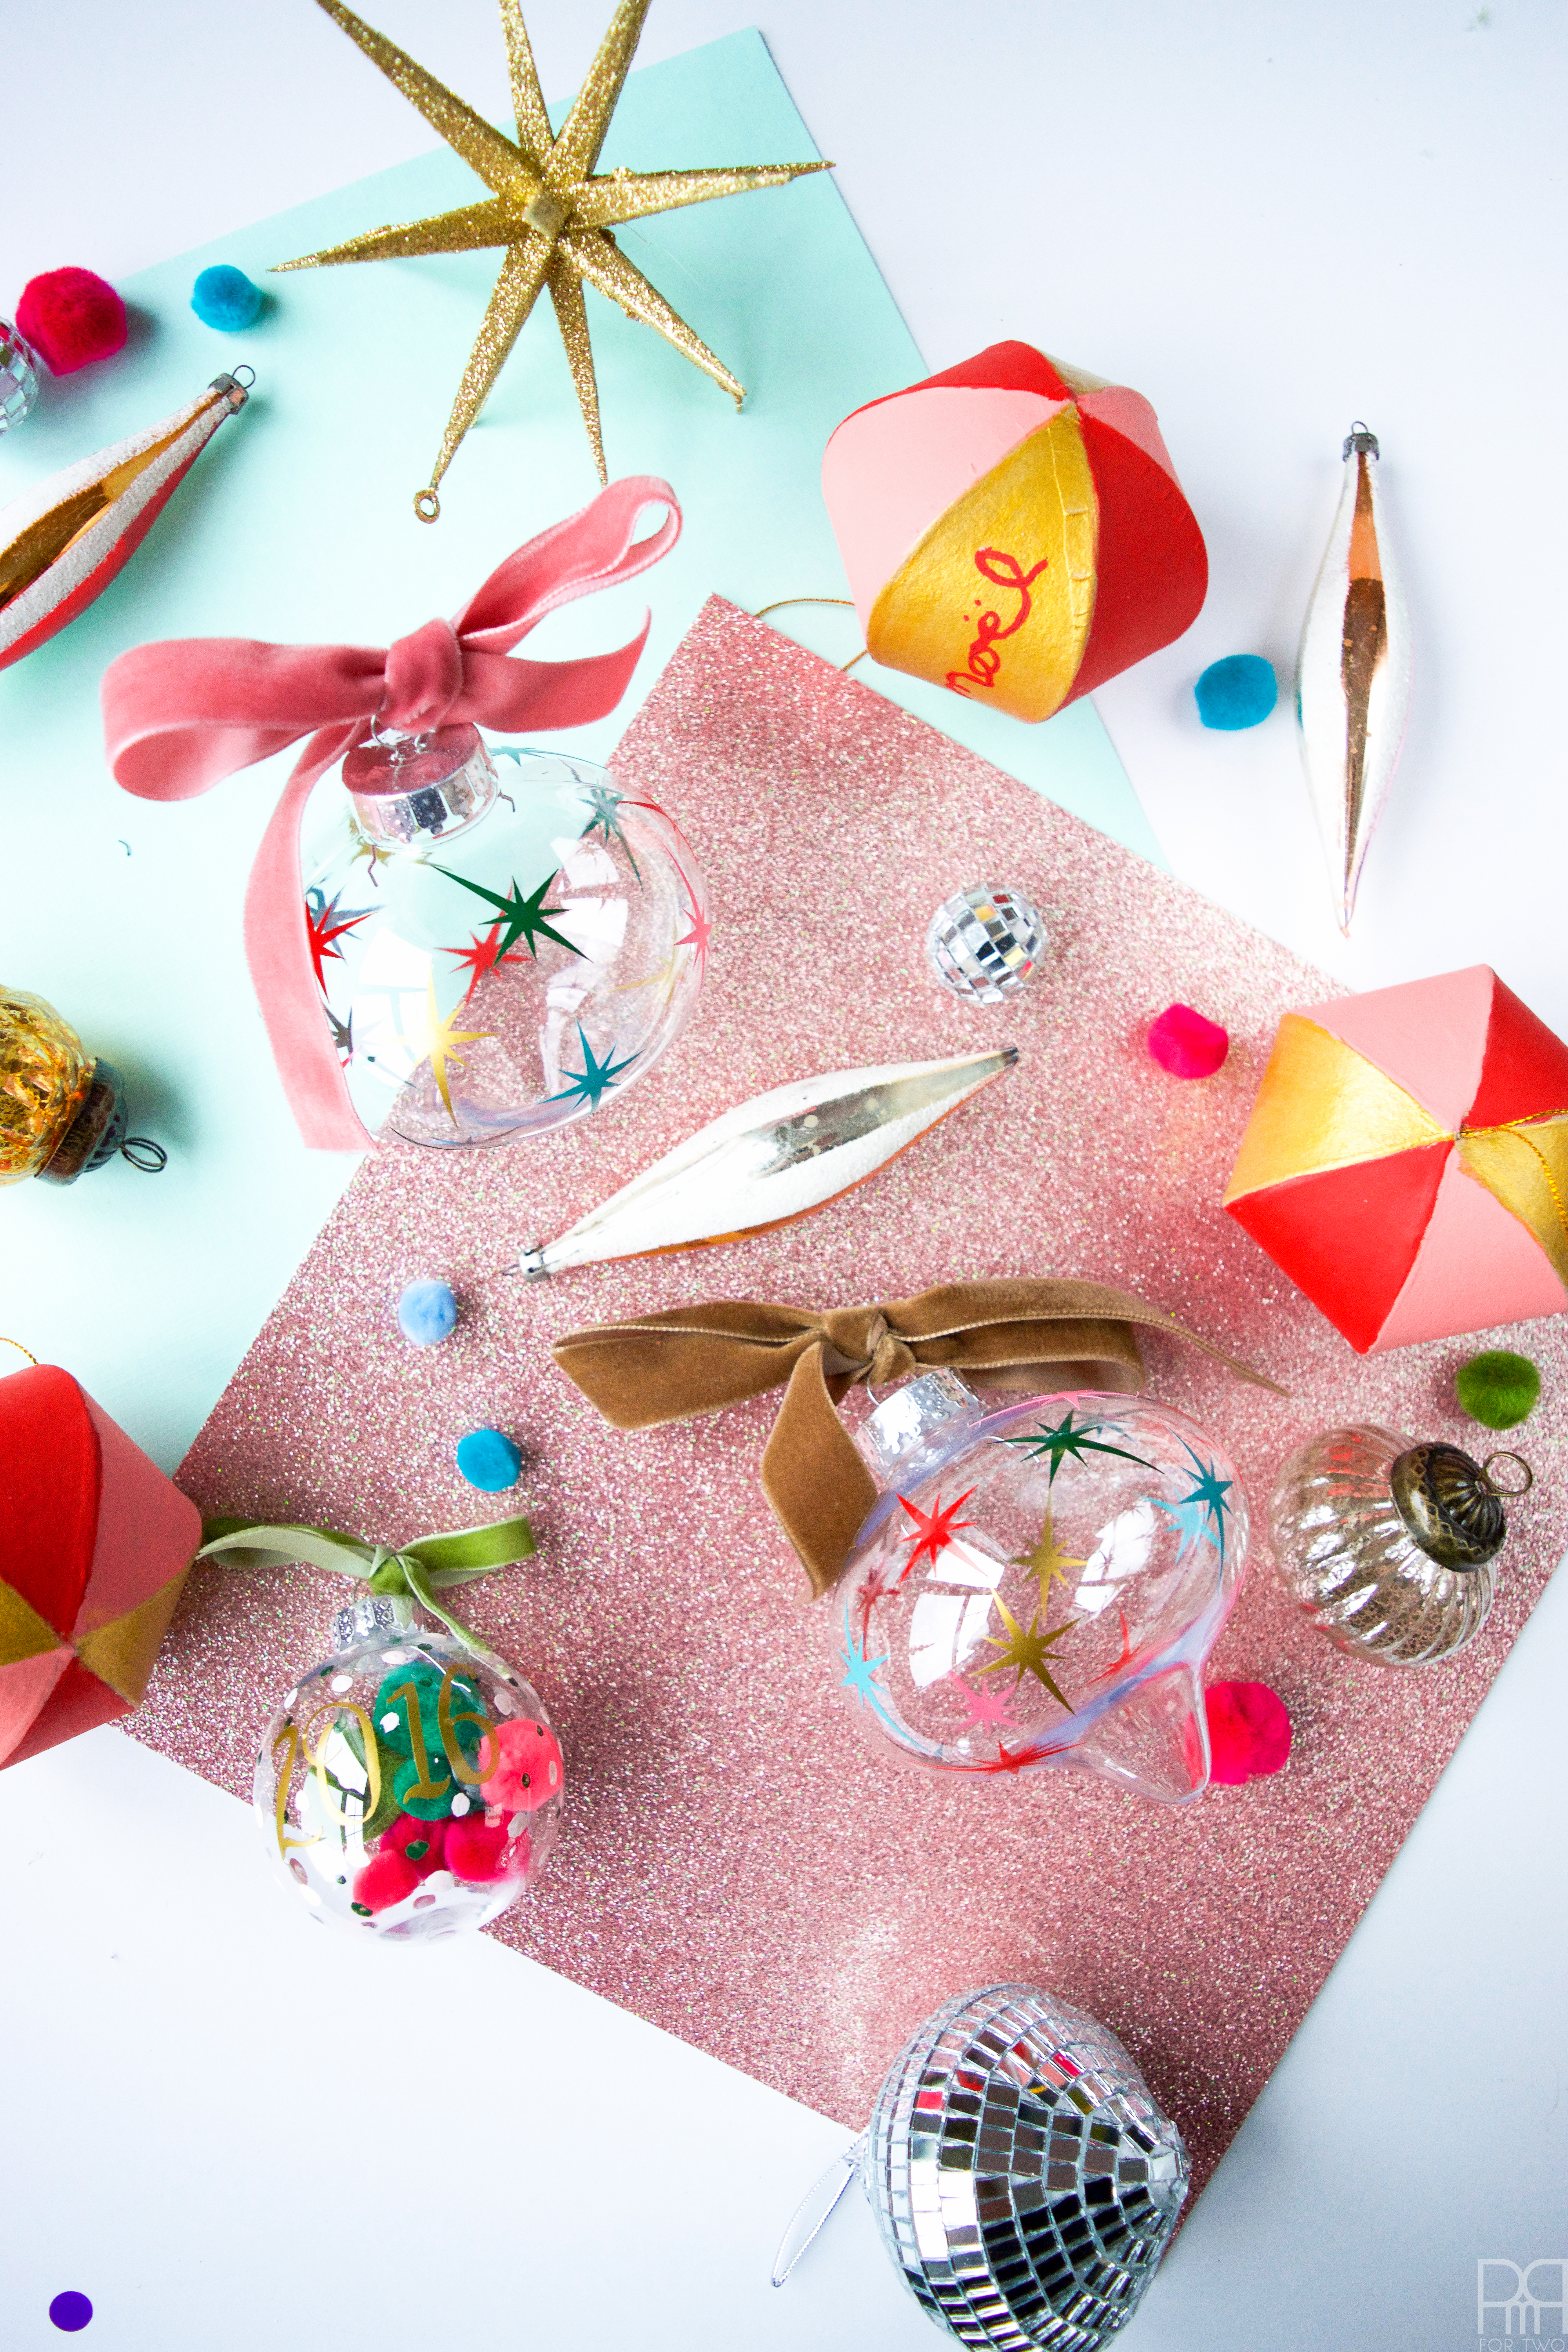
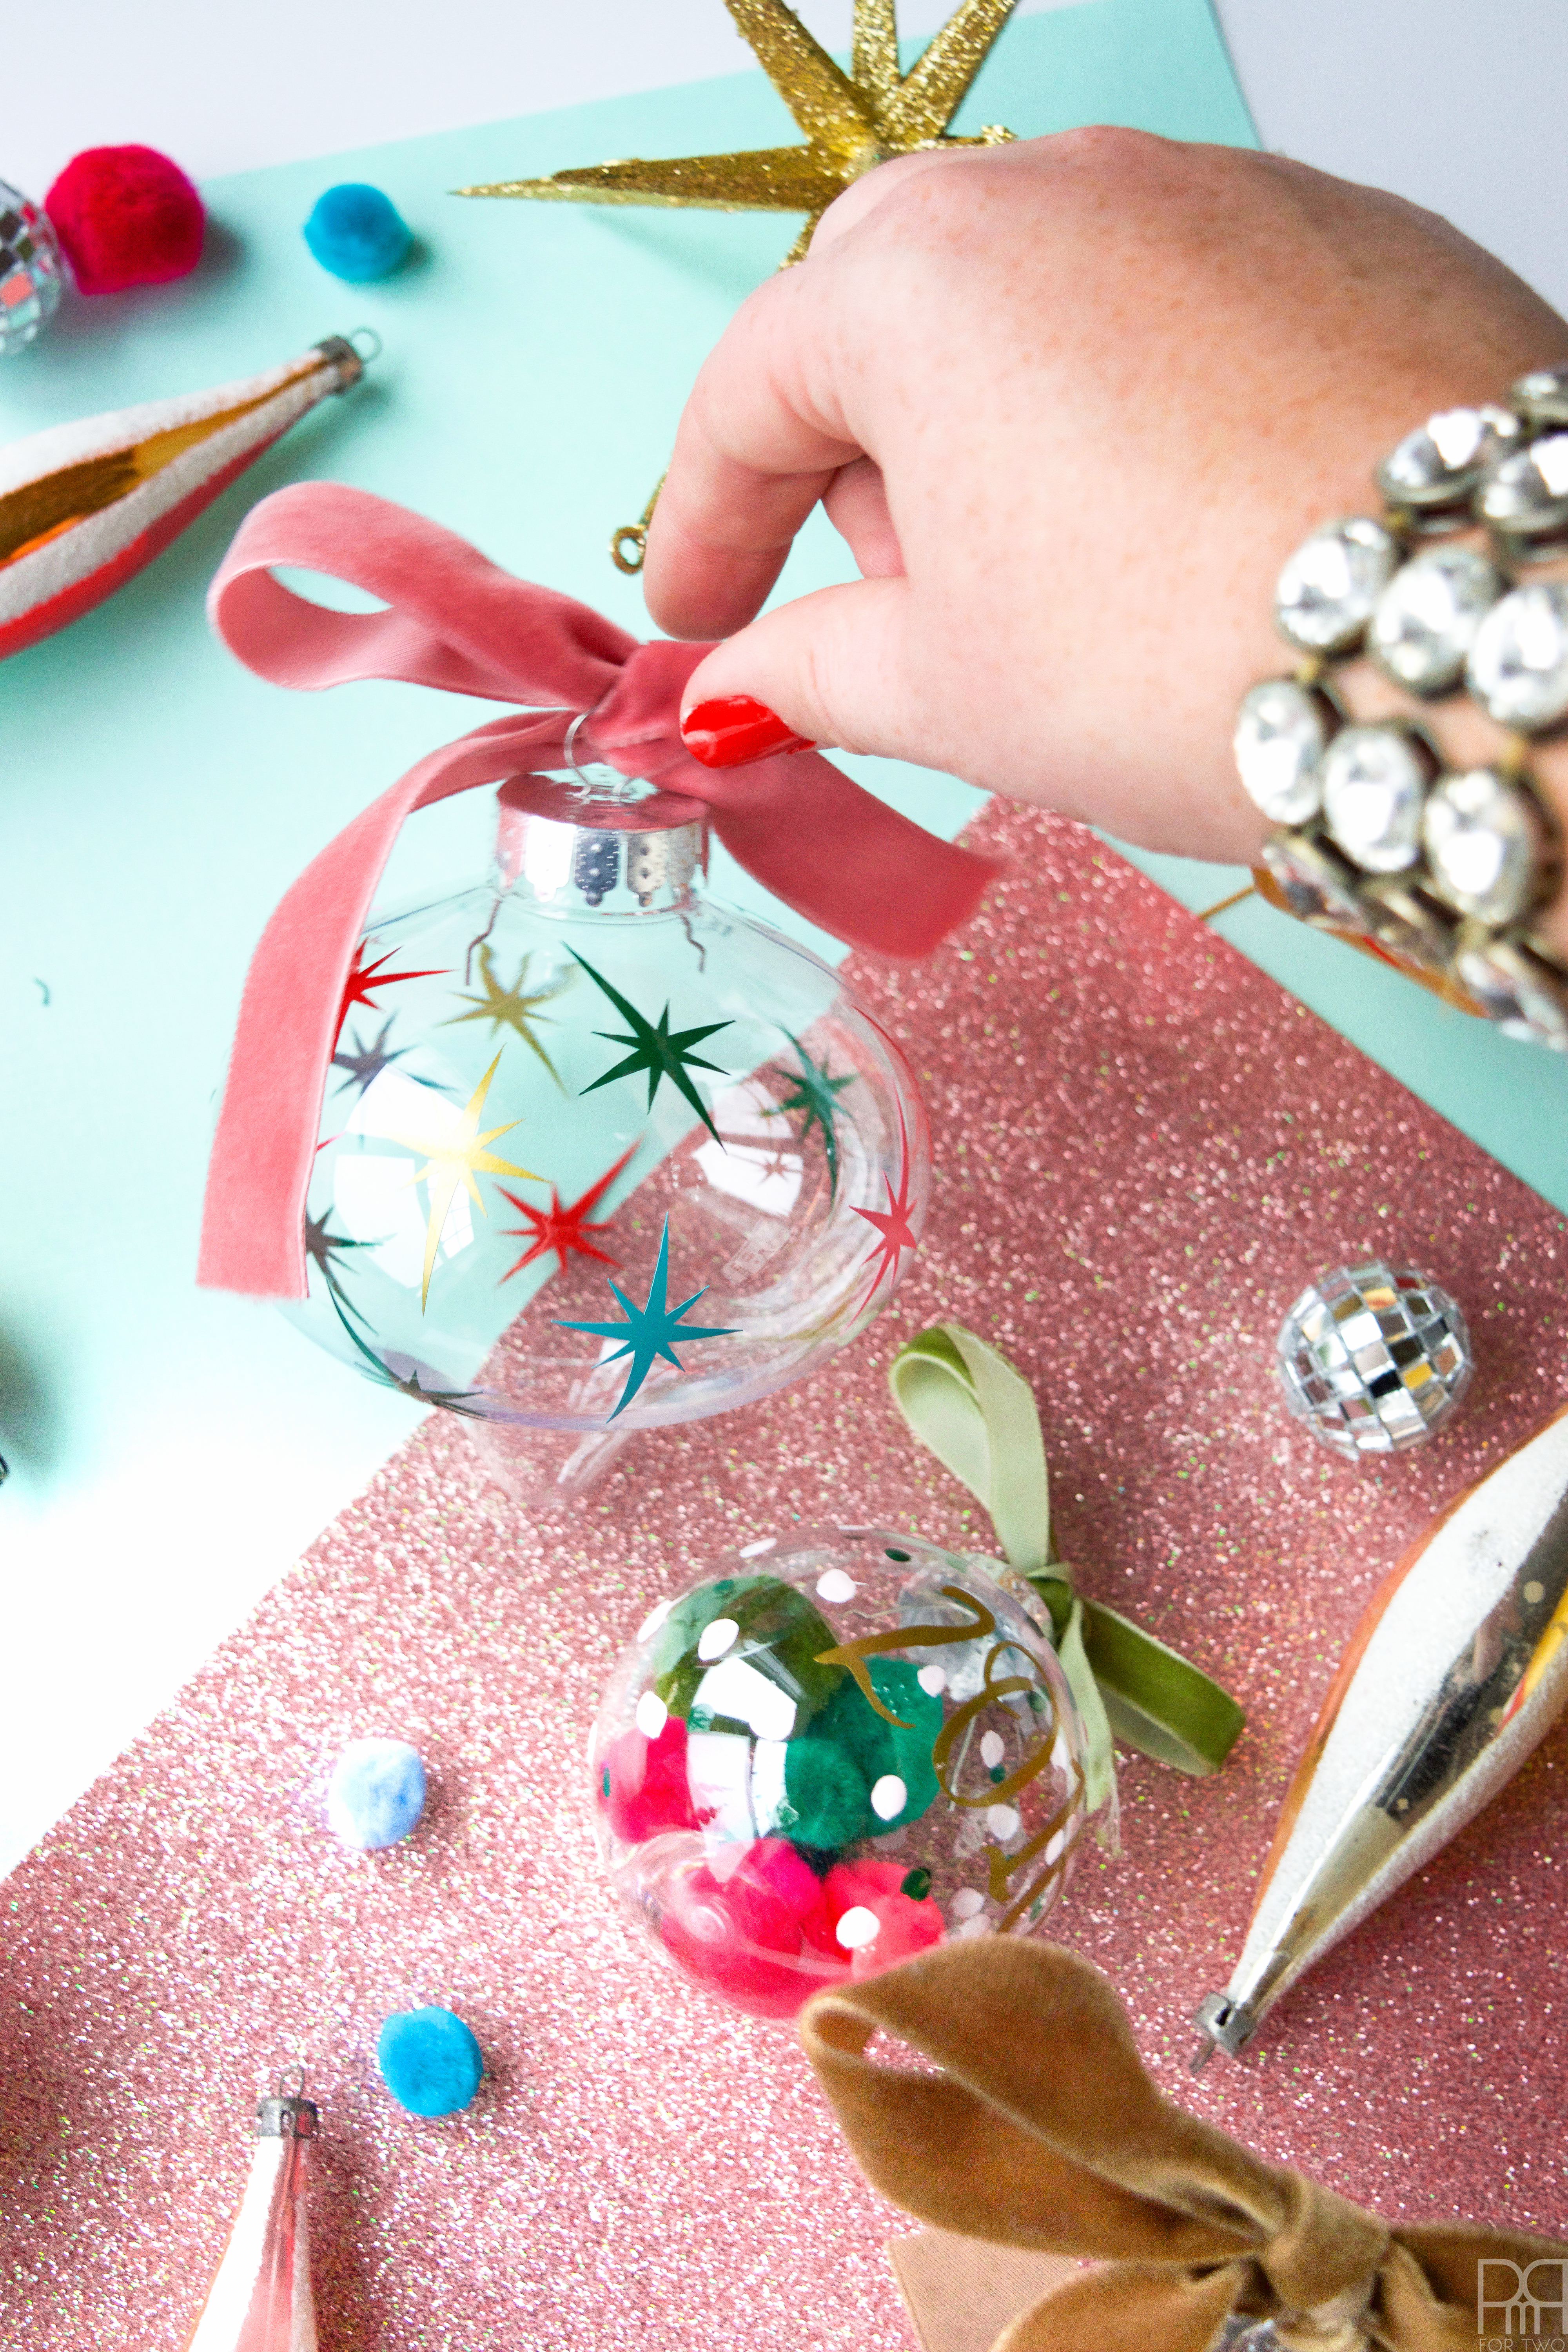
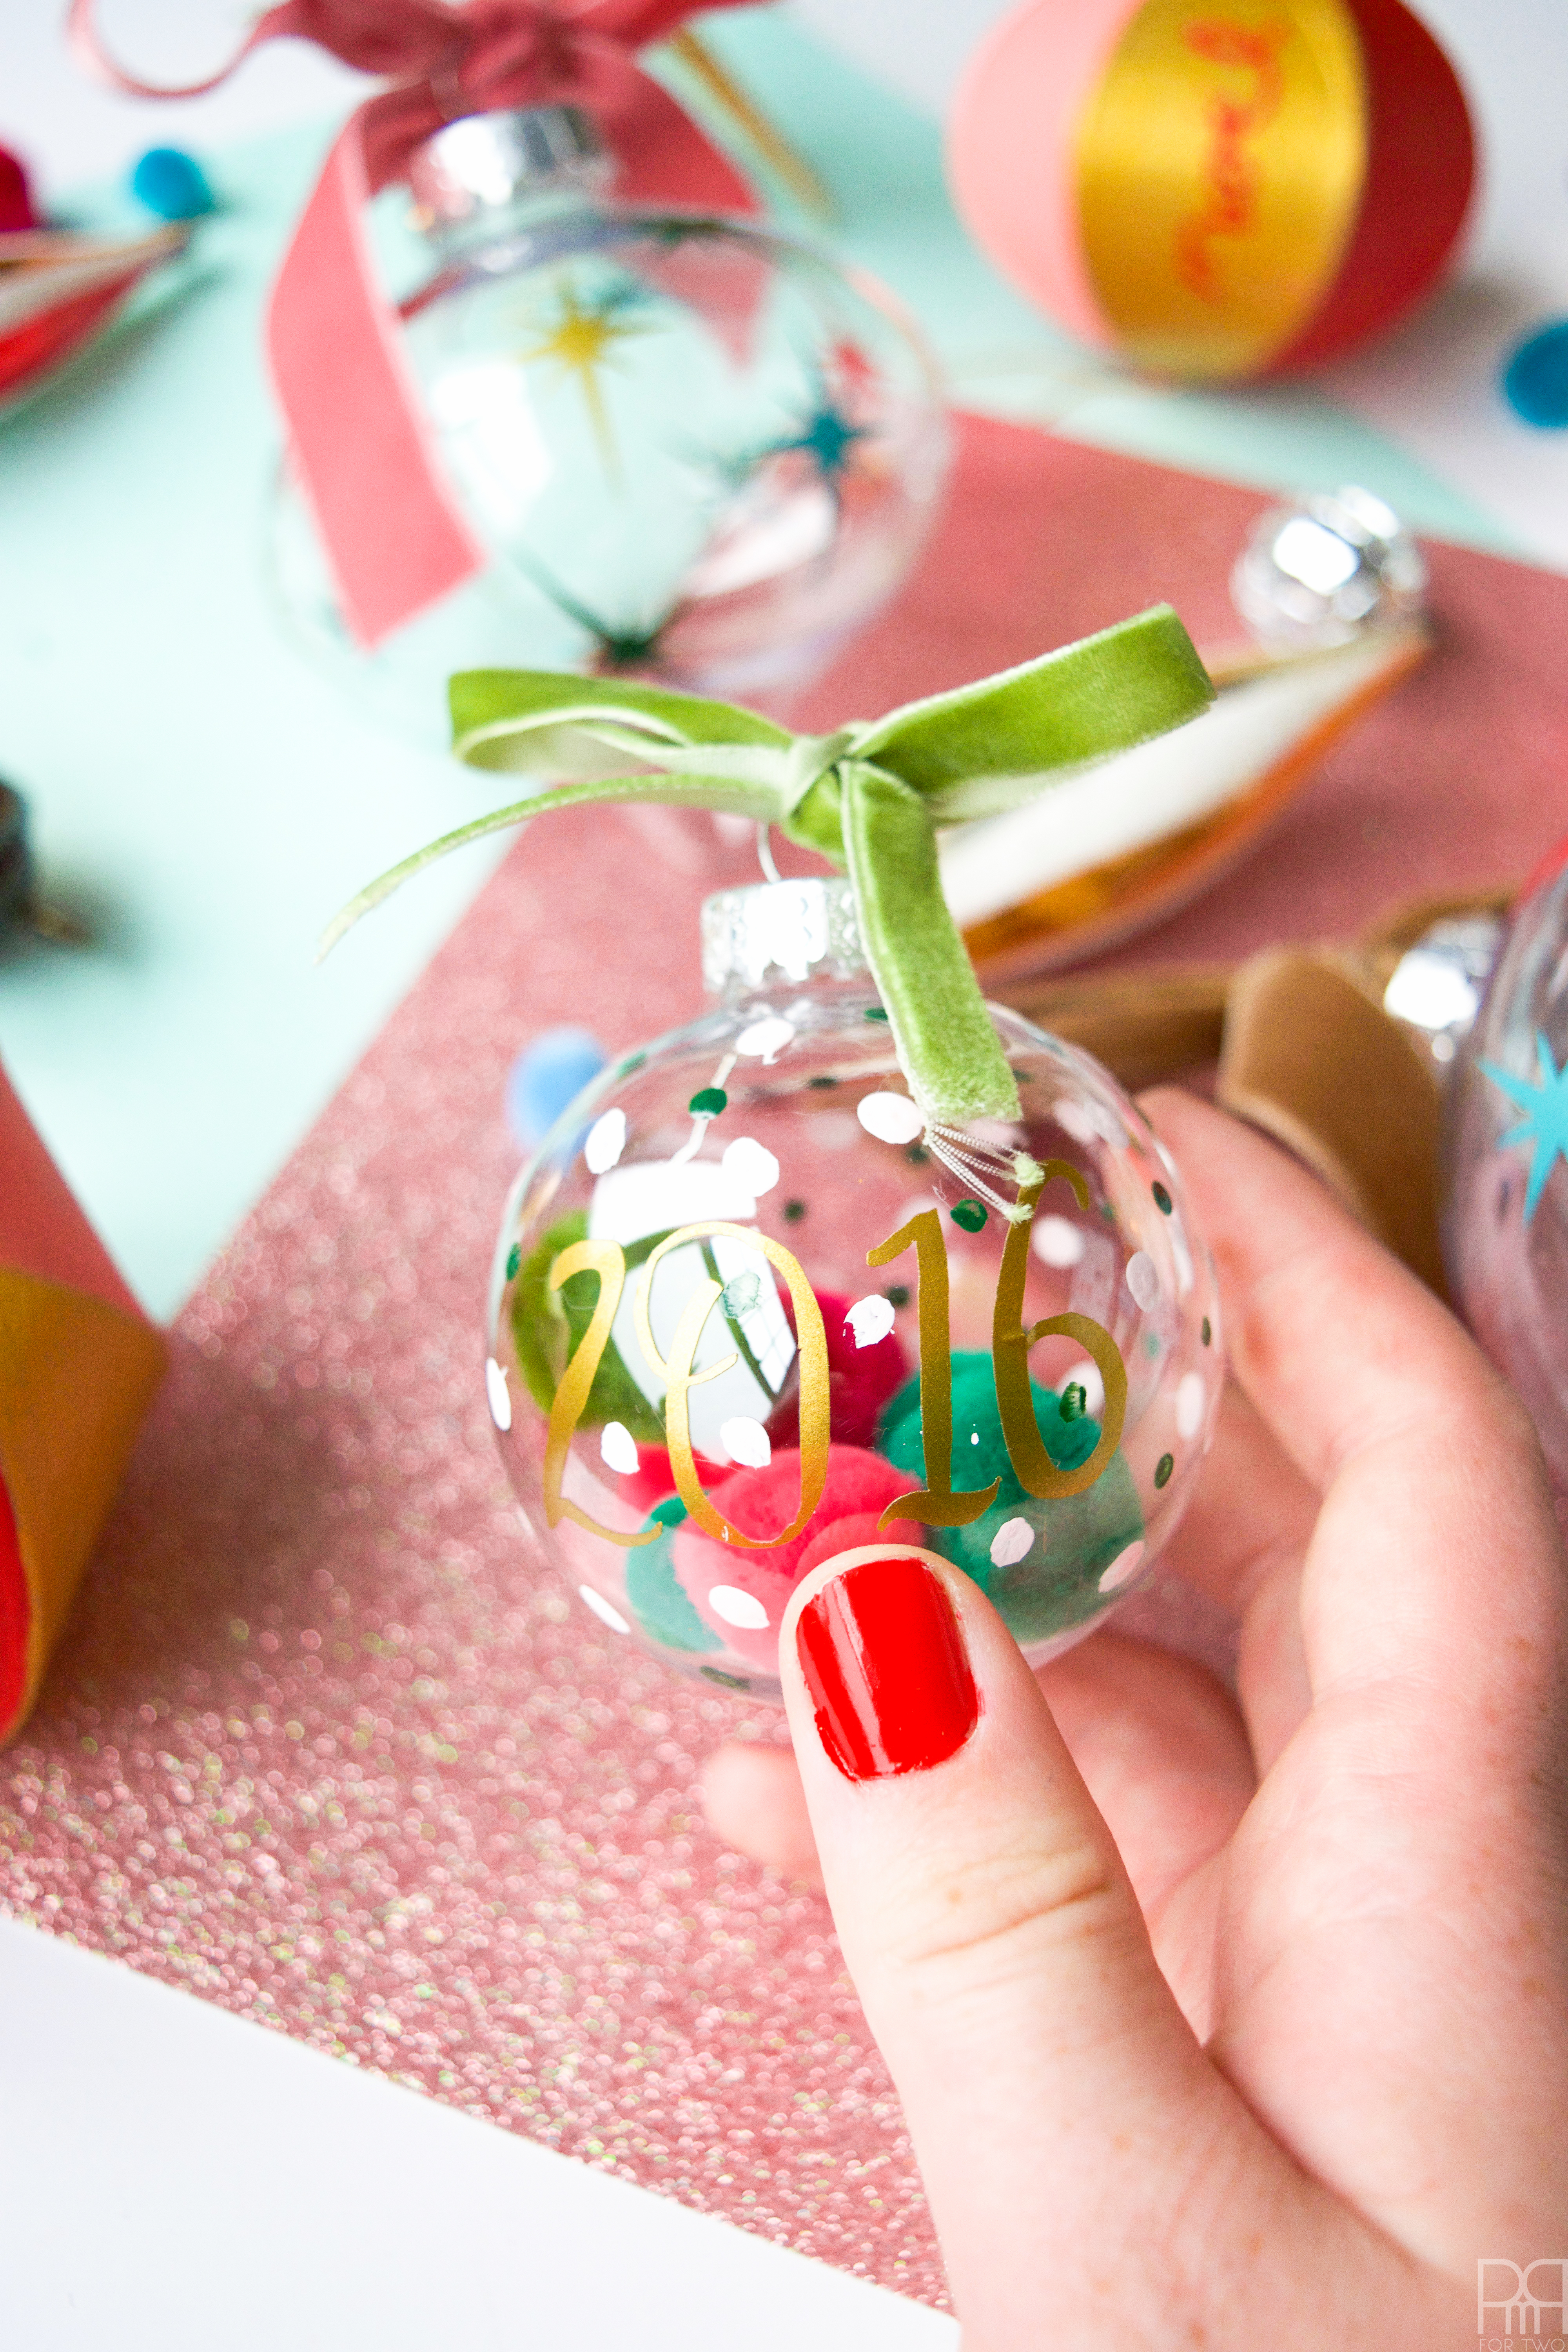
This little guy doesn’t even warrant a tutorial! Just cut the numbers 2016 and stick to an ornament, add polka dots and full with pom poms!


Now that you’ve seen what the Cricut can do, it’s time to enter to win your own Cricut Explore Air 2!


Now it’s time to check out the other great Christmas Cricut Ornaments from my Canadian blogging friends!
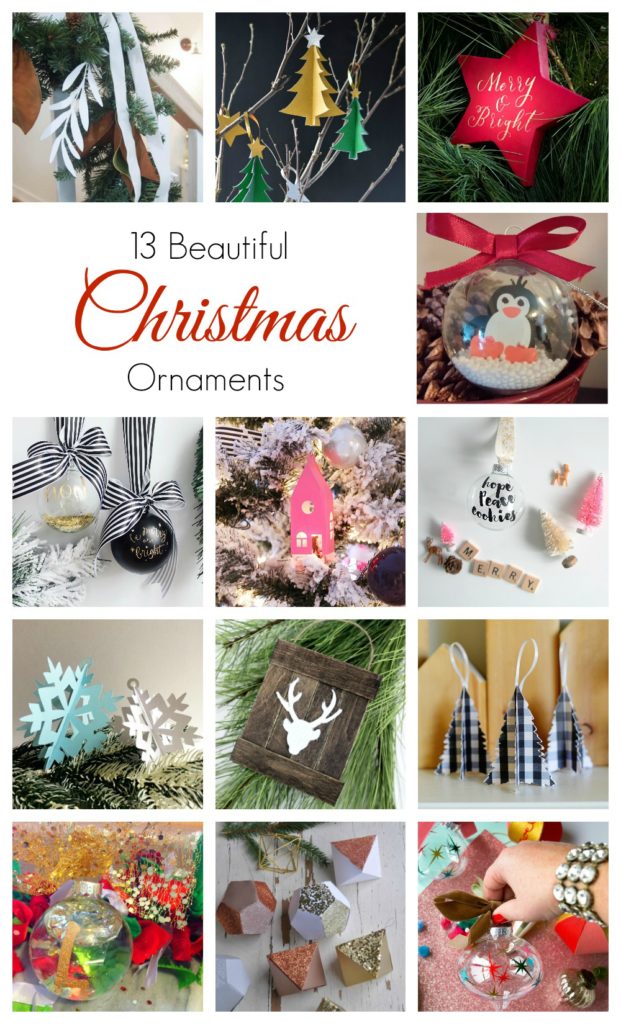

From top left, they are:
Christmas Garland from The Learner Observer
3D Christmas Tree from Woman in Real Life
Star Ornament from The Inspired Home
Penguin Ornament from A Boy and His Mom
Handlettered Ornaments from Teacups and Things
Paper House Christmas Ornament from Fresh Crush
Easy Christmas Ornaments from Sparkle Shiny Love
3D Snowflake Ornament from Brooklyn Berry Designs
Mini Deer Pallet Ornament from Love Create Celebrate
3D Gingham Trees from Rambling Renovators
Glitter Monogram Snow Globe Ornaments from Bawlers and Crawlers
Paper Geometric Christmas Ornaments from Life is a Party
Atomic Starburst Ornaments from PMQ for Two