


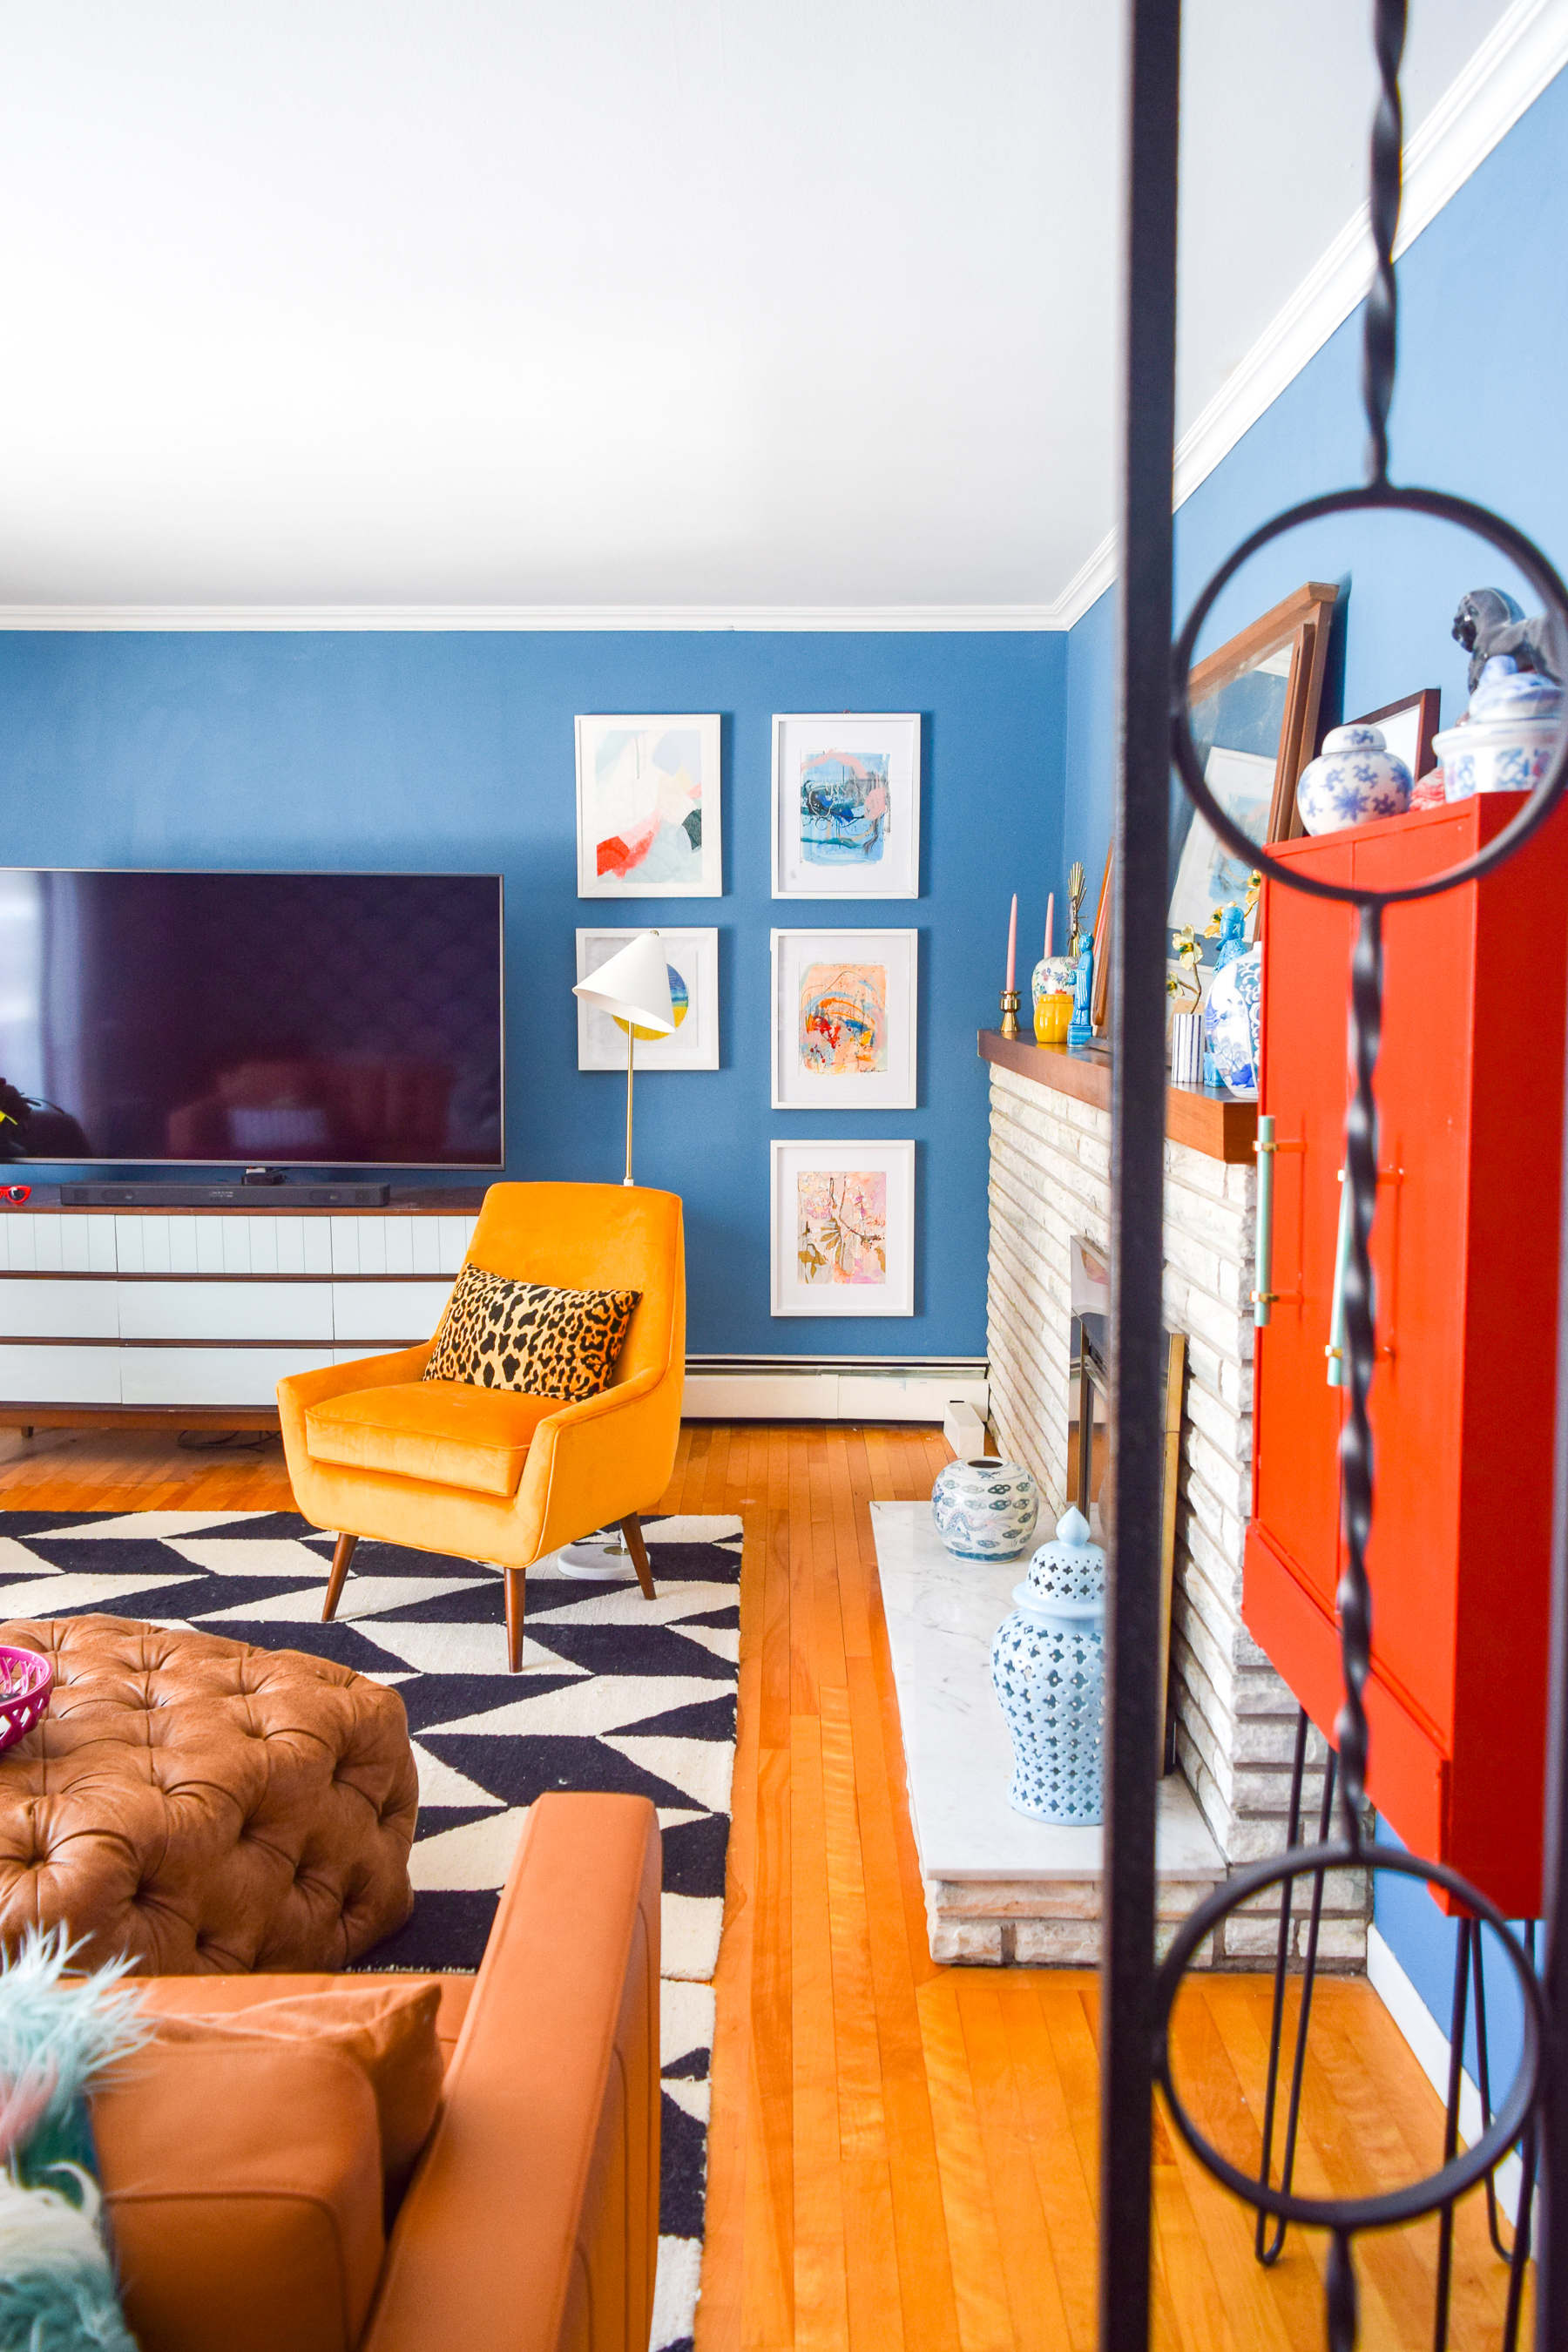
This spring I’ve got the urge to re-decorate! With a baby on the way, and a kitchen under reno, I wanted to bring some TLC to our Eclectic Mid Mod living room. I completed it this fall for the One Room Challenge, and have loved living in it since. It was the first space to get a face lift, and I’ve learned many things about the space since. I used Command
Check out my DIY Picture Rails, my DIY Floral Fridge Magnets, and my DIY Penguin Classics Book Covers
*Command

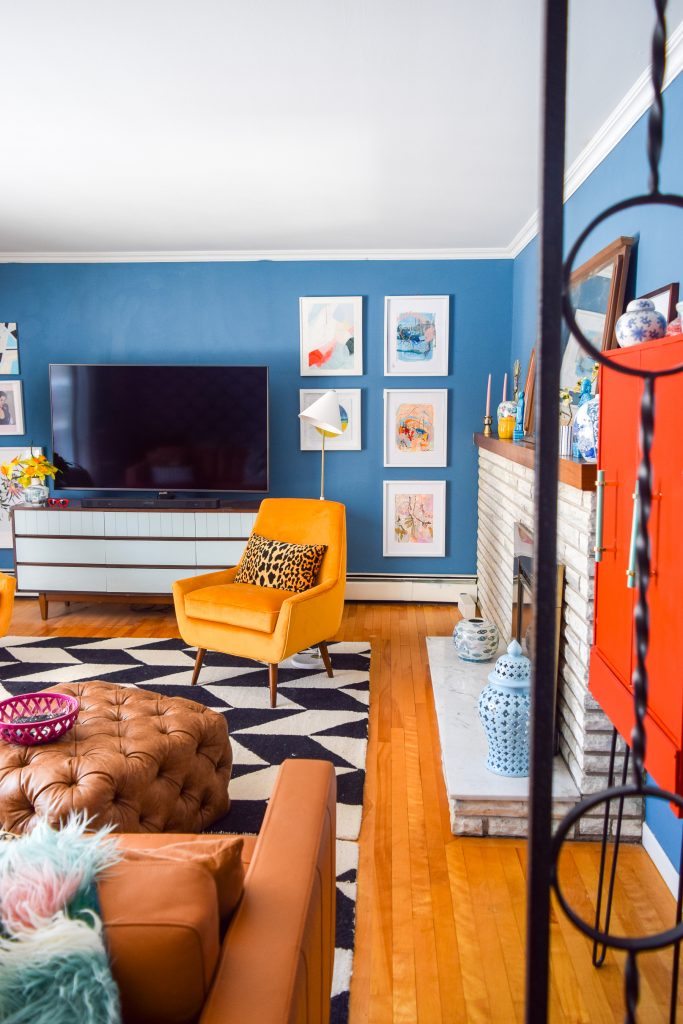
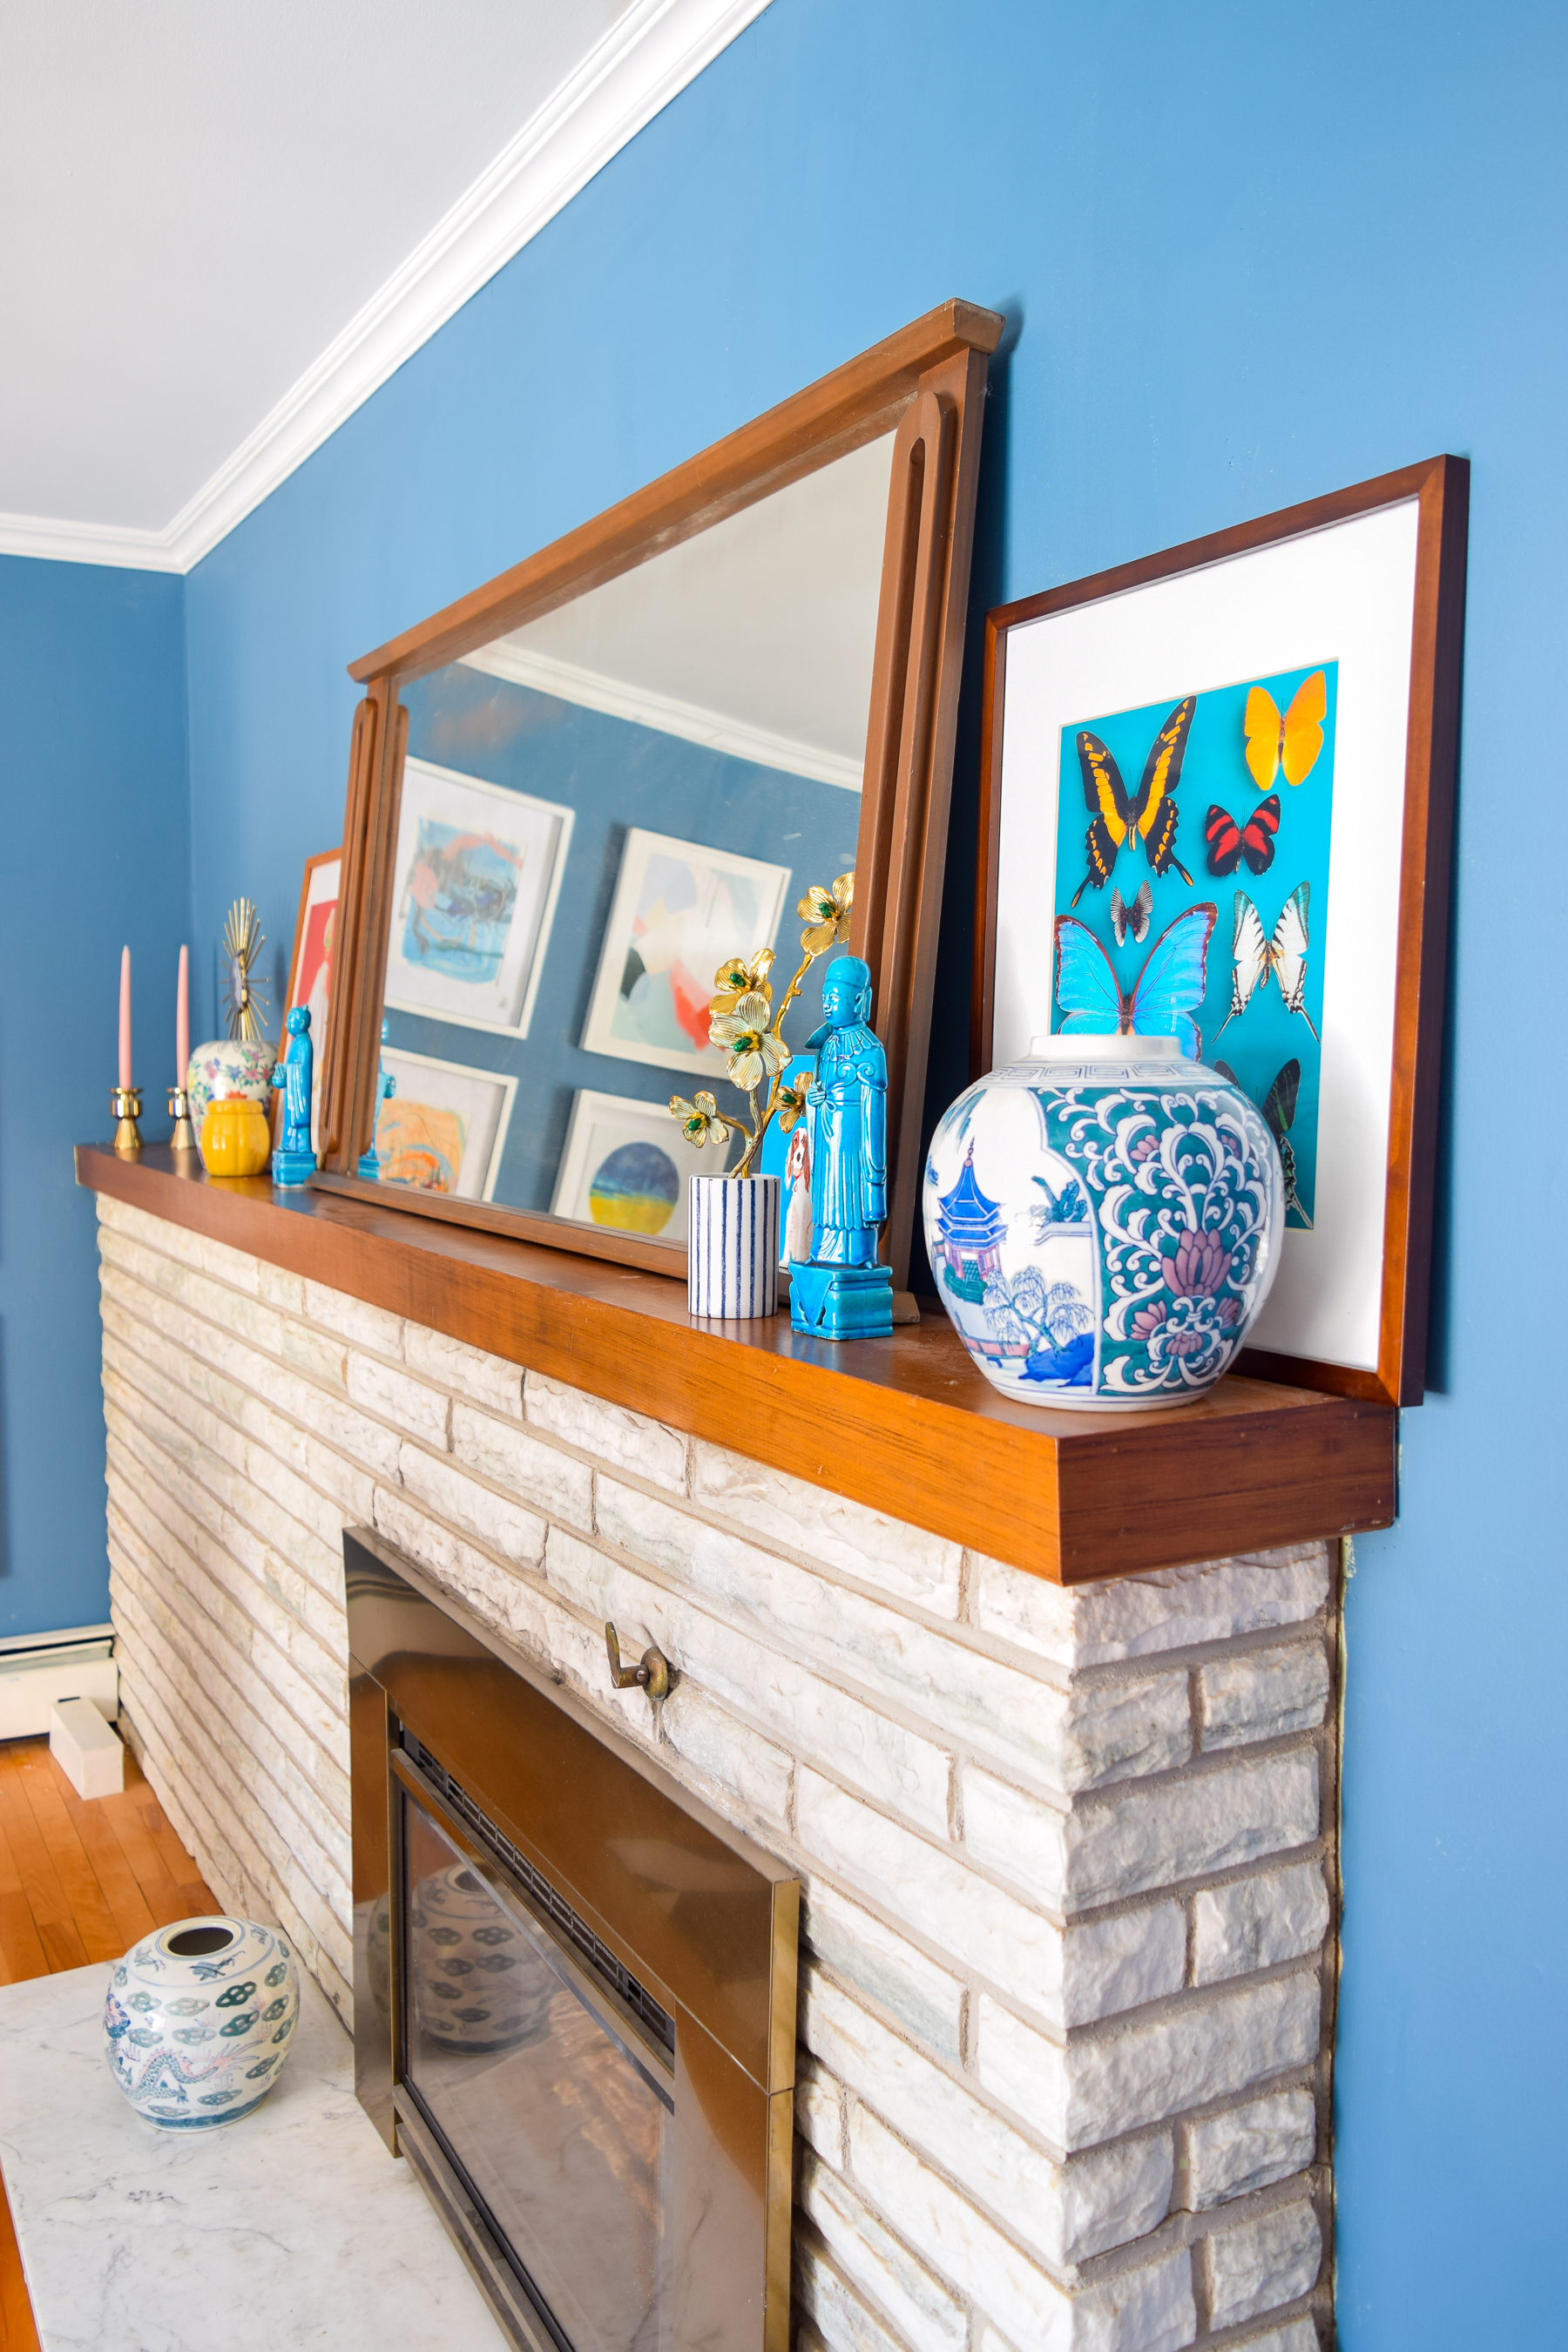
I repurposed art from around the house to create the look, and even added in a geometric paint canvas for a little pizzaz. Gotta love a no-spend make-over! Who knew I had so many pieces that were begging to be moved. (Dan probably did, let’s be honest)
Preparing Artwork for A Gallery Wall
Before doing anything though, I prepped all my art work to be hung. Command


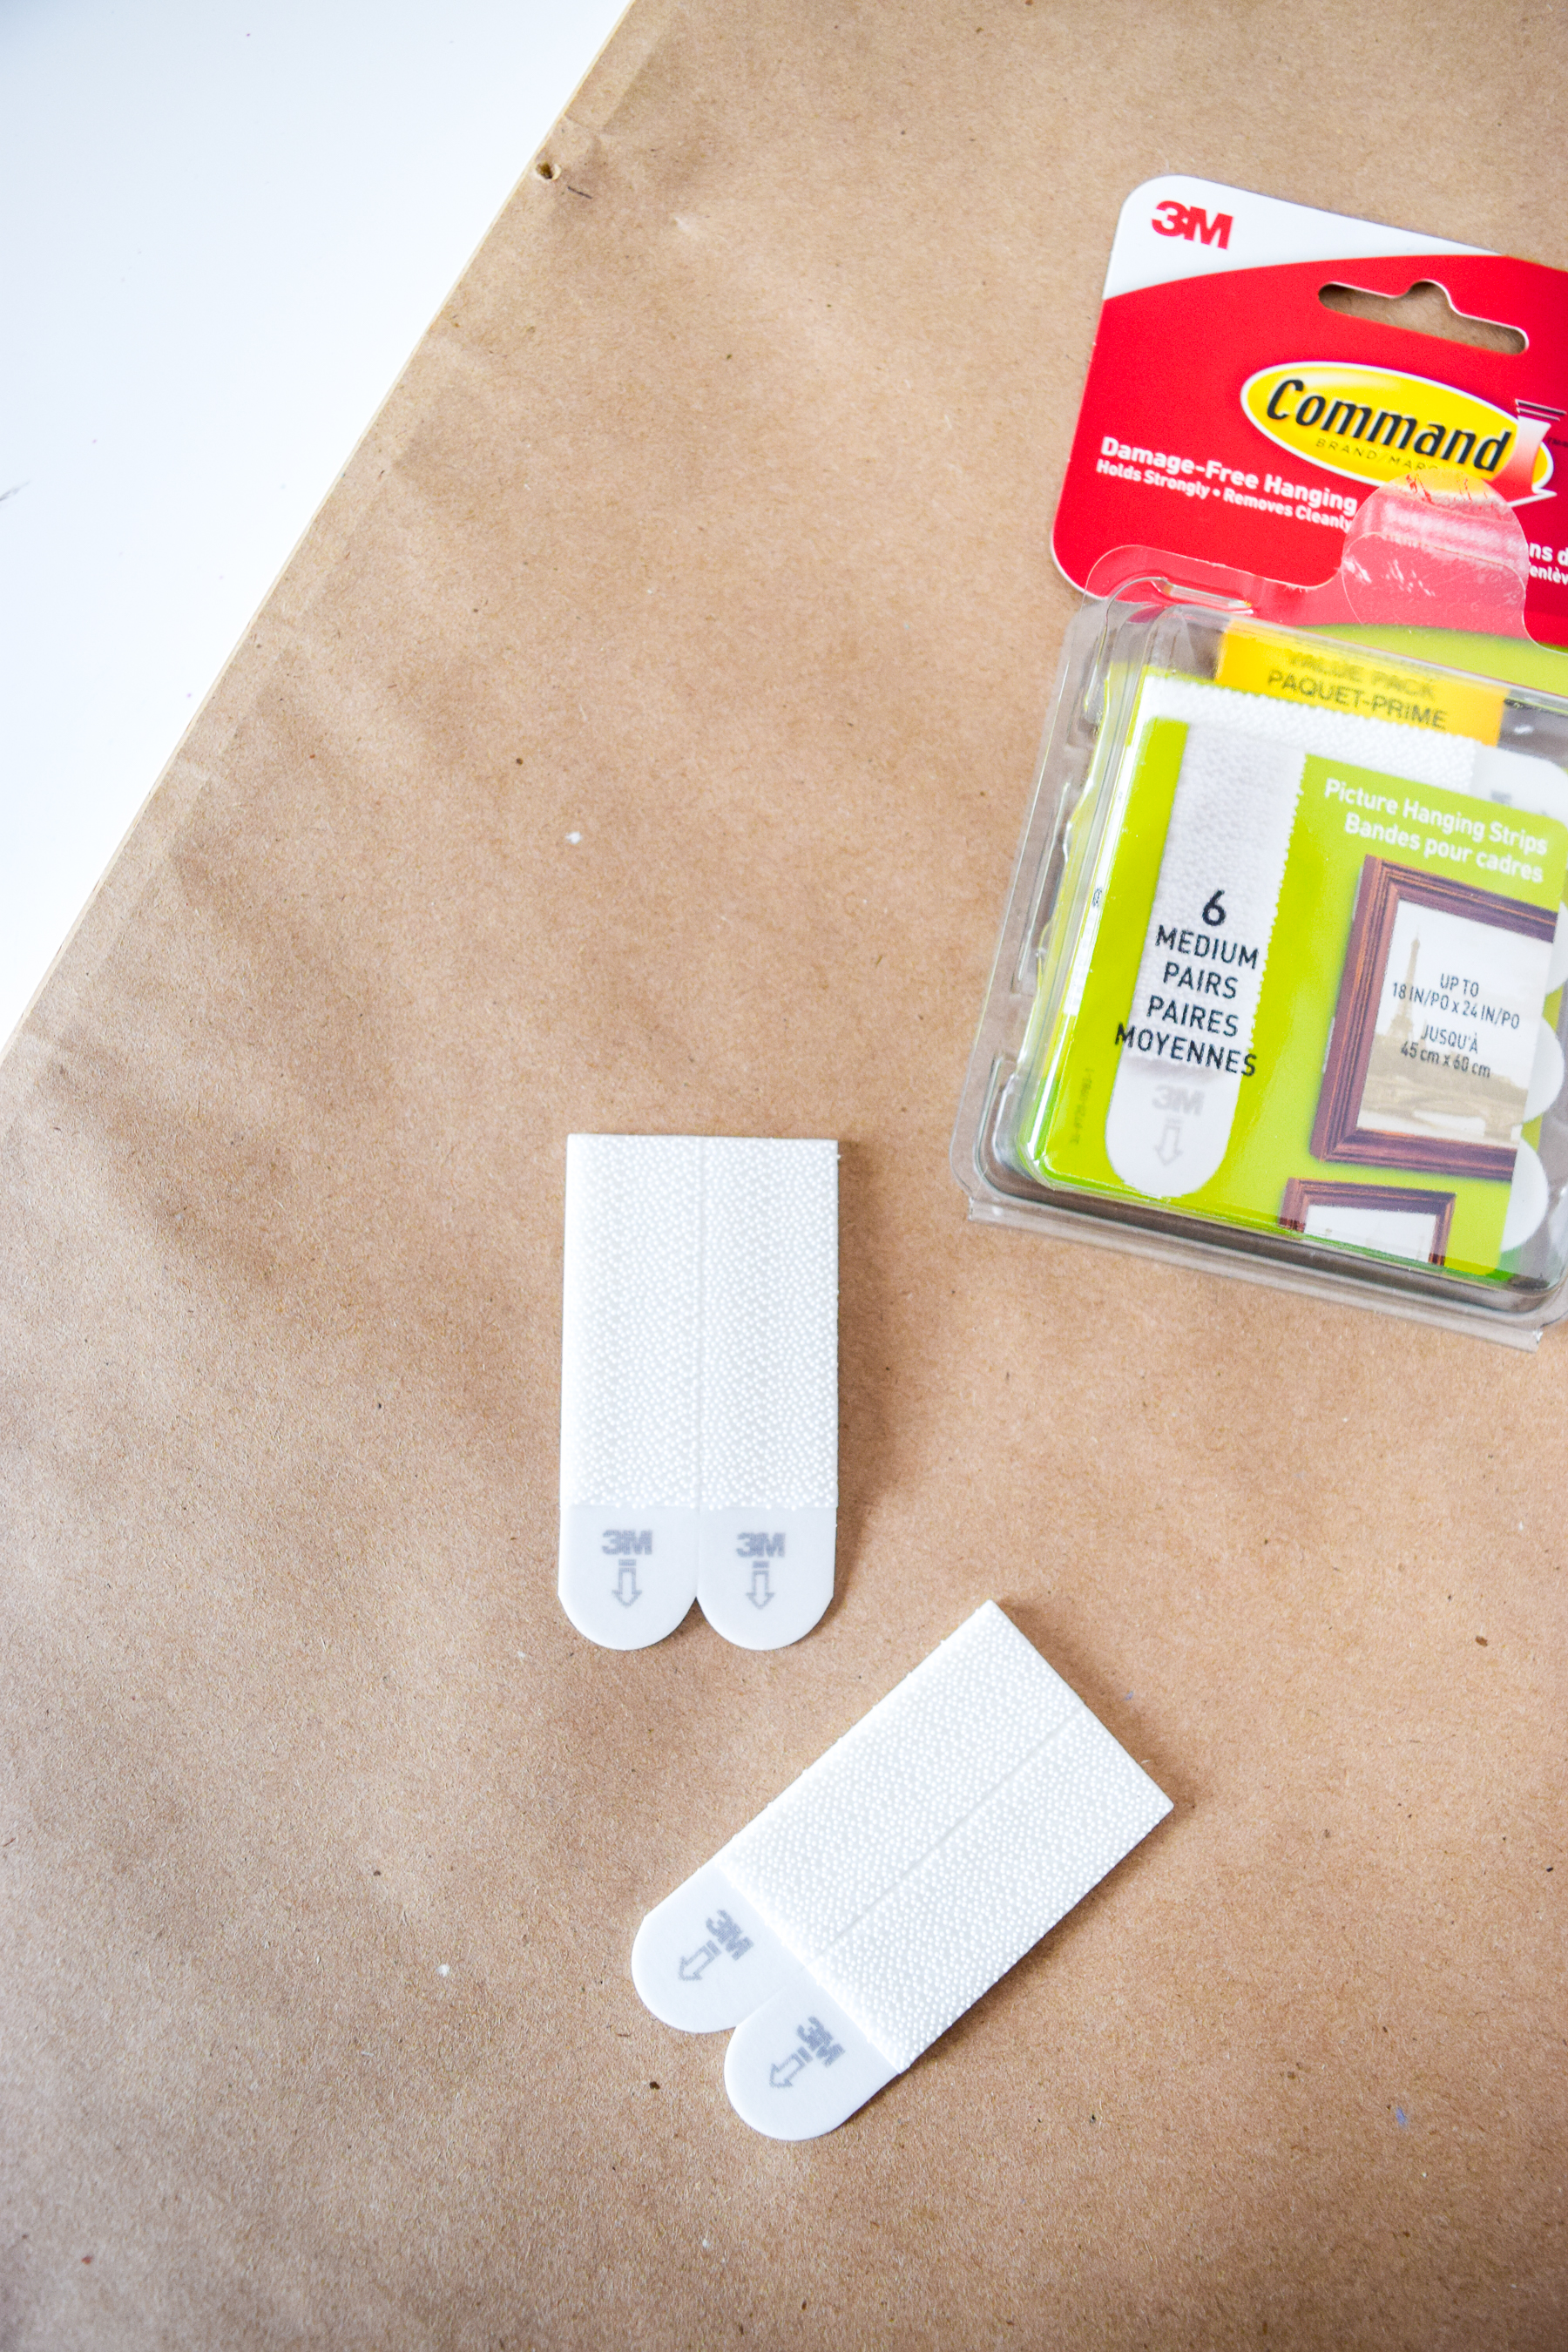
Hanging Art with Picture Hanging Strips
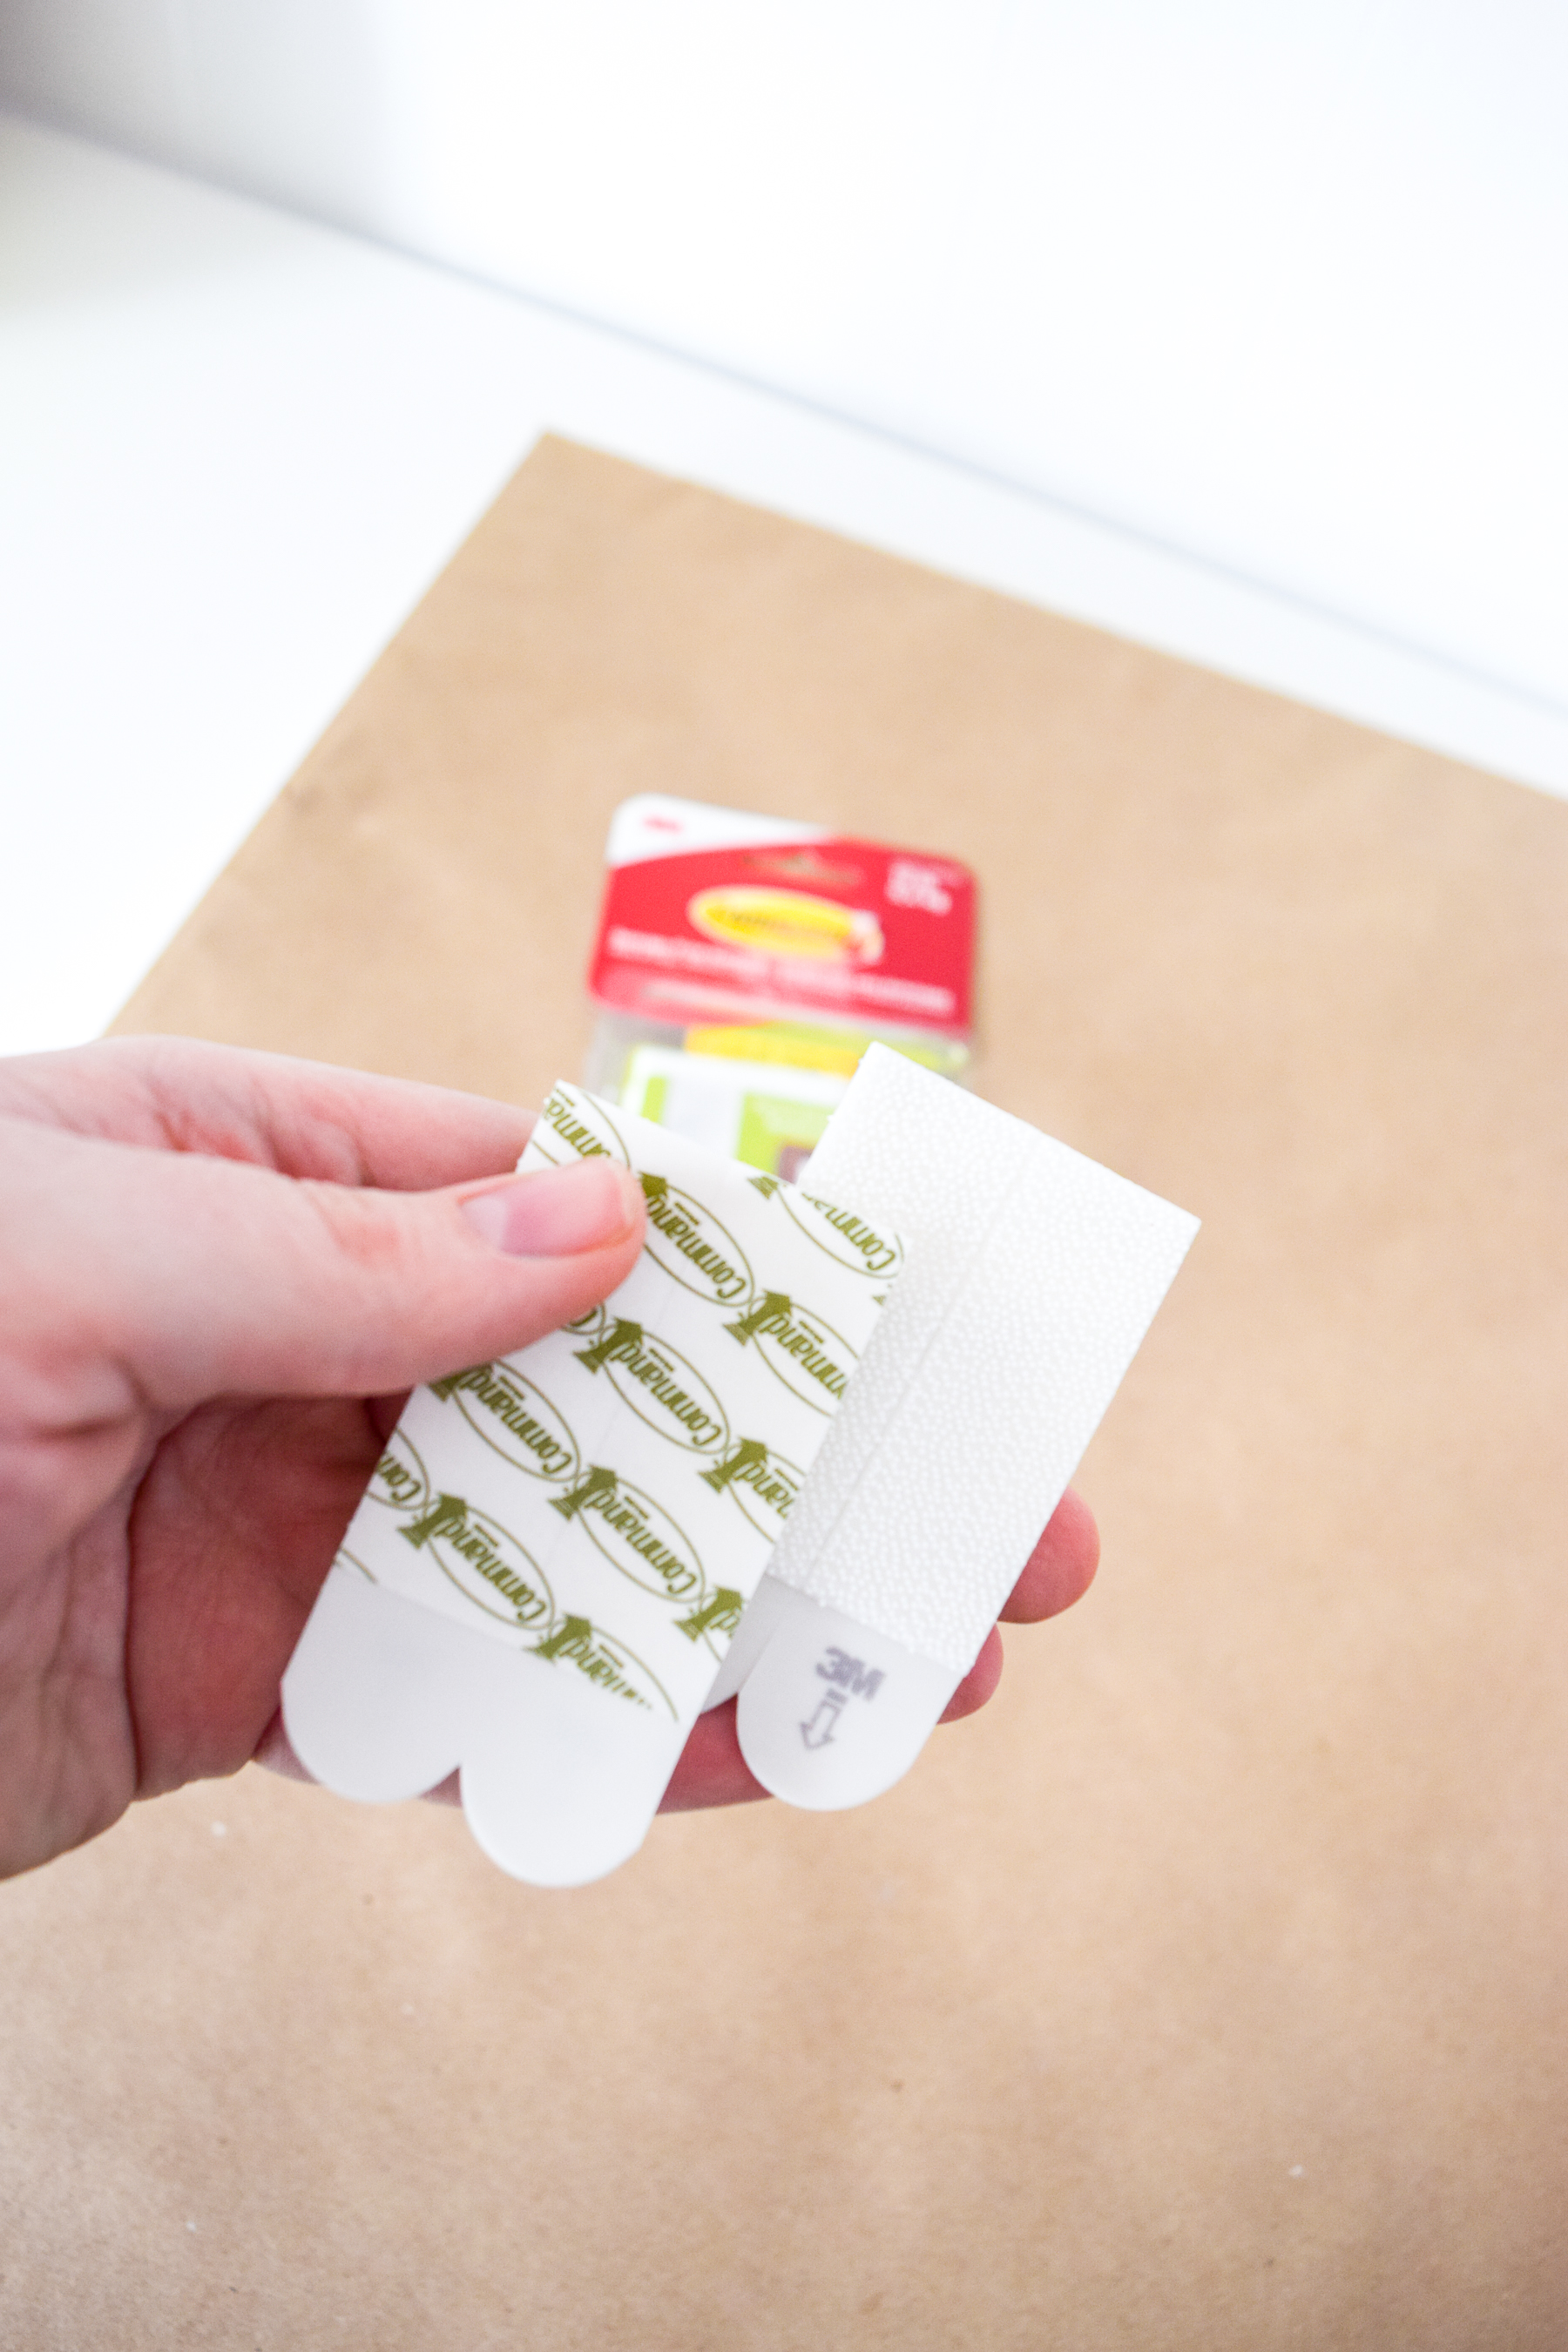
Next, press two strips together until they click. Peel off the back of one to apply to the back of the frame, and then add another as weight guidelines suggest. To hang them on the wall, it’s easier if the backing strips are on there, since you’re guaranteed everything will align!
Before though, I gave the wall a quick once over with some rubbing alcohol to make sure it was free of adhesives, dust, dirt or grime — since those will prevent the strips from working properly.
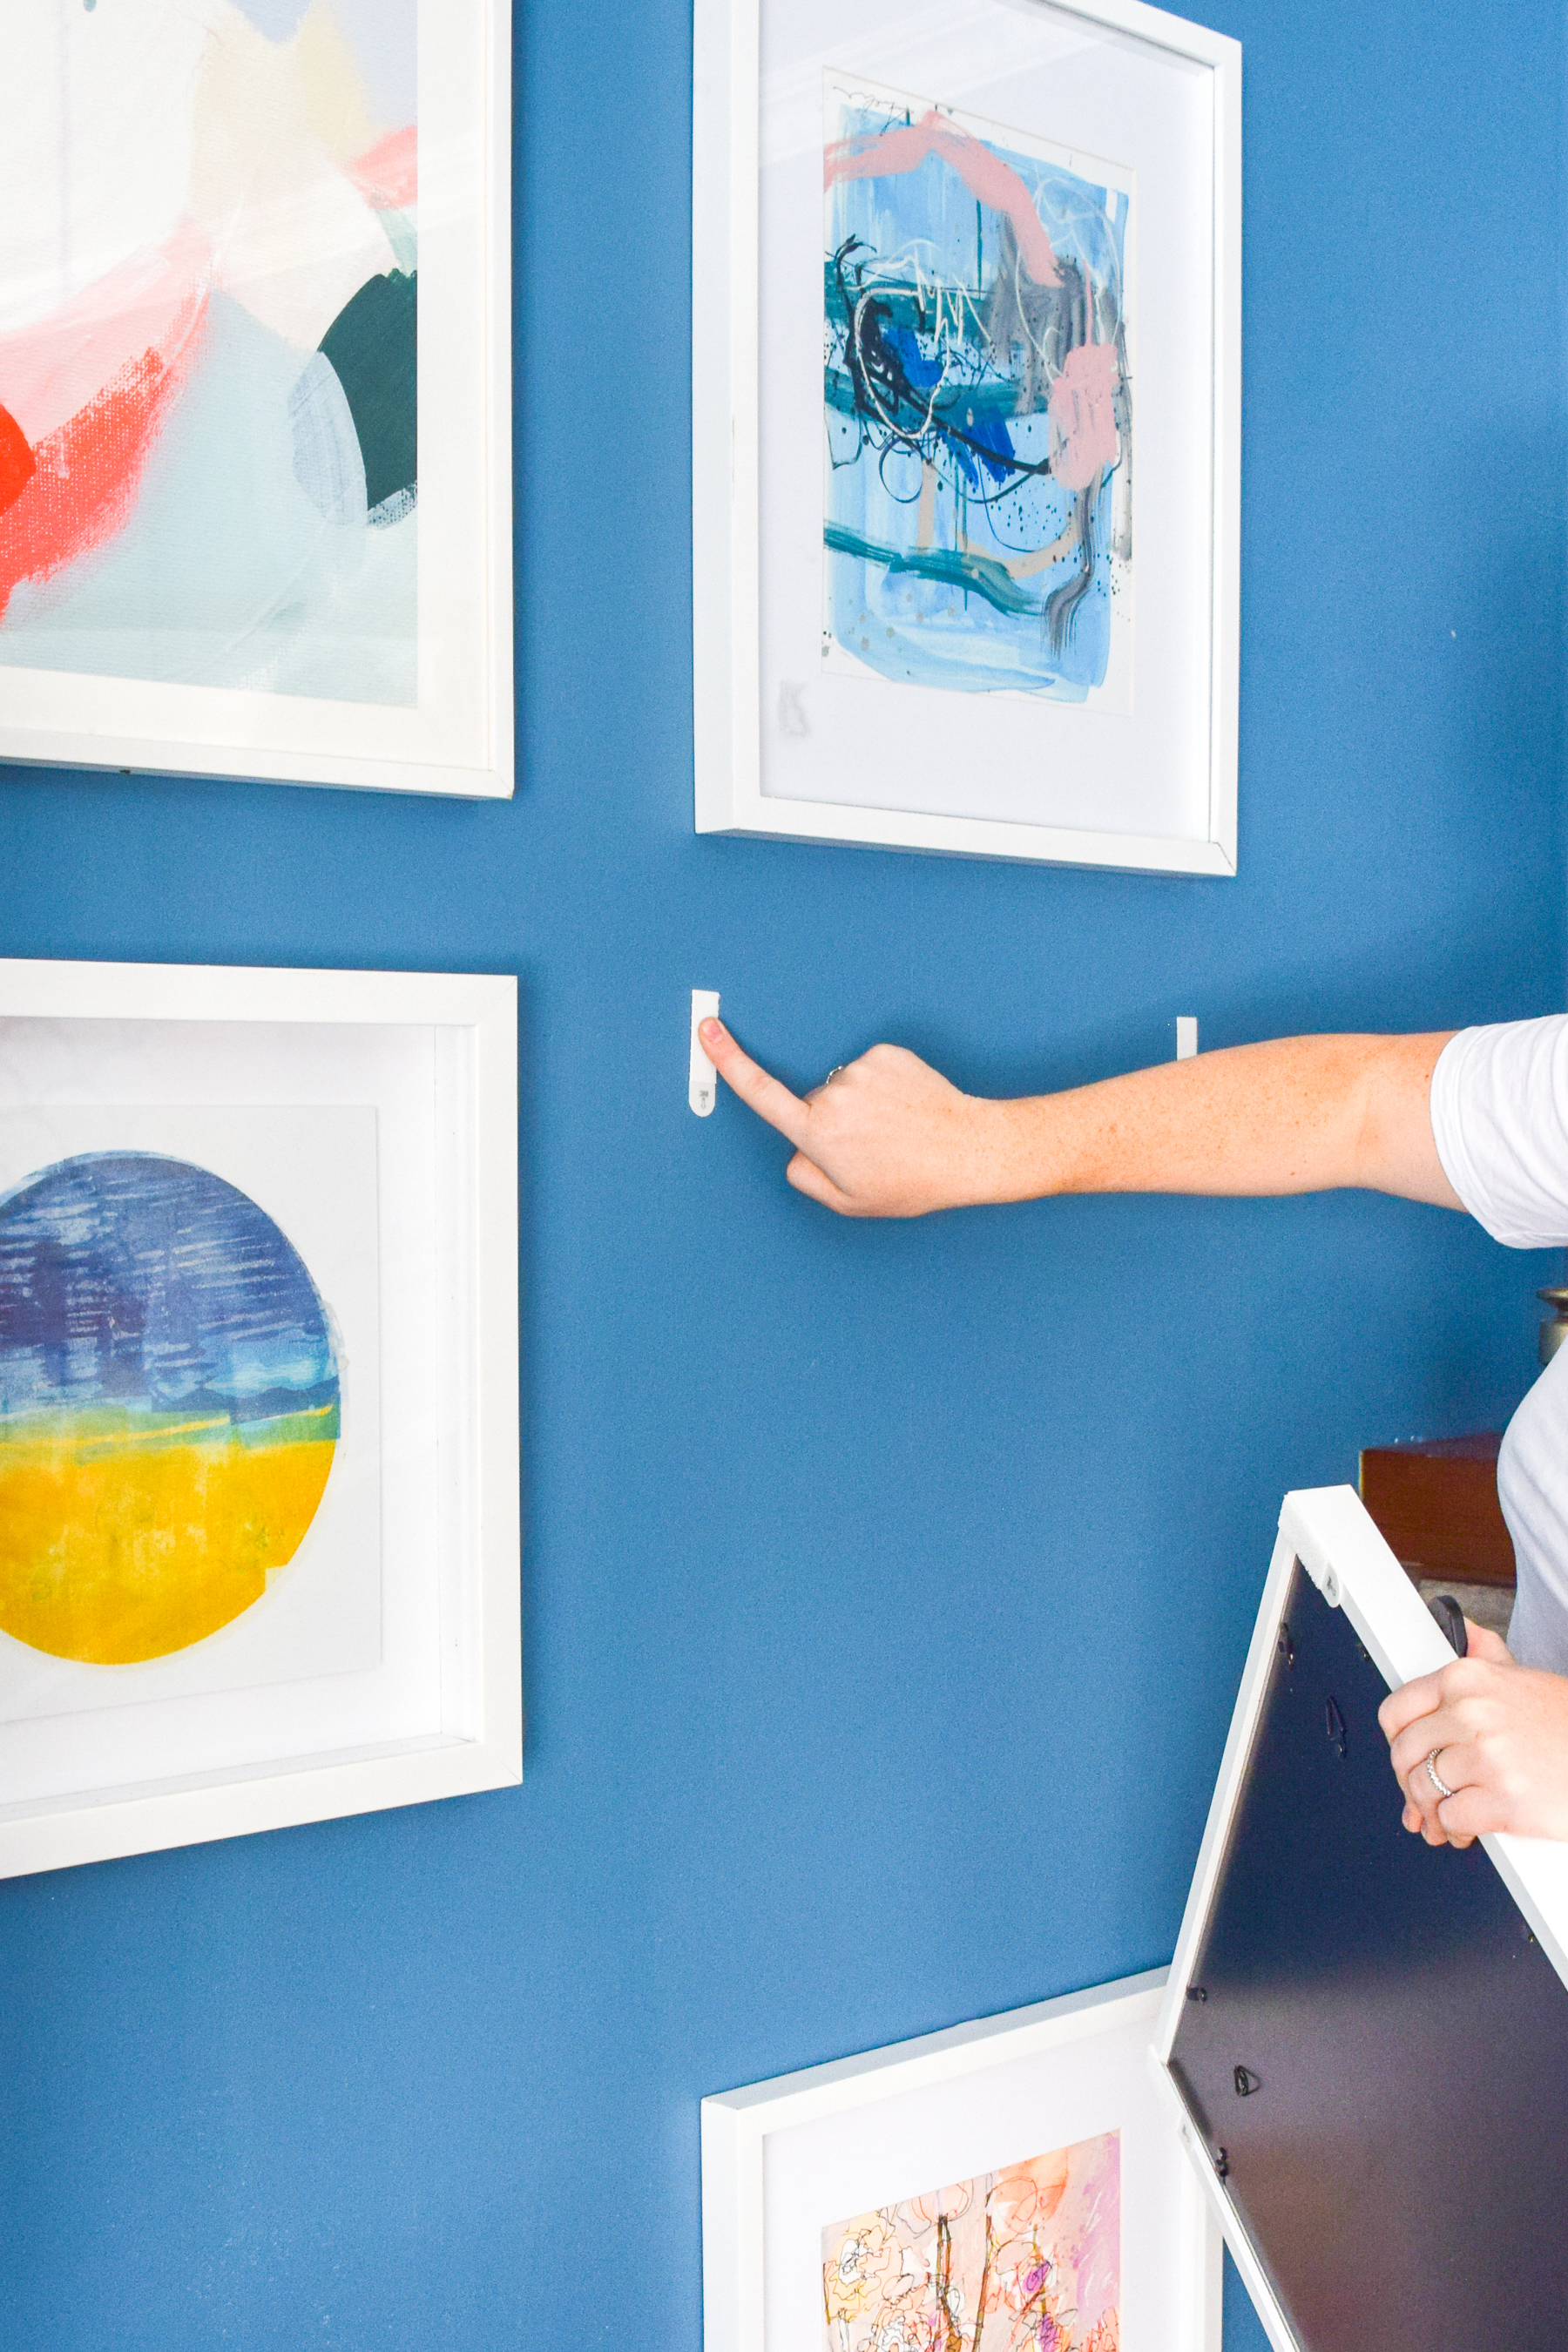
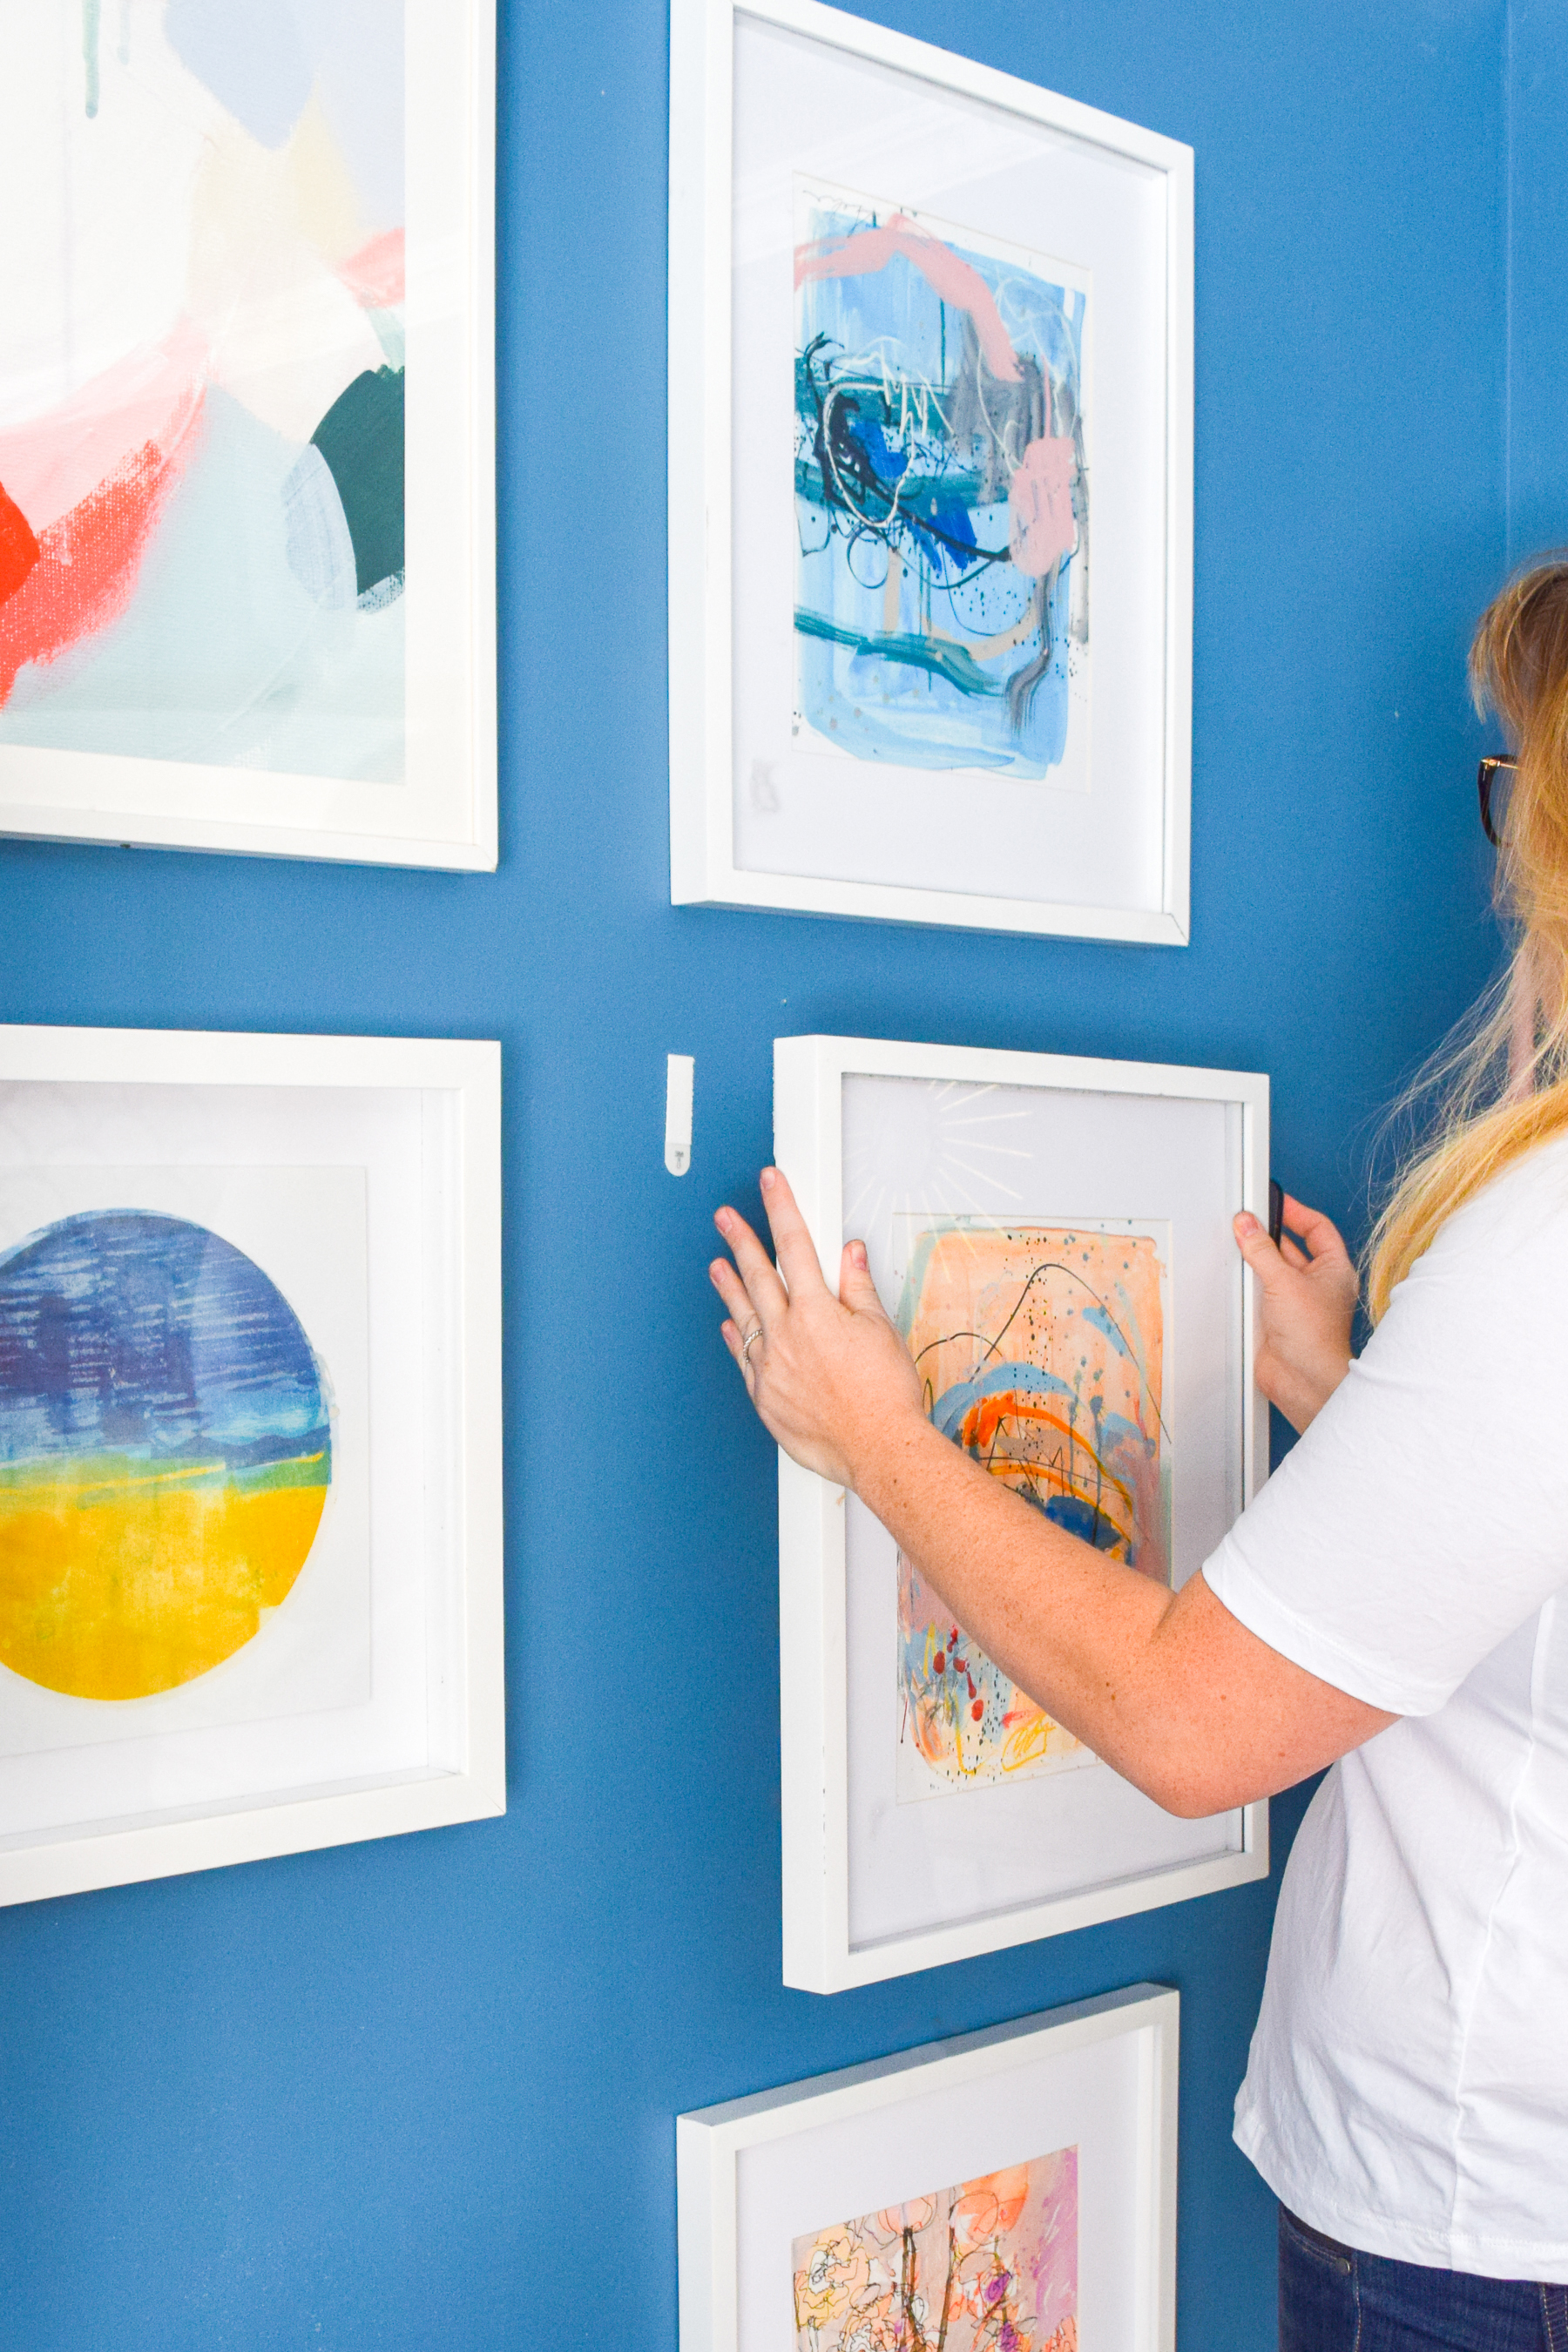
Using the pre-affixed strips, peel back the last protective sheet on the back of the strips, and then apply it firmly to the wall. Remove the piece of art, and apply further pressure to the strips for another 30 seconds to make sure they’re bonded to the wall.
Command
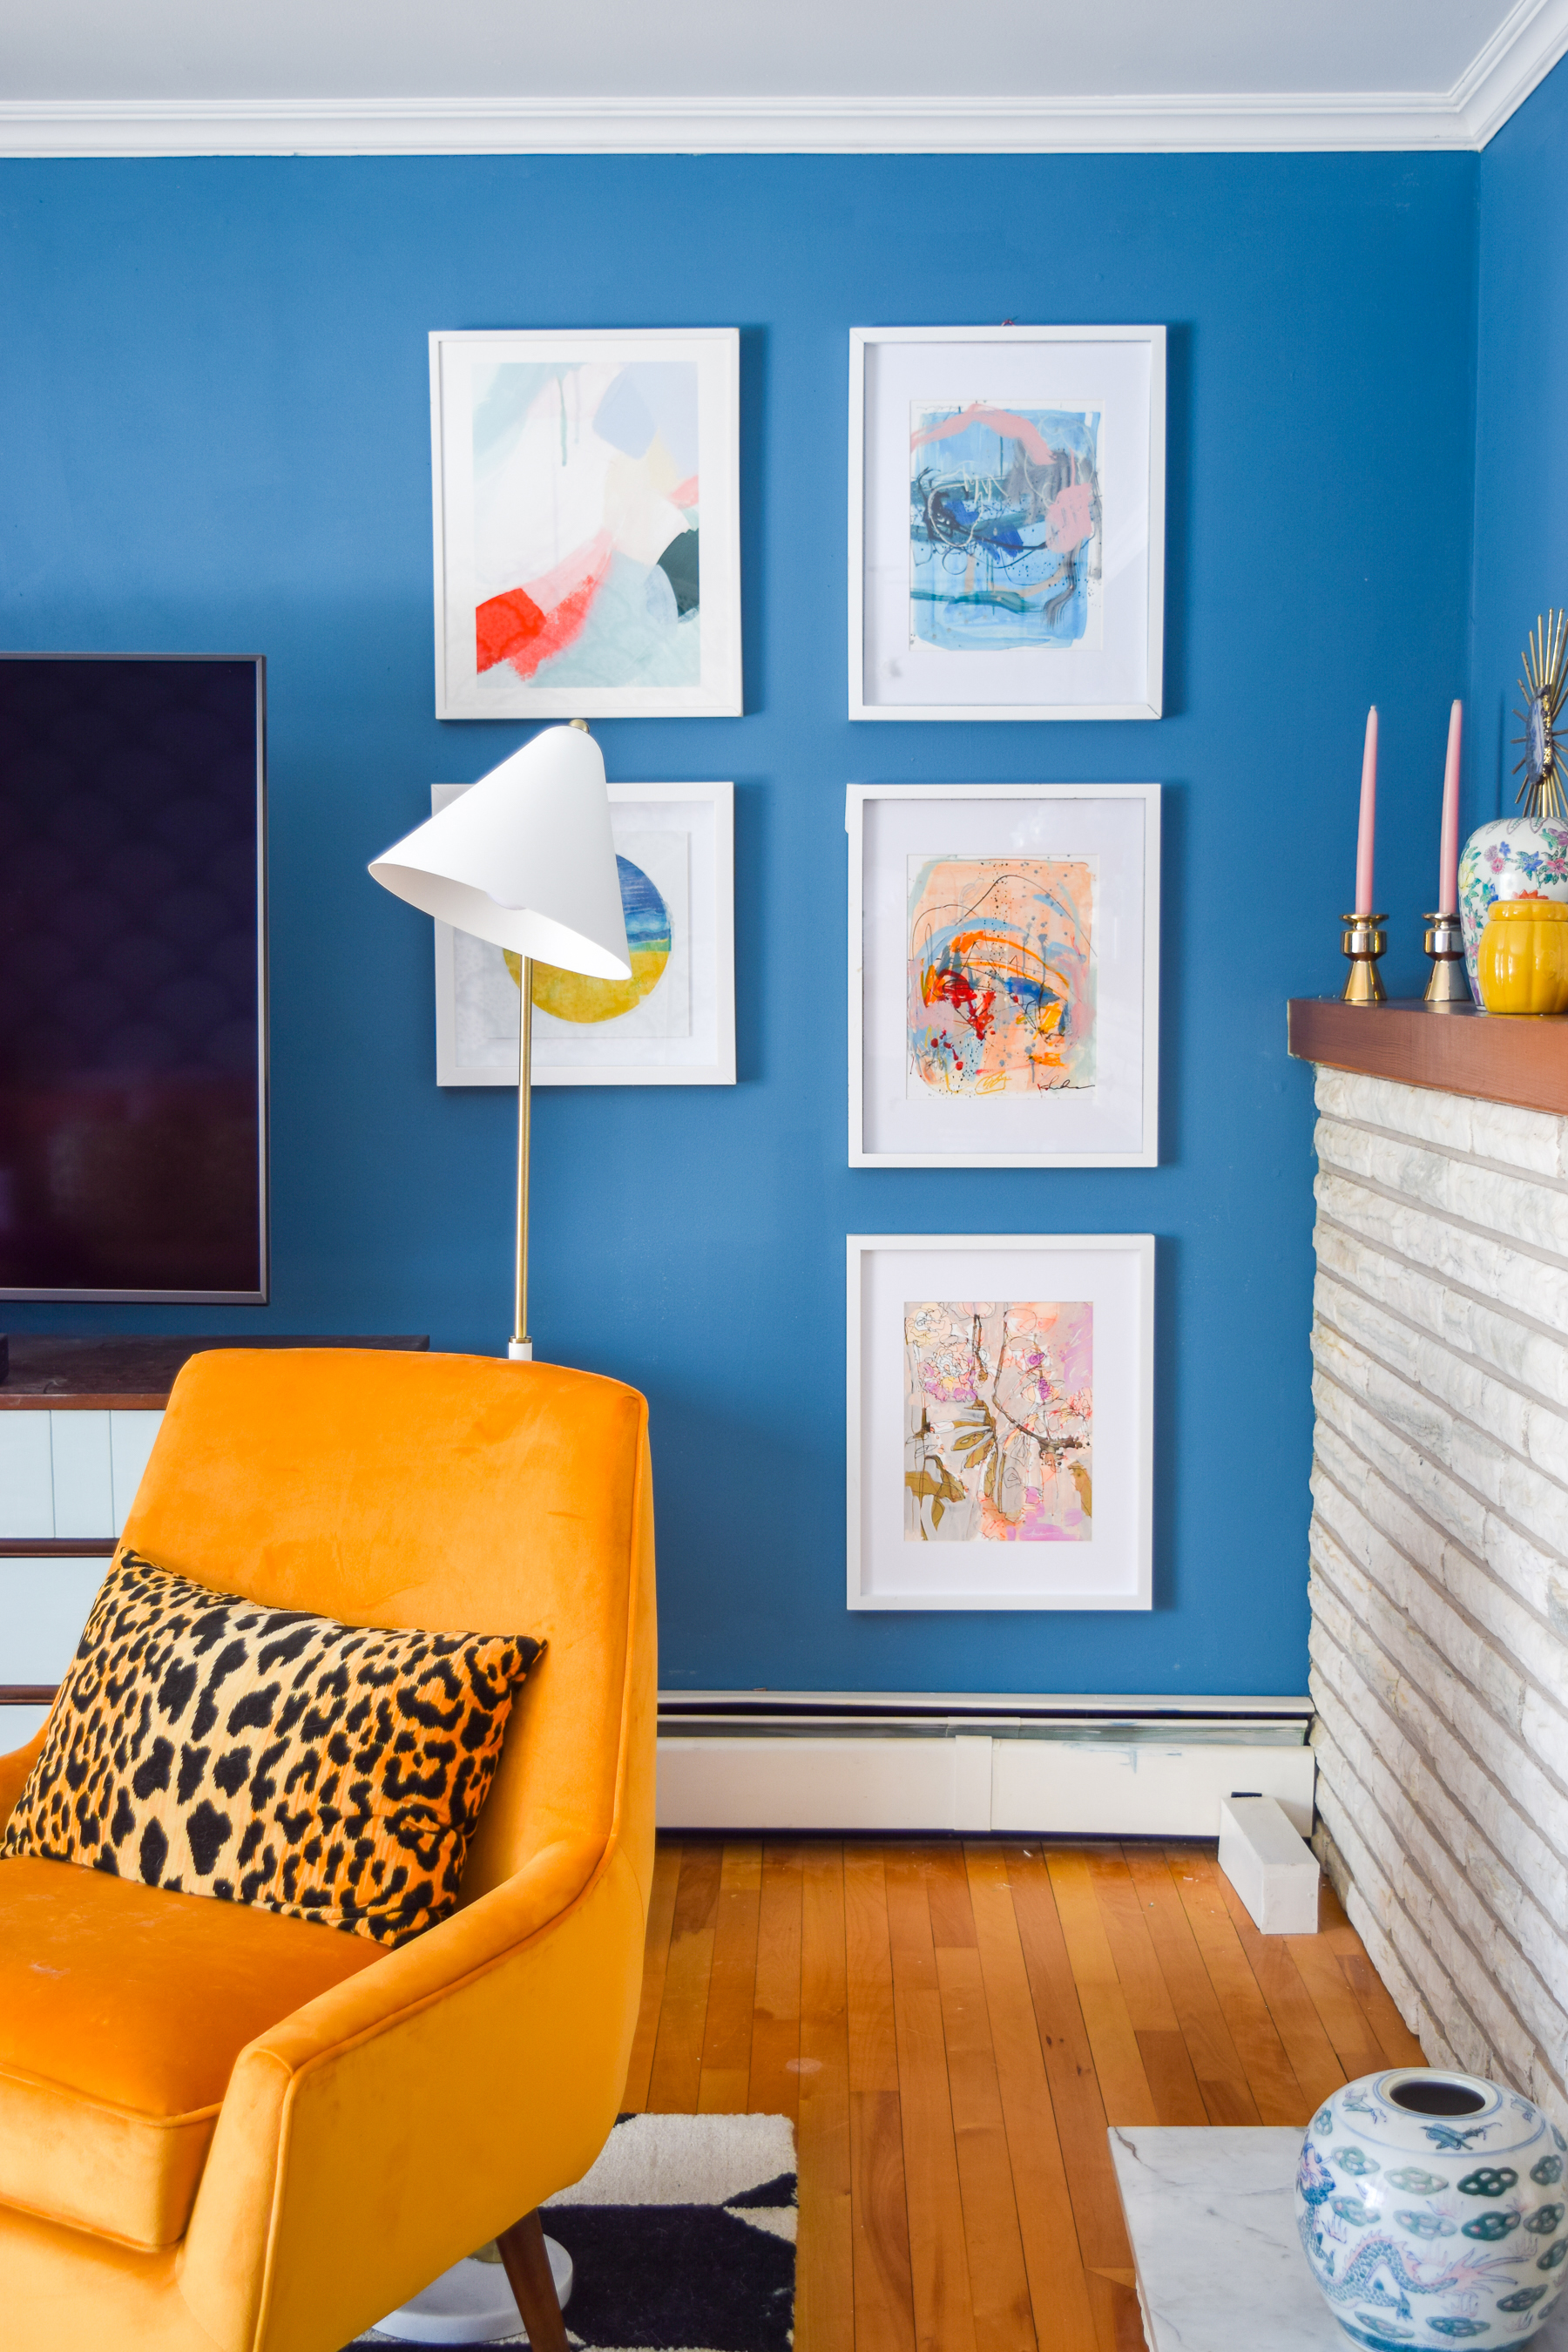
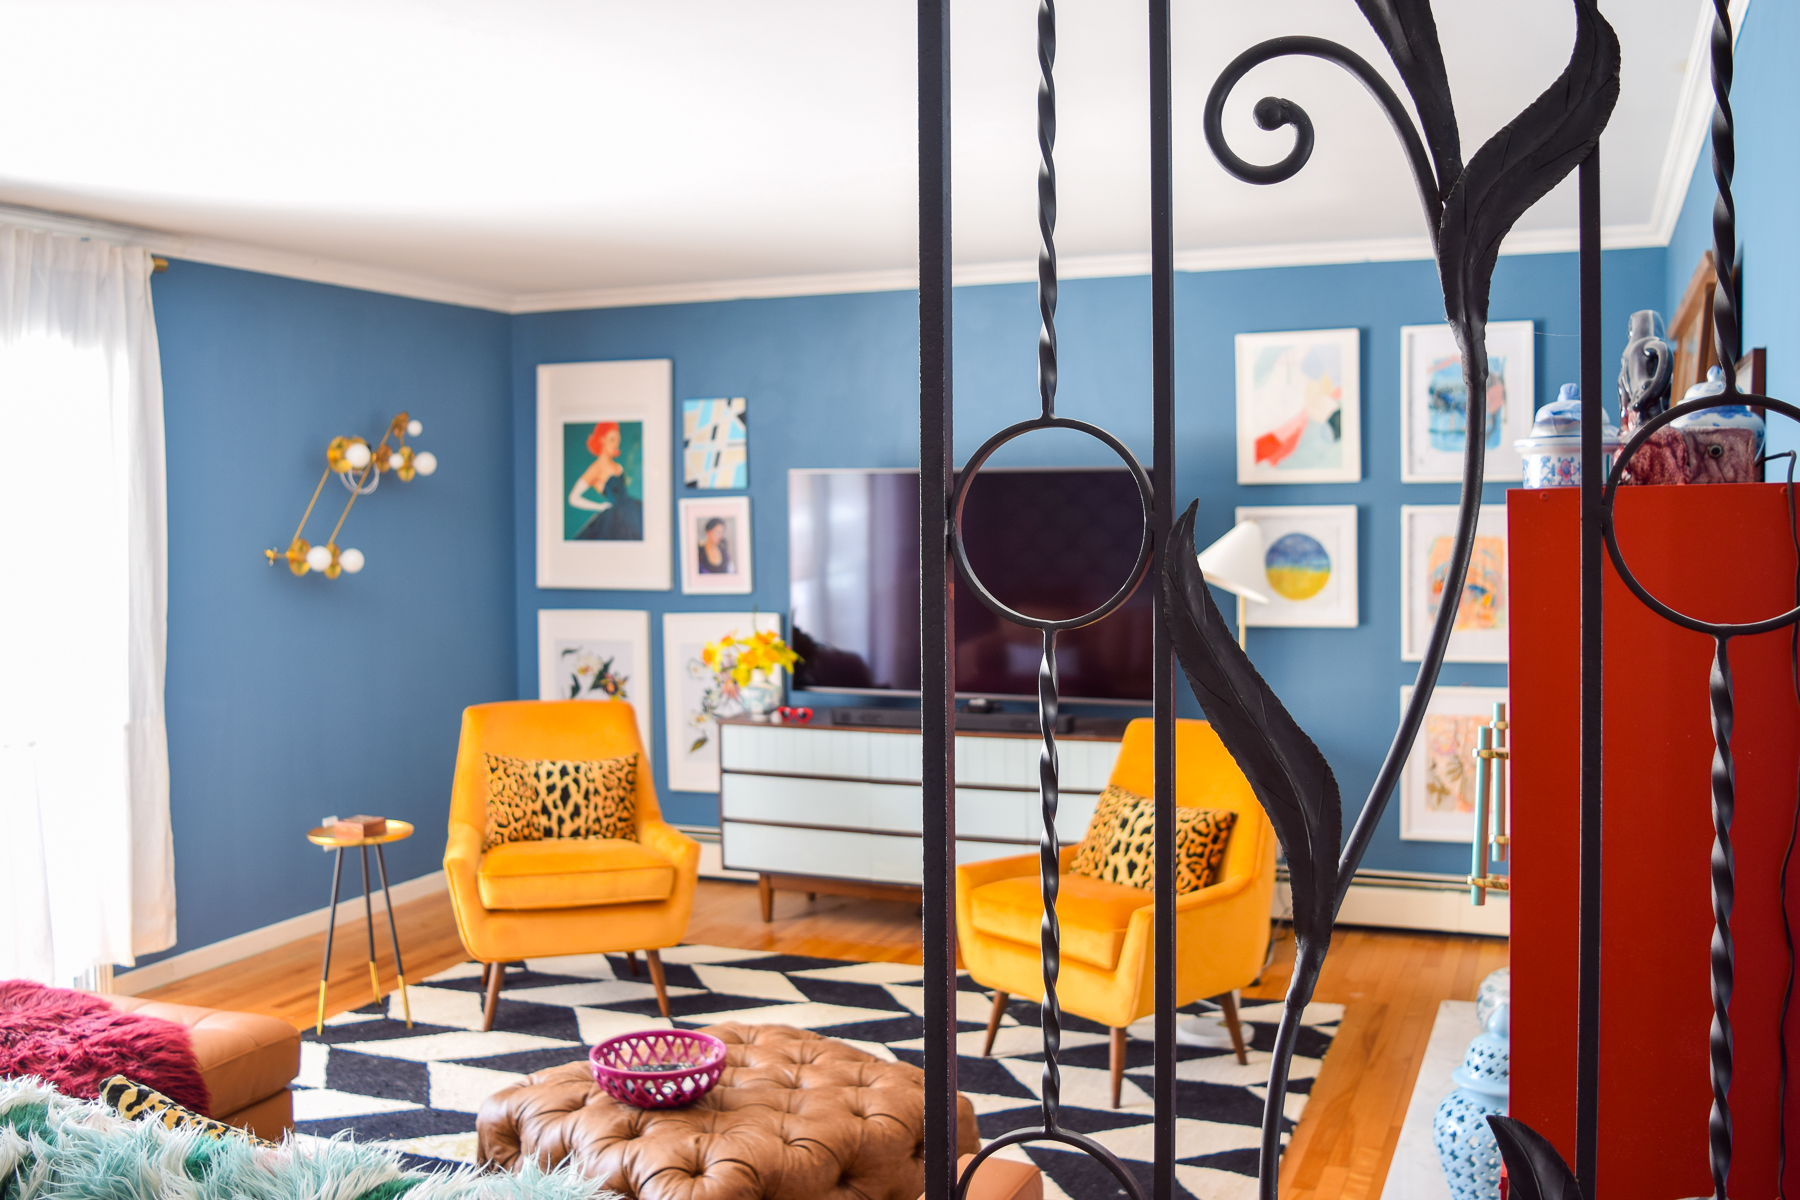
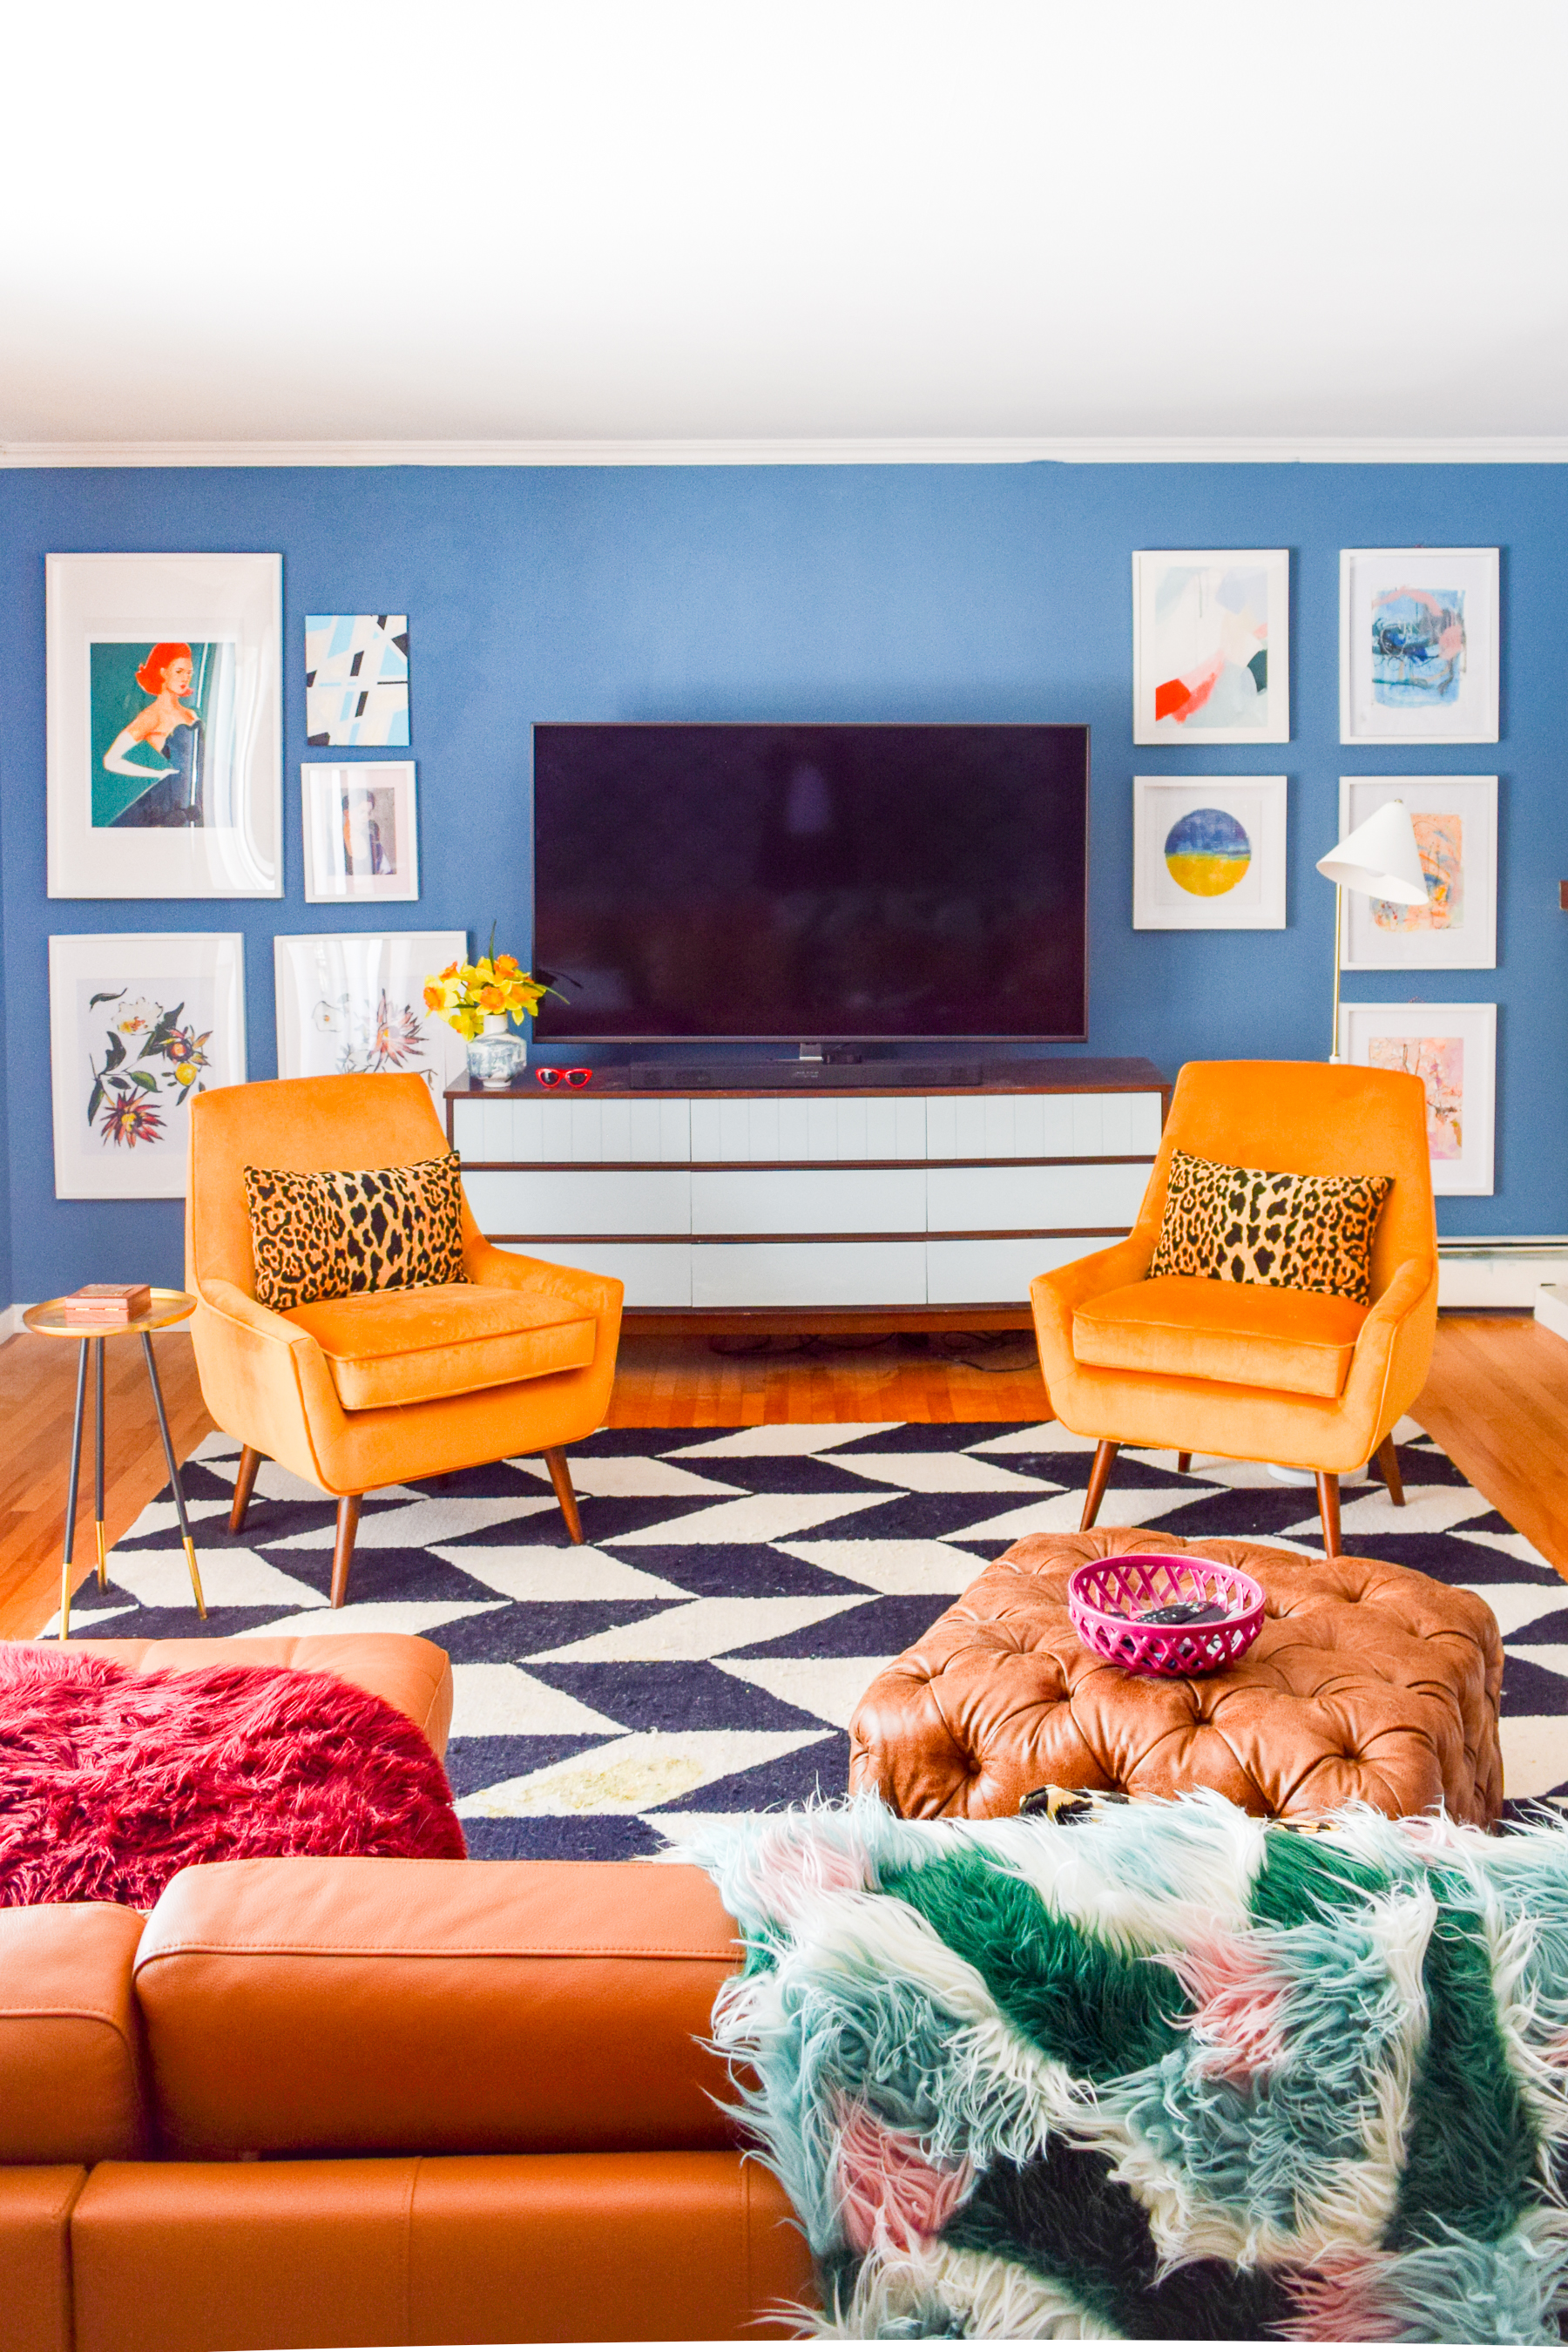
Creating Complimentary Gallery Walls
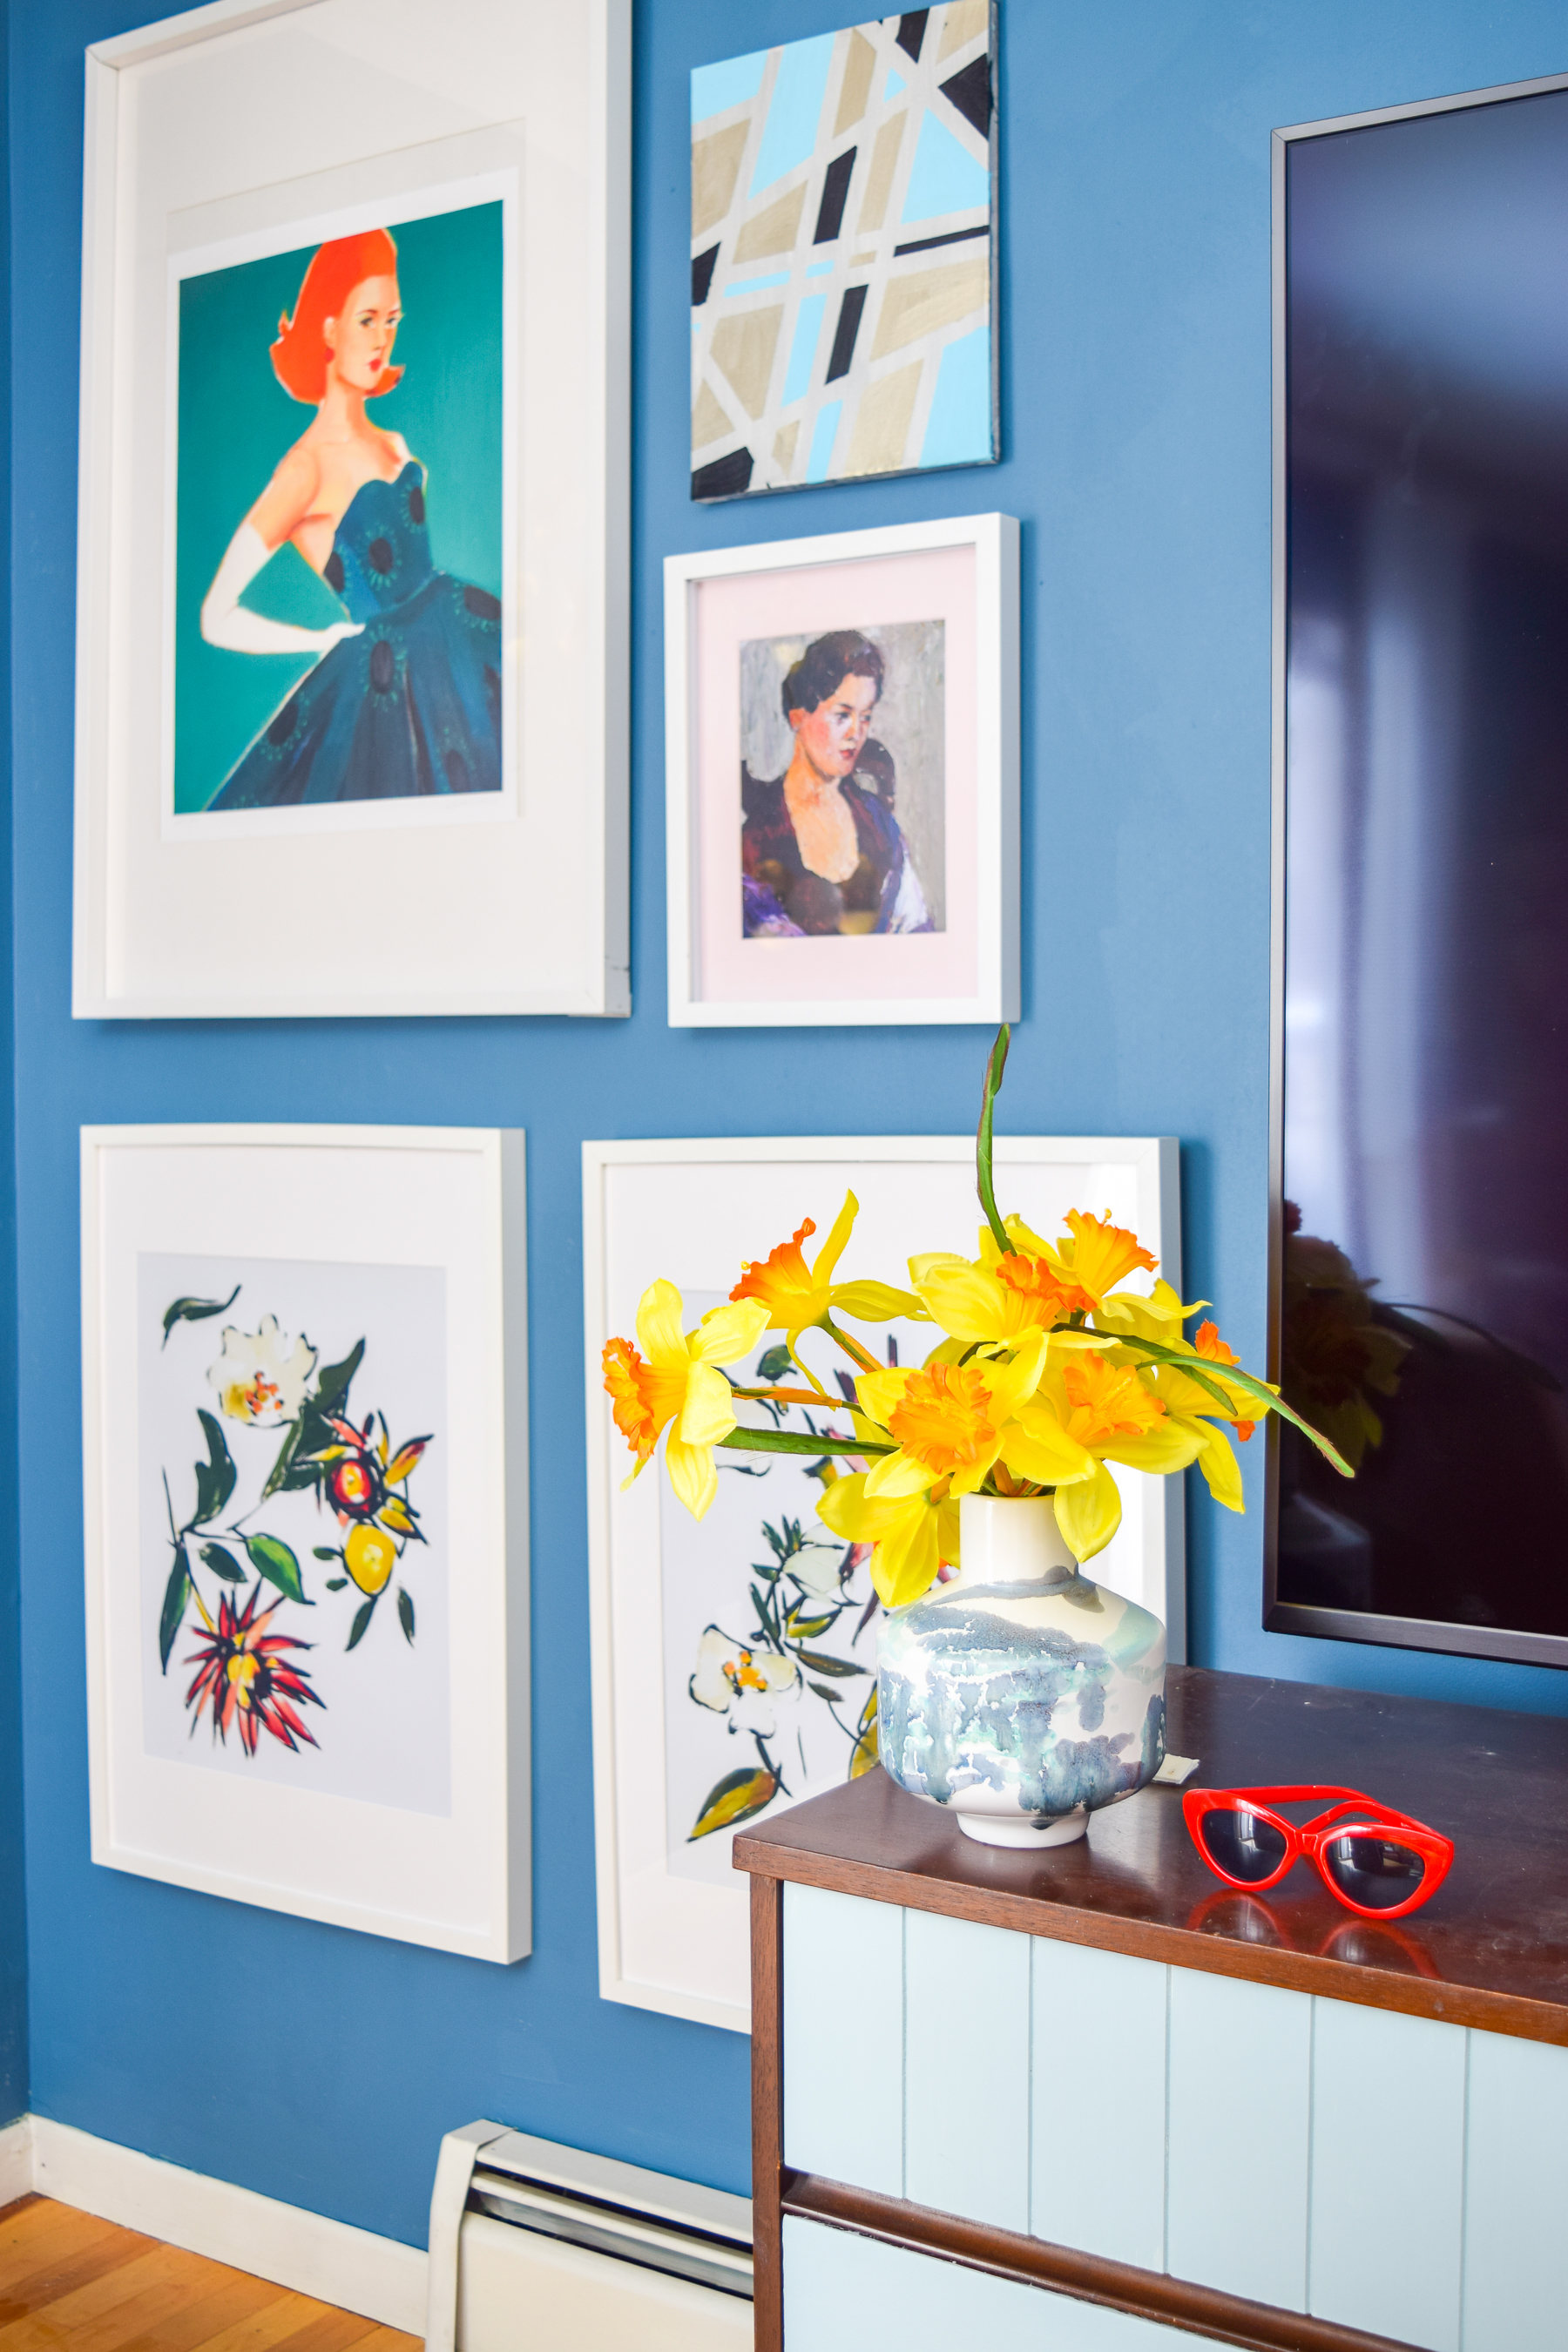
Because I didn’t have a uniform set of frames, I divided them into two categories to create similarly weighted grids. I was also fortunate enough to have a few “sets” that could be hung together, so I didn’t want to divide those up.
What I like about the Picture Hanging Strips, is how easy it was to remove and re-apply them. I didn’t quite get my placement right on the first go, so I liked that I had some wiggle room. I rarely measure things (I like to eyeball), so it was nice to know I wasn’t putting a billion holes in my walls. I’m sure Dan will appreciate that too.
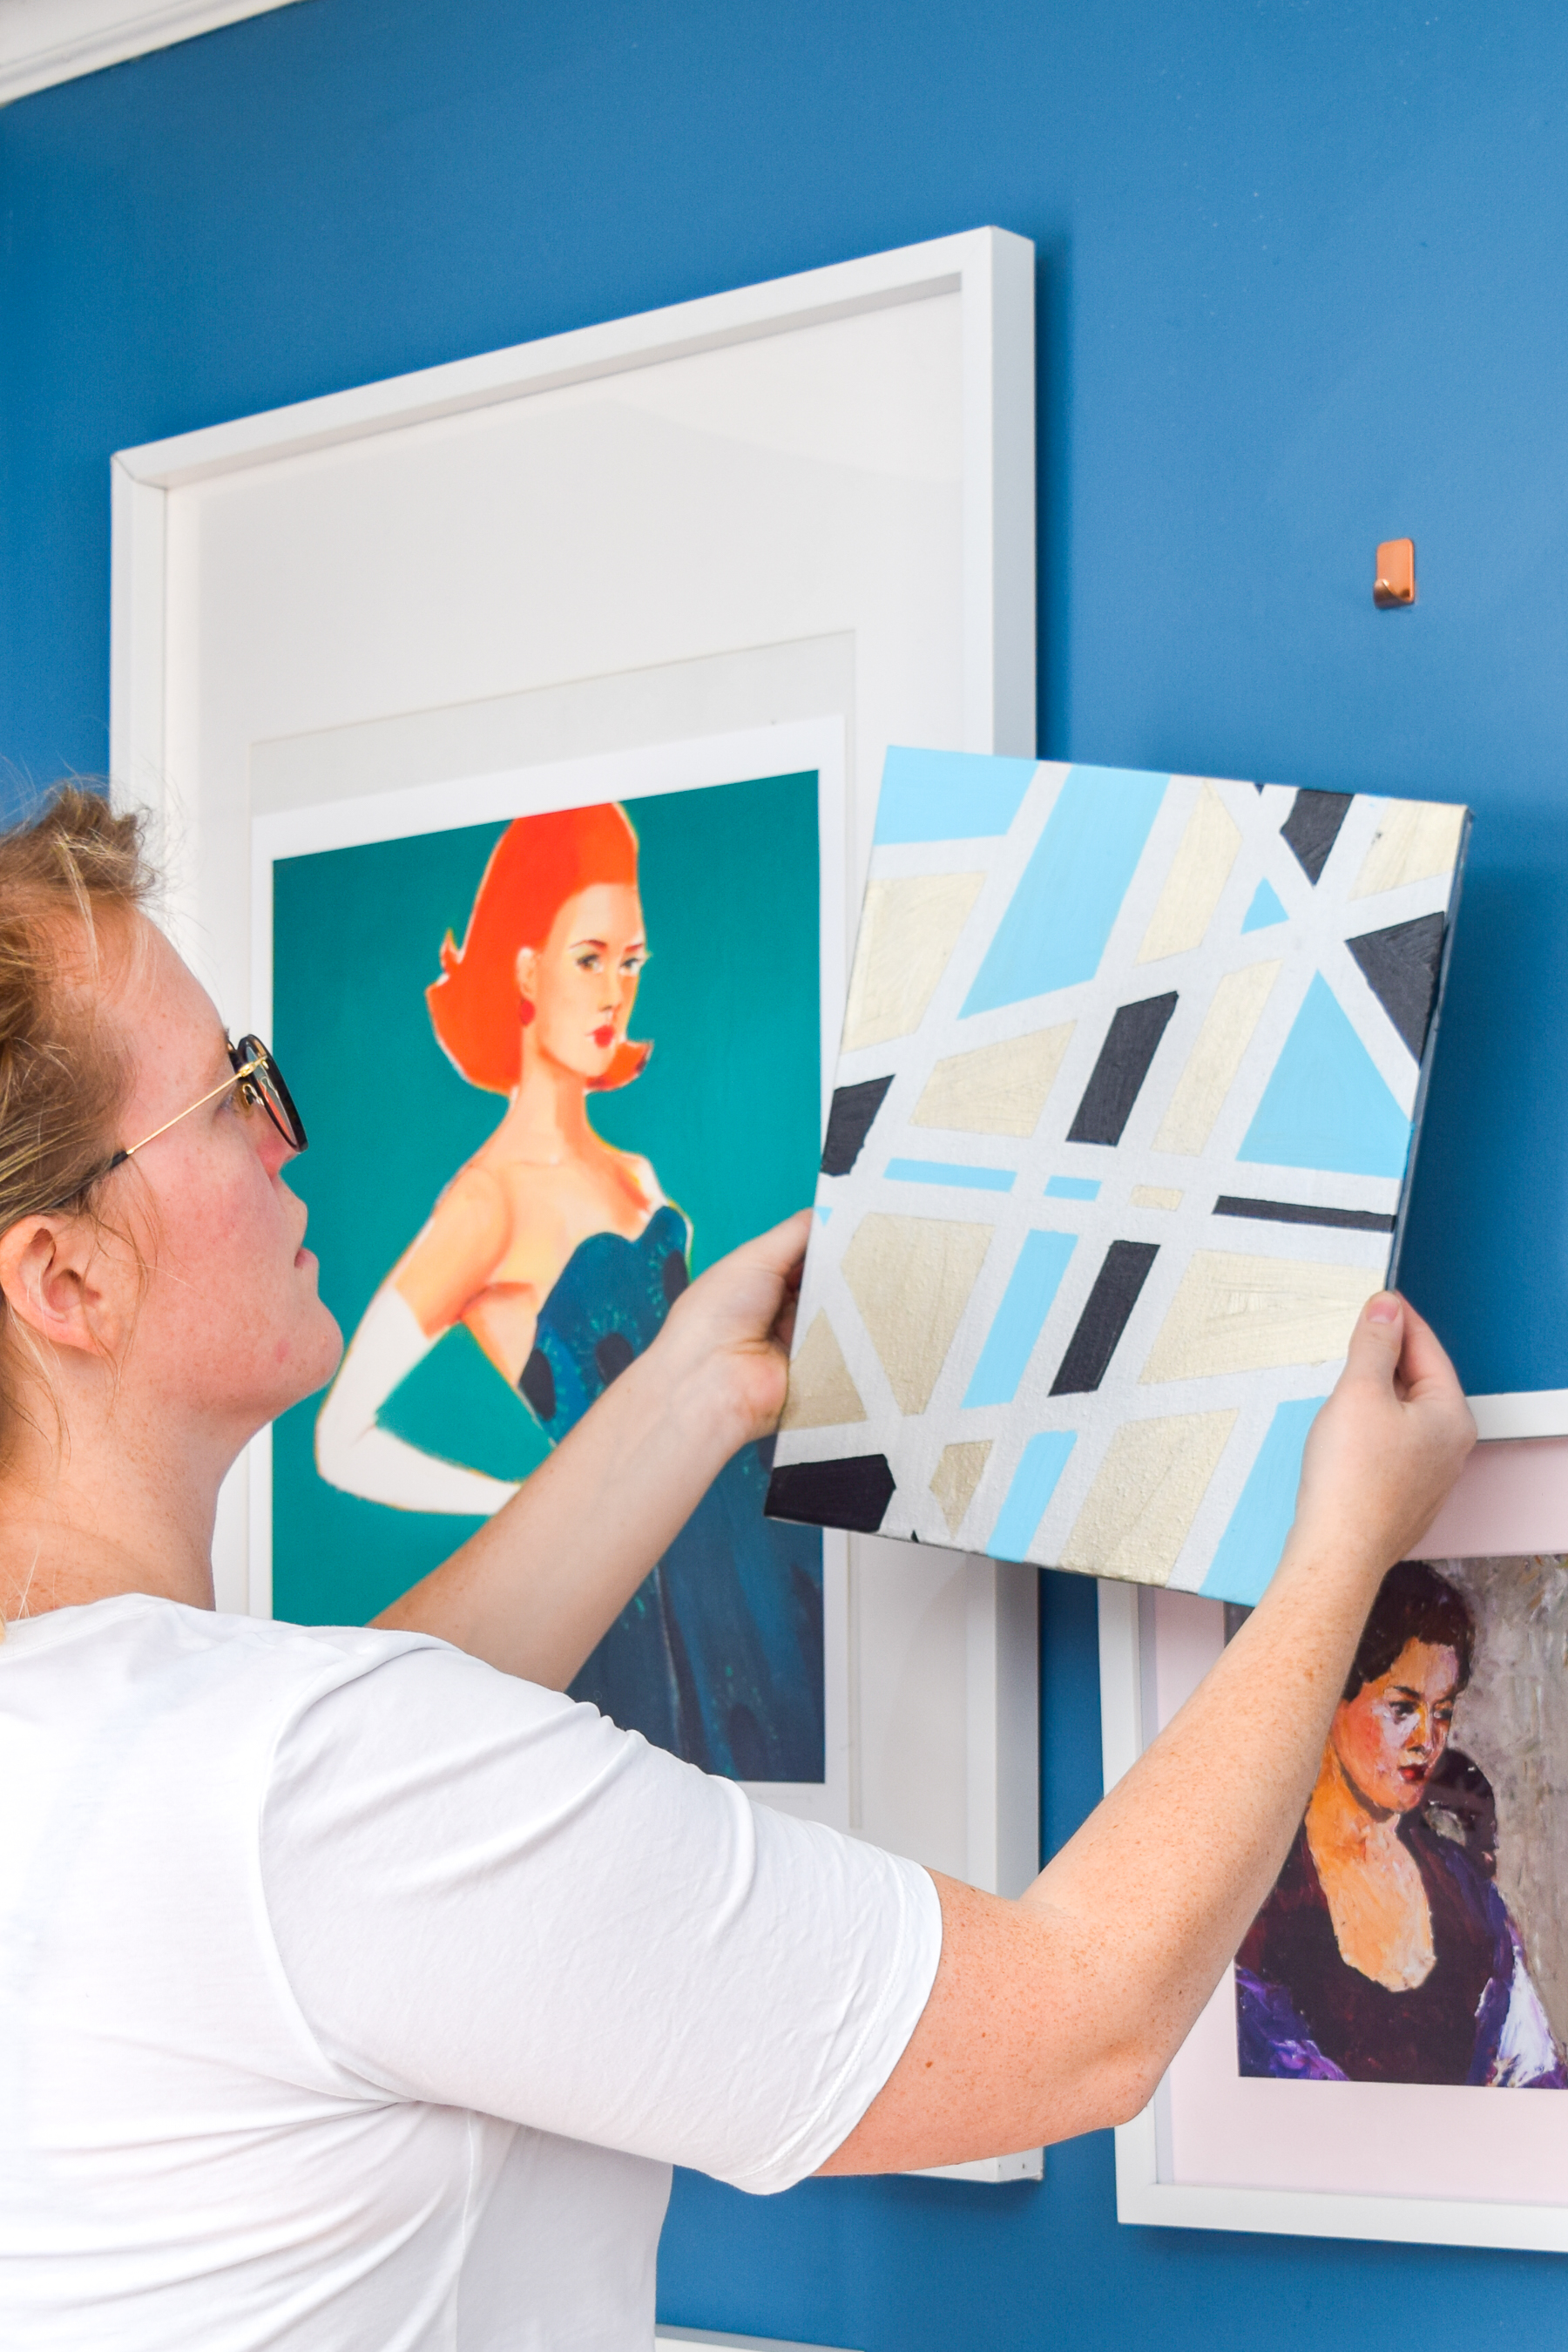
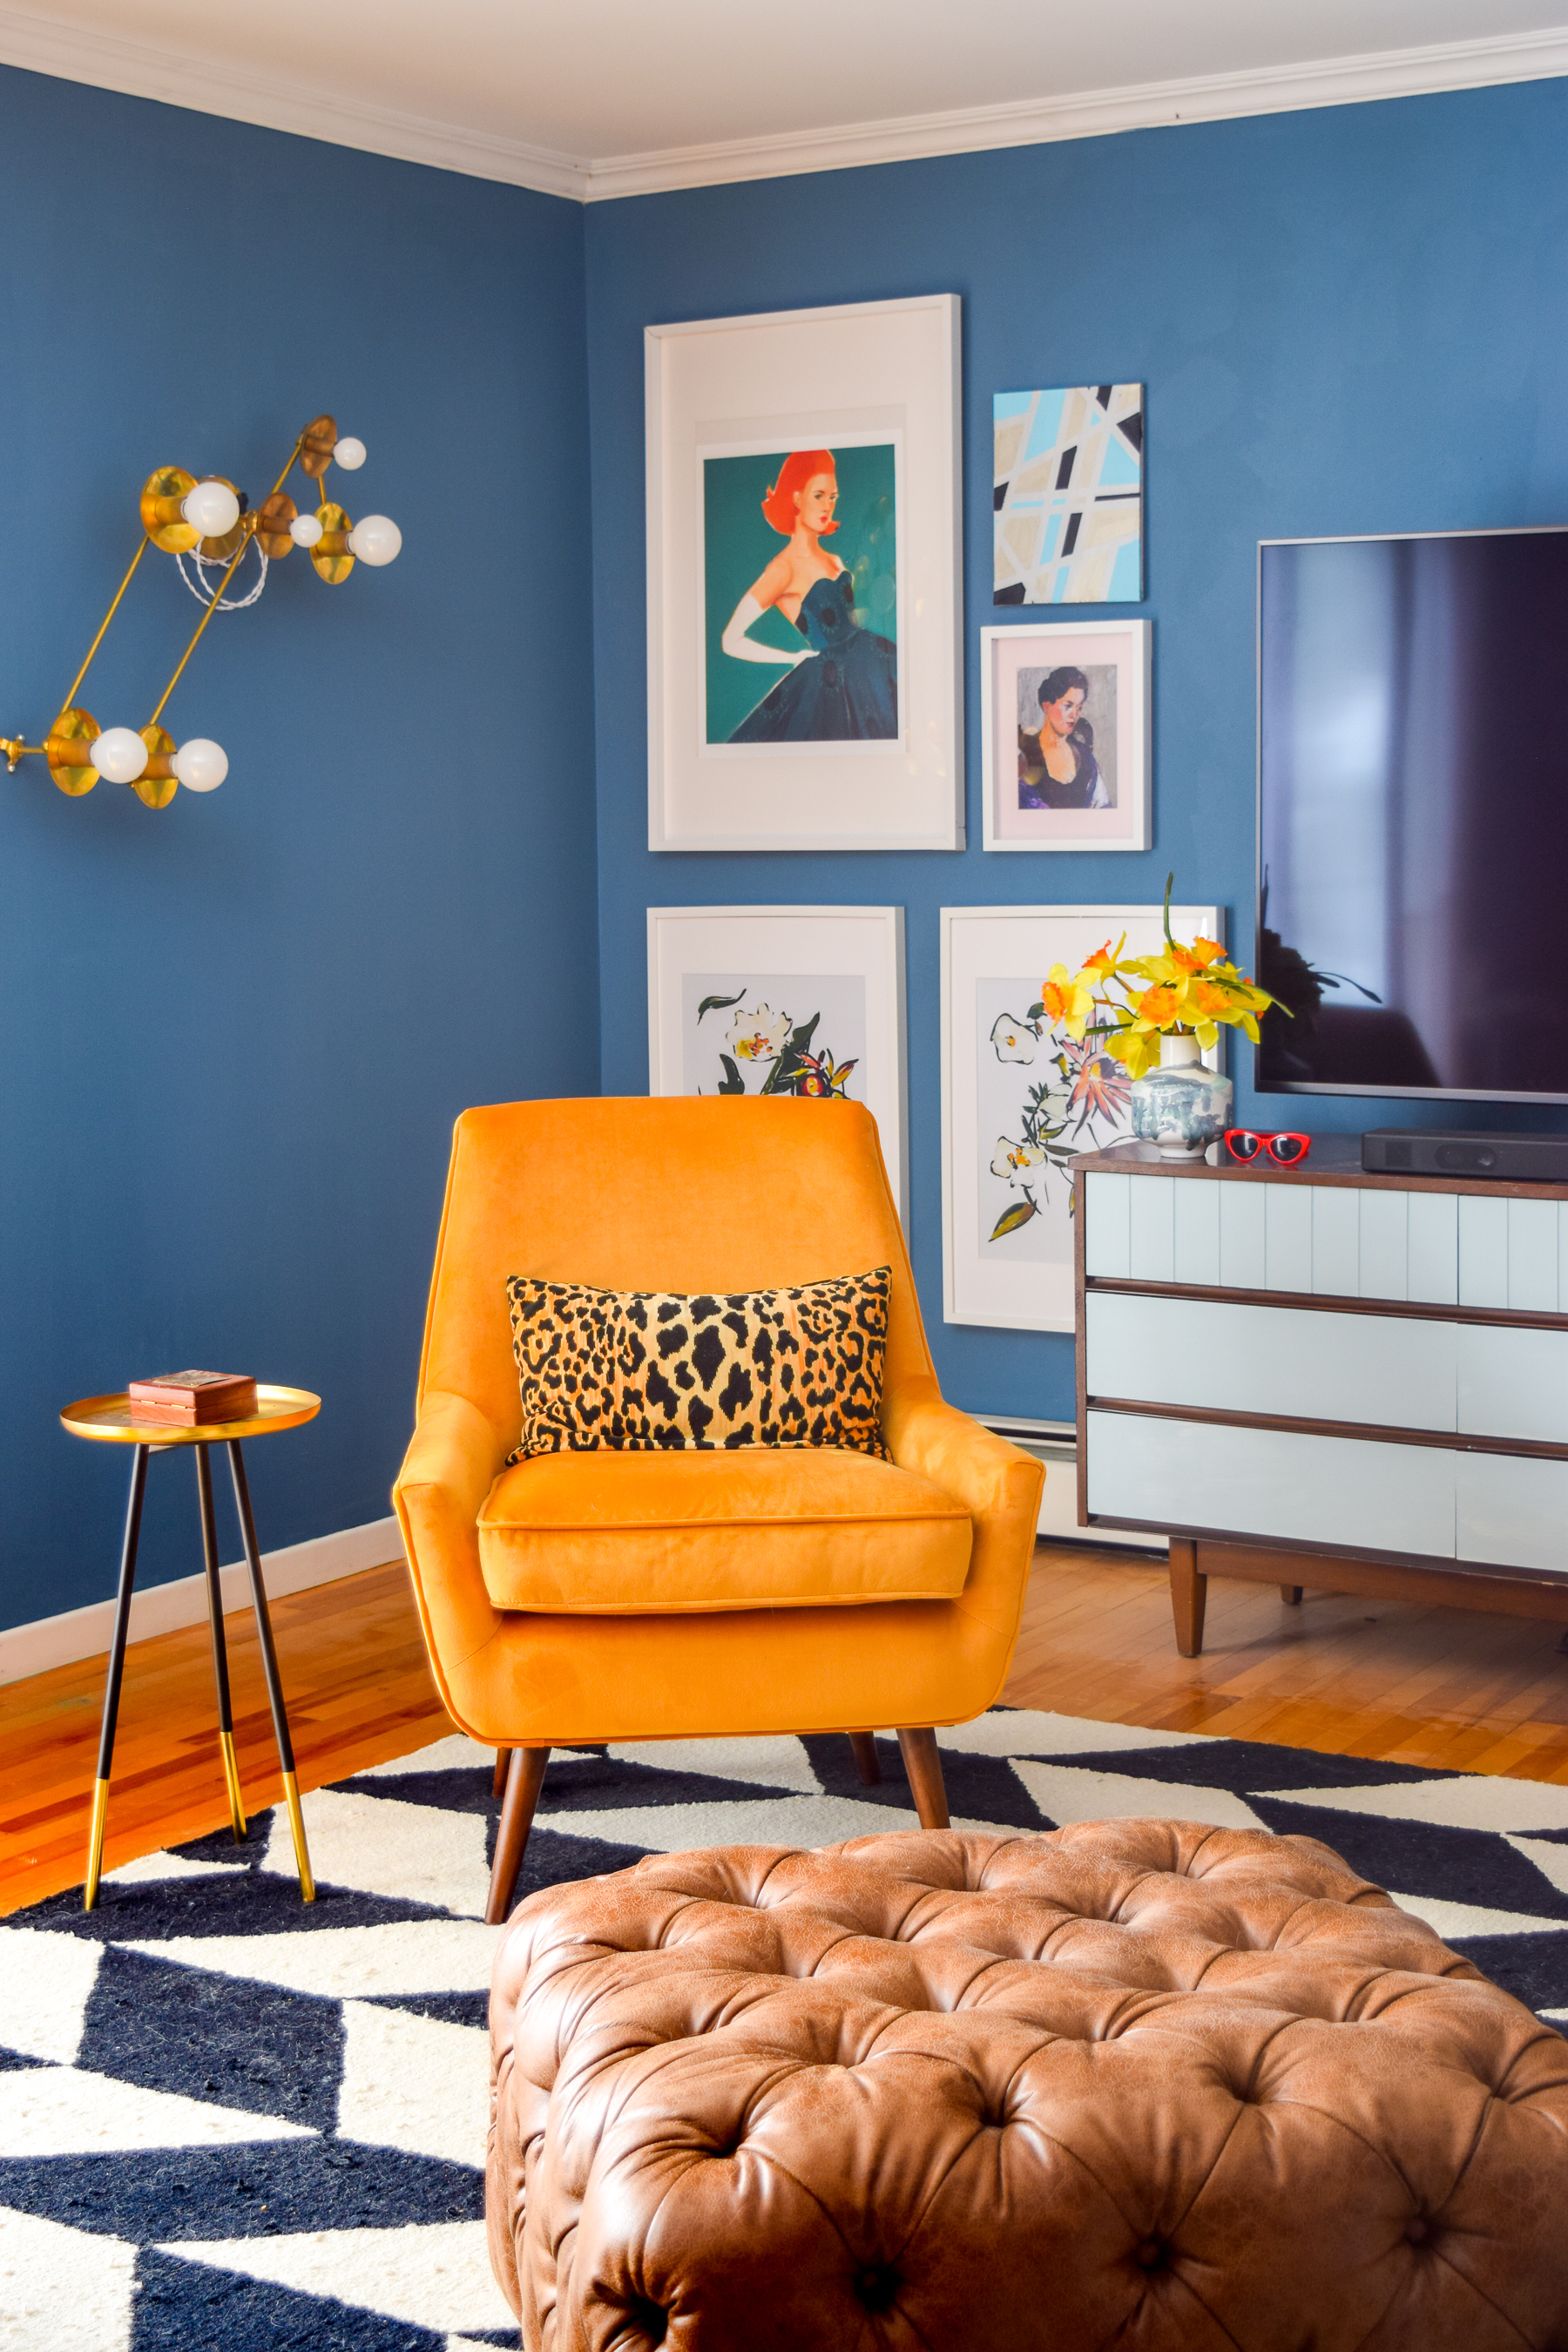
Because the geometric canvas is an abstract piece with a scale unto it’s own, I thought I’d place it next to the large portraits and florals. It would have disappeared next to the more fluid, pieces. I used one of their Small Metallic Hooks in copper to hold it, since the canvas doesn’t weigh much.
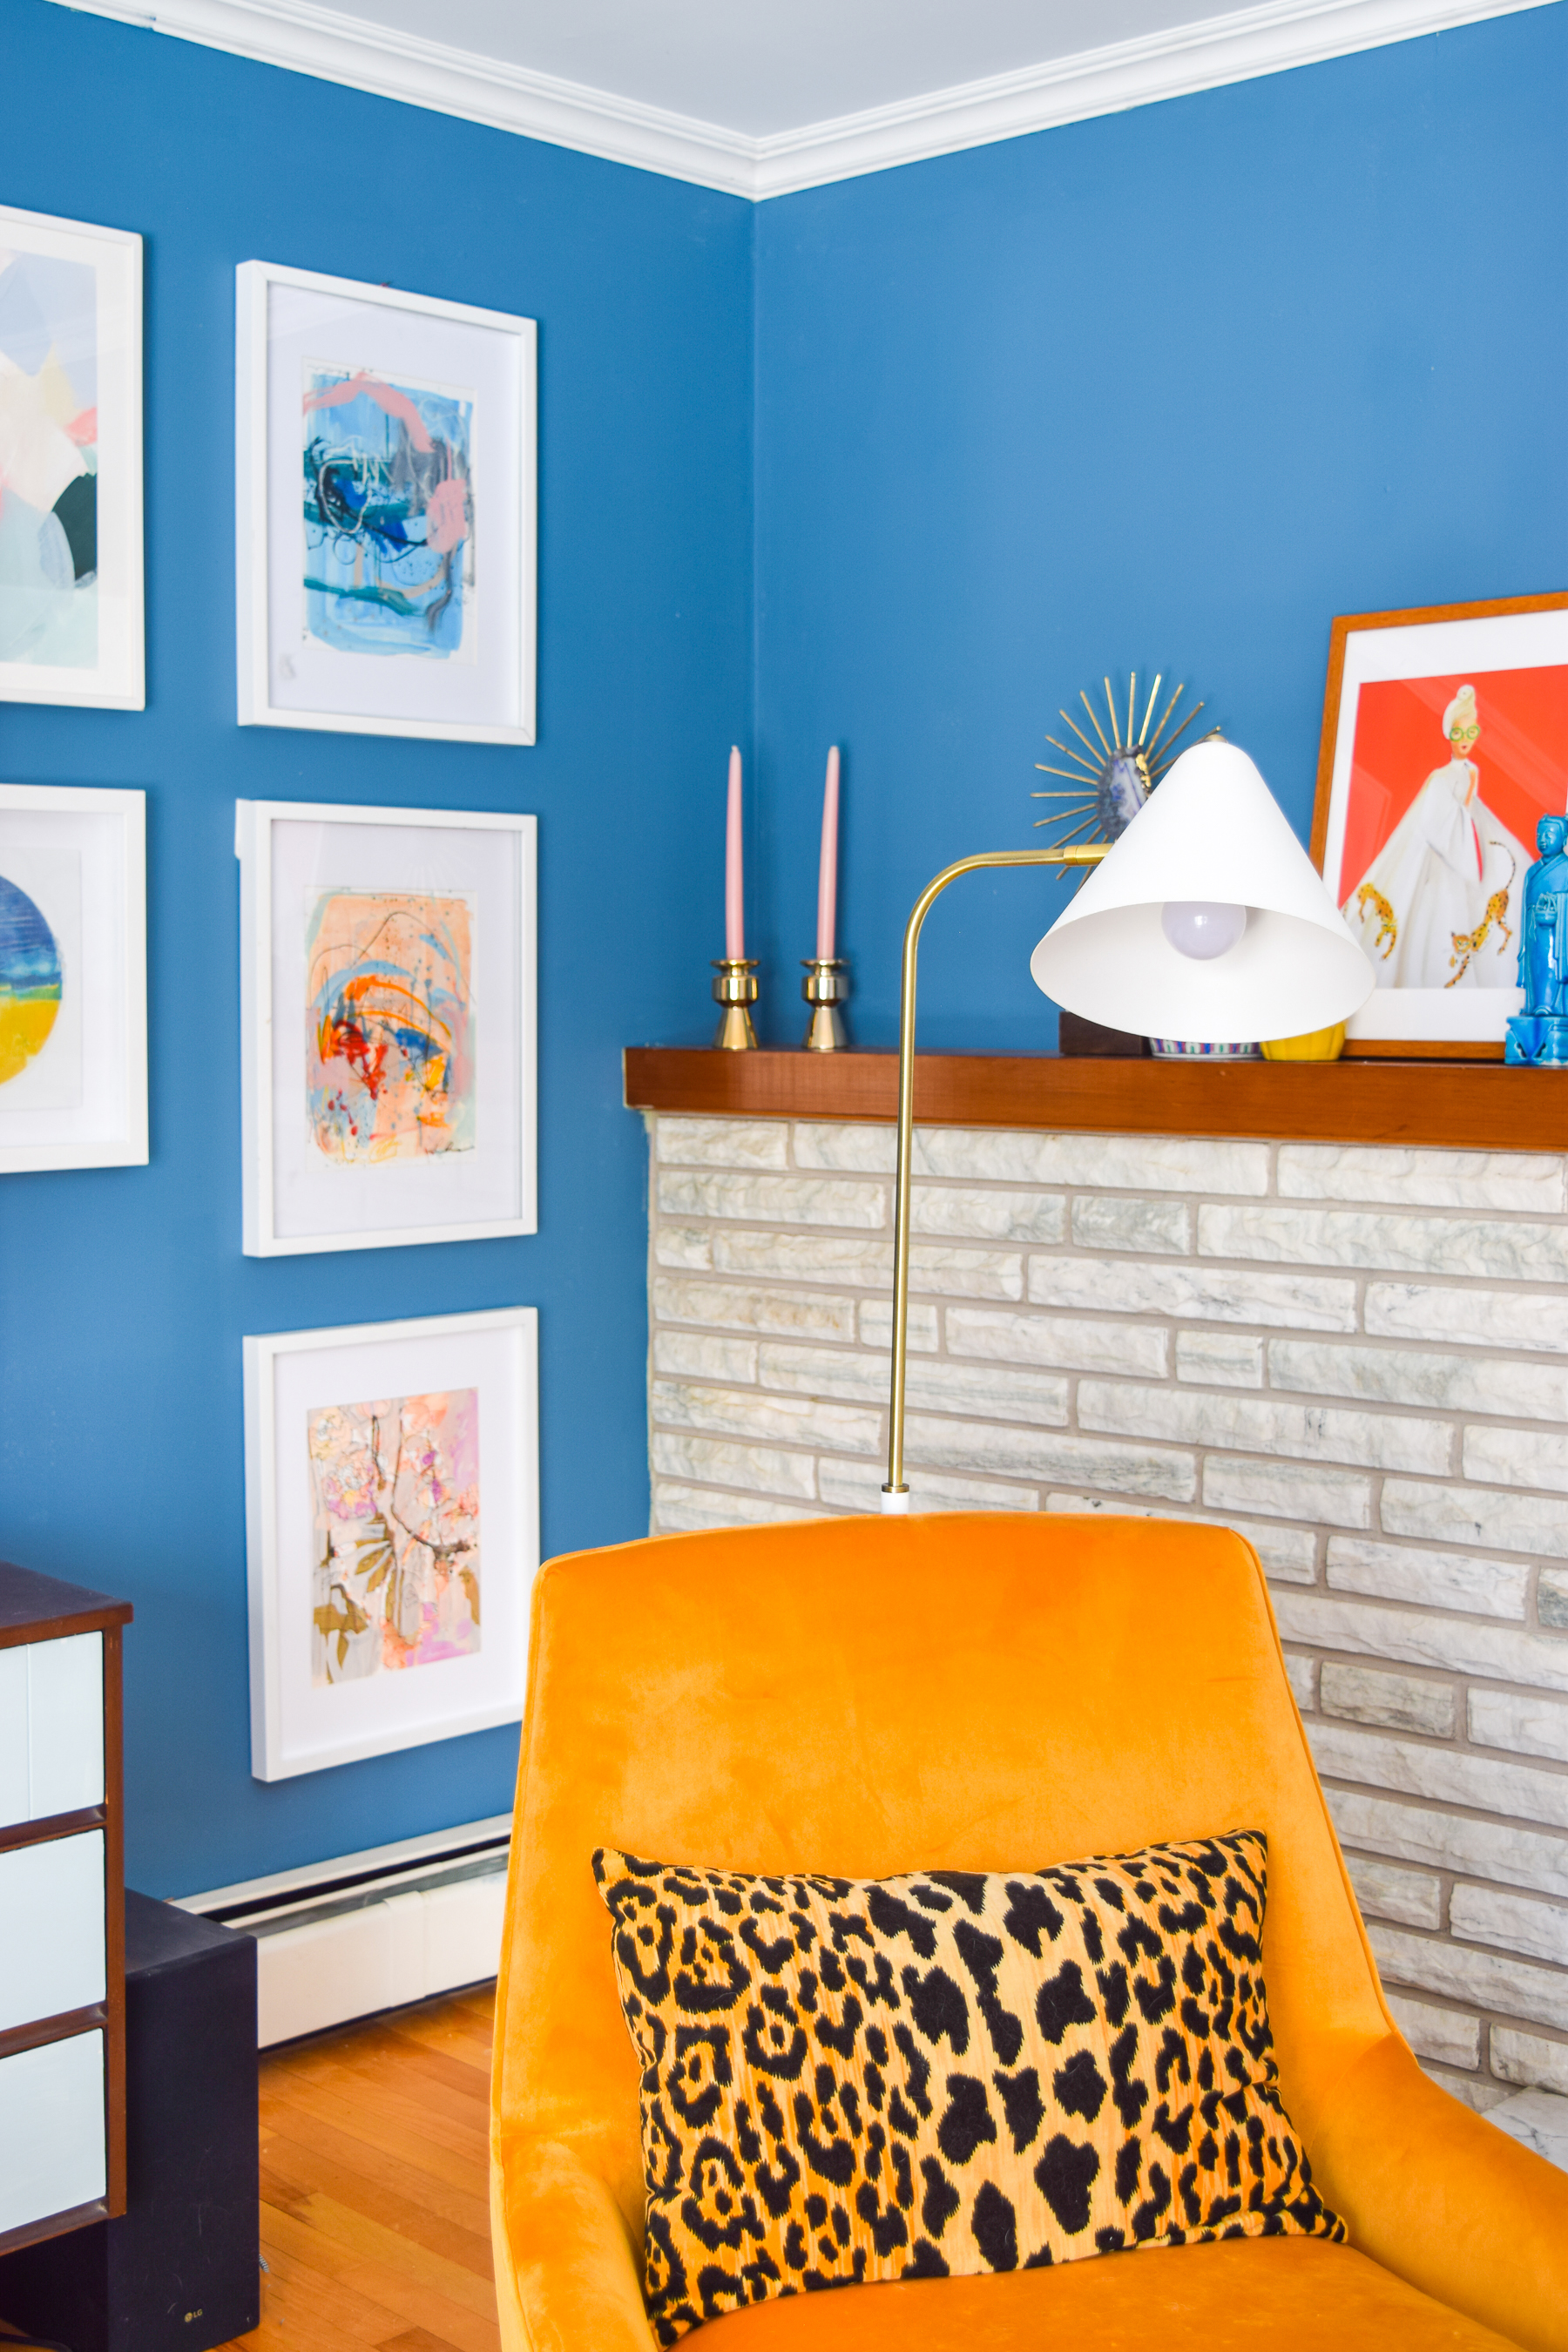
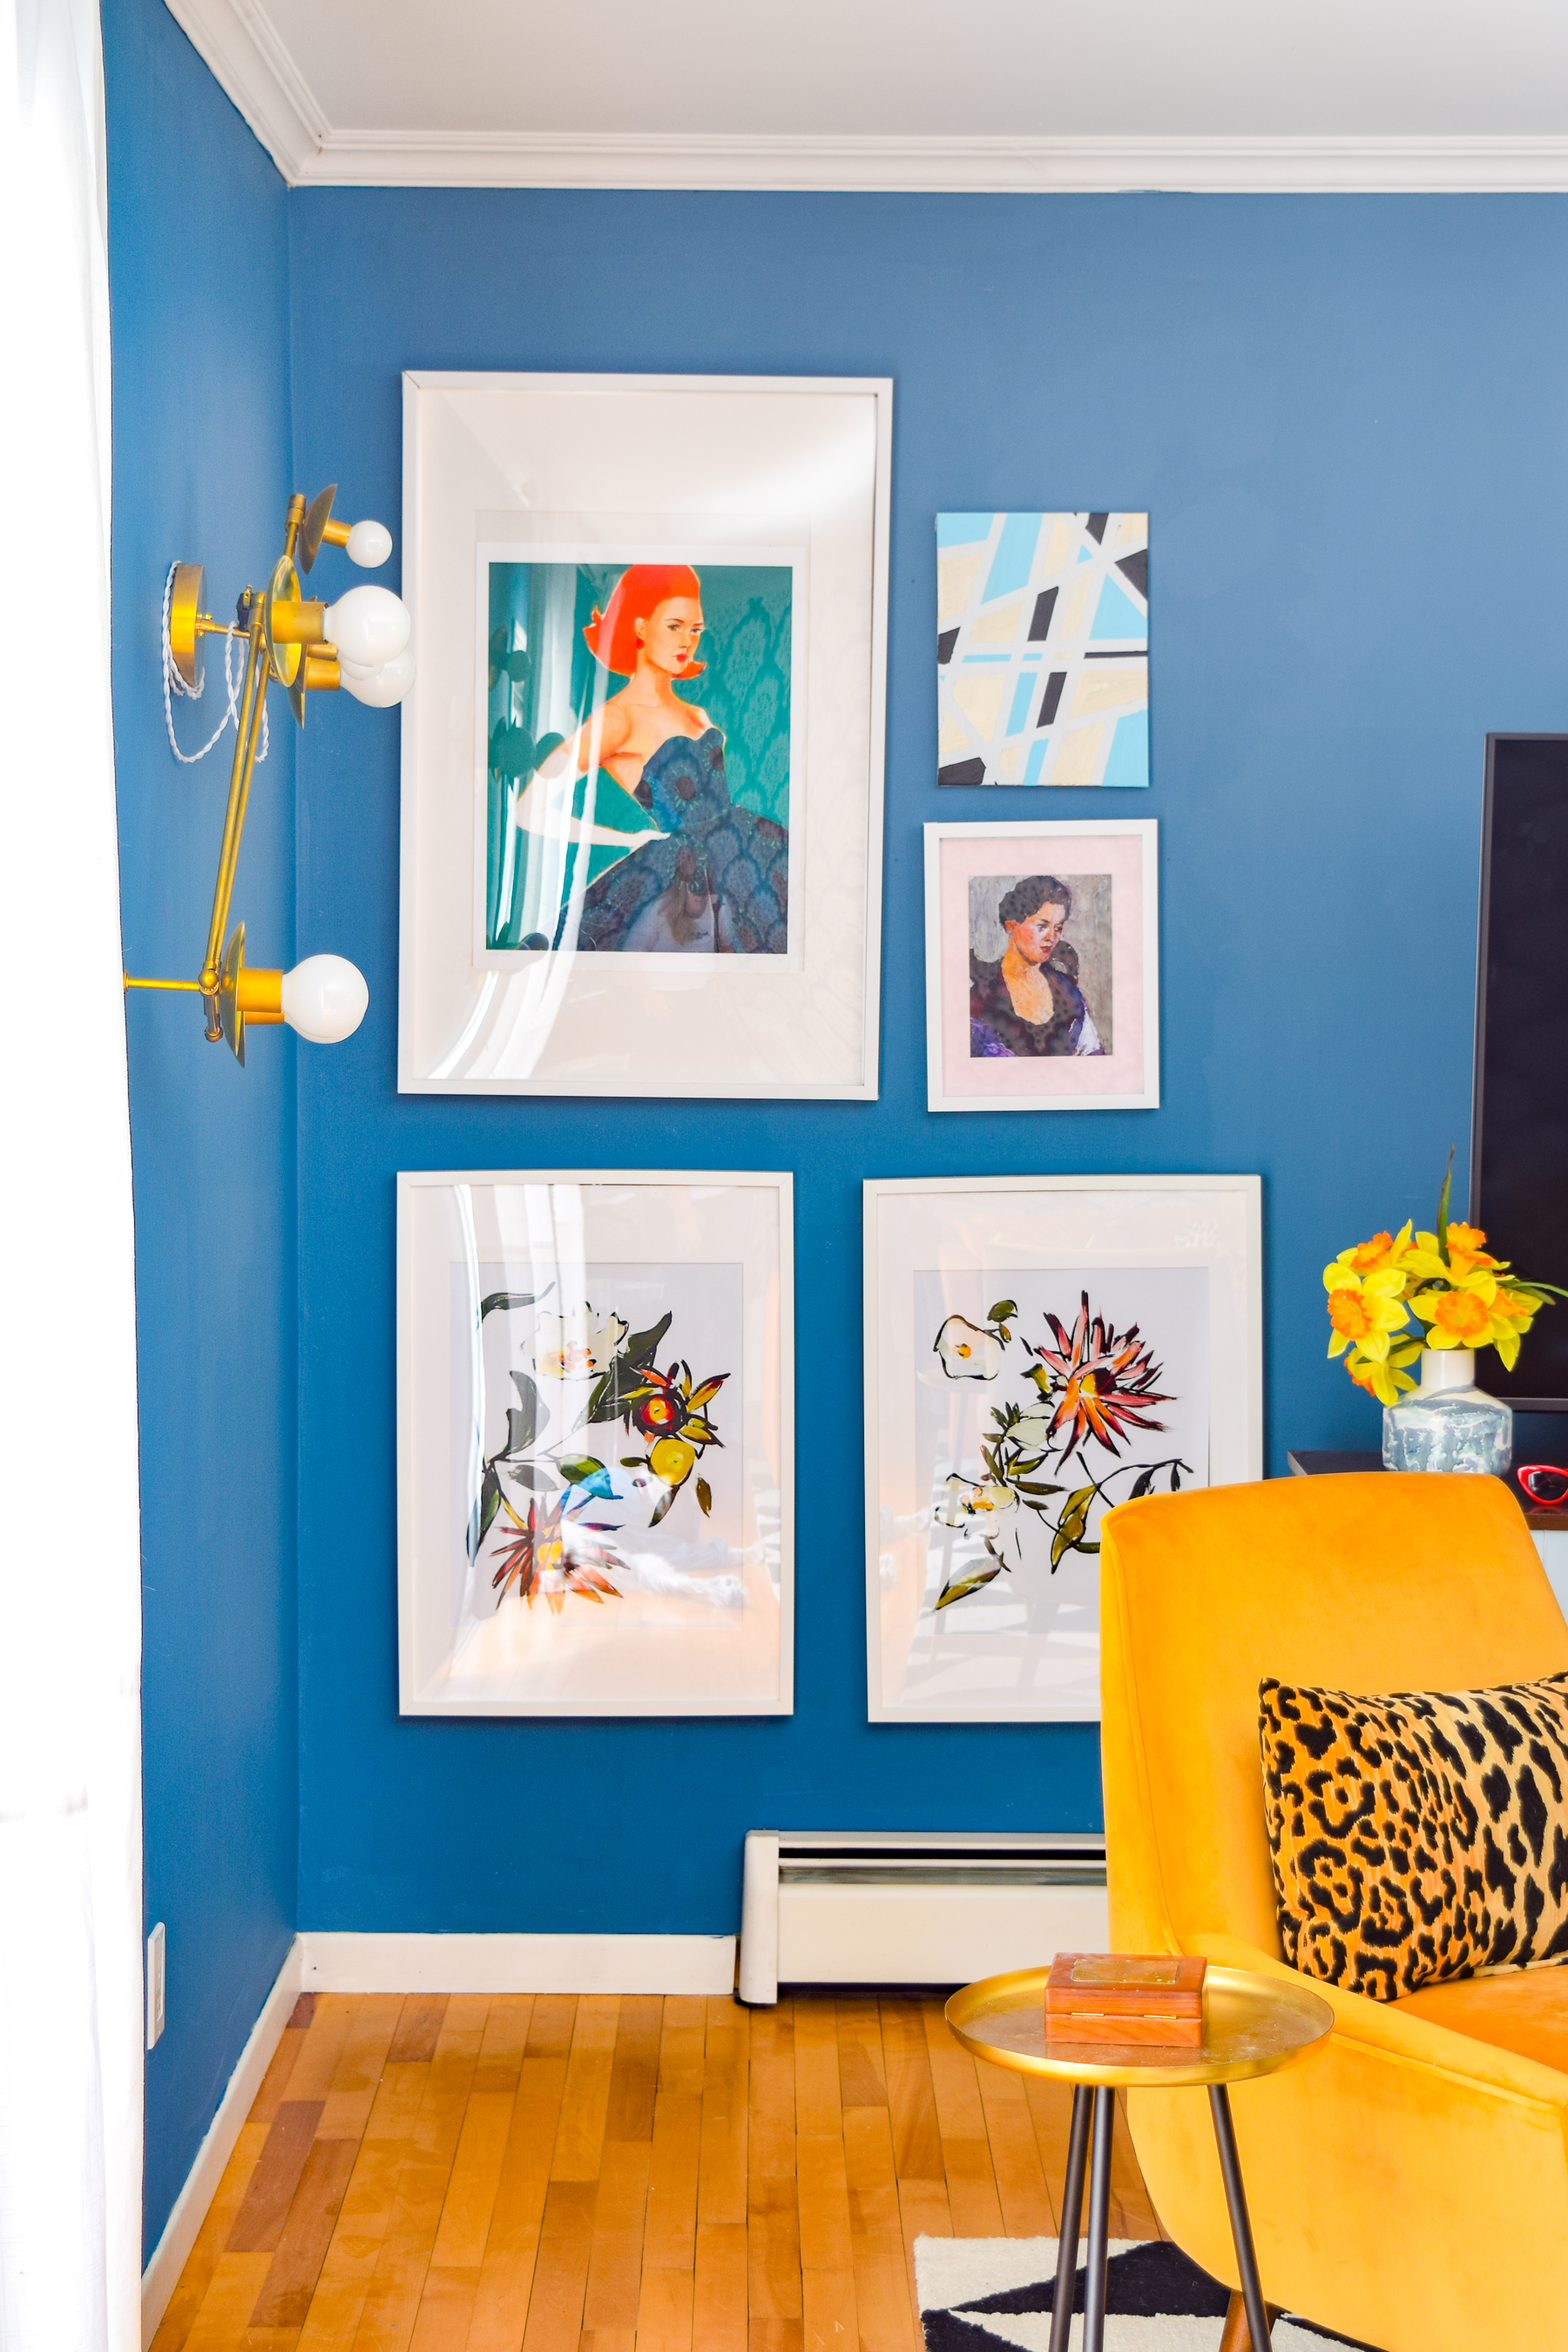
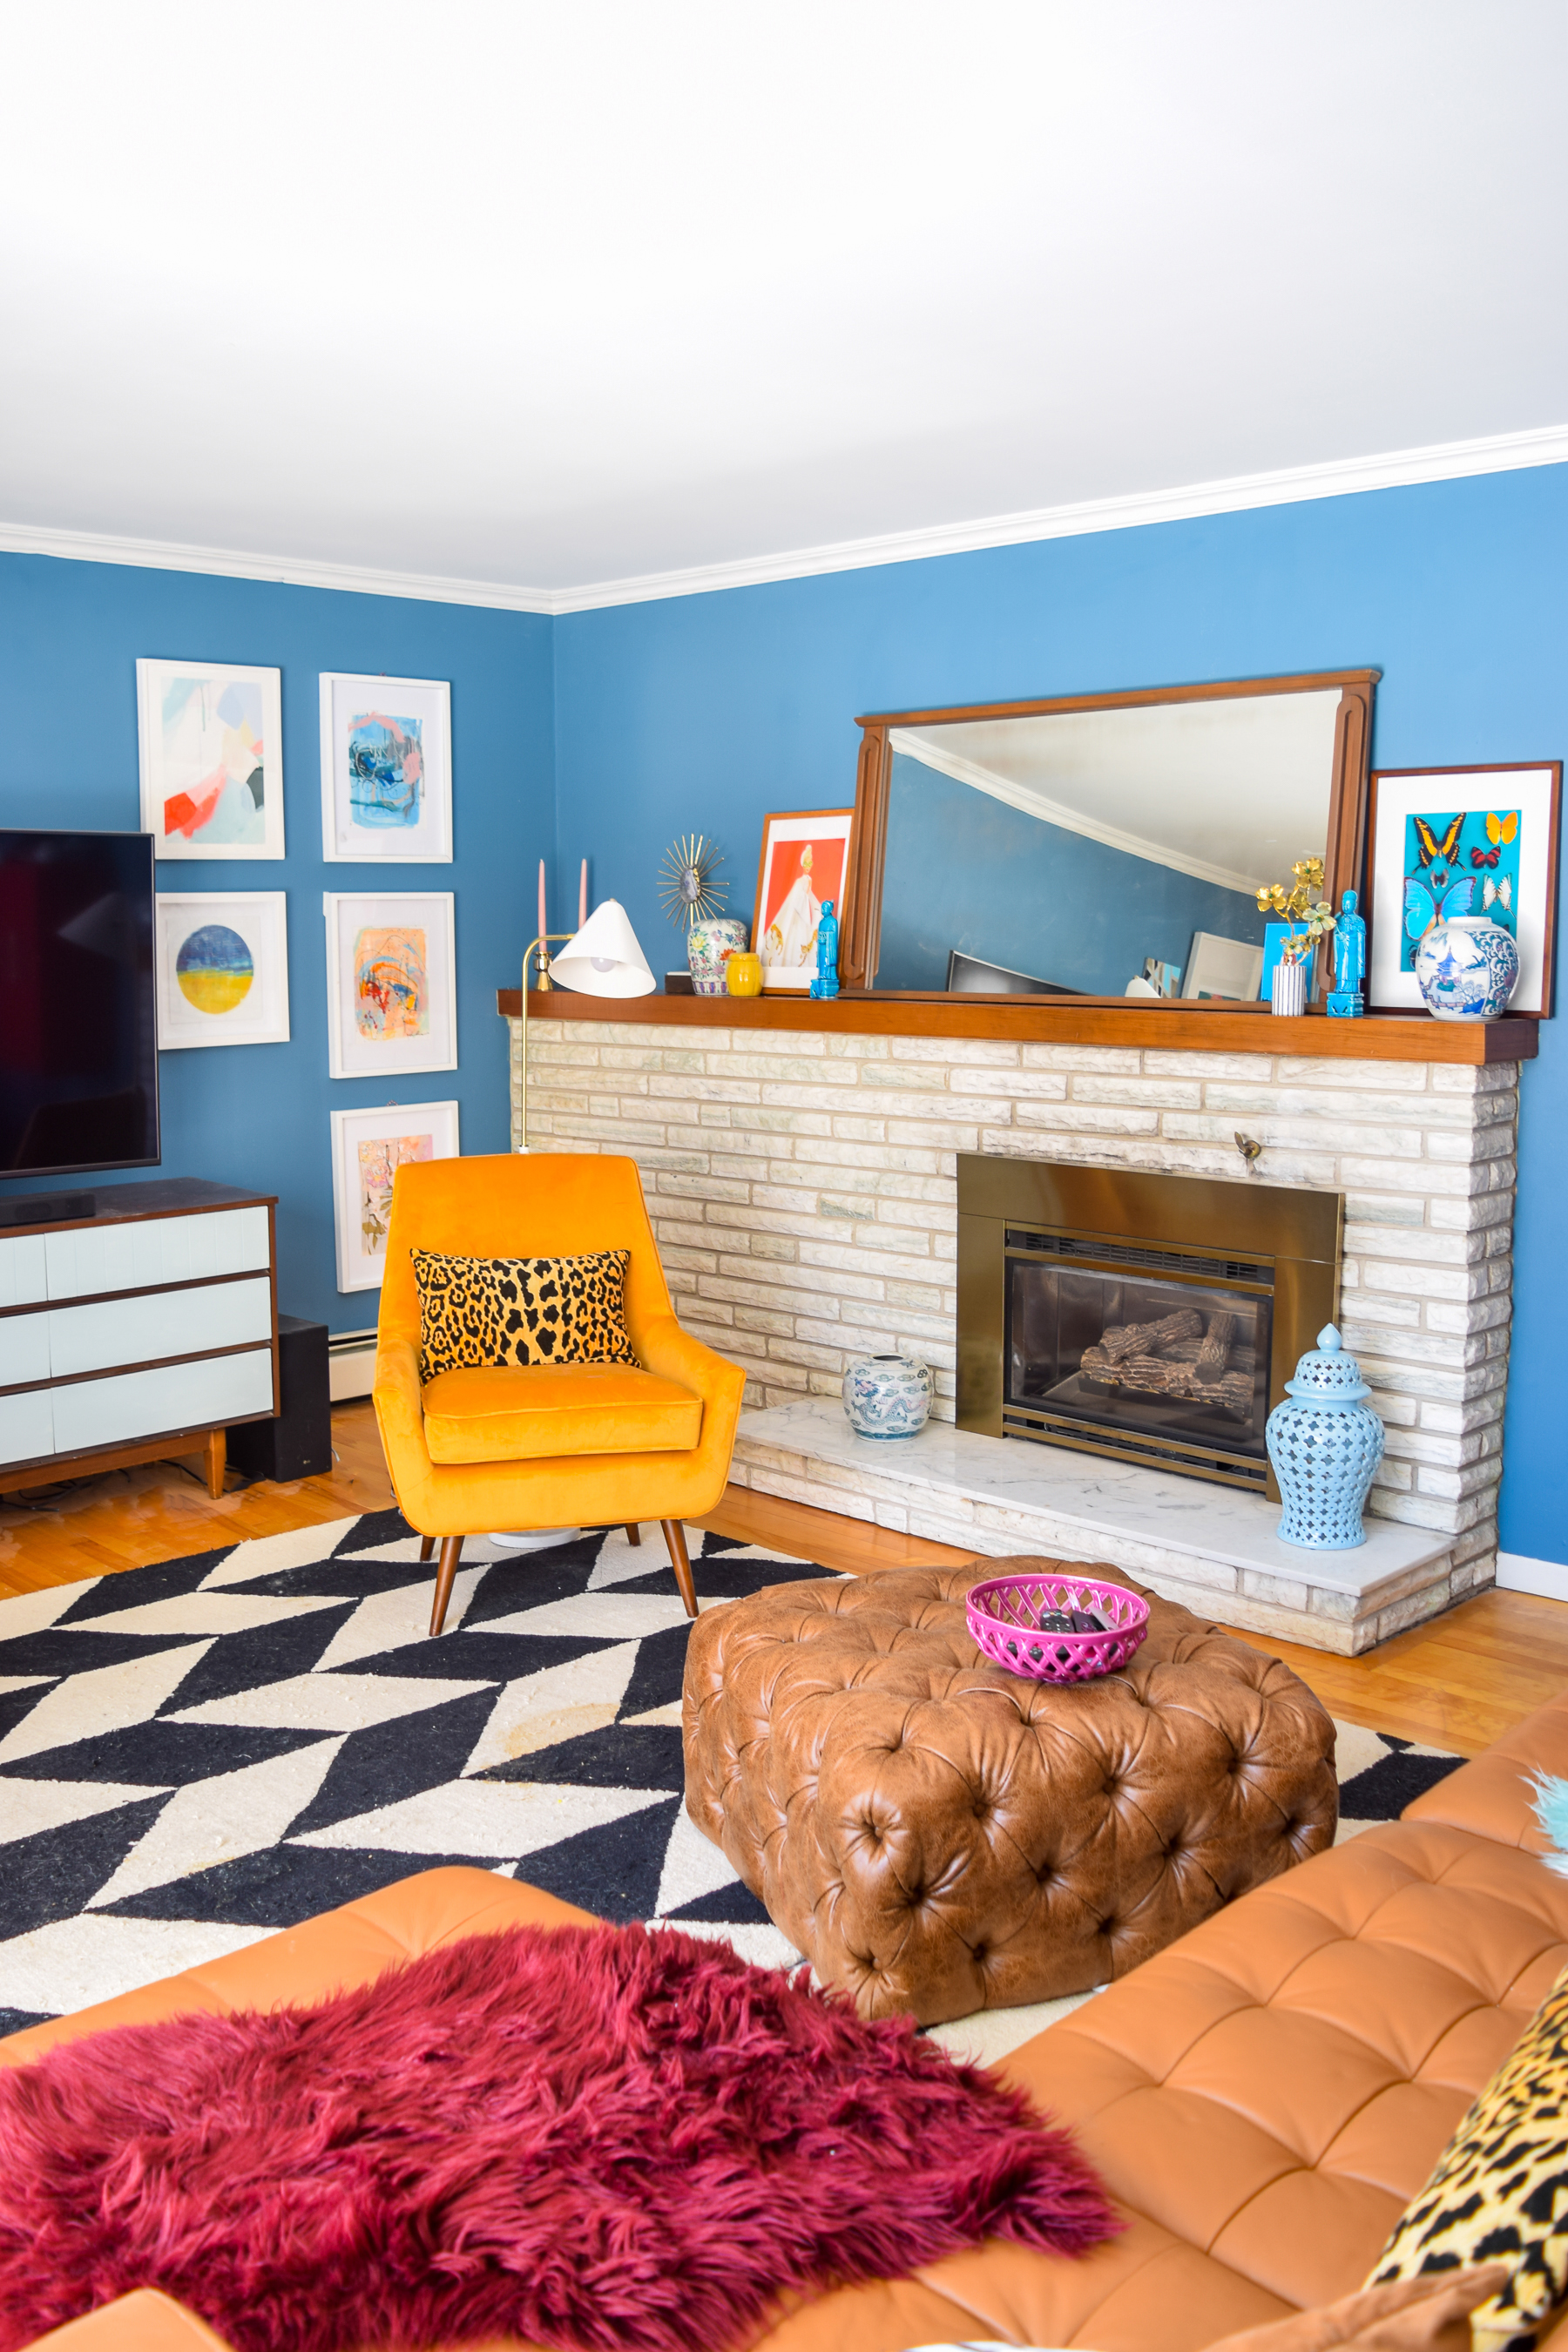
Once I was happy with final placement, I re-arranged a few other things in the living room and FINALLY felt some zen in that space.
My Refreshed Living room
It felt good to bring some new energy into here, not gonna lie. I always end up re-doing my first room in each home, but I’m just glad this one didn’t require as much as some previous homes have!
The ease with which the Command
Shop the mid mod eclectic living room look


