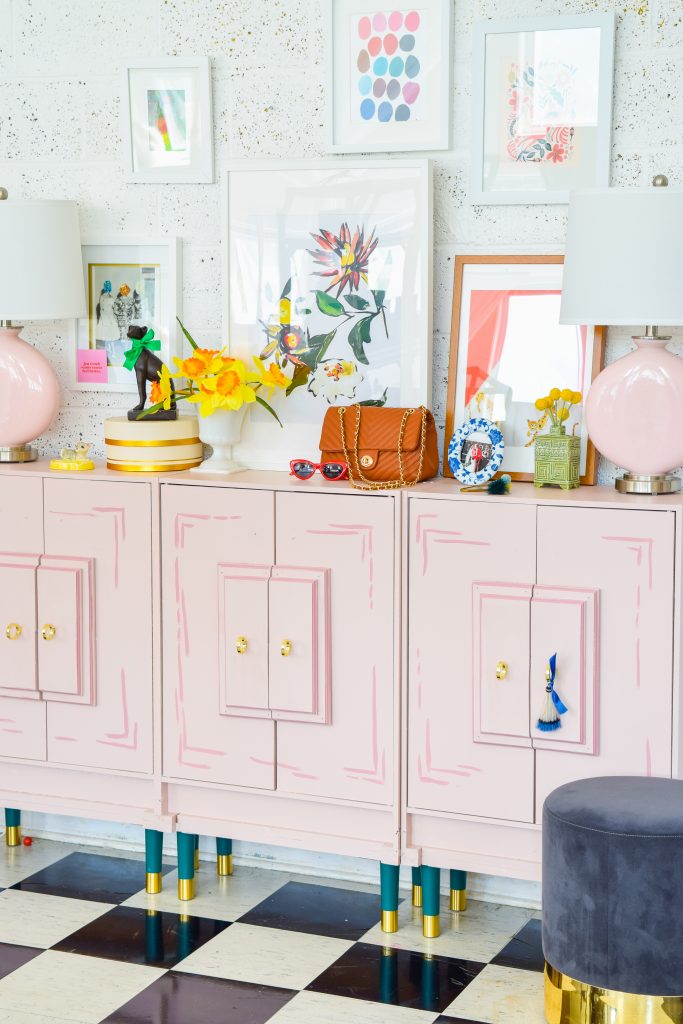
You know how the PMQ has been a continually evolving scene?Well it’s the same in the studio. Just when I think it’s done, another amazing project falls into my lap. Have you guys ever heard of Pretty Pegs? They sell replacement furniture legs for IKEA pieces (& so much more), but their SO good that you can use them on just about anything. So when I asked them if I could have a few brass capped legs and some hardware — and they said yes — I knew exactly whatI wanted to do. I was also very fortunate that the project line-up with the arrival of my new studio lighting from Lamps Plus. You guys, my Wes Anderson inspired entryway console was born through amazing brand collabs, and I couldn’t be happier.
*Pretty Pegs & Lamps Plus sponsored this post, but all thoughts are my own. Thank you for supporting the brands that make PMQ for two possible.
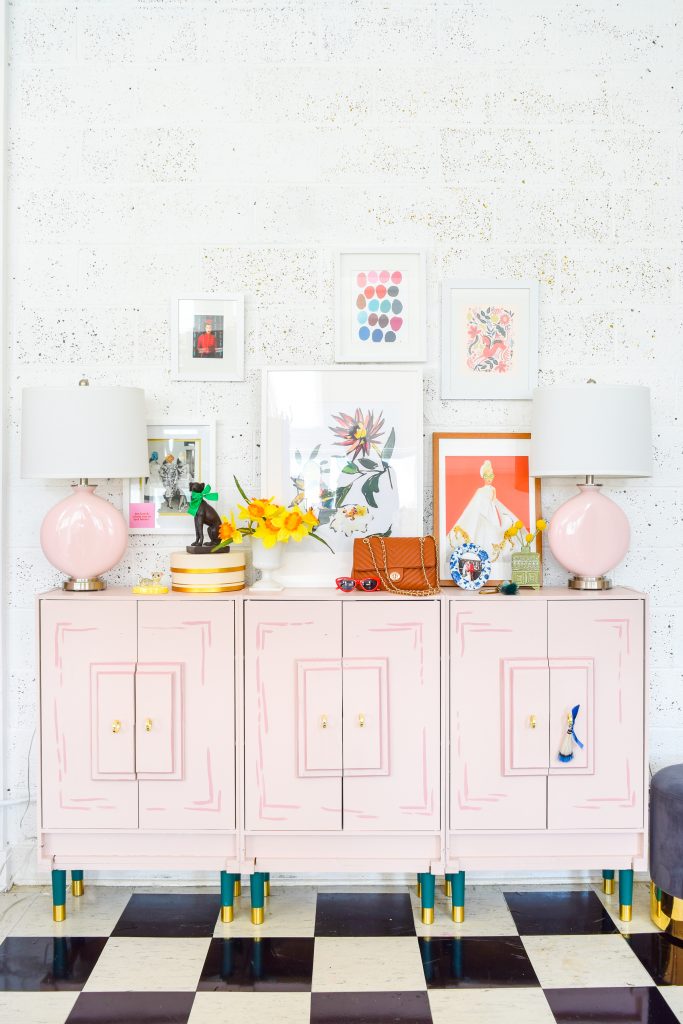
That fun new checkerboard floor is something Kassidy and I have been toying with for a while, and finally got around to doing. We’re testing it out in the little entryway, so we’ll see how it holds up before expanding it to another spot.
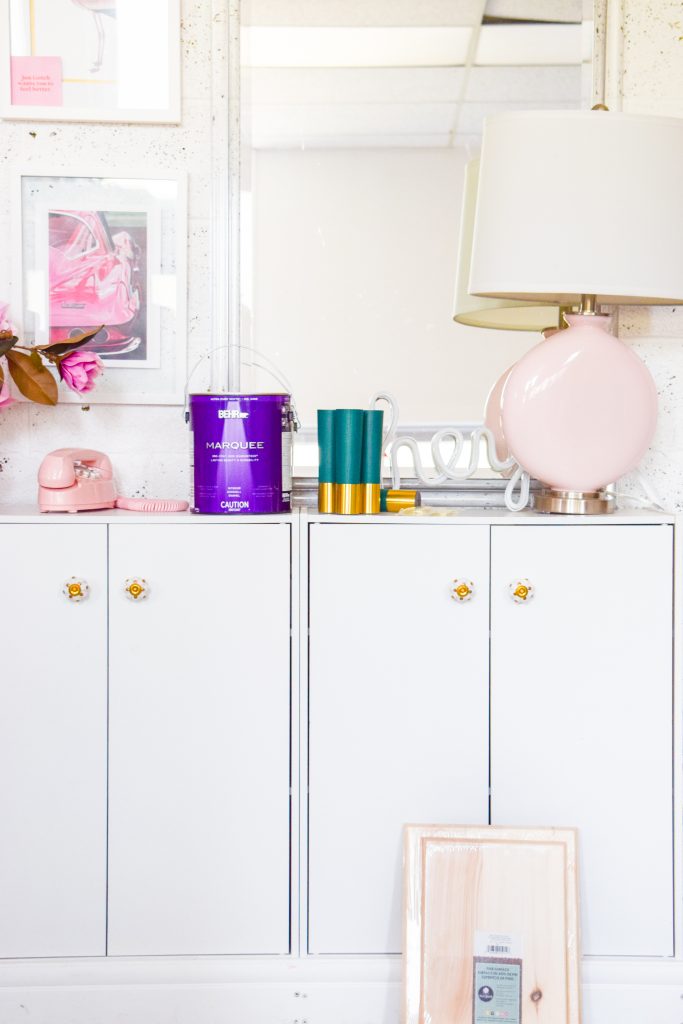
Before we get down to brass tax, and talk about how I did it, I thought I’d show you what we were starting with.
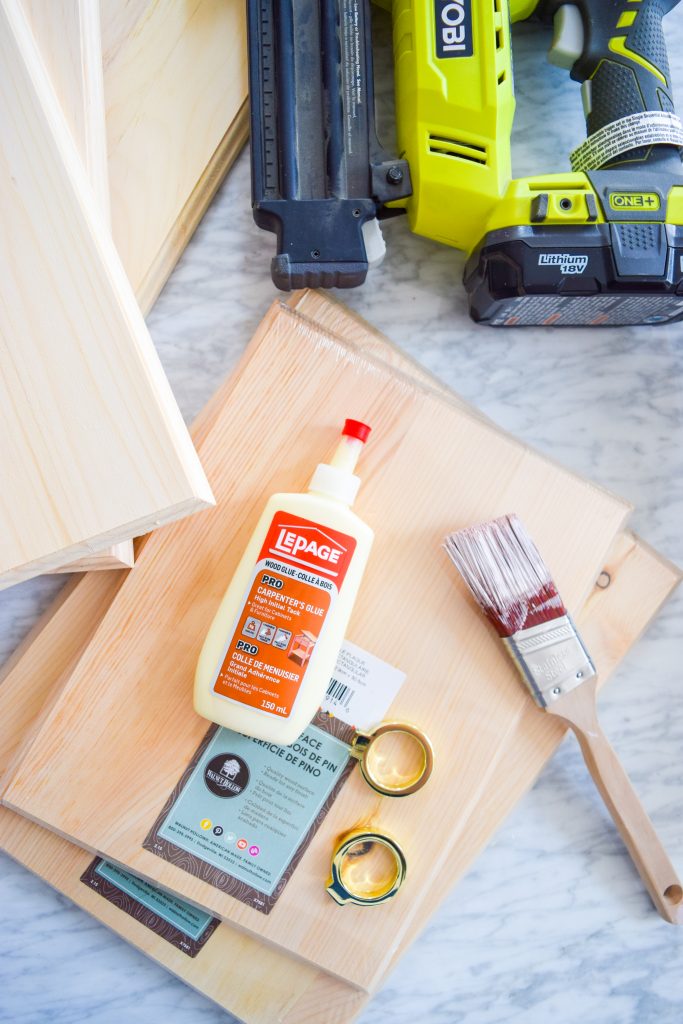
Materials required for cabinet makeover
- cabinets you can paint
- Walnut Hollow Wood Plaques
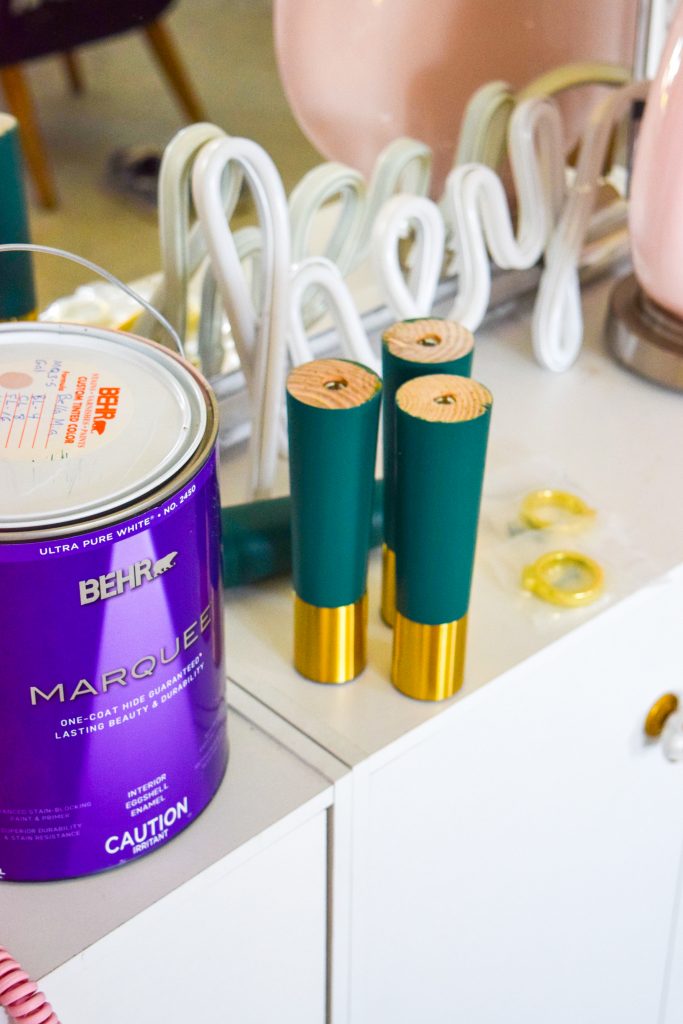
- Pretty Pegs: Estelle 70 in Sherwood Green – you’ll need one set per cabinet
- Pretty Pegs: Stina 40 Knobs
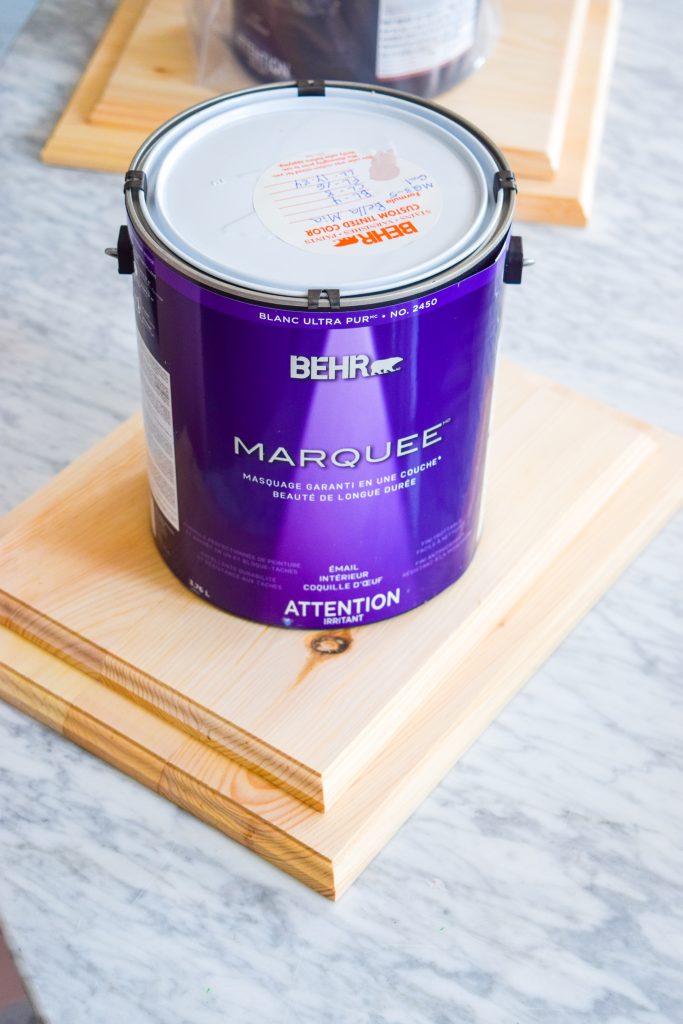
- Behr Marquee Paint: I used what was left from the Kitchen makeover aka Belle Mia
- Rose Pink Carrie Table Lamps from Lamps Plus
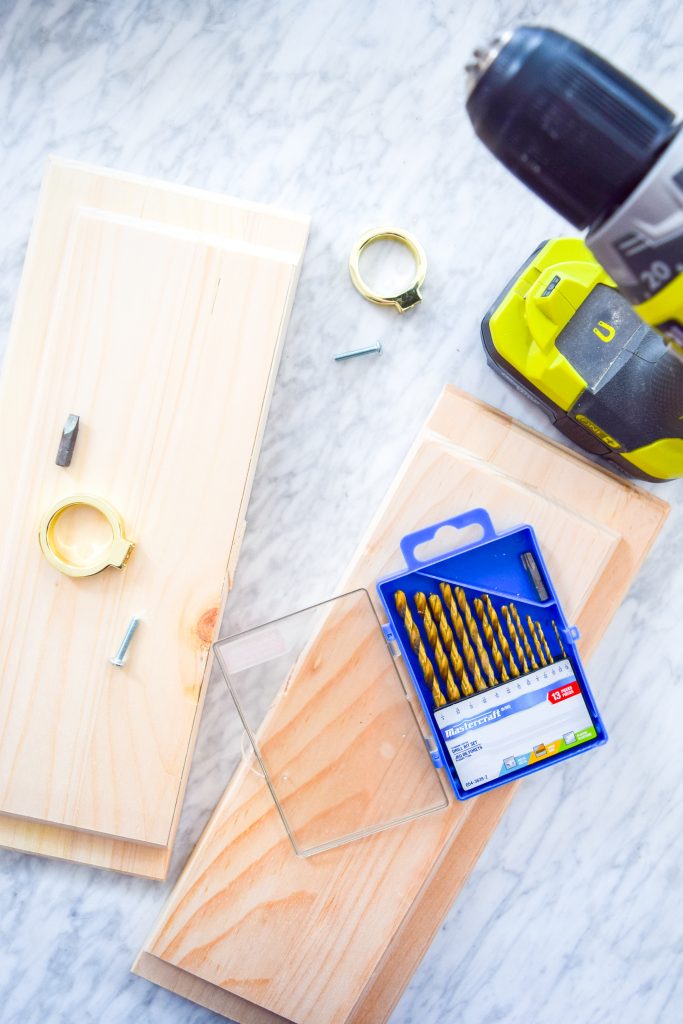
- Drill + bits
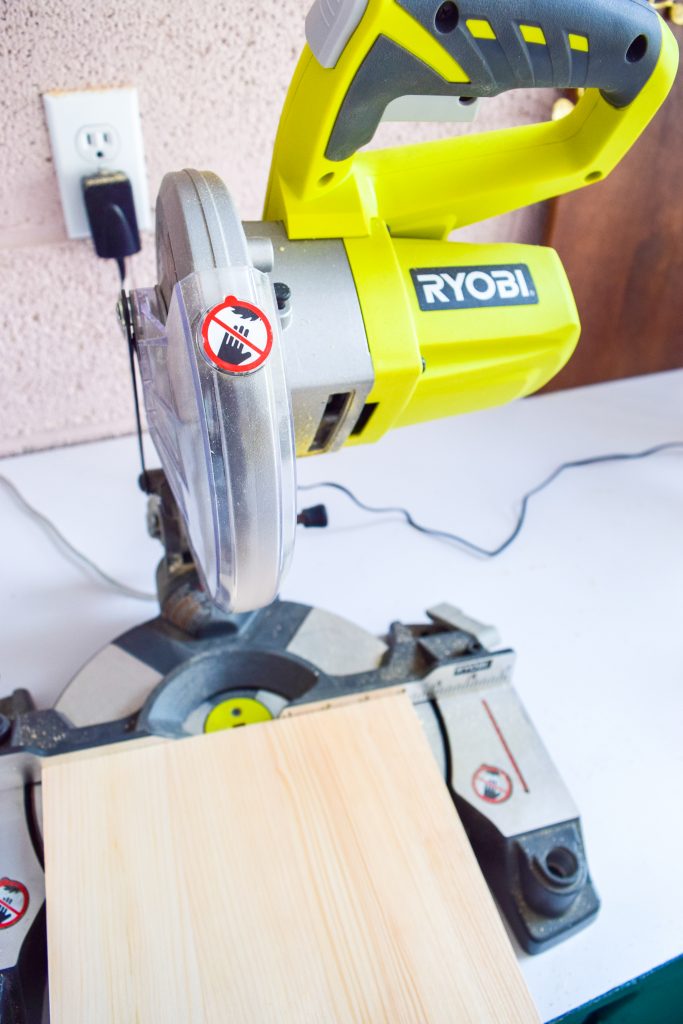
- Mitre saw (ideally a table saw)
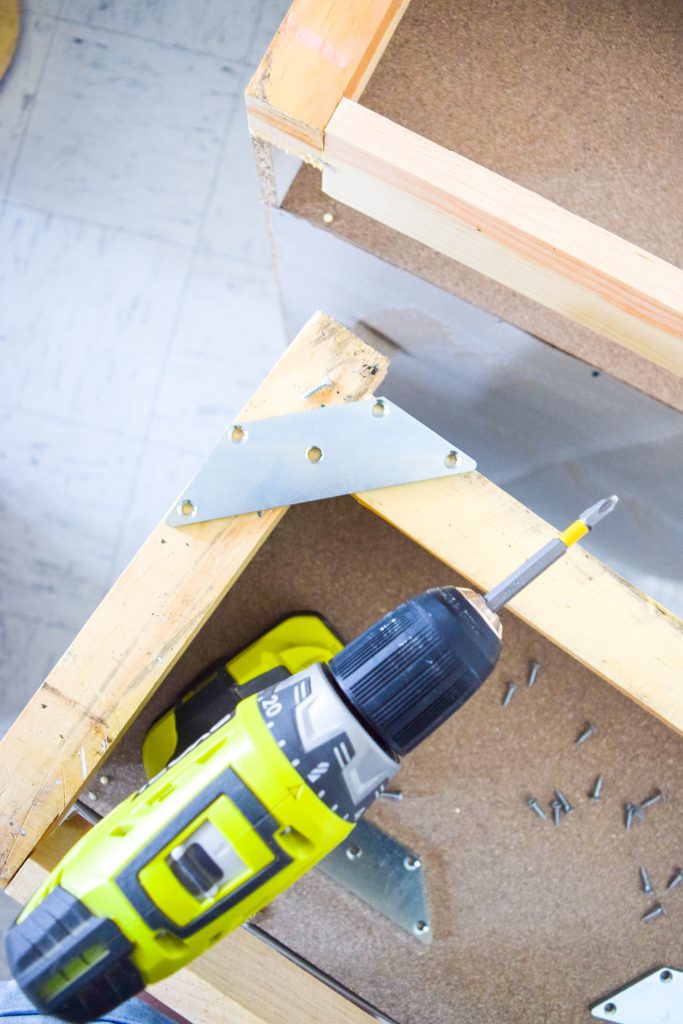
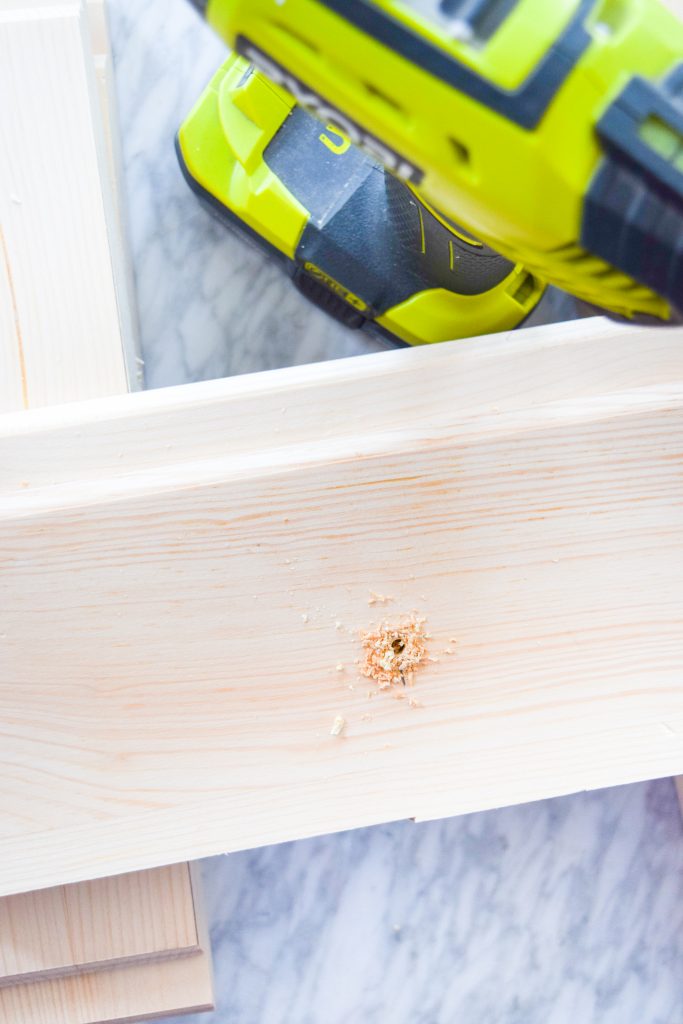
Step 1: Start by added the metal mounting brackets from Pretty Pegs. Once your cabinet is painted, you won’t want it rolling around on the ground and getting scratched-up, so I did this part before I even got started. You’ll later screw the pegs into these, so it’s a good thing to make sure everything works before you’re too deep.
Step 2: Flip them back over, and start painting! I could have used any number of paints for this, but I wanted them to match the kitchen area. I’m trying to create more colour balance in the space, and this is how you do it!

Step 3: While your various coats of paint are drying, put together the wood plaques. I started by gluing them together so that they were centered.
Step 4: Once they’re dry, cut each set down the middle (vertically). I used the mitre saw for this, but only because we don’t have a table saw.
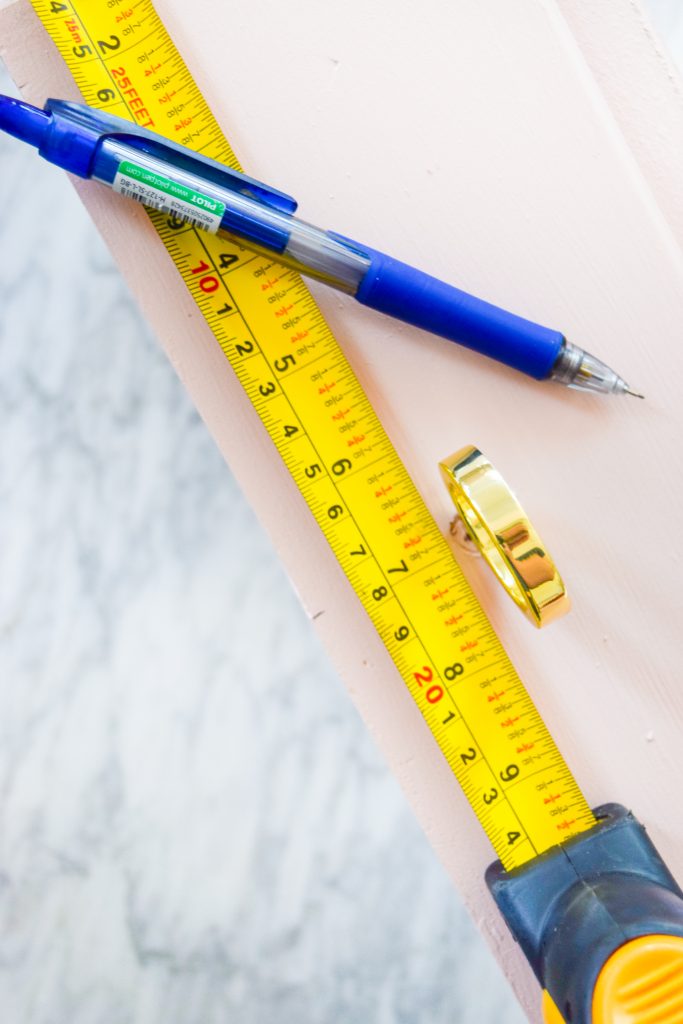
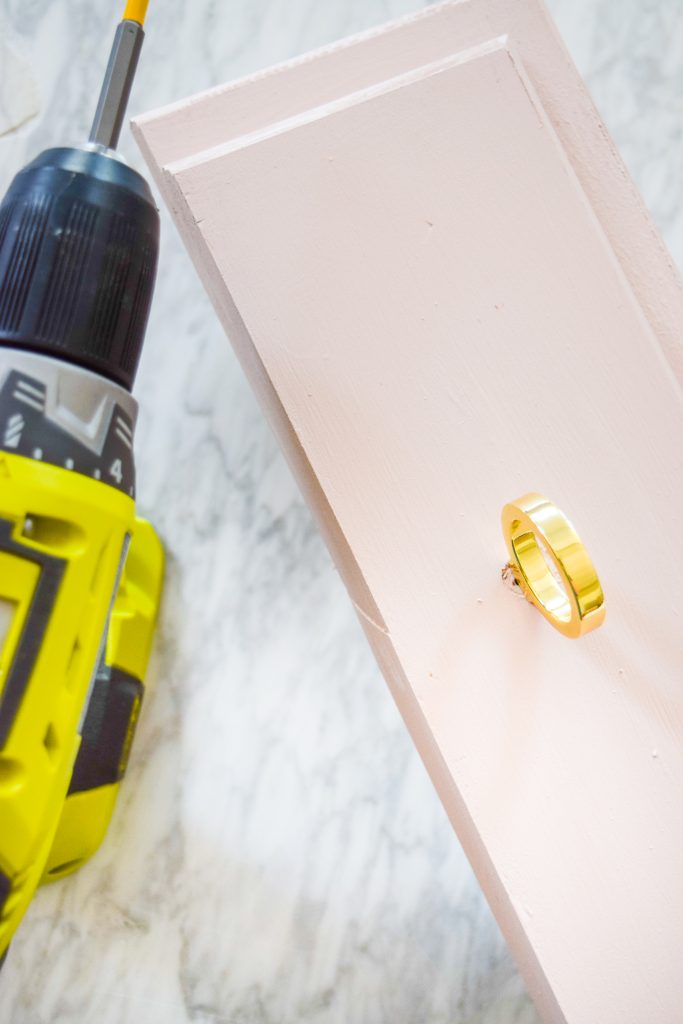
Step 6: Drill holes for the knobs. Centre them, or at the very least make them symmetrical across all the plaques. Then sand and paint them to match the cabinets.
Step 7: Next, attach the plaques on the front of cabinet doors. I used a nail gun and wood glue to get a solid hold. I suggest laying the cabinets on their back to do this – you’ll work better when you’re not fighting gravity.
Step 8: While the cabinets are still on their back – and once the cabinet fronts are properly attached – add the pretty pegs to the cabinet, before flipping them up.
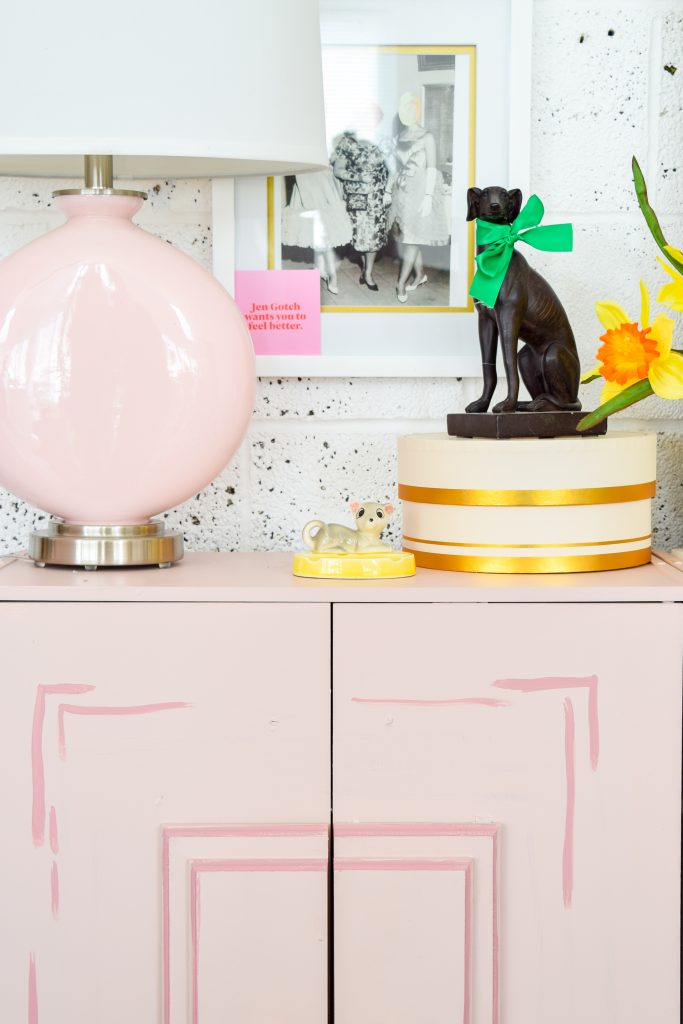
OPTIONAL: Once the pieces are standing, you can leave them as is – or add a series of shadow strokes using a slightly darker shade. I loosely mirrored the shape of the wood plaques.


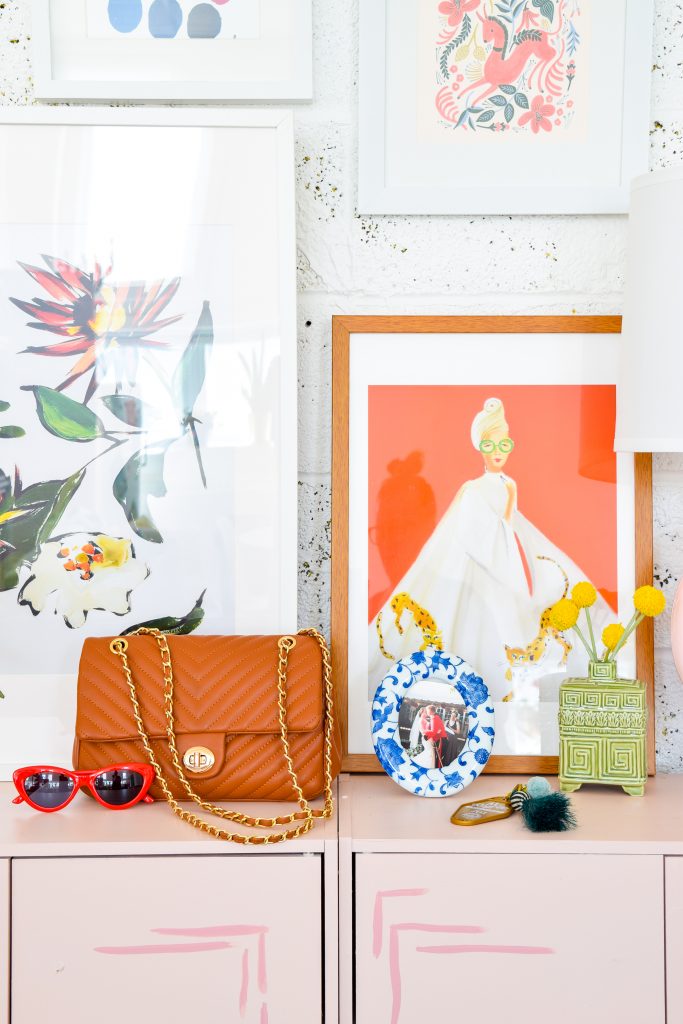
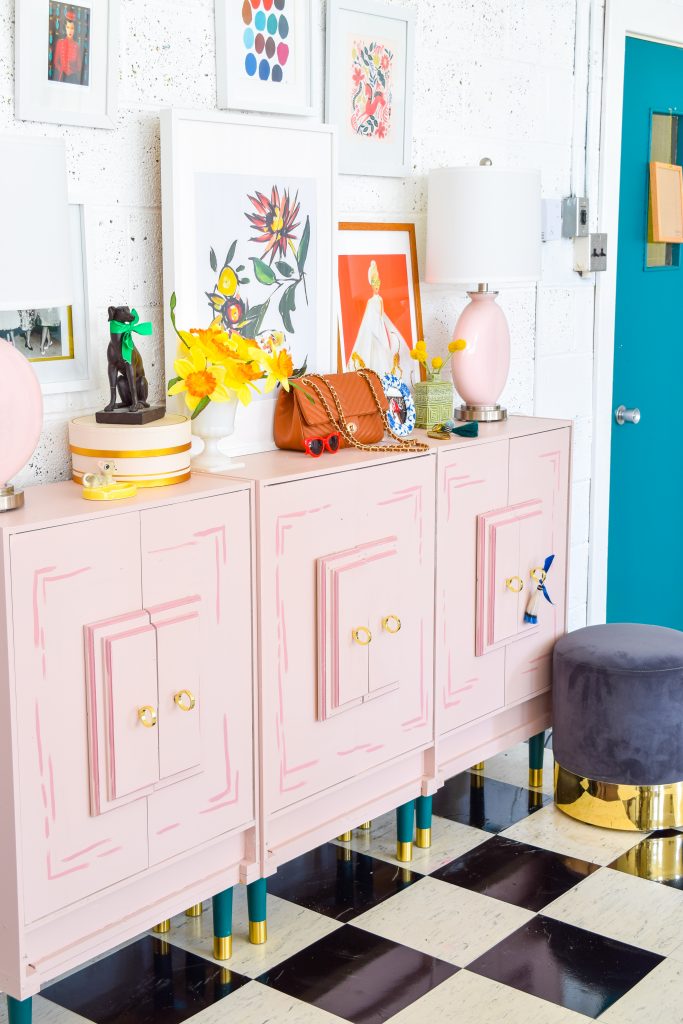
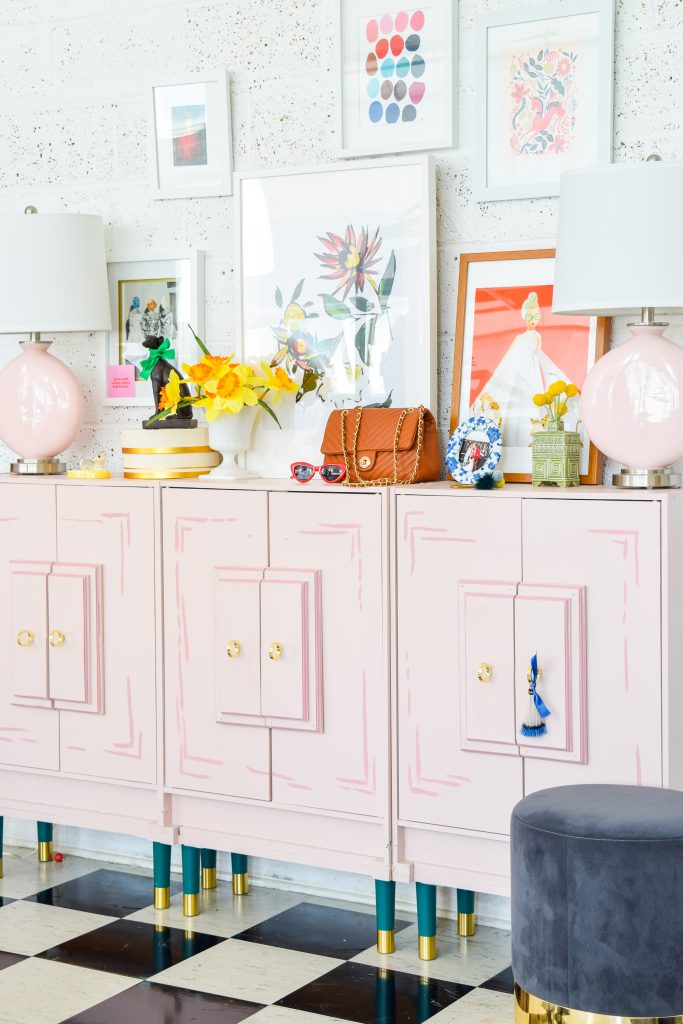


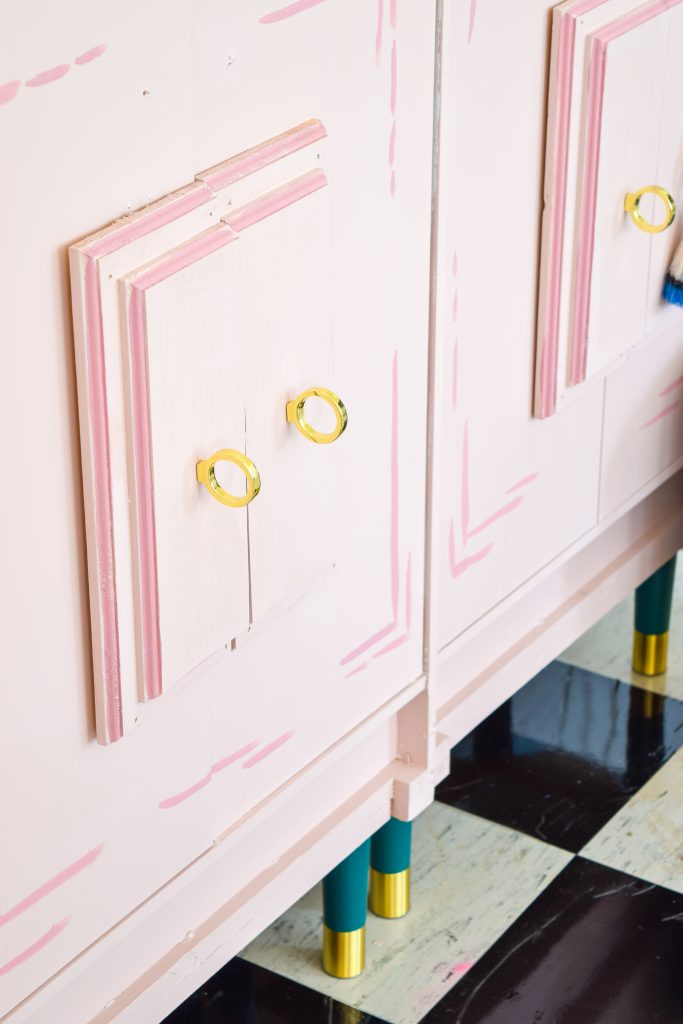
For real though. This Wes Anderson inspired entryway console would not be what it is without the Estelle 70 in Sherwood Green pegs. They come in a multitude of other colours, but the sherwood green is a perfect match for the FAT Paint cabinets in our kitchen area. And those Stina 40 Knobs are an un-expected twist on standard knobs, so I love that.
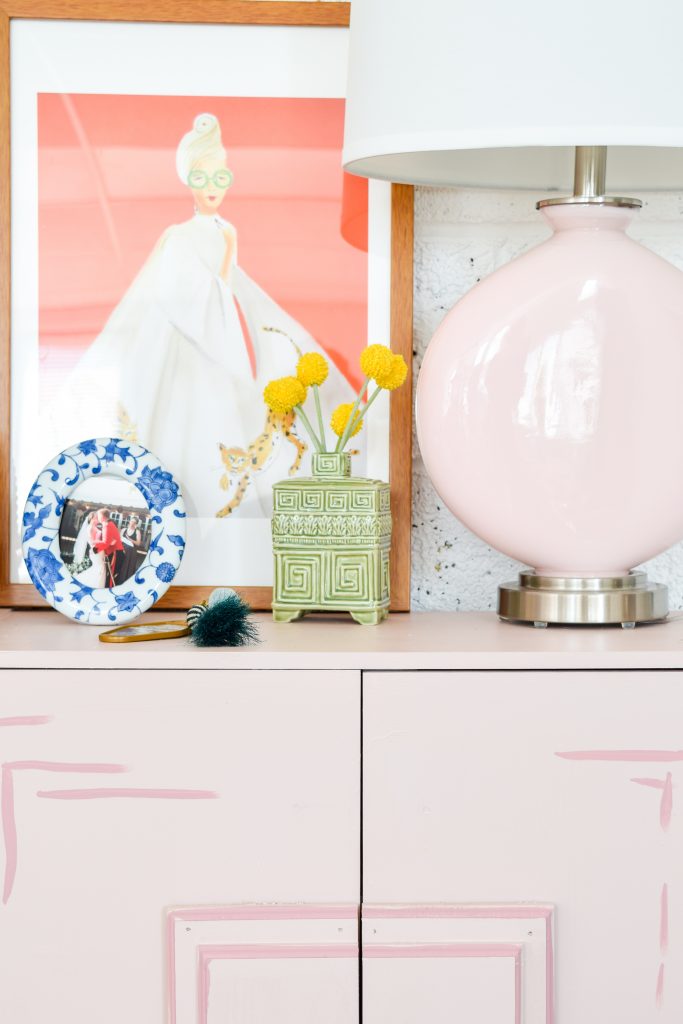
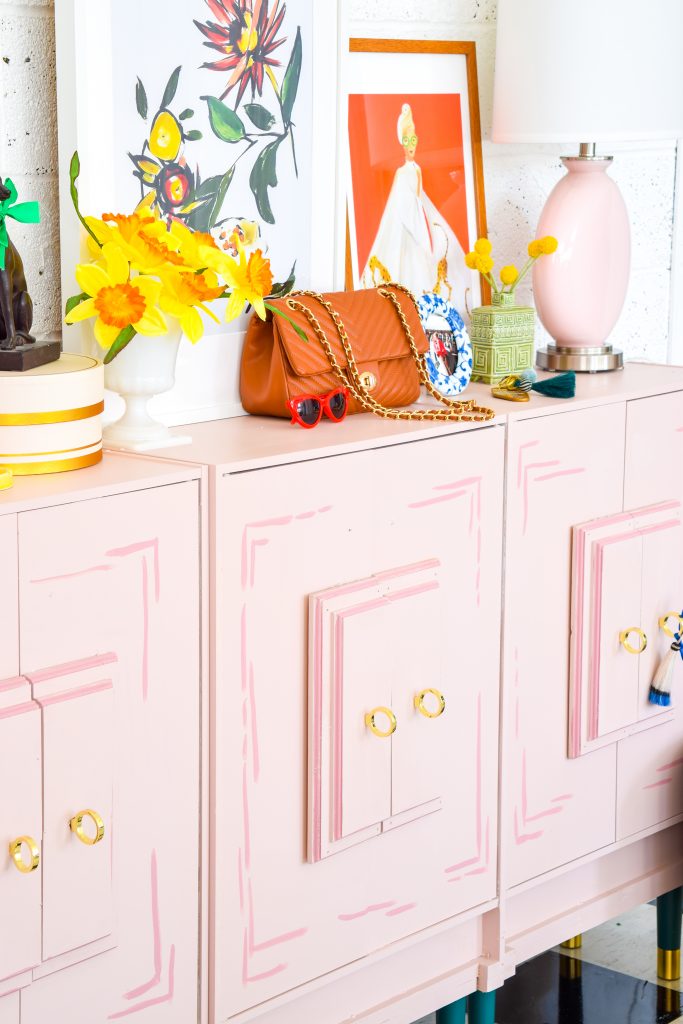
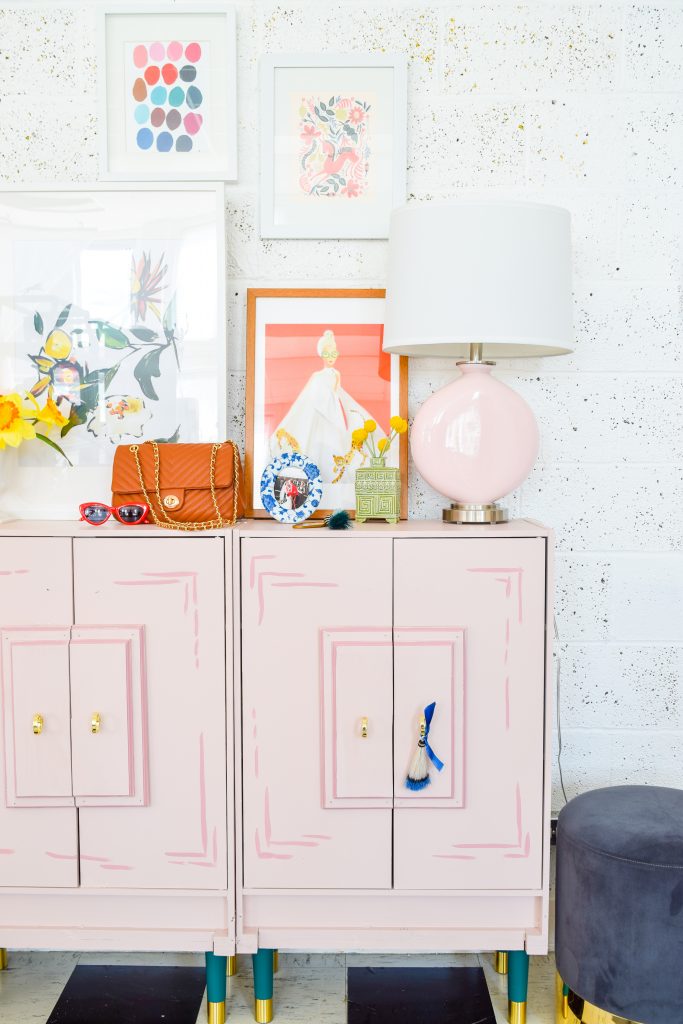
The Rose Pink Carrie Table Lamps from Lamps Plus are a revelation. The entire Color Plus collection are made to order, and come in a variety of other shades and colours. You can find something for everyone, and I was glad to be able to match them to the paint colour. How perfect is that?!


Wow! This is stunnng! I love everything about this! Thanks for introducing us to Pretty Pegs – what a cool company with tons of style! Thus is on my to-do list!
Oh I’m so glad you liked it! Pretty Pegs is FAB, and they’ve got such a lovely variety too – there’s something for everyone!
Le gasp. le stare. le drool.
so glad I found you at haven…i feel like now I have to go through however many years you have been blogging and pin everything.
LE JOY! hahah
I’ve been doing this for 5 years, but trust me, only the last 2 years are really worth it 😉
Gasp! Gimme gimme. I love this so much I can’t stand it. This is such a Beautiful and fun idea. Id love to try it in some of the more formal spaces in our home to bring a bit of lightness and whimsy.
You absolutely should! And it’s so easy to do!