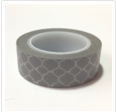
While cruising through the endless wonder of the Etsy crafting pages, I decided to give washi tape a try! I’ve got a bit of a magpie mentality when it comes to these kinds of things, especially if they cost about 3$ a roll (for 10M), so I ordered a dozen rolls for future projects.
After my purchase, I experienced a sudden pang of guilt at the fact that I had no immediate project to use it in, I googled “washi tape projects” and found this lovely post on Buzzfeed.
Skip to the second one – the washi tape door borders. I have no need for another icecream cone necklace, and neither should you!
TIPS for choosing your wash tape for your washi tape door borders:
– Choose lightly patterned tapes that will look good at every angle. ex. repeating motifs vs. oriented images/symbols.
– Choose colours that match (for the most part) the interior colour scheme of the rooms, and will not violently clash if you close all the doors and look down the hallway. ex. Blues and greys, with a crazy purple triangle colour for the guest room (because reasons.)
– Pick a design that will look good on your door size! I chose one that would add dimension to our very flat, very boring, white doors. I made a mistake in doing the same design on our much narrower bathroom door and the result was less than pleasing. After consulting at length with DH on whether I should scrap the door’s frame entirely, I rectified the situation by adding an extra border around the four outer corners.
THE PROJECT:
As they suggested in the post, I began by mapping-out the design on the door with painter’s tape. I used a measuring tape and a pencil to draw a series of little dashes on the door and mark the corner where the details would count.
TIP: This can take a while, so once you get a rythm going, maybe do both sides of the door?
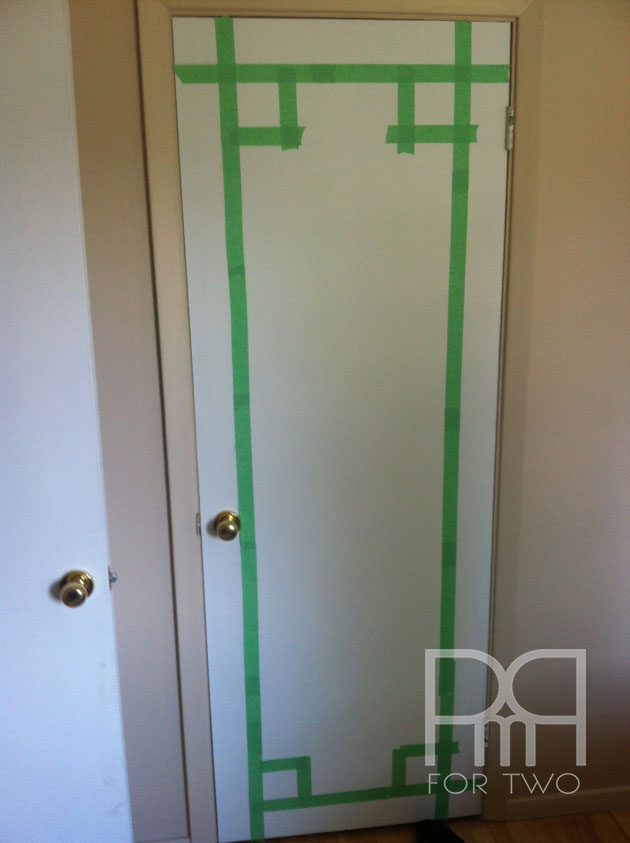
Next, I in-laid the washi tape along the inner lines of the painter’s tape. Pressing down on the tape as I went, and crossing the ends over each-other to ensure continuity, proved best. I peeled-off the green tape when I was done.
TIP: You will go through a LOT of painter’s tape depending on how many doors you have. Consider keeping some big bands that can just be re-applied to the next door? It will stick to almost anything.
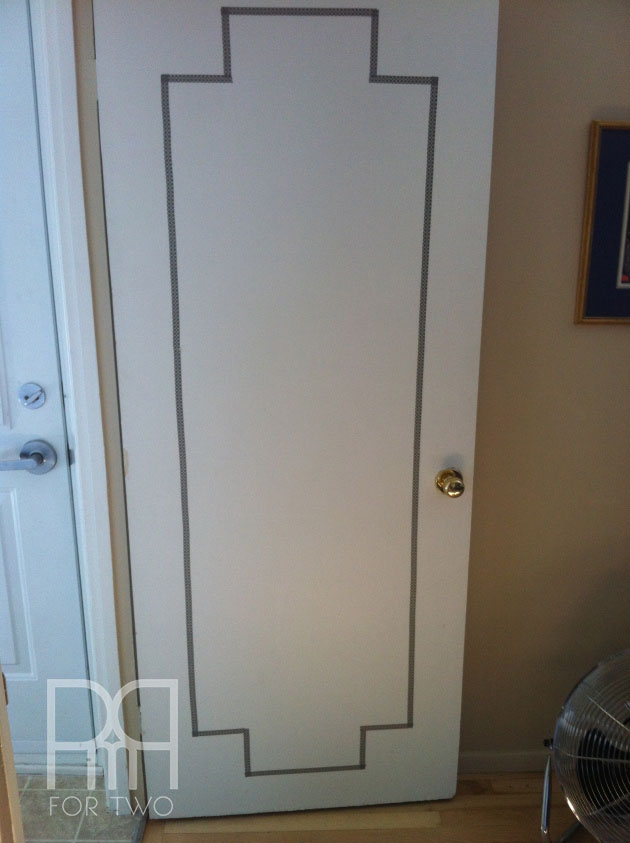
To clean-off the pencil traces – as well as any dirt transfer I might have caused by putting my hands all over our pristine white doors – I took a Mr.Clean magic eraser and cleaned-off any traces of the pencil, or dirt, or paw marks. Our doors were much prettier for the effort!
TIP: This might stain your doors if they are any colour BUT white. Keep that in mind!
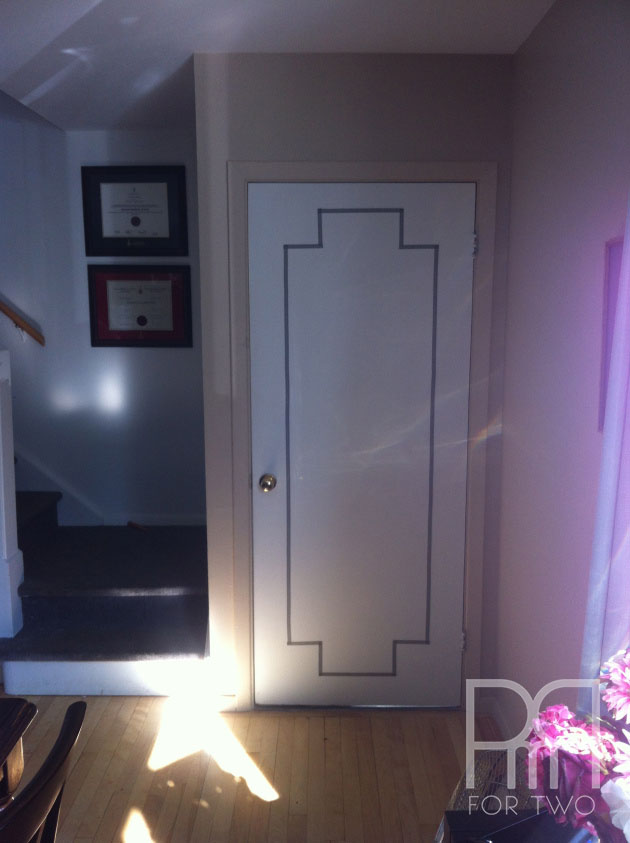
I did pretty much the same design on all the doors in the house: the entry-way door, the bathroom, bedroom, bedroom closet, guest room, and living room. I chose doors that would create key pops of colour, and add dimension spaces that were otherwise under-utilised by none-the-less important.
TIP: Do not do the back of the door (i.e the part inside the room) if the door is a) almost always open (who will see it then?) b) there are clothes hooks on the back (won’t all your clothes wear the tape off?) c) The pattern really just doesn’t match the colour palette for the room, even if the colour does
Finished product!
TIP: I applied the tape on a rather humid day, so the corners and ends of tape starting coming undone not long after I applied them. DH suggested going over the tape with a bread tab to flatten everything down. I waited for the next (less humid day) and did as he suggested to much success! I’m sure you could spray a varnish or top coat on though for greater effect.
In the end I was very pleased with the project and the total cost. You can’t do much for under 5$ these days, but washi tape door borders is definitely one of them.
Enjoy!