


Raise your hand if you really dislike the light switches in your home. If you’re a renter like me, the prospect (or even process) of swapping light switches for something more stylish, is made even more complicated because you can’t move things around. Not anymore though. Remember my easy to install furniture power units post? Well I partnered with Legrand again, but this time to showcase the light switches from their radiant collection. In under 5 minutes I swapped-out the light switch for a stylish Legrand switch, and now I’m obsessed.
*Legrand sponsored this post, but all thoughts are my own. Thank you for supporting the brands that make PMQ for two possible.


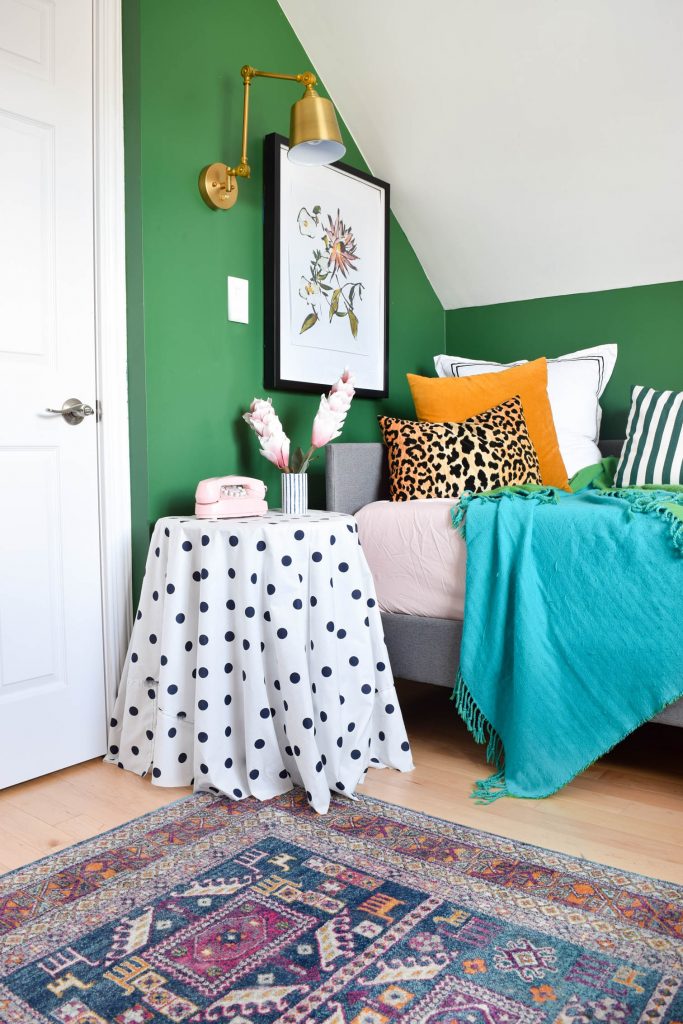
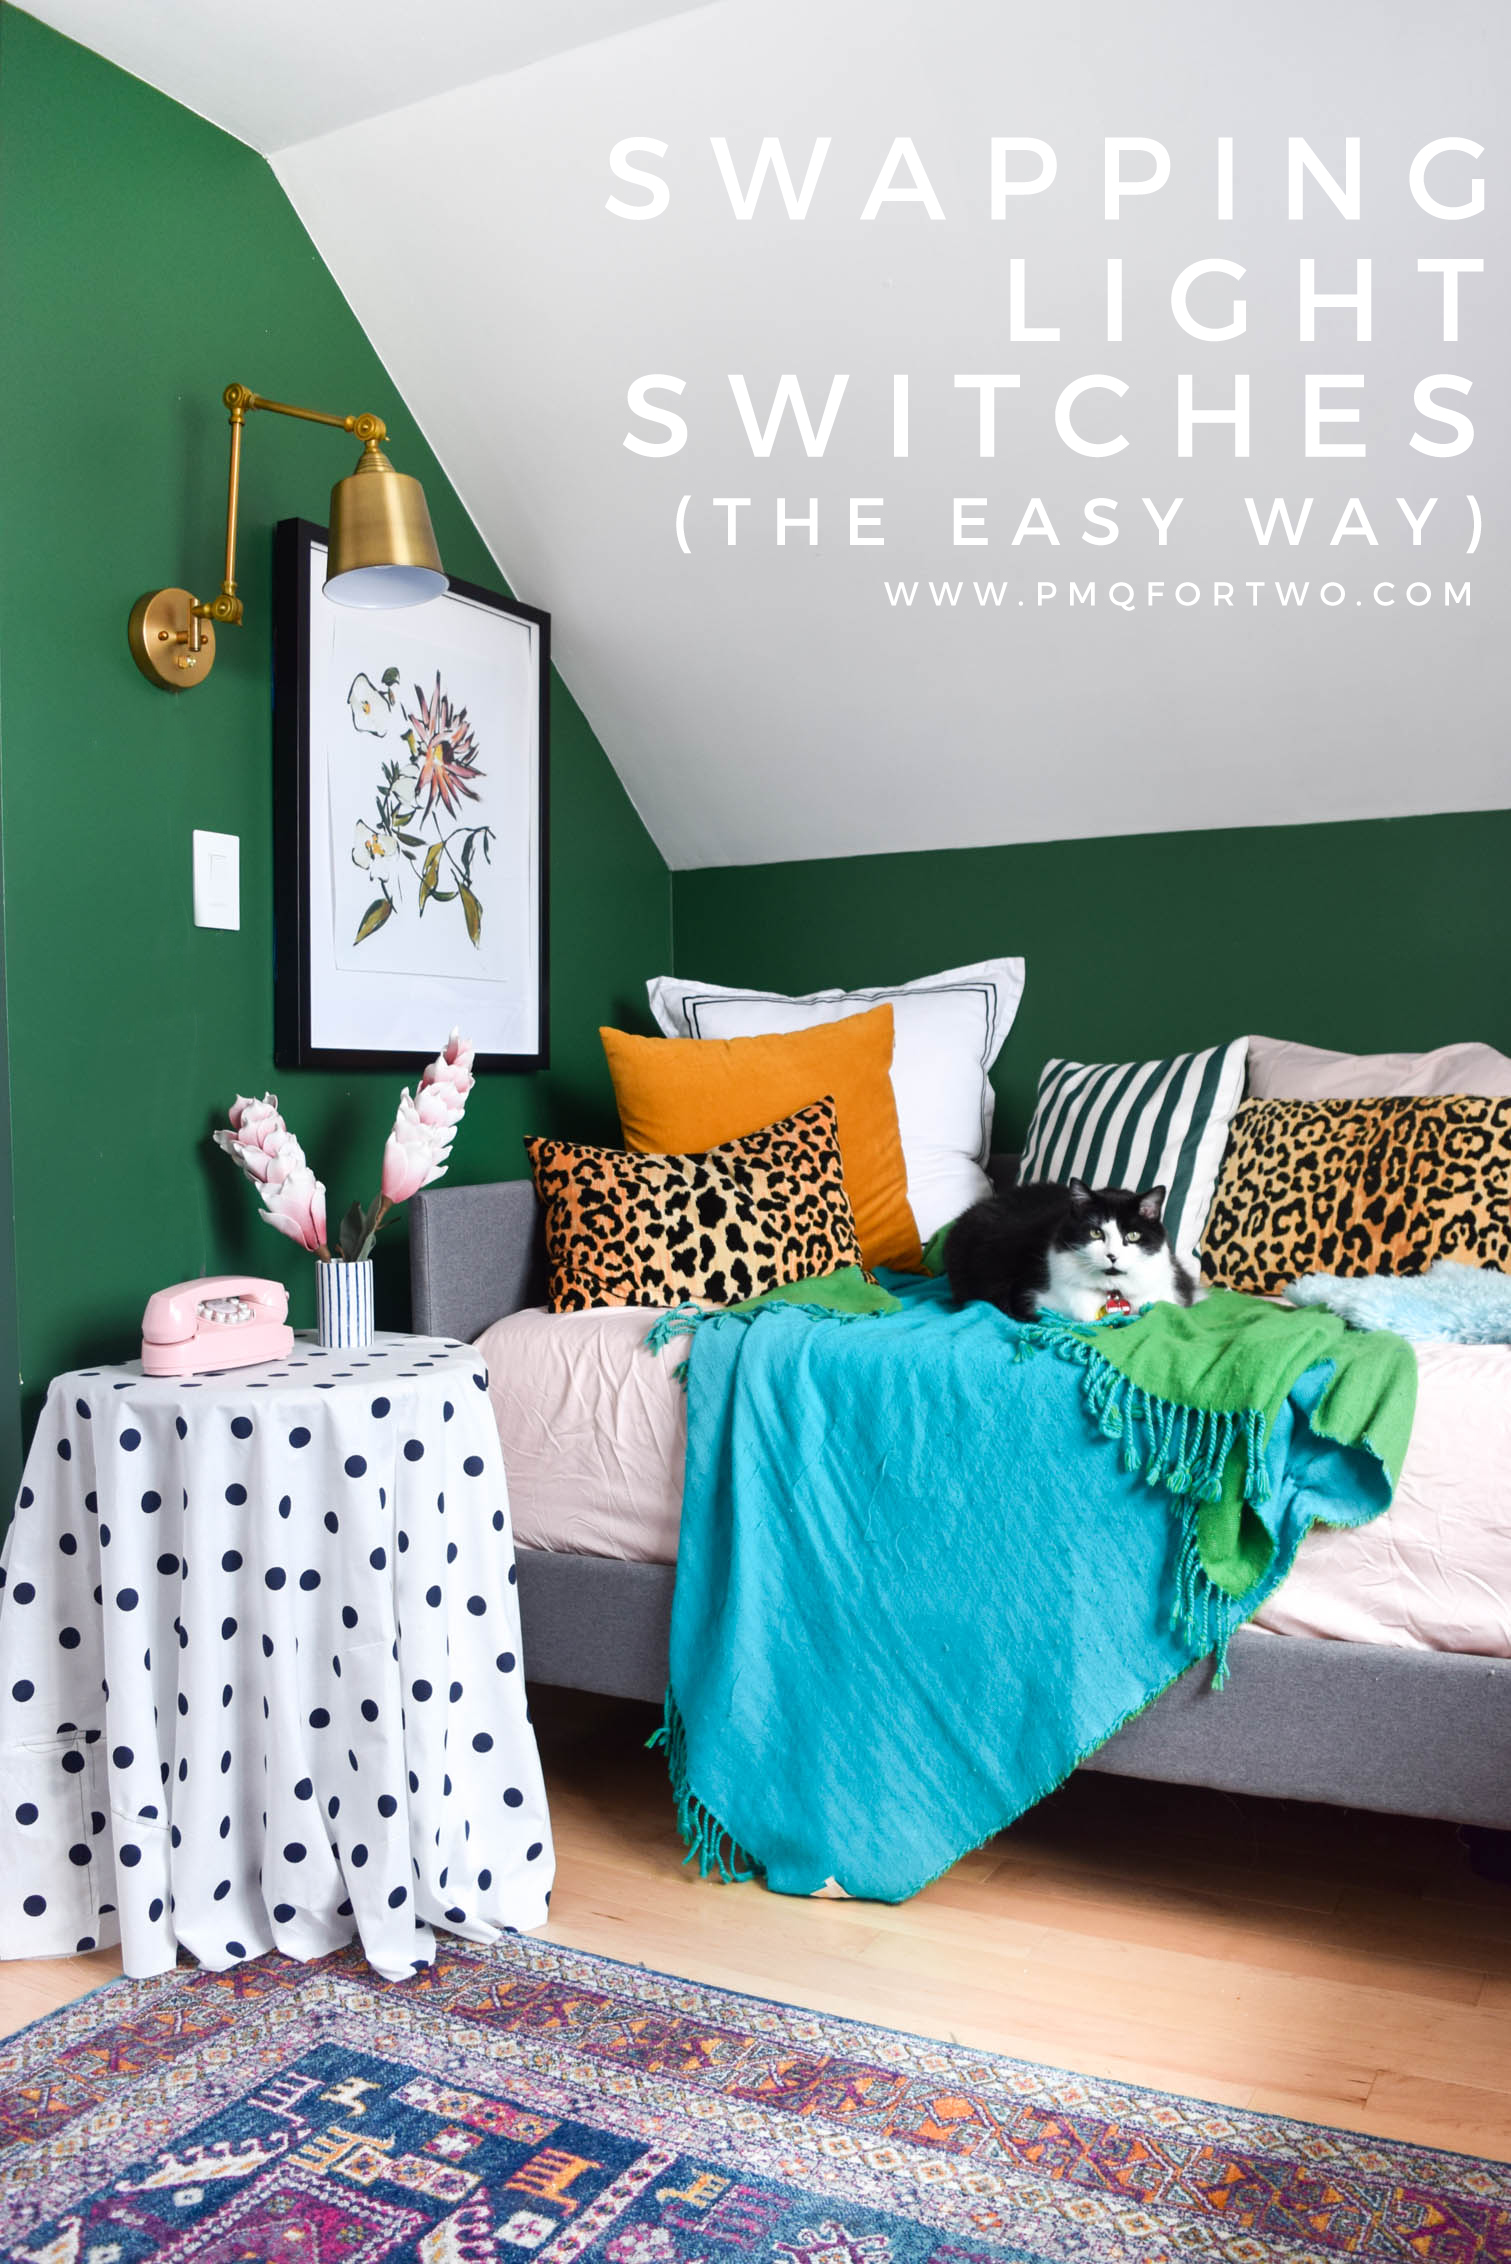
While we’re at it, this is also a sneak peek of the now completed guest room / office space that I’ve had in the works for way too long. You can catch the plans for that space // here //. Make sure you circle back on Monday to catch the full reveal!
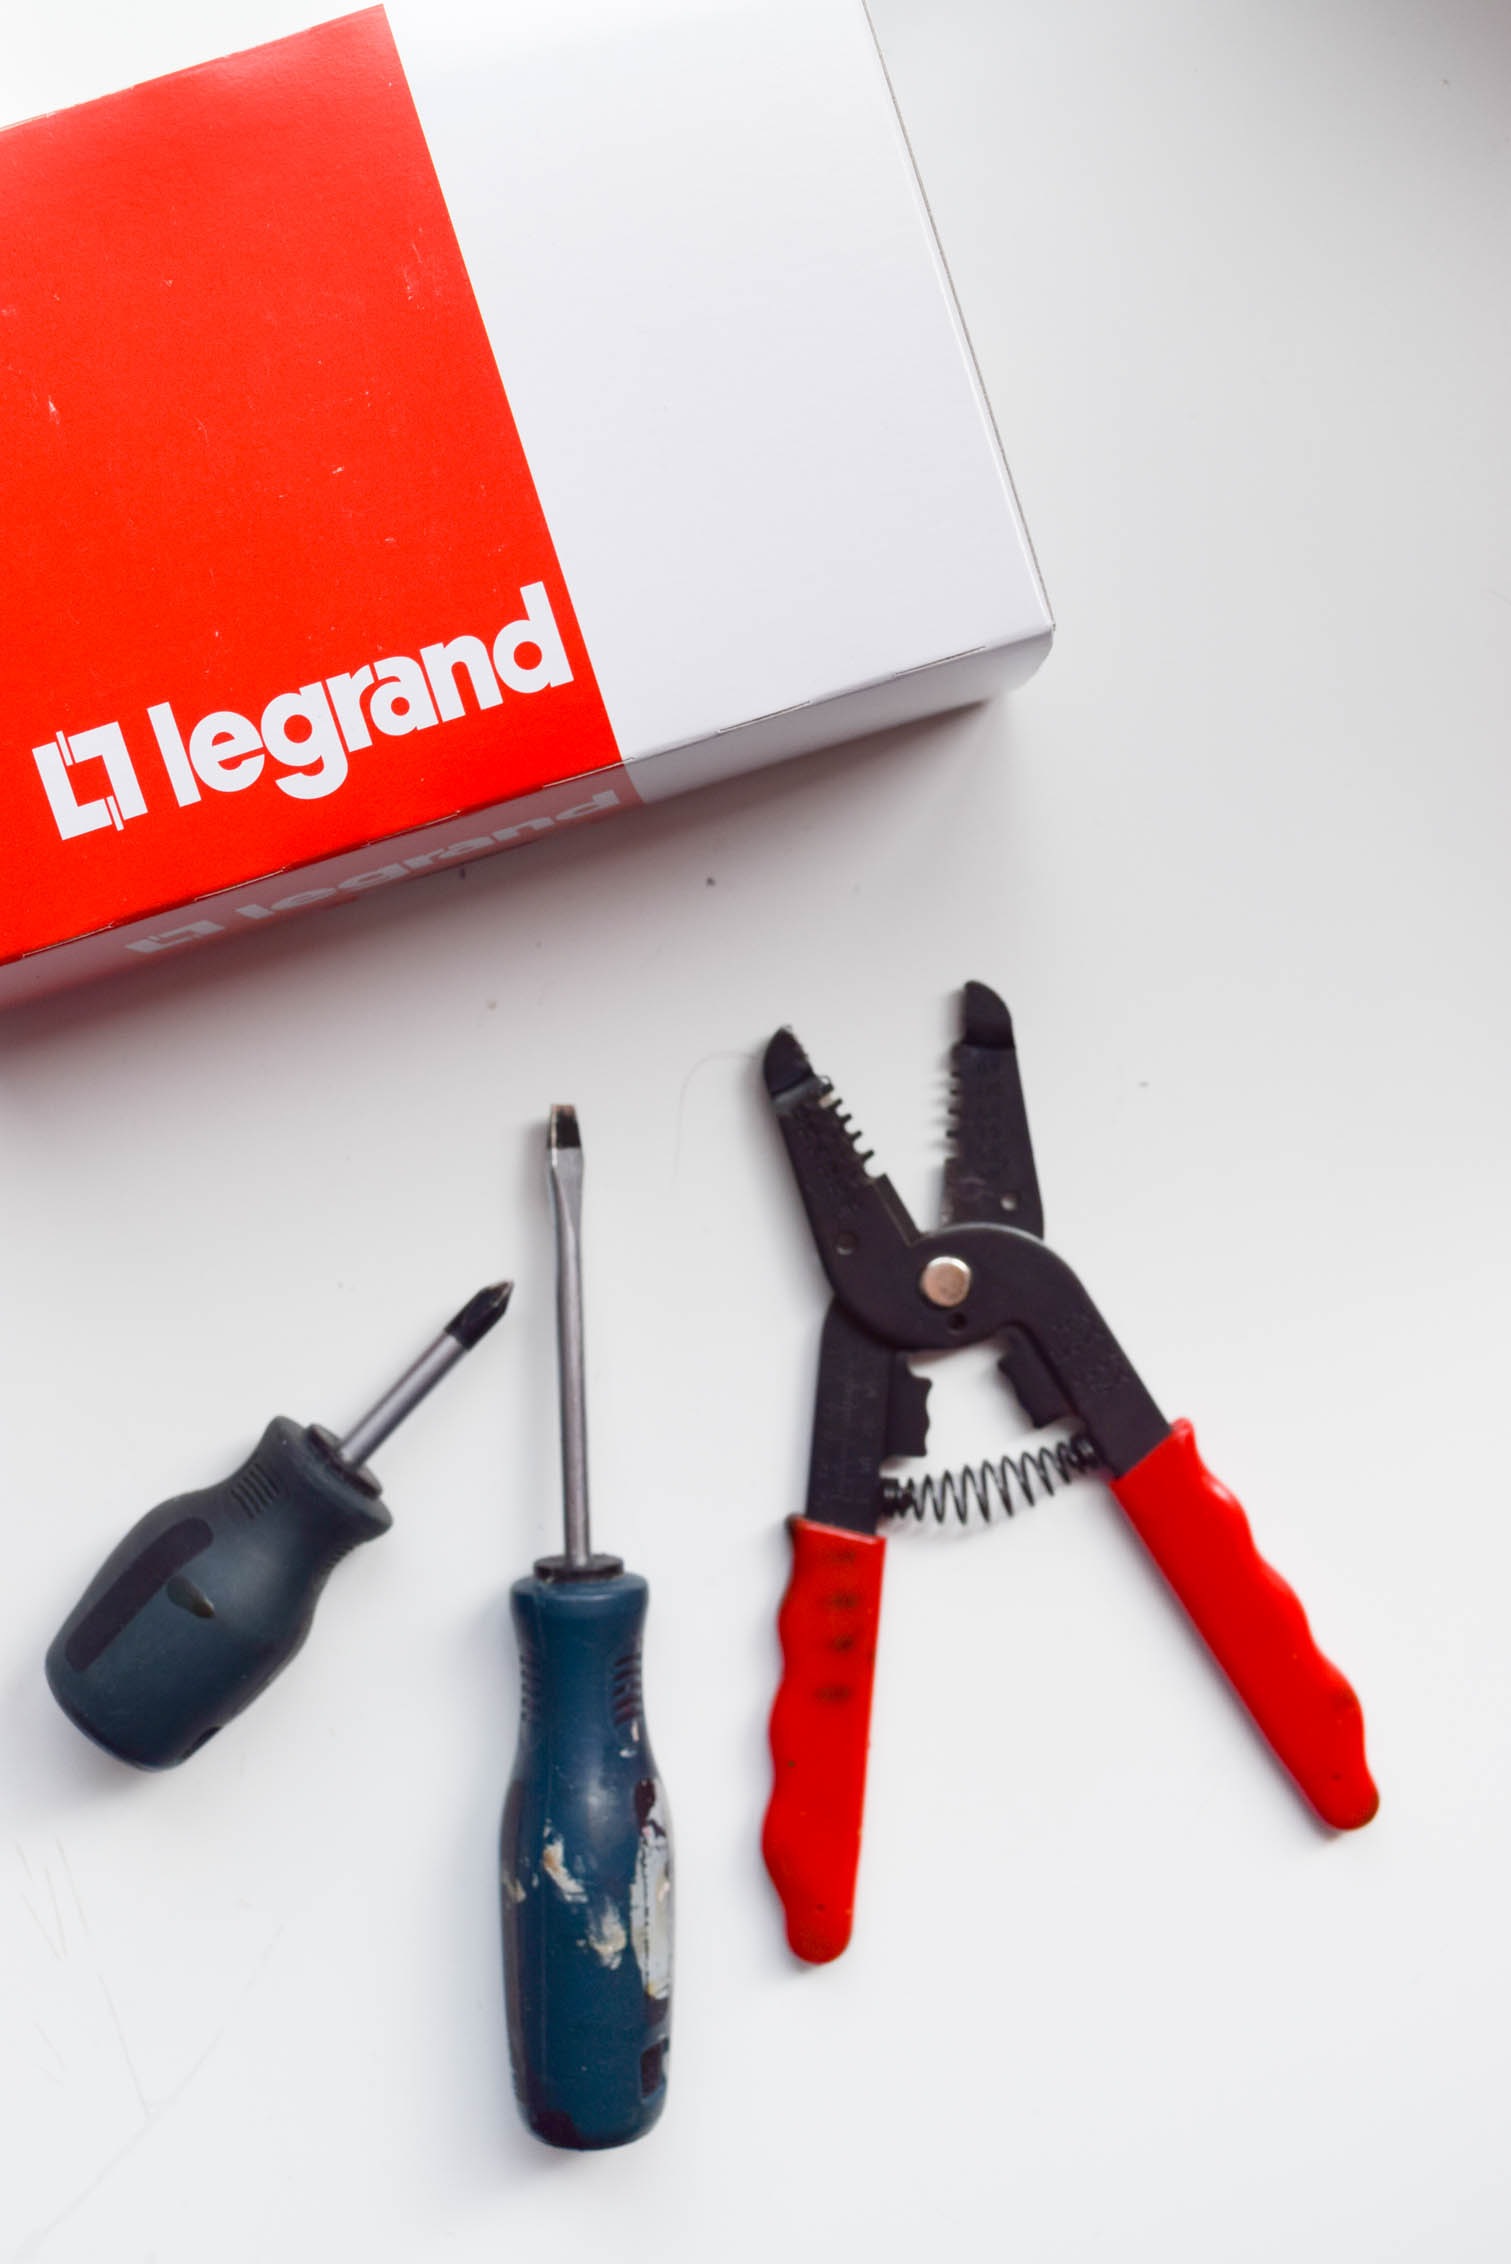
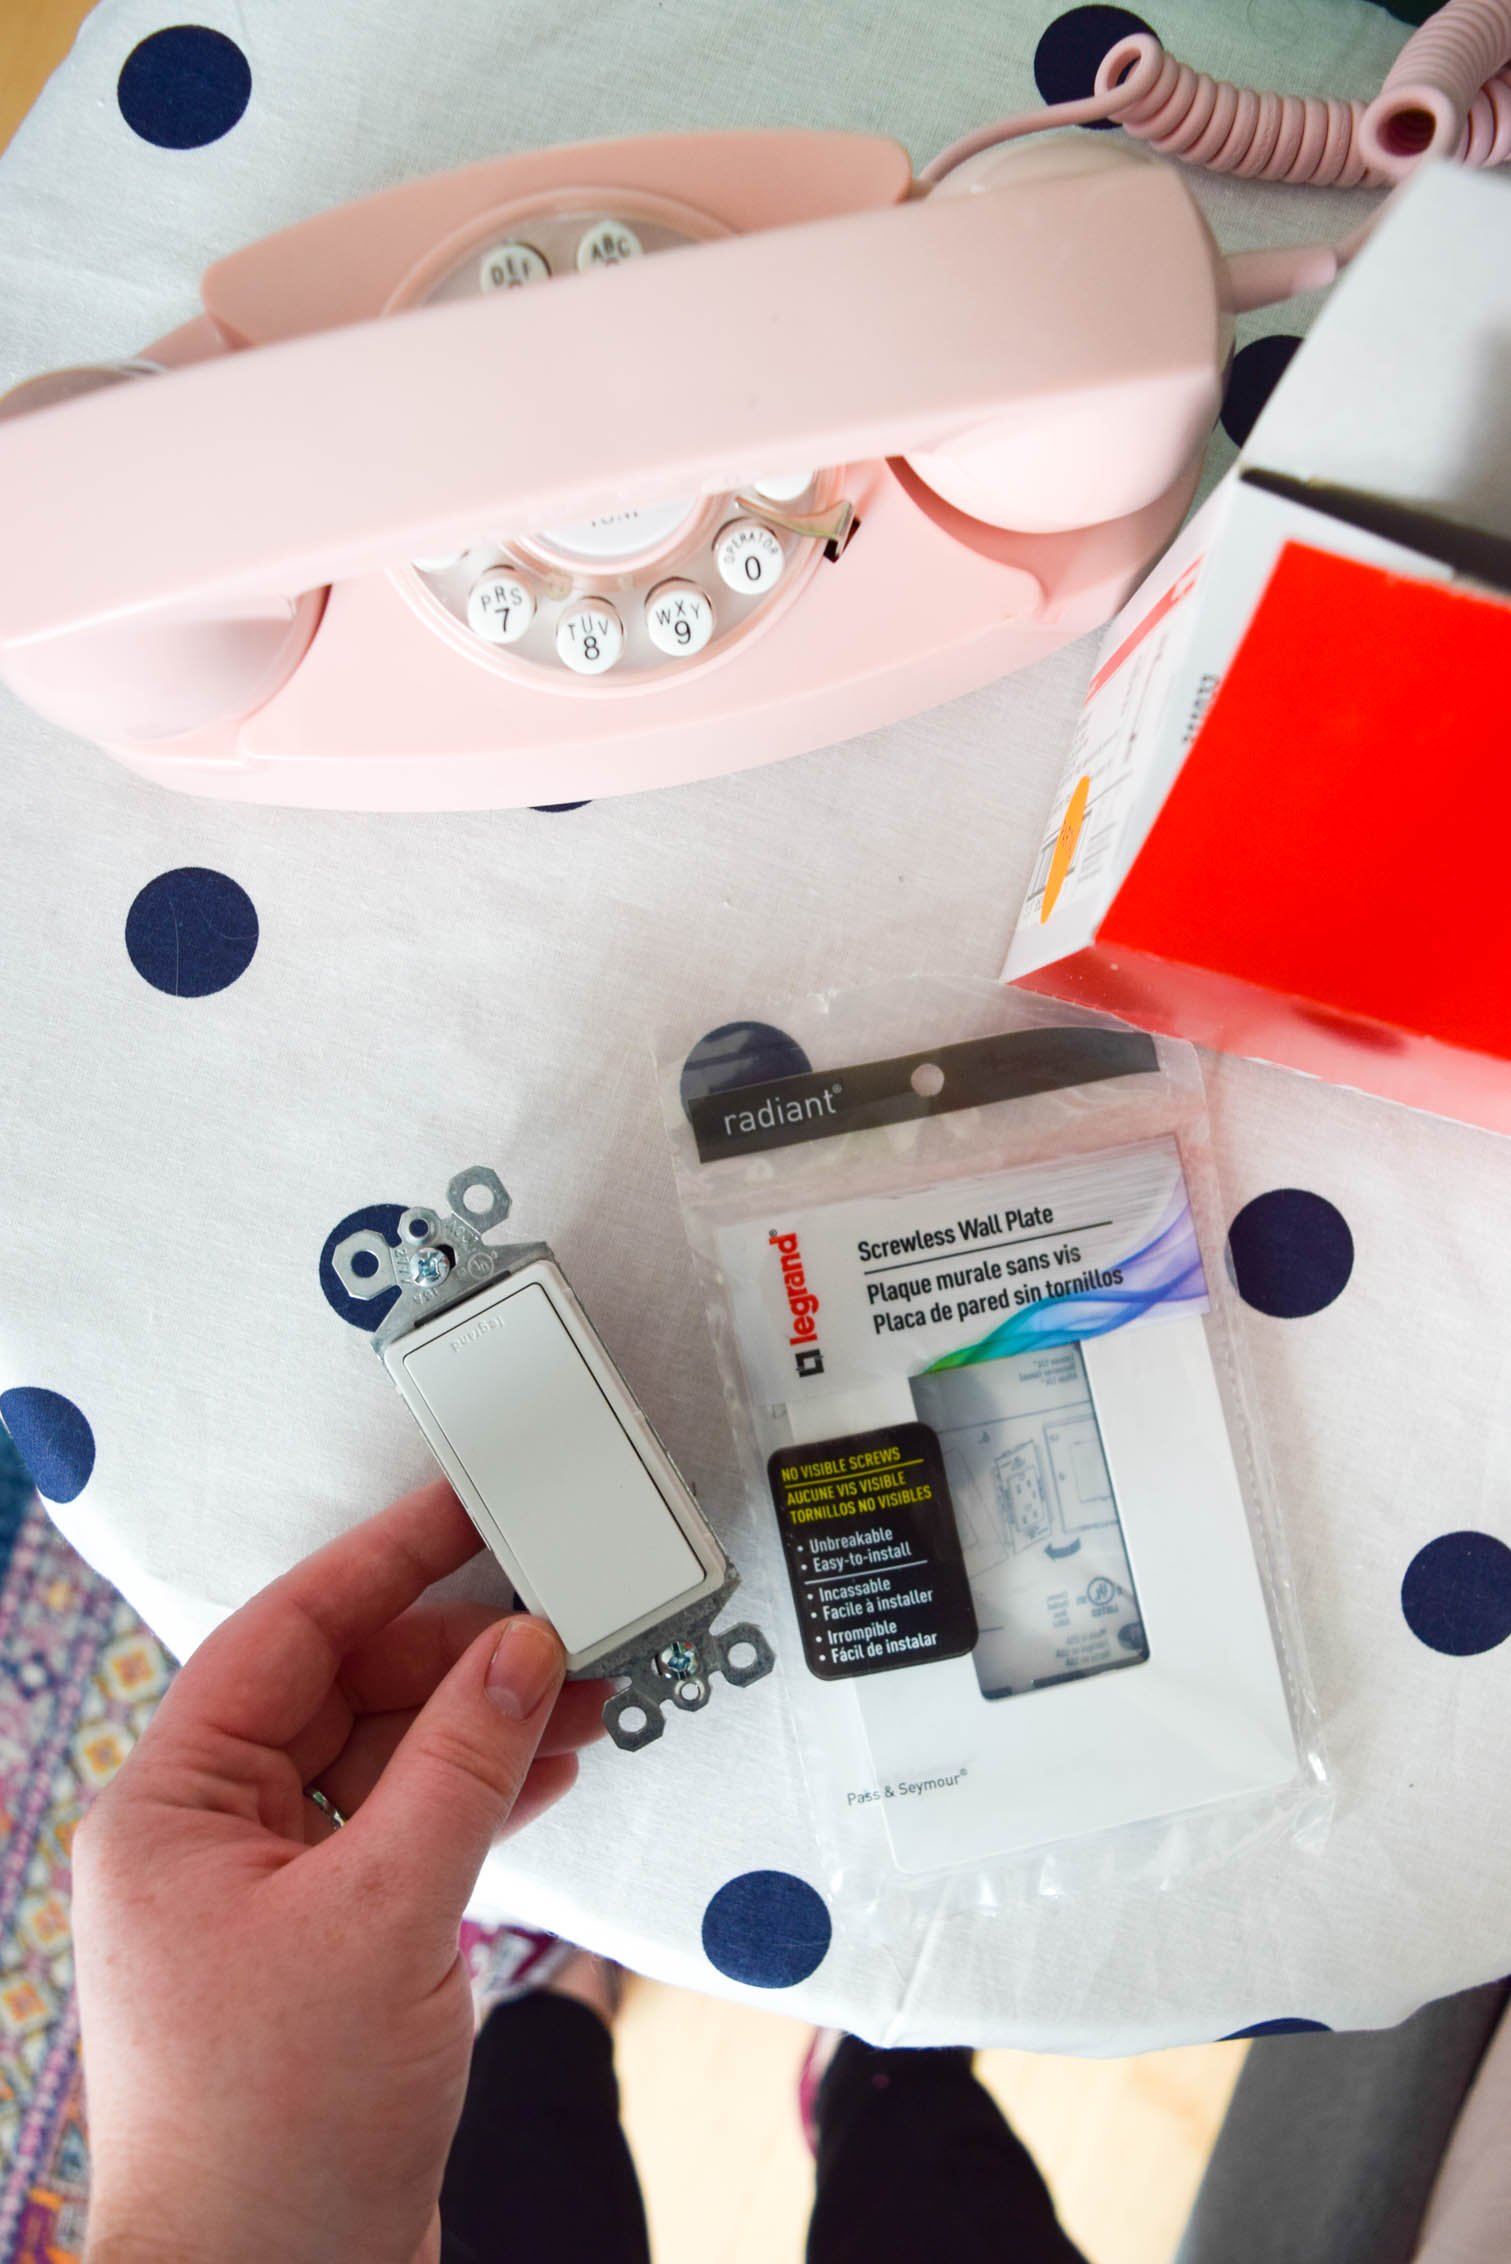
To begin swapping light switches you’ll need the following items:
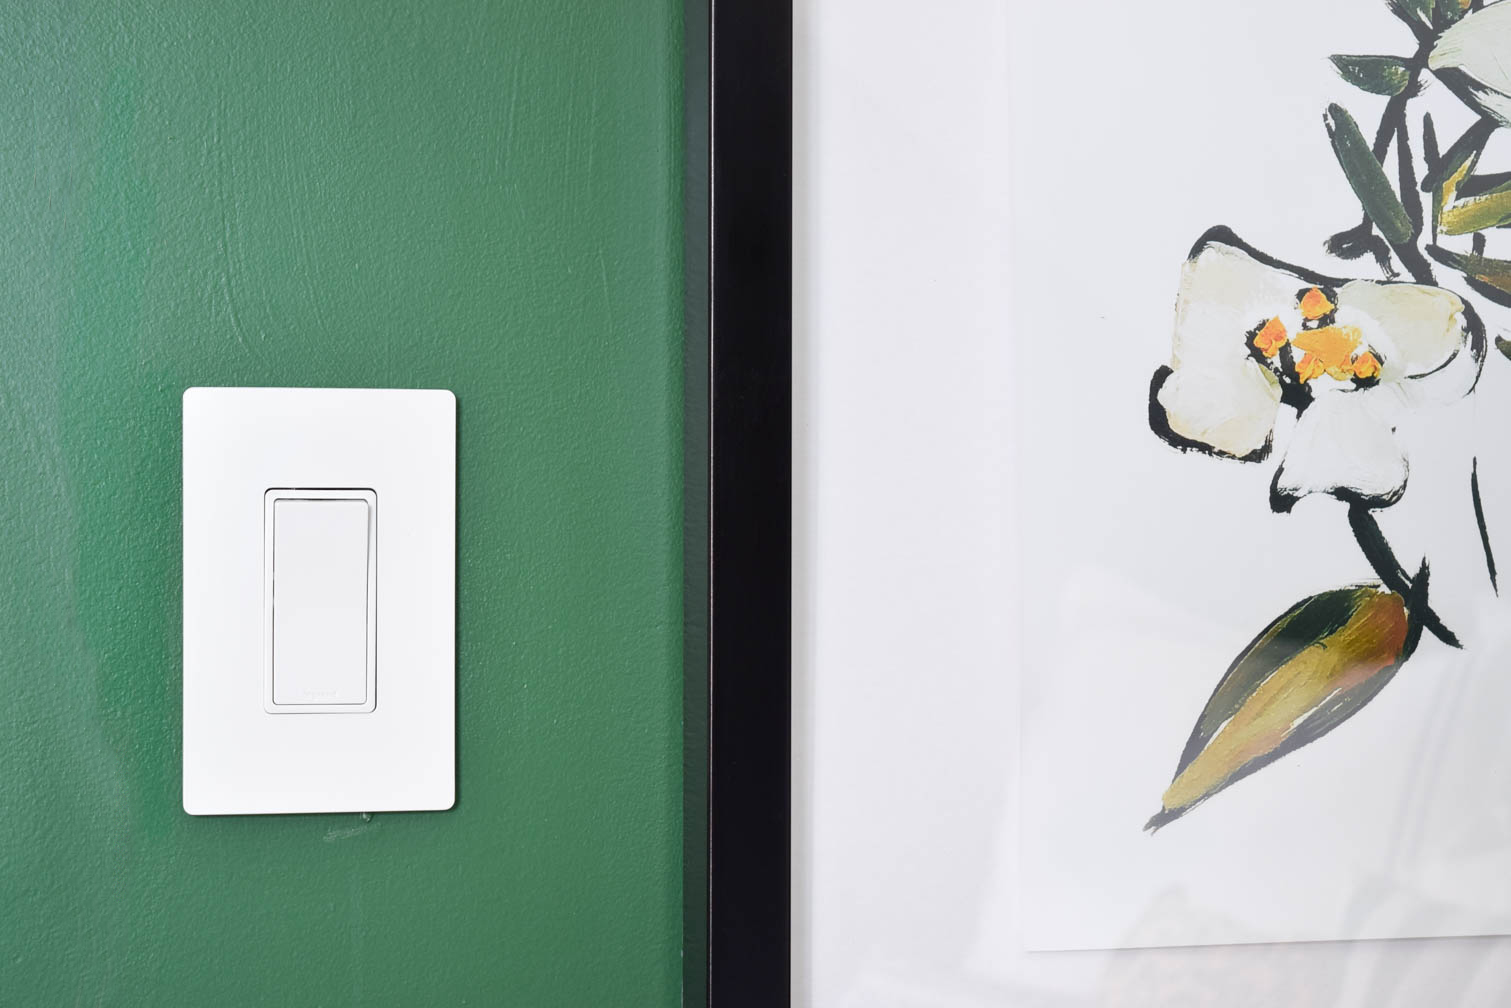
- 15A NAFTA Compliant Single Pole Switch (I went with white)
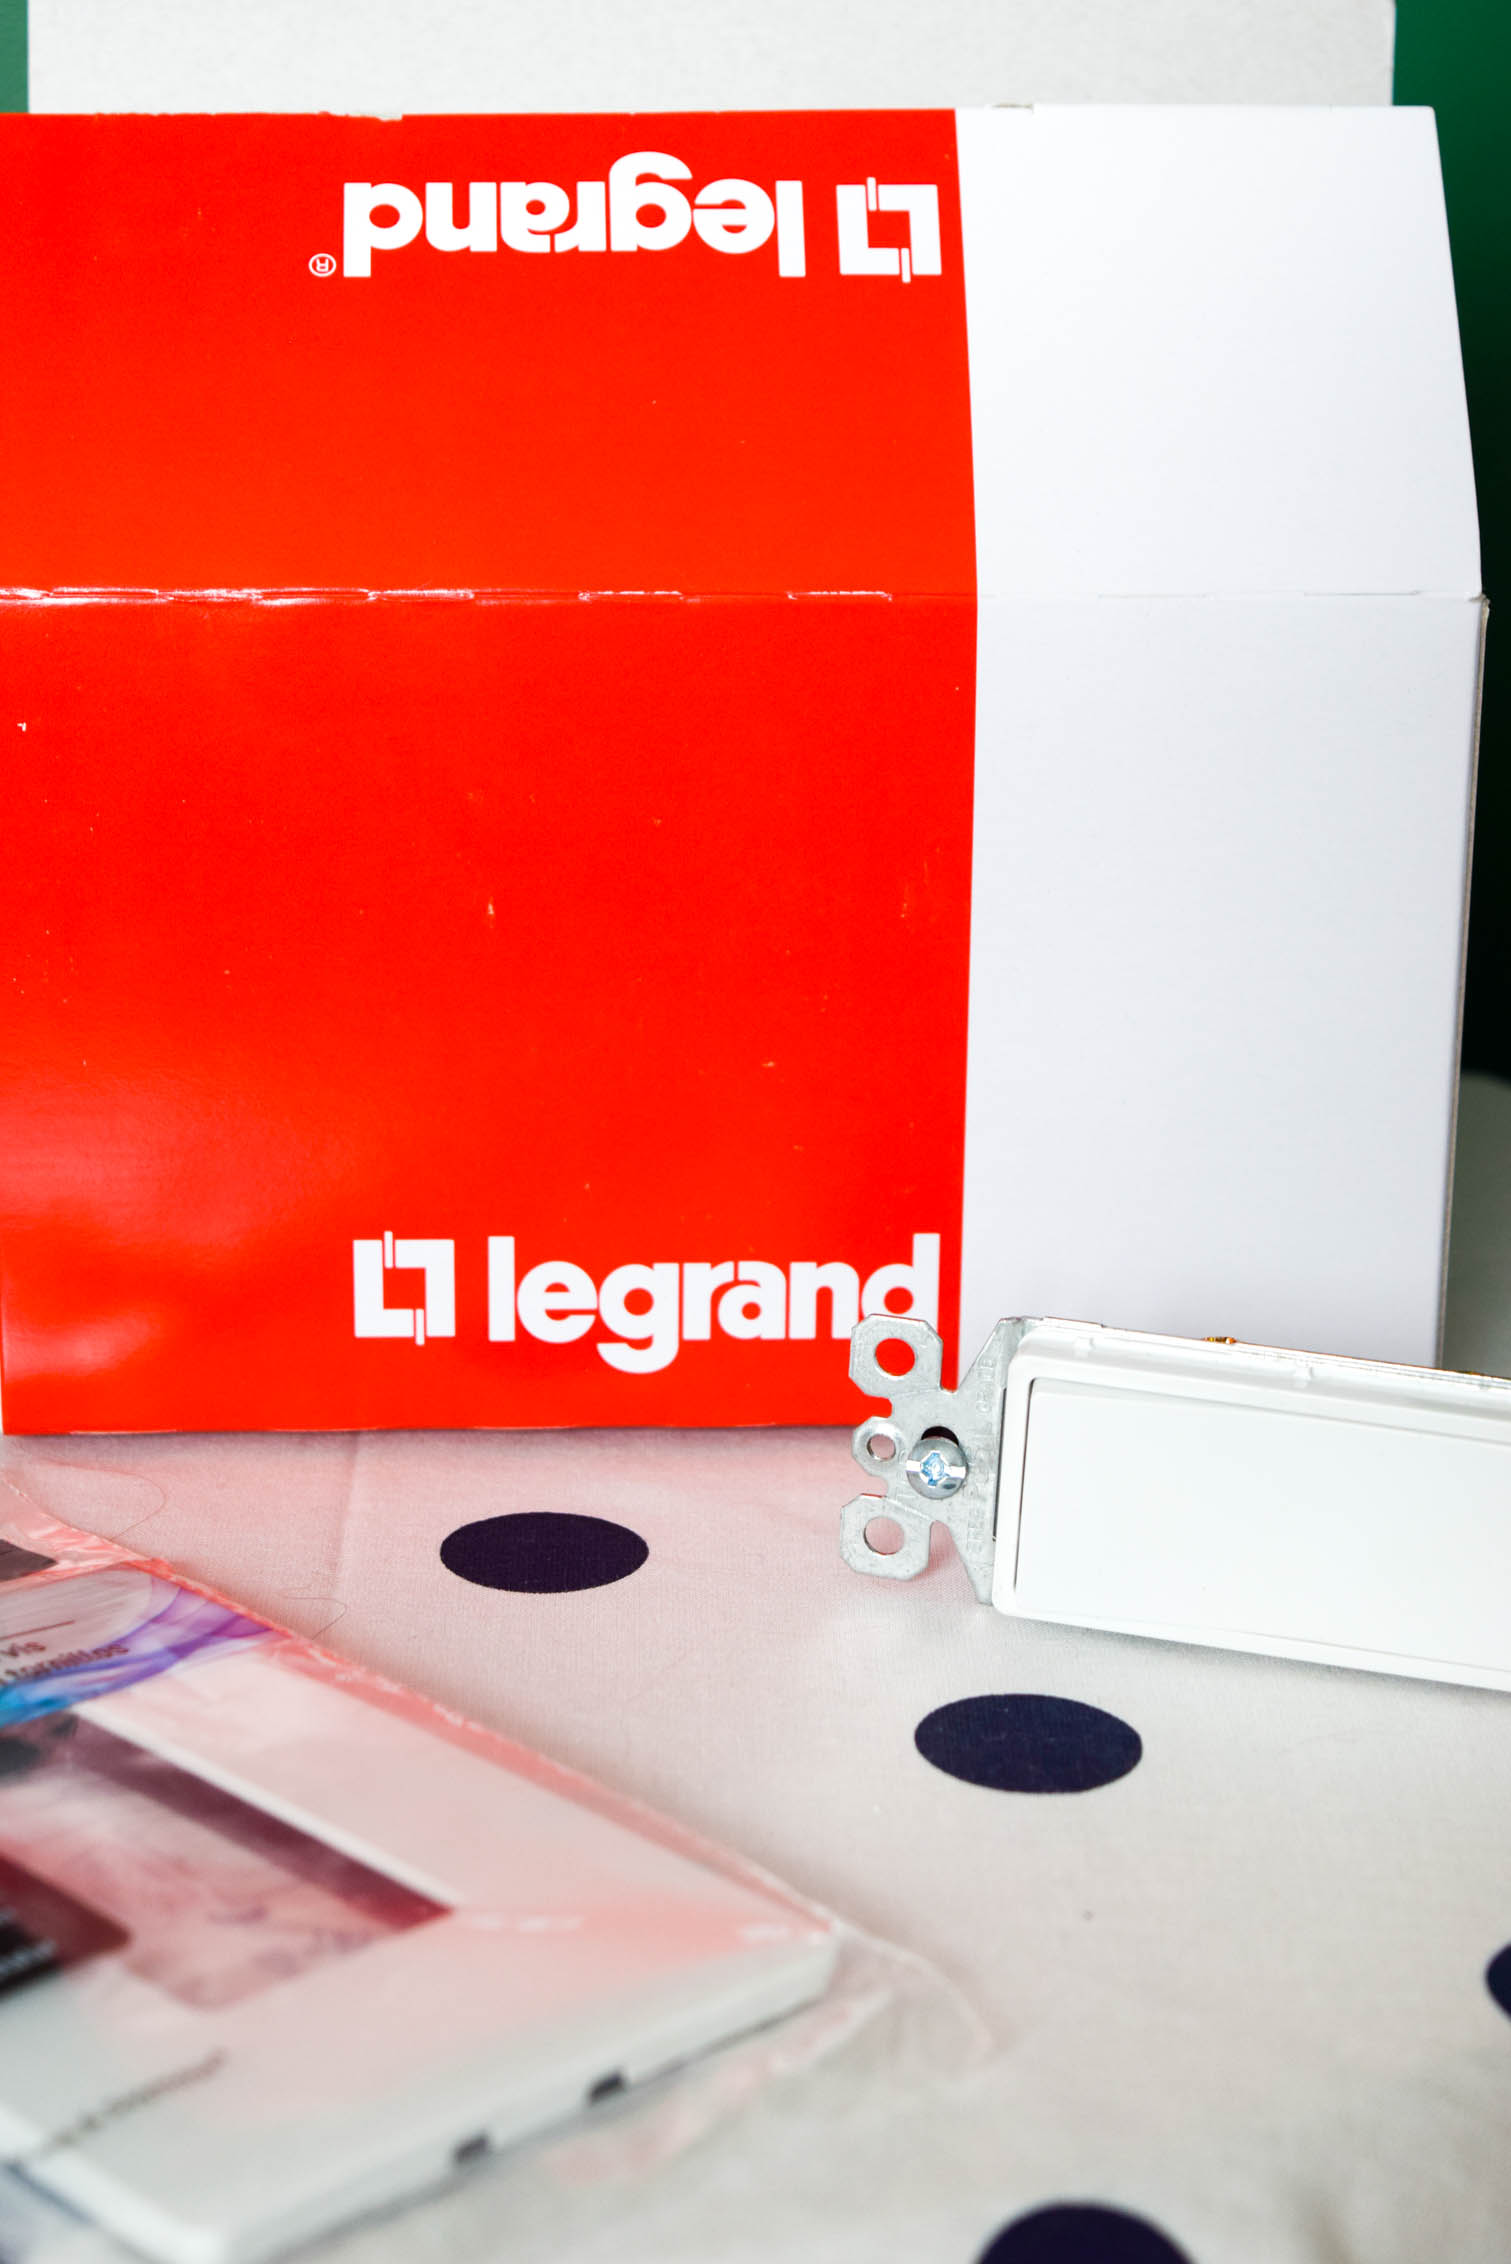
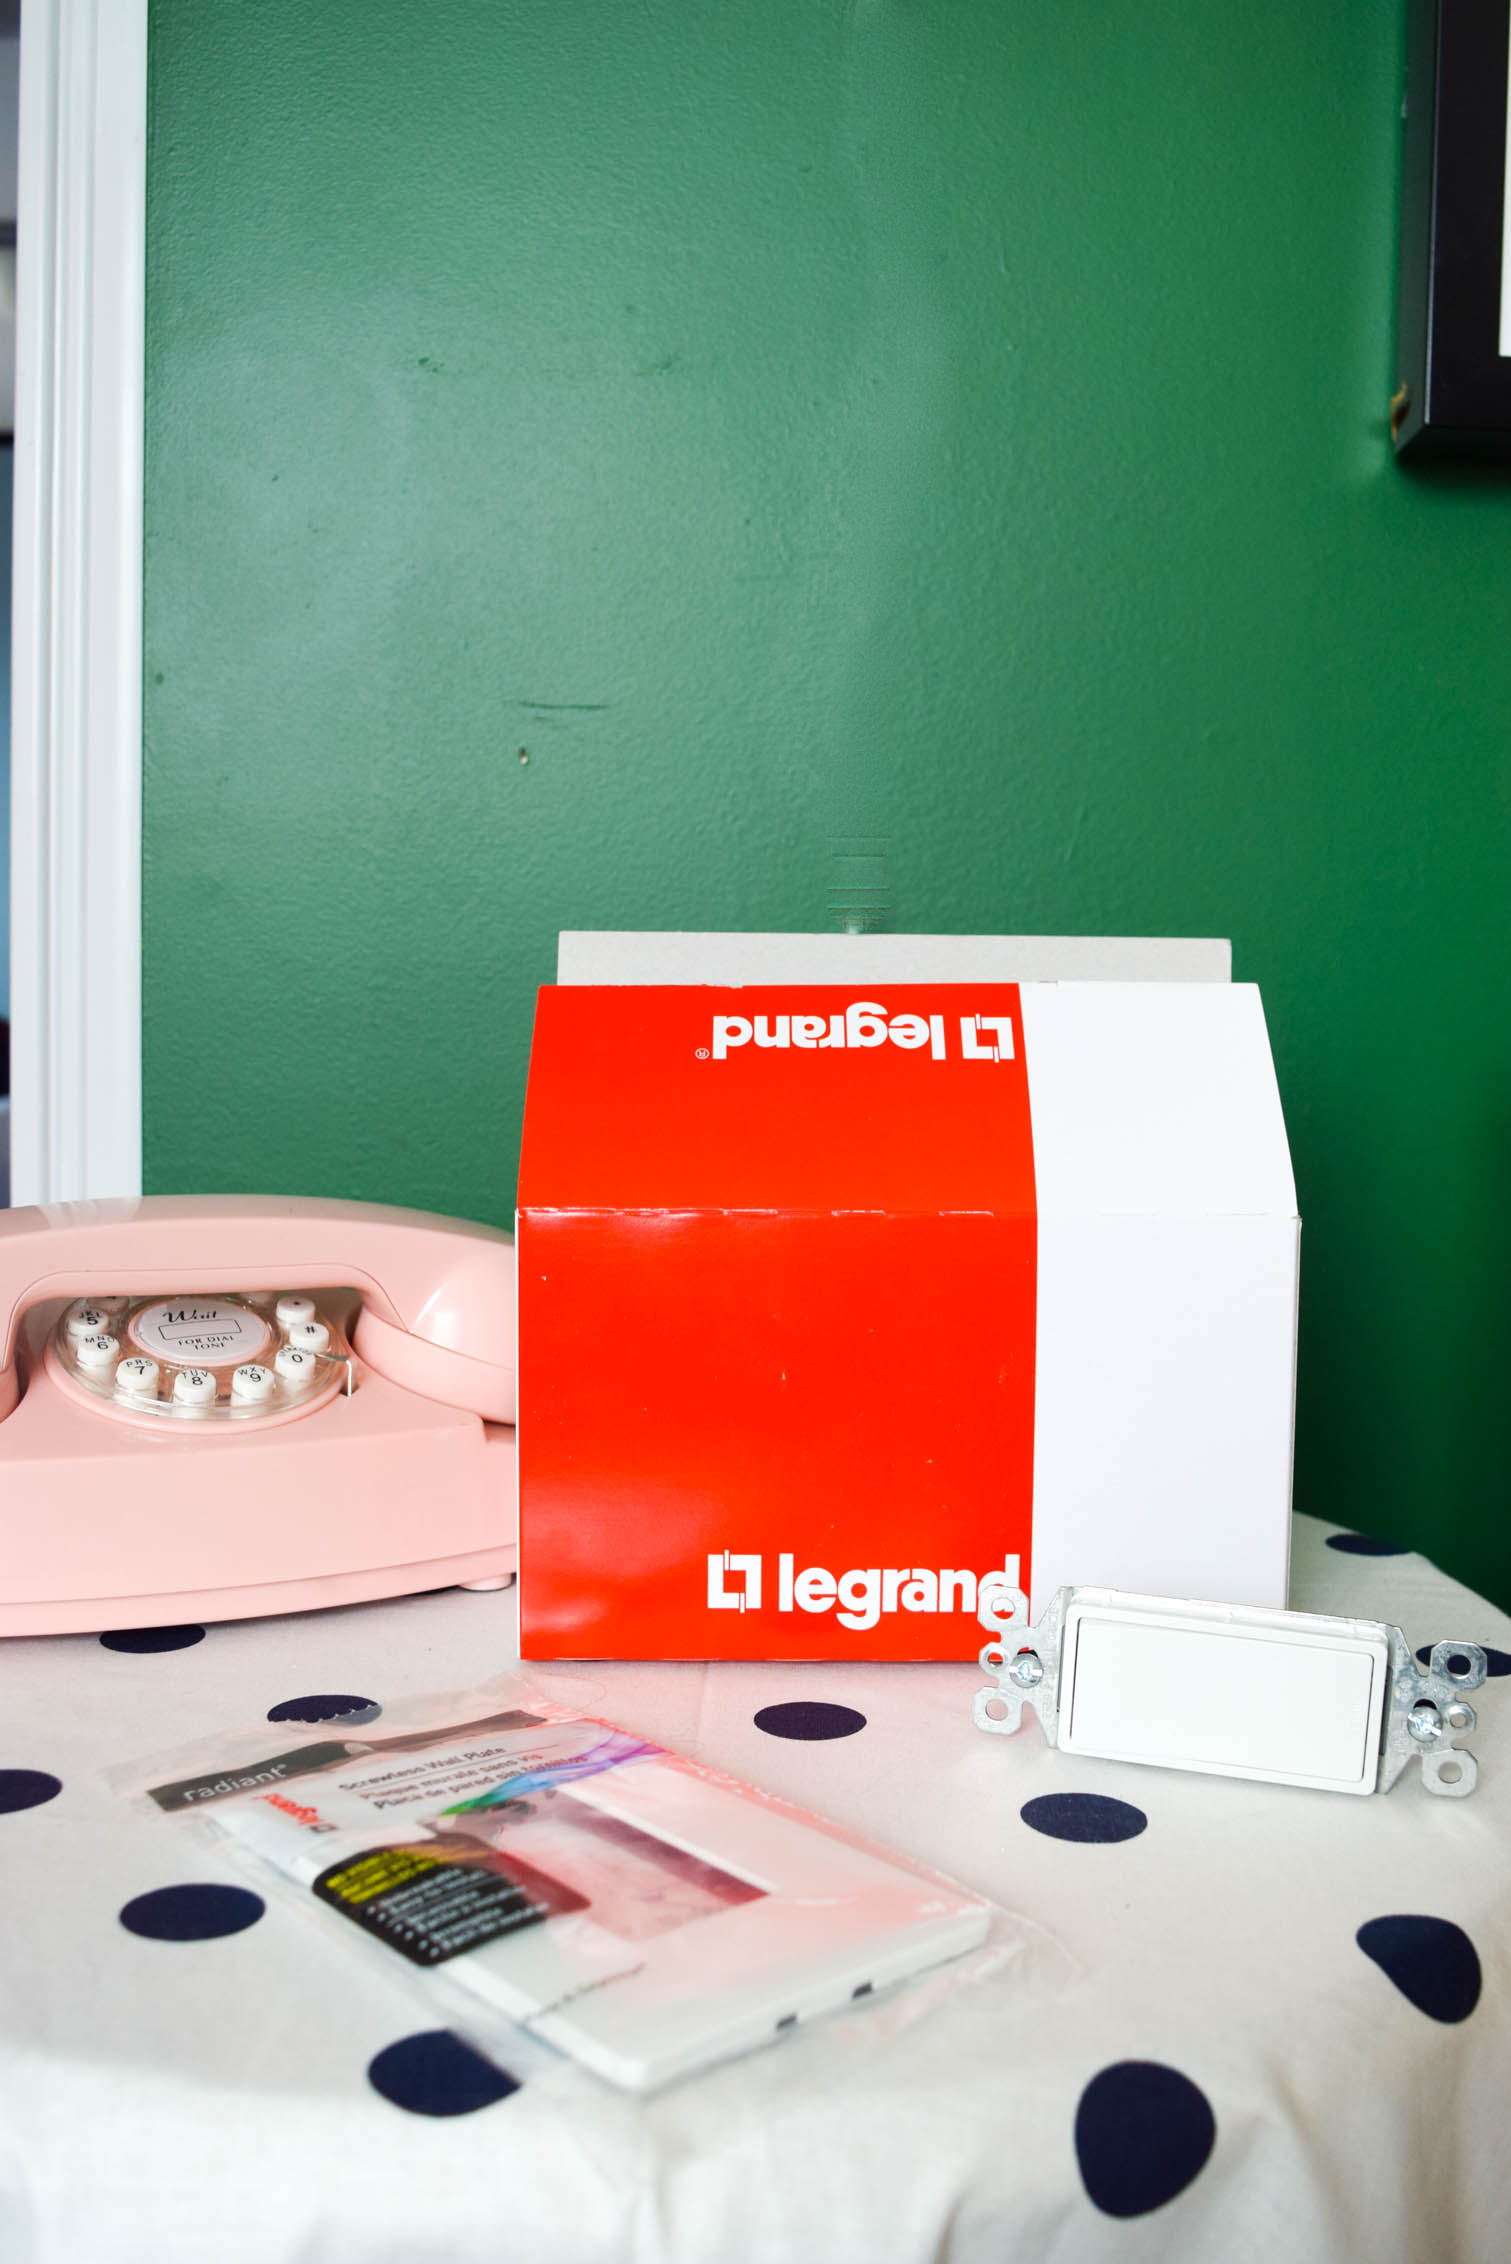
- One-Gang Screwless Wall Plate (I went with white, again)
- Flat Head Screwdriver
- Philips Head Screwdriver
- Wire Cutter / stripper
** Legrand has an entire Youtube video that shows you how to do it // here // but I’ve got the process below as well **
Step 1: Start by flipping the breaker off for the light switch in question. To do this I had Dan in the basement playing around while I looked at the light until it went out. Easy peasy.
Step 2: Remove the wall plate for your existing switch. If you’re a renter like me, you’ll need to place everything back when you leave, so don’t lose any of the screws! In fact, once it was all said and done, I just put the existing stuff in the Legrand box, tapped it up, and put it in the closet.
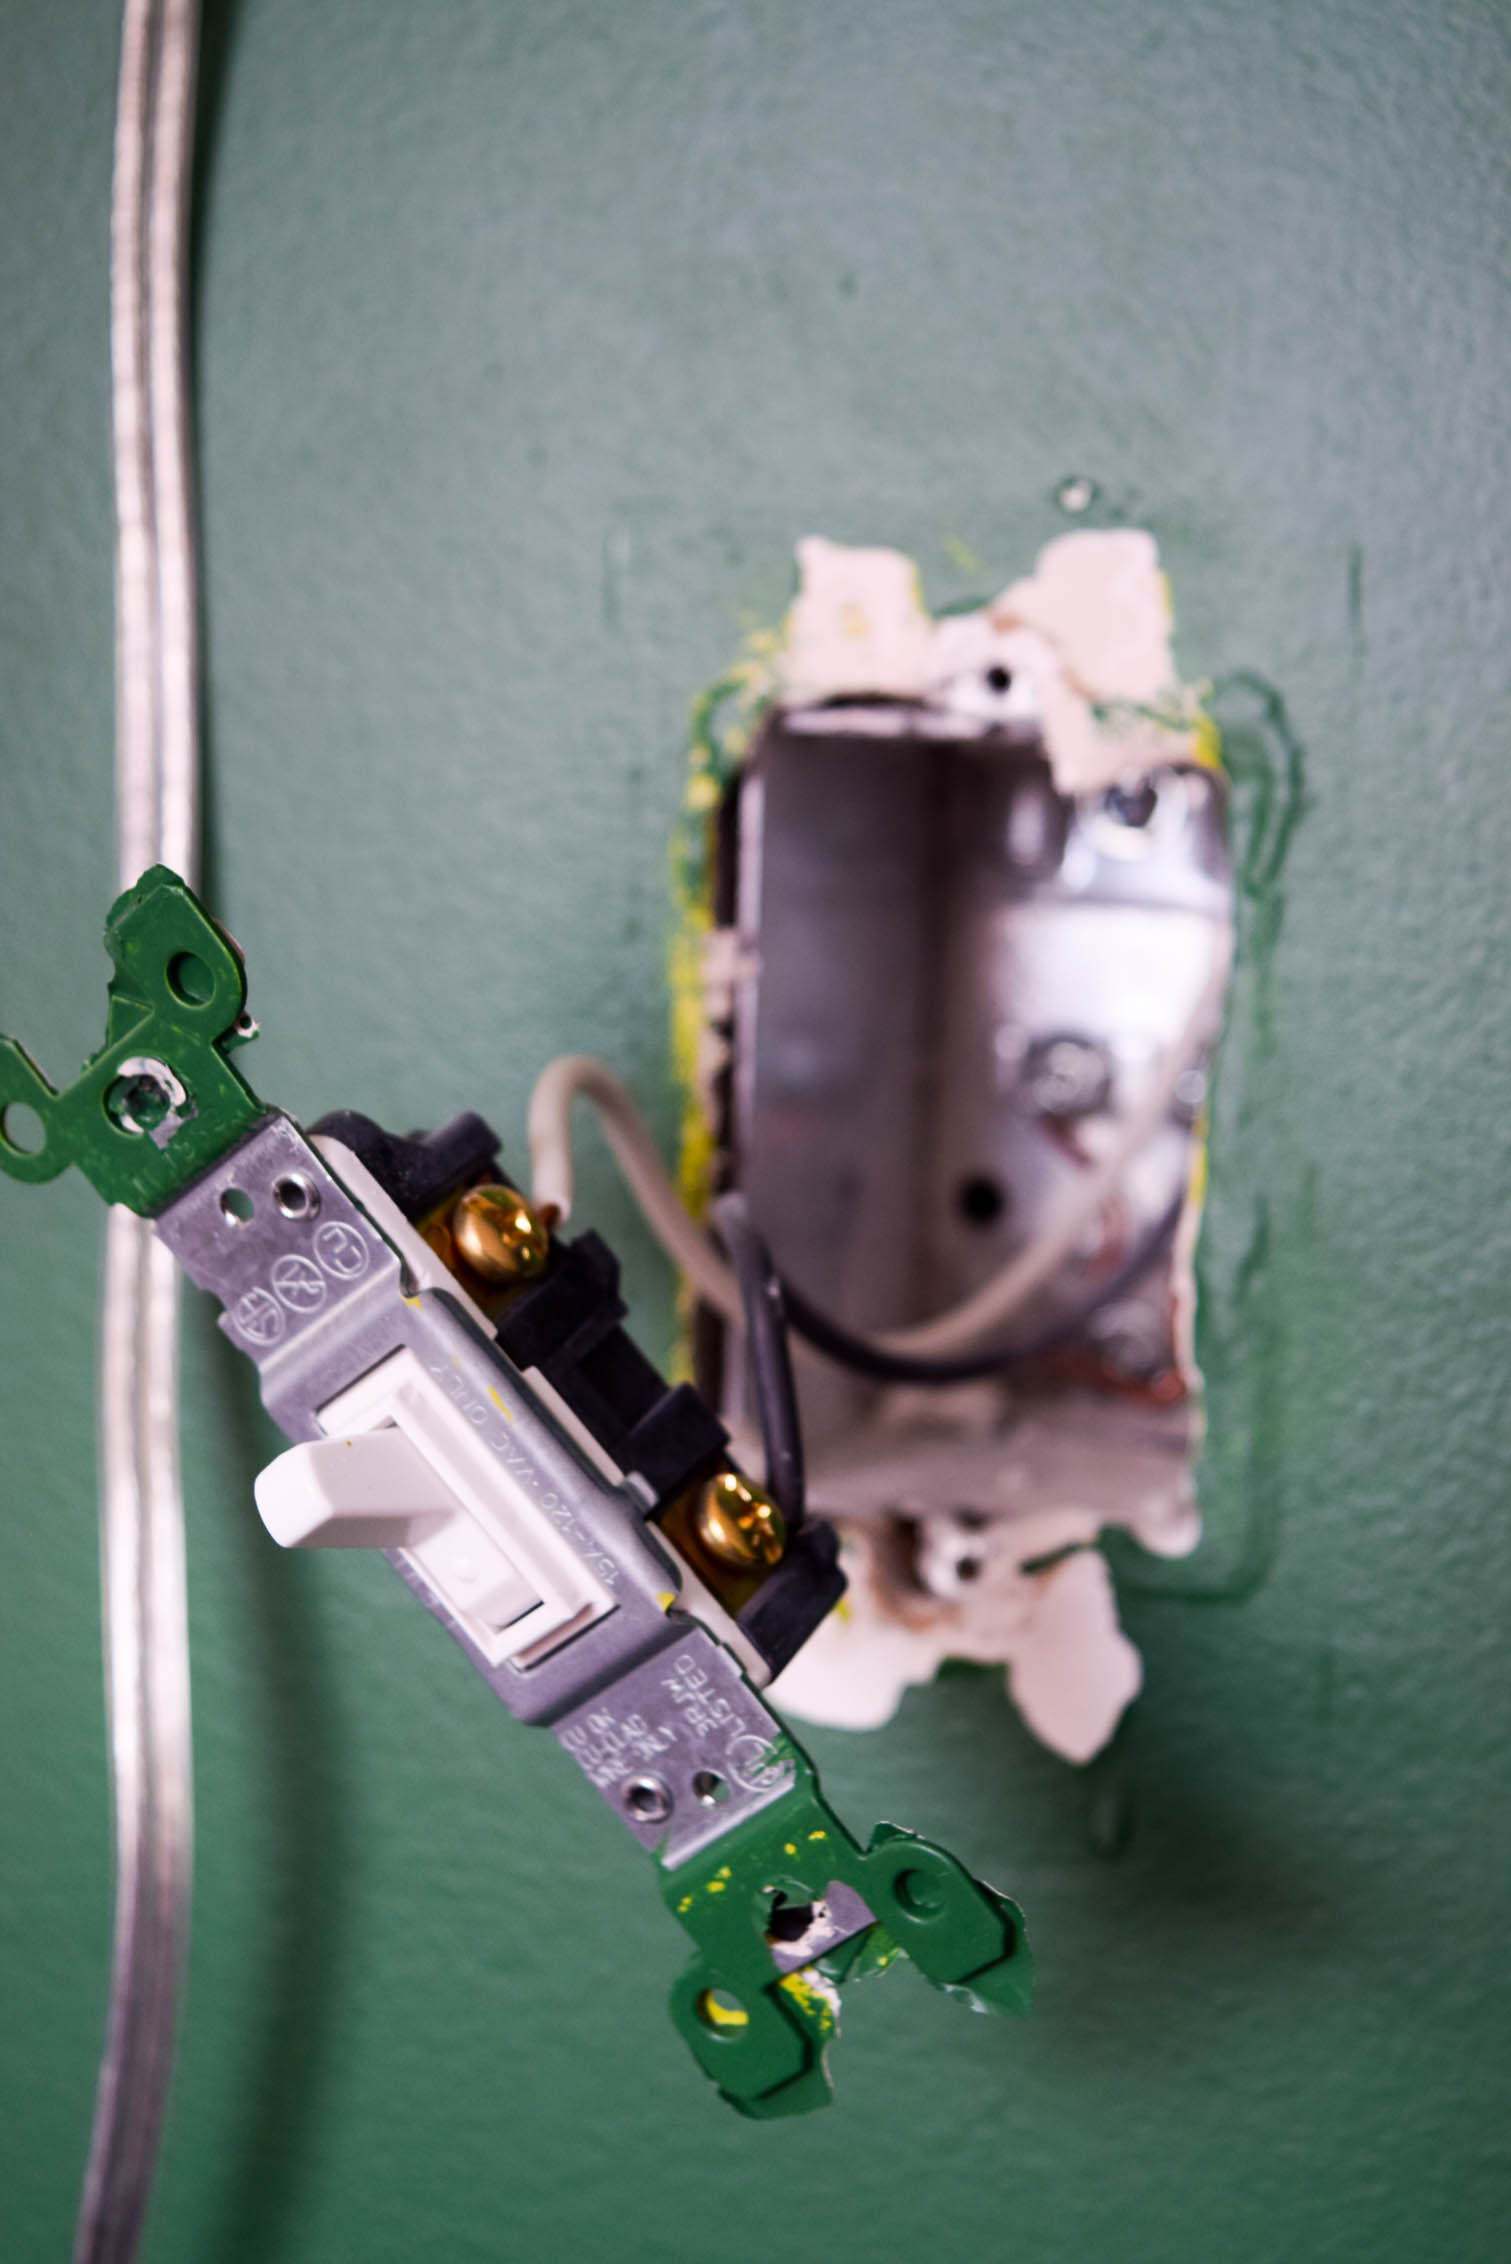
Step 3: Remove the light switch from the box in the wall, and then using a philips screwdriver, slowly unscrew the heads holding the two wires to the switch.
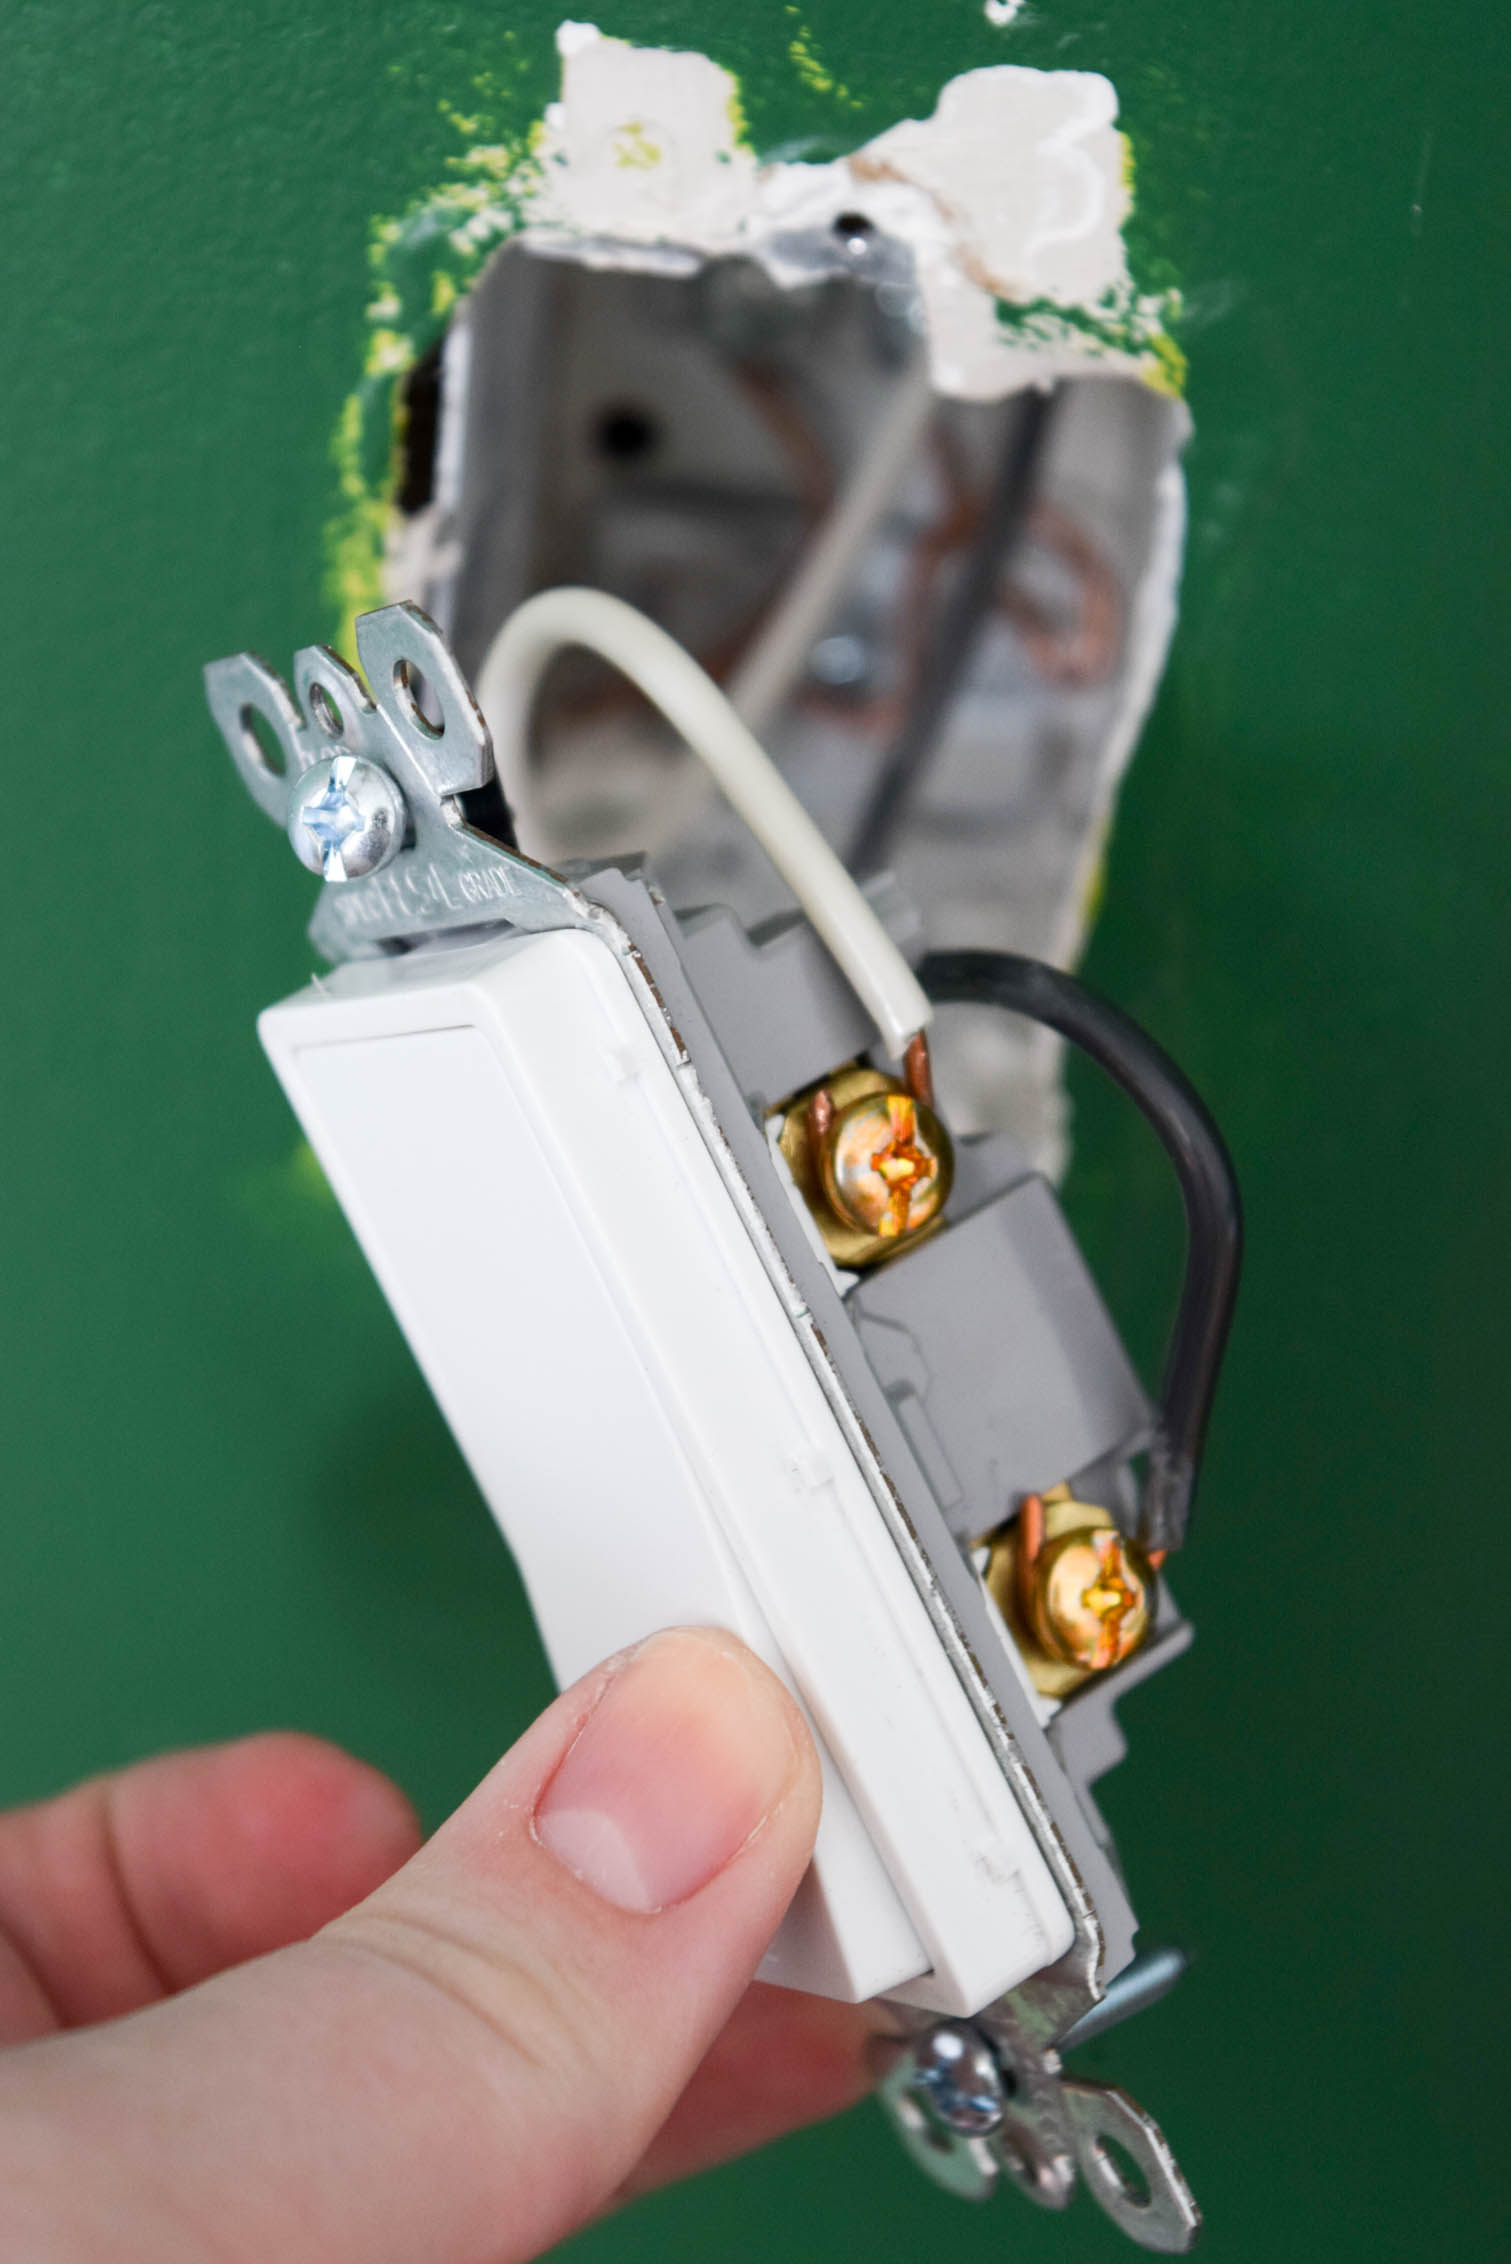
Step 4: You’ll notice that all light switches are essentially the same, so when you’re looking at the Legrand light switch, just place the wires on the corresponding screws, and tighten with your philips screwdriver.
Step 5: Place the switch back into the box in the wall, and screw it back in using the philips screwdriver.
Step 6: Time for the screwless face plate! It’s super simple and easy to apply. Place the black face plate to the outside of the light switch (there are corresponding screw holes – it’s not hard), and then clip on the big white face plate. It’s really that easy.
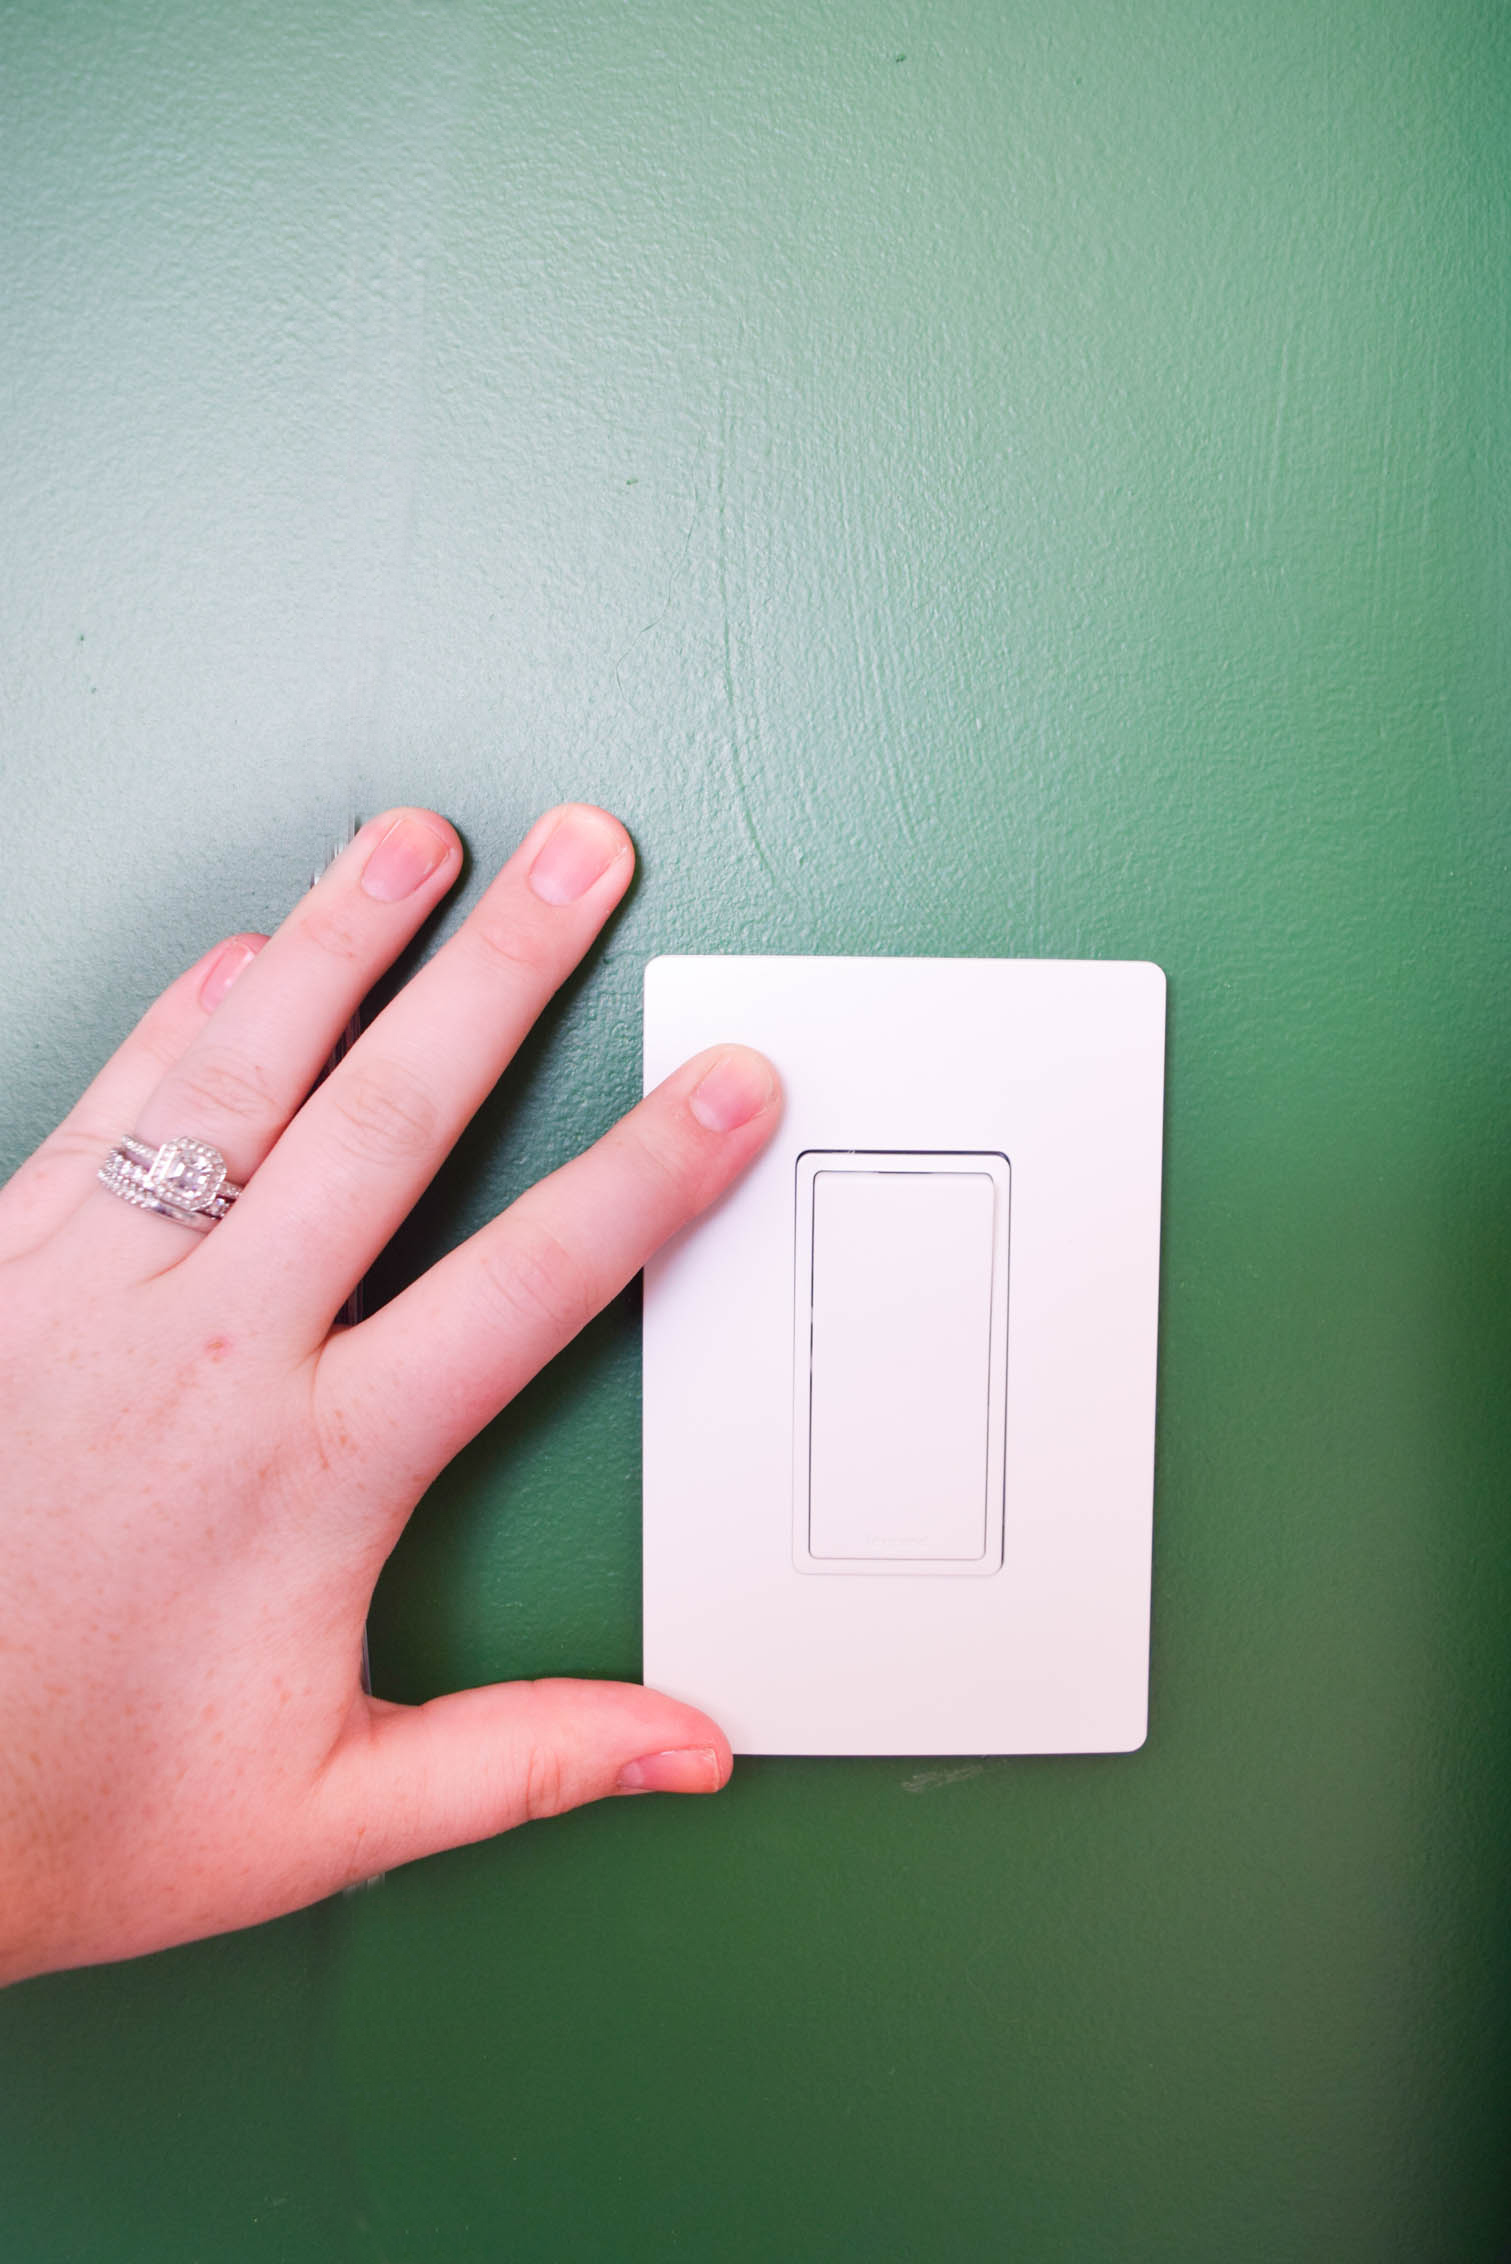
See how easy that was? Swapping light switches took me under 5 minutes, and I can’t believe I didn’t do it sooner. Unfortunately there is only one light switch in this room, otherwise I’d have done more!


Boots hung out with me the entire time I was swapping the light switch. If cats could judge, he would. Thankfully it all worked out though.
I’m very pleased with how clean the new light switch looks. The dark green walls are dark, and with a grey daybed and a dark rug, I used white in as many accents as I could, to try and balance it out.
If you could swap yours, what shade and style would you pick?


